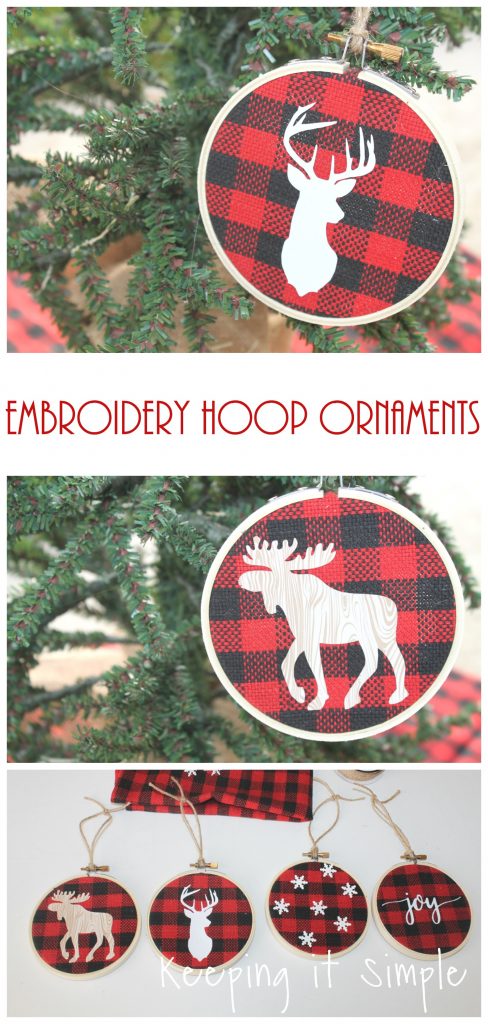
Buffalo Plaid Embroidery Hoop Ornaments
Making homemade Christmas ornaments is one of my favorite things to do! It’s so fun to personalize your Christmas tree. I love having my kids make them with me so that we can have lots of fun and festive ornaments on it that they made :). Since buffalo plaid is so popular right now, I thought that buffalo plaid embroidery hoop ornaments would be perfect thing to make for our Christmas tree. I love how these turned out! You can do them more rustic and add a deer or moose to it. Or you can have it be more festive and fun and add some glitter to them! Also you could paint/stain the embroidery hoops to really make them personalized.
Here is a quick video to show you the process of how to make these embroidery hoop ornaments.
This is how I made them:
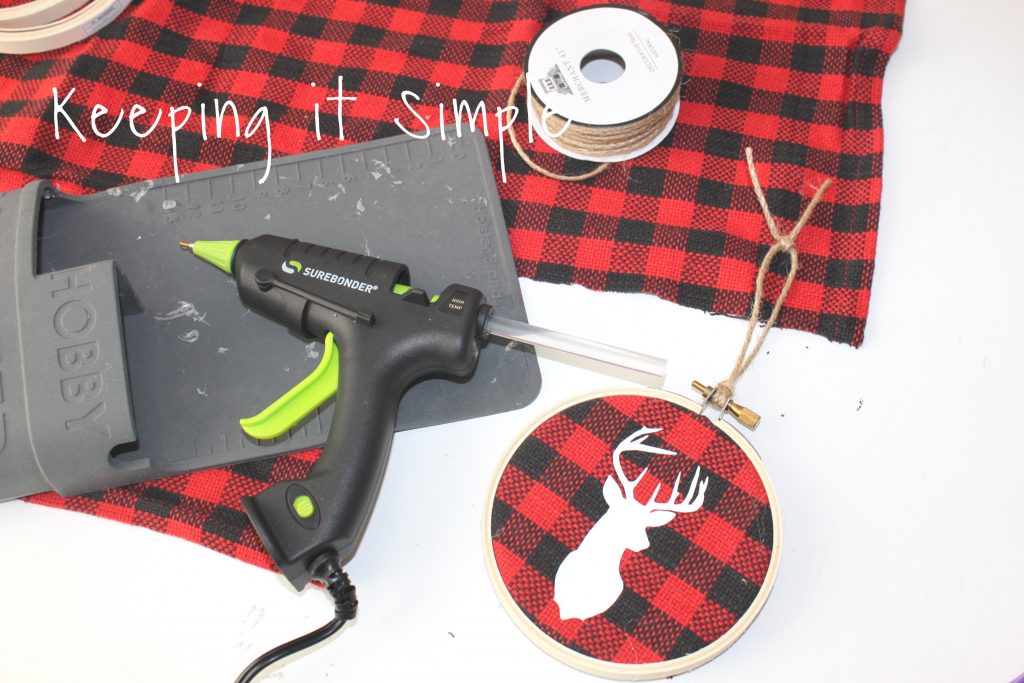
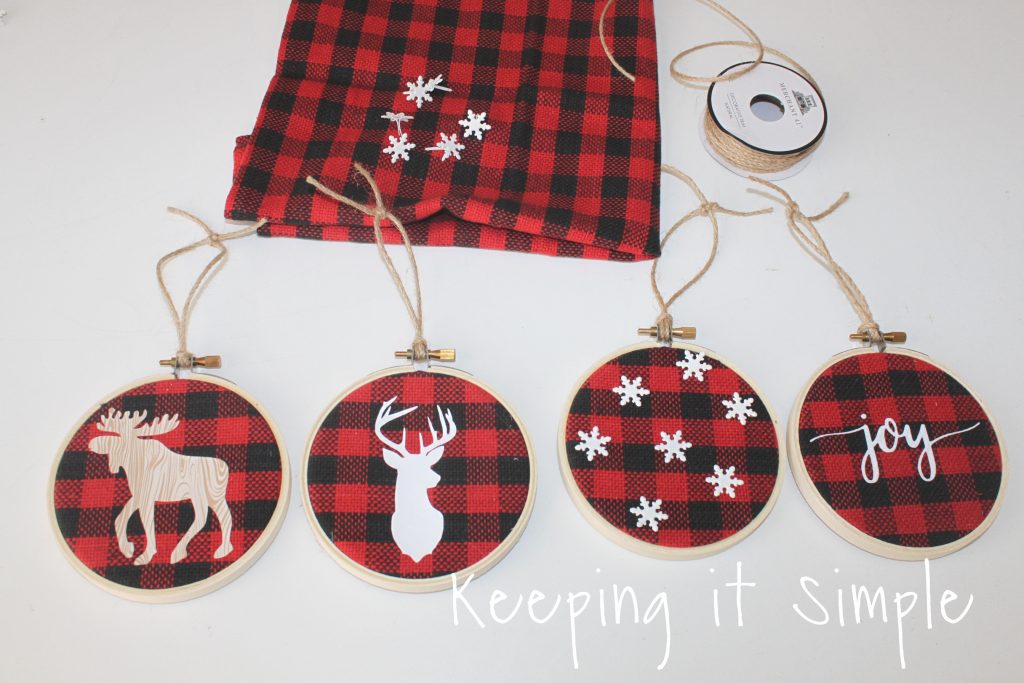
I started with some buffalo plaid fabric. I wanted a fabric that had smaller squares in it and I found that the fabrics in the fabric sections had bigger squares, so I ended up using a napkin. It was the perfect size! I got this one from Hobby Lobby. I then used the small embroidery hoops and heat transfer vinyl.
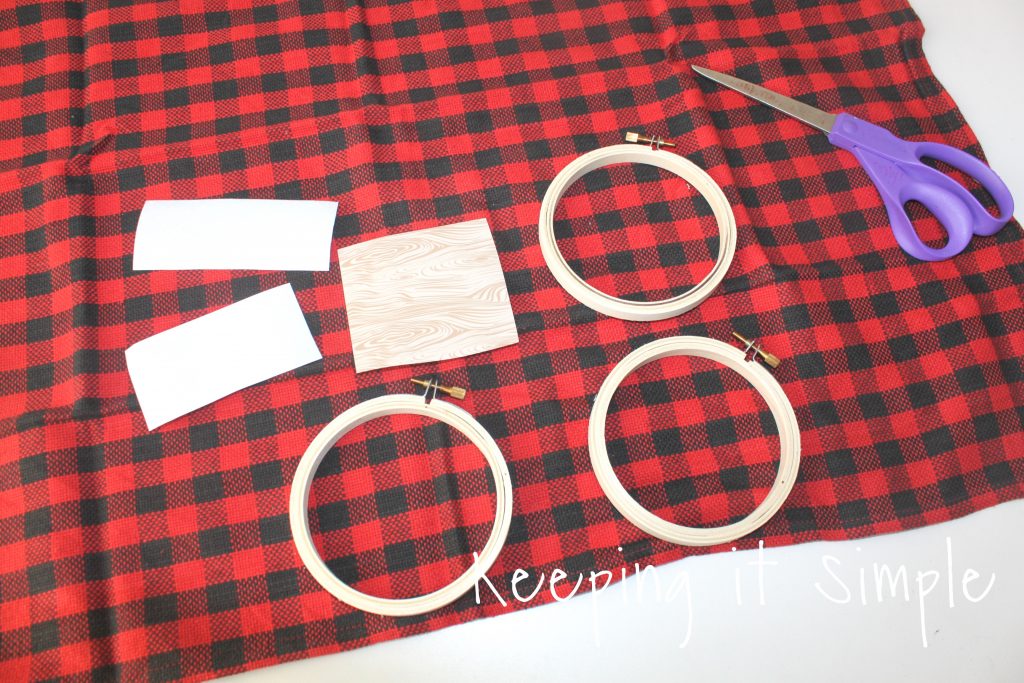
I cut out the designs out of heat transfer vinyl with my Silhouette CAMEO. Make sure that you mirror the image and cut it with shiny/plastic side down. You can get the three designs here:
Embroidery Hoop Ornaments • SVG
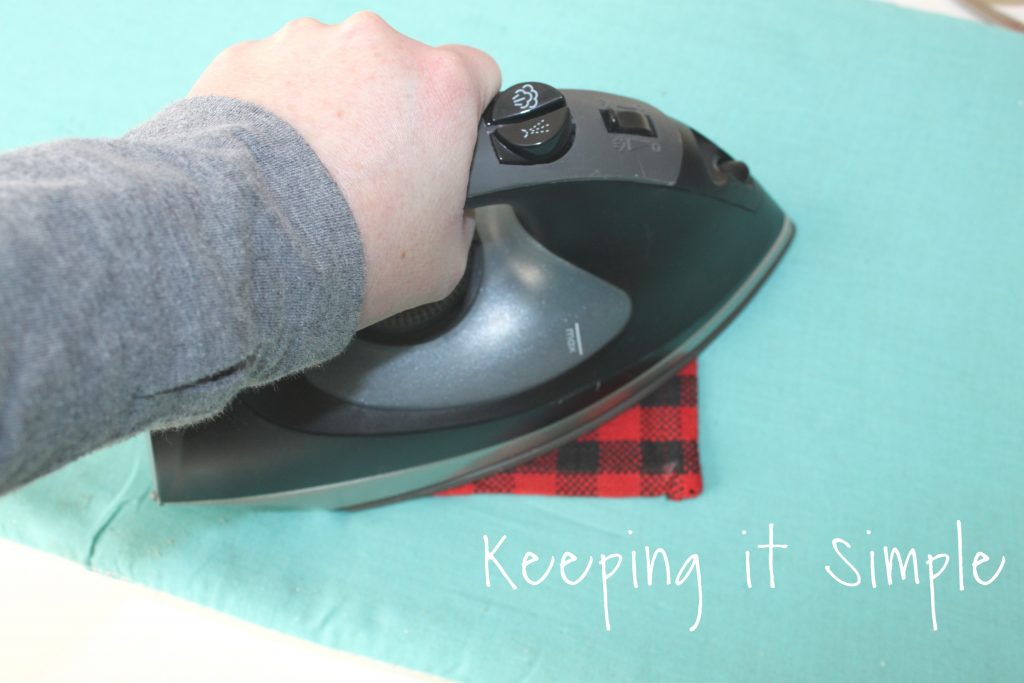
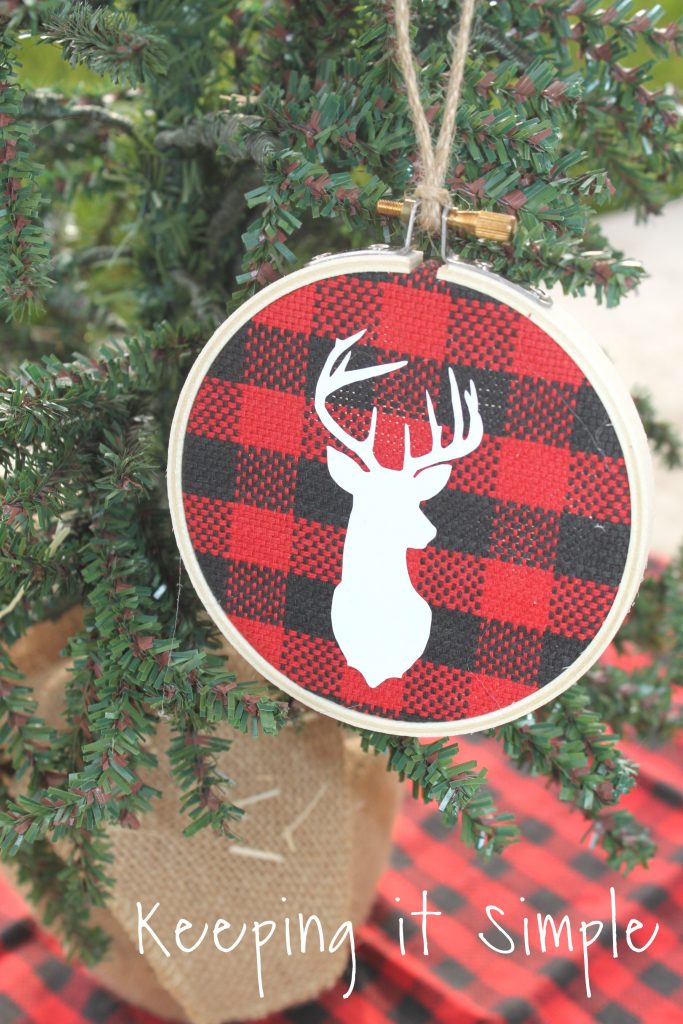
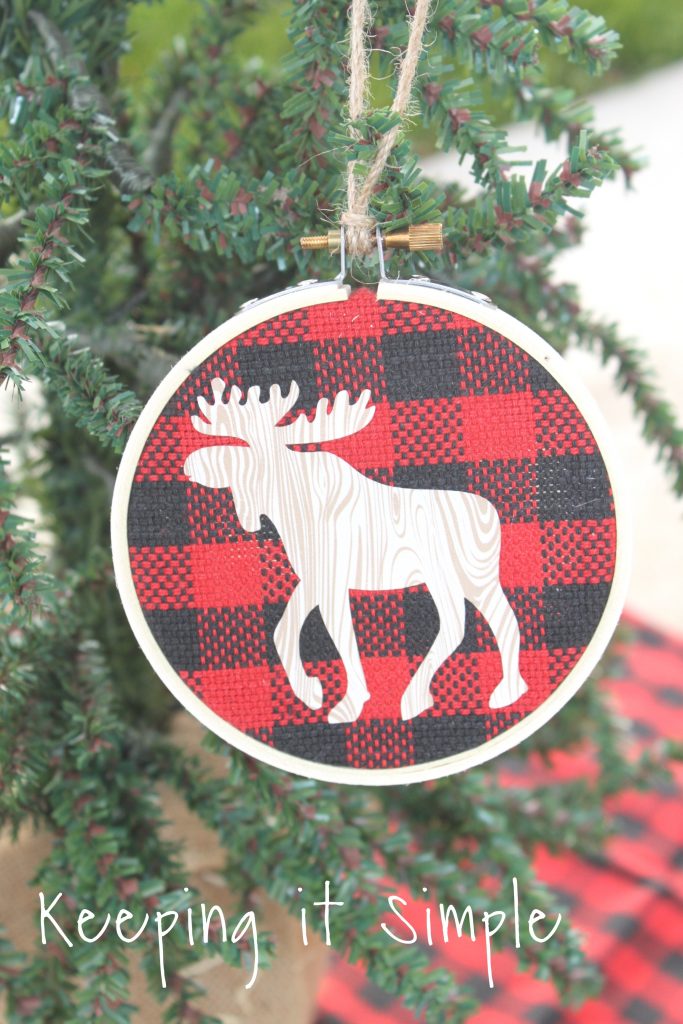
For the deer ornament I used an Easyweed HTV in white. I then weeded the vinyl and then cut enough fabric that would wrap around the embroidery hoop.

I then ironed on the deer onto the fabric. I ironed it for 15 seconds, holding down the iron with enough pressure that the HTV really adheres to the fabric. I then took off the plastic, flipped it over and ironed the other side.
I then put the inside hoop under the fabric, making sure that it was nice and centered. Then I put the outside hoop onto the front and tightened the hoop.

I then flipped it around, cut off the fabric around the hoop and then glued it onto the wood.
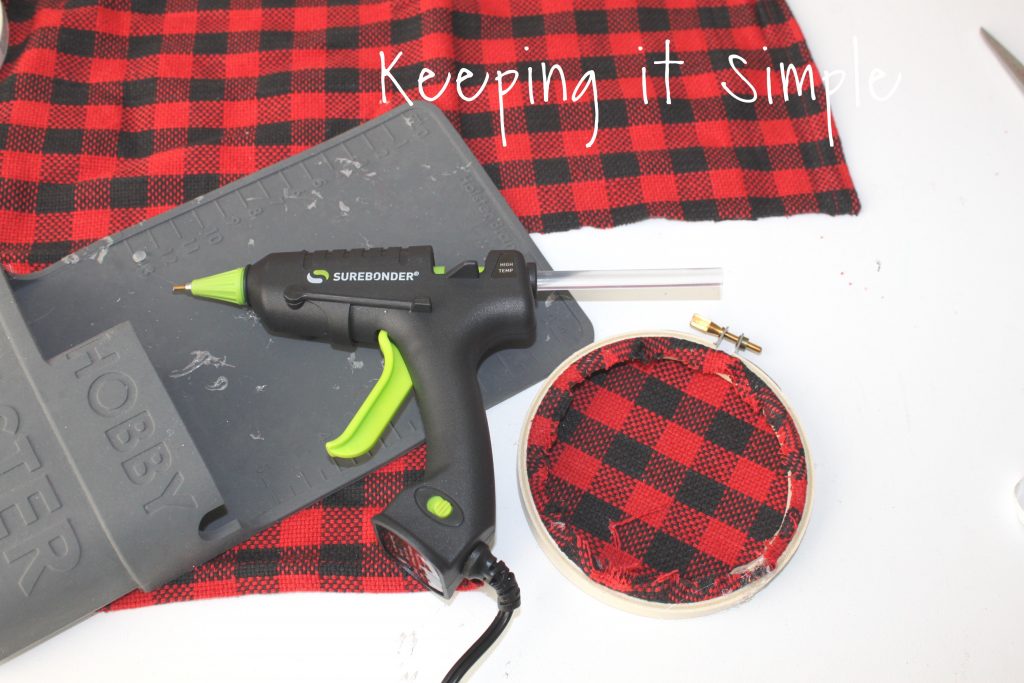
I then added some twine onto the hoop.
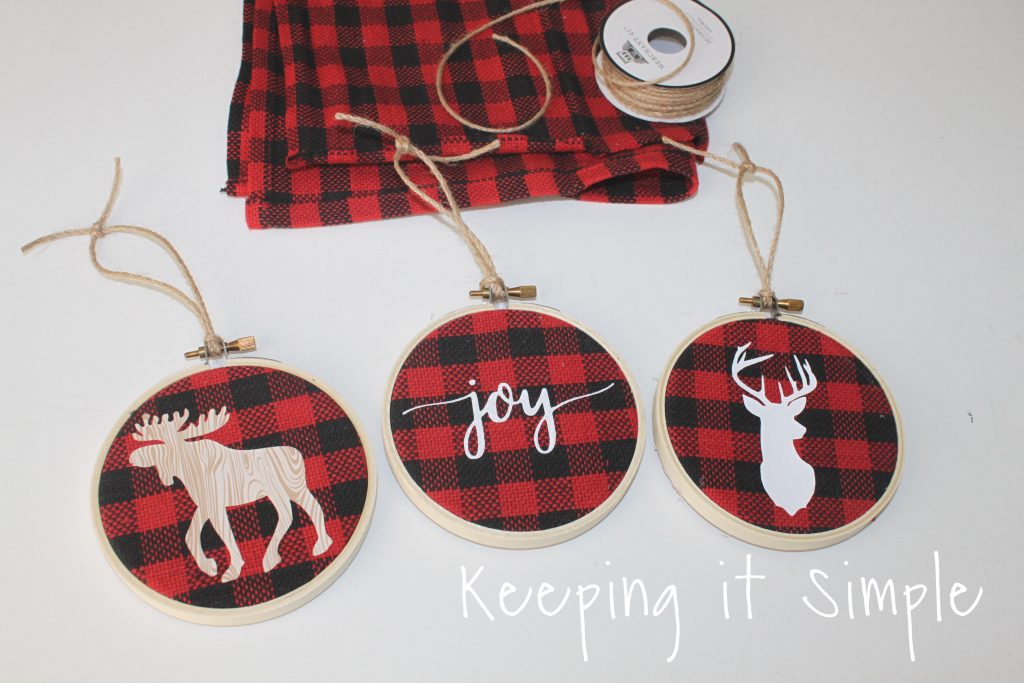
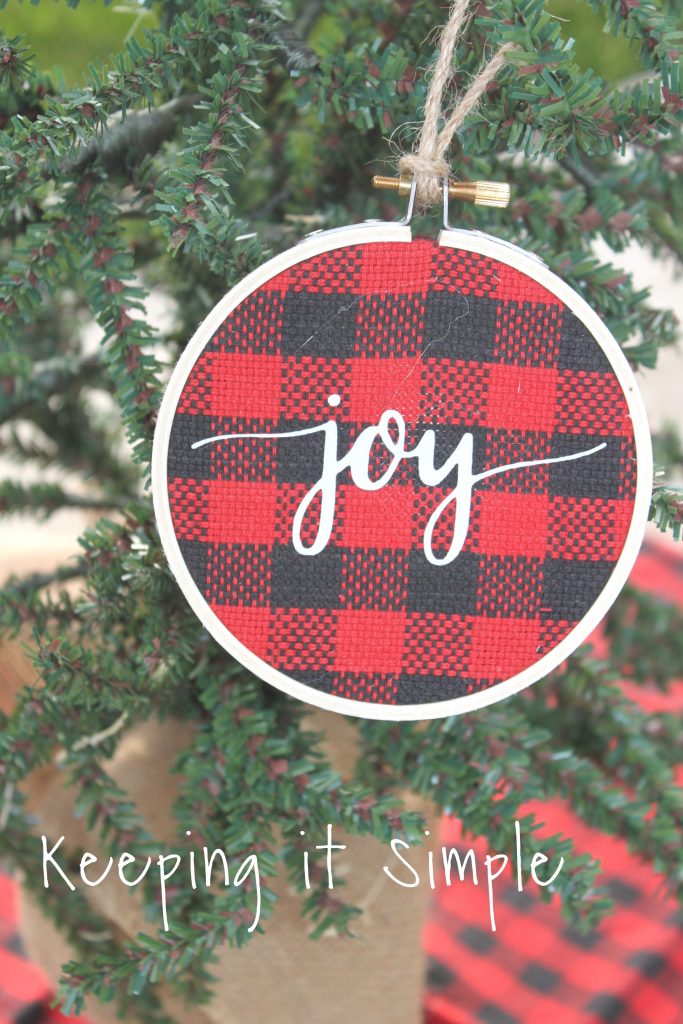
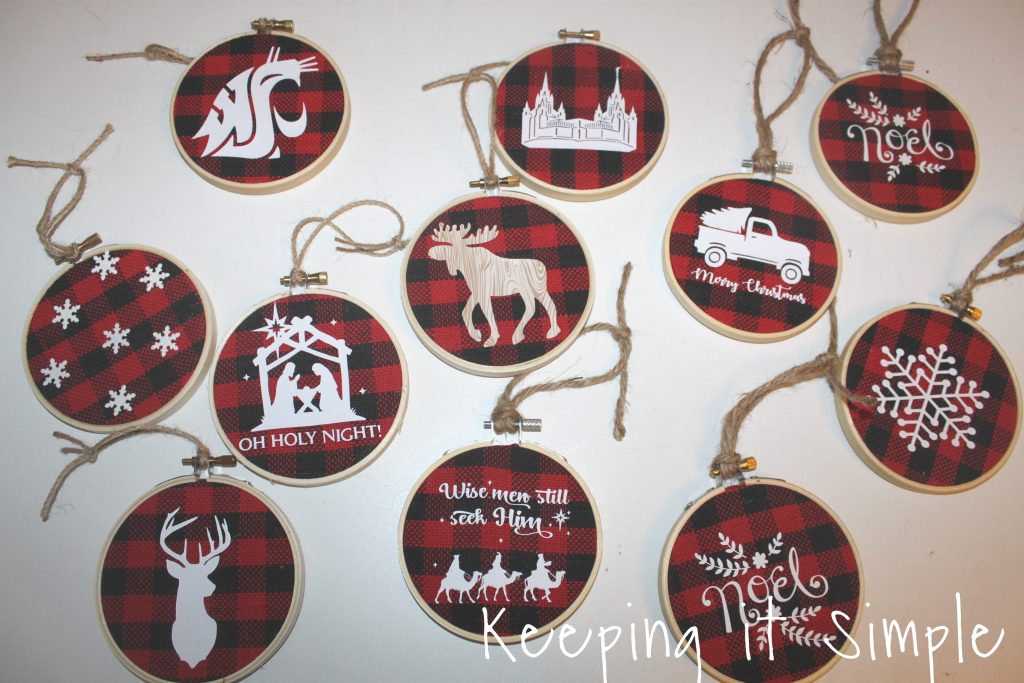
For the joy and moose ornaments, I made them the exact same way. For the moose I used a wood texture HTV this one is called wood texture #2. For the joy I used a white glitter HTV.

Here are the three embroidery hoop ornaments that I made using heat transfer vinyl.
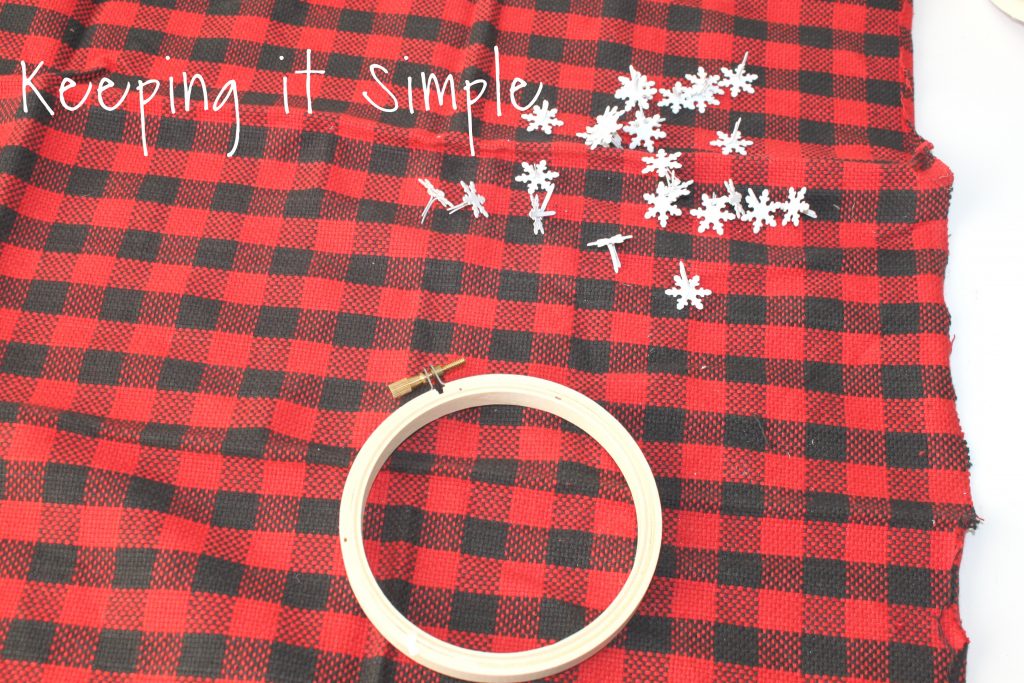
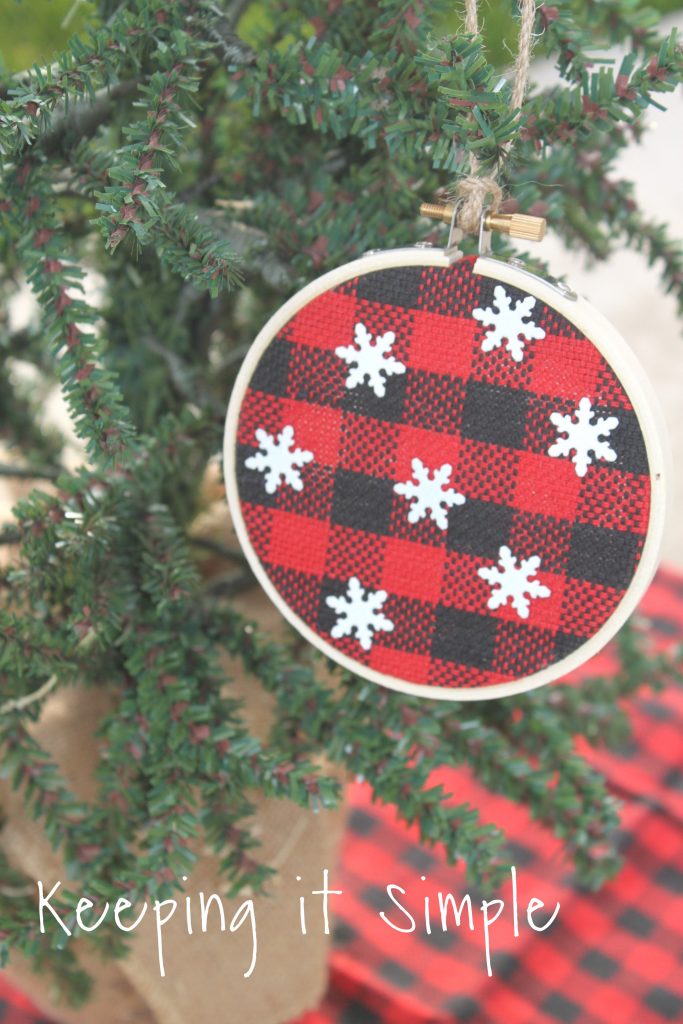
I wanted to show you that you don’t have to have an electronic cutter to make these! You could use foam stickers or something else. I used some glitter snowflake brads and they were perfect for these! When making this one, I put the fabric onto the hoop first before putting on the snowflakes.
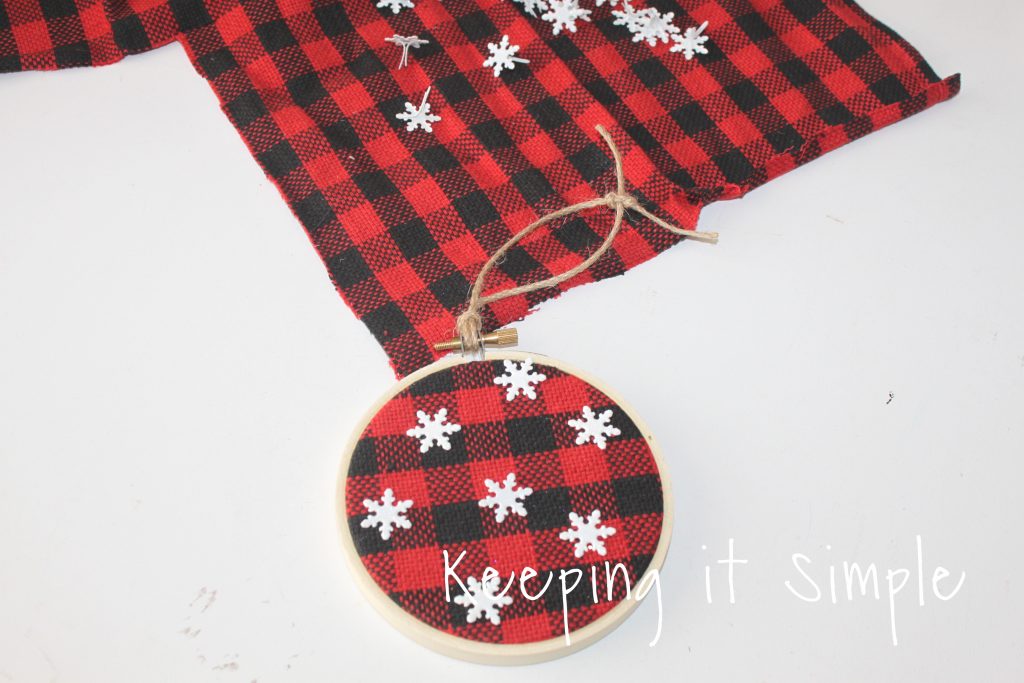
Once the fabric was on, I then put the snowflakes onto the fabric. You don’t need scissors or anything, I was able to just poke the brads through the fabric. One benefit of using brads was when I wanted to move the snowflake and place it somewhere else, I could :).
And that’s it! They were so easy to make and only took about 5 minutes to make. I love how they turned out and I can’t wait to make some more with my kids this holiday season.
They look amazing on the tree!
I love the look of the snowflakes, they are so fun!
The wood texture HTV is so awesome, it matches the embroidery hoop so well!
I made these for neighbor gifts this year, so I ended up making about 65 of them! Here are a few more designs that I used for the ornaments.
Make sure to check out my other Christmas craft ideas!


Leave a Reply
You must be logged in to post a comment.