Funny story (okay maybe it’s not that funny). One day we went to a city dance and there was a dancing contest. My boys entered it, but did not win. They were very upset that they didn’t get the trophy. Then my oldest started complaining that he didn’t have any trophies or medals anymore (he had one from a race but lost it). He was sad and wanted some of my medals from high school.
So that got my mind turning a little bit. I thought to myself, I could make some medals. And then I thought to myself, I could make medals for his birthday and give out to everyone. And then I thought, we could have an Olympics party with races and games just like Olympics! That is how I came up with the idea to throw my 7 year old an Olympic party. I asked him what he wanted to call them, he decided on the “2012 Cool Olympics”. I was shooting for the 2012 Spring Olympics but that didn’t win.

This is how I made them:
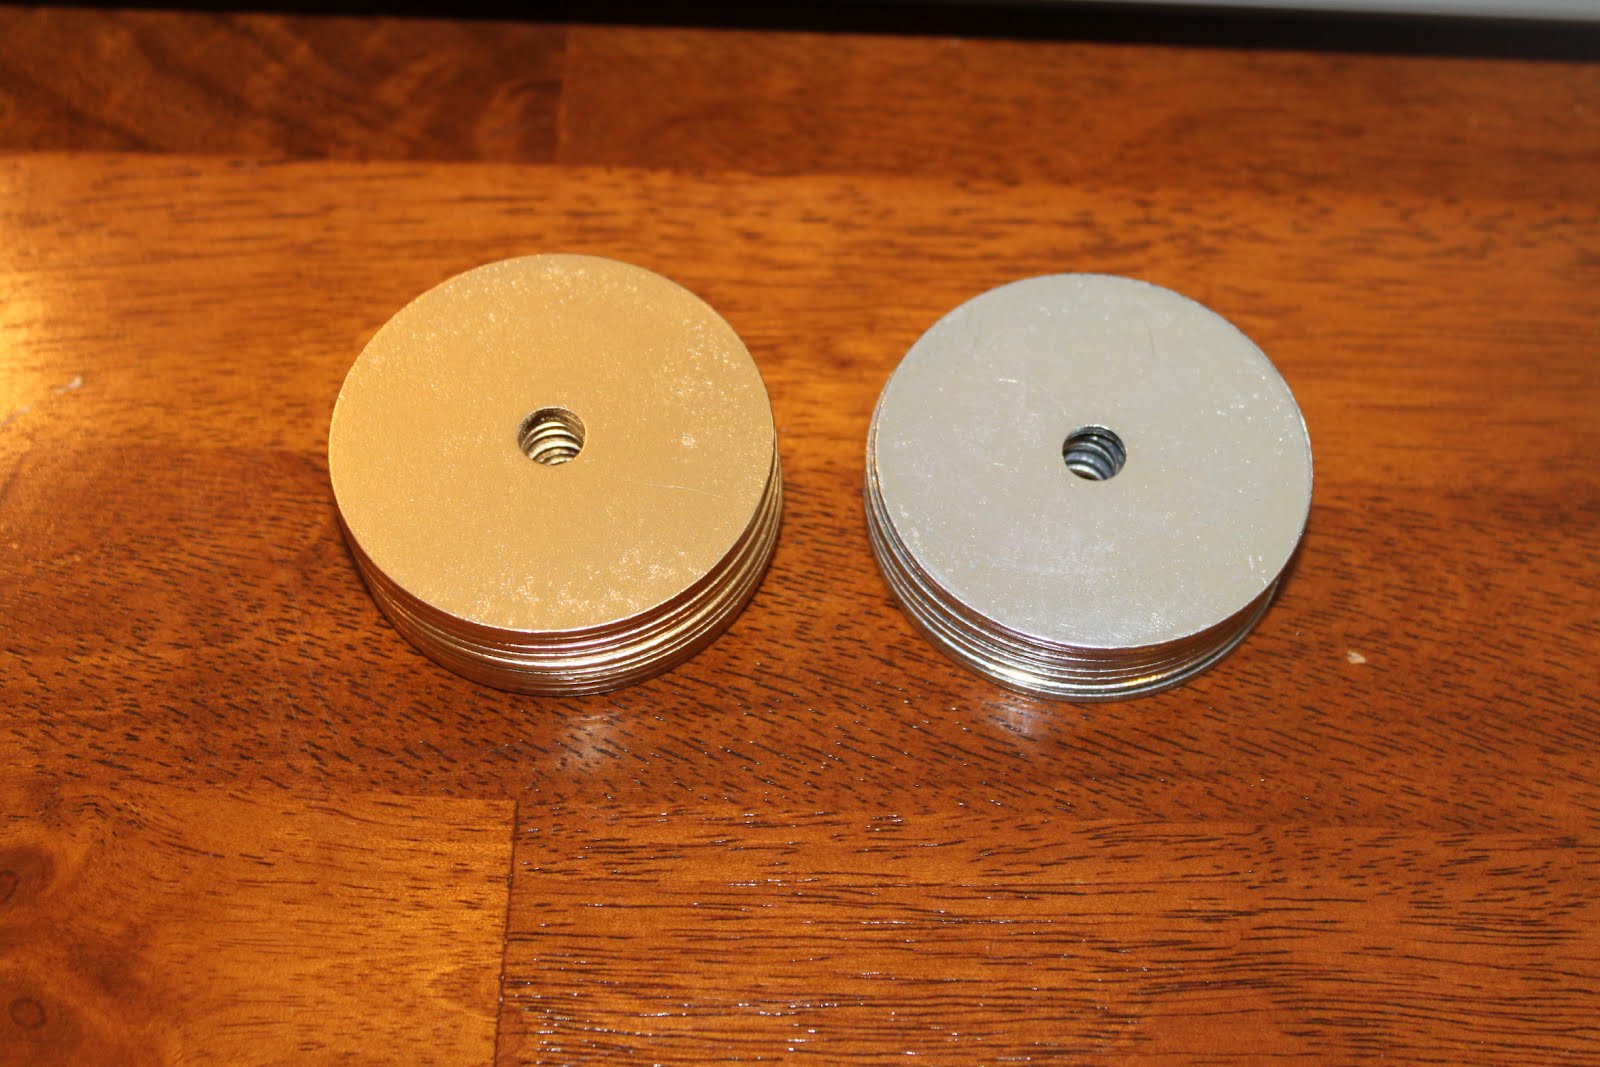
1) I took some washers from the hardware store. I think these ended up being only $.27 a piece. I spray painted some of them gold because of course we needed gold medals!
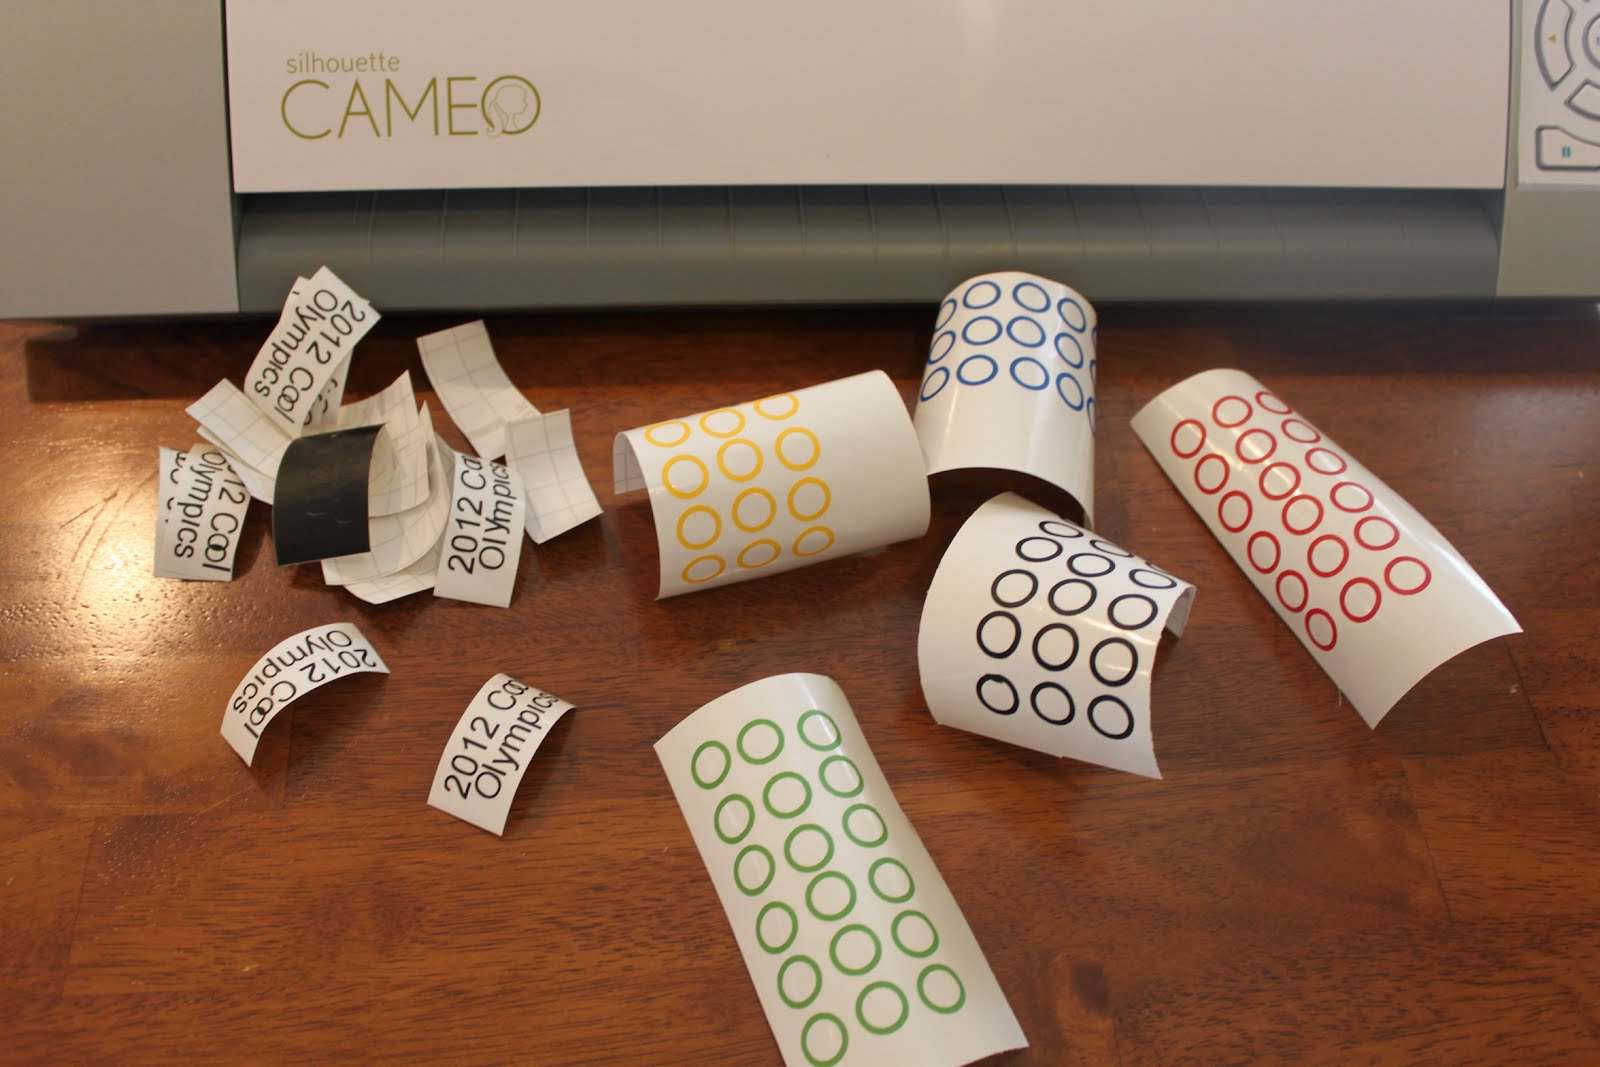
2) Using my CAMEO, I cut out the design out of vinyl.

3) I then removed all of the excess vinyl. I soon learned when you have a little saying that is only 1″x2″ it takes a lot of time….. Anyway, I used my vinyl from Expressions Vinyl and in the colors: black, yellow, red, gentian blue and lime-tree green
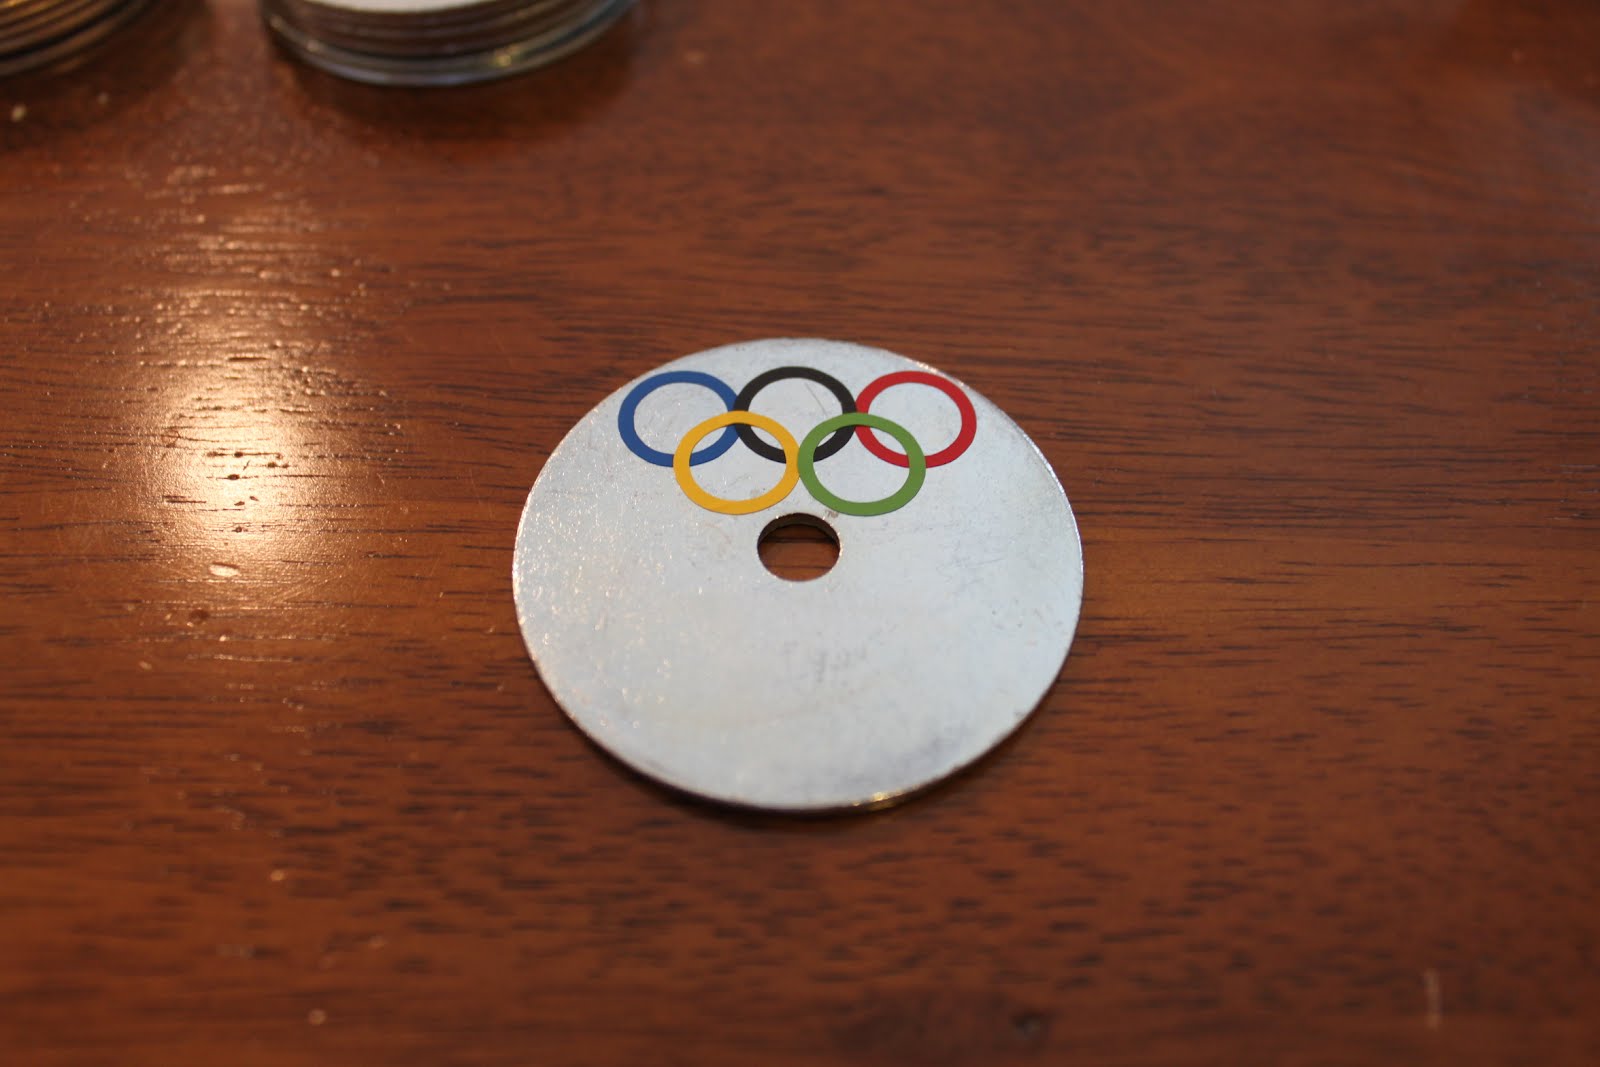
4) Just using my fingers, I put the circles onto the washer.
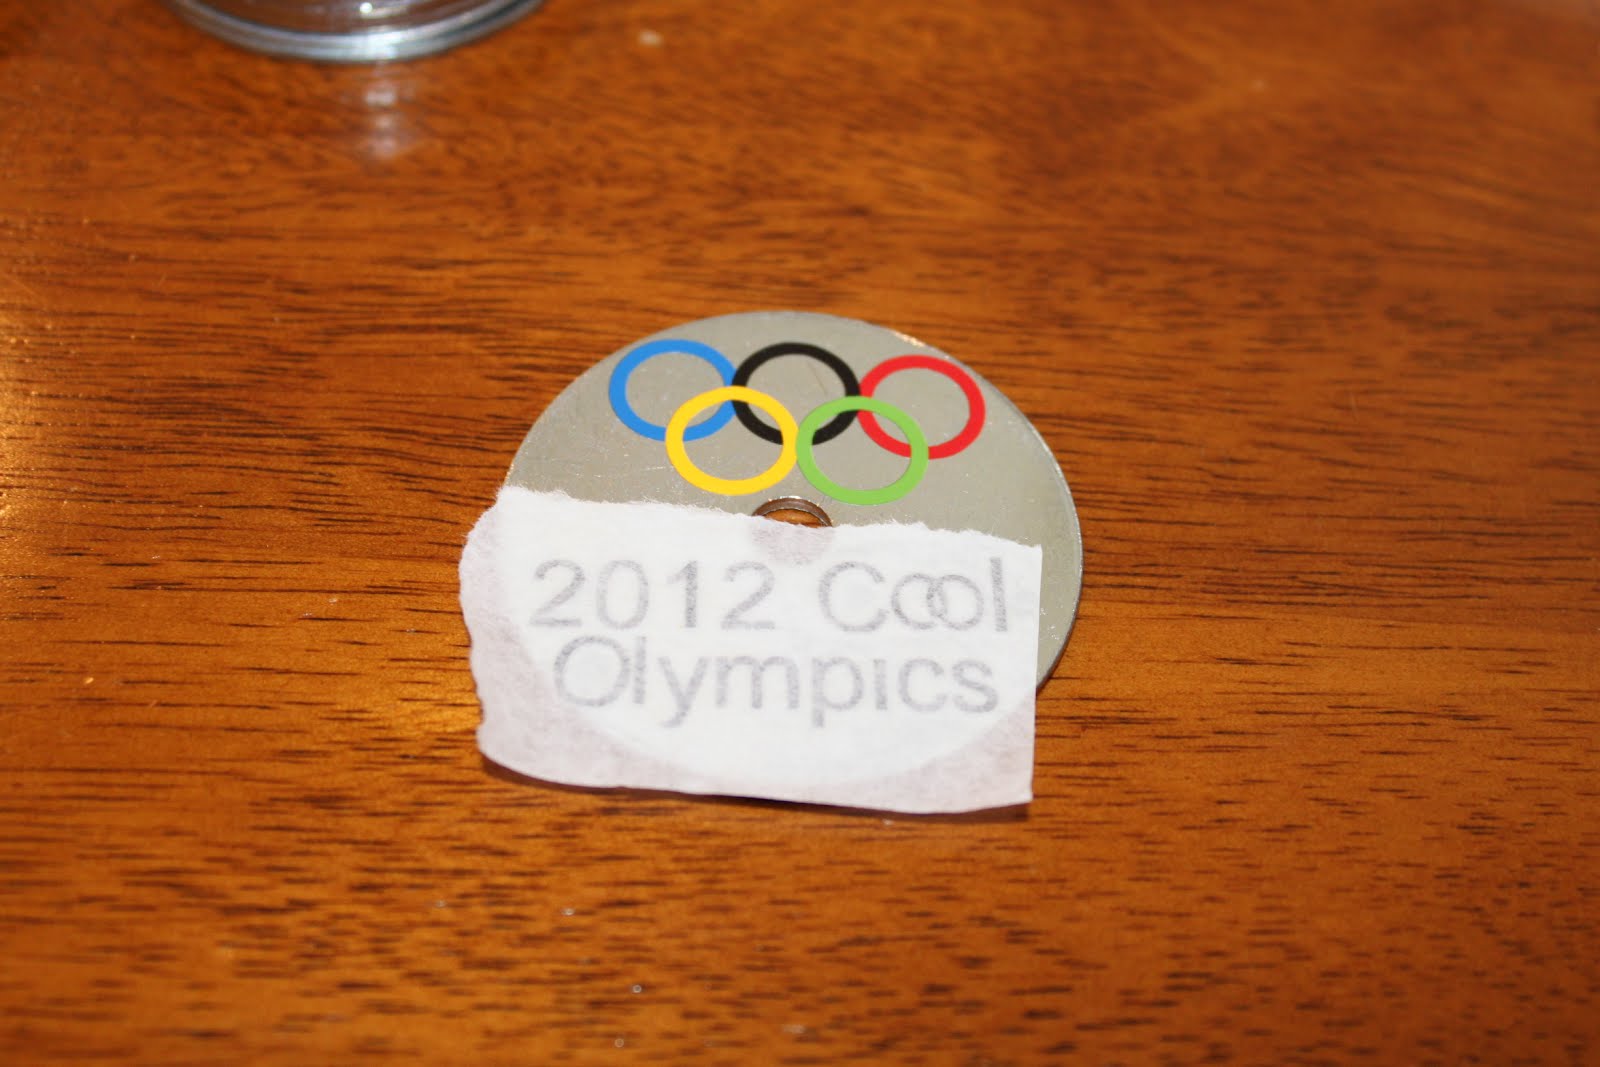
5) Using transfer tape, I put the saying onto the washer.
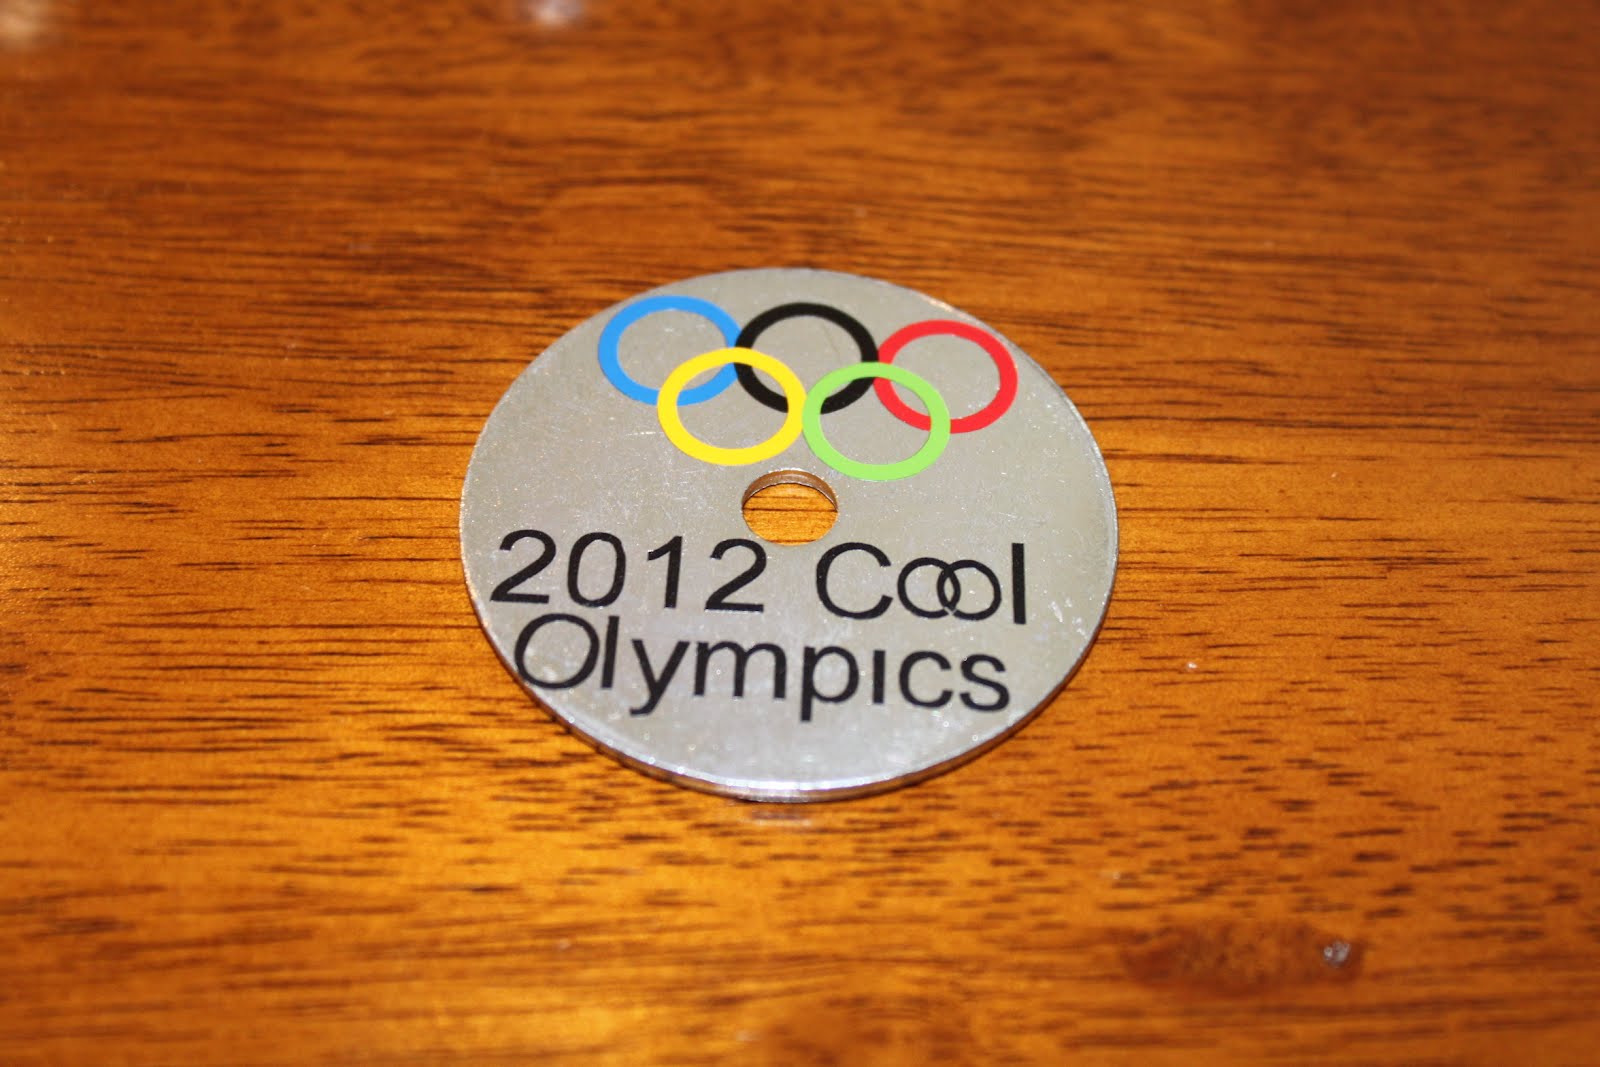
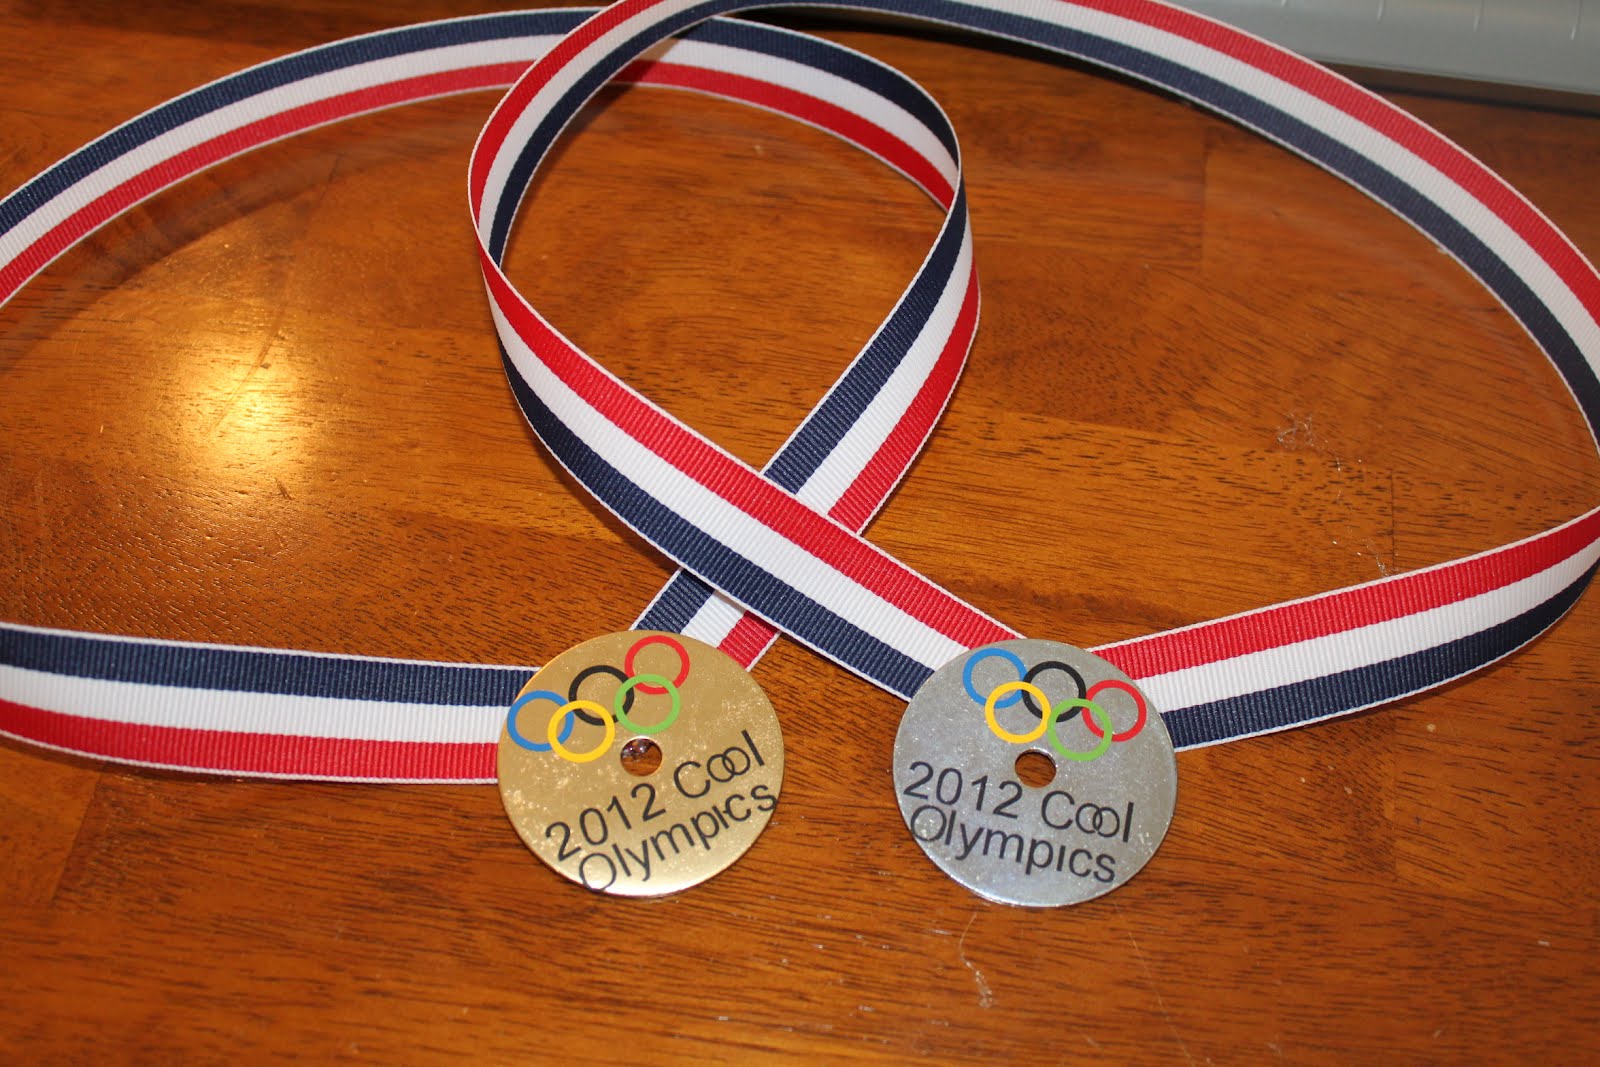
Here are the silver medals
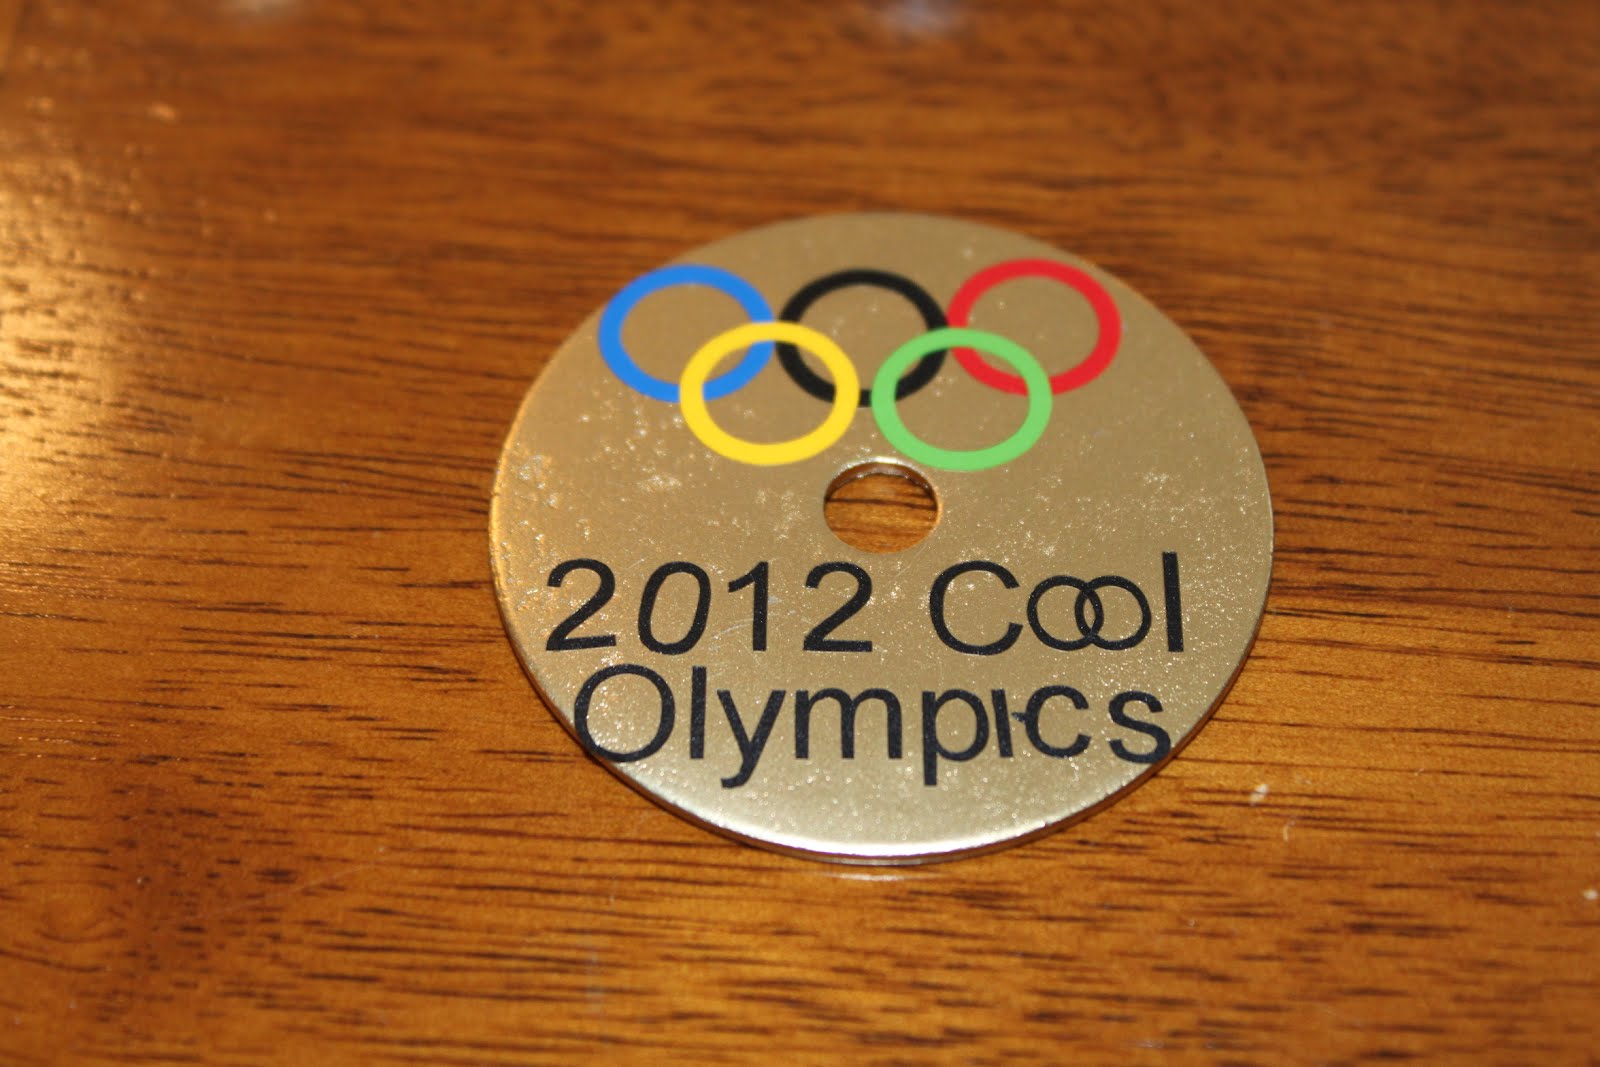
Here are the gold medals
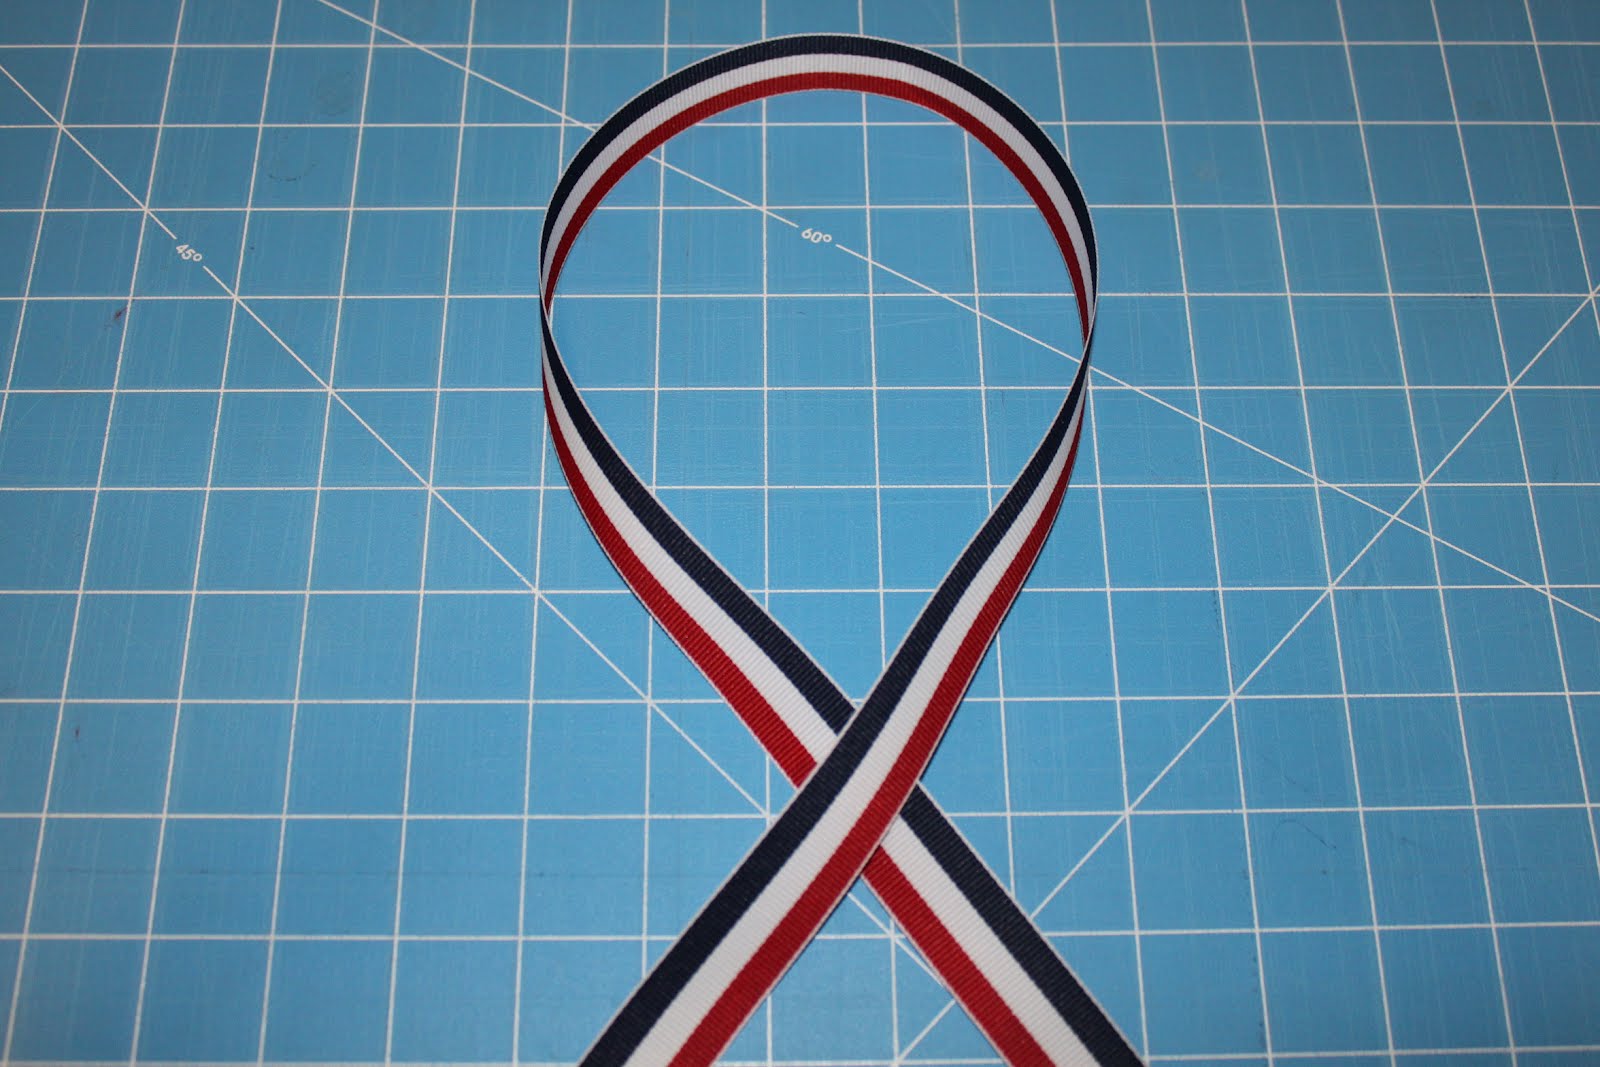
6) I took 24″ of ribbon
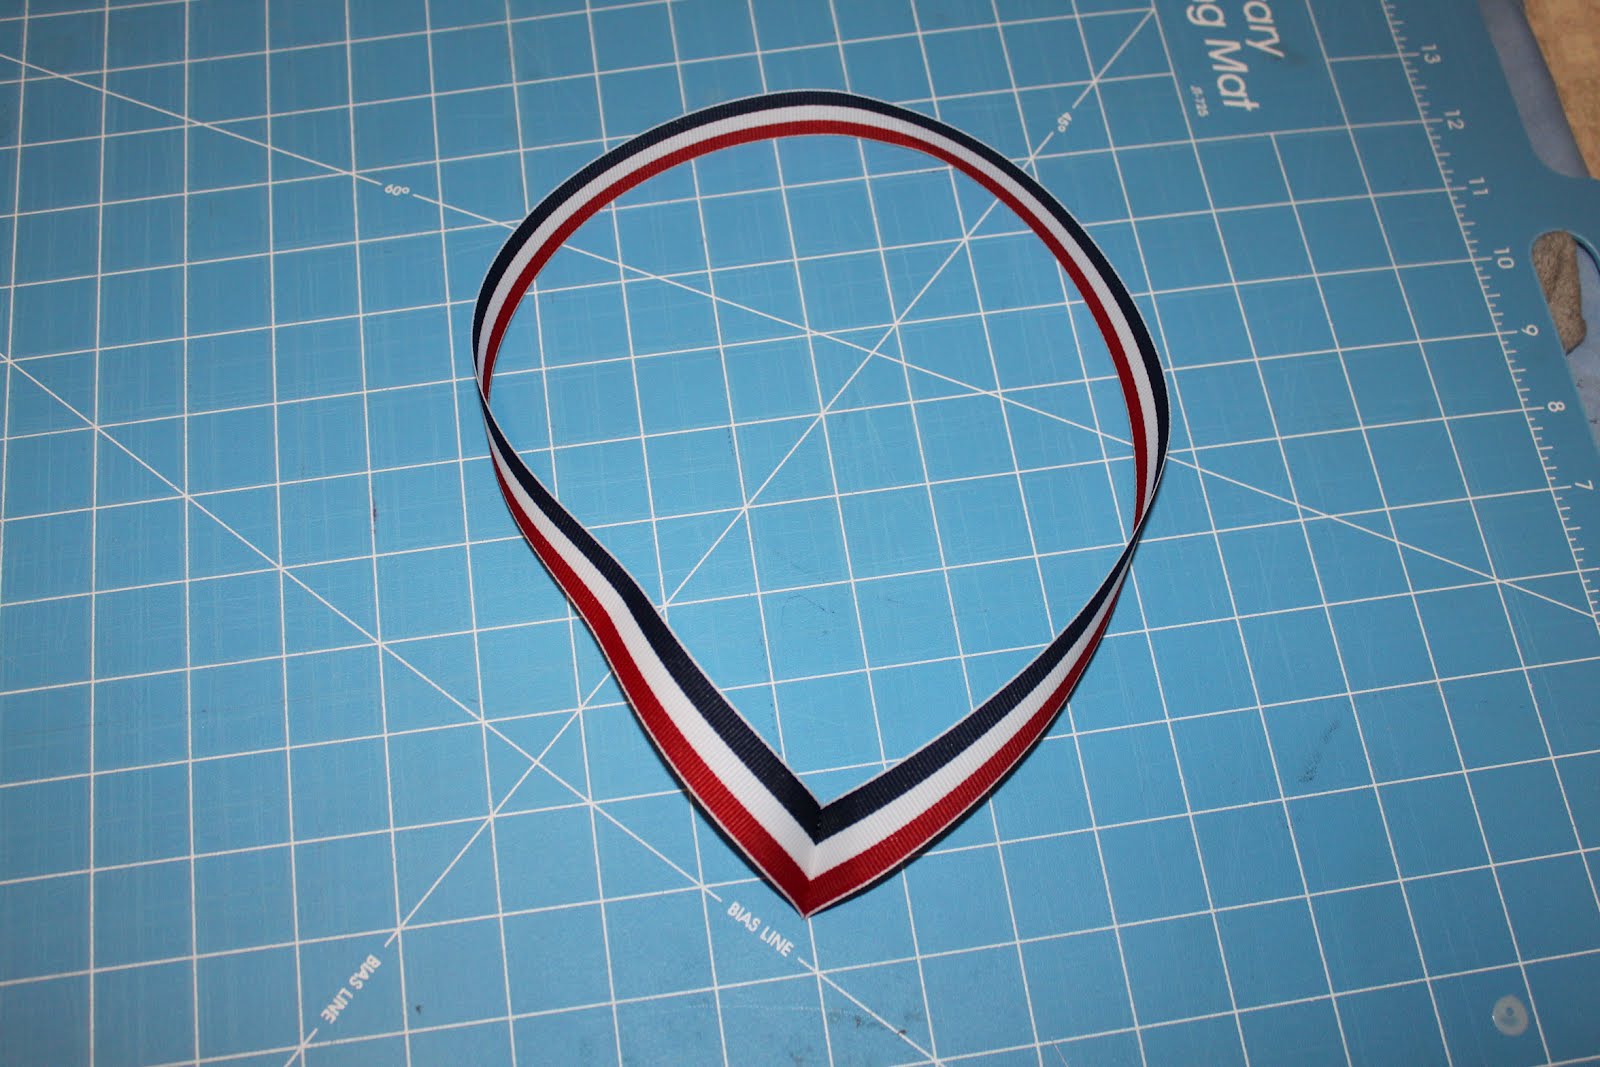
7) Then I sewed the ends together.
8) I then glued the ribbon onto the medals. And now they are ready to be giving out to the winning teams at the party!
I’m actually thinking about making other kind of medals, like ones for good works. They can get a medal if they are super good one day or do something amazing in school. Just to reward them for their good works :).


what a cute idea!
Thank you for sharing this information to us… Keep coming…
busana muslim