How to Make a Layered Wood Sign with xTool M1
If you are new to xTool and laser cutters, check out my beginners guide to the xTool M1.
2023 in a pretty big year for our family, my oldest son is a senior in high school and is graduating. It just boggles my mind that I am old enough to have a kid that is graduating. I still feel like I am 25, sure I don’t look it but I feel it :). This year I have tried really hard to get more involved with his activities. One thing that I decided to do was make a special something for all the seniors after each season. He had marching band season in the fall and I made them each a shirt. Then he had pep band in the winter, that season just ended. Instead of making another shirt for them, I wanted to make then a personalized wooden sign. I love the look of the layered wood, so I decided that would be a prefect gift for the seniors.
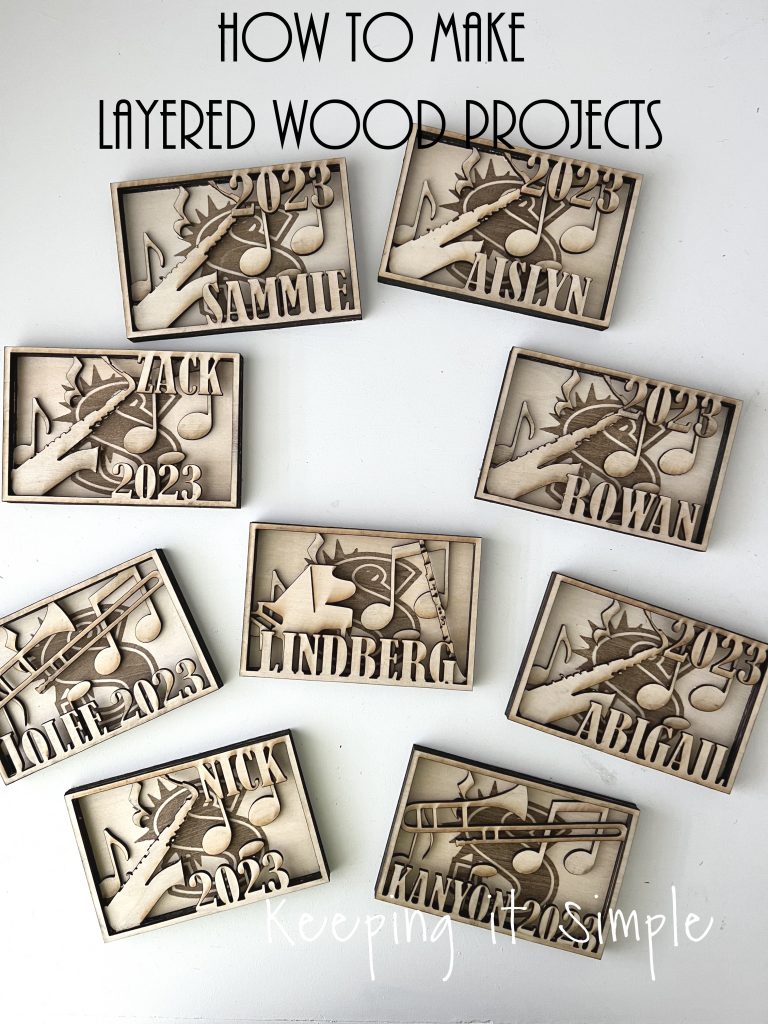
This is how I made these layered wooden signs.
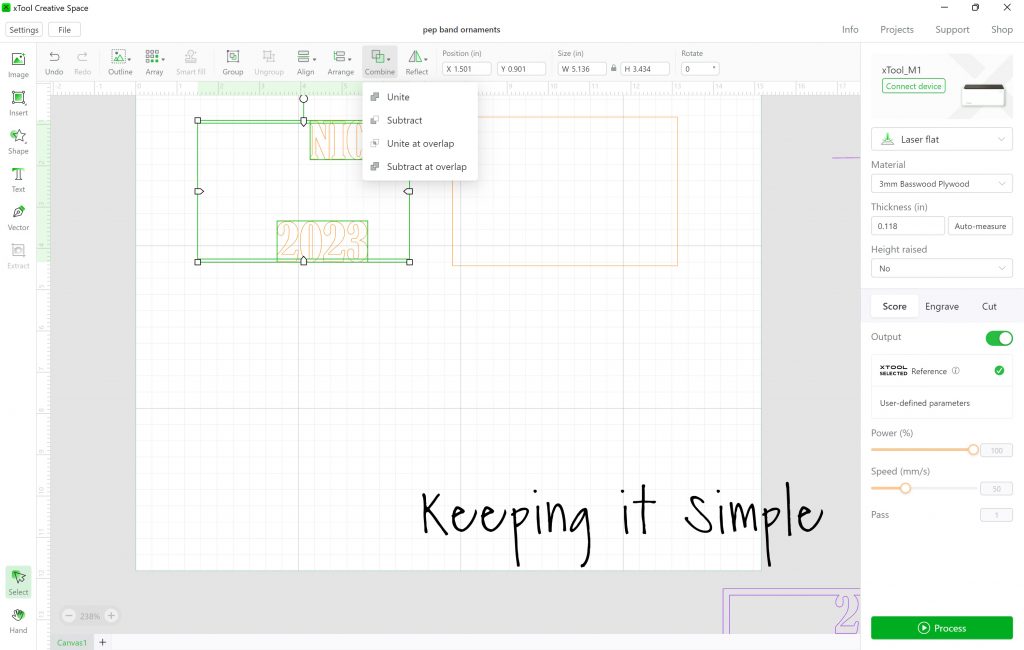
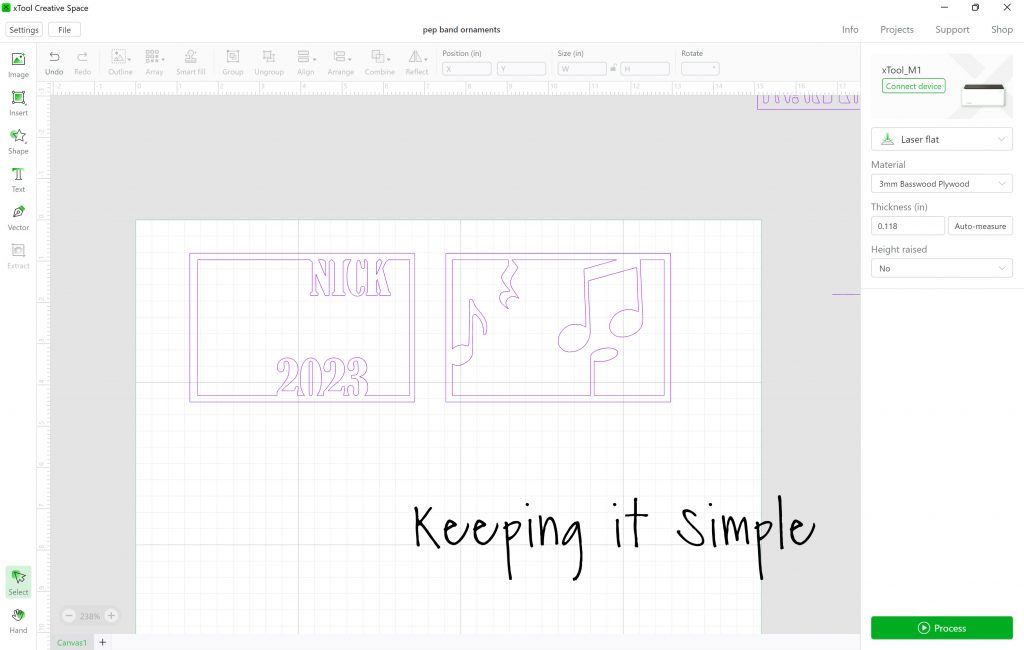
First I started in xTool Creative Space and designed the different layers for the wood. The first step I took was made the frame. I made a rectangle and then using the outline button, made it into a frame. I made them a little smaller than 4×6 because I could fit all 4 layers on one 12×12 piece of plywood. Next I used the text button, I wrote out the name and 2023.

I then separated the two rectangles. I combined the words and date with the smaller rectangle. I did that by highlighting all of them and then clicking the combine button and picking the subtract option. If the whole word/date disappear when you try to subtract it instead of combing them, then you have to go to send the word/date to front. You do that by clicking on the arrange button and picking bring to front.
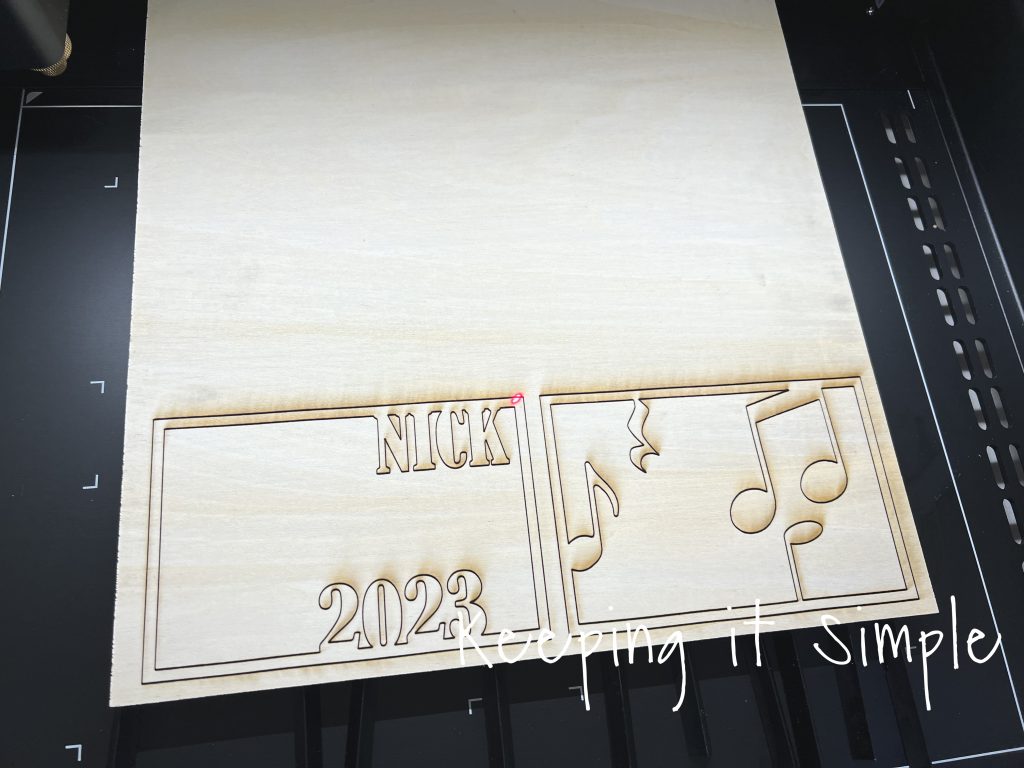
I did the same thing for the other layers, I used SVG images that I had for the notes and other instruments. I highlighted both designs and then chose the 3mm Basswood plywood option and the cut options. Then I sent it to the laser cutter.
Something that I have found with designs that have a lot of small cuts and intricate designs, it does better breaking them up instead of filling up the space. What I mean by that is I could fit all 4 layers onto one sheet of plywood and I could cut all 4 of them at the same time, but I found that it didn’t cut as good as when I only cut 2 at a time. I also found that the best cuts were when the wood was in the center of the machine, right where the laser button is. So I tried to place the wood around that.
Here is the laser cutter working it’s magic.
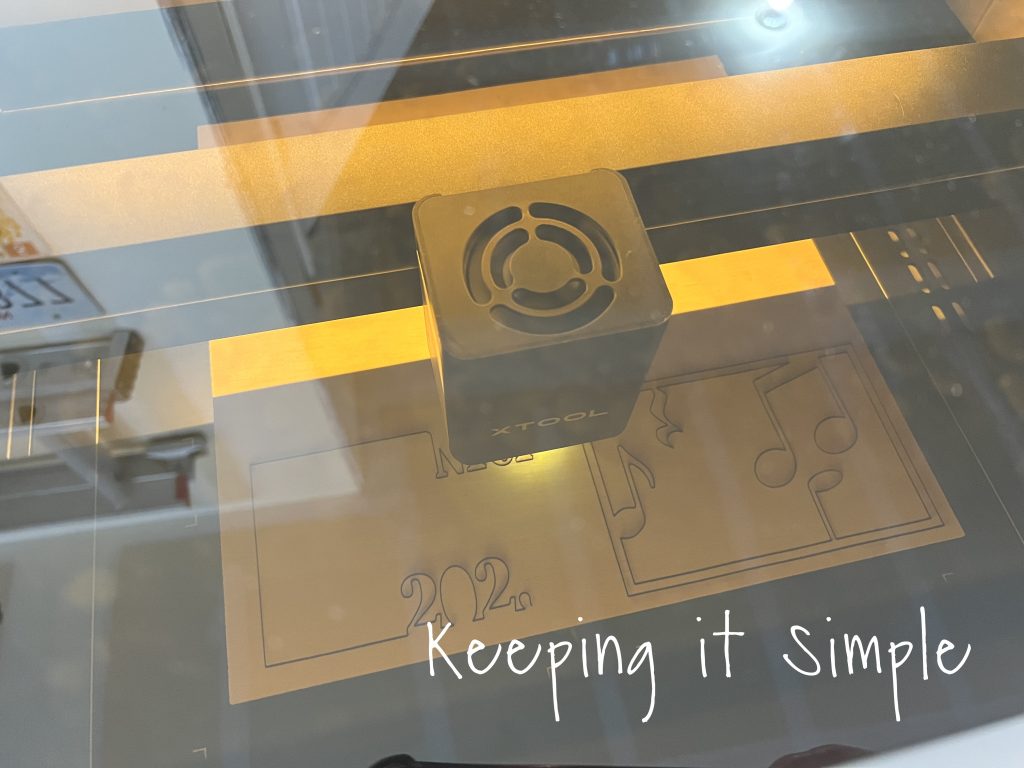
Here is a picture to kinda show you how I arranged the wood in the machine so the cuts were near the center.
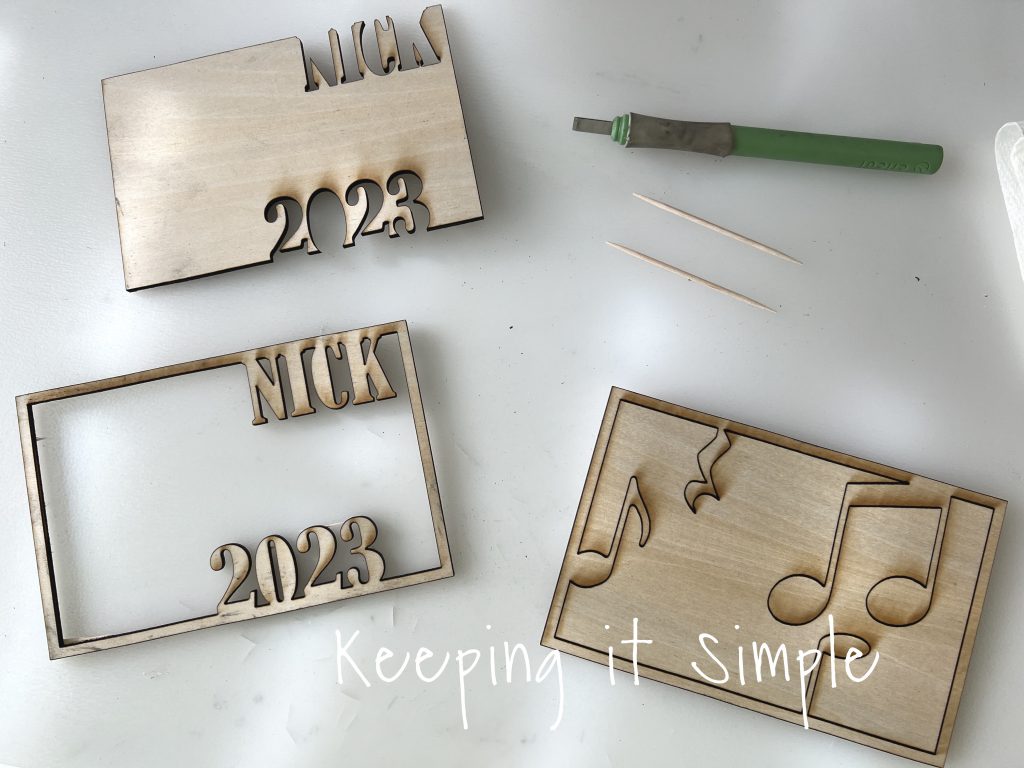
Now time for removing the extra wood. I would say this is the trickiest part because with the small cuts, sometimes the wood breaks at the wrong places. I used a couple tools to help with the process. Most of the time it was a clean cut, but sometimes, the wood fibers weren’t completely cut through, so you have to break those fibers. I used a little extra knife with a flat blade for that. Then I used the toothpicks to help push out the little cut. The key is to go slow and to make sure the the fibers all broken around the cuts before trying to remove the extra wood.
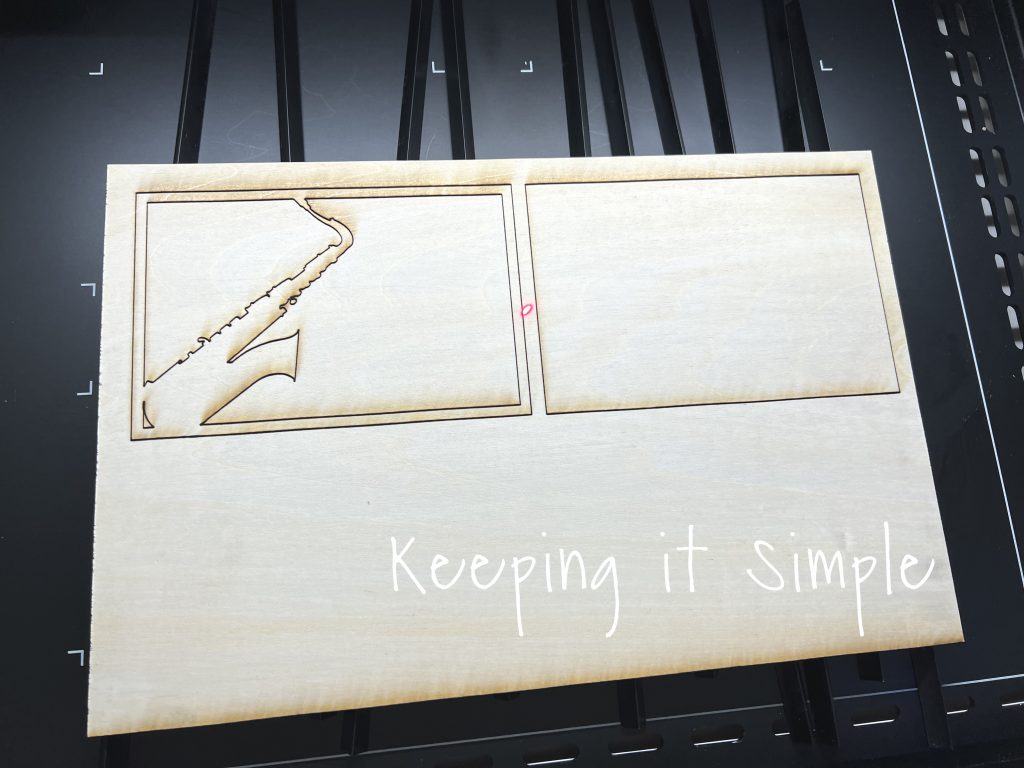
While I was working on separating the wood, I was cutting the other layers. The back layer is just a rectangle and I used the bigger size of the frame (the outside of the frame).
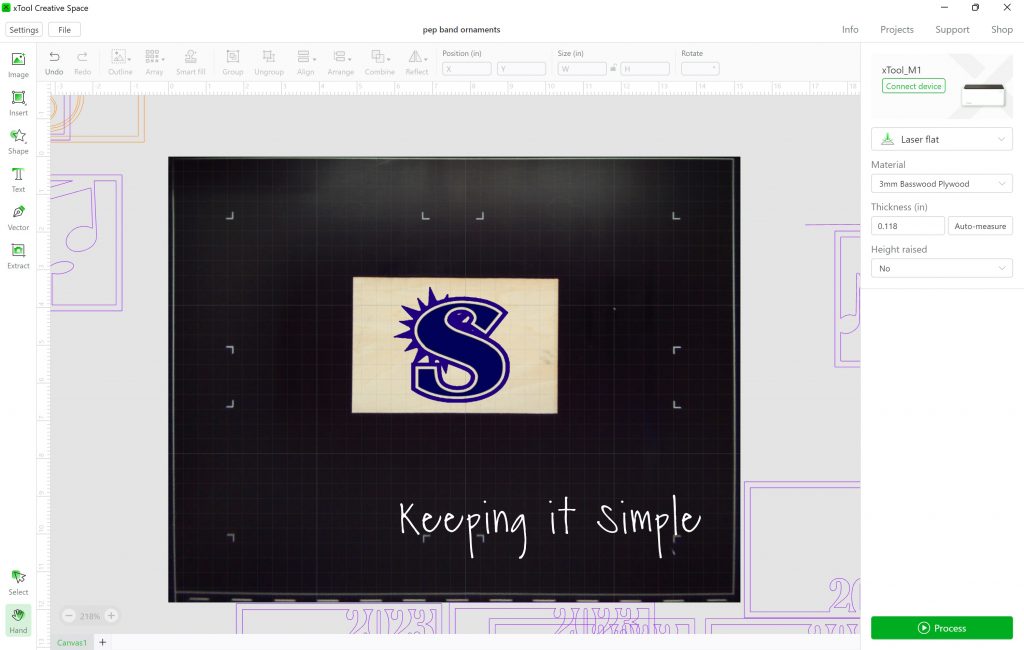
I wanted to add the school logo to the back of the layered sign, so I put the solid piece back into the xTool machine and got it ready to be engraved.
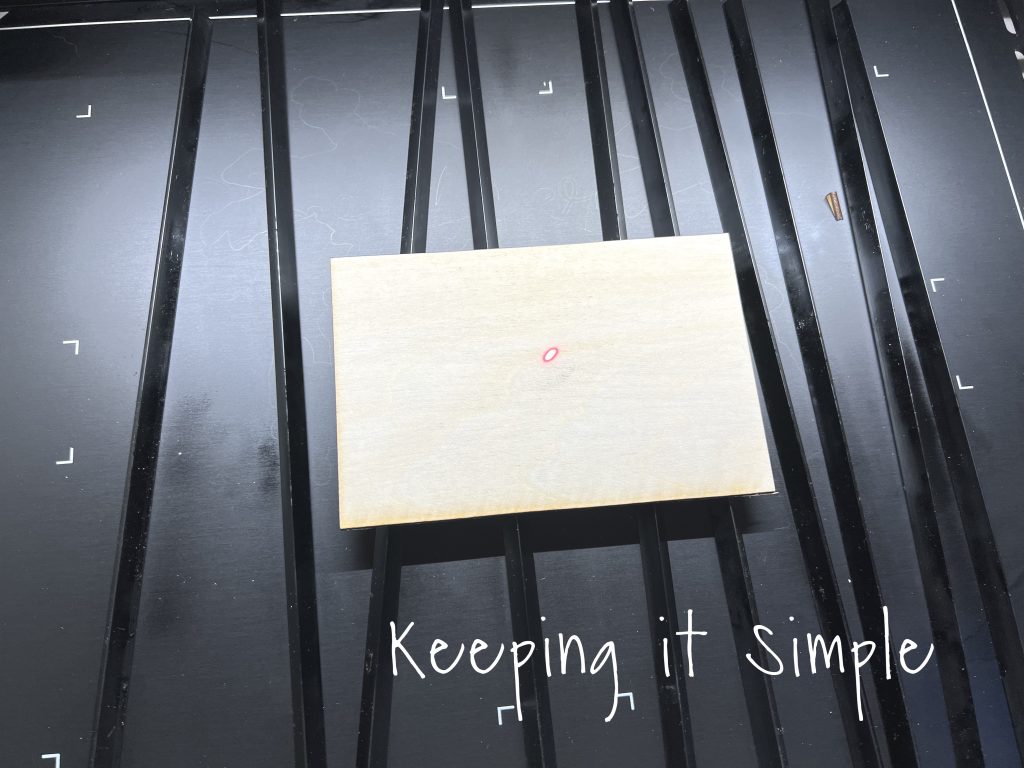
I put the school logo in the center of the wood and then engraved it. *** Just a little tip, when the wood is on triangular prisms, the camera is a little off with engraving. So you will want to either have it flat on the ground or clicking the framing button to see where the laser hits the word.***
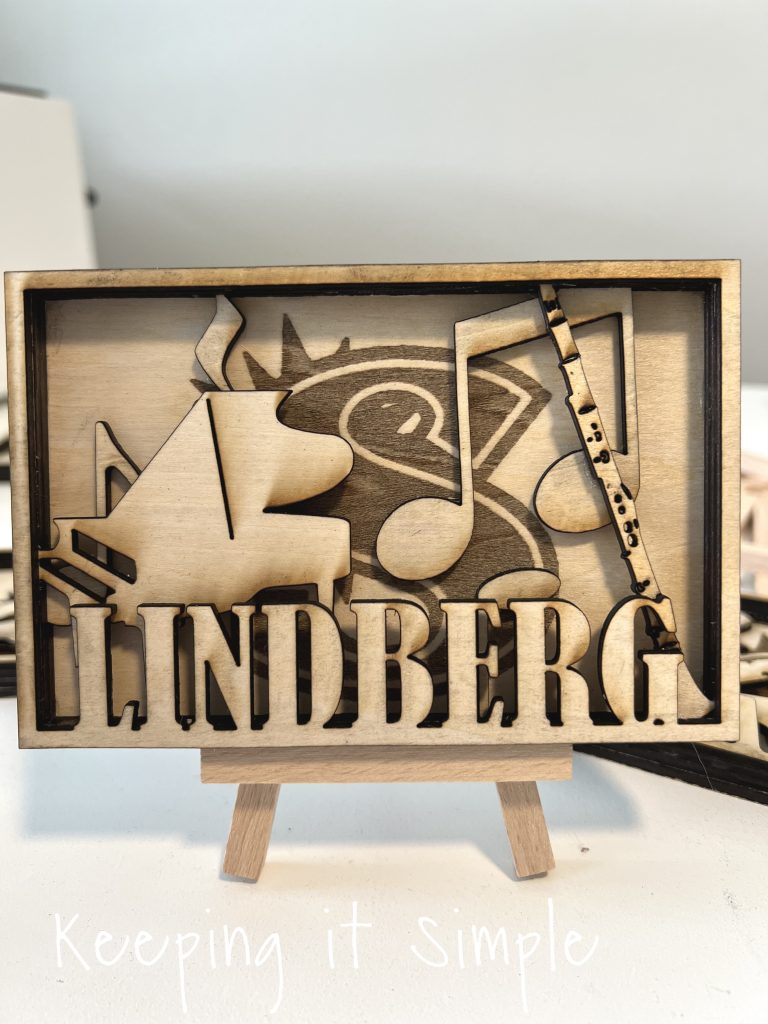
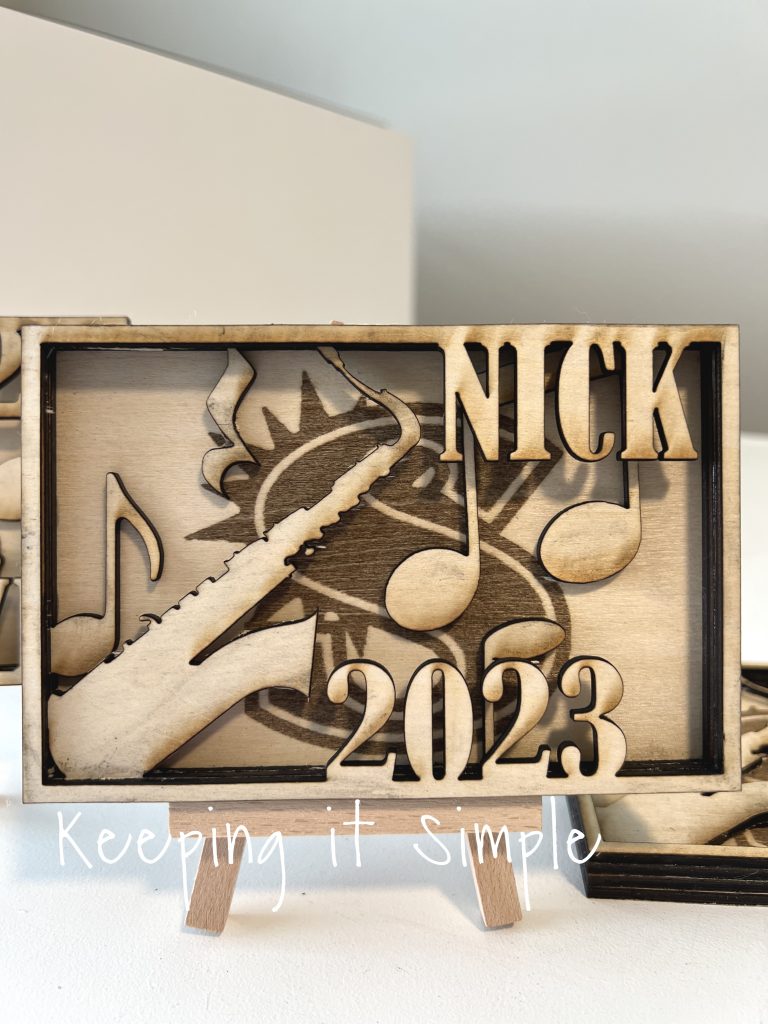
Here are all 4 layers of the layered wooden sign. Another quick tip, while in Creative Space, combine all 4 layers to make sure they look good together. I had to move some of the notes around after cutting them because they were hidden behind the saxophone. Learn from my mistakes :).
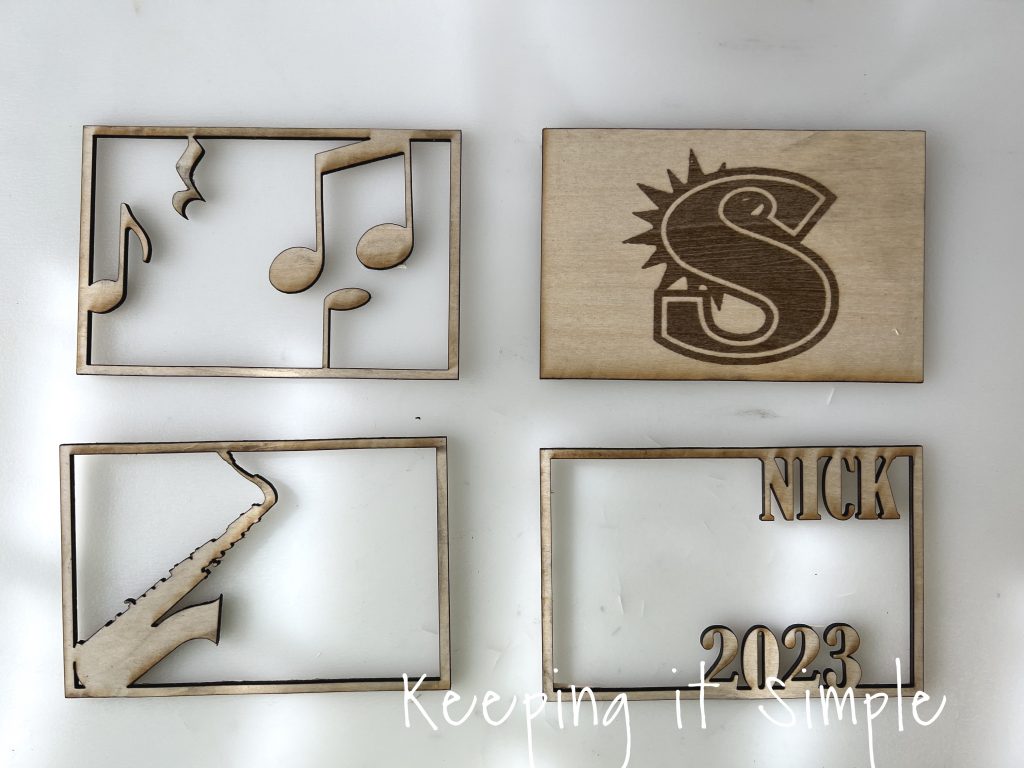
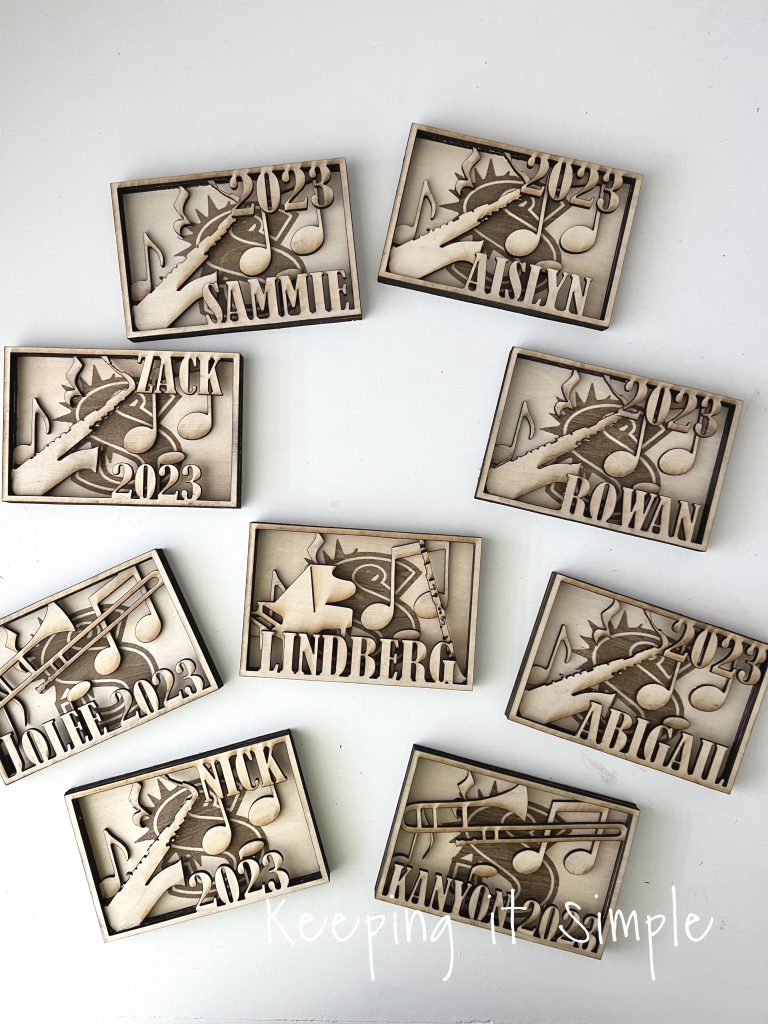
I made a couple designs with different instruments. Surprisingly, the seniors only played trombone and saxophone in pep band, so that made it easier for me. I only have to do a couple designs.
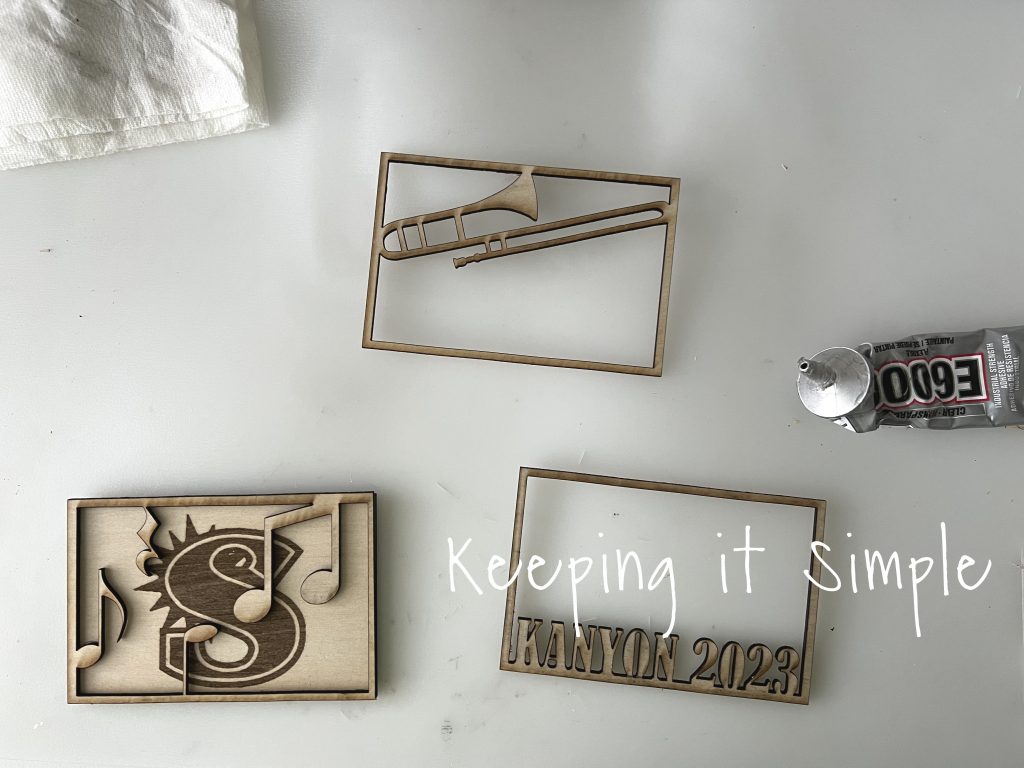
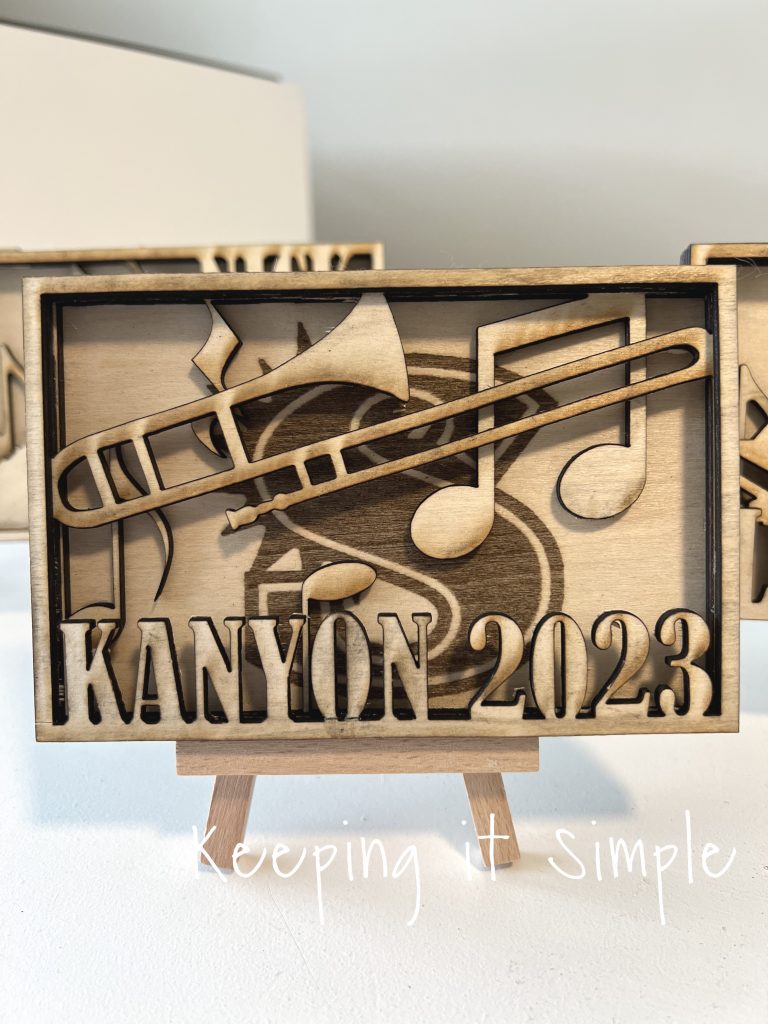
Now it was time to assembly the wooden layers. I used a very small amount of E6000 glue on the frame of each layer. I used a toothpick to help when the glue seeped through the different layers.
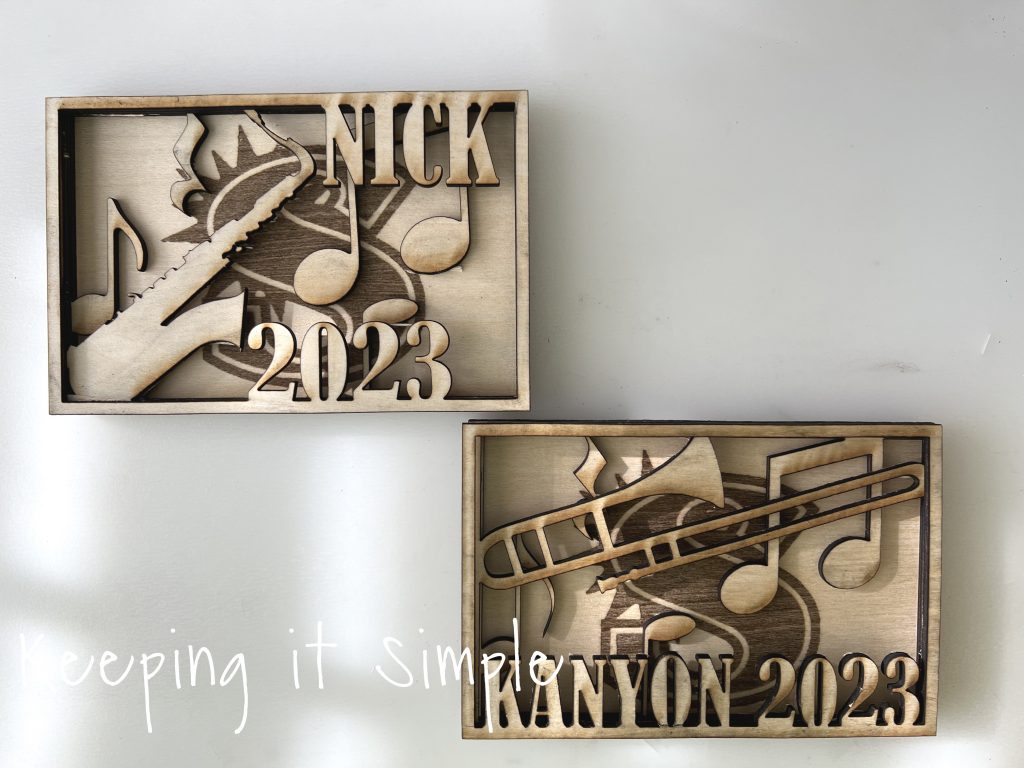
And that’s it! Here are all of the layered wooden signs I made for the seniors in pep band. I also made their teacher one too, just for fun and to say thank you for all the work he does for the kids.
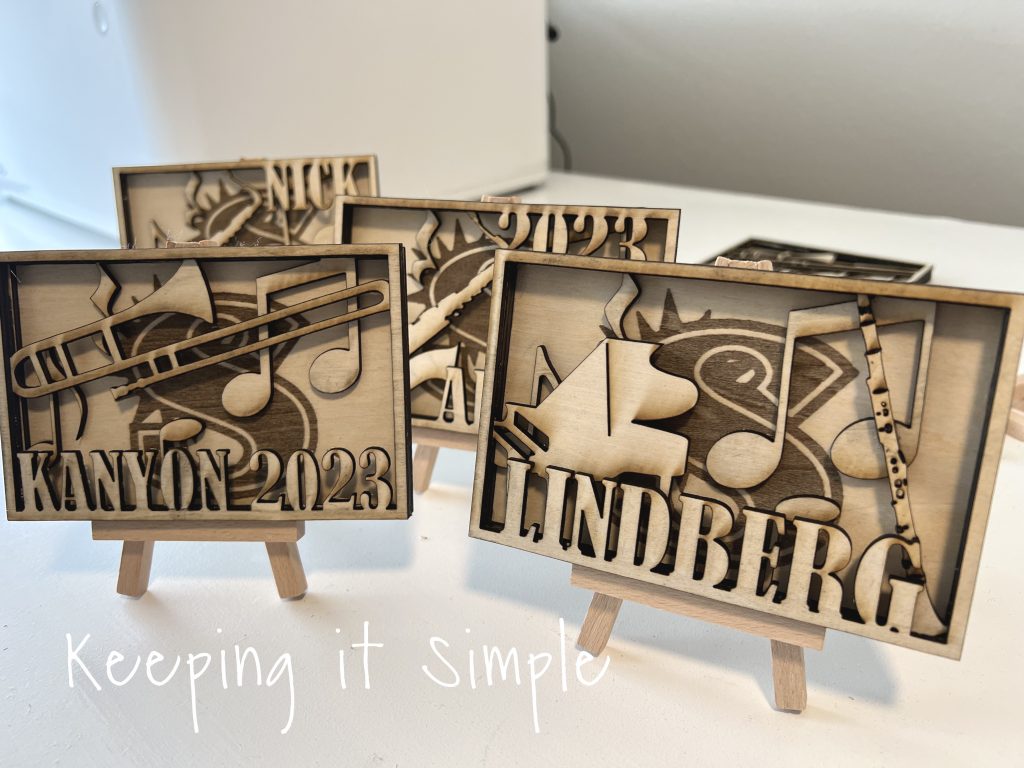
I wanted to give them something to put the little layered wooden plaque, so I found these adorable mini easels. They were perfect for it!

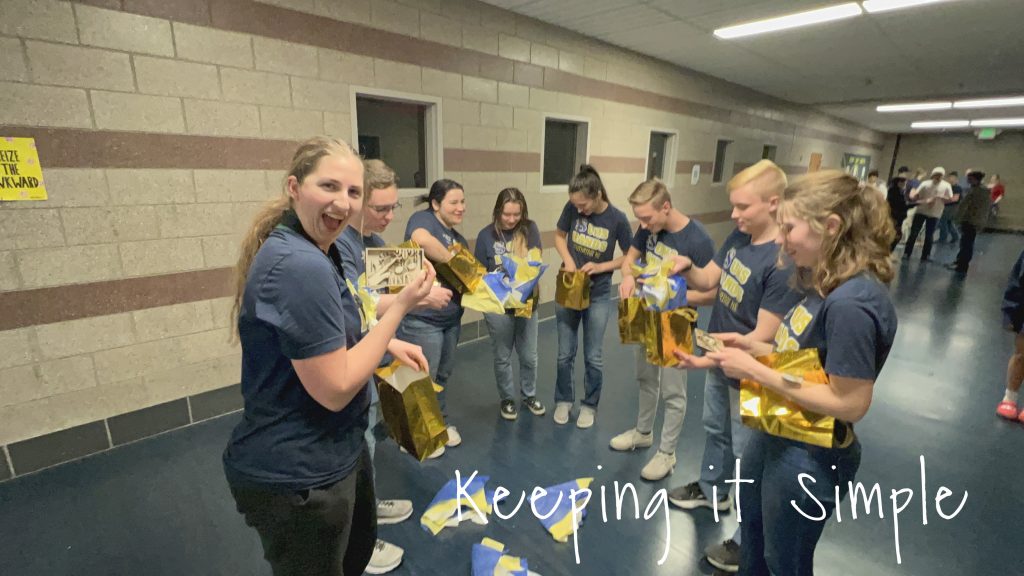
Here are all the seniors opening up their gifts from me, their smiles say it all!
Make sure to check out my other xTool projects!
This post contains affiliate links.
Leave a Reply
You must be logged in to post a comment.