Budget Friendly Renovation Ideas- Before and After Pictures
Over the summer, my husband and I purchased a second house for our two sons that are going to college. We decided that instead of spending thousands of dollars on rent, we could put that money into another house. We found a house that was in our price range, had enough bedrooms and bathrooms to house our sons and a couple of their friends. We found a duplex that was built in 2006 and clearly has not had any work done it since then. It was definitely a fixer upper and in pretty bad shape when we bought it. The before pictures don’t make it look as bad as it was because the previous owners had a few cats that destroyed so much of the flooring and made the whole house have a funky smell. Plus, the whole house hadn’t been deep cleaned for a very long time. Luckily, my husband and I aren’t afraid of hard work and immediately got to work to make the house brighter and more livable.
Since we had just purchased the house this summer, we didn’t have a ton of money to put into the house. We had to come up with budget friendly renovation ideas that wouldn’t break the bank and gave us the biggest bang for our buck. Another issue that we had was that we live 14 hours away from this house, so we had to come up with ideas that we could do over a few weekends over the summer, so we couldn’t do any kind of major renovations. We had to just stick with the cosmetic renovations, which can have a huge impact. Another problem we had to figure out was picking out colors and materials from 14 hours away. I couldn’t just go to the store and then see how it would like in the house. I had to make decisions from 14 hours away, because the time we had at the house was limited and I had to have the supplies shipped to the house. So when we got there, we could put all of our time into doing the renovations. I happy to say that after a CRAZY summer and traveling thousands of miles and hours, we have gotten the house looking so much better. We aren’t completely done with it, we did as much as we could within a summer. I plan on replacing all of the disgusting flooring and carpet in the whole house, but that will have to wait until next summer. I am thrilled by how much better the house looks!

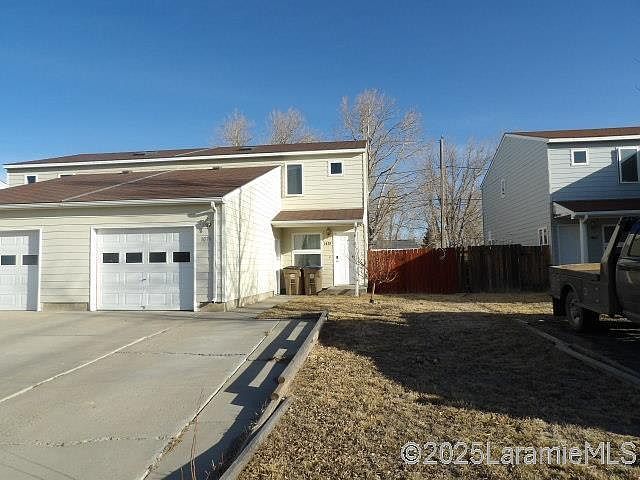
Just for fun, I want to share with you the pictures that were posted on the listing for the house. The pictures were so dark and bad that we almost didn’t look at the house because the pictures were that bad. We decided to look at it anyways because it had the square footage and the right amount of bedrooms and bathrooms that we were looking for. Plus the location was great. So even though the pictures didn’t make the house look appealing at all, we checked it out. I do not recommend posting pictures like this if you are selling your house, make sure they are bright, clear and clutter free!
Here are the pictures from the house listing:
Living Room


Laundry Room

Dining Room

Kitchen

Master Bedroom

Master Bathroom

Bedroom

As you can see from the pictures, there is definitely potential in this house but I knew that it was going to be a lot of work. When we went down to look at houses, our realtor barely got us a showing of this house because the sellers were being difficult. They let us come look at it but they didn’t clean up at all and we only had a 30 minute window to look at it. Since we were rushed, I really didn’t take any pictures while we were looking at it. We wanted to look at the house one more time before we headed home to Washington, but the sellers wouldn’t let us come see it. So when it was time to make the decision to buy the house, we had to rely on these pictures to see if we really wanted the house or not. It is amazing how many details you don’t notice when you are looking at houses, I had completely forgotten that the kitchen had a peninsula and I had no clue what color the dining room walls were because the picture was so dark. Anyways, the moral of the story is, if you are selling your house and really want top dollar for it, don’t post pictures like these.
Now for the fun part, the before and after pictures of the budget friendly renovations that we did. Because we didn’t have a lot of time or money to put into the house, we did more cosmetic changes on the house. We painted the whole house, changed out the downstairs flooring, changed out the flooring in the bathrooms and replaced the light fixtures and hardware. For the full tutorials and all the details on what we did to the house, click on the links to see each individual post I wrote up about the budget friendly renovations.
I am going to the let the pictures do most of the talking now :).
Let’s start with the front of the house. Very plain and basic.


We painted the front door and garage door a fun green, Gallery Green from Sherwin Williams, changed out the door hardware with a smart lock and then added a fun sensor LED porch light. We added this super cute cat doormat that we got from Ikea.

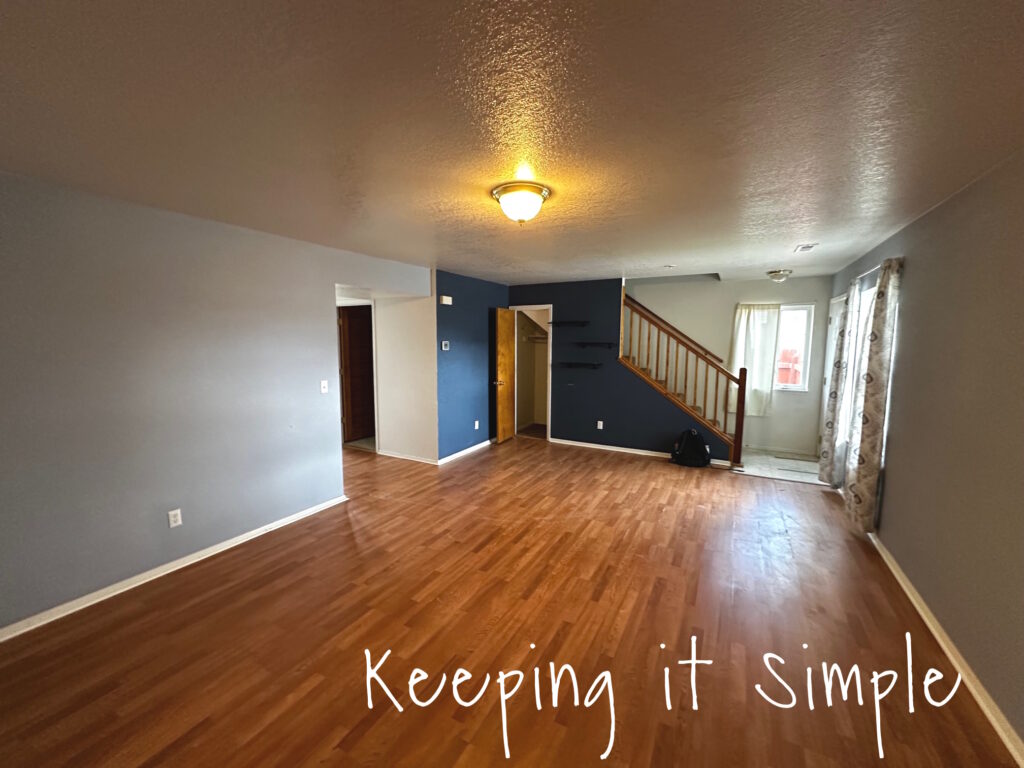
Next up is the living room. Here is the before:
They had two toned walls, a lighter blue and then a dark navy wall. Although I do love a fun paint color, I wasn’t digging the dark navy walls. Especially since the room doesn’t have many windows and natural light. The floors look okay in the pictures, but in real life, they were disgusting! There was a lot of water damage in the floors and the baseboards were warped from either water or cat pee…. either way they needed to be replaced.

The living room is a nice sized room but very dark. The light fixture wasn’t doing anything for the room and it wasn’t bright at all.
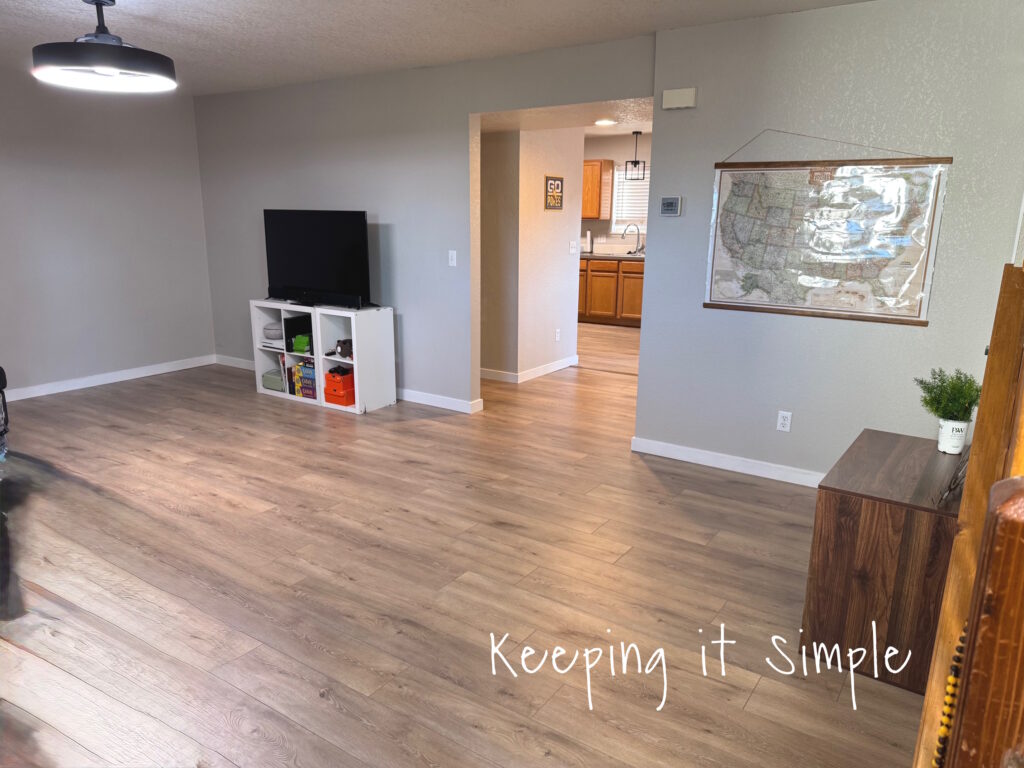
And the after! First thing we did was paint the walls with a nice brown gray color, Worldly Gray from Sherwin Williams. Then we replaced the gross, cheap laminate flooring with a nice waterproof laminate. We chose a nice brown that looked good with browns, grays and black. The color is called Virgil Island Oak. We also replaced the damaged baseboards.
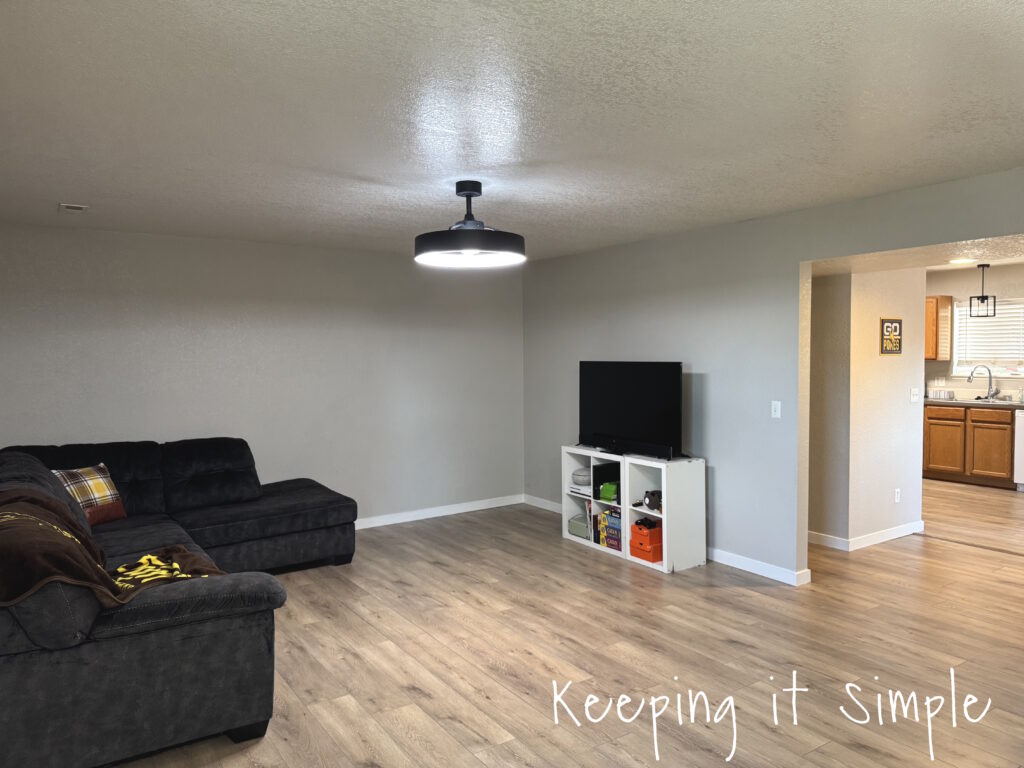
We replaced the outdated light with a fun chandelier fan. Not only does it look so much better than the old one, it is so much brighter and the fan makes a huge difference because the house has no AC.
We added some LED flush mount lights for the entryway. We decided to go with a matte black finish for all the of the fixtures and hardware.
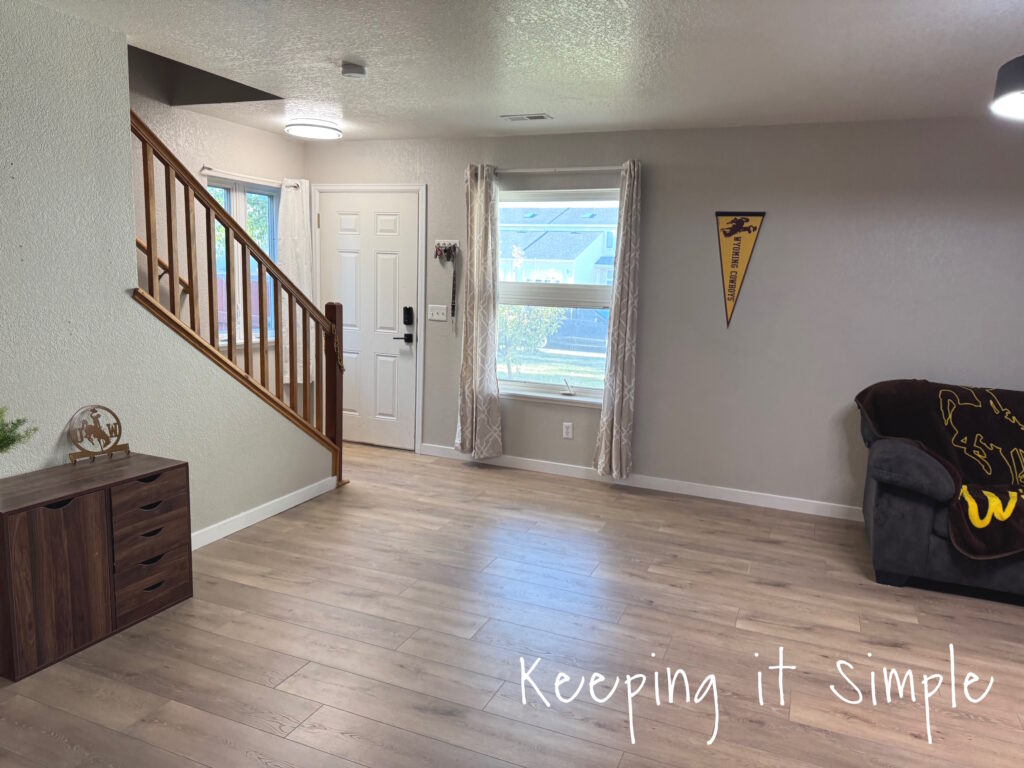
We all changed out the door knobs and hinges with nice and sleek matte black ones.
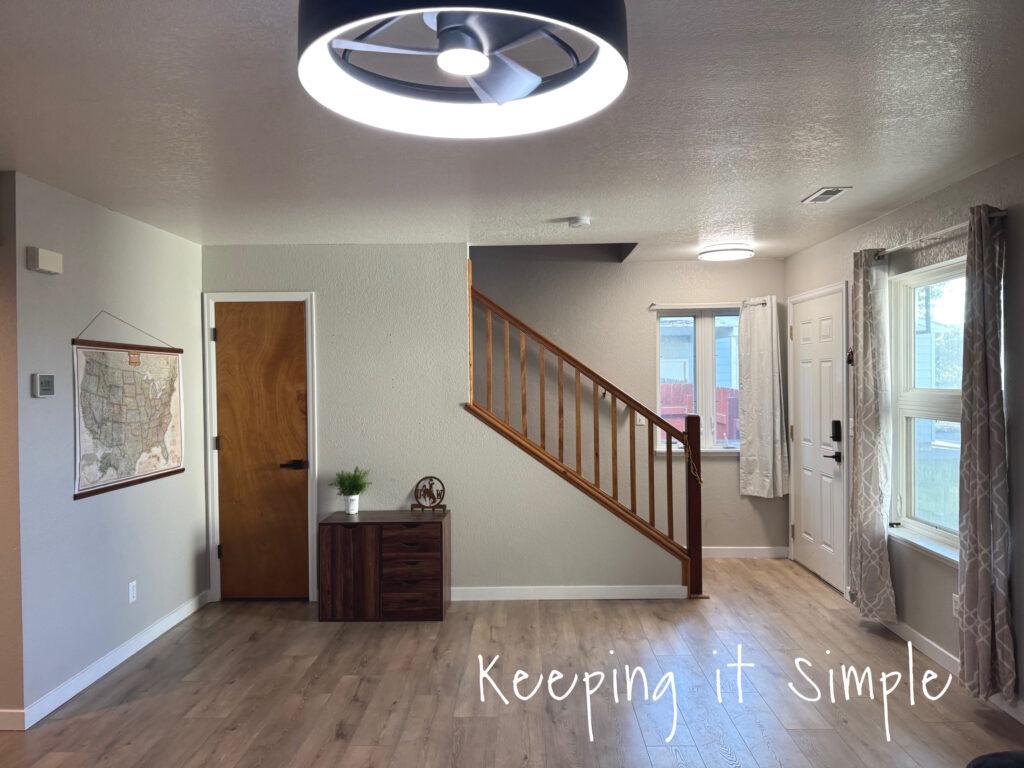
The living room goes into the hallway and then the kitchen and dining room. Here are the before pictures:


And here are the after pictures:
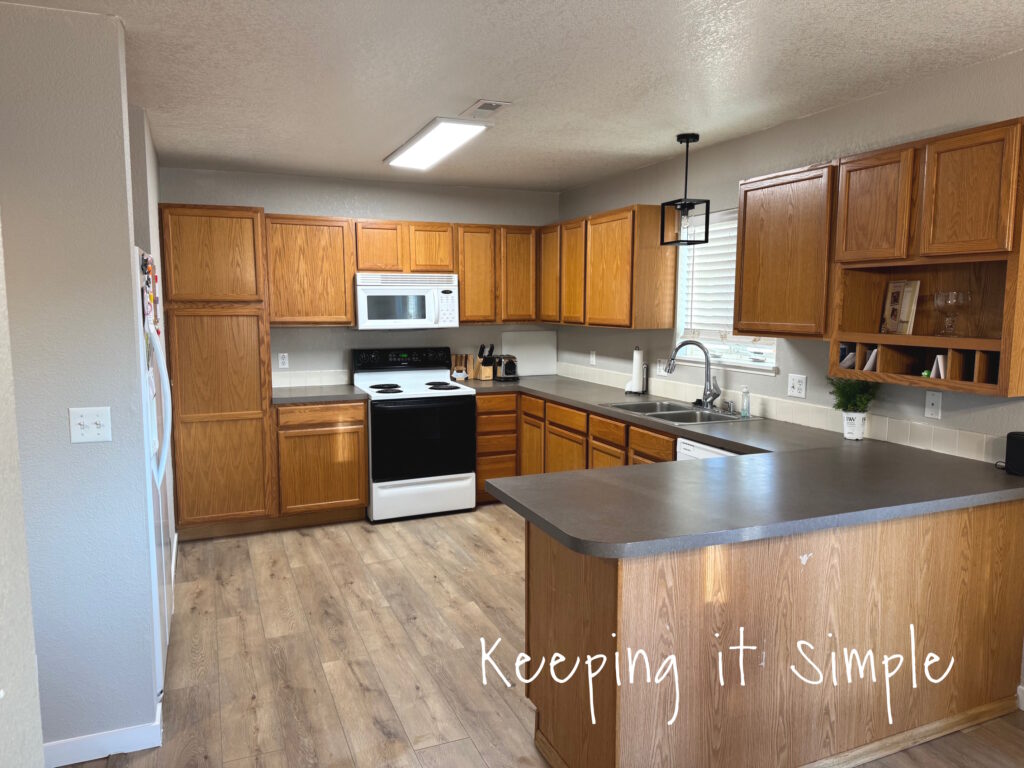
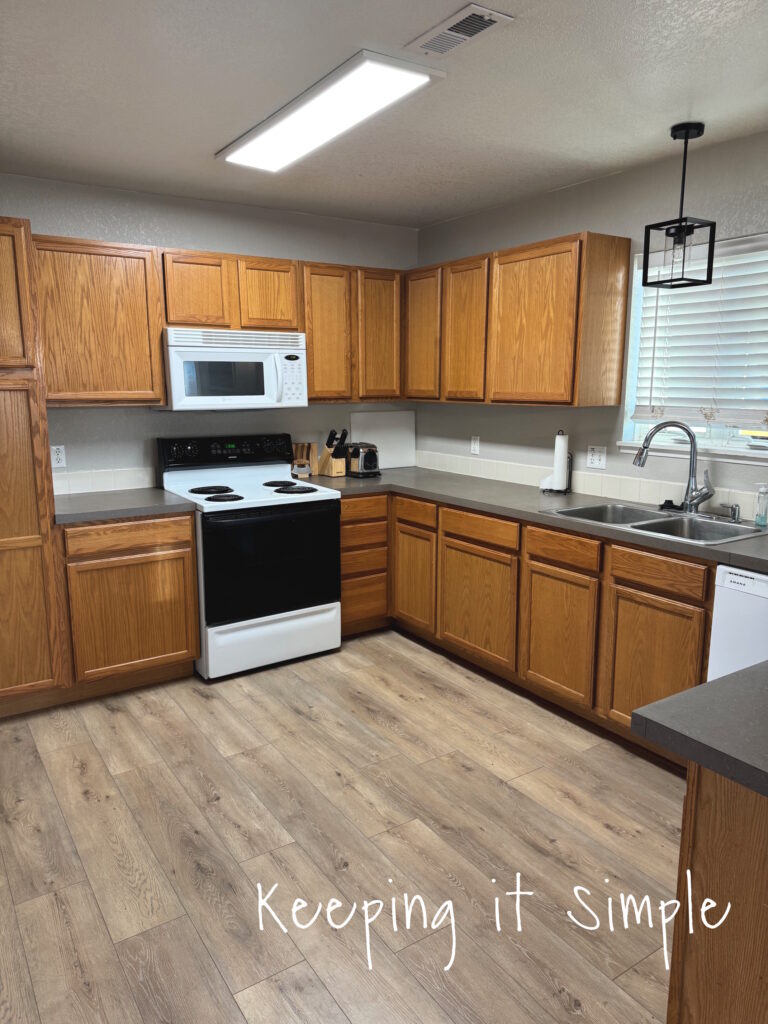
One of my favorite things that we did was put the laminate flooring in the kitchen and dining room. The linoleum flooring was so gross, it looked dirty even when it was clean. We had to put a transition piece in the hallway but it looks so much better than before.
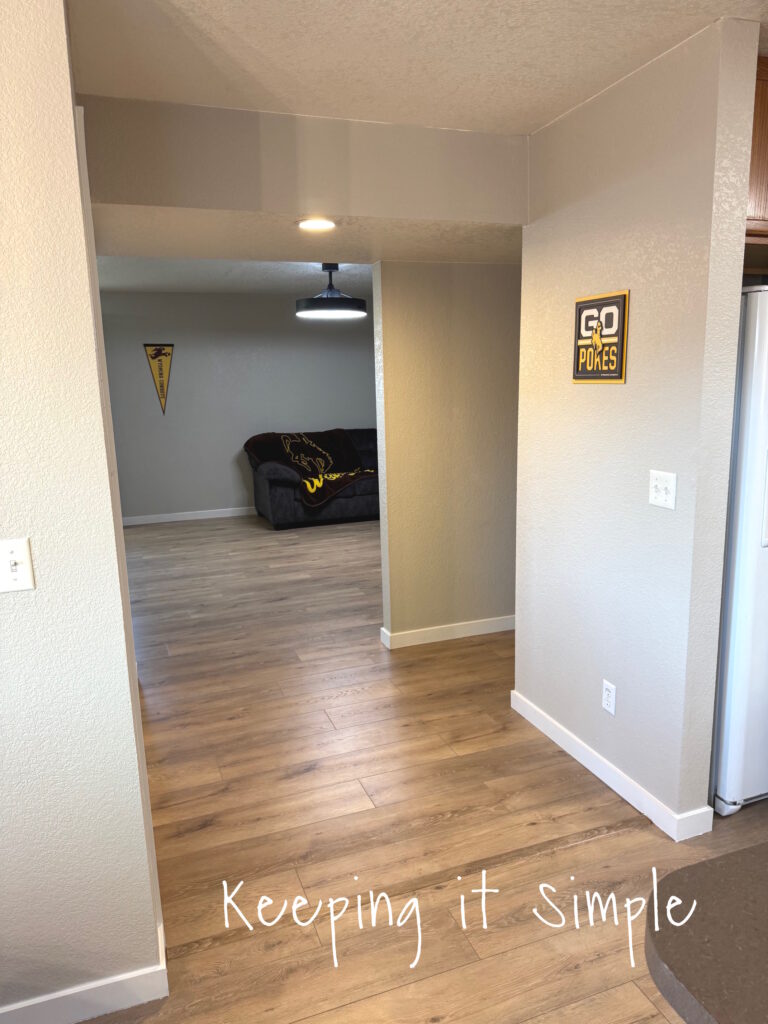
The biggest changes of the kitchen was the paint and the flooring. We did add a nice sleek panel light and then a fun pendant light for over the sink.
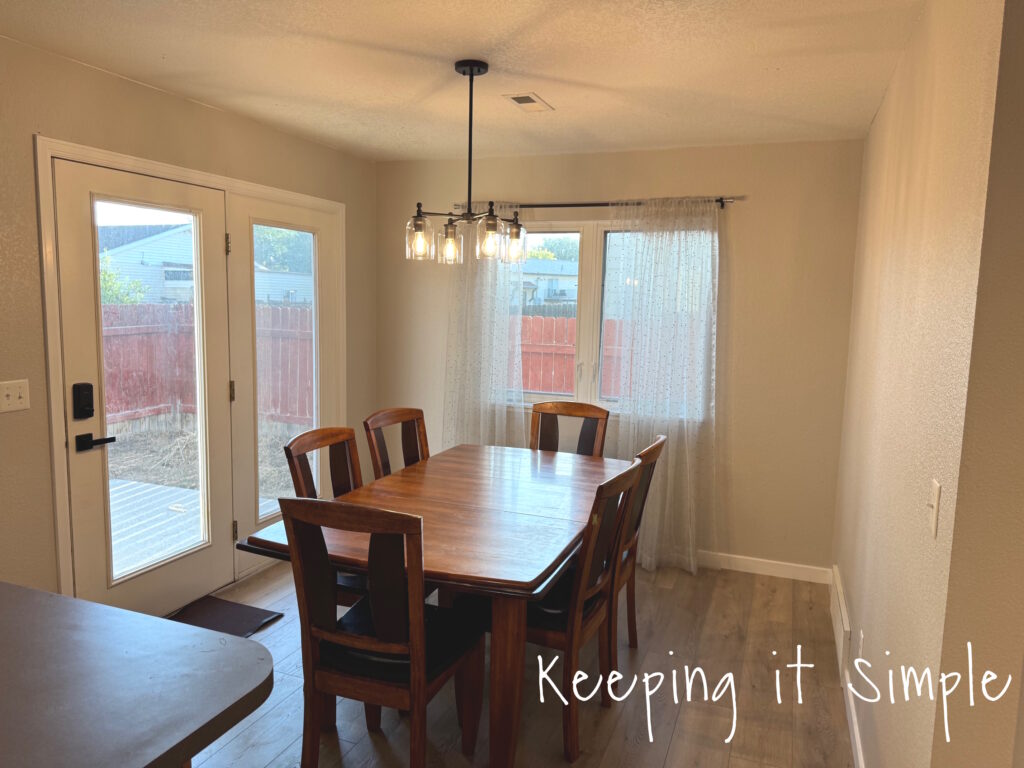
The dining room changed quite a bit. I actually didn’t mind the green paint on the walls but we wanted to have a more uniformed look throughout the whole house, so decided to get rid of the green. The spiderweb chandelier was fun and my son really liked it but we decided it needed to go because it was super gross and greasy and it was taking away from the look we were going for in the house. So we ended up changing it with a more simple chandelier.
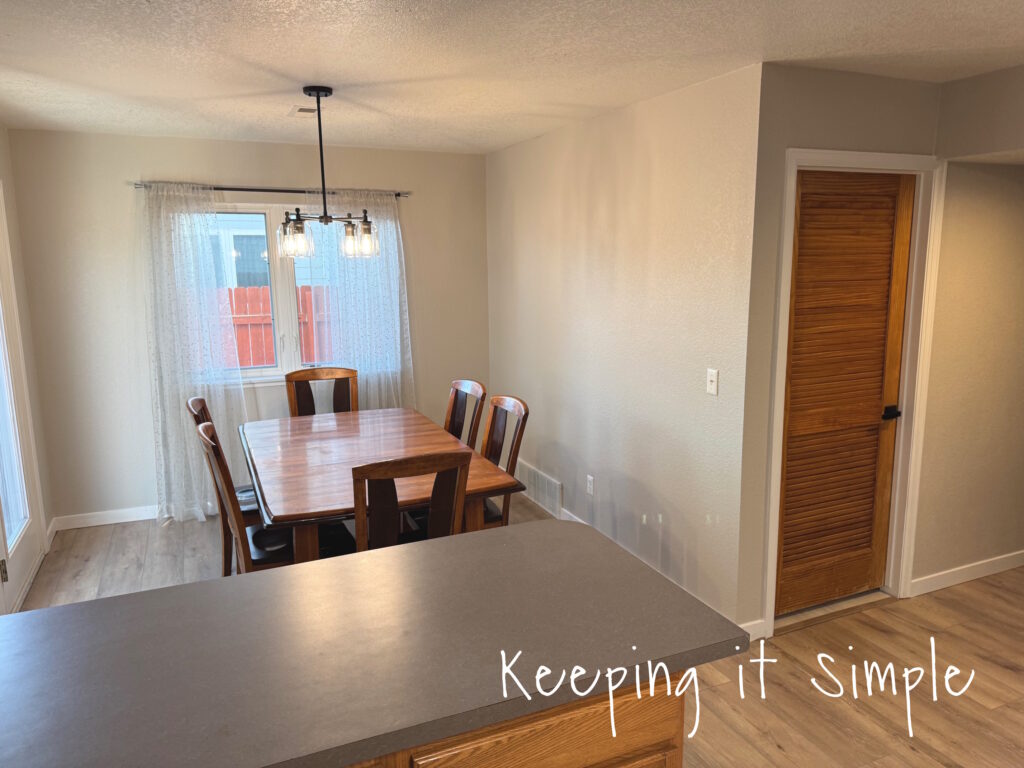
I will say that the dining room doesn’t have as much personality as it did before but it looks so much brighter and cleaner. We figure that the renters can put more color and personality into the room with their decor and furniture, it’s a nice blank space.
Off of the hallway between and living room and kitchen, there is a little half bathroom. Here is the before pictures of it:


This bathroom was pretty blah and dingy. The main things we did in there was painted it and then replaced the flooring with peel and stick flooring. We went with that because you can put it directly onto the linoleum, it’s much easier than tile and it looks great!

I would love to redo the vanity and mirror, but that wasn’t in the budget this time around. Plus we ran out of time. 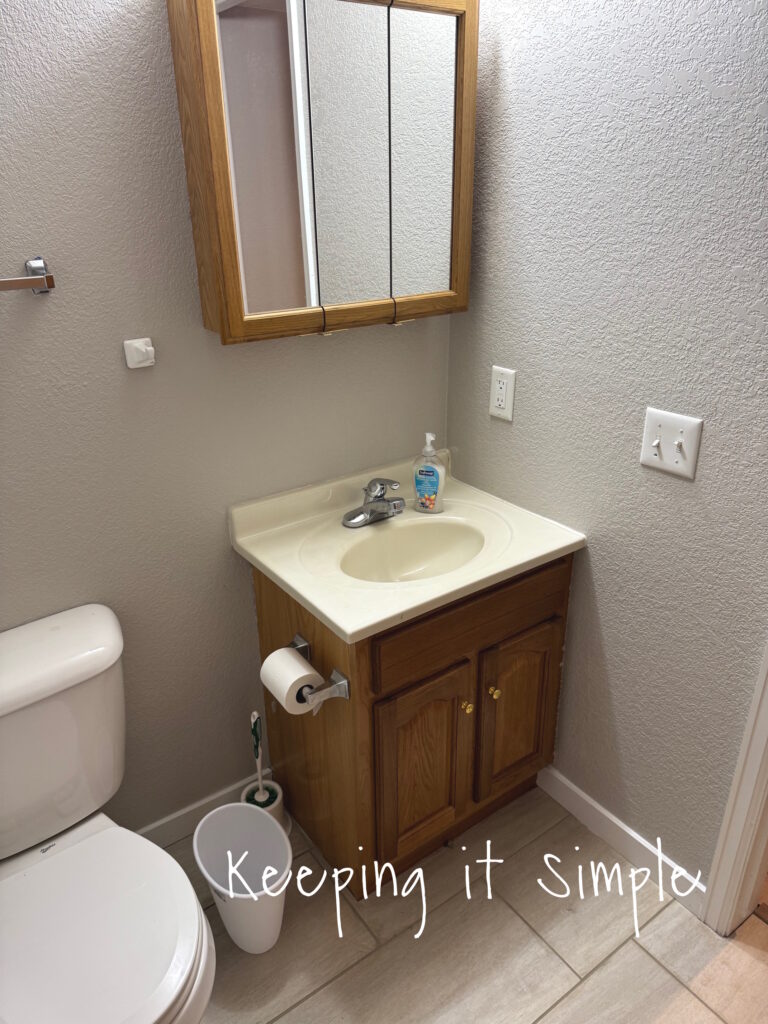
Now time for the upstairs. We didn’t do as much upstairs, besides painting and changing out the light fixtures and hardware. It is amazing how much of a difference paint makes though, it made it all look so much cleaner!
Here is the before picture of the stairs and hallway.

We added the same light that is in the entryway. There are two of them upstairs and they look so much better than the old ones from 2006.

Here are the master suite before pictures:
The navy blue was awful in there. It was so dark and they did not do a good job painting, there was blue all over the baseboards and ceiling.

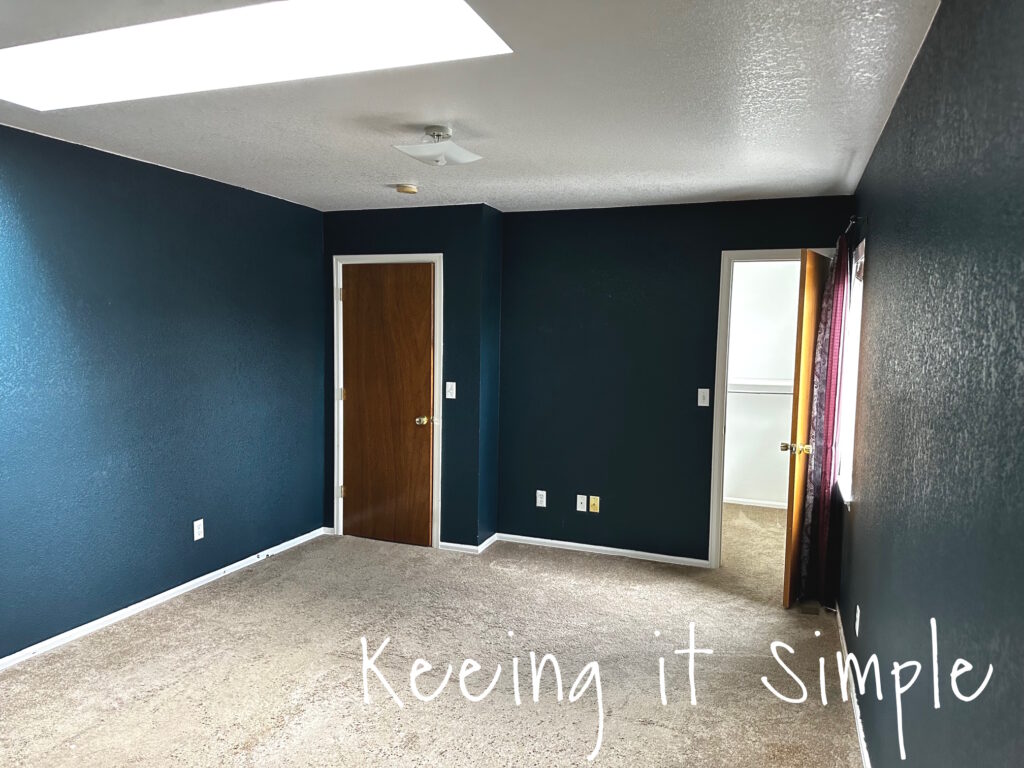

The only thing that we have been able to do is paint this room, but it made a world of difference! So much brighter!
 .
.
The power of paint is real, especially when you need good budget friendly renovation ideas!

In the bathroom, we did the same thing was the downstairs bathroom: painted and changed out the flooring.

The other two bedrooms upstairs are pretty similar. Here are the before pictures:


And the after pictures with the new paint and door hardware.


Lastly, here are the before pictures of the upstairs bathroom.

And the after:
Once again, we changed out the flooring and painted the walls.

And that’s it, for now! We still have more to do on it but it is looking great so far! It is amazing what you can do with a can paint, different flooring and hard work. Lots of changes and a huge difference!
Our kids and their roommates have been living there for a semester now and it is going great. Our sons love having their own place and we love not having to pay for the dorms! The updates that we did definitely added value and makes the house much more livable. Before we did anything in the house, I just felt gross and dirty when I was there. I felt like I needed to wash my hands anytime I touched anything in the house. That is not the case now, it is much better!
If you are looking to update your house, I would definitely recommend doing any of these budget friendly renovation ideas. If you would like more ideas, check out all of my home improvement posts!
This post contains affiliate links.
Leave a Reply
You must be logged in to post a comment.