How to Make a Custom Photo Wooden Puzzle {How to Put a Photo Inside Text in Canva}
Some of my favorite projects are the ones that turn special memories into something you can actually use and enjoy. After our trip to Alaska, I knew I wanted to do something fun with one of our family photos instead of just letting it sit in my camera roll.
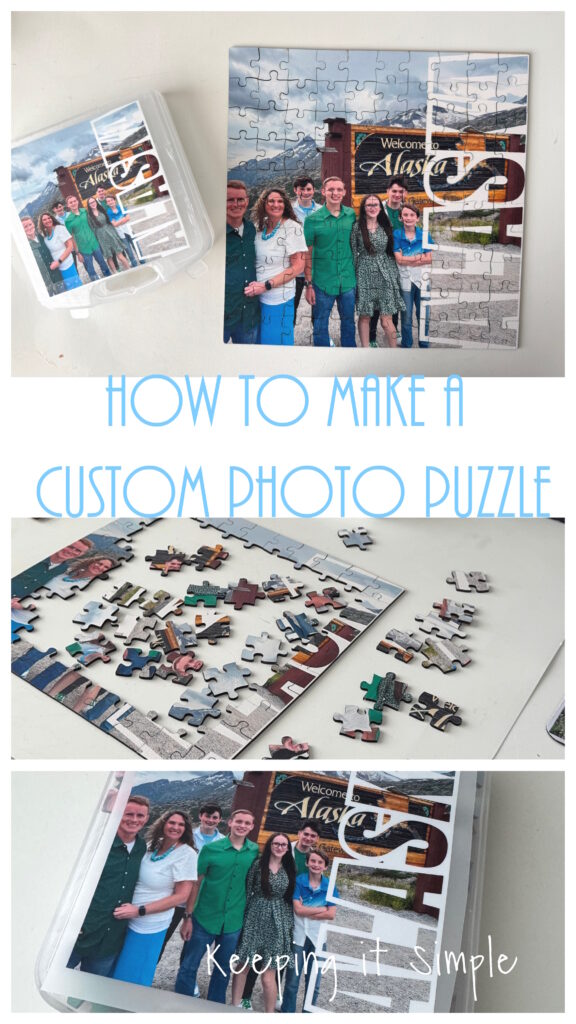
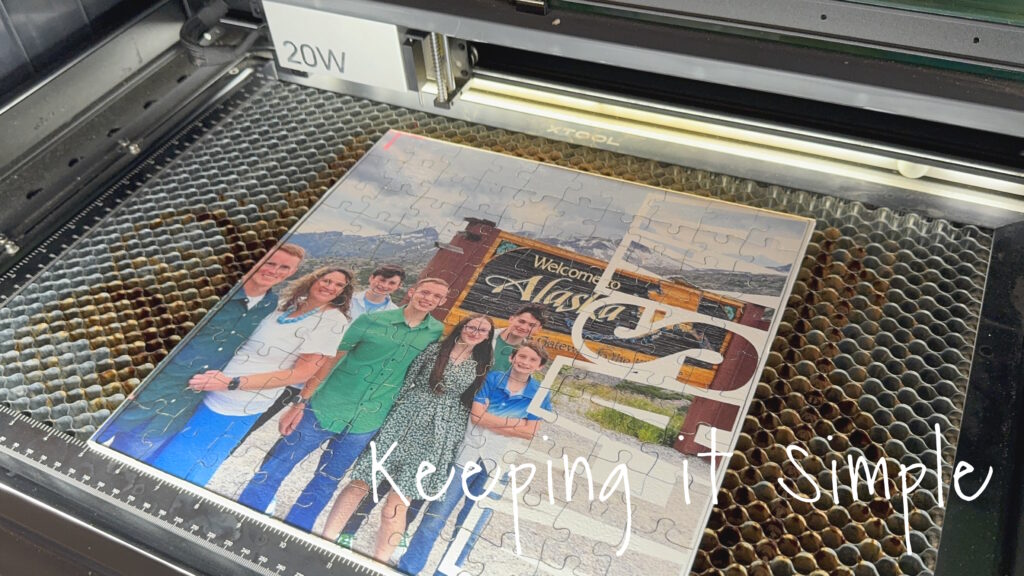
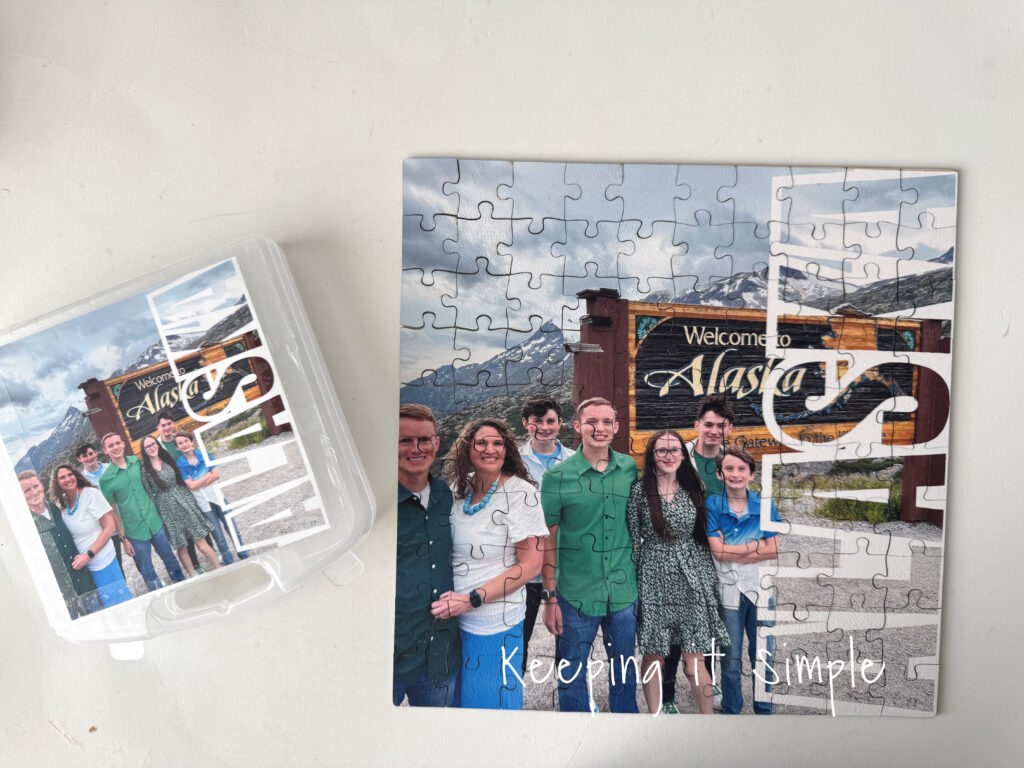
I decided to turn it into a custom photo puzzle, but I wanted to add a little something extra to the design. Using Canva, I created a large ALASKA word cutout along the side of the photo, and I love how it turned out!
In this tutorial, I’ll show you how to create the word cutout effect in Canva and turn your finished design into a personalized photo puzzle. It’s easier than it looks and would work for vacations, family photos, gifts, or any special memory you want to turn into a keepsake.
If you are new to xTool and DTF printing, check out my beginner’s guide here.
Here is a detailed video on how to create this fun customized wooden puzzle.
This is how I made it:
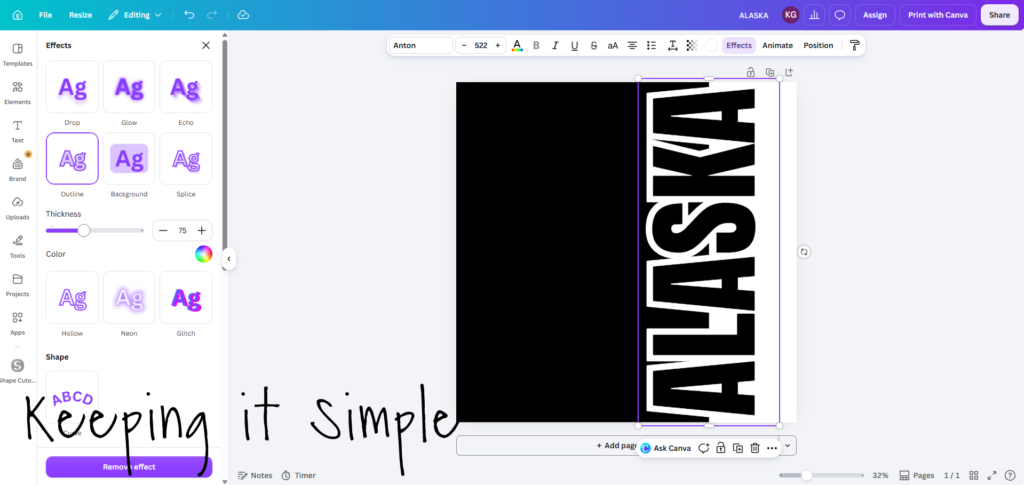
In Canva, I created a design with a rectangle and a text box. I added the word ALASKA and changed the font to Anton. Then I went into the effects and added a white outline to the word. I then positioned it to the right of the rectangle. I then downloaded the file to my computer.
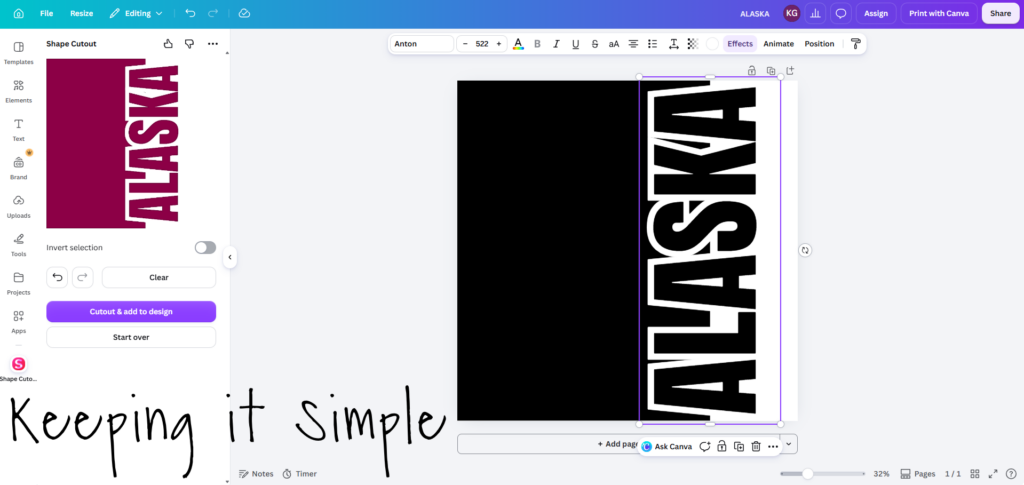
I then went into the apps section and searched “shape cutout” and then I opened the app. I then uploaded the image that I just created and clicked on black shapes to remove them. Once all of the all of the black was removed, I then added it to the design. Once it was added, I deleted the original black shapes.
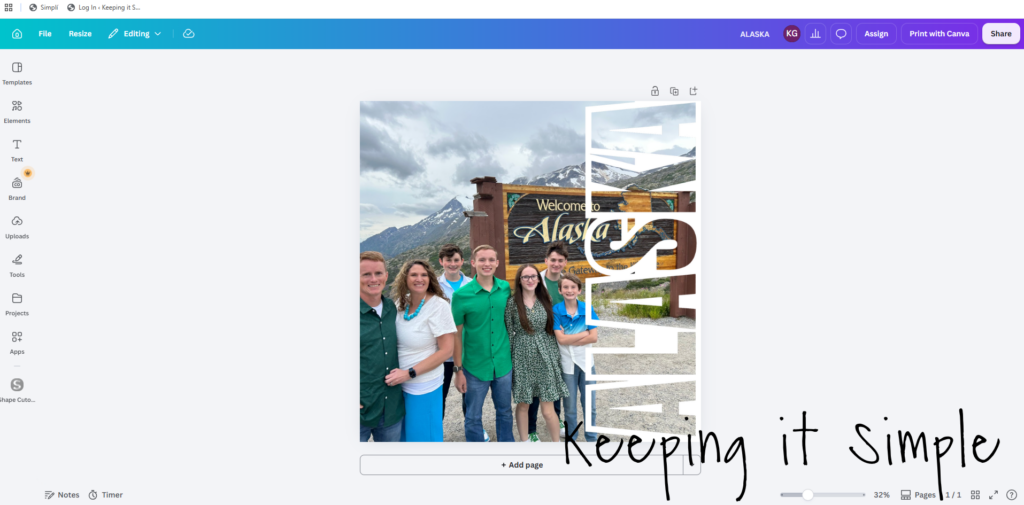
I then added the image that I wanted by clicking the uploads button. I arranged the image, right clicked on it and went to layer, I then clicked onto the send to back button. When I did that, the word ALASKA was in the front the shape cut out made it so the picture is inside the text, which is a really cool affect!
Once I had the image all created, I then imported it into xTool Studio and printed it out on my xTool apparel printer. I sized it to be the same size of the plywood that I was using. The plywood is 12 x 12 inches (300mm x 300mm). The cost of this print was only $.84!
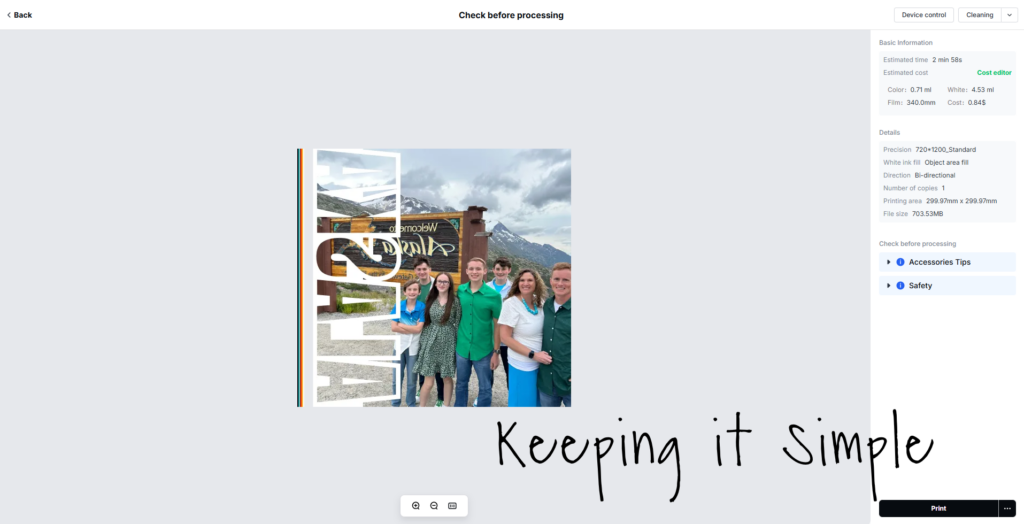
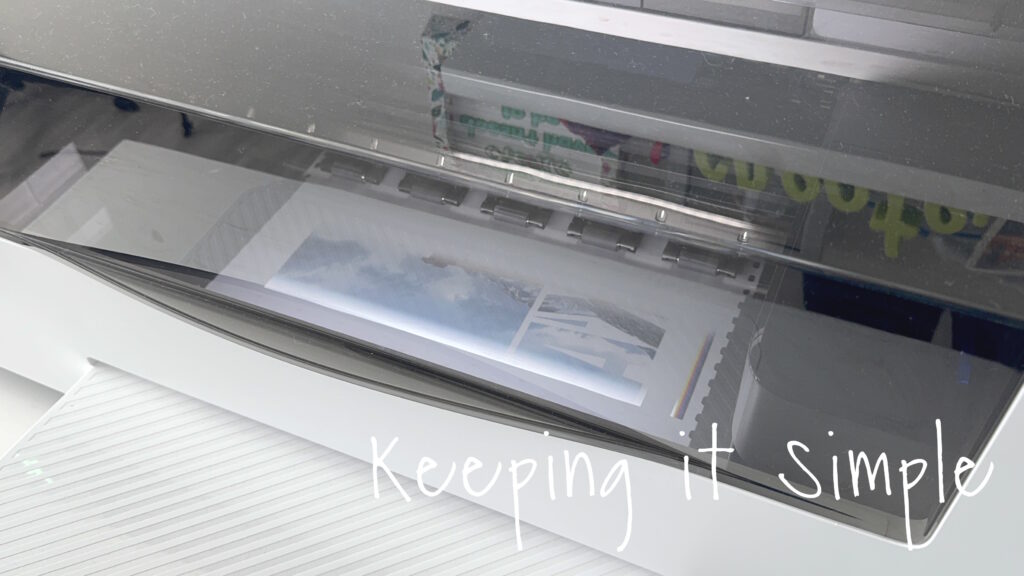
Every single time I print out a photo on this amazing DTF printer I am in awe. It just blows me away how good it looks! The colors are so bright and the lines are so crisp! Once I printed it out, I added apparel powder and cured it in a DTF oven.
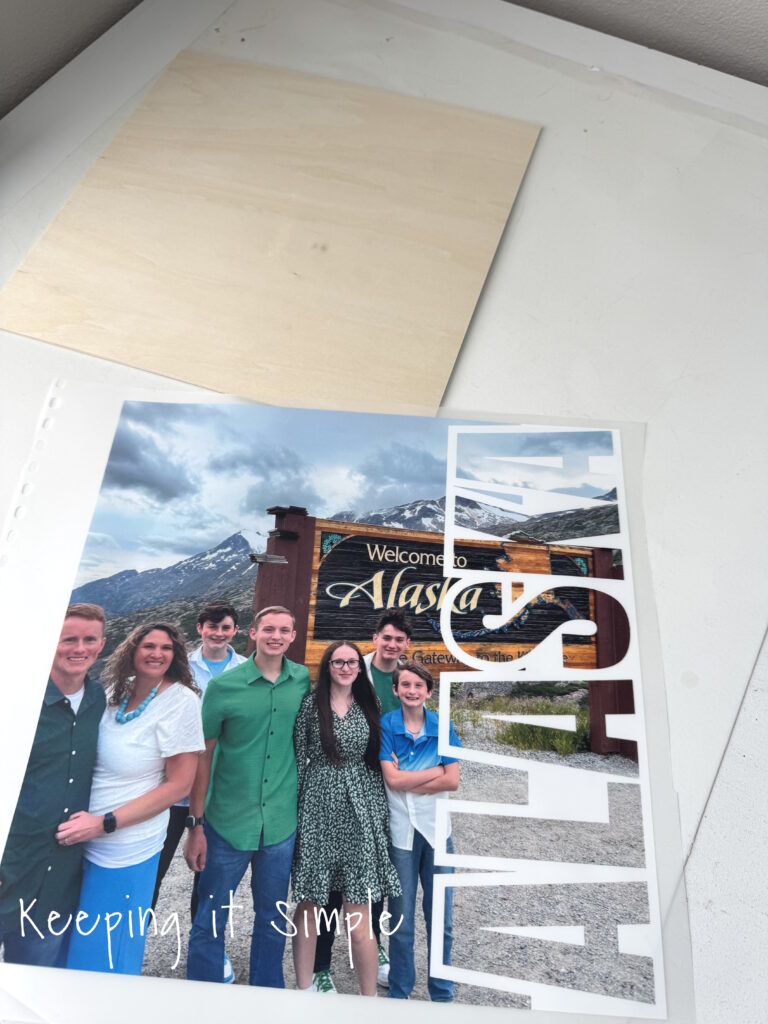
Here is the 12 x12 3mm basswood plywood and the DTF transfer.
I used my heat press and transferred the image to the wood.
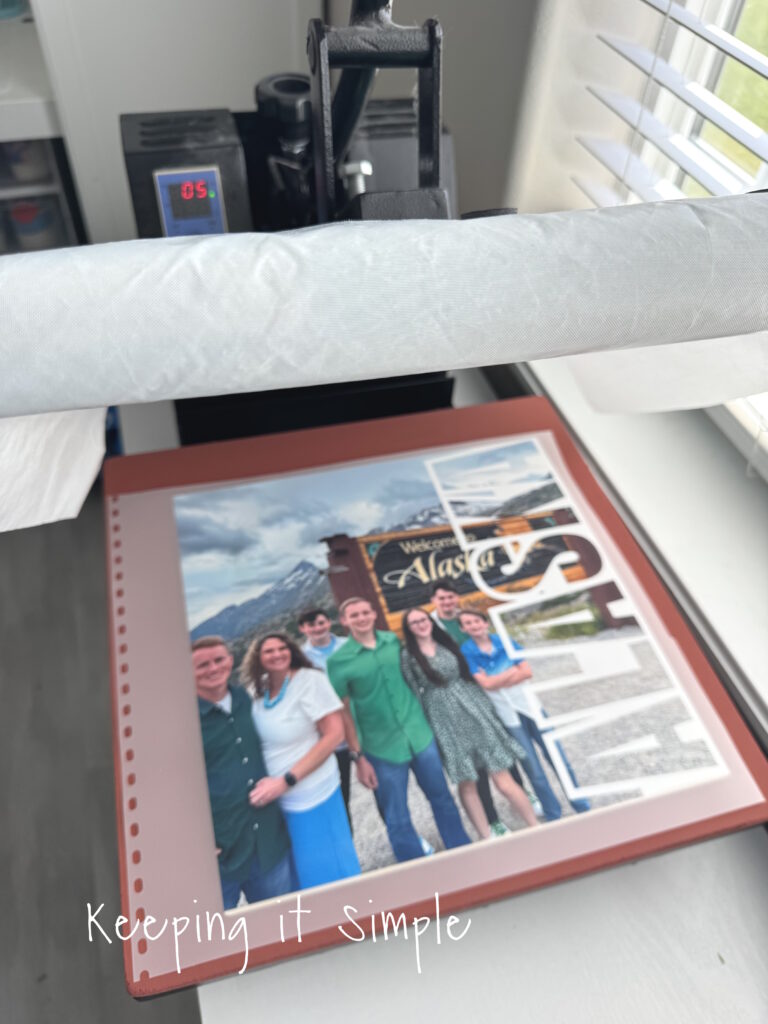
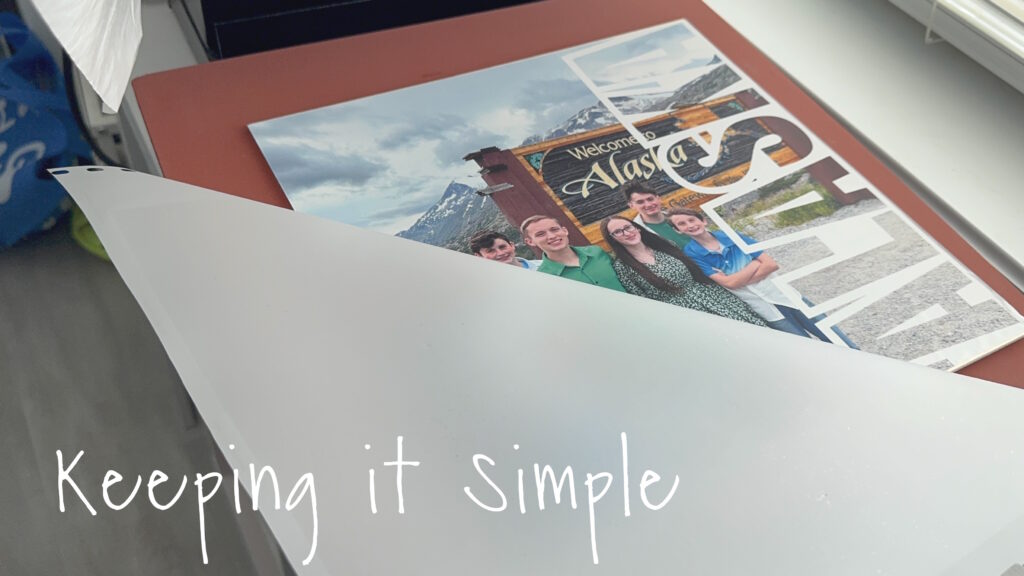
I peeled back the film and then pressed it again for 10 seconds.
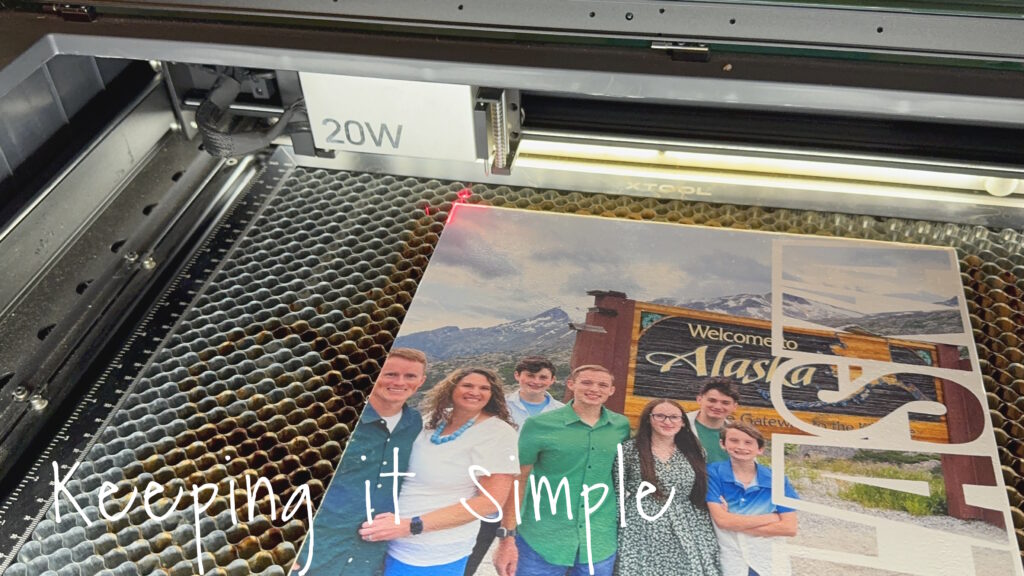
I then went to my amazing laser cutter, the xTool S1, to turn it into a puzzle.
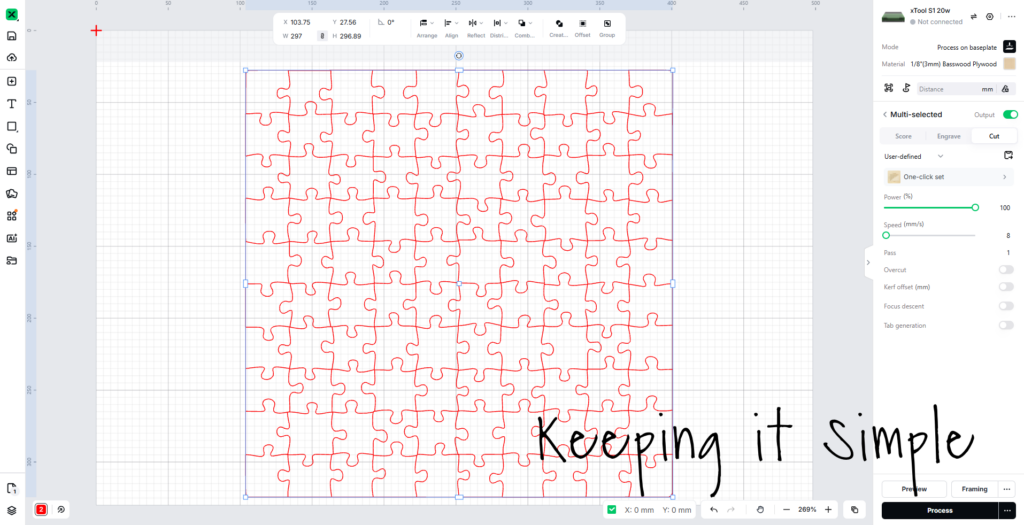
Back in xTool Studio, I then imported the wooden puzzle SVG cut file. I selected the whole thing and then selected the cut feature. I then sized the puzzle to be 297mm x 297 mm. I then selected the 3mm basswood plywood material. Since the wood had the image transferred onto it, I changed the speed setting. I slowed the speed down to 8 instead of 9, just to make sure that it was a nice clean cut in the wood. You can get the SVG cut file here:
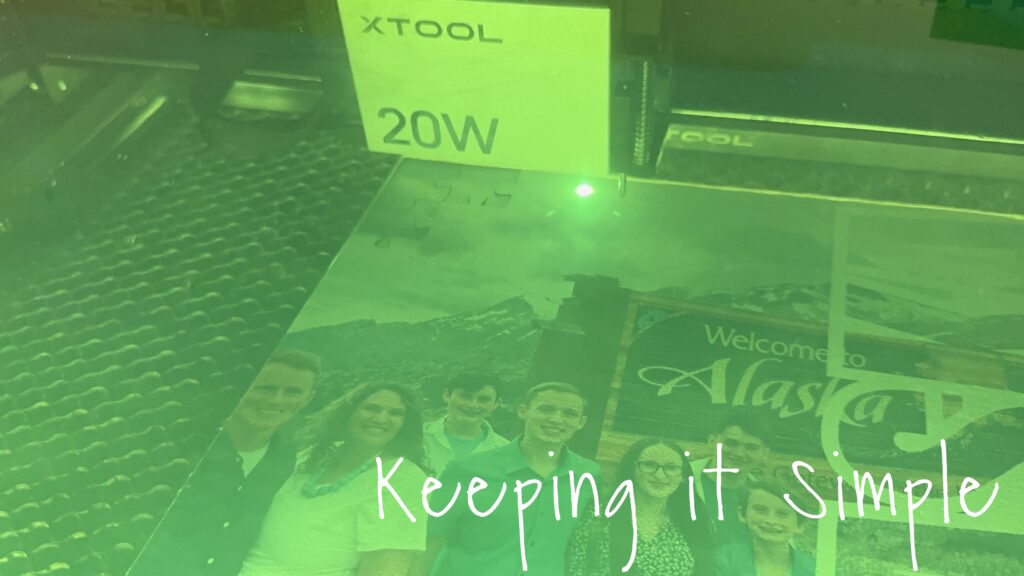
The S1 laser cutter did it’s thing and cut the wood beautifully!
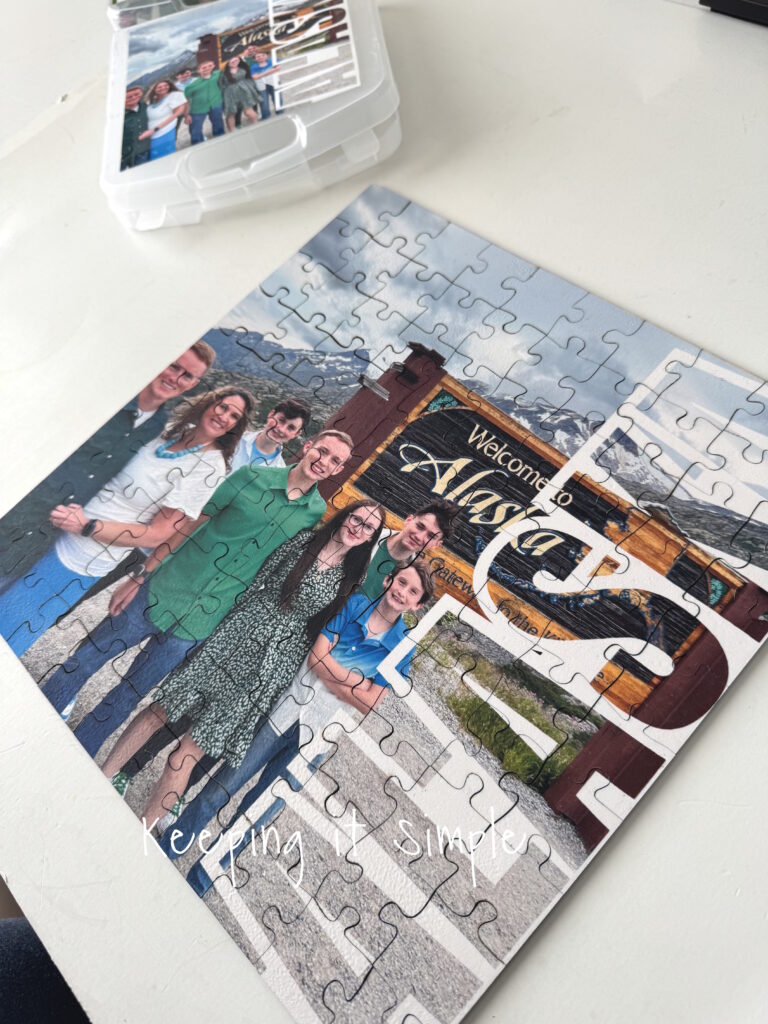
Here is the wood all cut out into the puzzle pieces.
I love this design so much that I decided that I wanted to do it with another picture. I did the same but instead of just one word, I had added two lines. I wanted the date on there also.
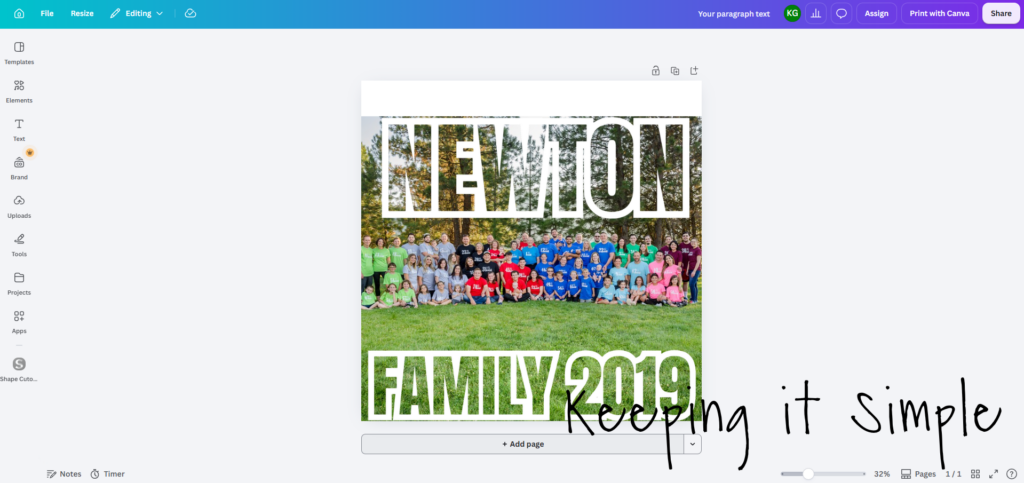
Since this image wasn’t square, I sized the puzzle to fit the image.
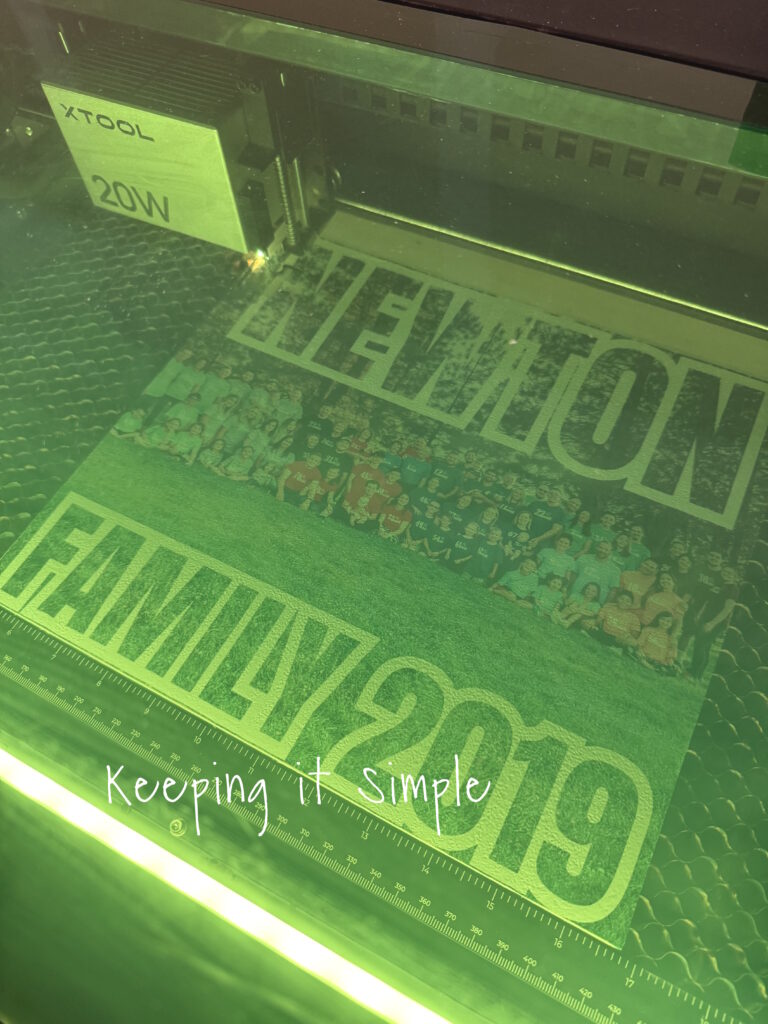
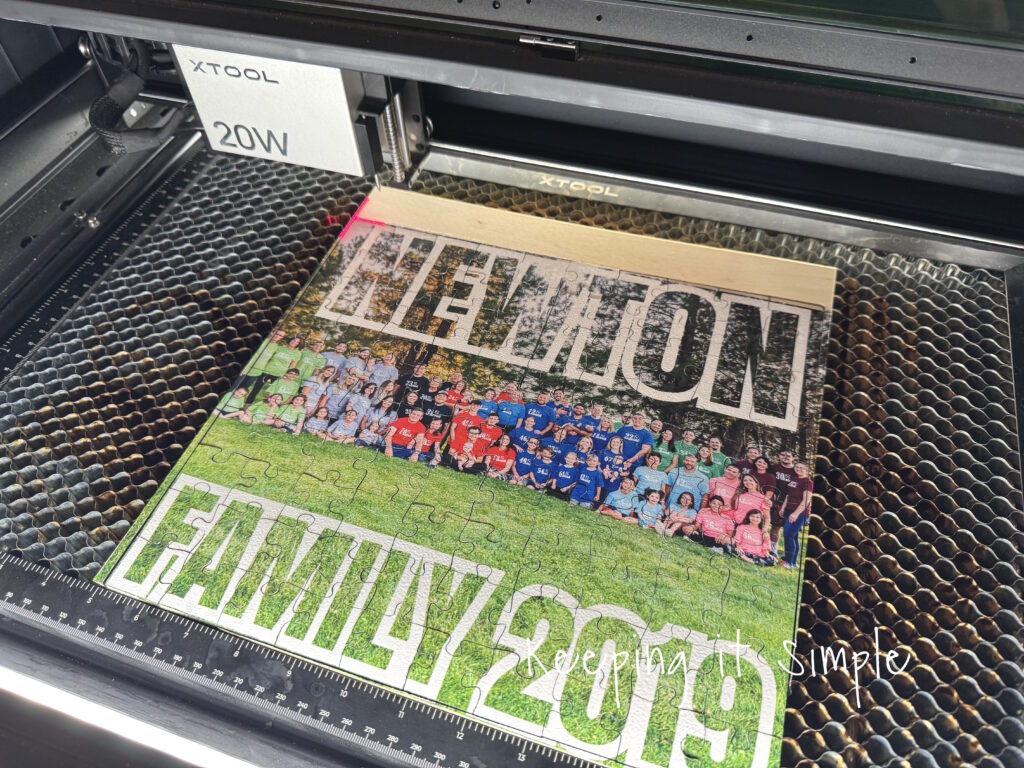
It turned out so good too!
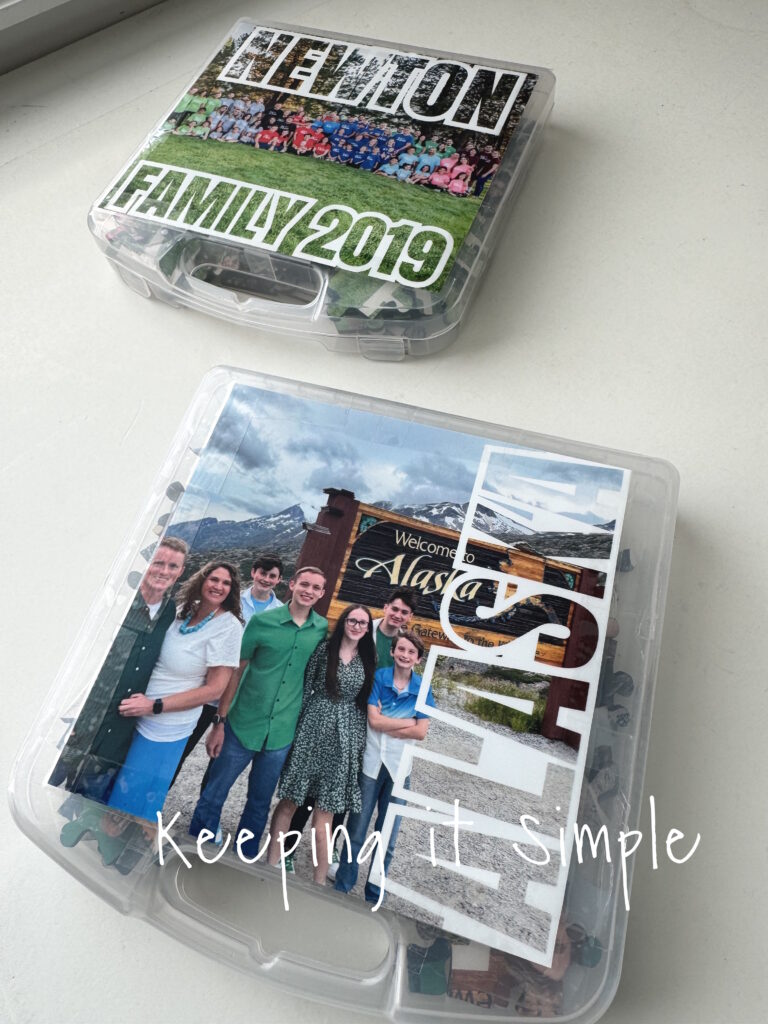
I found a little case to put the puzzle in, it was a great size and fit the puzzle perfectly. I found it at the Dollar Tree. I needed to add the image to the container, so I just printed out a smaller version with my xTool apparel printer. I attempted to transfer it onto the container, but the plastic melted when I attempted to do that, so I just taped it on. Easy enough :).
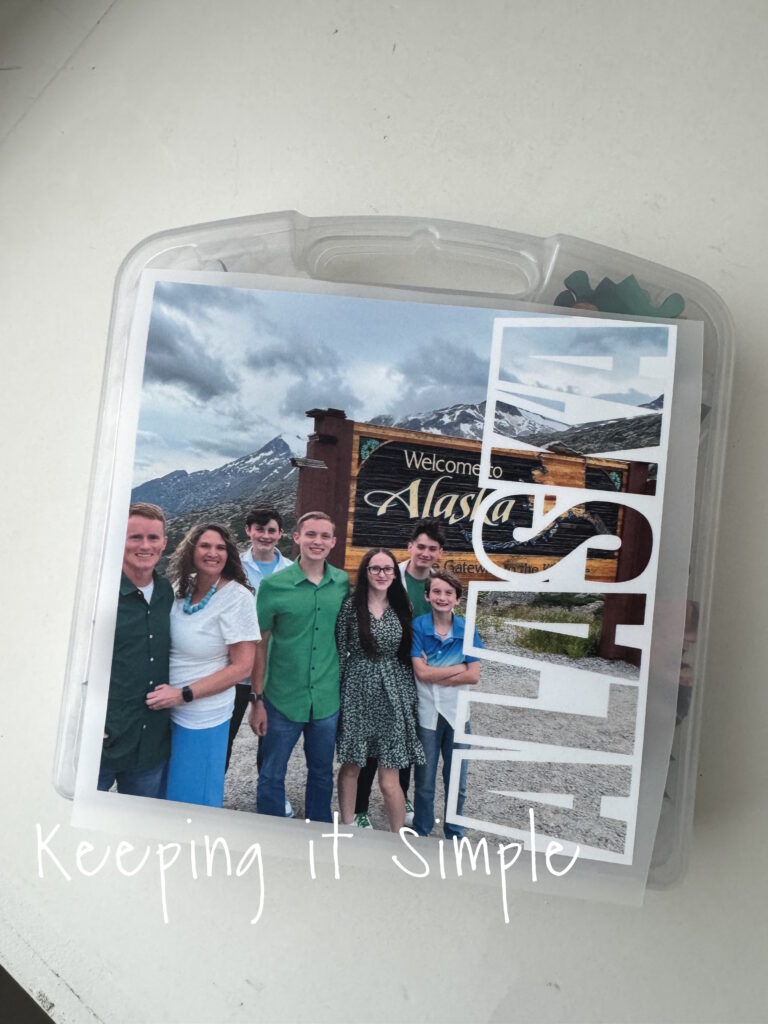
As I was trying to figure out how to put the image onto the container, I printed it out with my regular printer. The image was so grainy and colors were so dull compared to the one from the DTF printer. Plus the price to print it is so inexpensive that it was the best option!
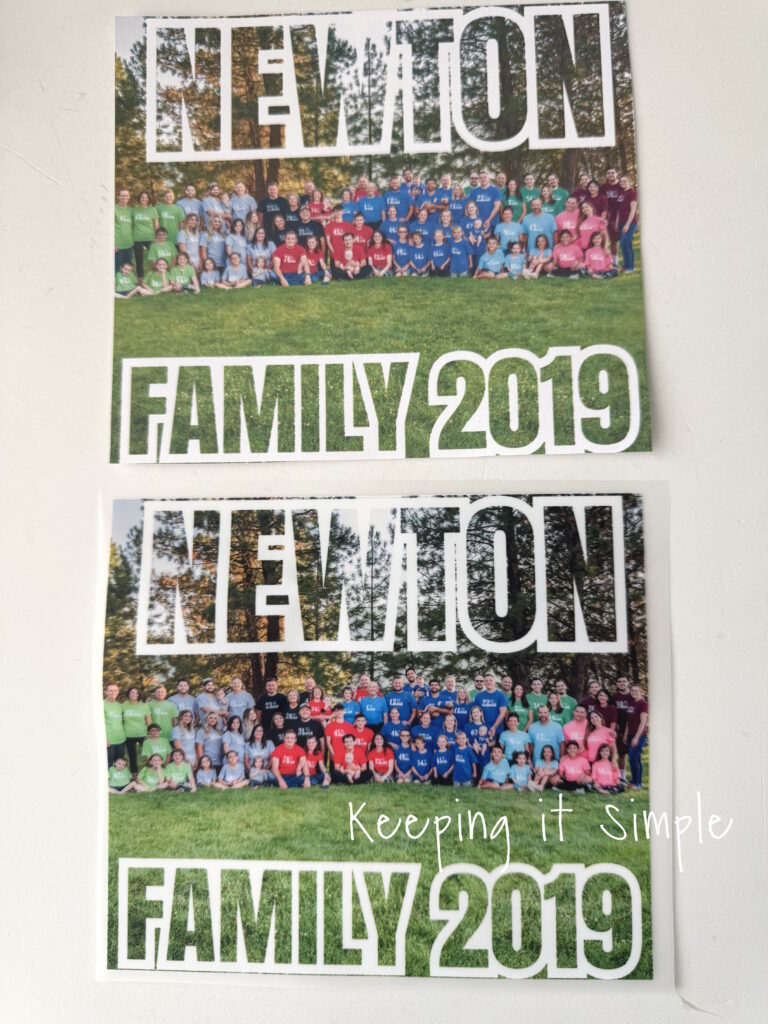
Here are the two puzzles all ready to be put together!
These custom photo puzzles are 100 pieces and I always think it will be super easy, but it does take some time (for me at least). Here is a fun video of me putting it together :).
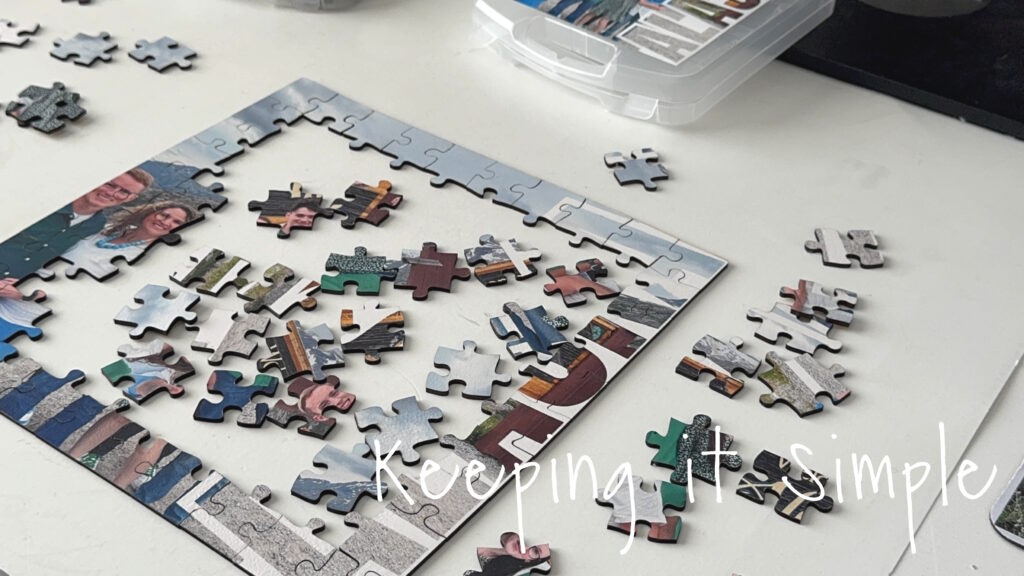
And that’s it! It looks so good! The puzzle pieces go together so well and the wood is nice and durable! Plus the picture looks amazing on the wood.
I love making custom and personalized things like this. What is nice is that the cost is low, so I can make these for gifts and it wouldn’t break the bank! I would love to make something like this for the students in the classroom I work in. Here is the break down of the costs:
12 x 12 basswood plywood: $2.00
DTF transfer (for wood and container): $1.06
Container: $1.25
Grand total is $4.31!
With just a favorite photo, a little creativity in Canva, and your favorite xTool machines, you can turn a special memory into something your family can enjoy again and again.
I love that this project is more than just a photo—it’s a fun way to remember a favorite trip while spending time together. And the best part is that you can completely customize it! Try adding the name of your vacation destination, a family name, a special date, or any word that means something to you.
So dig through those vacation photos sitting on your phone and pick a favorite. You might just turn it into your family’s next puzzle night!
Check out my other projects I have made with xTool!
This post contains affiliate links.
Leave a Reply
You must be logged in to post a comment.