DIY Custom Baseball Jerseys {How to Add DTF to Button Up Baseball Jersey}
Custom baseball jerseys are such a fun way to personalize a team uniform, but adding DTF transfers to a button-up jersey can be a little intimidating—especially when your design needs to go right across the front buttons!
I recently made these custom Southridge baseball jerseys using DTF transfers, and after figuring out the best way to line everything up and press around the buttons, I realized it was much easier than it looks.
In this tutorial, I’ll walk you through exactly how I added DTF transfers to button-up baseball jerseys, including how I positioned the front logo, worked around the buttons, and added names and numbers to the back. If you’ve been nervous about trying DTF on a baseball jersey, this is a project you can absolutely do! Plus I will be holding your hand, guiding you along the whole way!
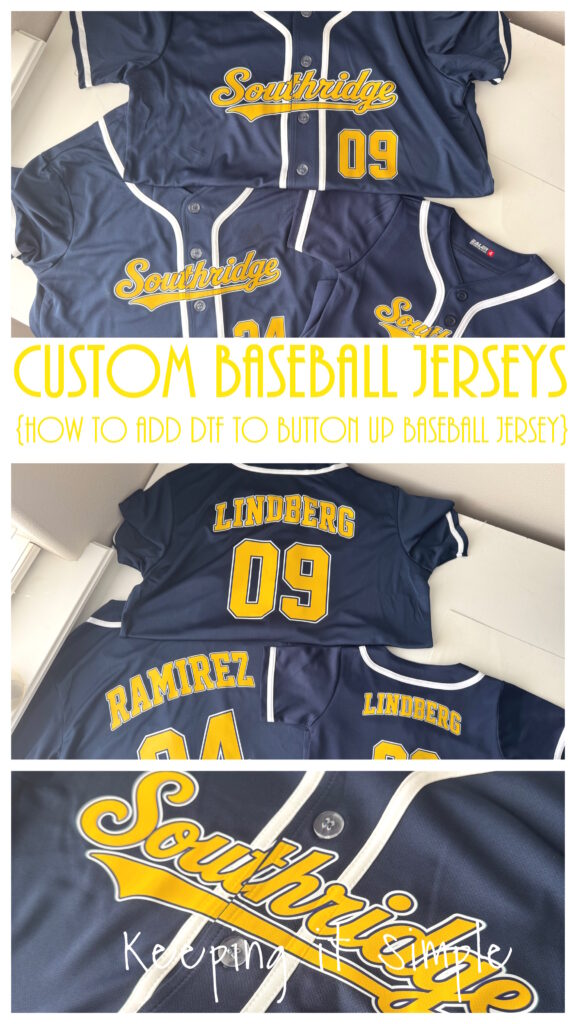
Here is a very detailed video on how to apply DTF transfers onto the seam of a button up baseball jersey. I show you the process on how I made these Southridge baseball jerseys.
One of the first things I did was made up the design. I wanted the logo to be colorful, so I made it have 3 layers, yellow, navy and then white. That’s the joy of having the xTool Apparel Printer, I can do several different colors at the same time and really add to the design. That’s the joy of using DTF transfers! Now time to figure out the seam of the button up baseball jersey. With this design I knew it was going to be tricky because all of the letters are connected. It would have been awesome if I could just cut the word in half with South and ridge, but if I had done that, the logo wouldn’t have been centered and would have looked goofy. So what I did was found the center of the design and the center of the jersey. I then measured the distance between the center of the jersey and the edge of the fabric, which ended up being about 3/4″, so that’s where I made my first slice. I used an eraser tool and just deleted half of the design (that is the bottom one). Then for the other one, I did the same thing and found the center and the distance from the fabric it was. And then sliced other side. This way I could have overlap and a little wiggle room. Also I liked the idea that there wasn’t just straight navy under the seam.
***I found that each size of the jersey had didn’t measurements, so I had to create different sizes of the logo and cut the image differently for each size.****
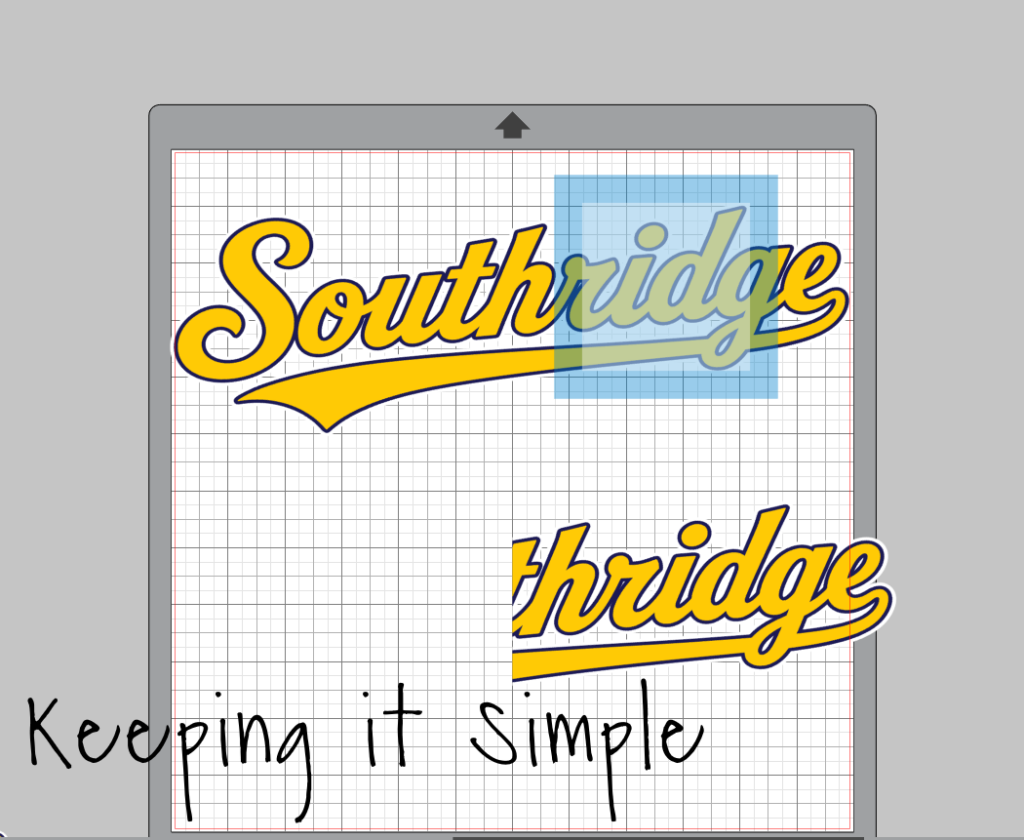
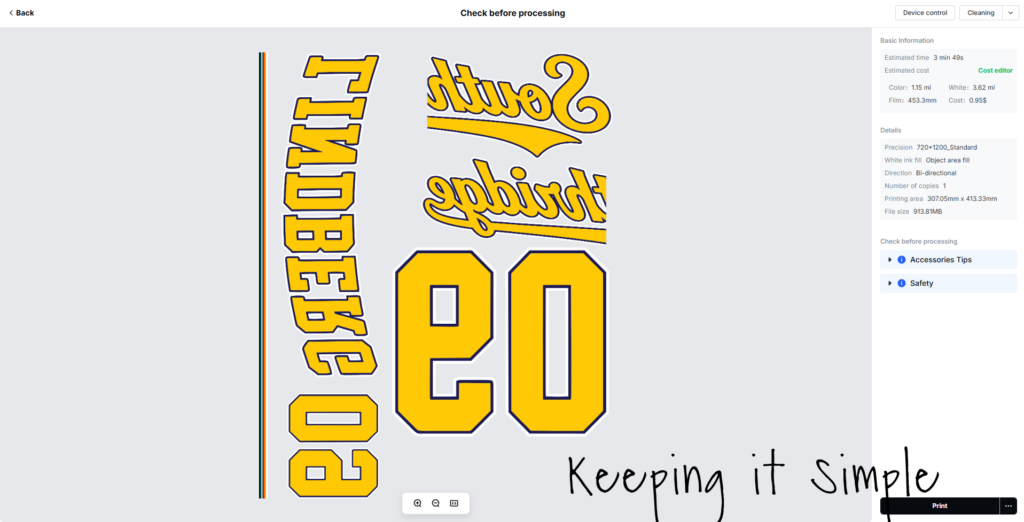
Once I got the design all figured out and made, I then added it to xTool Studio. I sized everything and arranged it to fit onto one sheet. I then sent it to the apparel printer. Just for fun, I always like to see how much it costs to print. This was $.95!!
The xTool Apparel Printer does amazing work, it printed the design with no problems whatsoever! I love it so much!
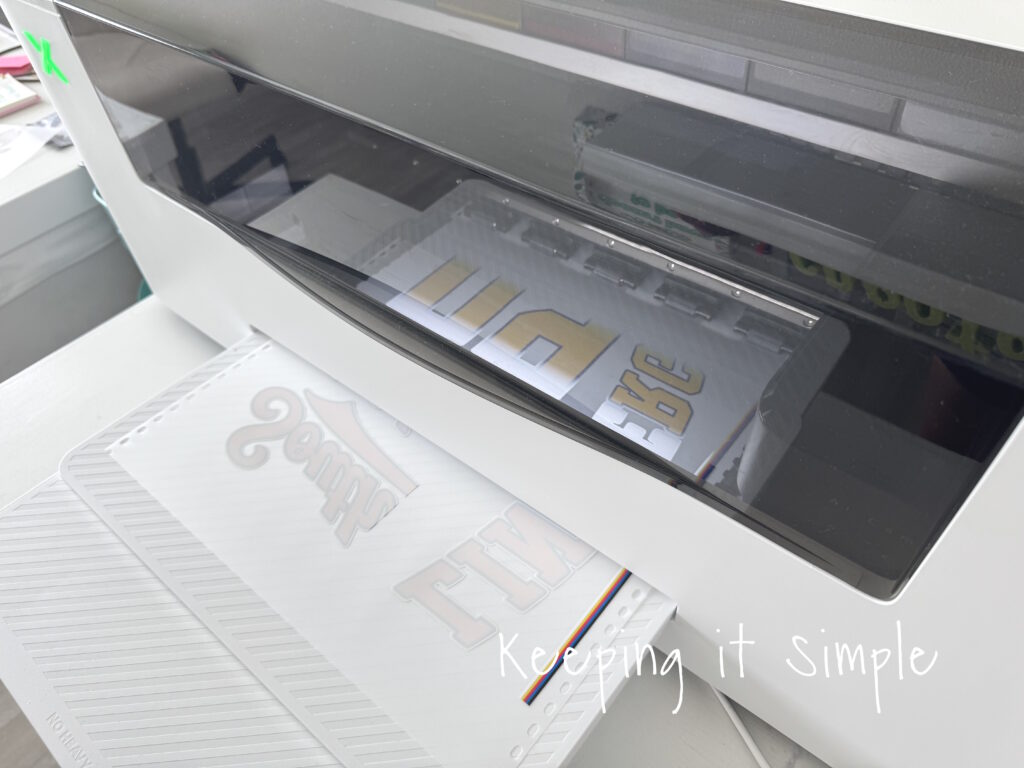
Once it printed, I added apparel powder and then cured it in a DTF oven.
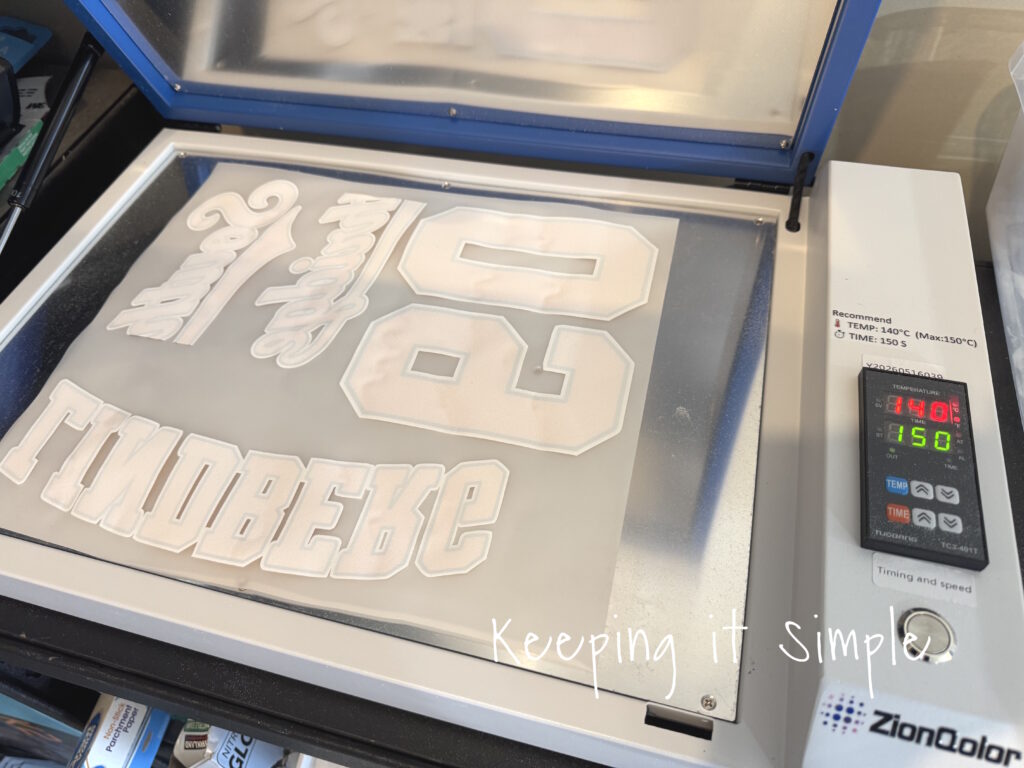
Here is what the front design looks like all printed out. There are a couple ways that you could put the logo over the seams. You could print off the full design just like you would do with any other shirts, and then cut the design right where the seam is. That works but like I said before, I wanted a little wiggle room and overlap with my design.
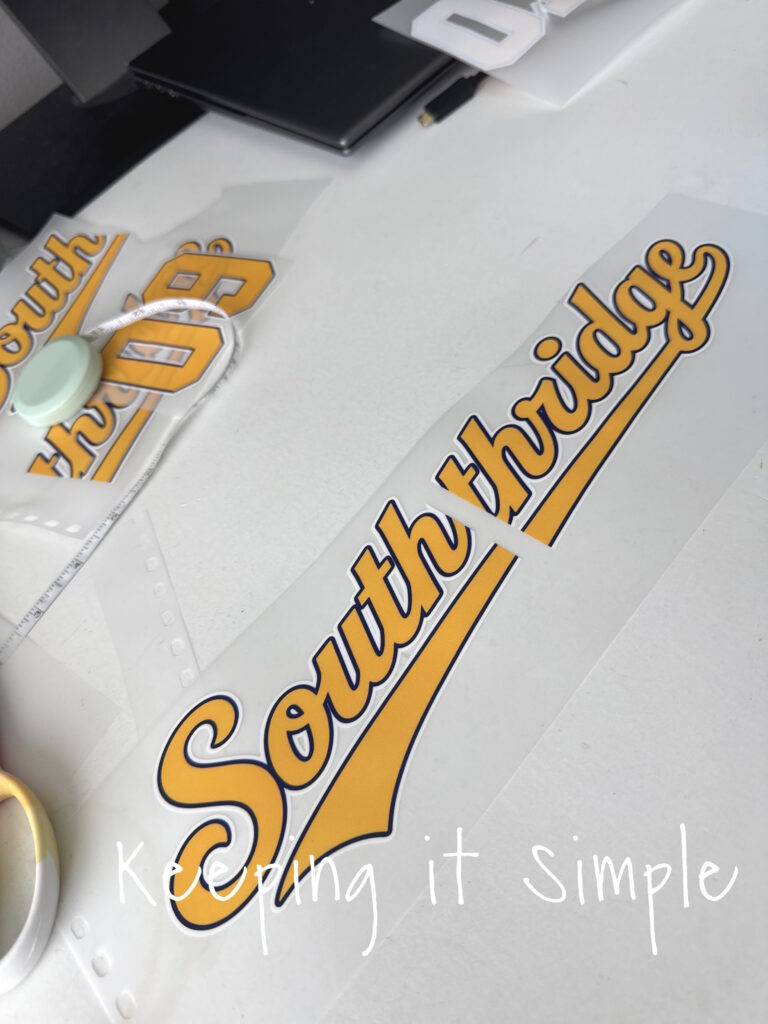
I found some nice navy jerseys, got all of the designs printed out and now it’s time to put it altogether.
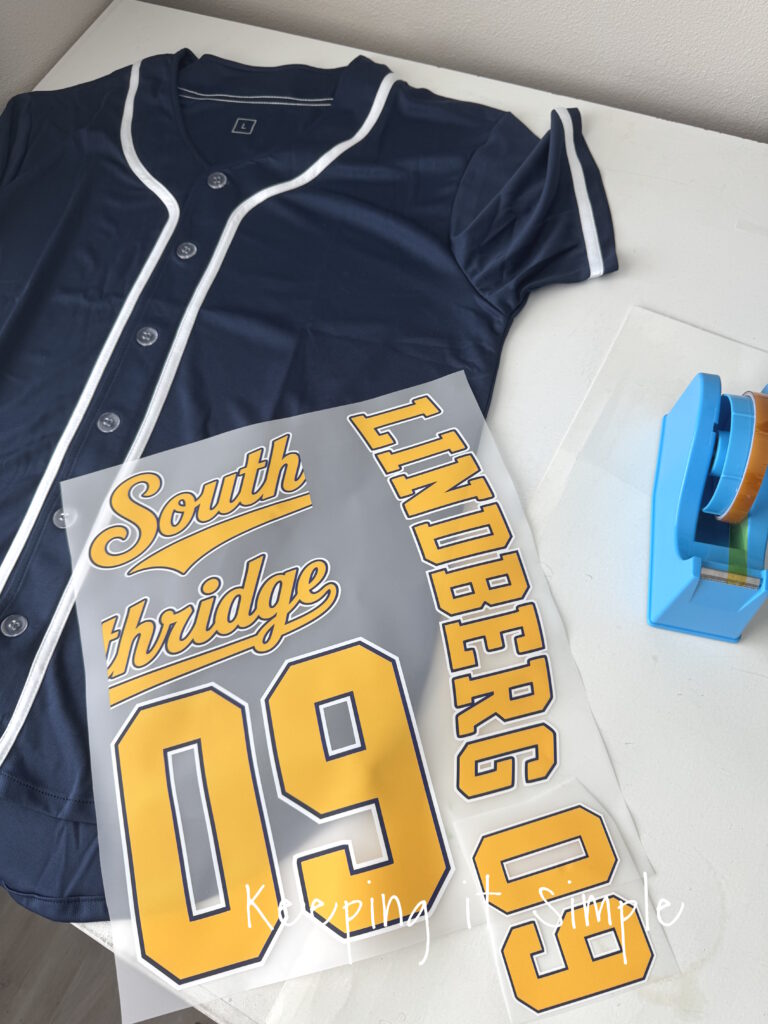
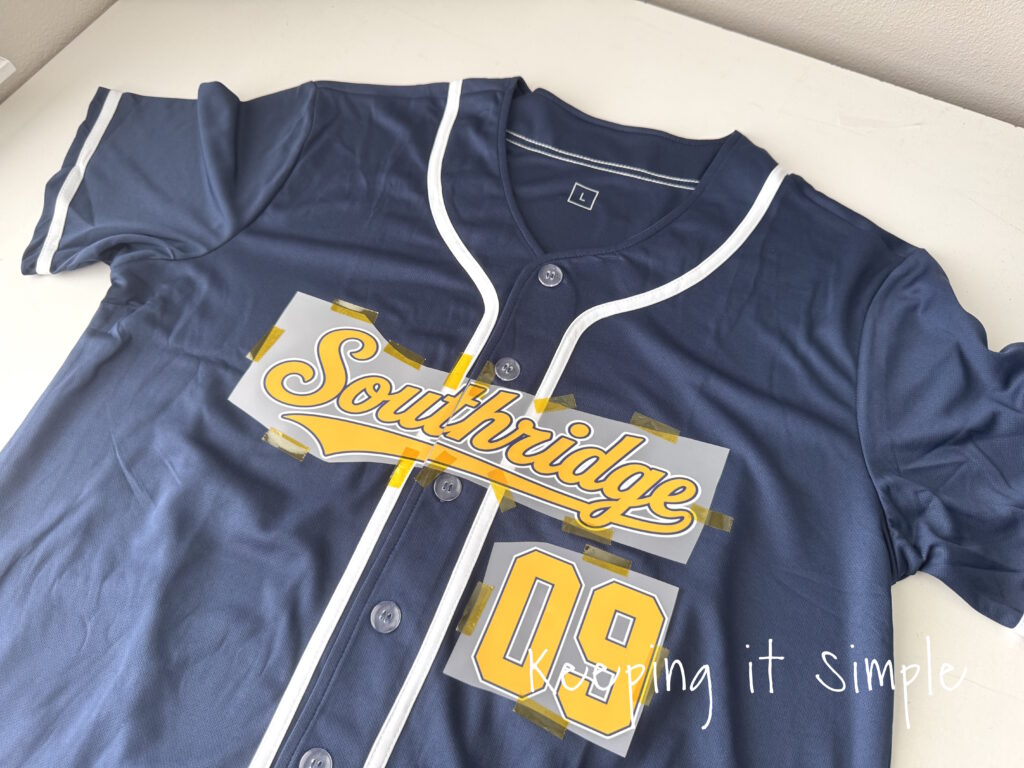
I cut the front design pieces and started lining up the design. I kept the jersey buttoned up while I was lining it up because I wanted it to be in place and lined up when it was buttoned up. If I had lined it up with it opened and it didn’t line up when buttoned, then that wouldn’t make much sense at all.
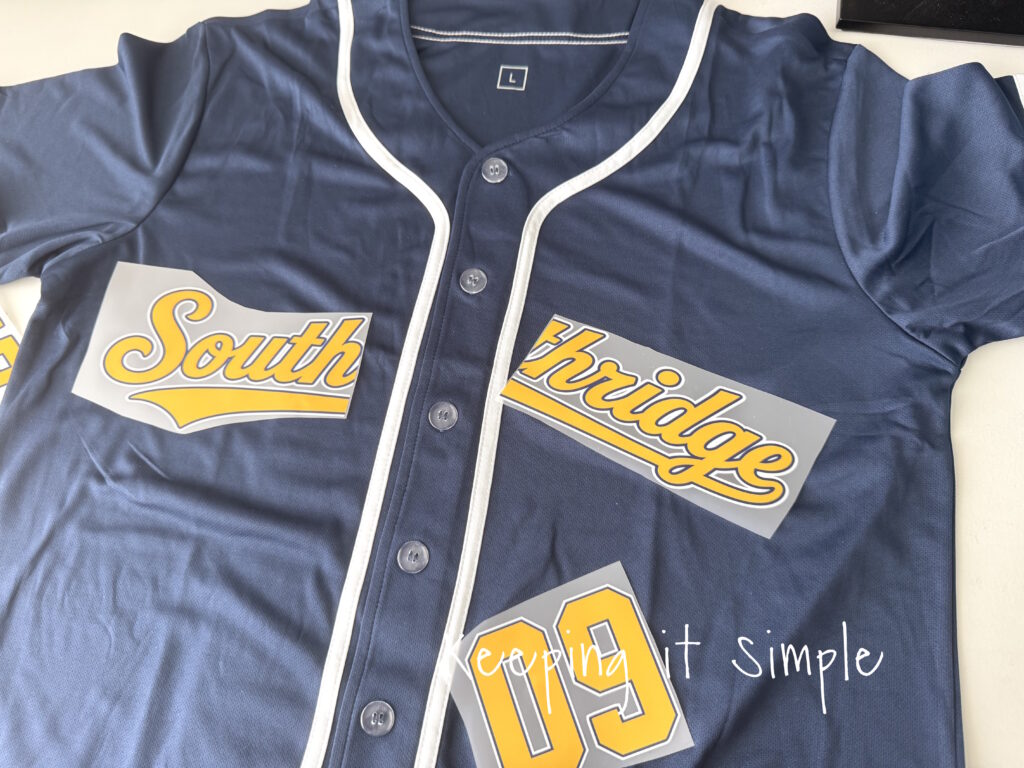
Using heat resistant tape, I taped the design onto the baseball jersey. I made sure that the design wouldn’t move, especially around the seam and buttons.
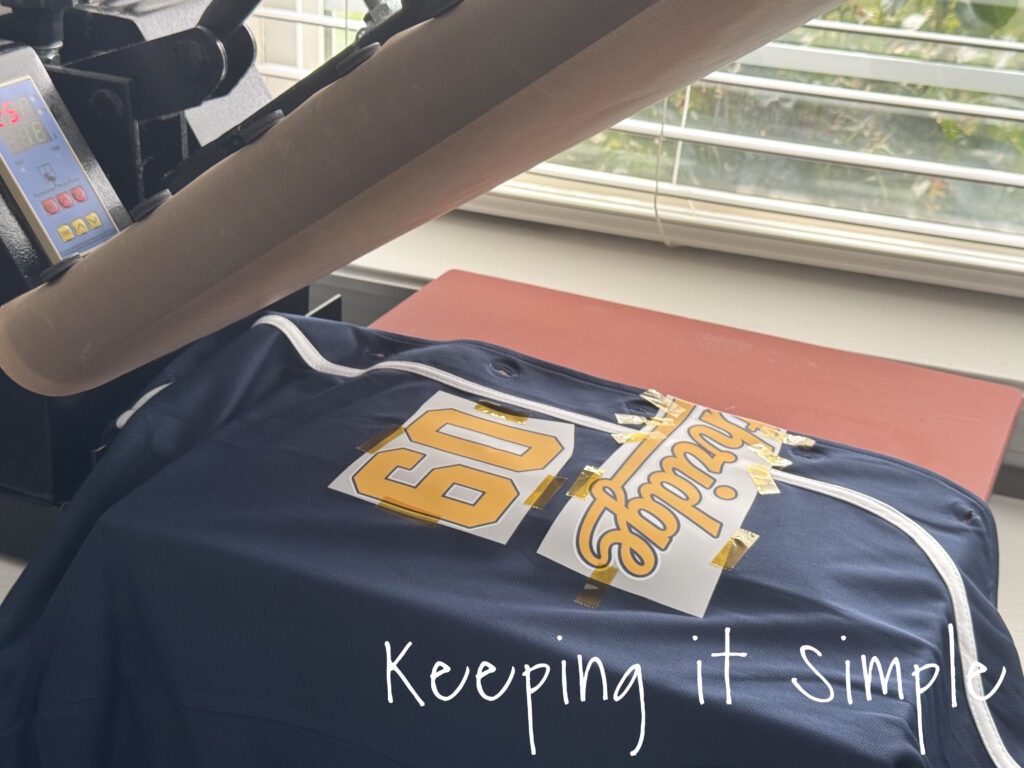
Using a heat press and a heat press pillow, I pressed the design onto the jersey. Having a heat press pillow is a must because it gives the extra padding so that the DTF will transfer fully onto the jersey. Without it, it won’t press completely and there is a chance of breaking the buttons.
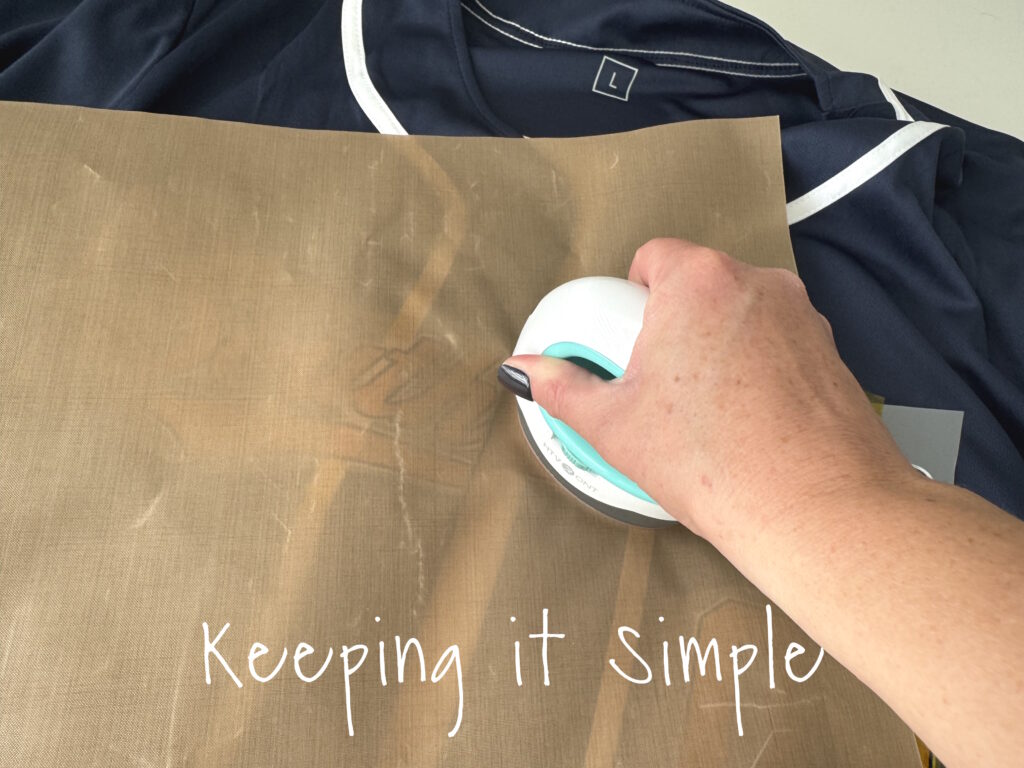
Using a Teflon sheet and mini press, I then pressed the areas that were by the seams and by the buttons. Just to make sure they get pressed completely.
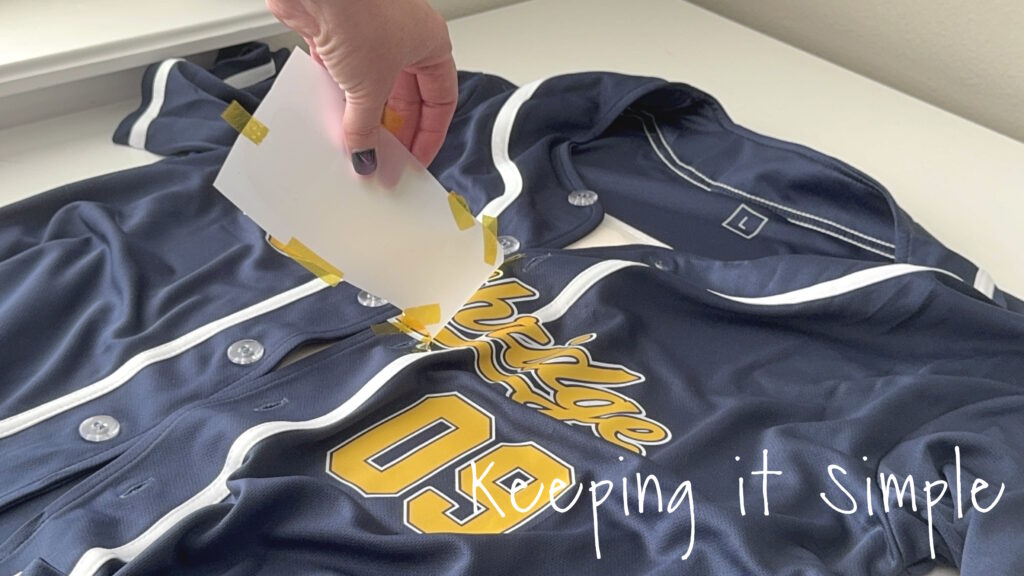
I let the DTF cool completely before I peeled it. Even though the apparel printer DTF film is normally a warm peel, I waited for it to cool because I didn’t want to take any chances. I also went slowly to make sure that design had transferred onto the jersey.
I then pressed jersey again. I started with the back, with the jersey opened, without the pillow.
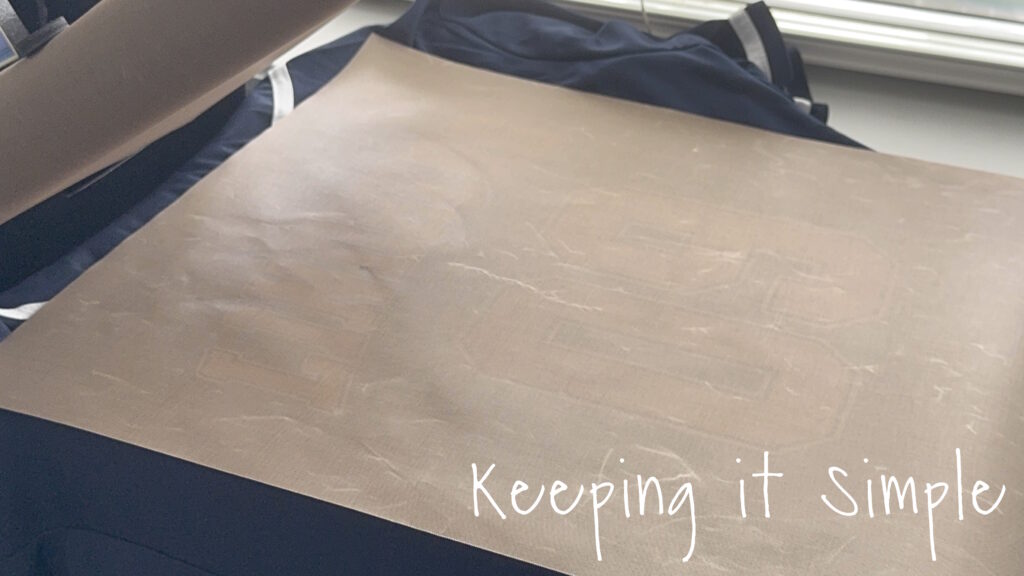
I then put the pillow inside the jersey, buttoned it up, put the Teflon sheet on it and then pressed the design again.
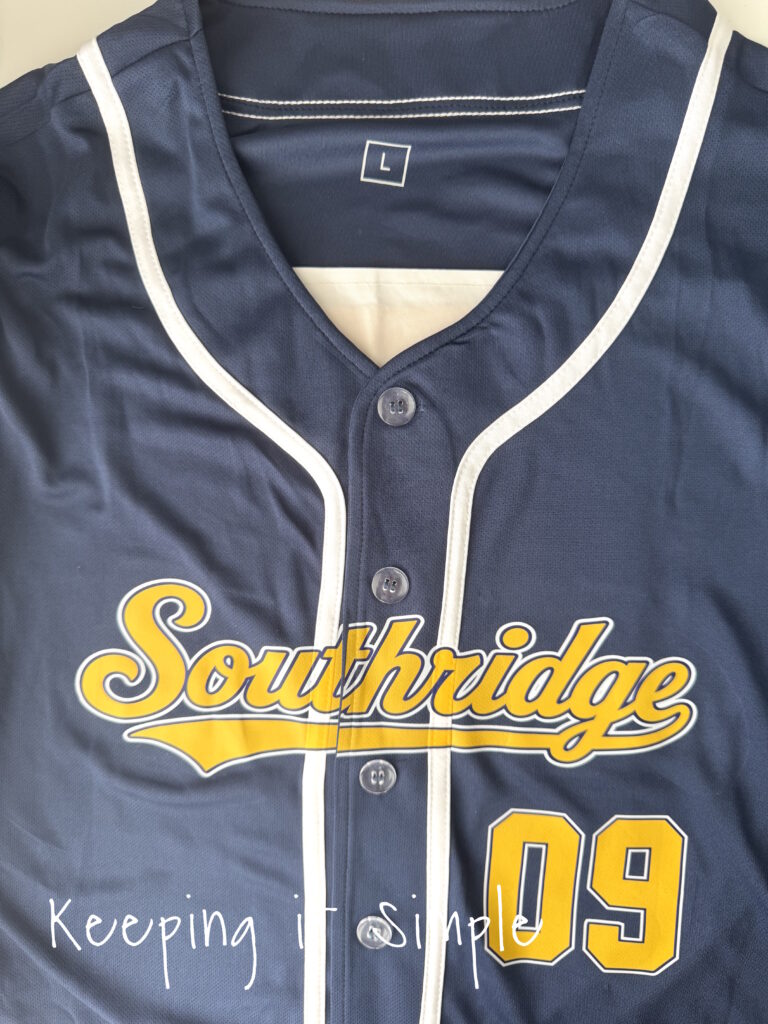
And that’s it! Adding DTF transfers to a button-up baseball jersey might seem a little intimidating at first, especially when your design needs to go across the buttons, but once you know how to line everything up and press each section, it’s actually pretty simple.
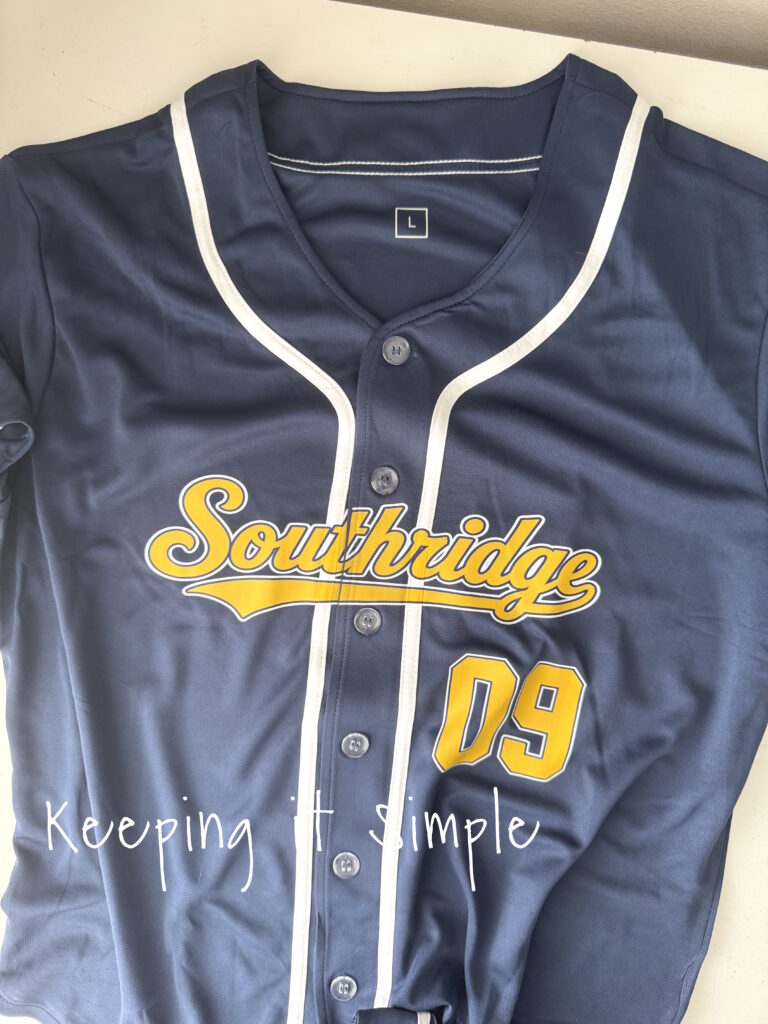
Here is a close up of the DTF on the baseball jersey, it looks so good!
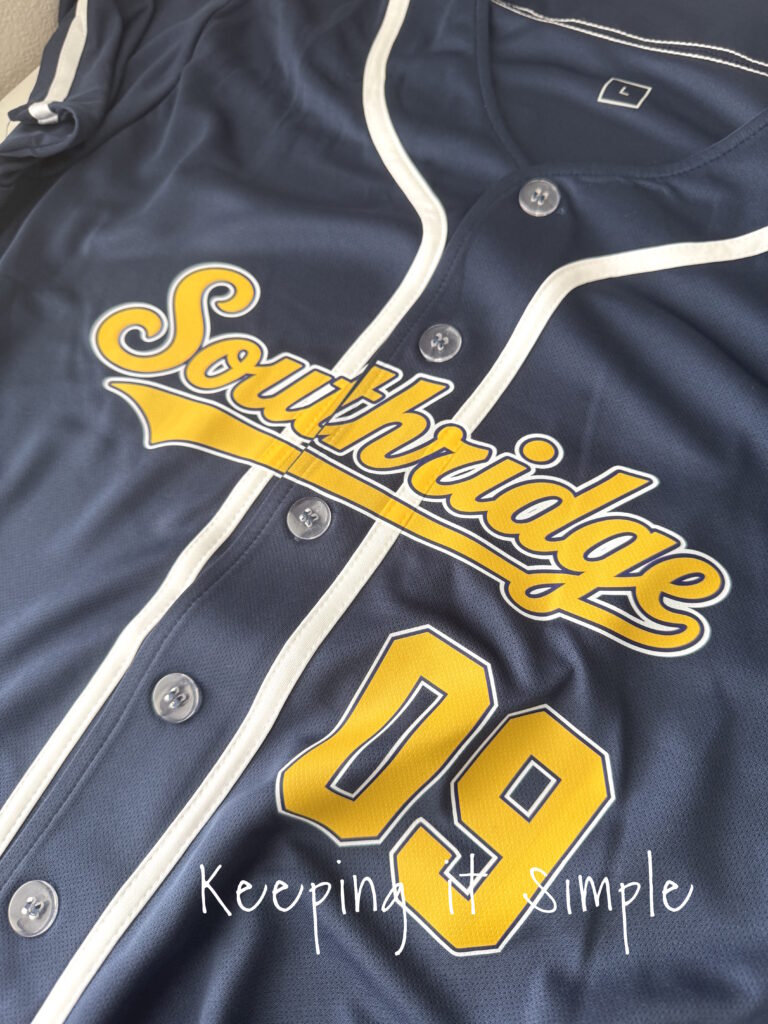
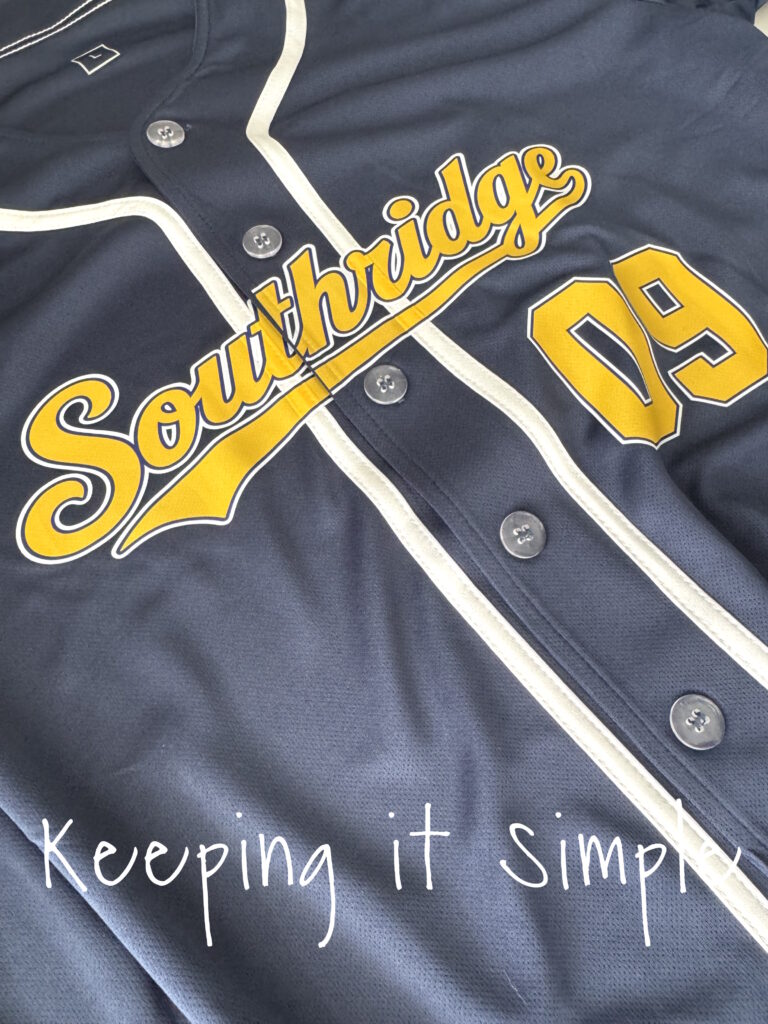
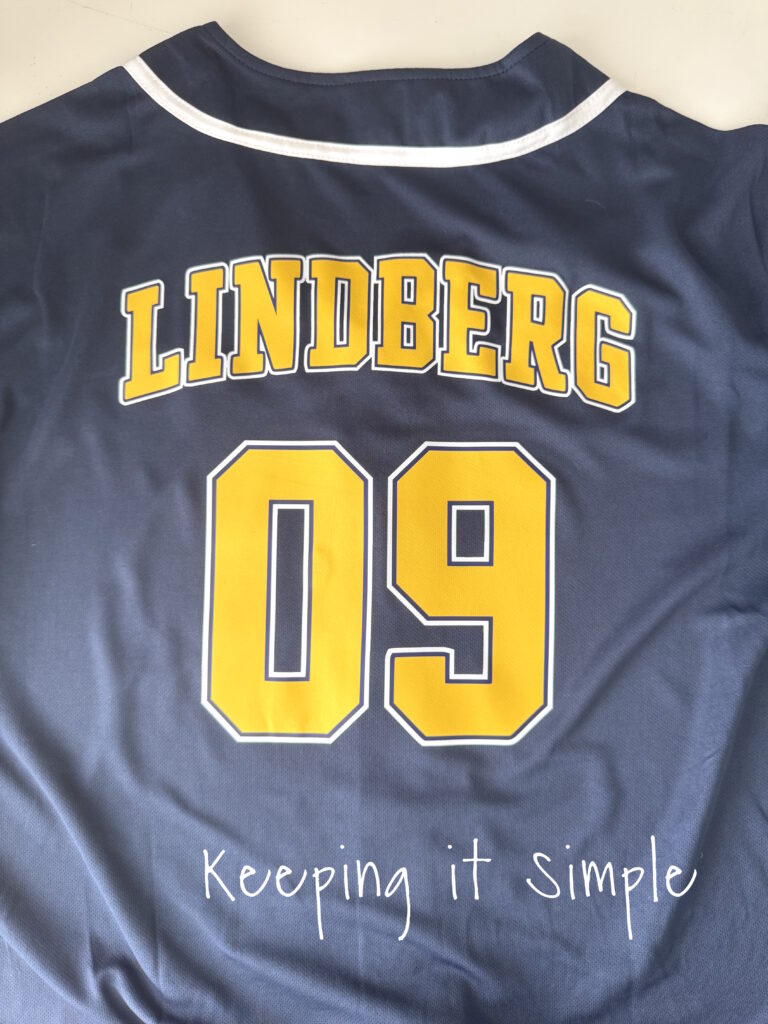
Here are a couple other sizes that I did, as you can see, I had to change the size of the logo.
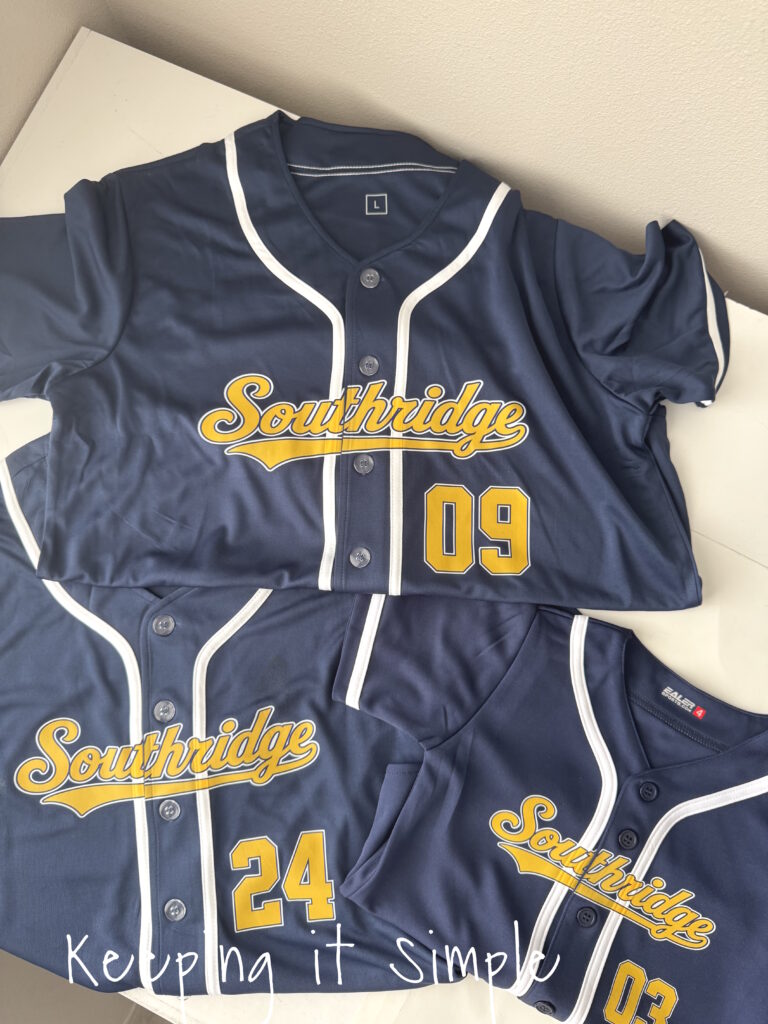
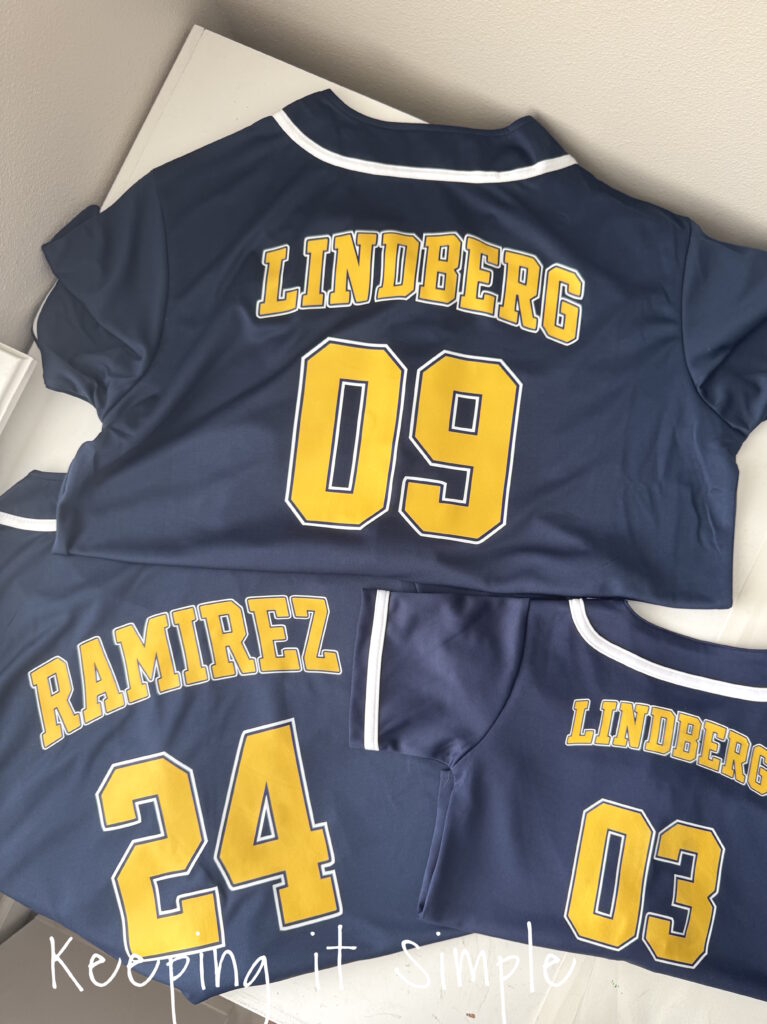
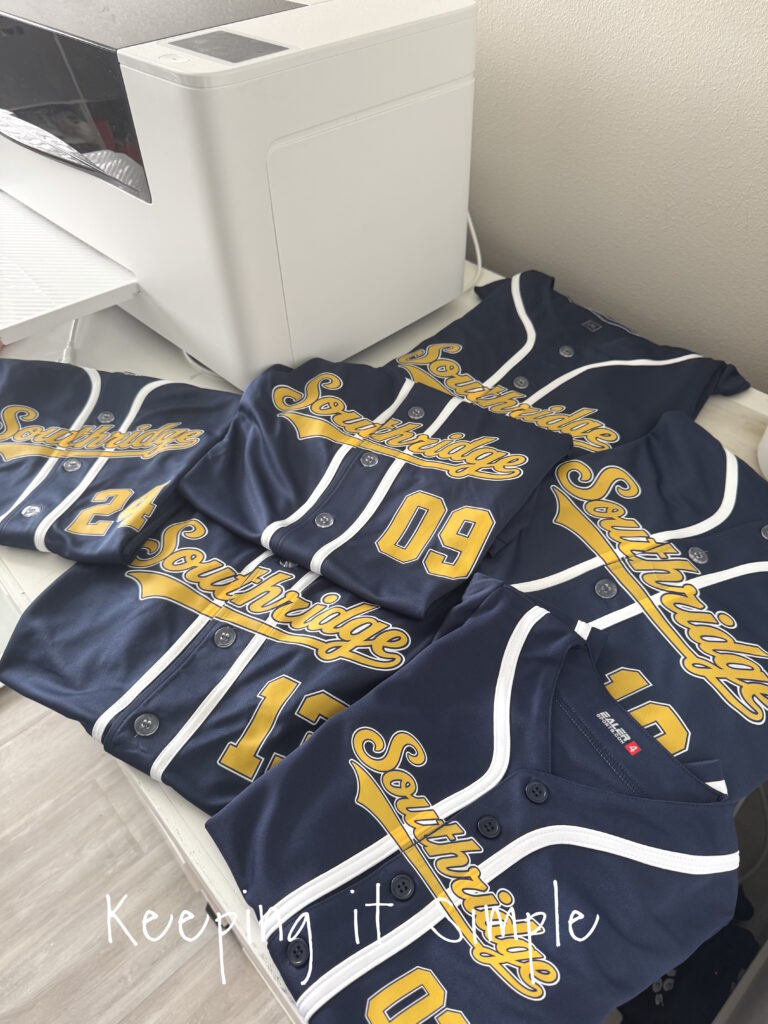
I love how these custom baseball jerseys turned out! Adding the team logo to the front and personalized names and numbers to the back took basic jerseys and made them look completely custom and ready for the field.
If you’ve been hesitant to try DTF on a button-up jersey, give it a try! Take your time with placement, double-check your alignment before pressing, and don’t be afraid to experiment. Once you make your first one, you’ll be ready to customize jerseys for teams, schools, leagues—or even turn them into another product you can offer in your apparel business.
If you like this idea, then check out all the other things I have made with DTF, you can see them here.
This post contains affiliate links.
Leave a Reply
You must be logged in to post a comment.