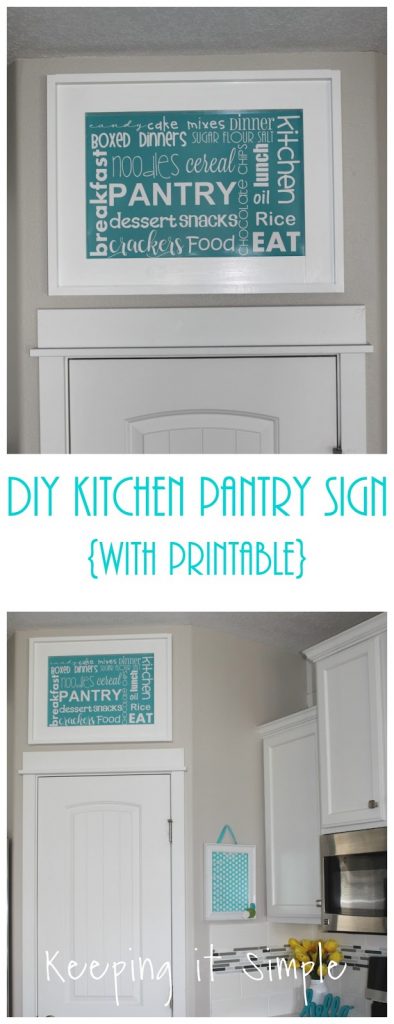
This past month we have been remodeling our kitchen and I had to change out the vinyl that I had over my pantry. I am trying to make my style a little more fancy and not so cute, so I wanted to make a really nice frame for the space. I had a hard time trying to come up with something to put in the frame because I wanted something there that was unique and something that you don’t see every day. I was going to do a fun quote that said “Together is our happy place” but then decided that I wanted some more fun. So instead I decided to make a fun pantry sign with a subway art printable. I love how it turned out!
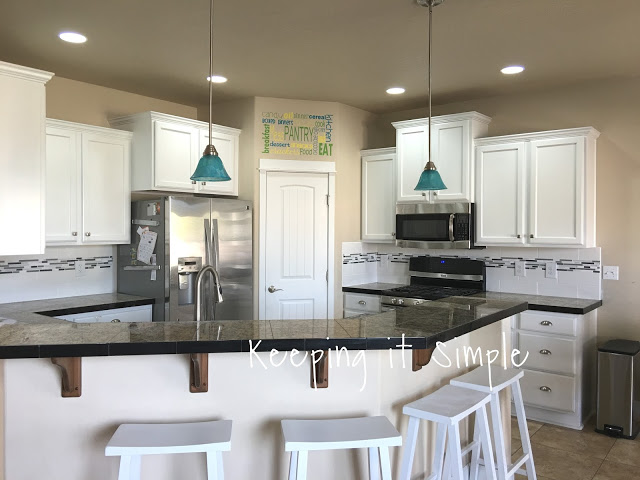
This is what we had above our pantry before, some subway art vinyl. I loved the look of this but when I painted I had to remove the vinyl. So I did something similar to this, just a little more subtle and formal.
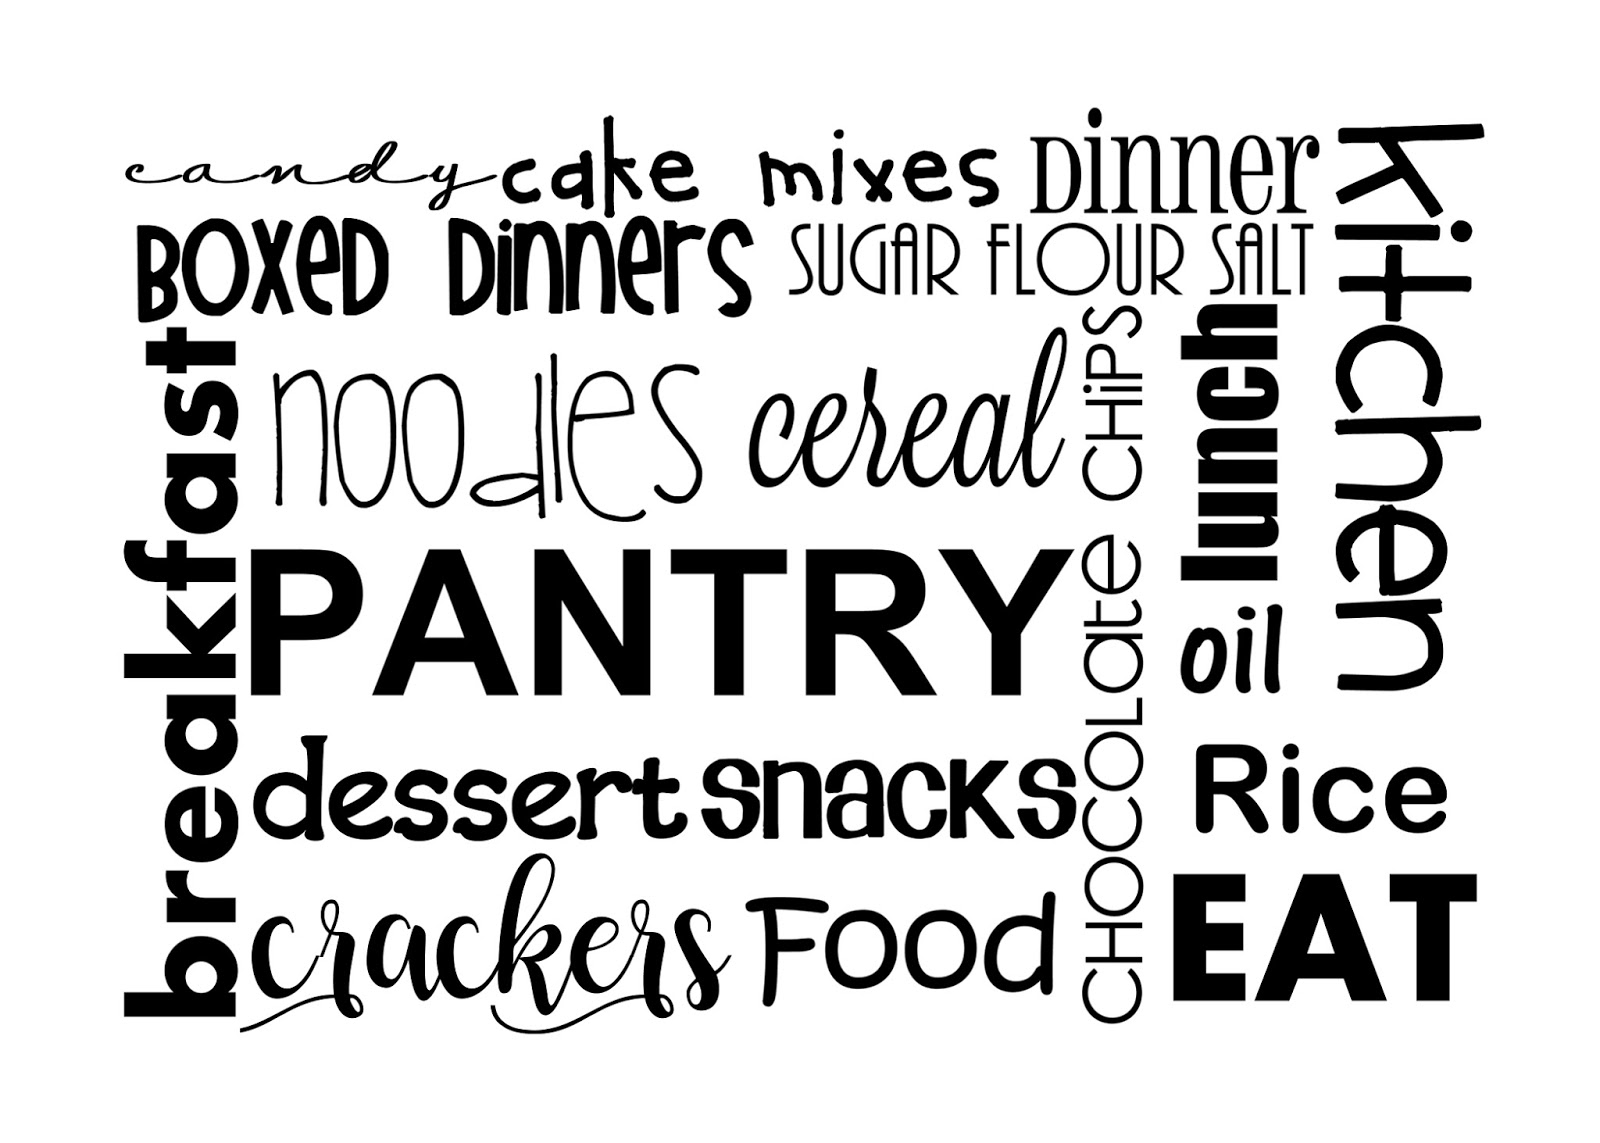
So instead of using vinyl, I decided to make a printable. So I made two designs. One with a turquoise background and white lettering (the one I used in my kitchen) and then one that is black and white that would match any kitchen :). If you would like to use these, feel free. Just save the image. If you are going to do a bigger size like mine, shoot me an email and I’ll email you the image.

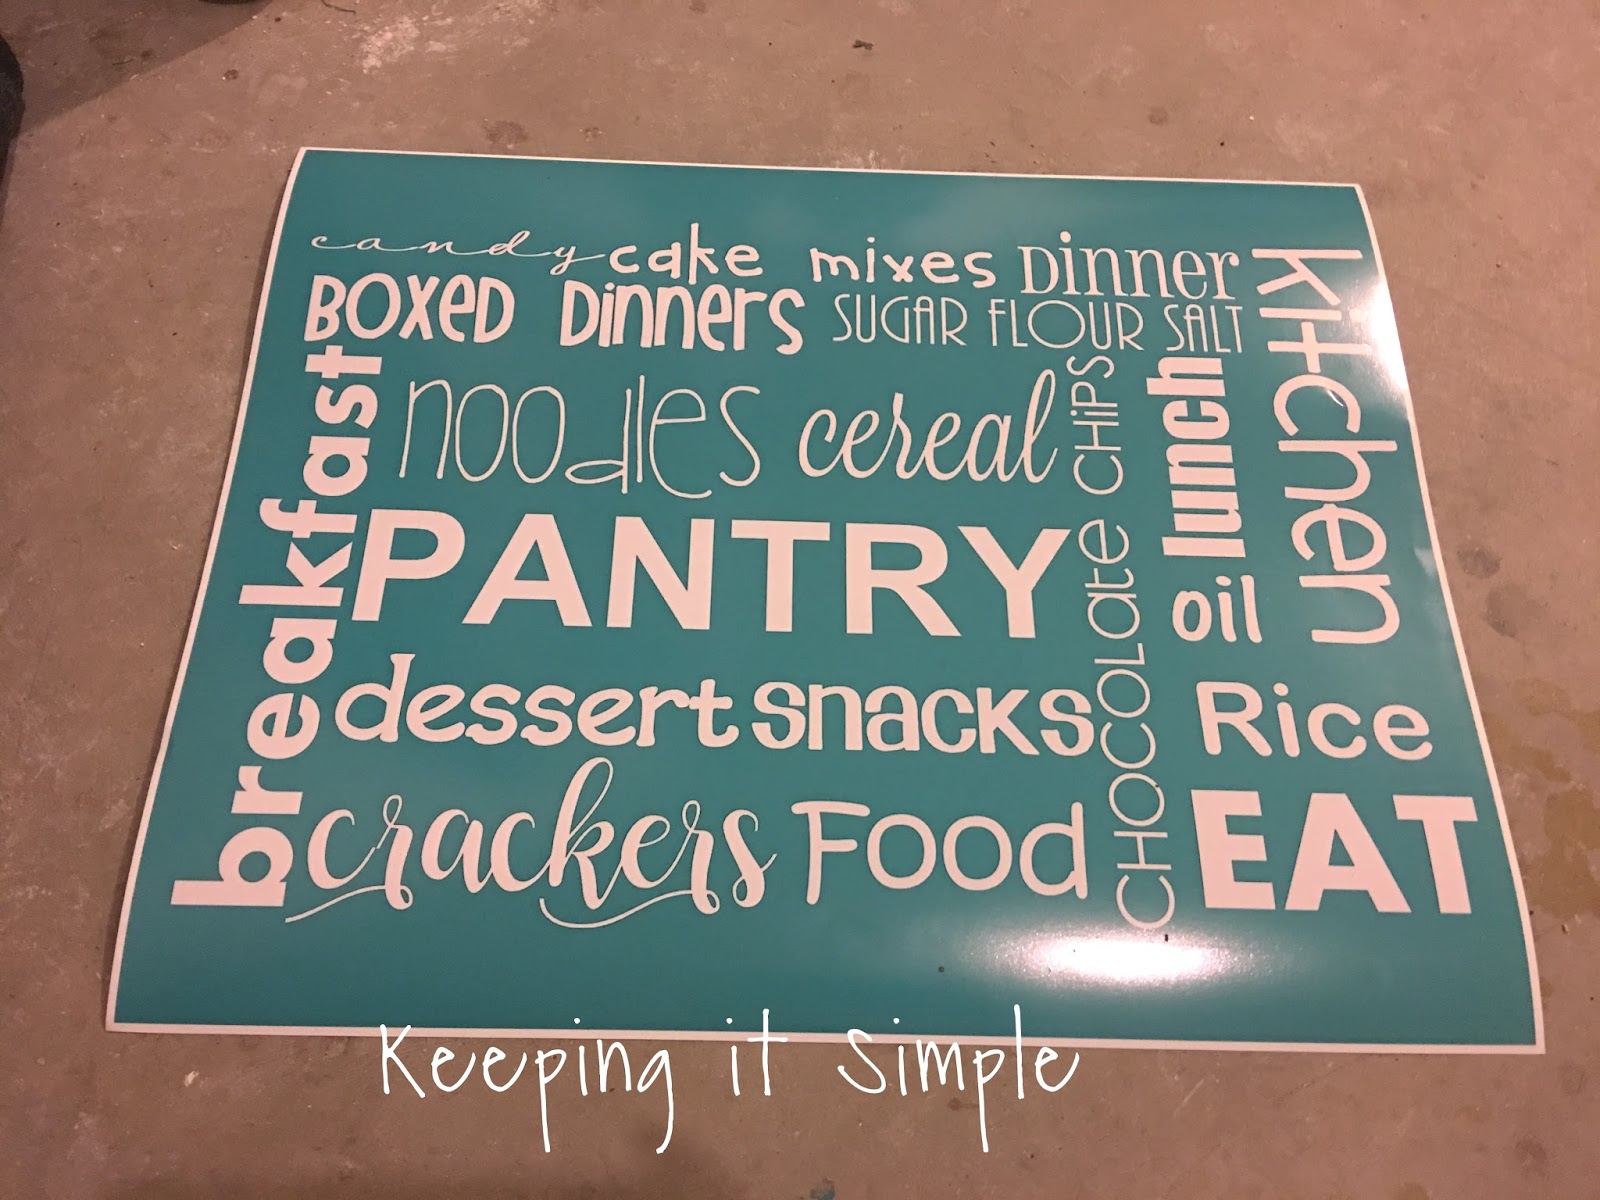
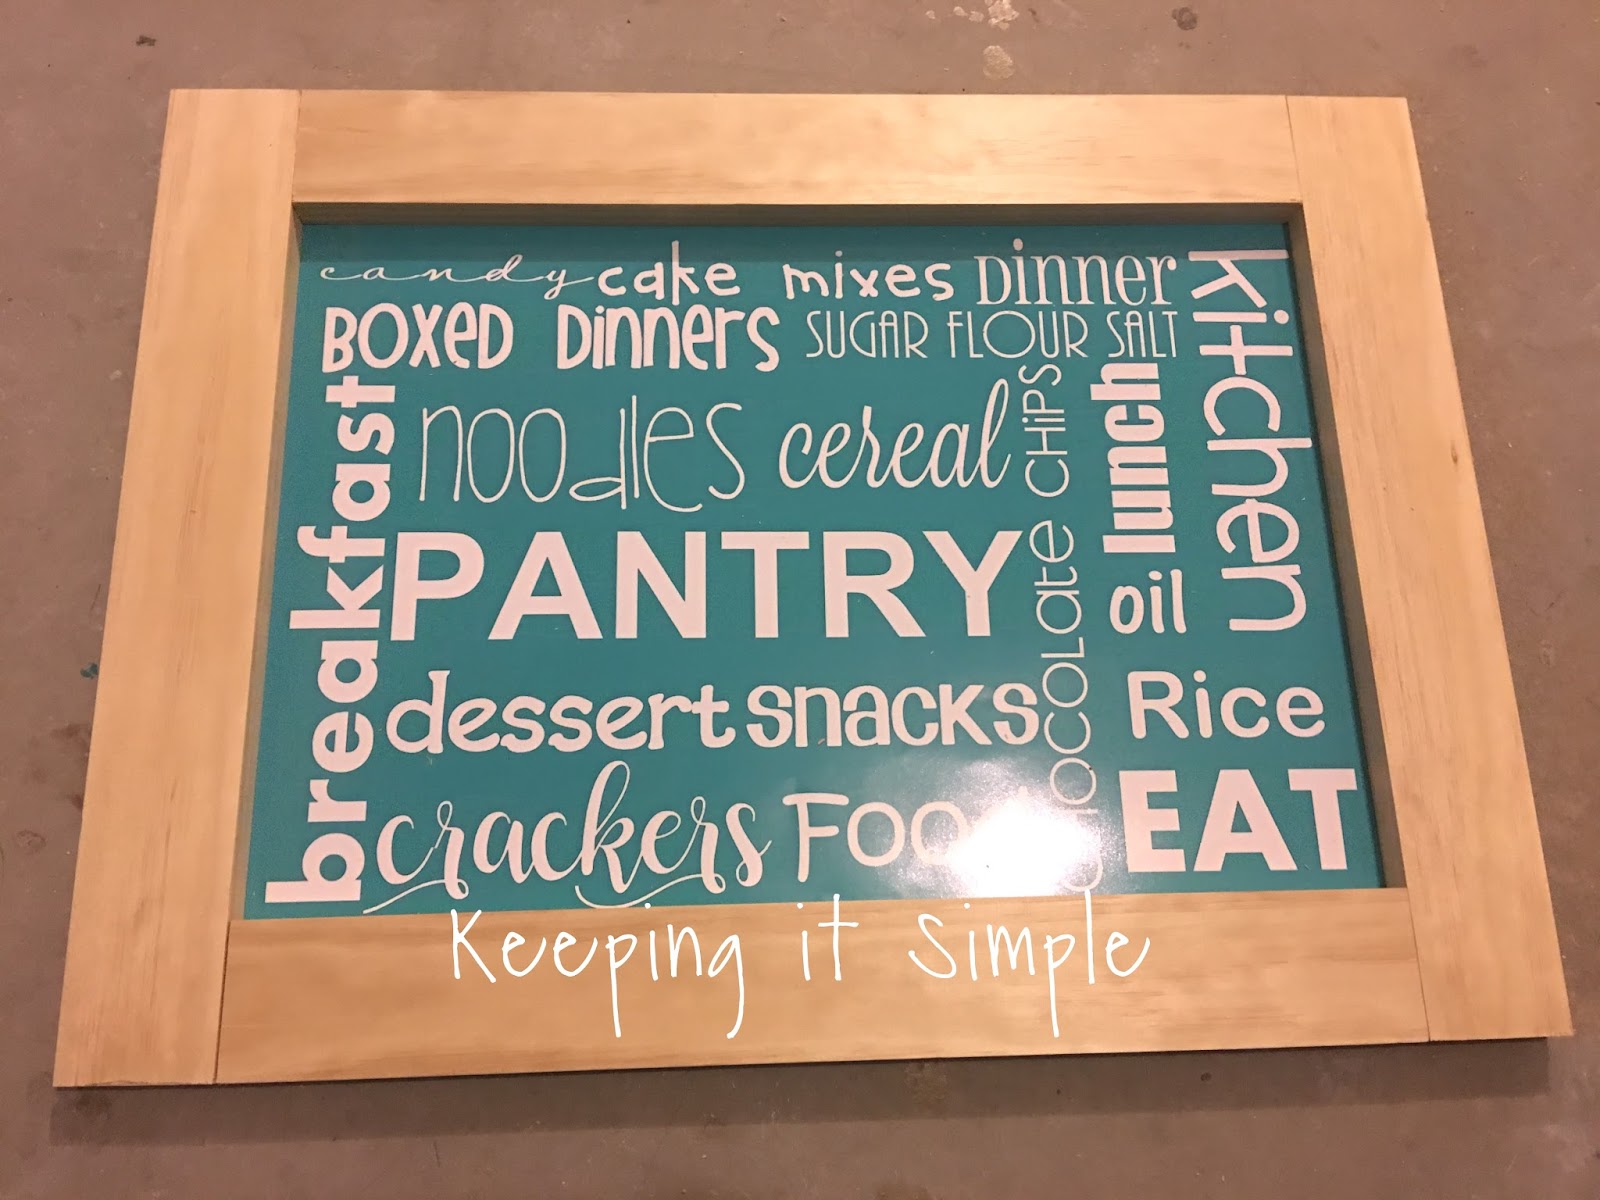
I just sent to image to an online photo store (Costco) and got it printed in 16×20. This is what it looks like printed big.
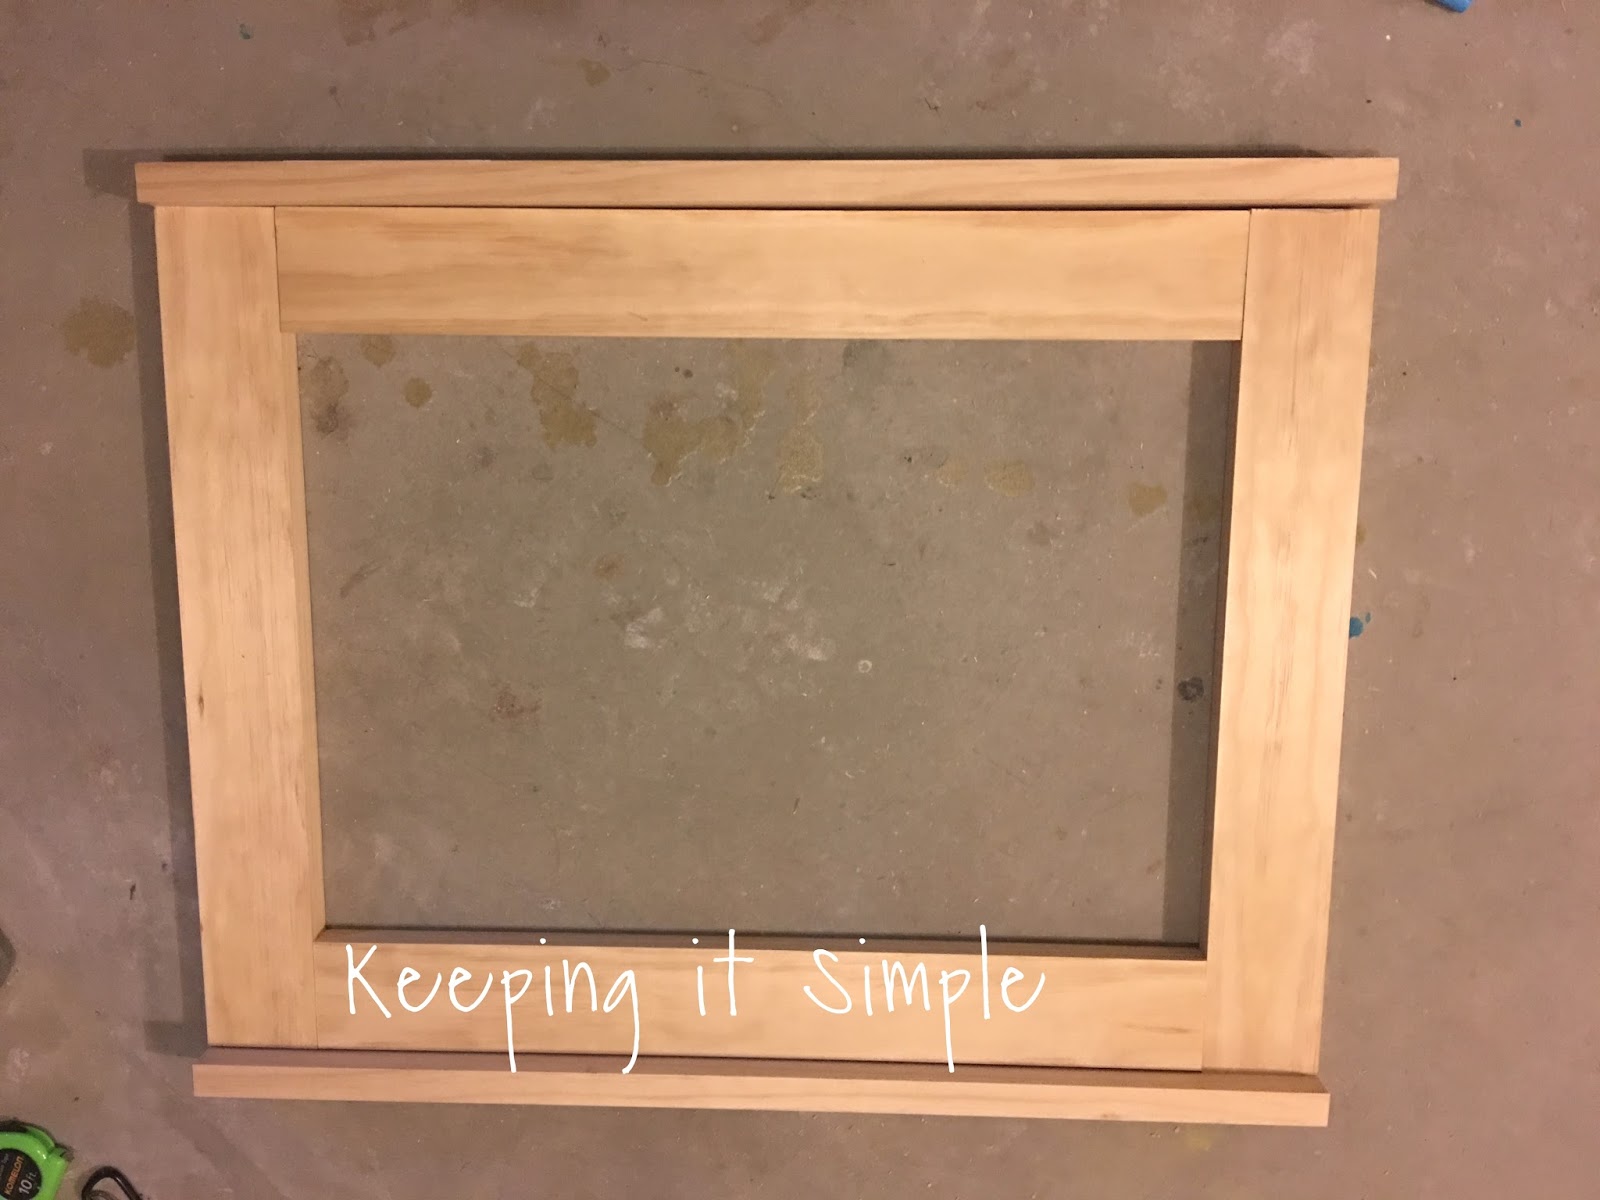
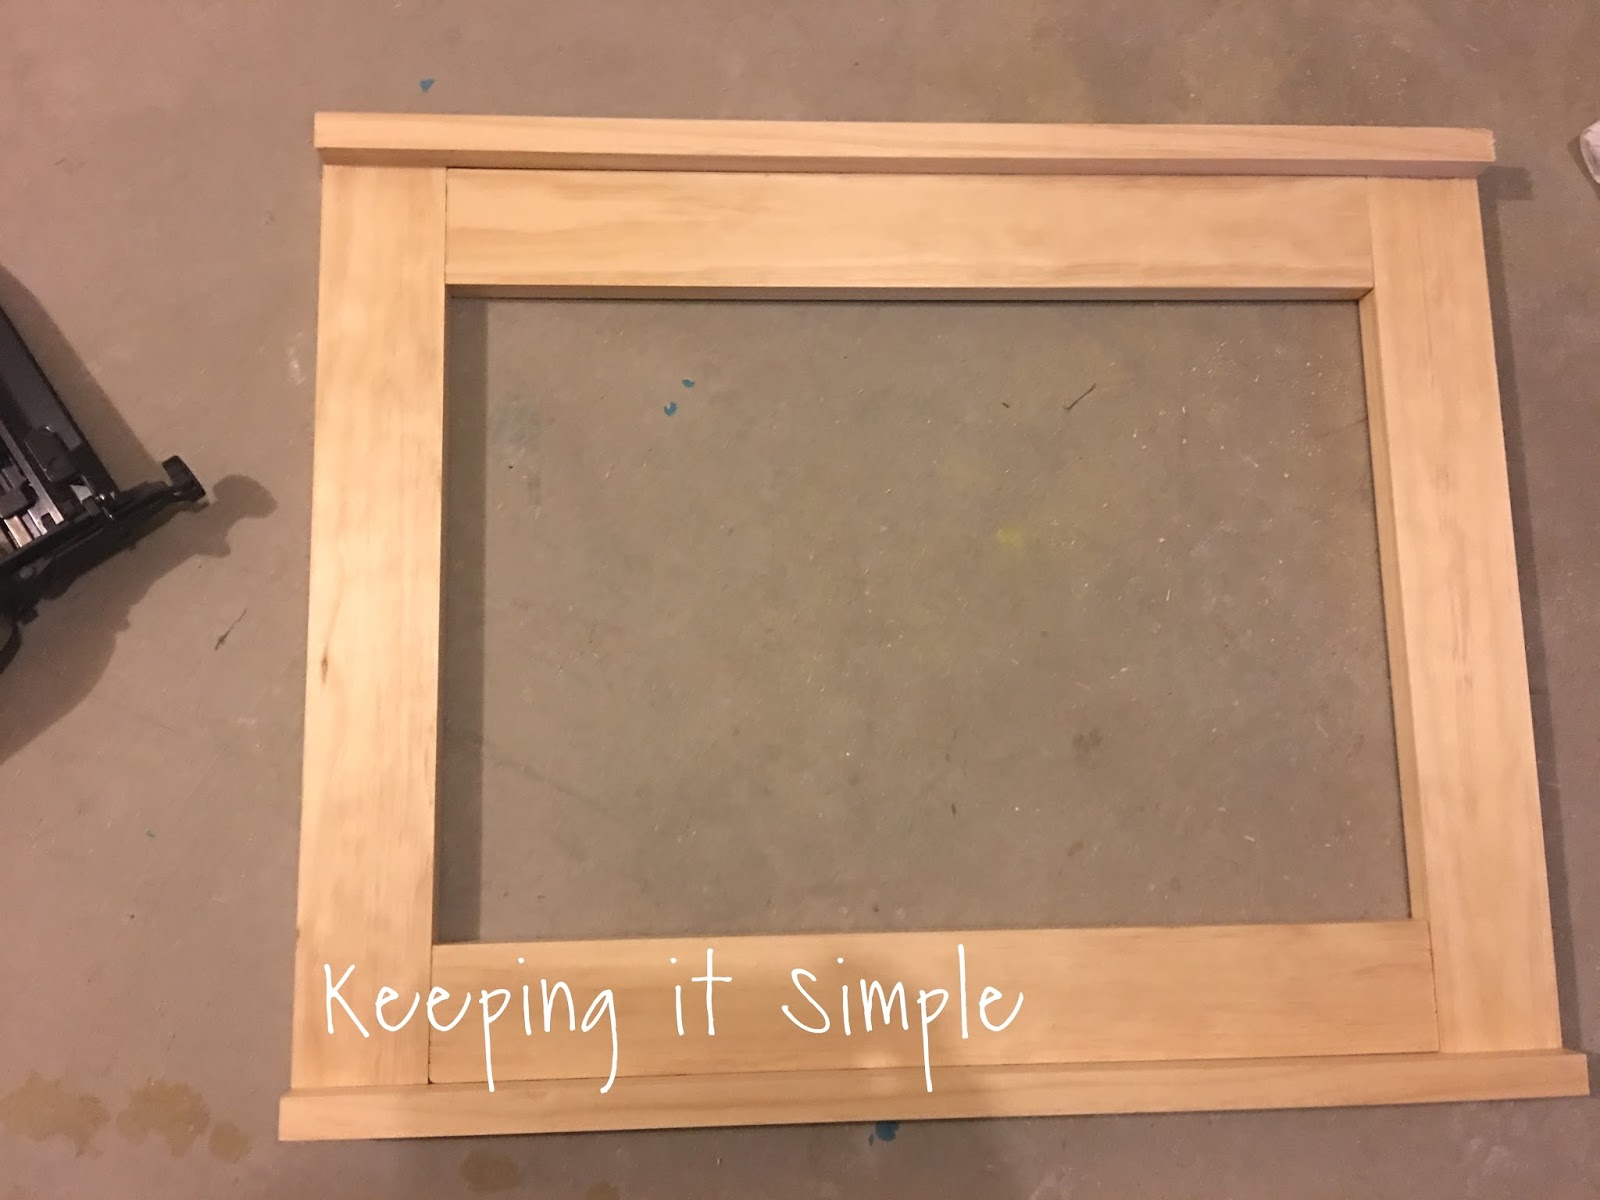
Now time to build the frame. I used a pine wood because it’s a nicer wood and doesn’t have as many knots and cracks as the cheap wood. I used a 1×3 for the inside of the frame. Using a miter saw I cut the wood to 19 3/8 inches. I cut two pieces to that length.

Then to finish up the frame, I cut two more pieces 18 1/8 inches.
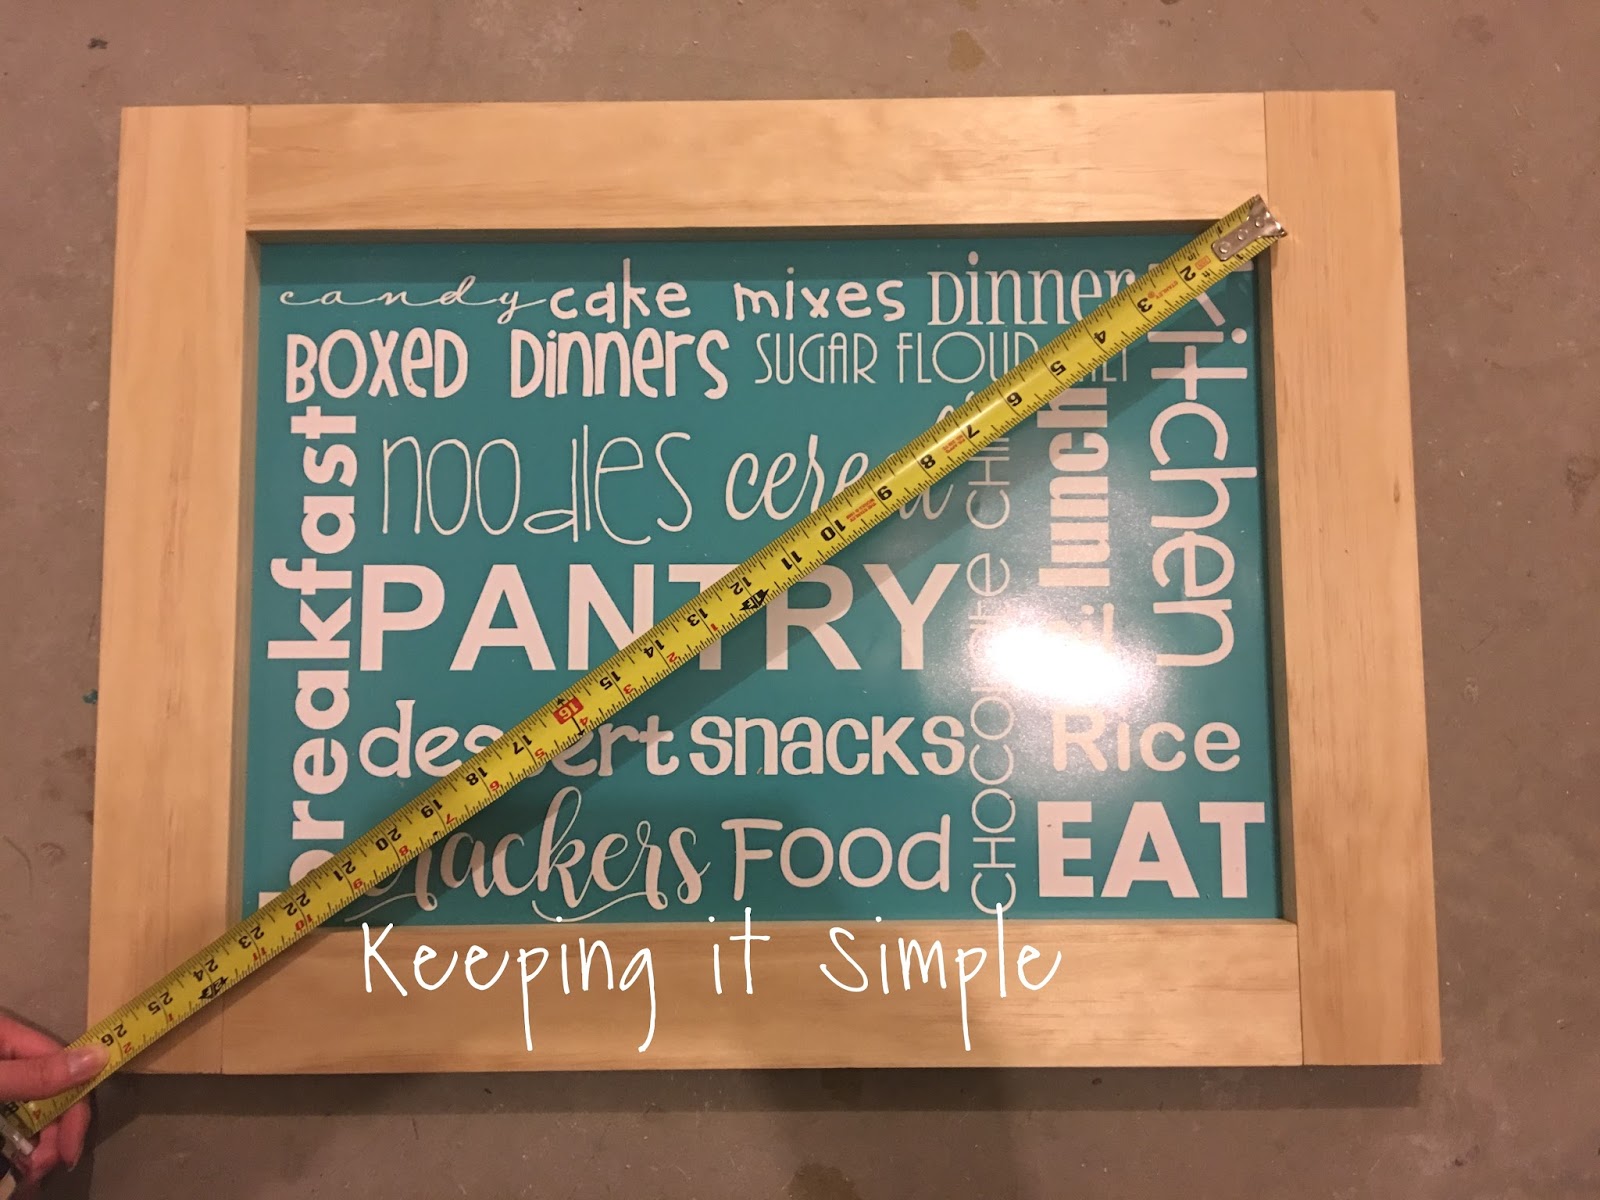
Here is a quick little trick I learned, to make sure it’s square and even, measure the diagonal on both sides. I got roughly 23 1/2 inches both ways, so I was good to go.
So if you wanted the frame to be a little more stable for when you are nailing in the outside of the frame, you could glue it together with wood glue or use pocket screws. I didn’t use anything, but it wouldn’t hurt to at least glue it.
So the outside of the frame I used a 1×2 piece of wood and cut two pieces 24 3/8 inches.
And then I cut two more pieces 19 9/16 inches.
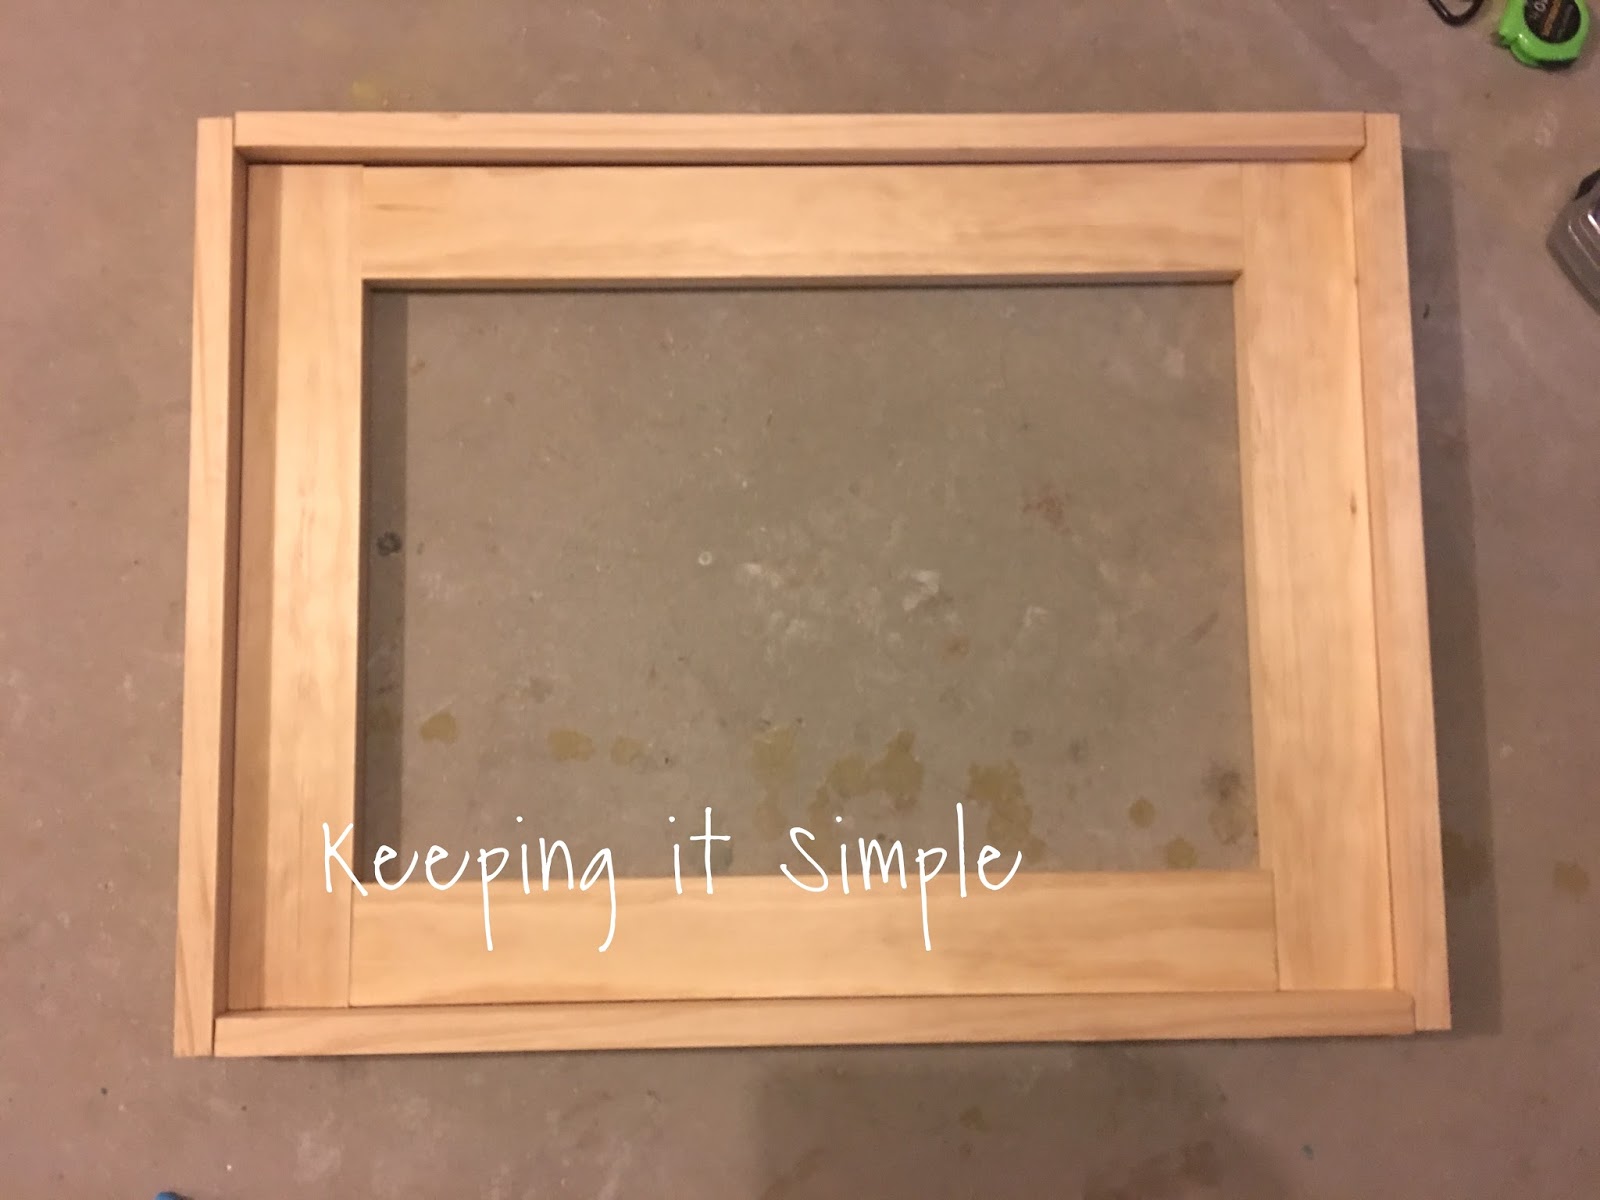
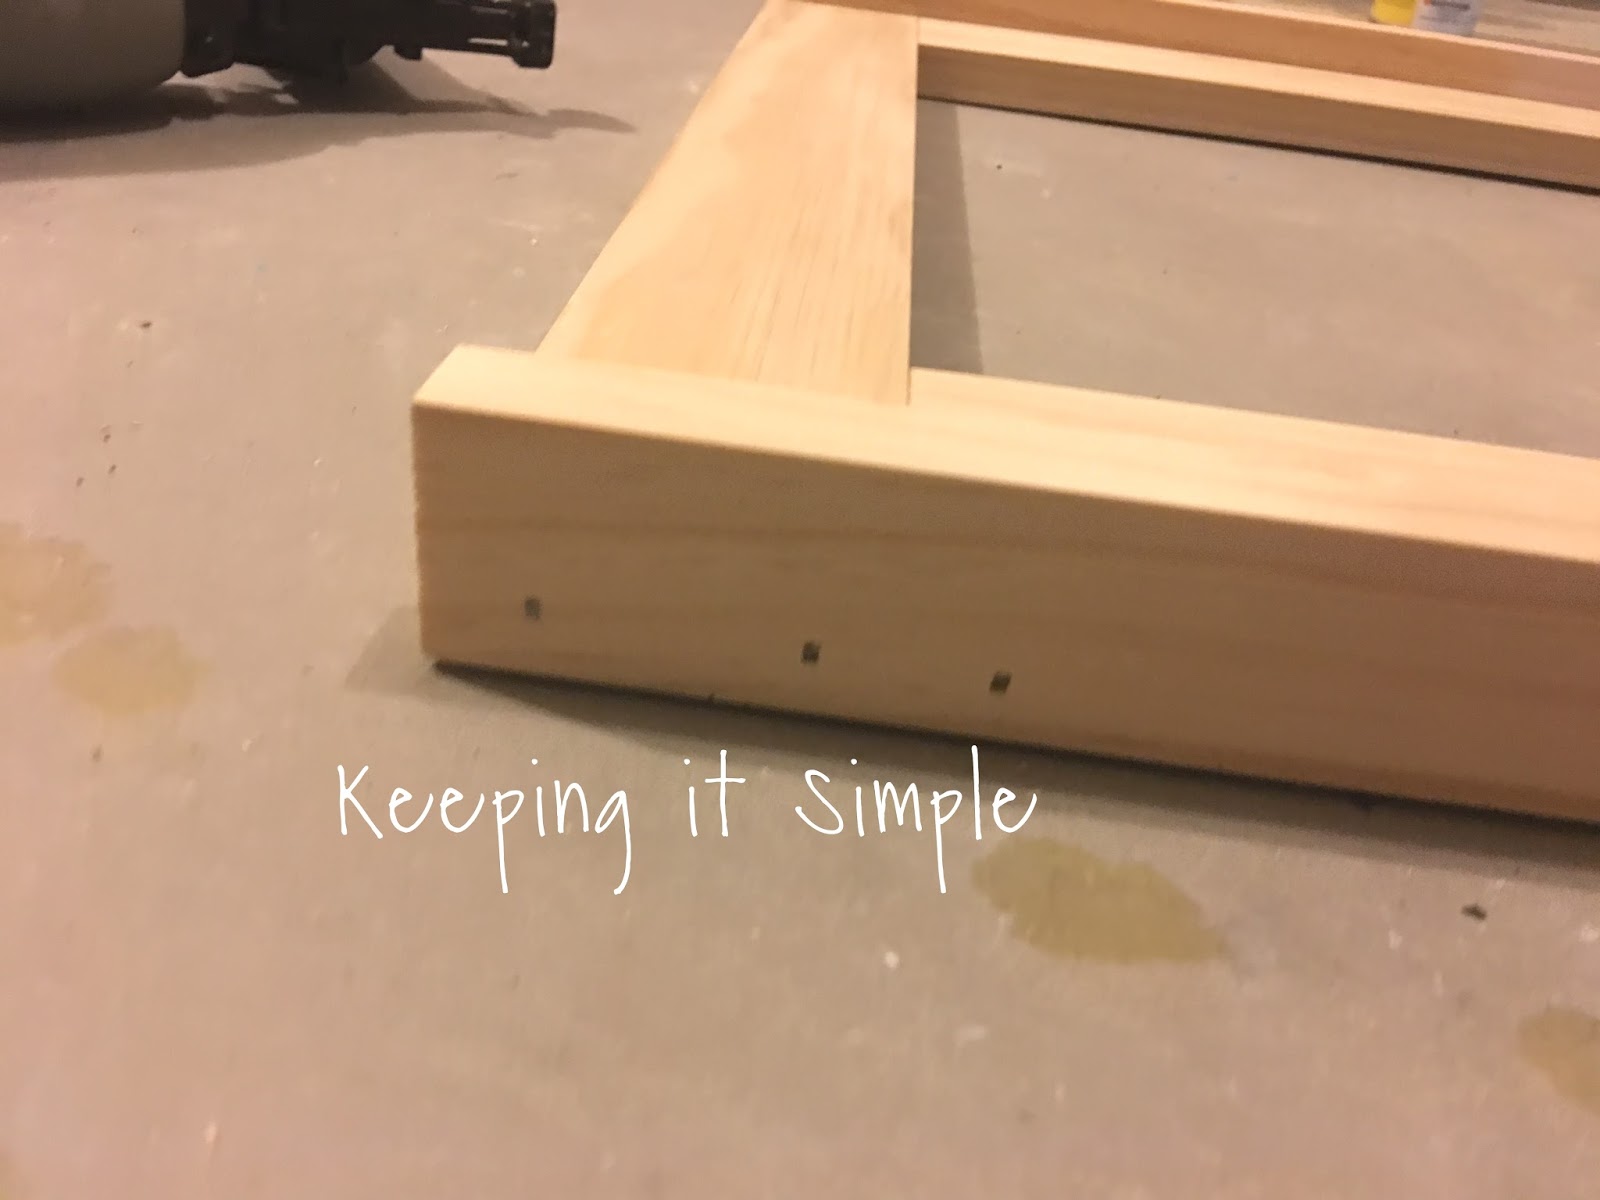
Now time to nail them together. I used a nail gun, with finishing nails (but if you have a brad nailer that would work too). I used nails that were 1 1/2 inch long. So I put the top pieces on first. Since I didn’t glue the frame together, I did each piece separately (sorry for no pictures of the process, my hands were a little full :D). So first I put the top pieces onto one of the vertical pieces, lined it up and put a couple nails into it. Then I lined up the horizontal piece and put a nail into it to hold the frame together. Once it was nailed together, it was very sturdy.
Here is the view of where I put in the nails in. I put some more along the frame, but these ones are the ones that are holding the inside frame together.
I then nailed the rest of the outside pieces onto the frame. Doesn’t it look pretty?? I love the little extra wood around the frame, it just gives it a more sophisticated look. Just in case you are curious the full sign/frame is 26 inches wide and 19 3/4 inches tall.
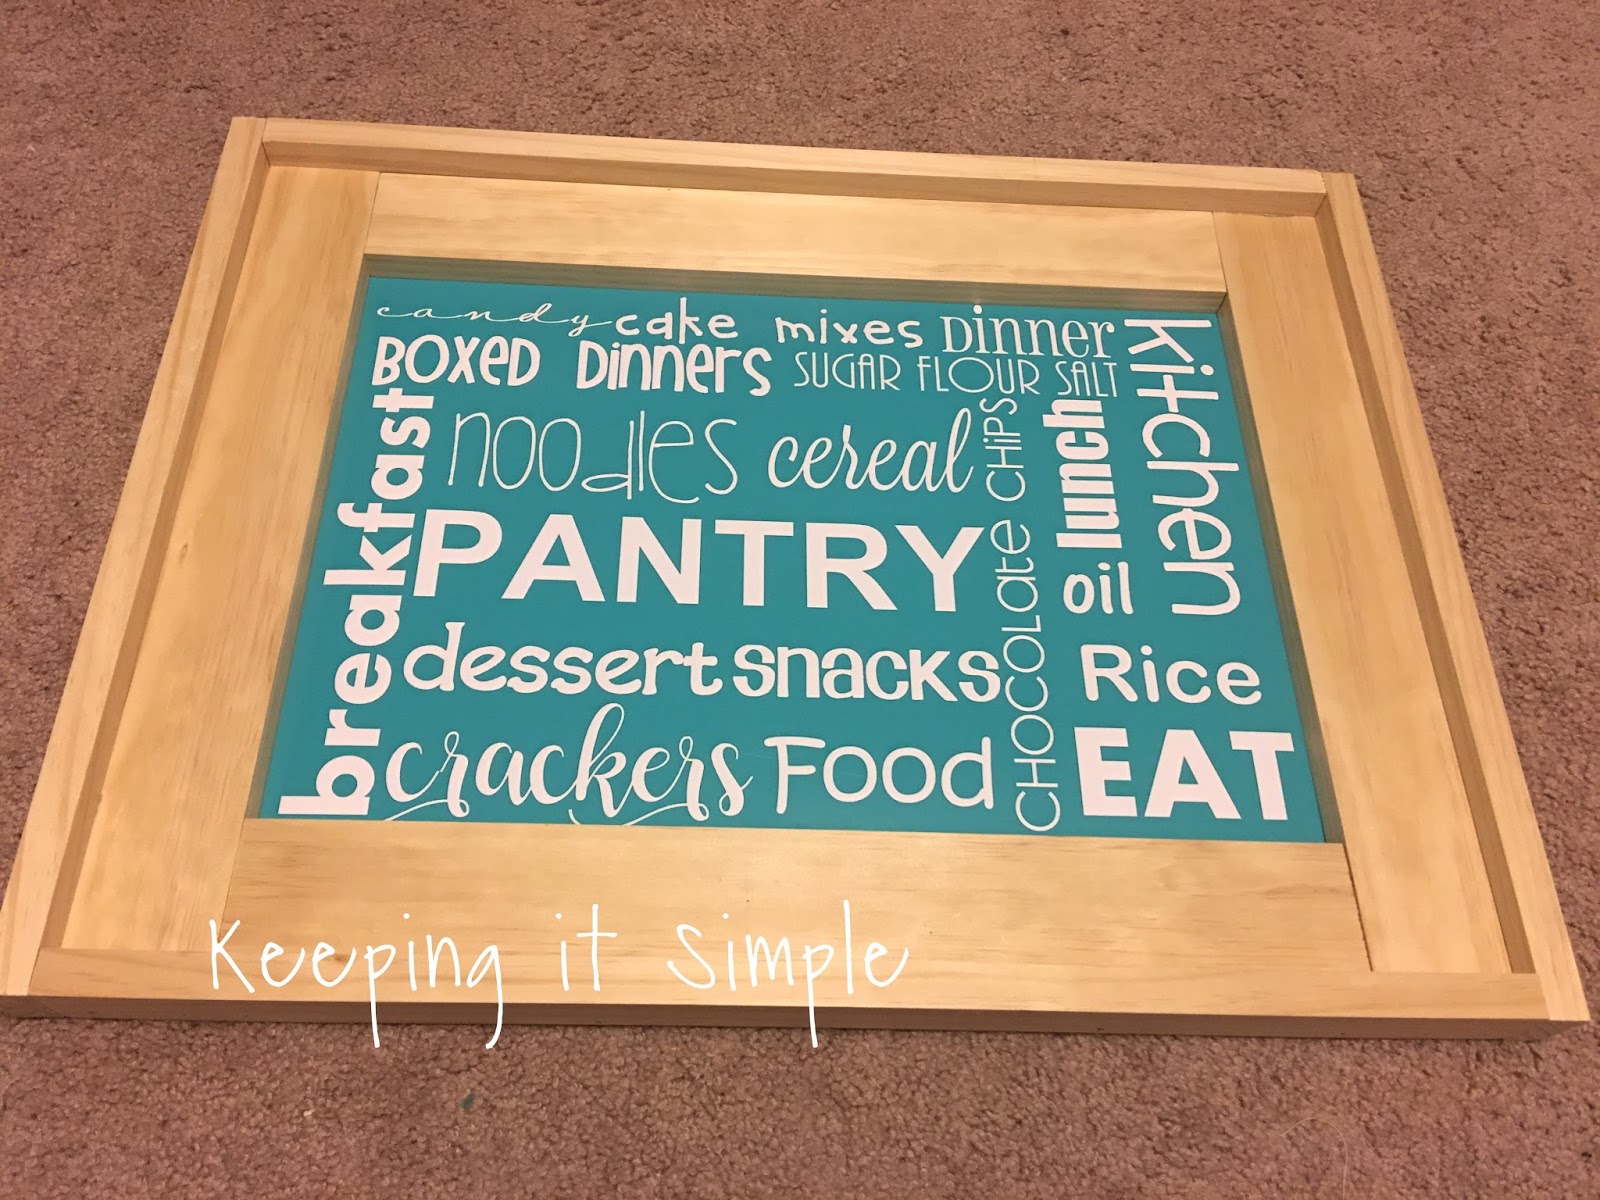
Once the frame was done, I painted it white. I used a nicer wood paint with a semi gloss finish, but really any paint would work.

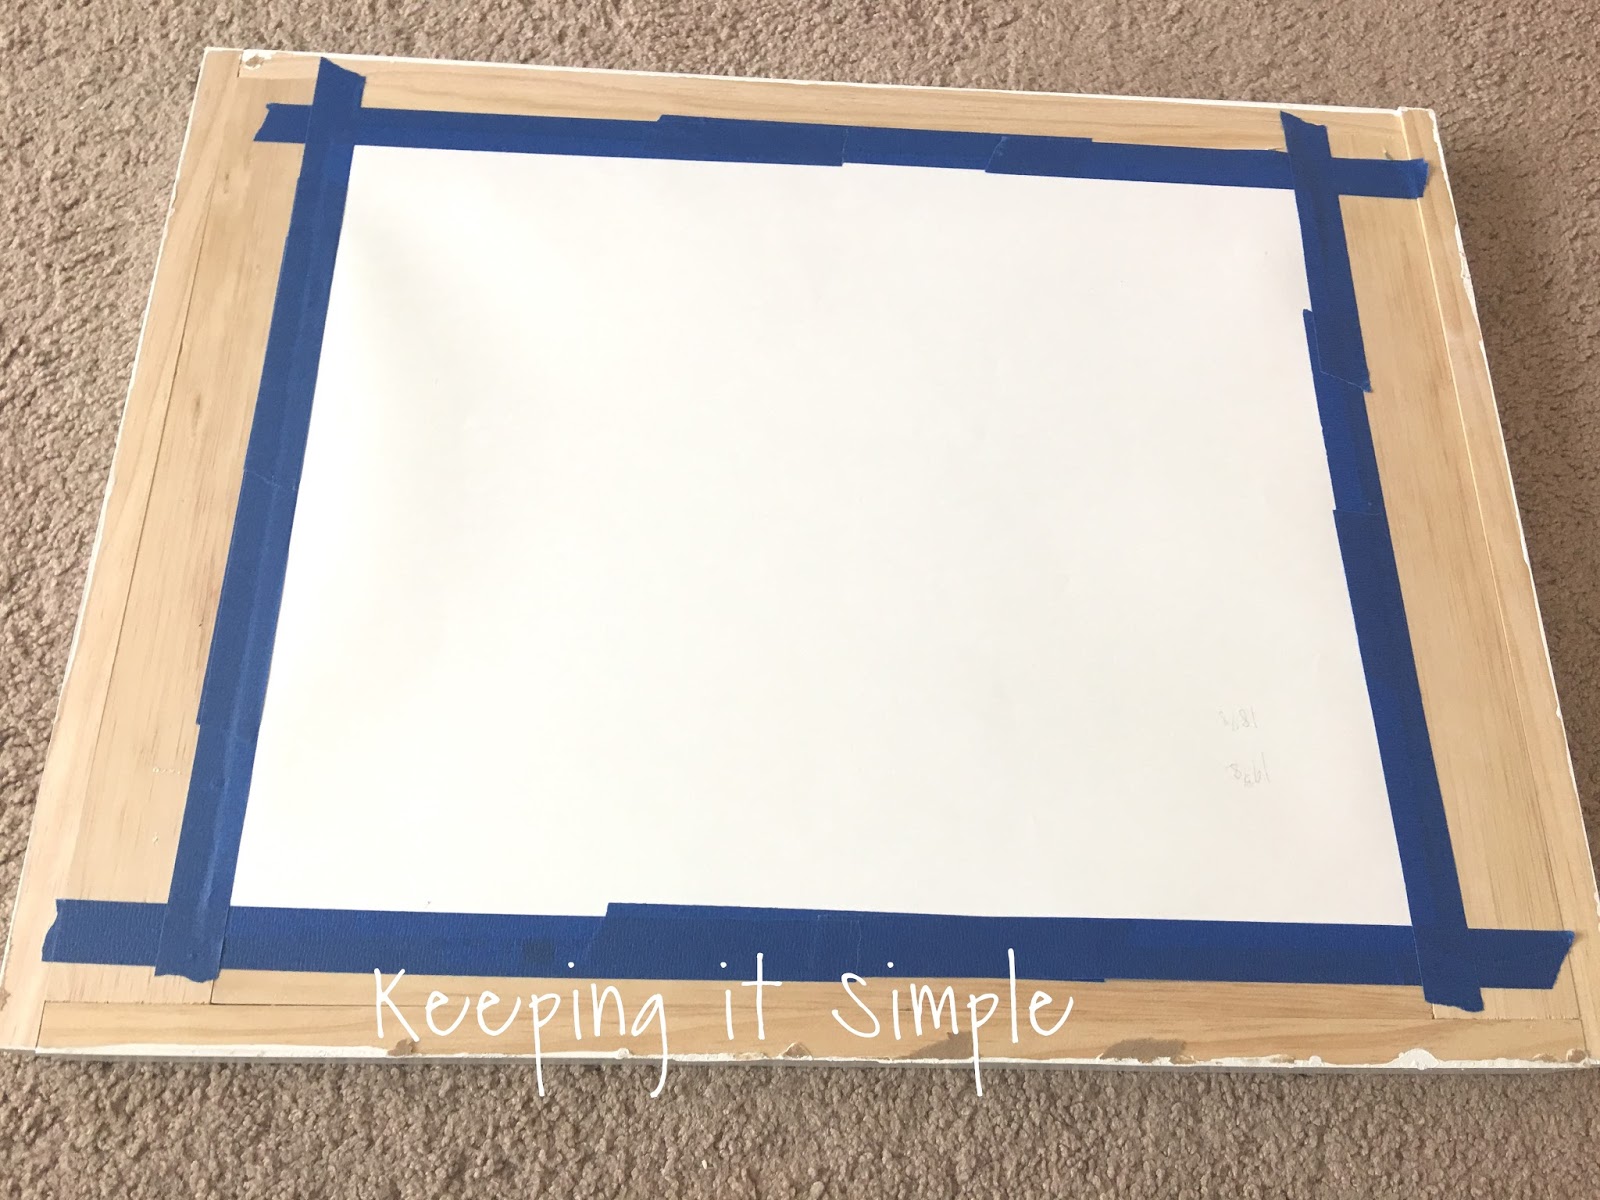
Now time to put the pictures into the frame. Using painters tape, I put some pieces onto the back of the picture and then centered it within the frame.
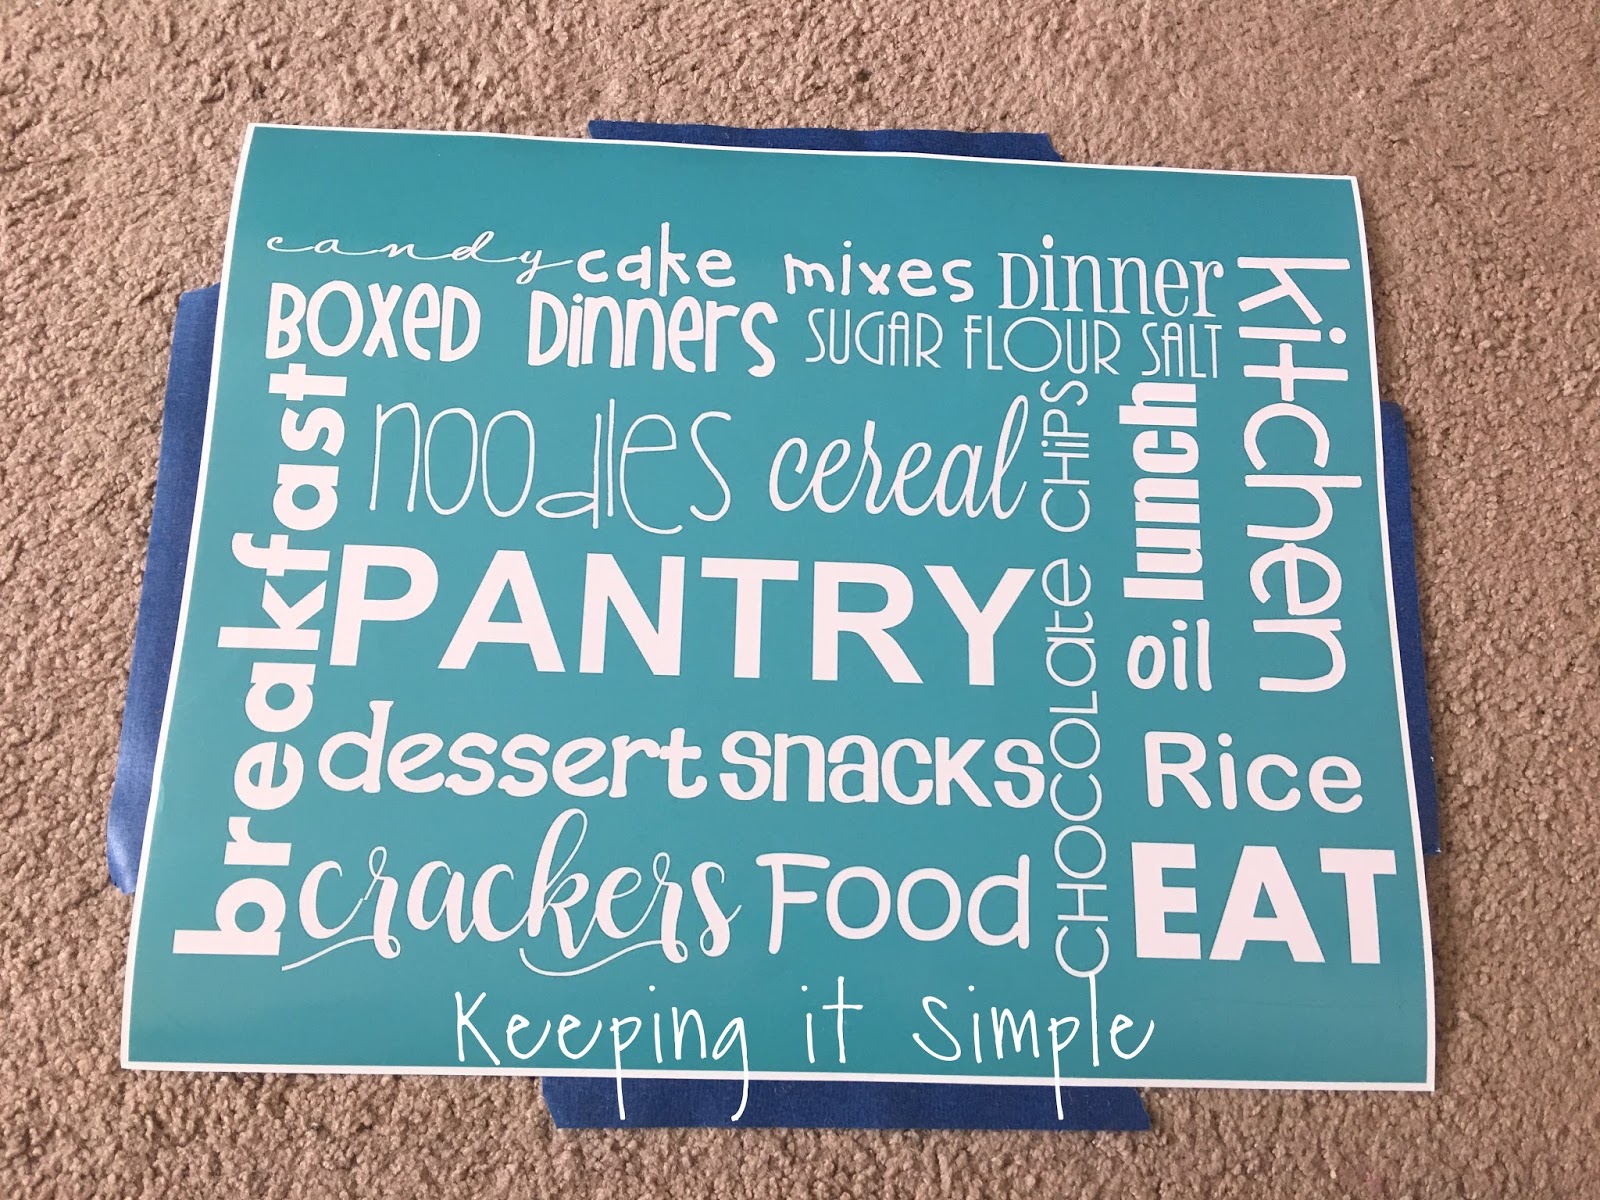
Once I had it centered and straight, I turned it around and then taped the whole picture down.
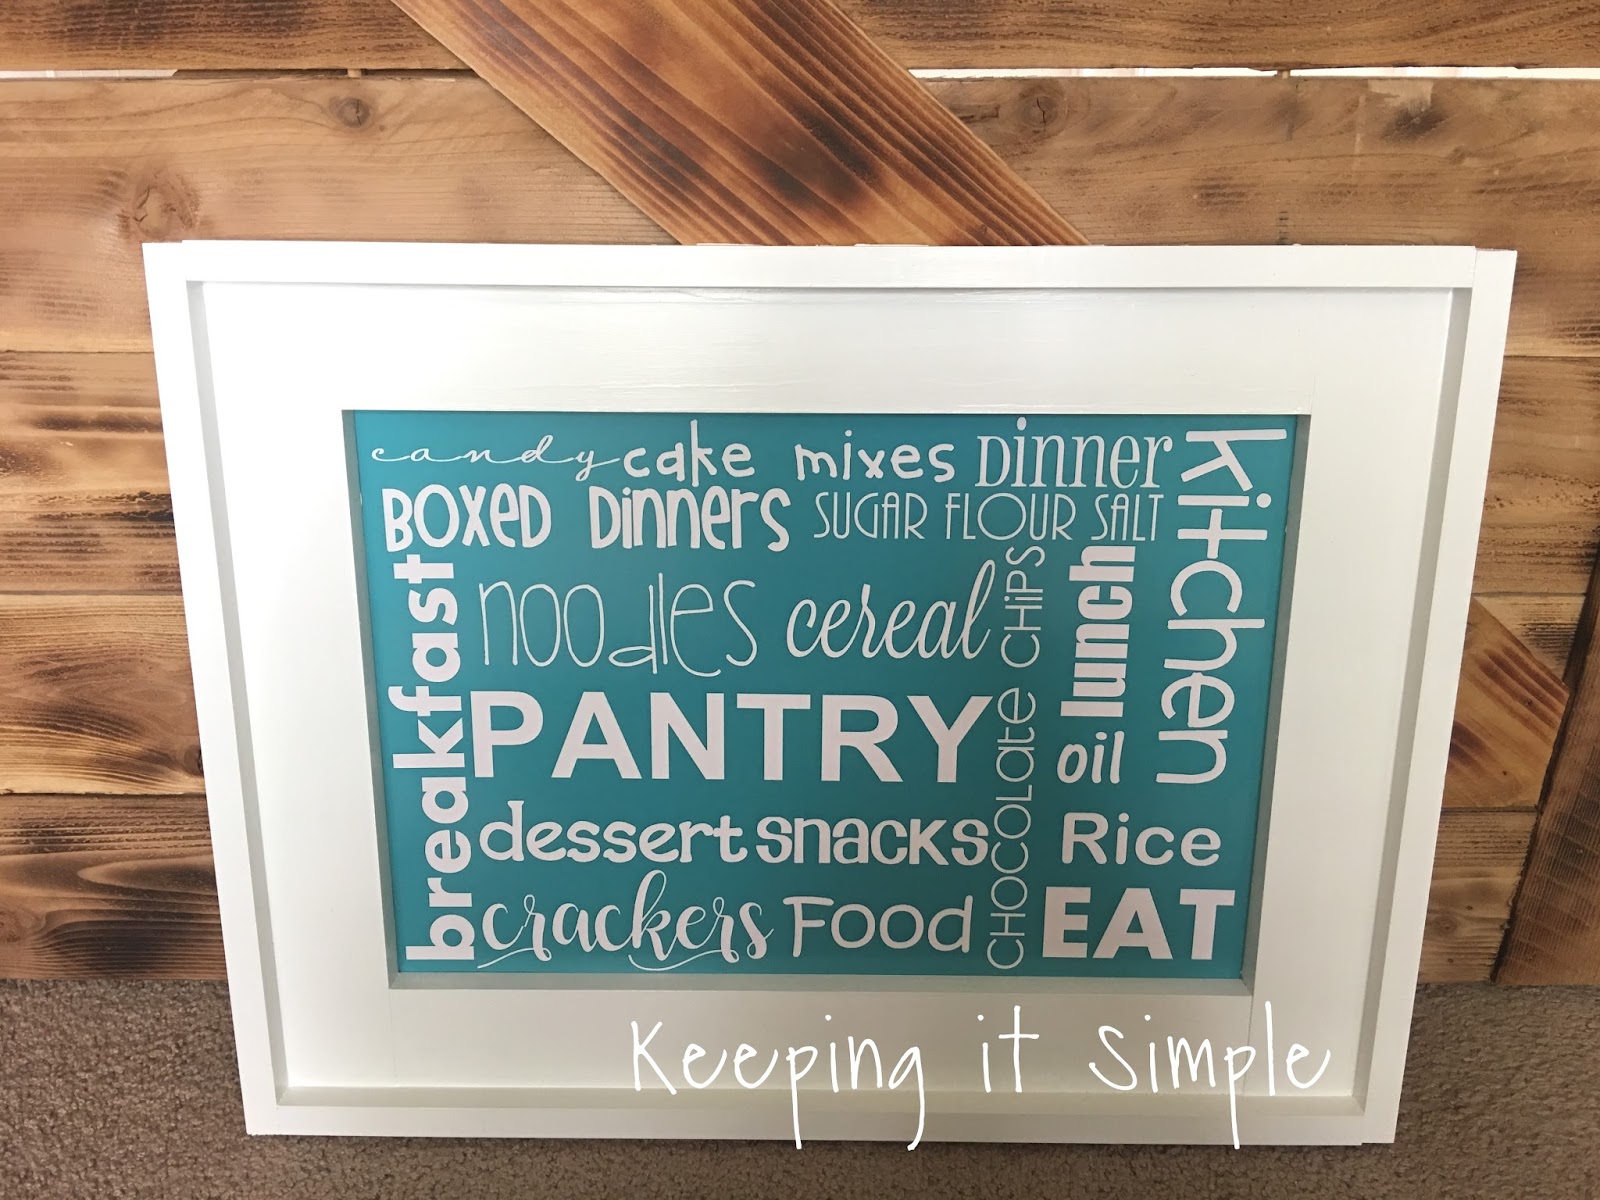
And that’s it! Isn’t it so much fun?! I seriously love making decor for my house, it’s so much fun to have someone come in and say that they haven’t seen something like that before :).
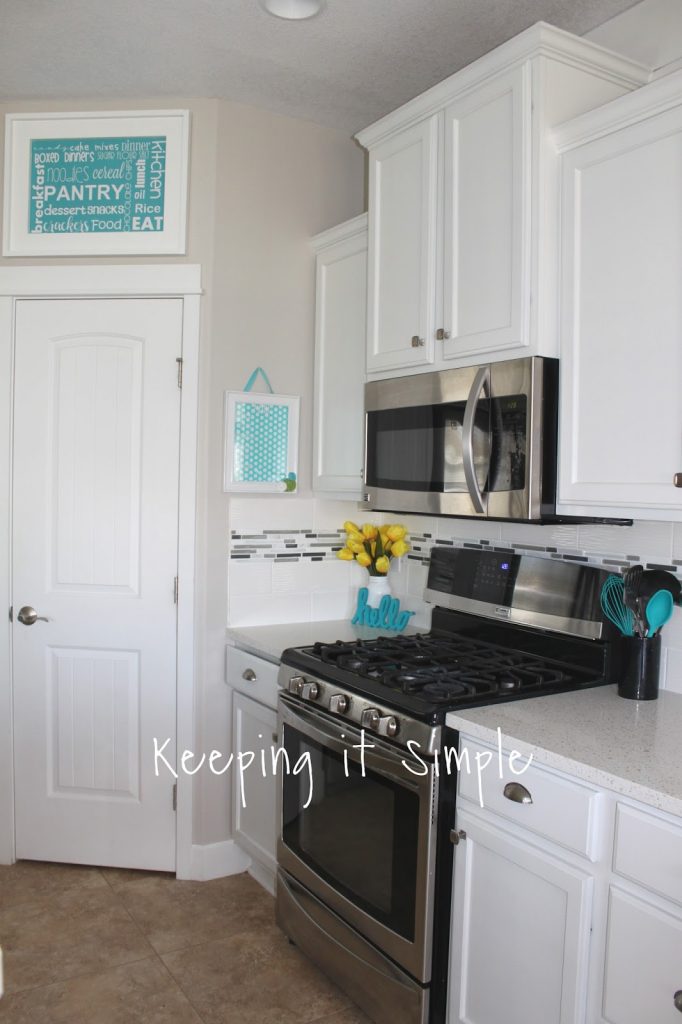
And here it is above my pantry door.
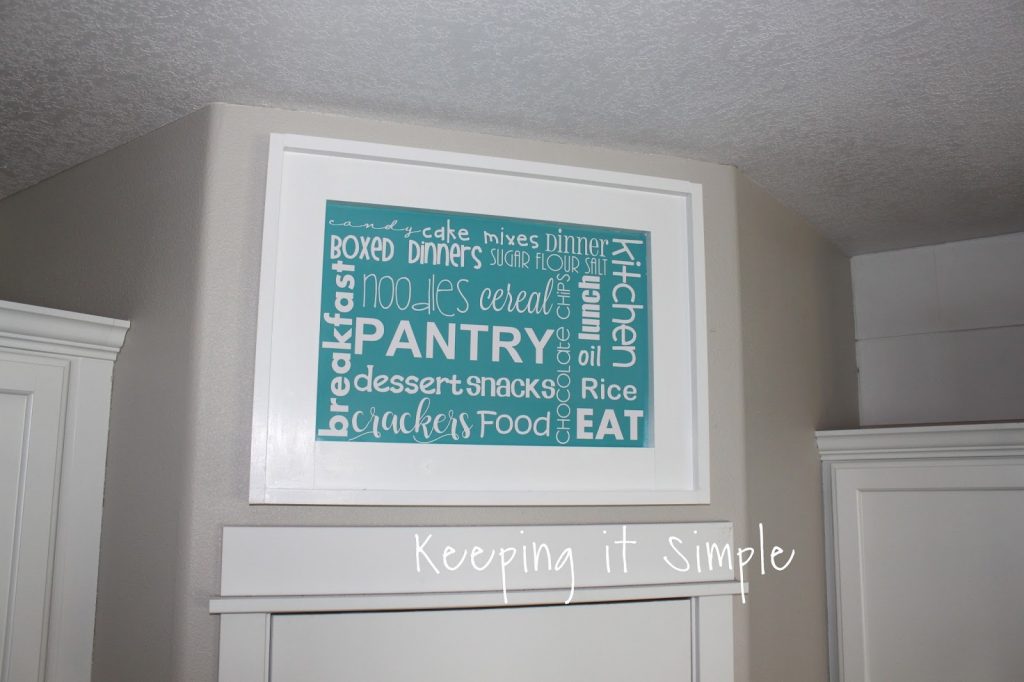
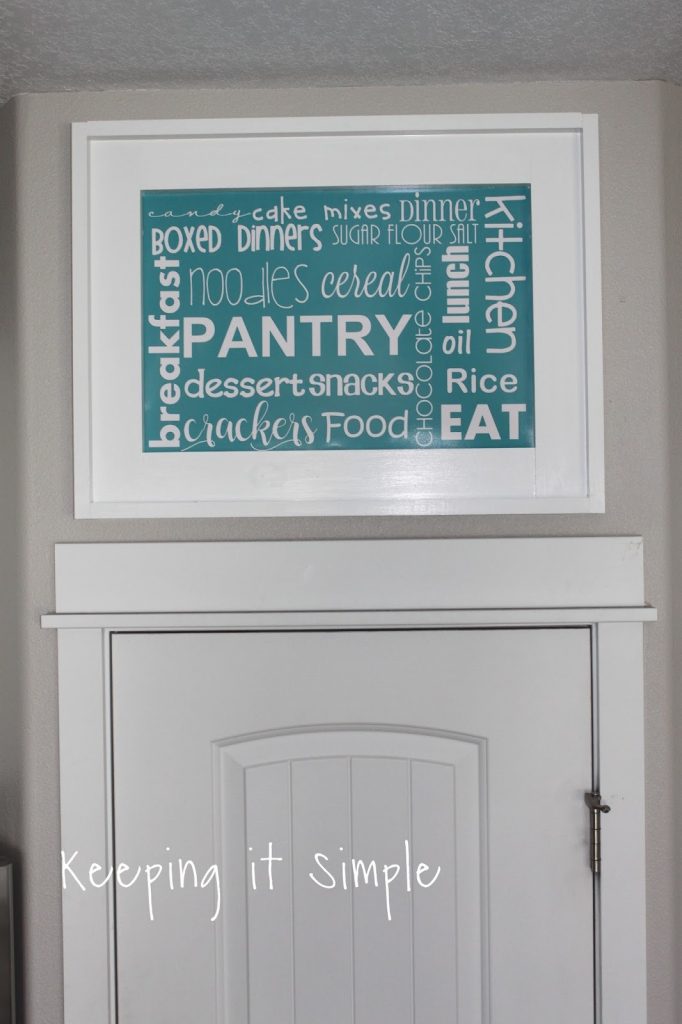
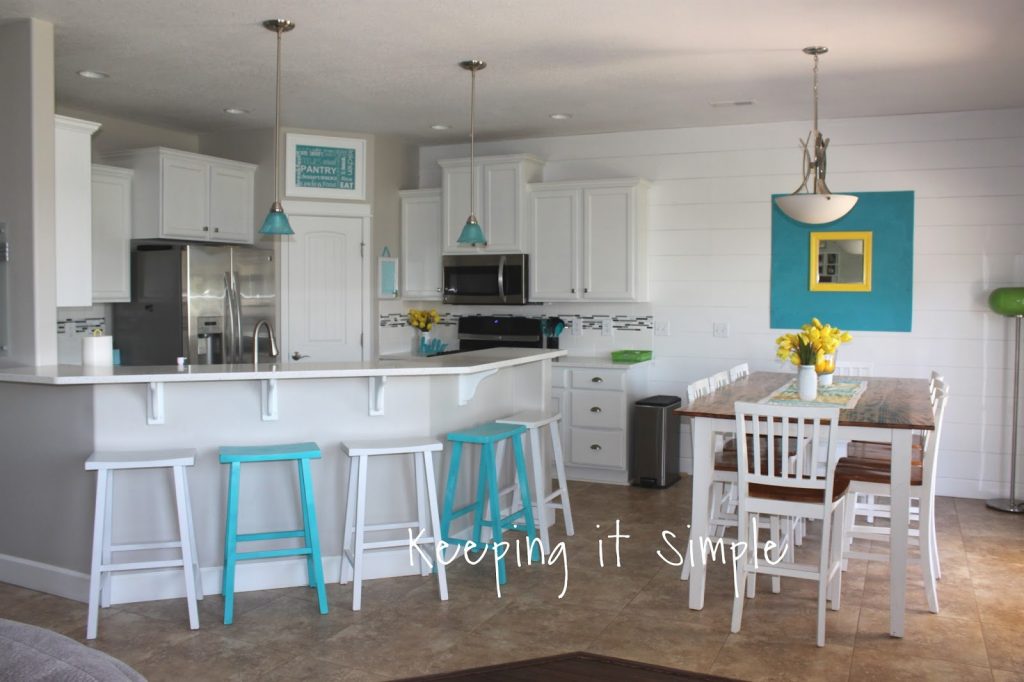
It goes perfectly with my new, white kitchen.

This post contains affiliate links.
Leave a Reply
You must be logged in to post a comment.