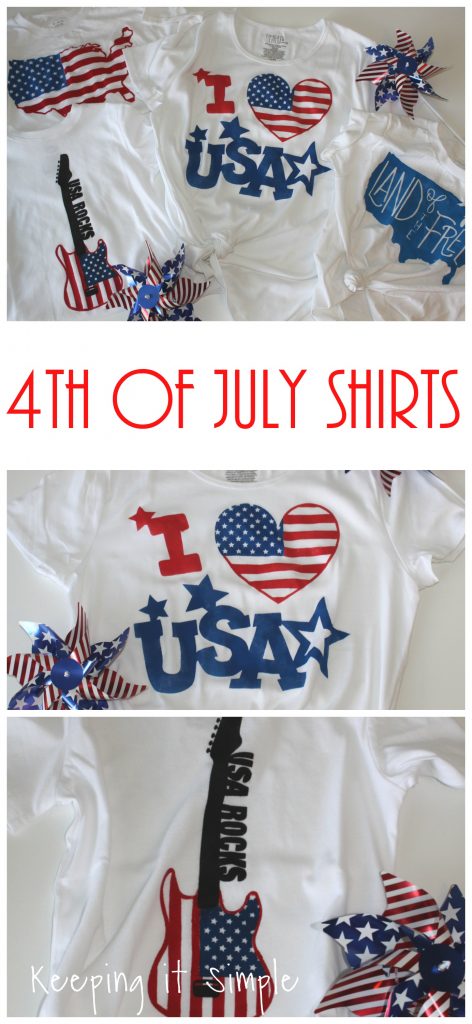
DIY 4th of July Shirt Design Ideas
4th of July is this week and I am finally getting to makings some 4th of July shirts for my kids and me. Better late than never, right?? These shirts turned out amazing and I cannot wait to wear them on the 4th of July during the parade and fireworks. I made all of the 4th of July shirts the same way, with stencil vinyl and paint, I just changed up the design. They are so easy to make that I even had my kids help and they rocked it! You can easily make these with heat transfer vinyl too, either way they will look amazing!
Here is a quick video to show you how I made them 🙂
This is how I made them:
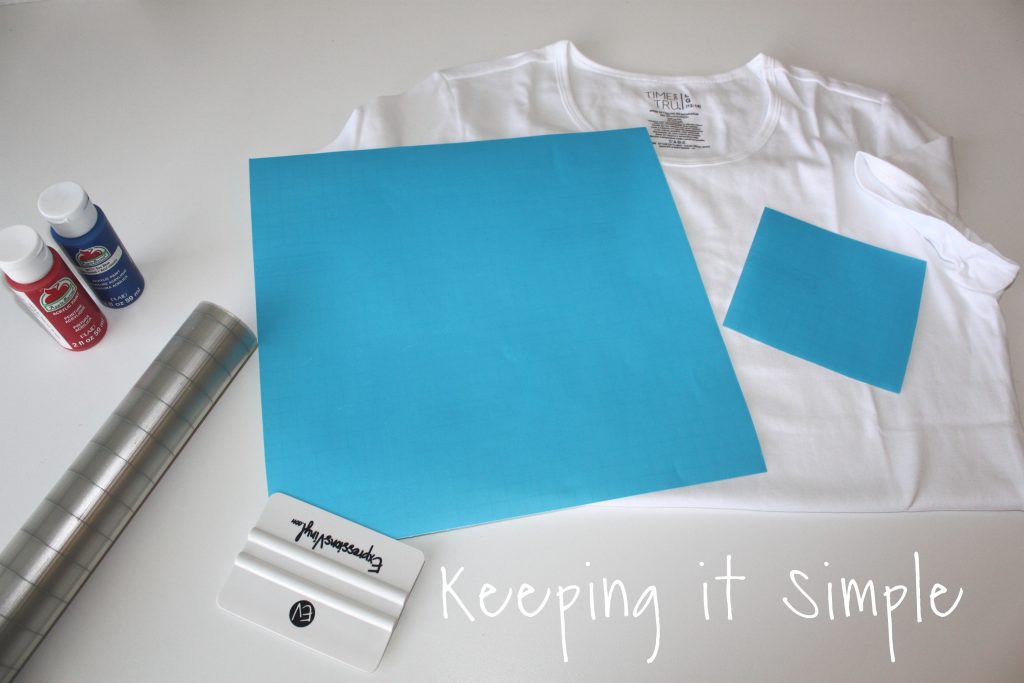
I started with a plain white shirt. Then I cut out the design out of stencil vinyl, using my Silhouette CAMEO. I got all of the designs in the Silhouette Studio online store. They have a ton of cute ones and they are all ready to go cut :).
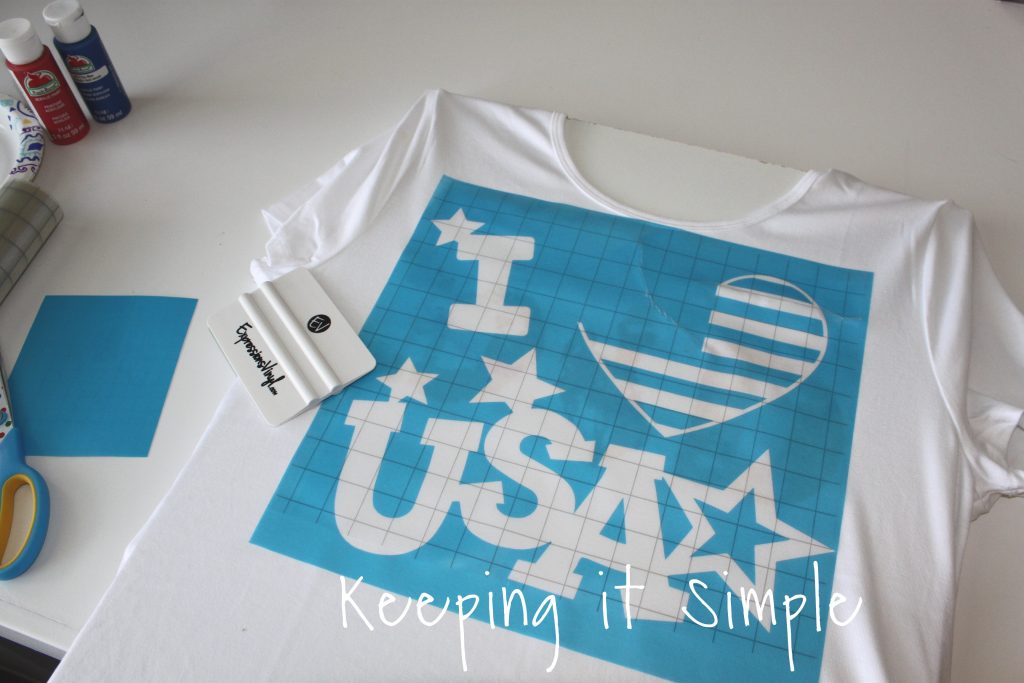
To make a stencil, I removed the image from the stencil vinyl and then I put it onto the shirt using grid transfer tape.
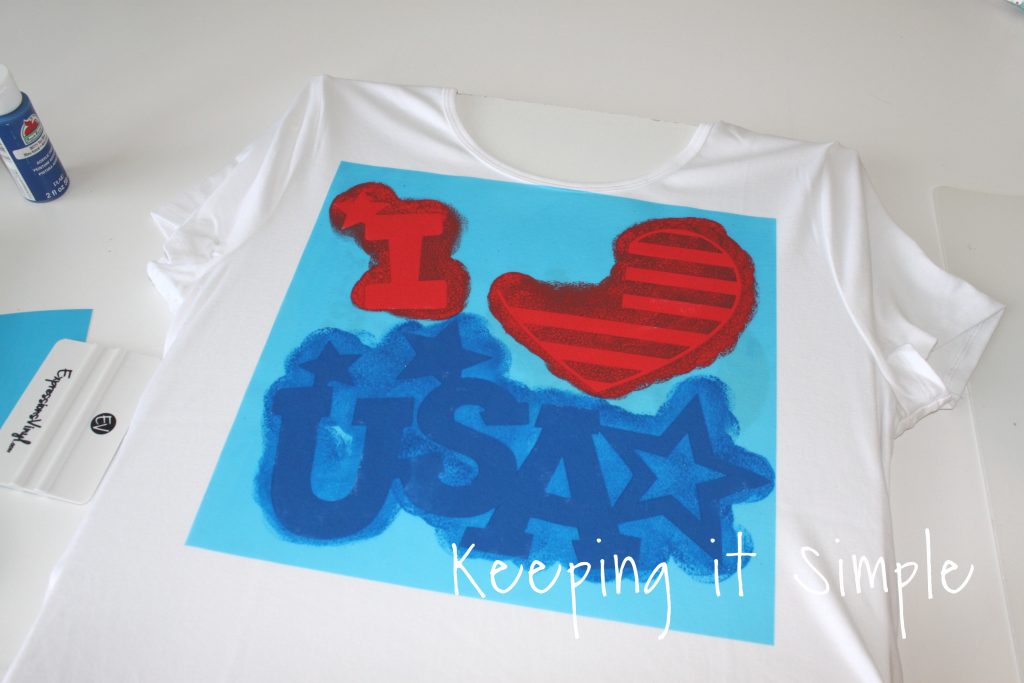
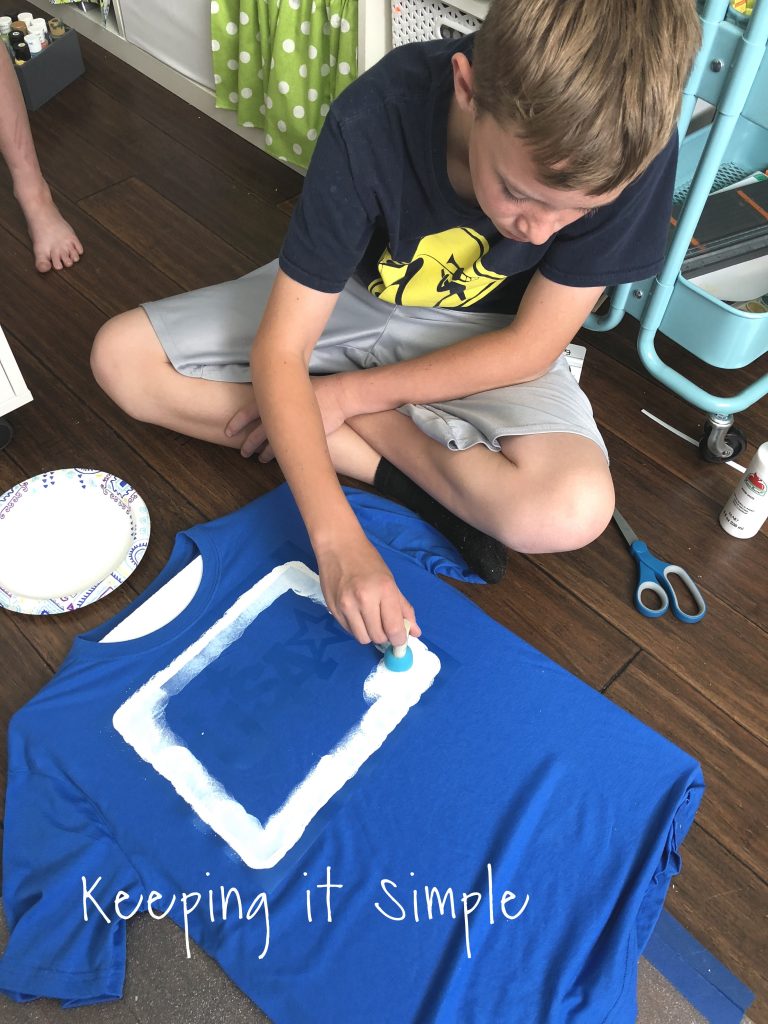
Using a circle foam brush, I then painted the design on. For these I just used regular acrylic paint because that is what I had on hand, but I RECOMMEND fabric paint, it definitely lasts longer on the shirts.
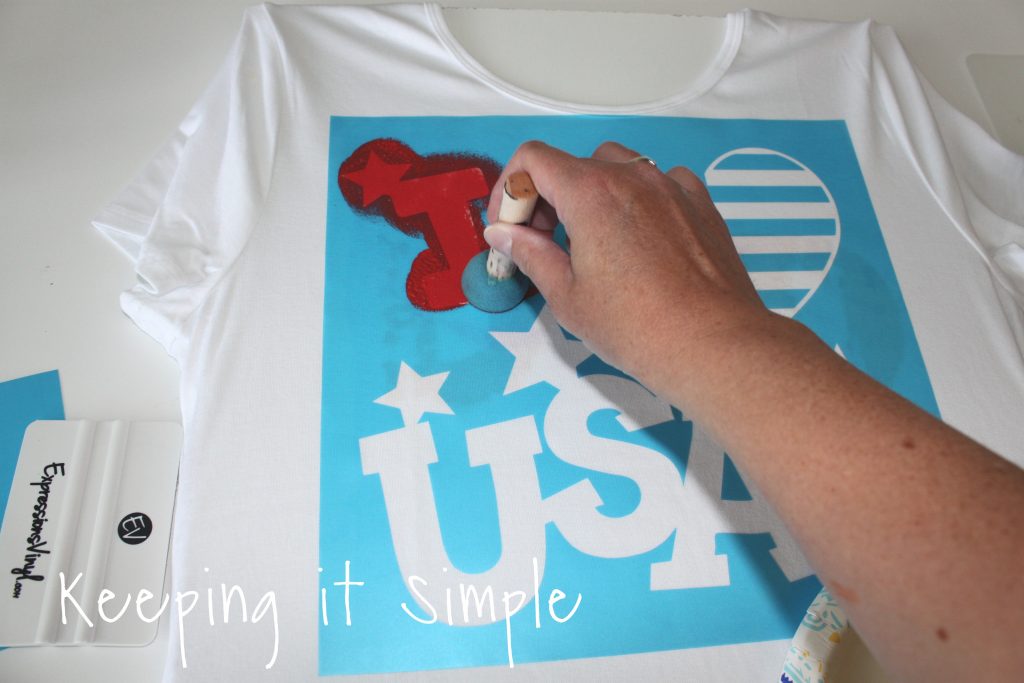
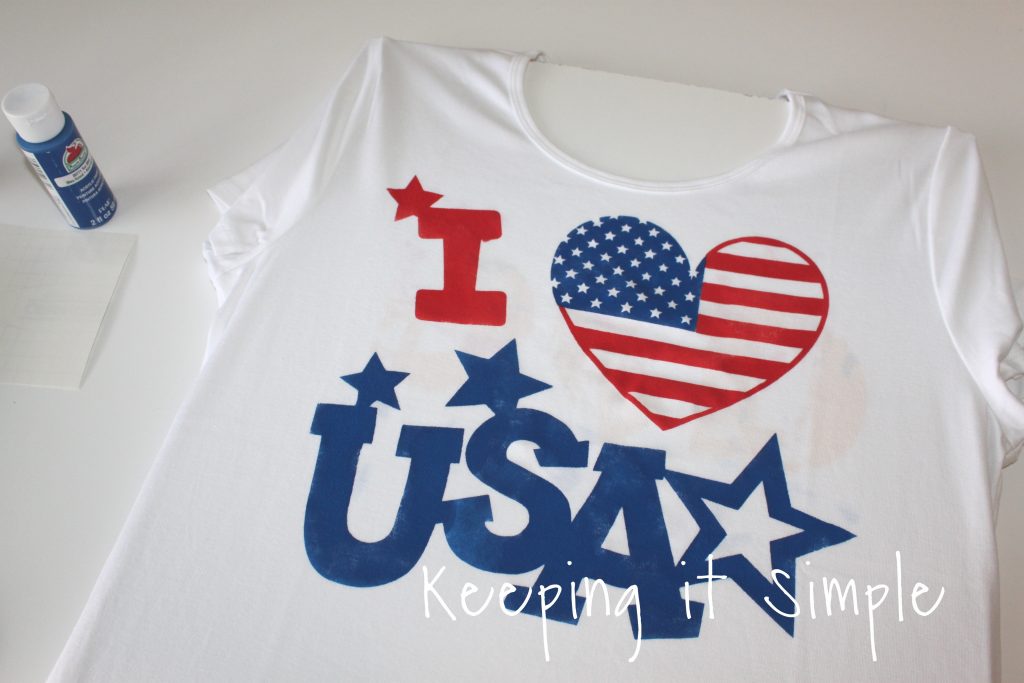
Here is the first layer of the design all painted.
Once the paint was dry, I peeled away the vinyl. You can use a hair dryer to speed up the drying time. Then I removed the other part of the vinyl, the stars on the heart.
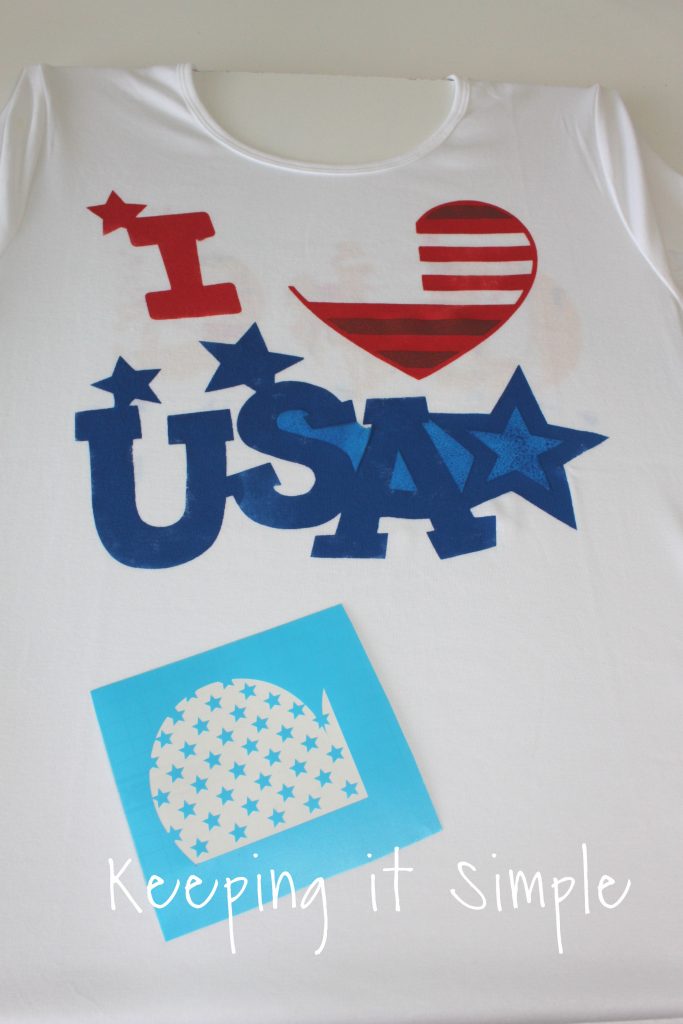
I then put the vinyl onto the shirt. One benefit of the stencil vinyl is that it’s see through so it’s super easy to match up the design!
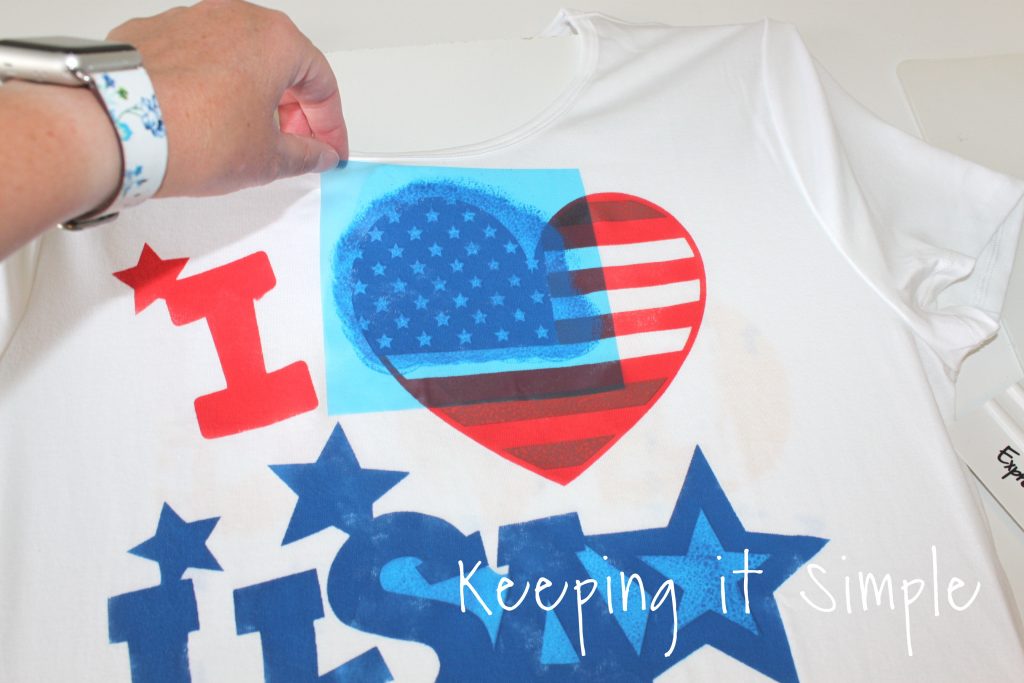
I then painted that part blue. I waited for it to dry and then I removed the vinyl.
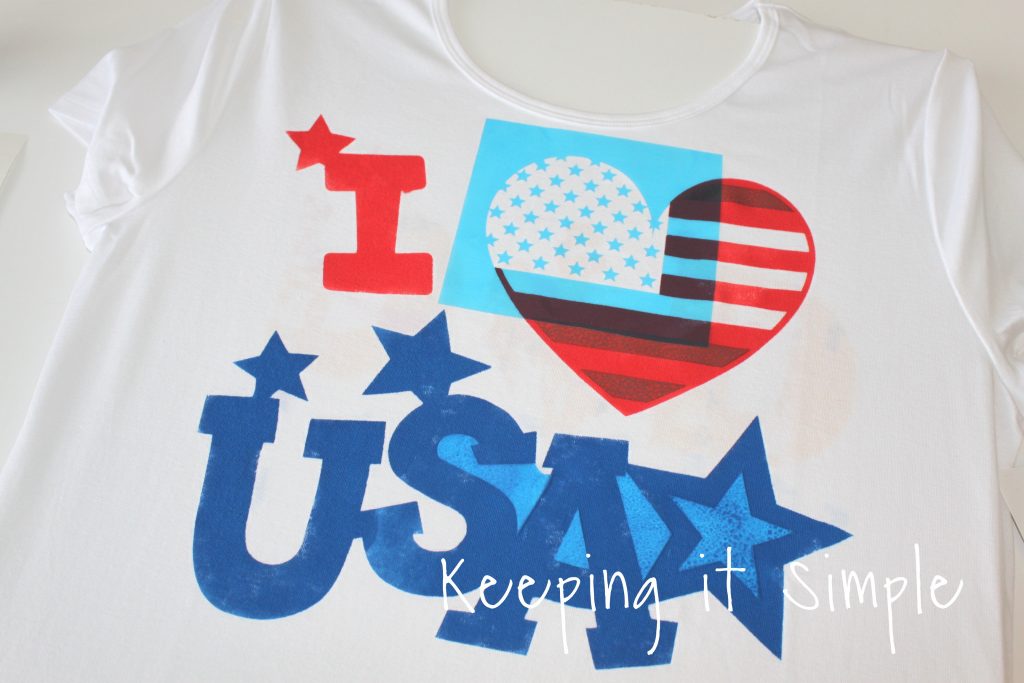
Using a little hook, I removed the rest of the vinyl off of the shirt.
And that’s it!! Doesn’t it look so good? I love the colors and how it all goes together.
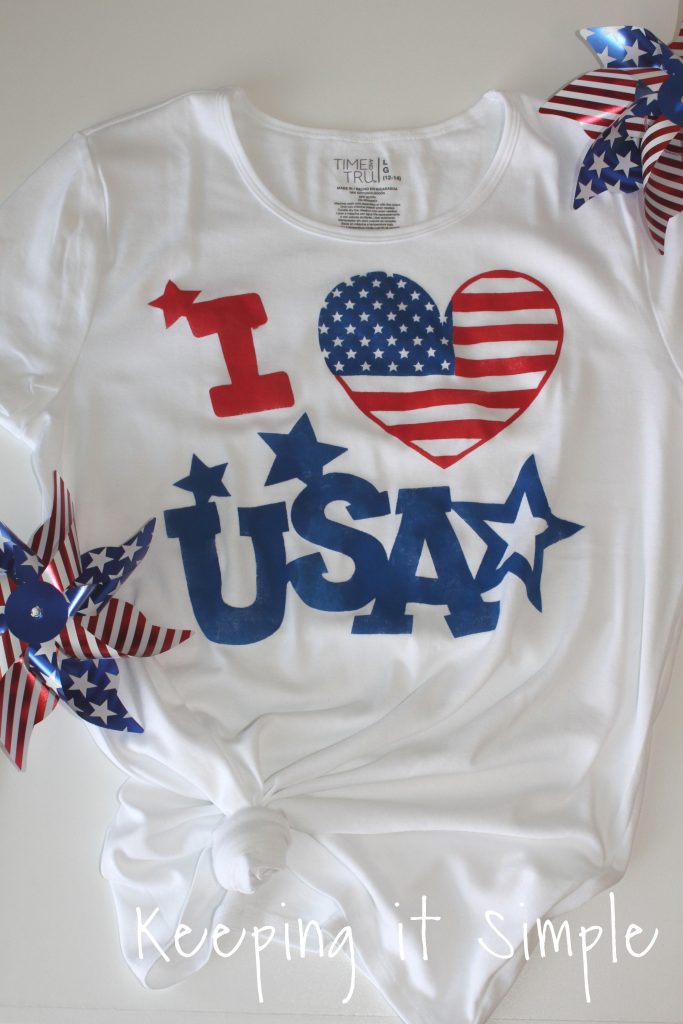
I’m always amazed by how crisp the lines are when I use paint, it looks so good!
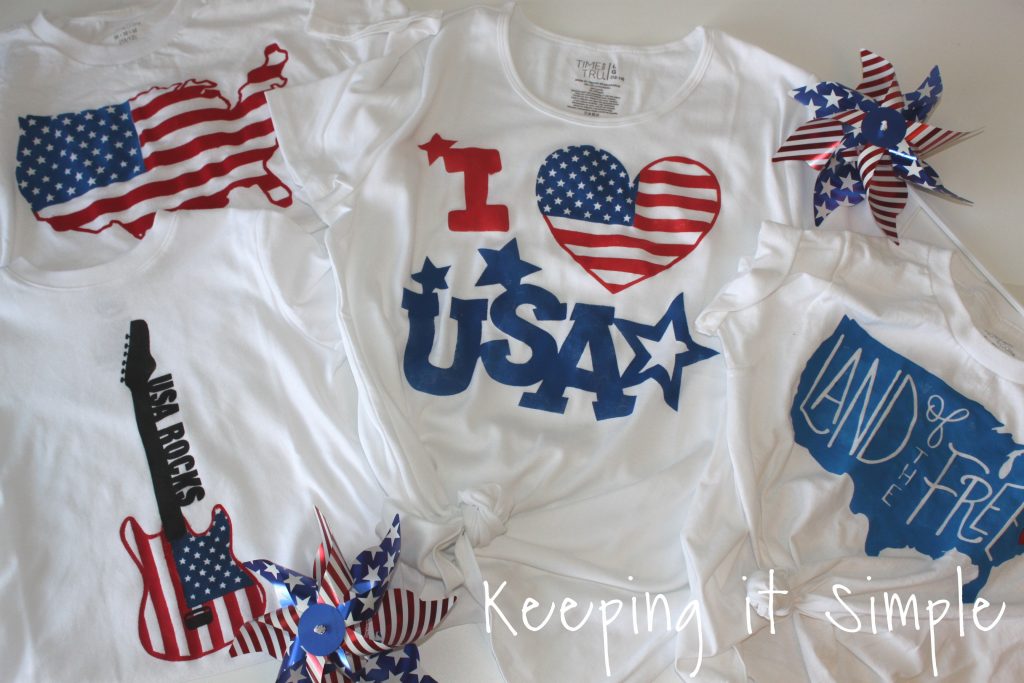
I made a shirt for everyone in the family! They all got to pick their designs and then they helped me make them.
Here they are working away.
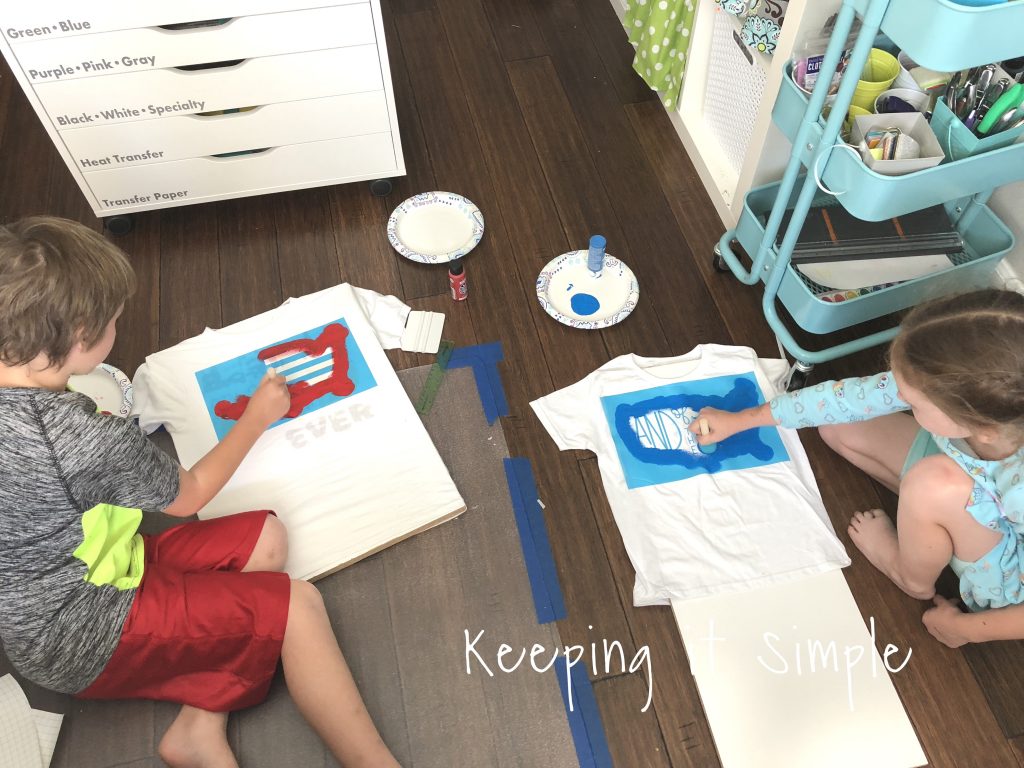
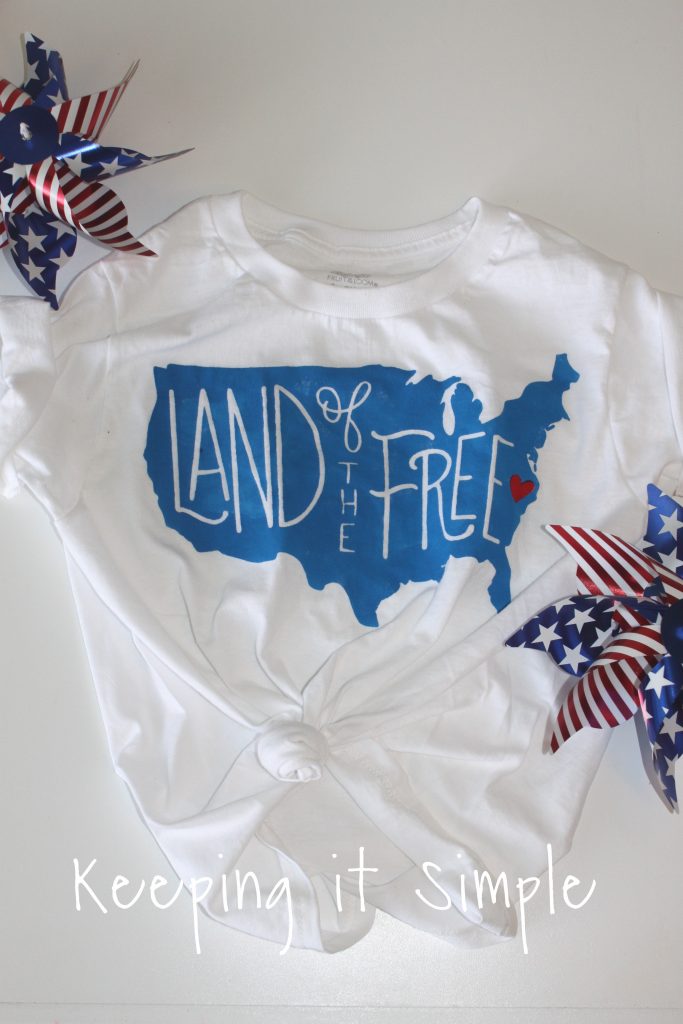
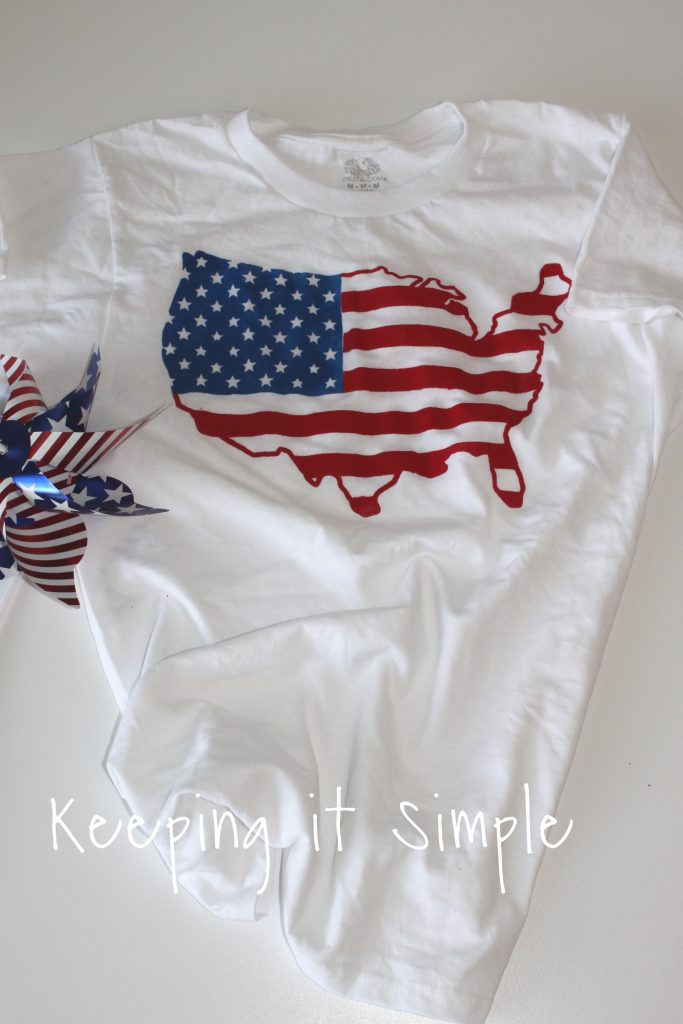
They all turned out so amazing! This one is my daughter’s.
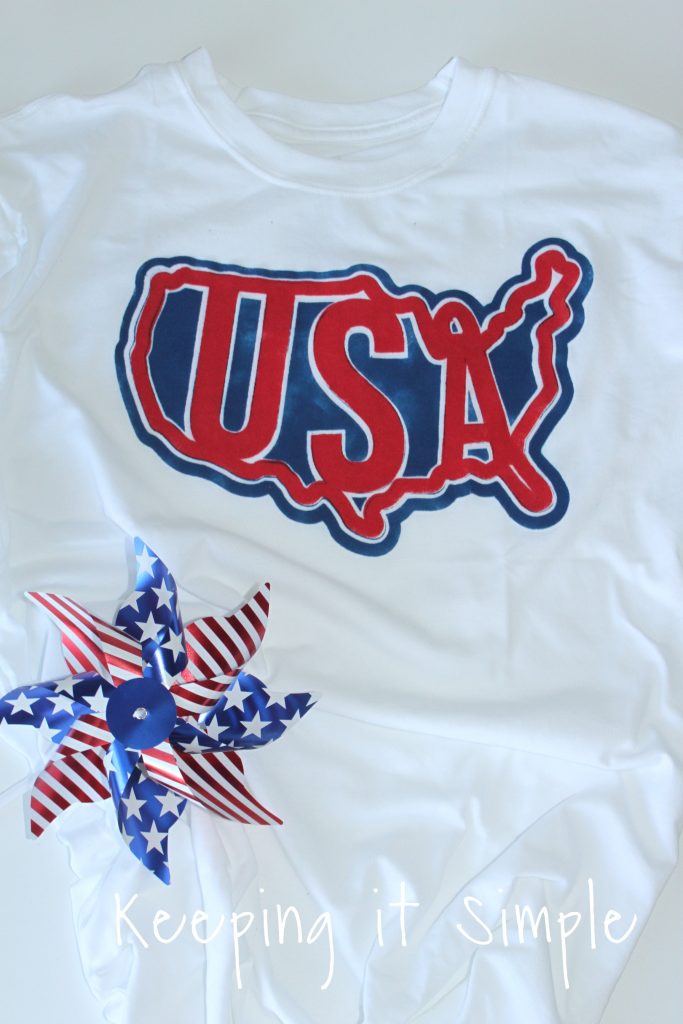
This one is for my youngest son, it’s super cute and he is super excited for it!
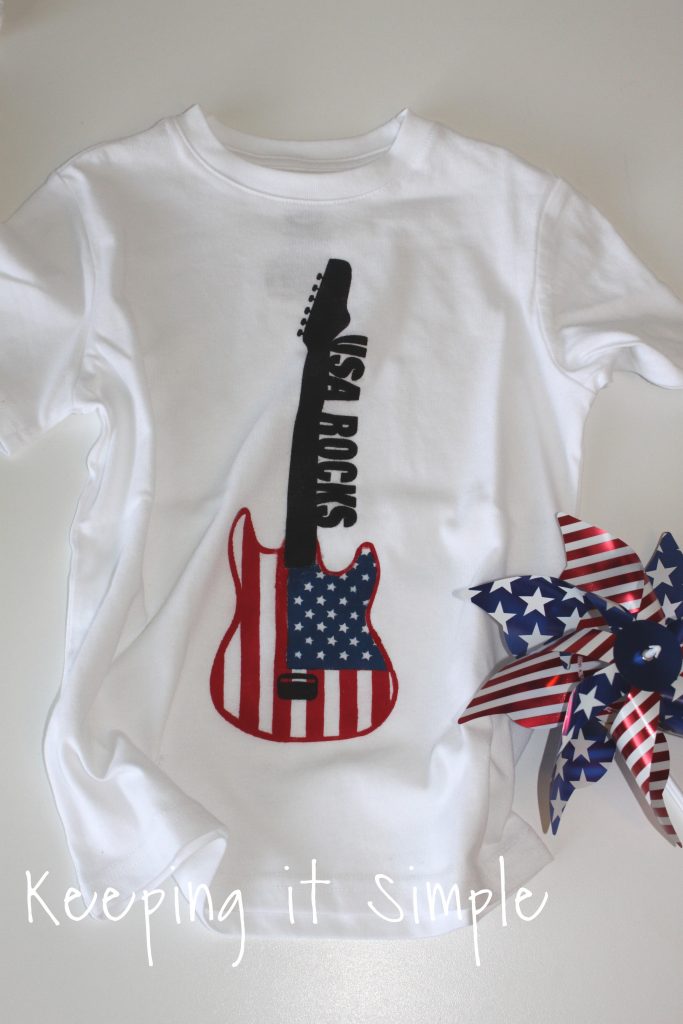
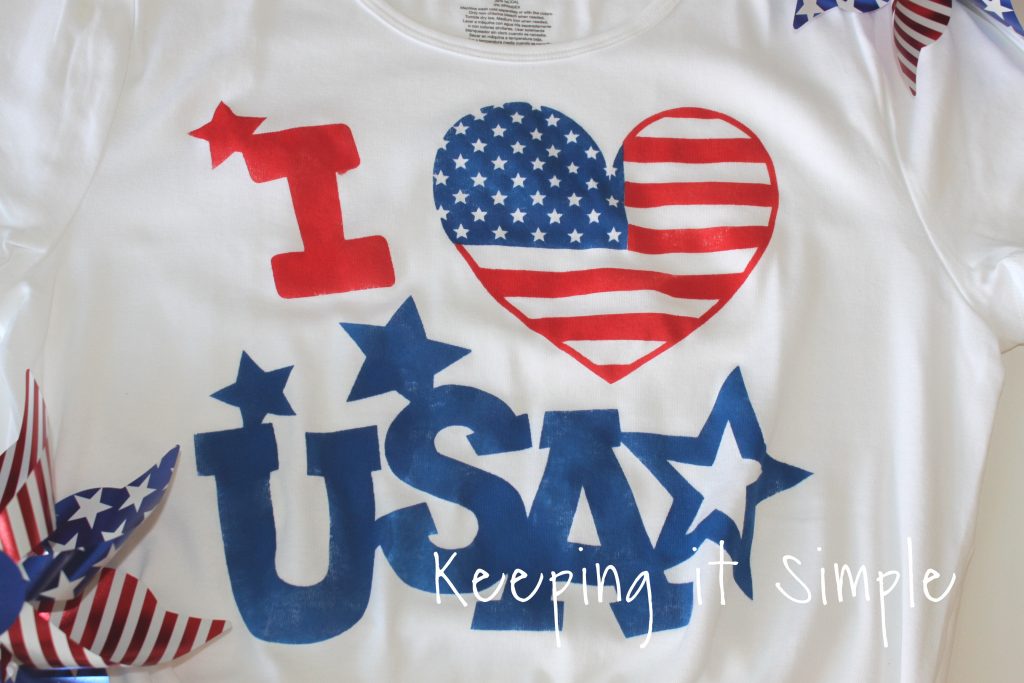
This design is one of my favorites of all of the 4th of July shirts, I just love how it looks!
This is the one I did for my husband, he picked out the design. I think it’s a cool design and I love all the different layers of it!
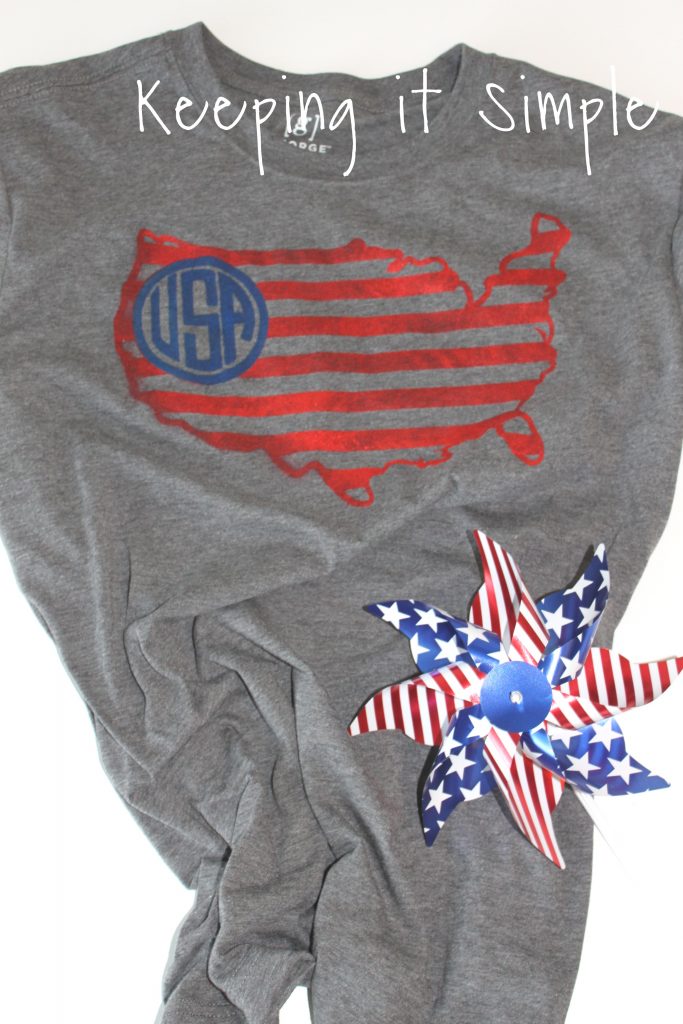
You can also paint on a different color shirt, like I did with this gray shirt. I like how it looks with the gray, this one is kinda rustic looking and I love it!
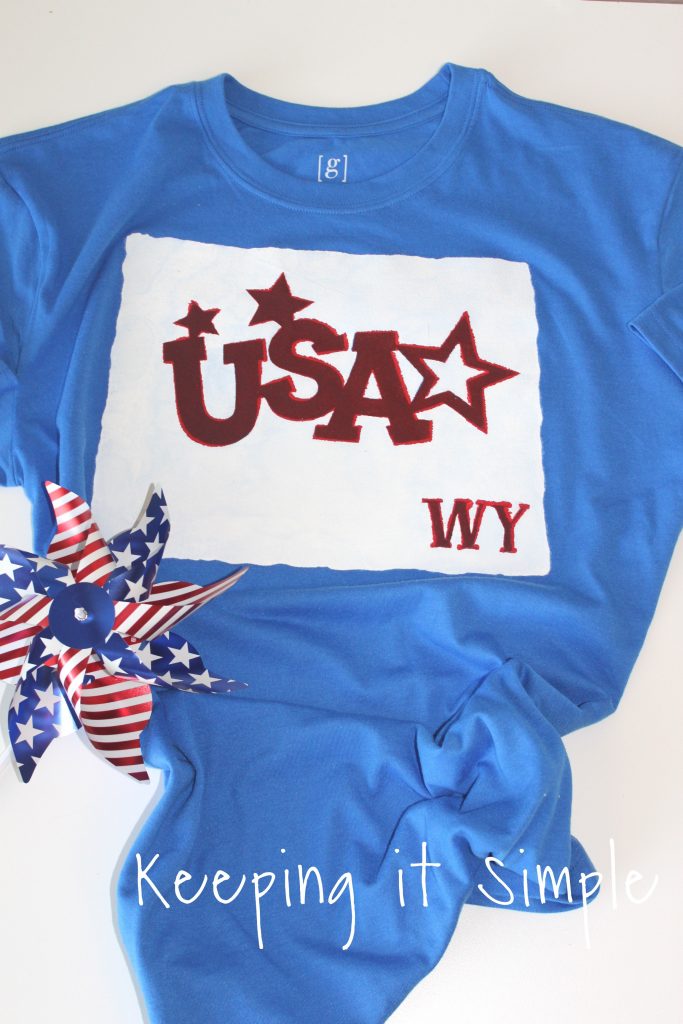
This shirt is my oldest son’s. He designed it himself. He really wanted to have Wyoming on his shirt (that is where was born and he loves Wyoming!), so he put the two together and it looks so good!
Check out all of the other 4th of July things that I have made!

This post contains affiliate links
Leave a Reply
You must be logged in to post a comment.