How to Make Money with xTool Apparel Printer {Price Comparisons with DTF and Vinyl}
If you are new to DTF printers, check out my beginner’s guide here.
For the past 5 years, I have been making and selling things as a business, you can see all the details about my business here. I mostly make shirts, but I have made other things too. The shirts are definitely the money maker in my business. I have been able to make a decent profit in these past few years. It has been really nice side hustle for my family and me.
Things have gotten even better for my business now that I have the xTool Apparel Printer. Why is it better, you ask? It’s so much better because the cost to make shirts is WAY CHEAPER and EASIER with the apparel printer! The cost to print out the DTF film with the apparel printer is much cheaper than ordering it from a company and much easier than cutting it out of vinyl. With the costs being lower, that means the profits are more! I can still charge the same price per shirt and with the new lower costs to me, I make a bigger profit. It is a win/win situation!
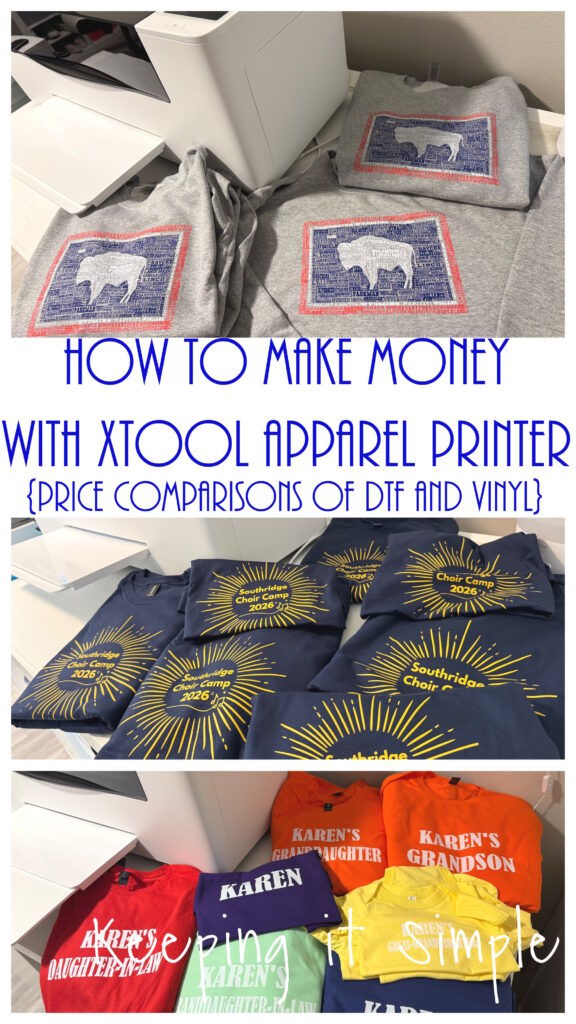
I have had the xTool Apparel Printer for a little more than a month now and I have already made 4 orders with it! It has been so nice to use! I have been using DTF and vinyl for awhile now. One of the best parts about being able to print things at home is that I don’t have to order supplies and I can just get it done that day. Before when I ordered DTF, I would have to purchase at least $29 worth of products or I would have to pay $9.99 in shipping. So each time I used DTF, it cost me at least $29. That was especially tricky for me because I do a LOT of small orders. I make things for my friends and family all the time. When they ordered one or two shirts that required me to order DTF, I would then just ordered random designs so that I could get to the $29 point to get free shipping. Which then took away ALL OF MY PROFITS! I cannot tell you how many random DTF transfers I have in my craft room, just sitting around. Wasted money because I didn’t want to pay for shipping. Now that I can print the DTF at home with my apparel printer, I can do as many or as little as I want. If someone asks me to make a shirt or two, it’s not big deal because I can just print it out and then make it. The BEST PART is that these DTF transfers just take CENTS to print, not dollars but cents.
Since I am a math nerd, I love running the numbers of everything I make. I have been curious about how much the orders that I have made with the apparel printer would cost using the different ways. I ran the numbers and figured out the costs and I wanted to share with you all what I have found. I am going to share the three different ways that I have made shirts:
Cutting out heat transfer vinyl
Ordering DTF transfers from a company
Printing DTF transfers on my apparel printer
****These costs are just for the transfers/vinyl. Shirts and overhead costs are not included. The numbers do not include taxes because taxes vary everywhere. Also time is not factored into these numbers.****
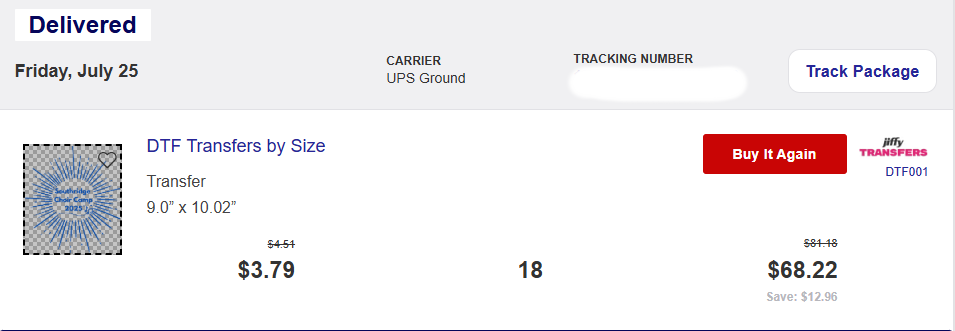
Alright, you guys ready to talk numbers? I am! Like I said before, I am a huge math nerd. I love doing the math on every order. First I want to compared the numbers for an order I did last year, compared to one I did this year. I love making shirts for a local high school. I have been lucky enough to make the shirts for the music department for the past few years. Last year, I made up these choir camp shirts and I used DTF transfers that I ordered from a company.
Here is a screenshot of the order that I made last year. For 18 transfers, the cost was $68.22. It cost me $3.79 per transfer.
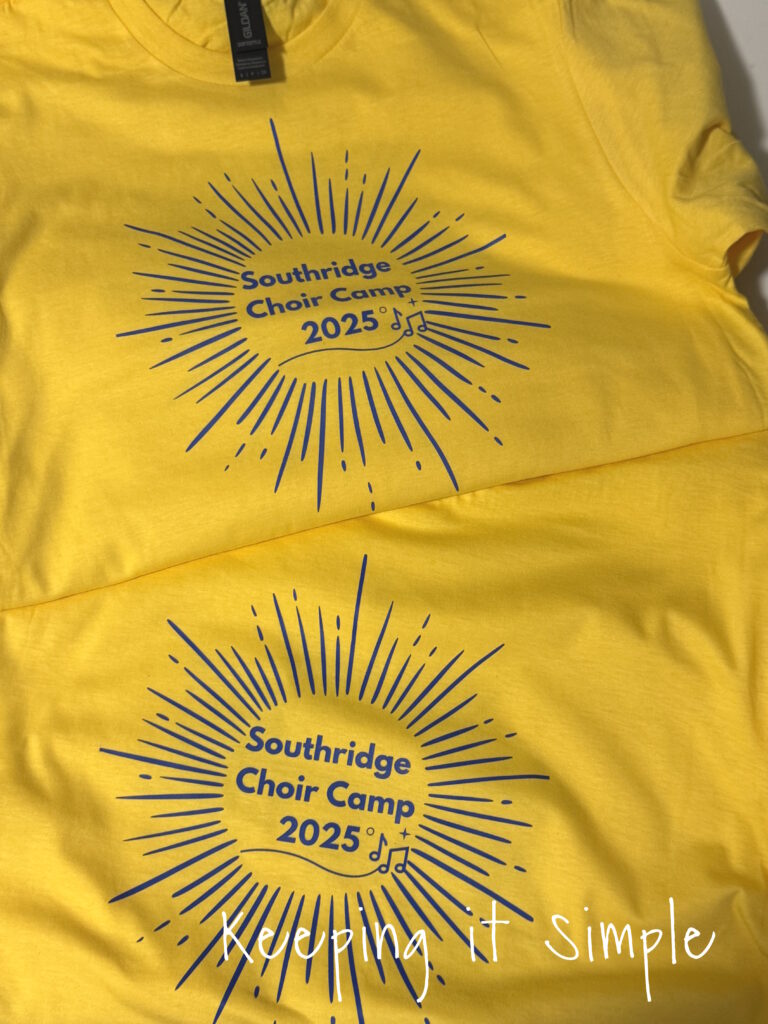
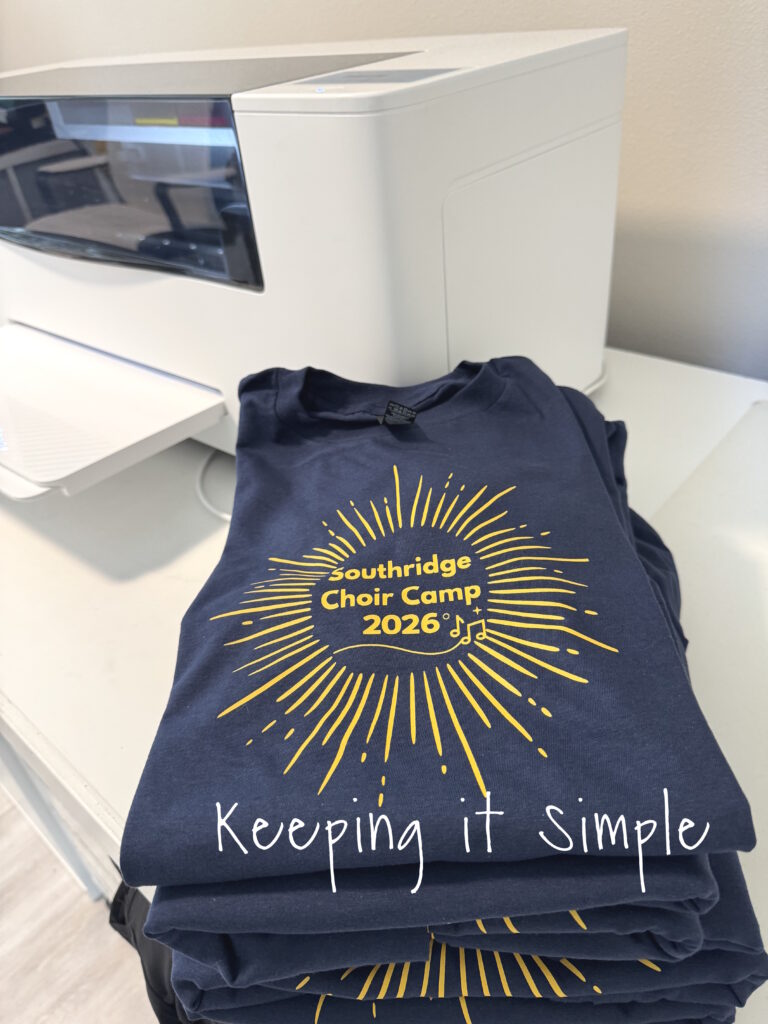
Here is the picture of the shirts I made last one.
This year I had the same order with the same design but with the colors reversed. I made the design the same size as before and made 18 of them. The cost to print it with the apparel printer was $.38 each!! Making the total cost for the order only $6.84! That is about 1/10 of the price, for the exact same thing: a DTF transfer. The only difference is that printing at home takes more time than ordering it from a company but it so much cheaper!
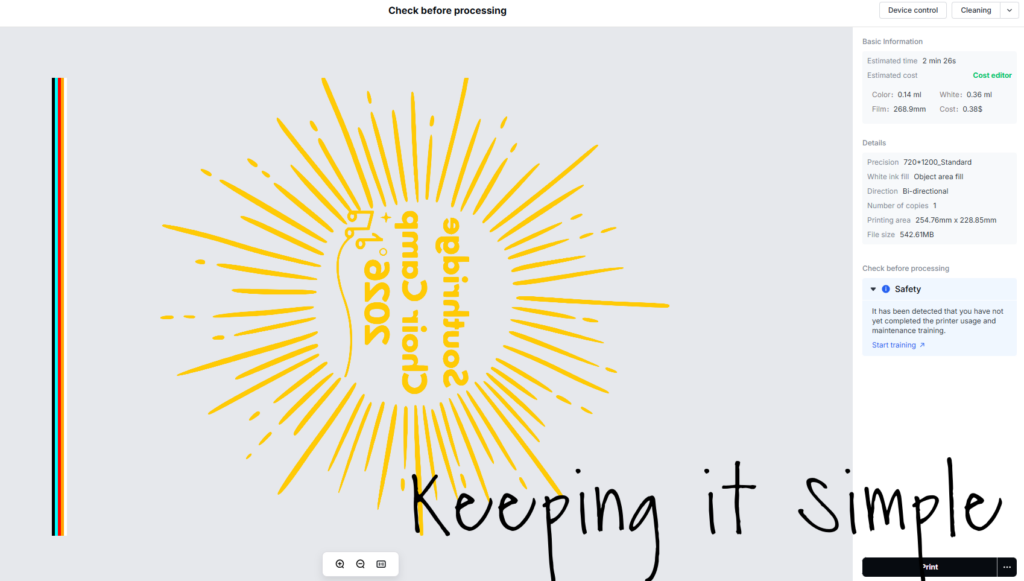
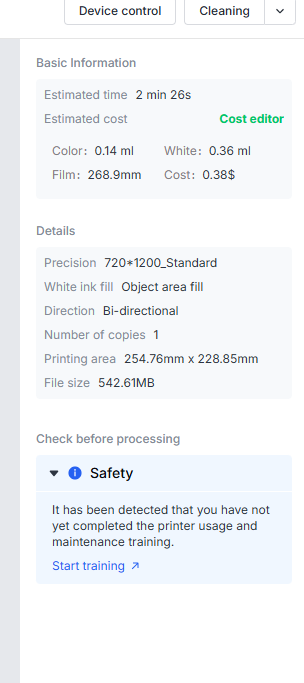
So if you are like me then you would look at these numbers and wonder how they got them. Well, I thought that and decided to run the numbers and see where they get the $.38 from. I figured out how much the ink and film cost per mL and mm. I used the prices from the DTF material bundle.
The film costs $.00129 per mm x 268.9mm= $.347
The white ink costs $.078 per mL x .36mL= $.028
The colored ink costs $.07 per mL x .14mL= $.0098
Which equals out to be $.38
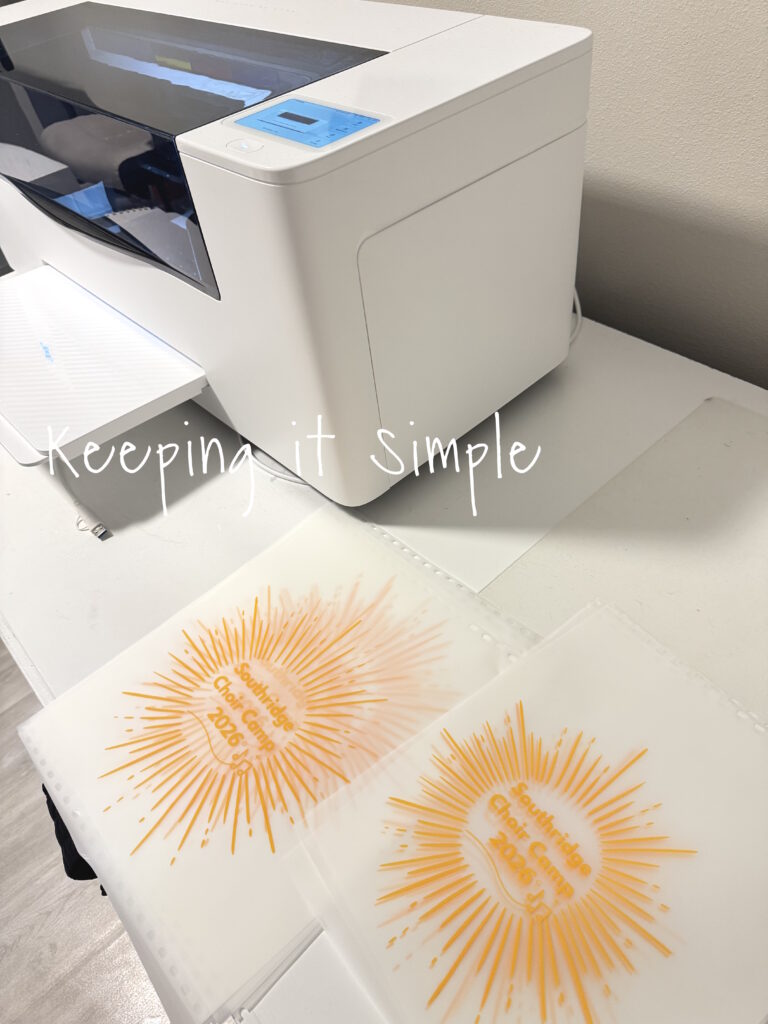
Here are all of the DTF transfers all printed out and cured. It took about an hour to print and cure all the transfers.
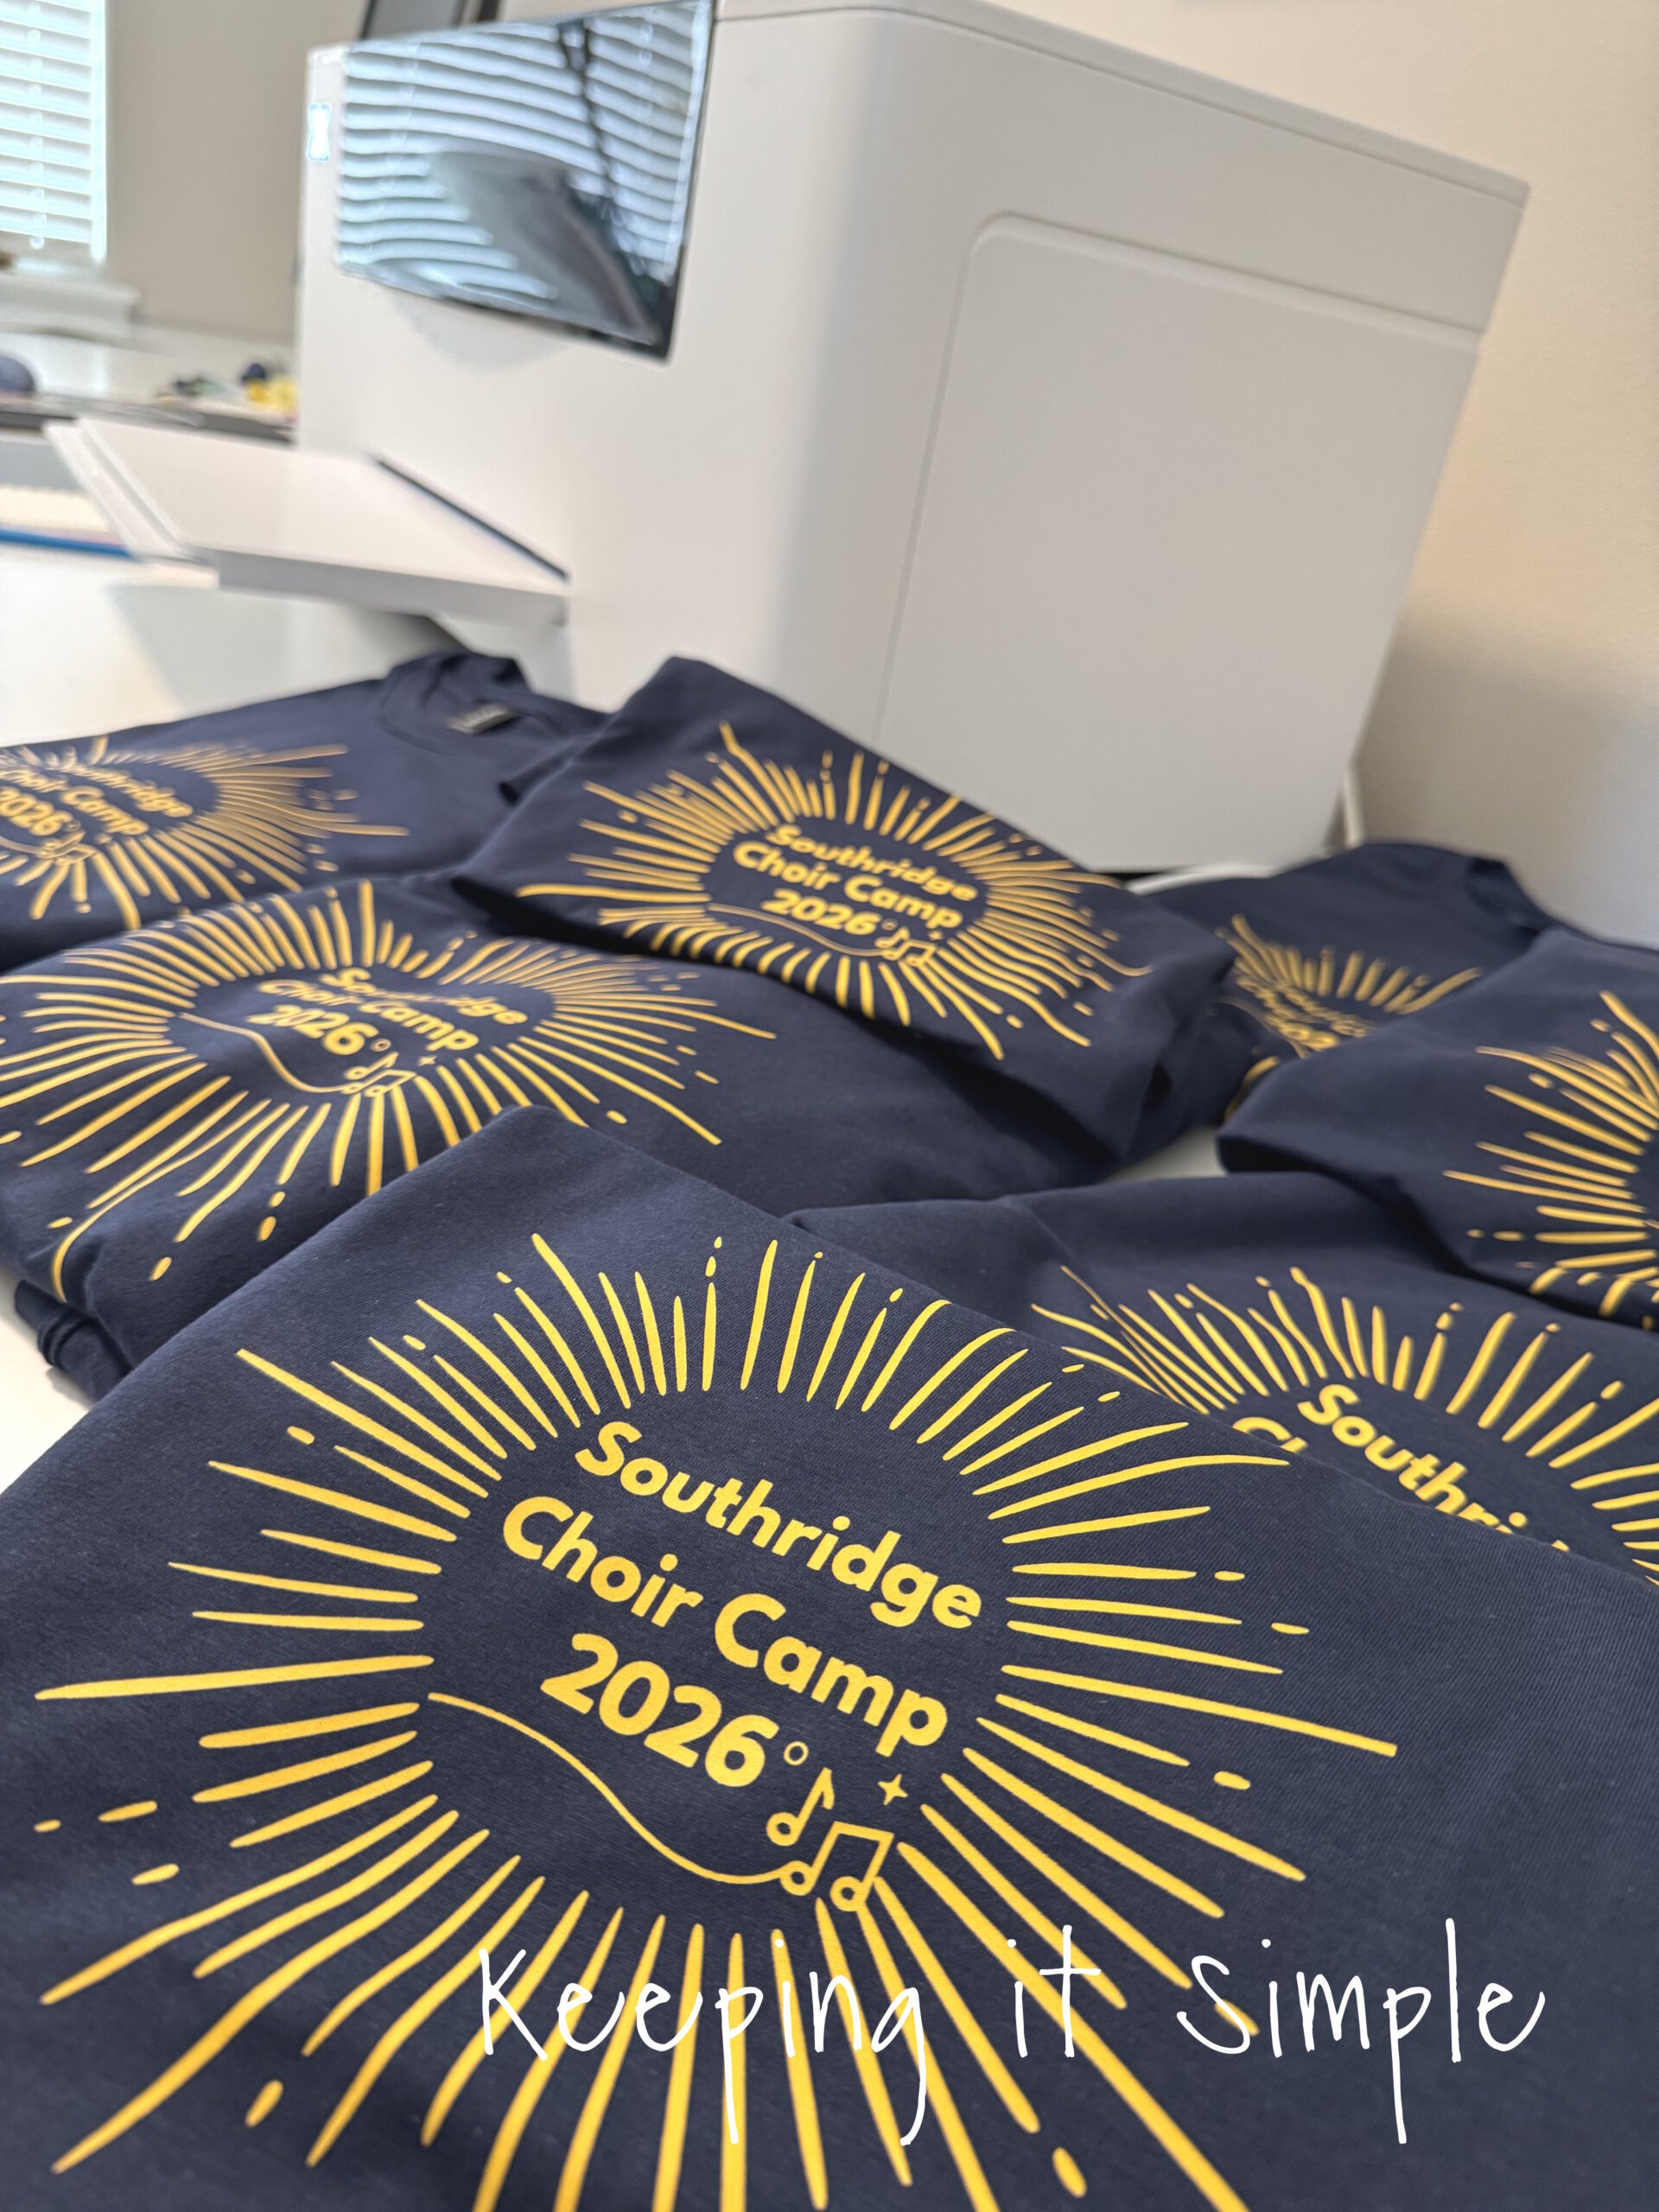
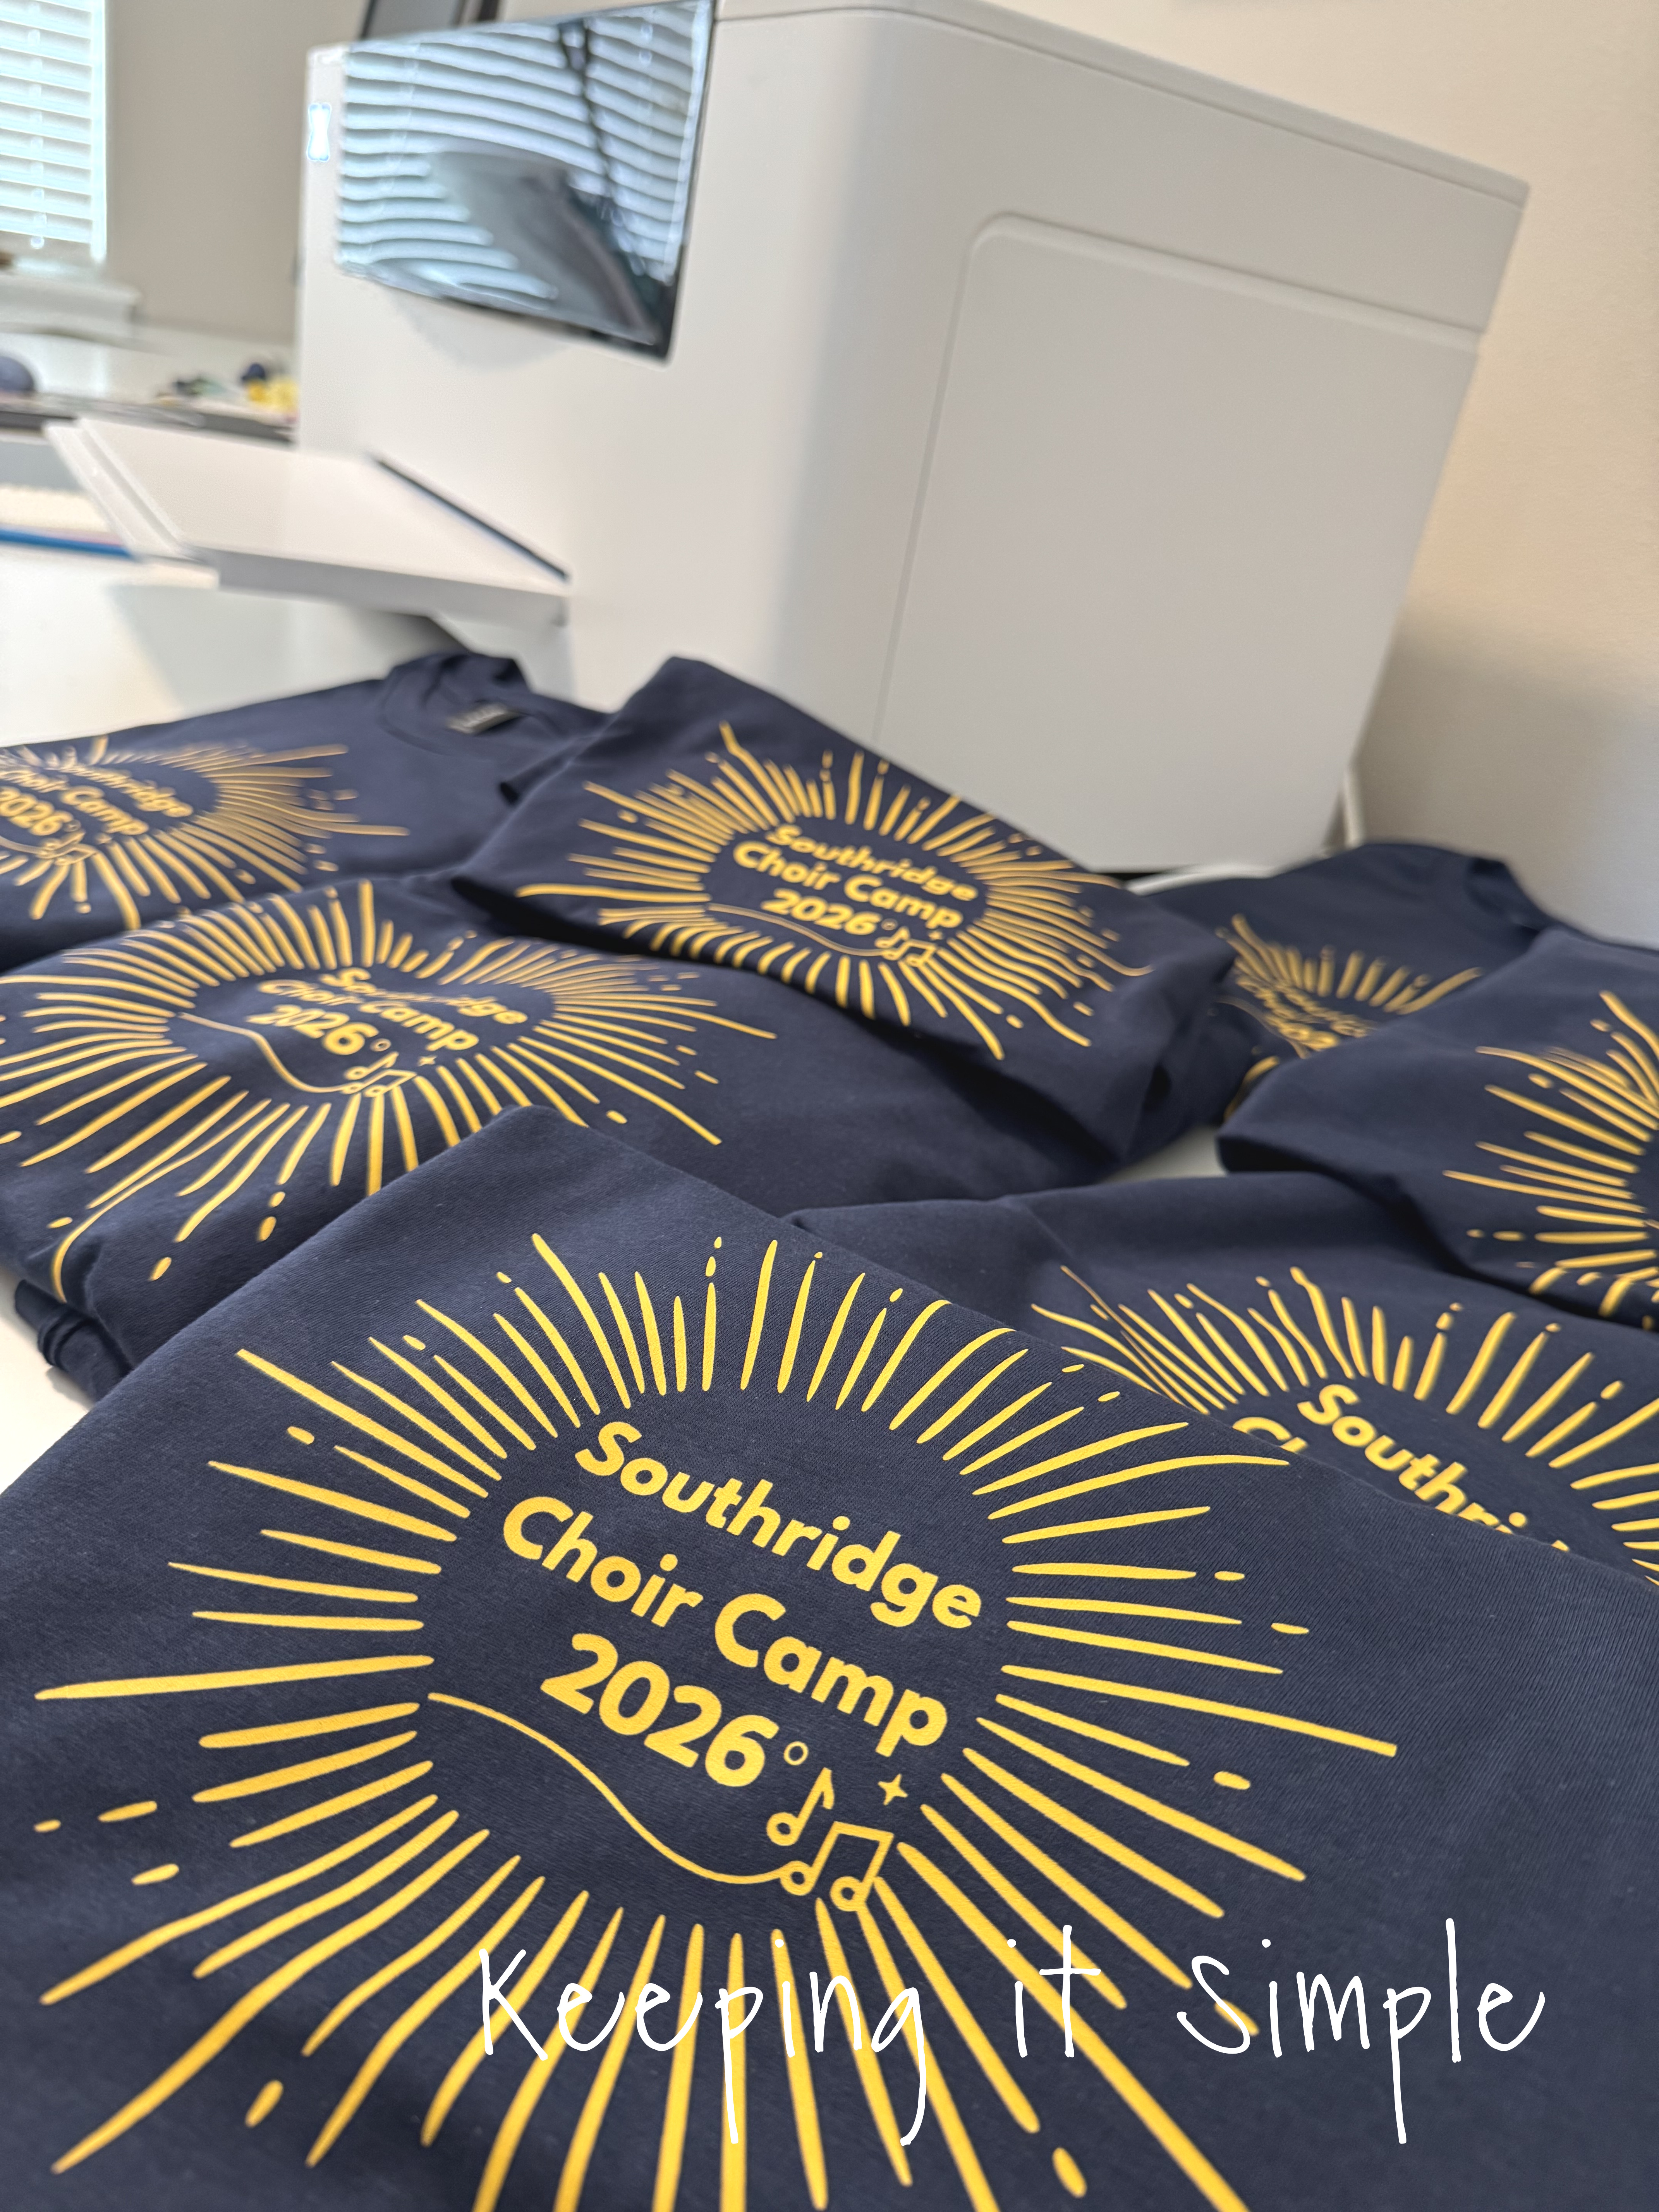 And here they are on the navy shirts.
For these 18 shirts, my profit was $61.38 more than last year, that’s $3.41 more per shirt. Which is a pretty decent amount more. My total profit for this order was $193.76, which is $10.76 profit per shirt. Last year my profit was $132.38. which was $7.35 profit per shirt.
My profit per shirt increased from $7.35 to $10.76.
Here’s the calculation:
- Increase in profit per shirt: $10.76 − $7.35 = $3.41
- Percentage increase: ($3.41 ÷ $7.35) × 100 = 46.33%
I made approximately 46.3% more profit per shirt this year than last year.
Here is another order that I did with the xTool Apparel Printer. This order was 30 shirts, front and back. Because it was for a family, there are a lot of different sizes and the costs vary, but the numbers for the actual order are correct, the vinyl and ordering the transfers from a company are estimates.
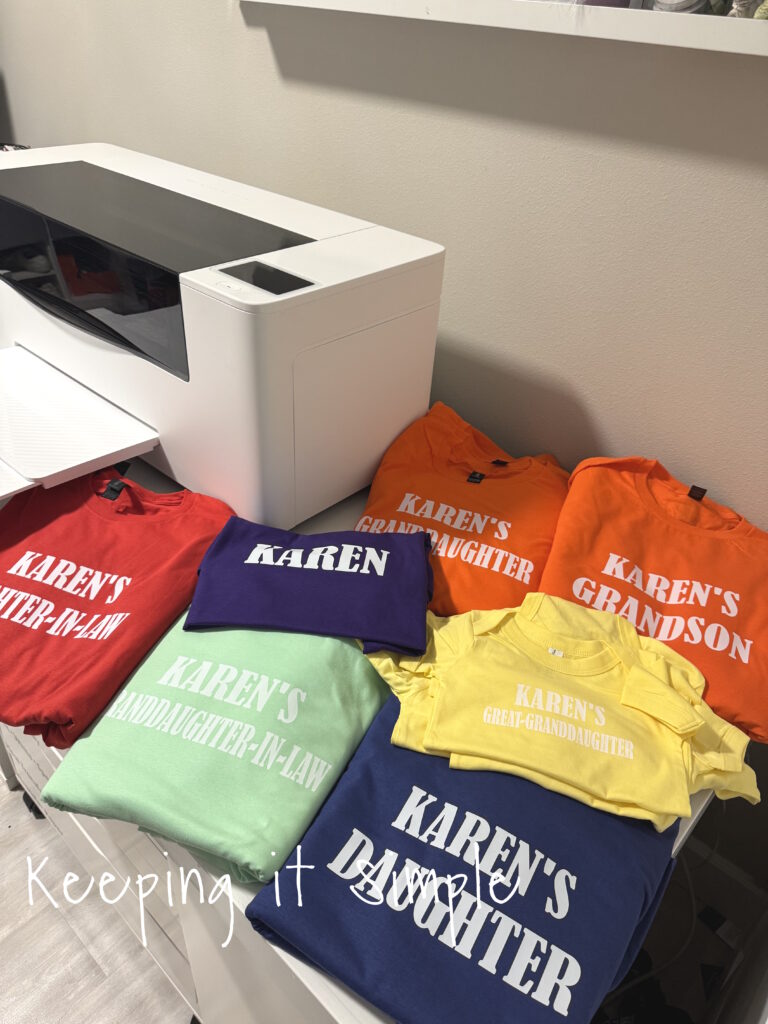
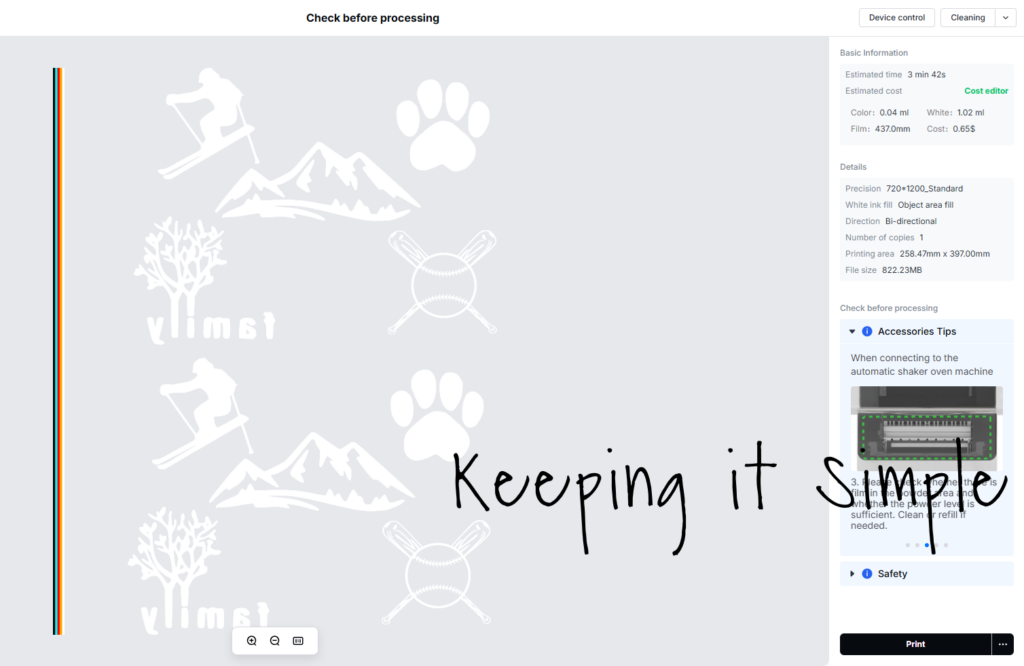
The cost to print out the backs for the shirts was $8.45 (I only printed out 26 of them). For the front the cost was $5.20, making the total $13.65.
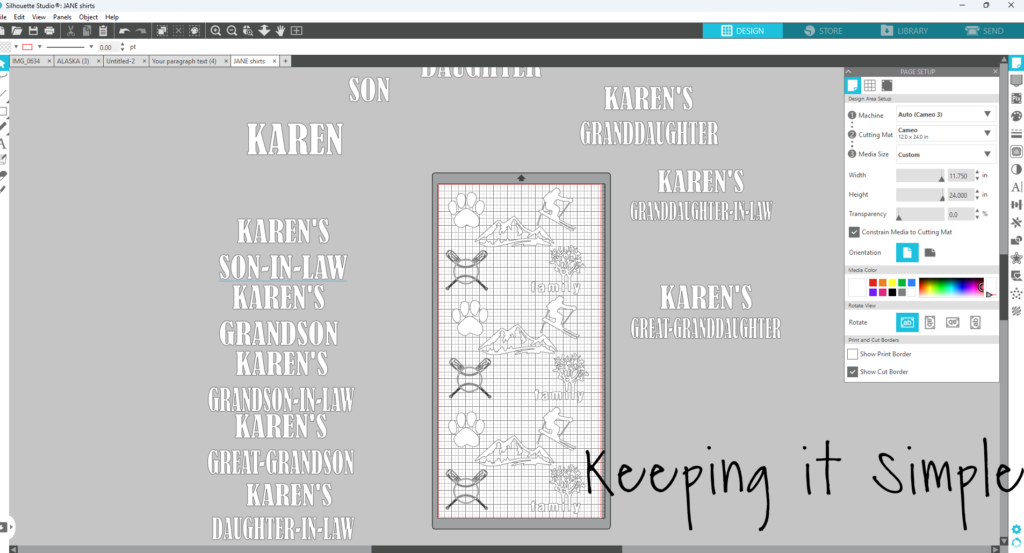
White heat transfer vinyl costs me $.16 per inch because I buy it in a big roll. For the back of the shirt, I can get 3 designs in 24 inches, so each design costs $1.29 to cut out of vinyl. The front design I could get 5 design in 24 inches, so the cost per design is $.77. The total cost of vinyl is about $53.56. The cost isn’t super high but cutting and weeding the HTV takes A LOT of time.
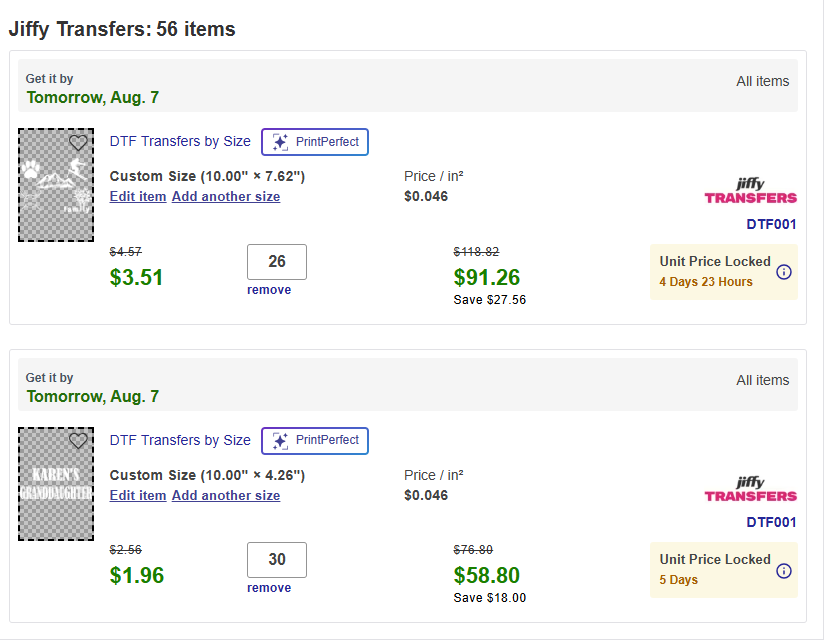
Here are the costs for the DTF transfers from a company. The fronts would vary because not all of them say the same thing, but you get the idea. For the back, each transfer would cost $3.51 and the front would cost is $1.96 per transfer. Making the total $150.06.
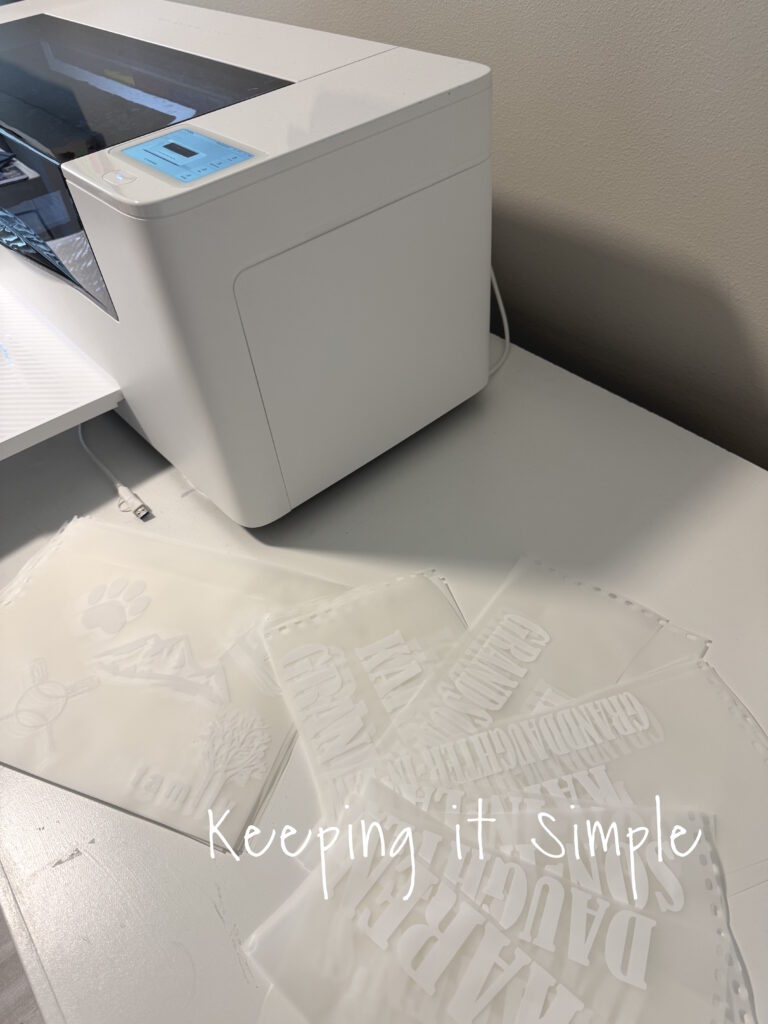
Printing out and curing this order took a couple hours, but only $13.65, so time well spent!
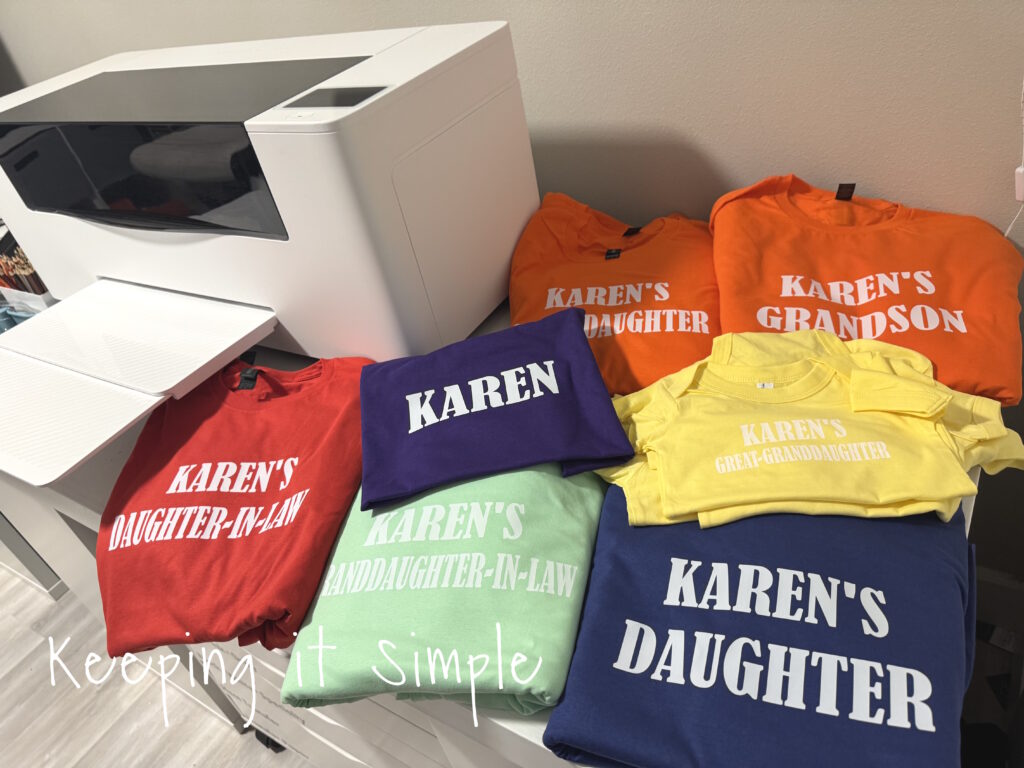
The total profit from this order using my apparel printer was $384.71, or $12.82 per shirt. The total profit if I would have used HTV would have been $344.80 or $11.49 per shirt. The total profit if I would have bought the DTF transfers would have been $248.30 or $8.28 per shirt.
Now let’s talk percentages:
Using the xTool apparel printer instead of HTV I made a 11.58% more profit per shirt. I made 54.8% more profit per shirt than I would have, had I ordered the DTF.
One of the biggest perks about this printer is that I can do things same day. I had someone contact me at 6pm to see if I could make a few shirts for their birthday spa day, she needed them in two days. Normally I would have to tell her no because I wouldn’t get the DTF in time. Even if I could get the DTF transfer in time, I wouldn’t want to have to order more just for 4 prints because of the shipping fees. I could make the tank tops with heat transfer vinyl but the chicken shirt, not so much. But since I have this amazing apparel printer, I was able to do this order real quick for her. It was super easy and inexpensive!
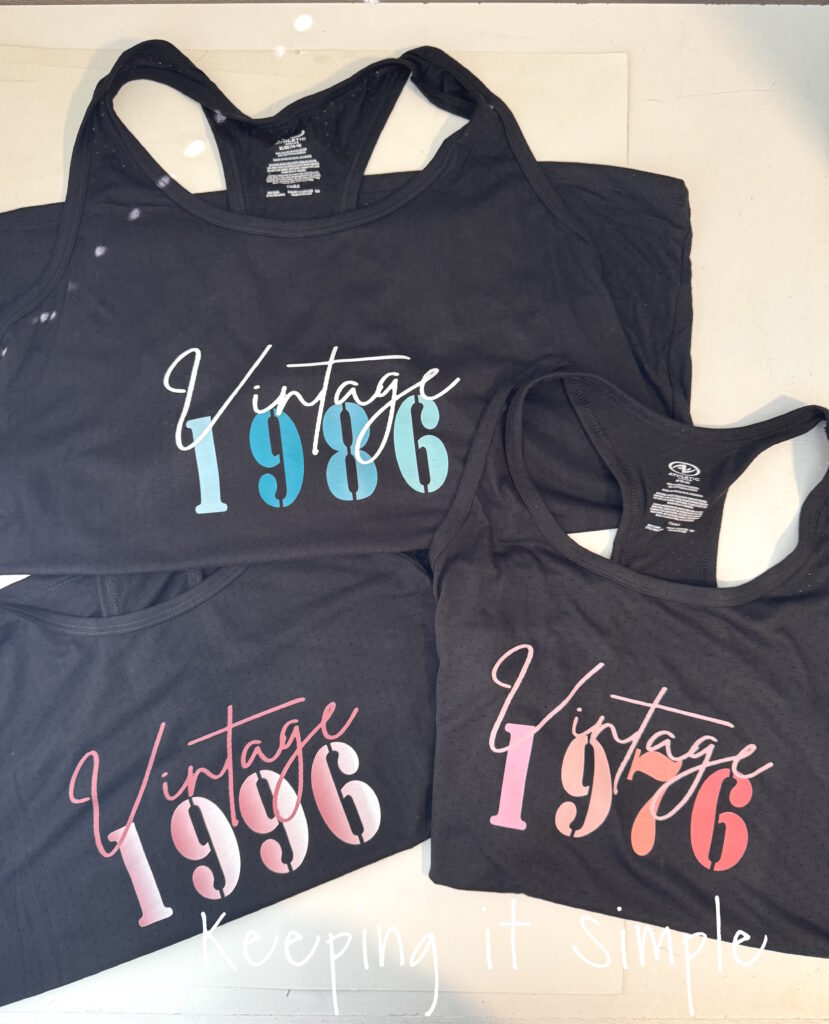
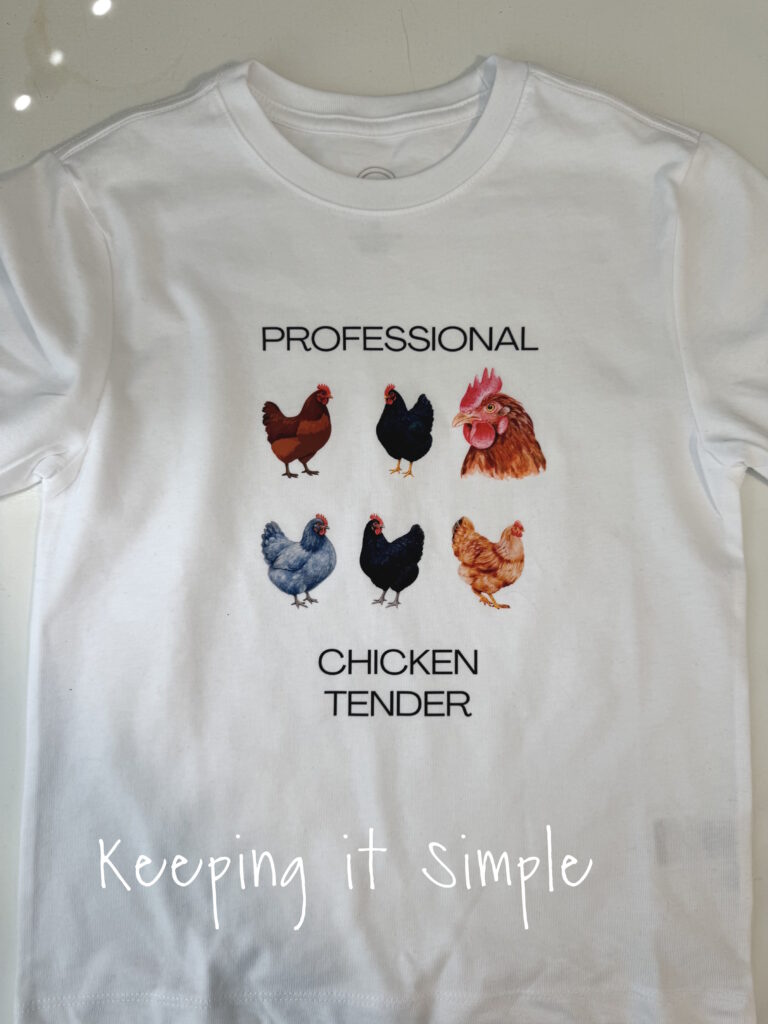
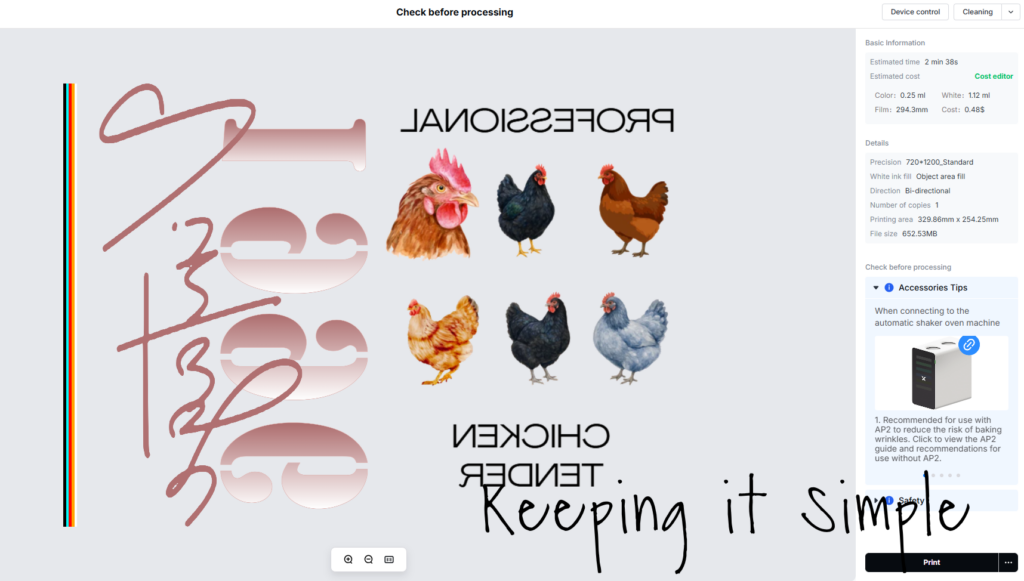
Here is the cost break down to print it out: $.96 to print out the 4 designs. The total profit I made was $46.04 or $11.51 per shirt.
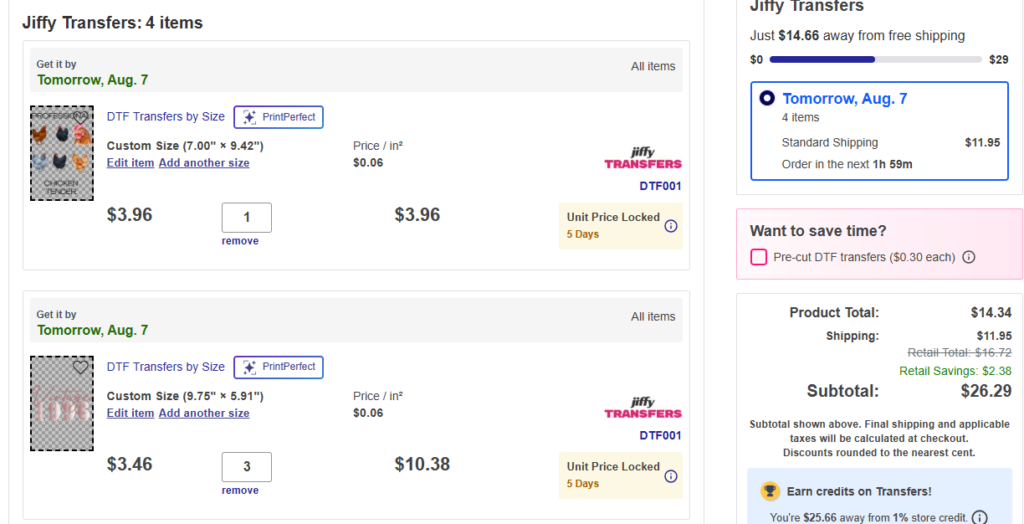
Since I couldn’t do this order with HTV, I didn’t calculate the costs of it. But if I were to order the DTF the cost would have been $26.29 for the 4 designs, making my profit only $20.71. Which is $5.18, which is still a profit at least. Because of the shipping prices, my profit were 122% more per shirt, which means that I made more than twice as much!
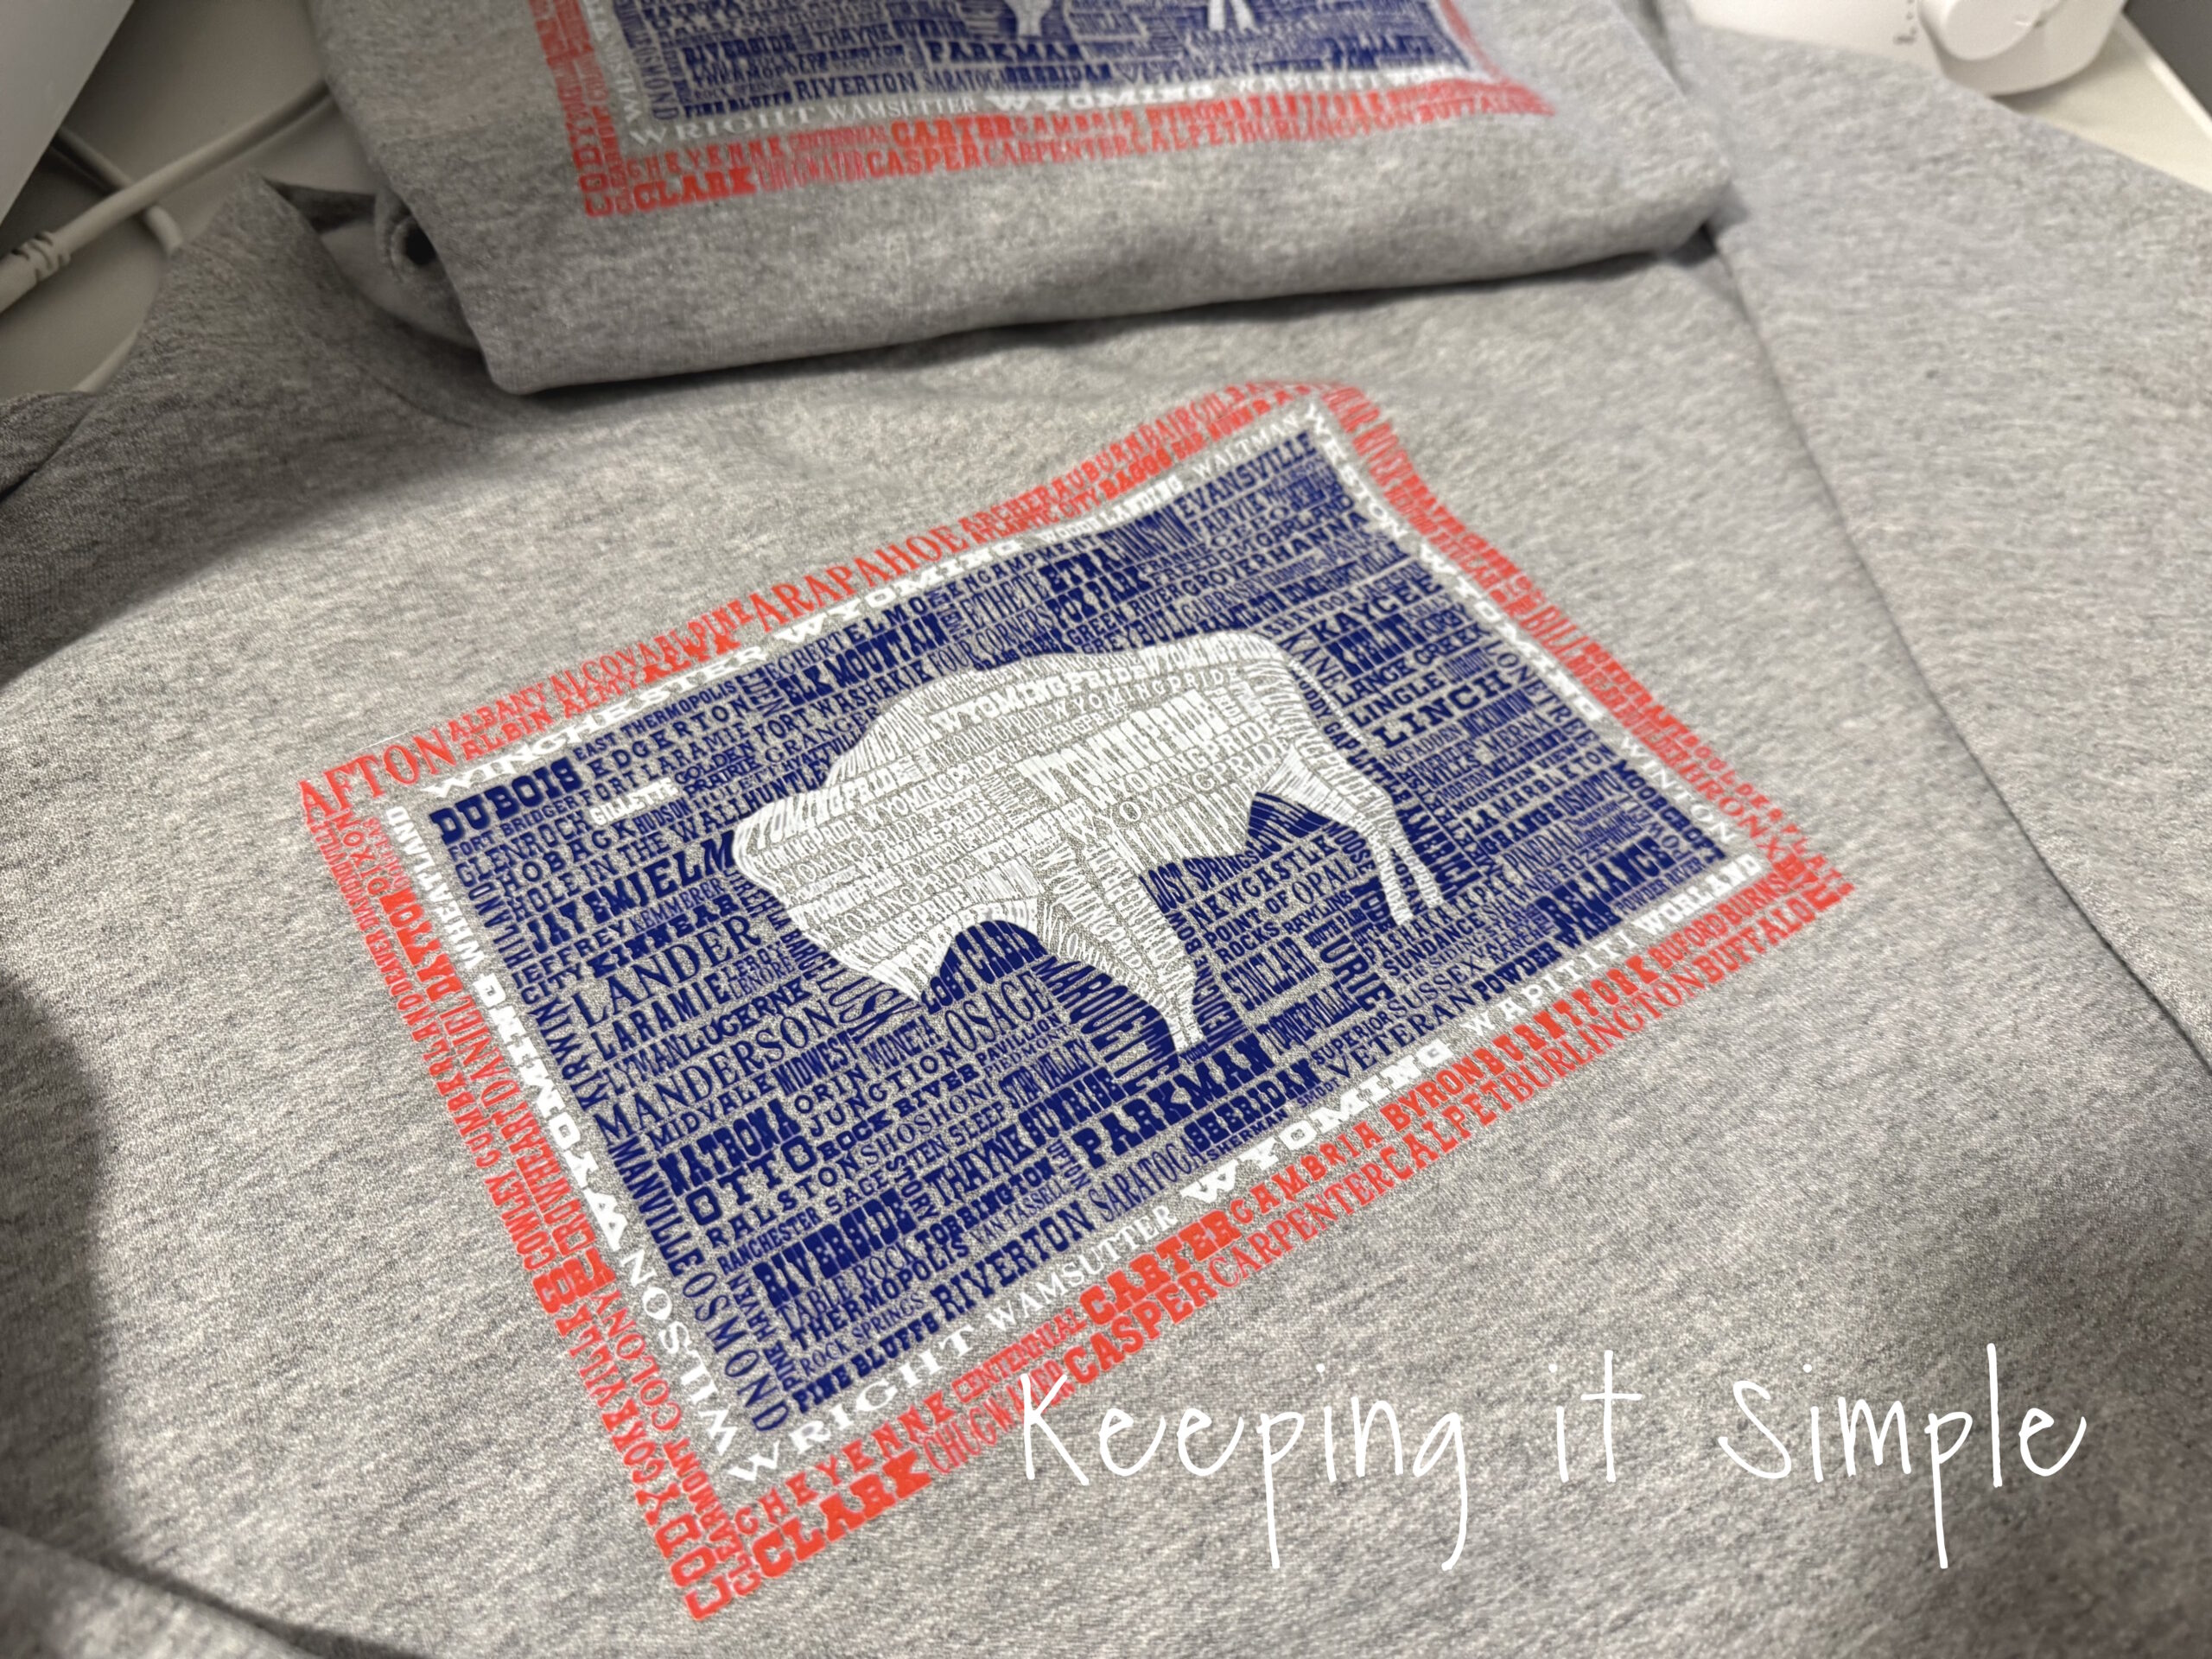
Lastly, here is a quick order I did for my in-laws. They all requested a shirt with the Wyoming flag on it.
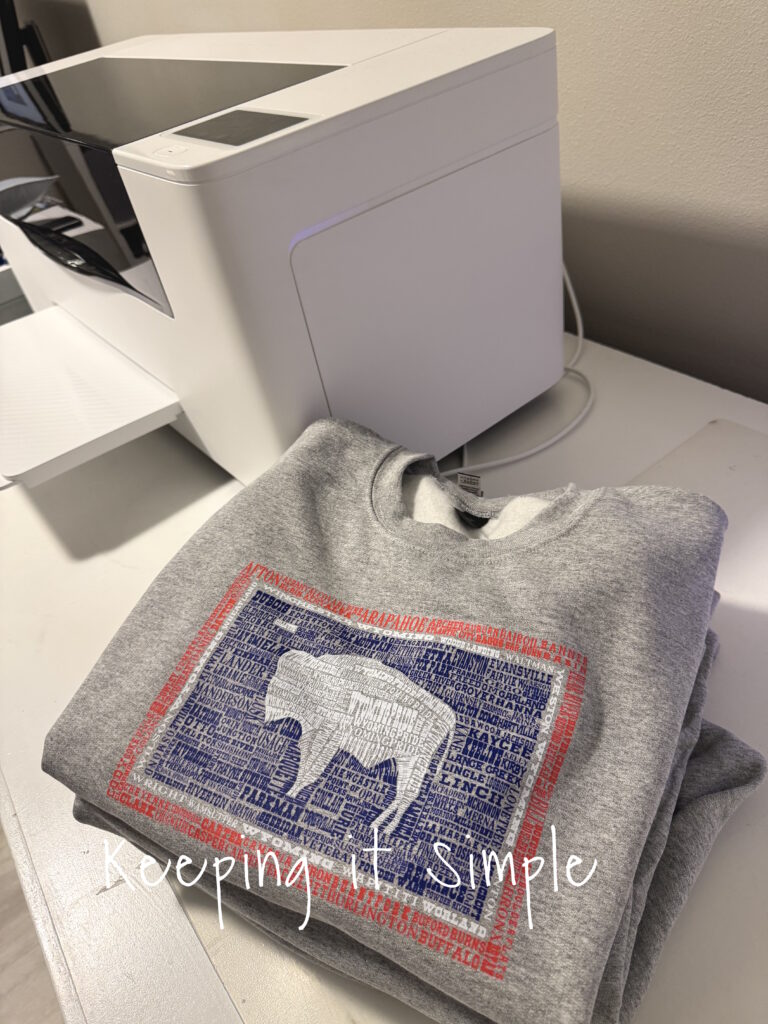
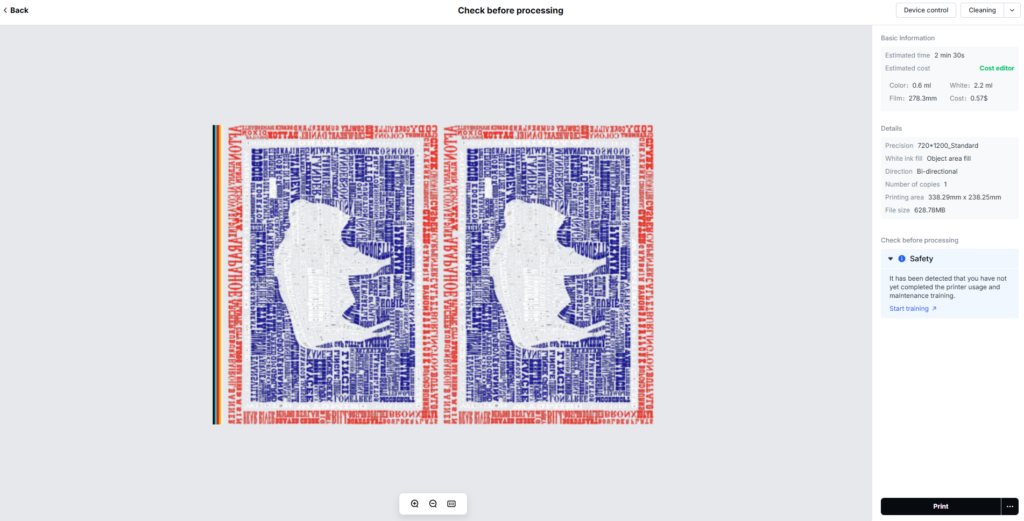
I found a really fun image, I uploaded it into xTool Studio and I was shocked by how good it looked in the program. I had to remove the background and do some editing to it, but it turned out really well. The cost to print these 4 shirts was $1.14.
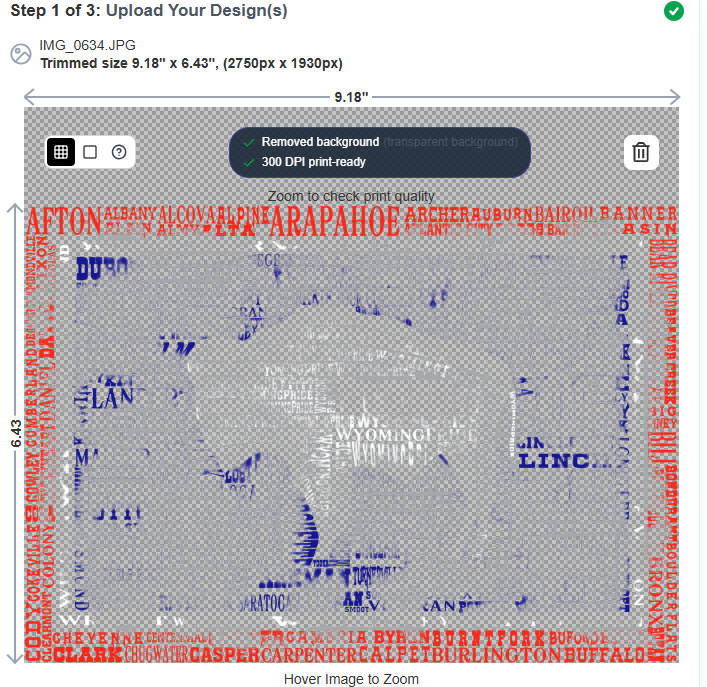
There is no way to do this design with HTV, so I didn’t even try. I tried to upload the same image that I uploaded into xTool Studio and this is the result that I got from the DTF company, it couldn’t remove the background without removing most of the design. Even if I did figure it out, it would cost $26.11 for the 4 designs.
The total profit from these sweatshirts was $40.06, or $10.01 per shirt. Had I used the company, the profit would have only been $15.09 or $3.77 per shirt. That is 165% increase!
Now you might look at these numbers, especially the ones using the DTF company and wonder why someone would make things for so such little profit. But the thing is, I WAS DOING THAT. I was making things, doing orders for profits that were low. Honestly I was just excited to be making a profit at all. A lot of times I would make an order and just basically charge for my cost and not even include my time. Now I definitely don’t recommend doing that, especially if you are trying to make some money. I am just too nice sometimes, that’s for sure. What I do recommend is getting this amazing apparel printer, so you can actually make real profits and real money for all of your hard work.
In the month that I have had my machine and have been making orders, I have made a total of $664.57. Which to some people doesn’t seem like a lot of money, but for me, it’s awesome! This is a side hustle for me. Plus, these were all pretty small orders, once the orders get bigger, the profits get bigger! Had I done the orders like I usually do, my profits would be down about 54%, which is only $358. This printer has been amazing for me, I will still do the orders but now it is easier and I am getting more money for my work!
Making money with the xTool Apparel Printer isn’t about landing one huge order—it’s about consistently delivering quality products that customers are excited to reorder. This year’s Southridge Choir Camp shirts are a perfect example. By improving my production process and pricing strategy, I increased my profit per shirt by 46.33%, proving that small changes can make a big difference to your bottom line.
Whether you’re printing shirts for schools, sports teams, businesses, family reunions, or local events, every order is an opportunity to grow your business and build lasting customer relationships. Remember, every successful apparel business starts with a single order. The next one could be yours.
Leave a Reply
You must be logged in to post a comment.