DIY Halloween Pillow Ideas with SVG Cut Files
Halloween is my seconds favorite holiday to decorate for. It just second to Christmas! I love it so much. I was so excited when stores started adding purple and green to the Halloween decor too, I love the combination with those two colors and black and orange. And then they added glitter to it and I was in heaven! Seriously, I love it all!! So this year since I got a nifty heat press, I decided it was time to make some fun Halloween pillows for my couches. I love how all of these turned out. I used a lot of them same heat transfer vinyl on them, so they coordinate. That is one of the best things about making your own decor, you can make it all match!
![]()
Here is a quick video to show you how I made them. I did most of them the same way, just using a blank pillow cover. There are a few of them that I actually made from scratch (you know, like actually busted out my sewing machine!).
I used my Silhouette CAMEO to cut out the designs. When using heat transfer vinyl, you have to mirror the image and then place the shiny/plastic side down on the mat. Most of the designs that I used were from a fall bundle but some of them are designs that I made myself. I used a heat press cover sheet in between all the different colors and layers. The majority of the pillow covers that I got were either from Ikea or Hobby Lobby.
Now let’s get to the fun Halloween pillow ideas!
For this first pillow, I used a fun design a bundle that I bought. I thought it was perfect for a pillow. You can get the design here:
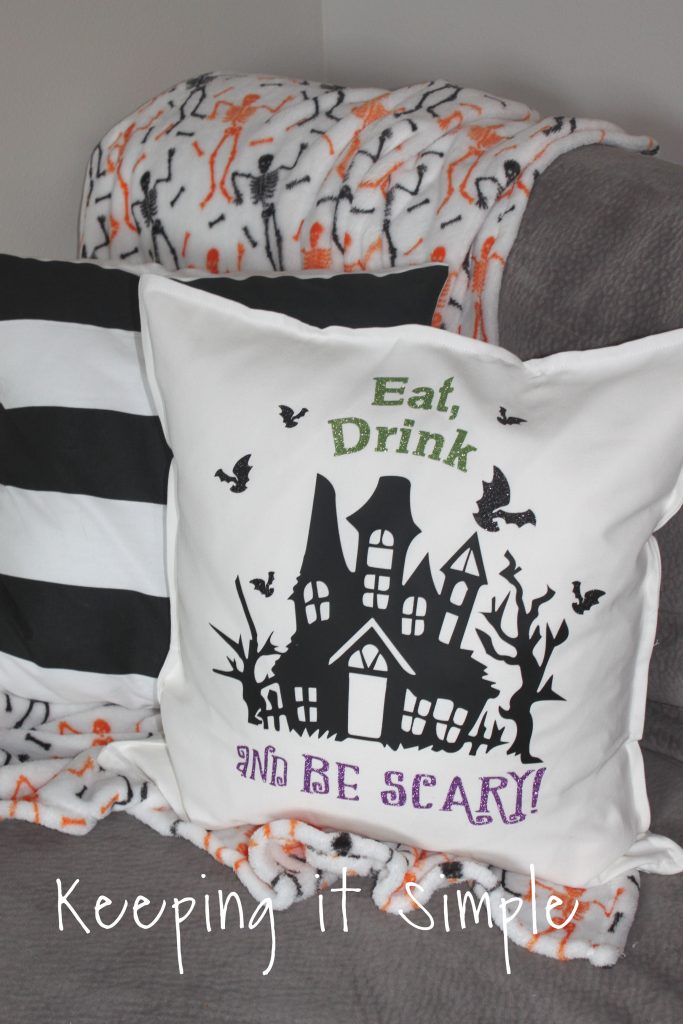
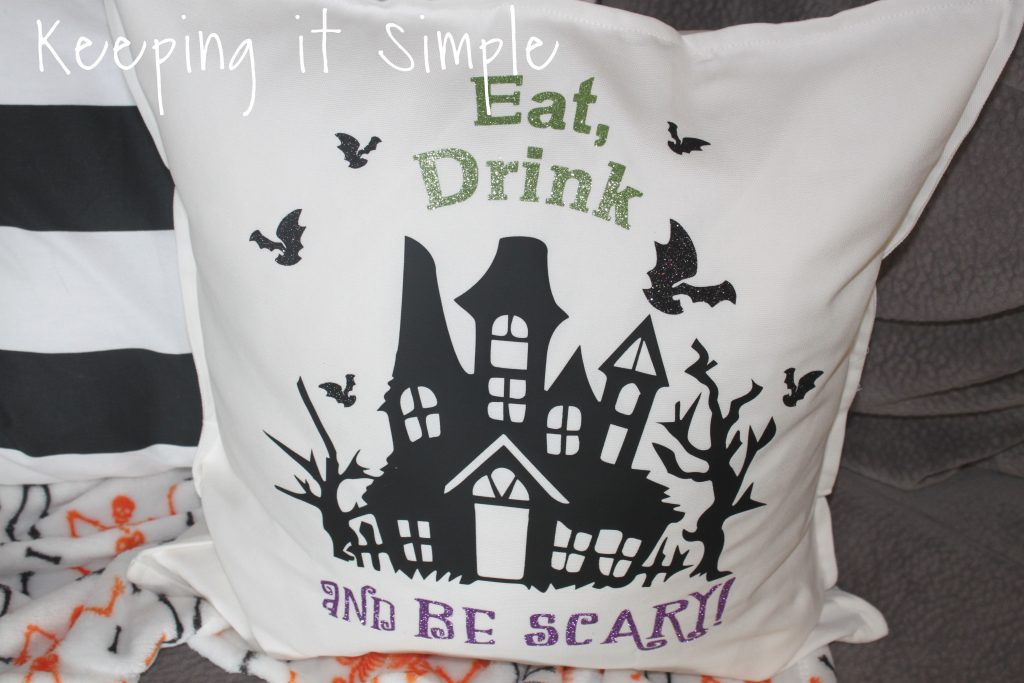
For this pillow I decided to make the haunted house in an Easyweed heat transfer vinyl and then the woods and bat were in a glitter heat transfer vinyl. I used the colors light green, lavender and galaxy black.
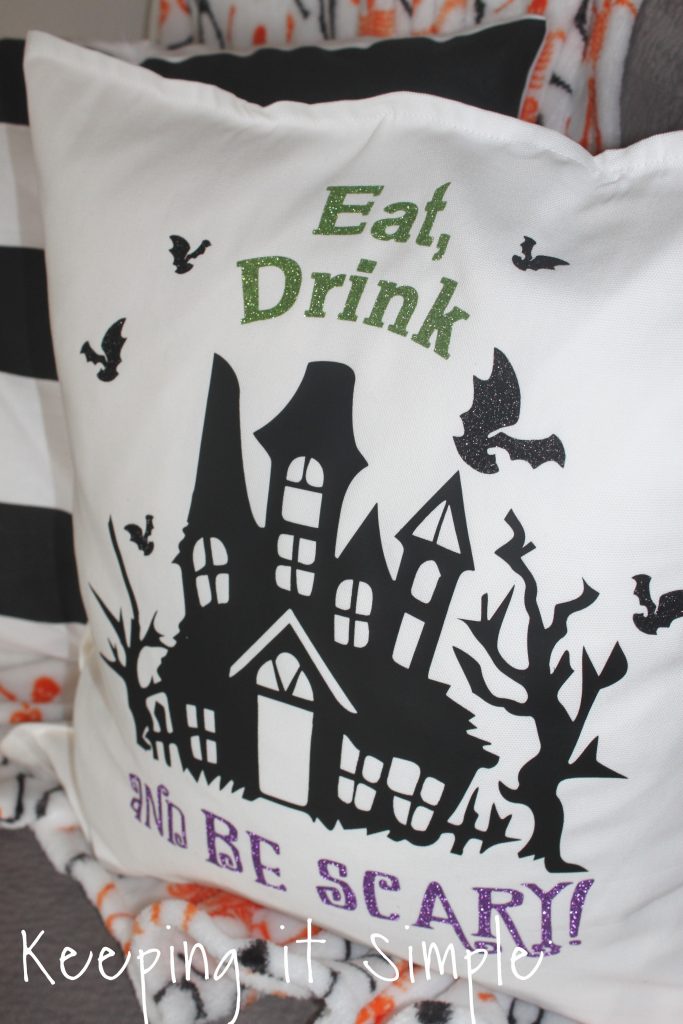
I love how this one turned out!
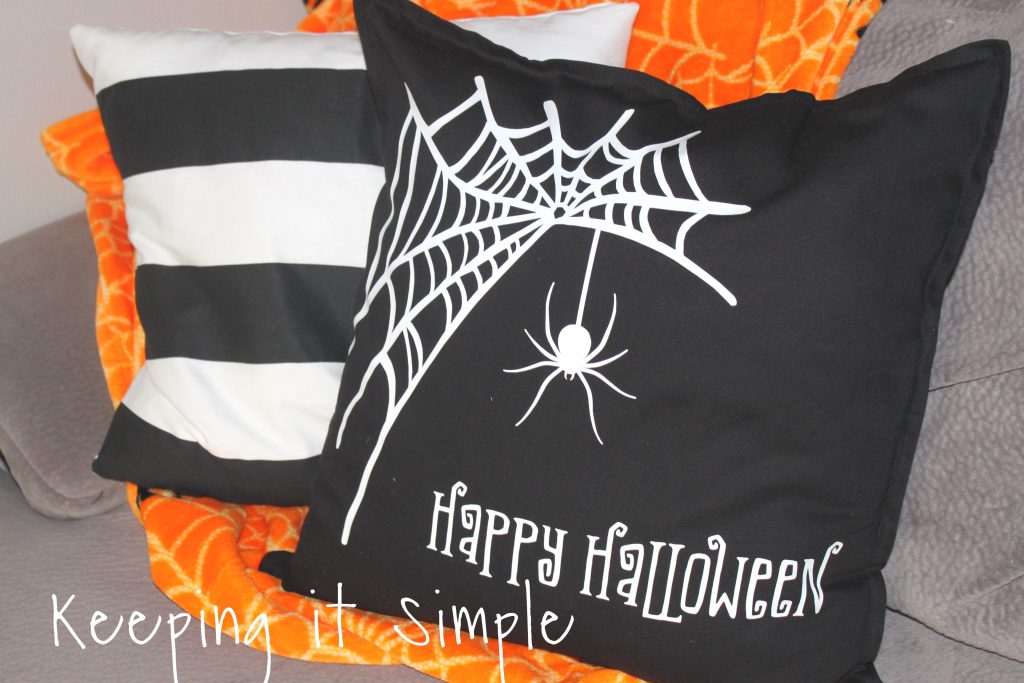
For this next one, I made up this fun spider web design for a black pillow cover. I love how spiderwebs look on black fabric, so I thought that it would be fun to do a pillow with just that. You can get the cut file for it here:
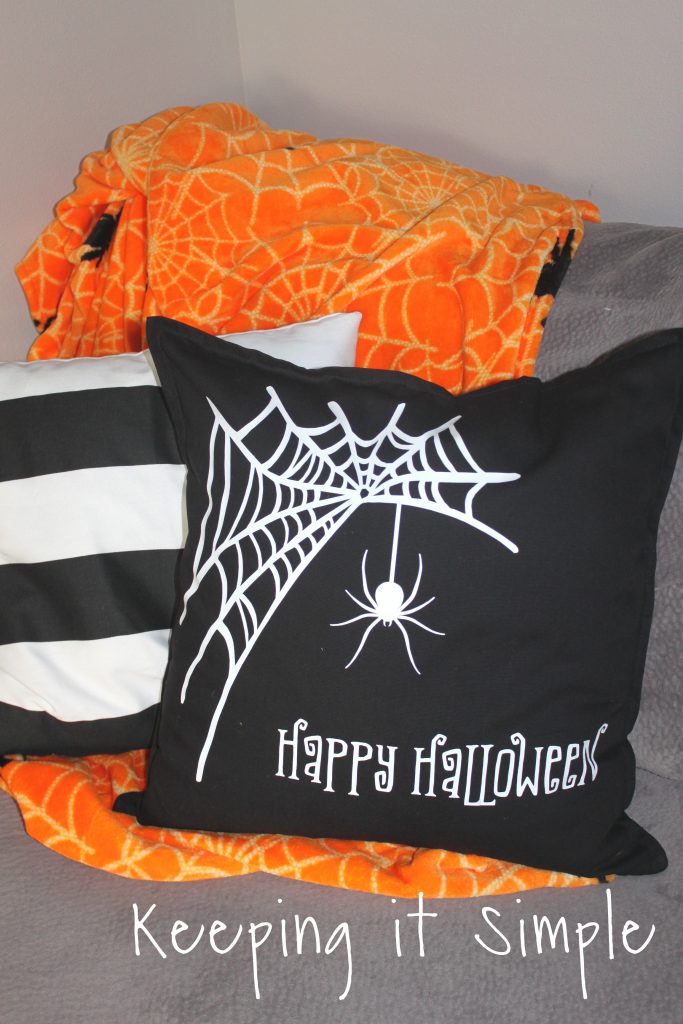
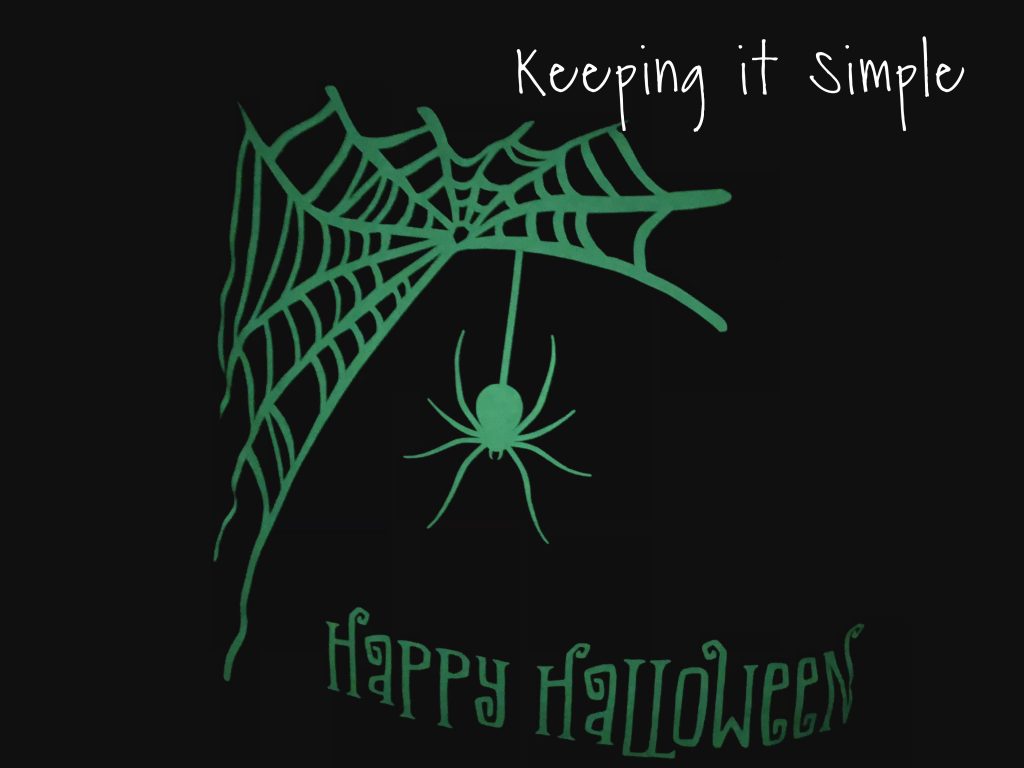
For this pillow I used some awesome glow in the dark HTV. It’s so cool and looks awesome in the dark!
Here is what it looks like in the dark and it’s definitely a lot brighter in real life.
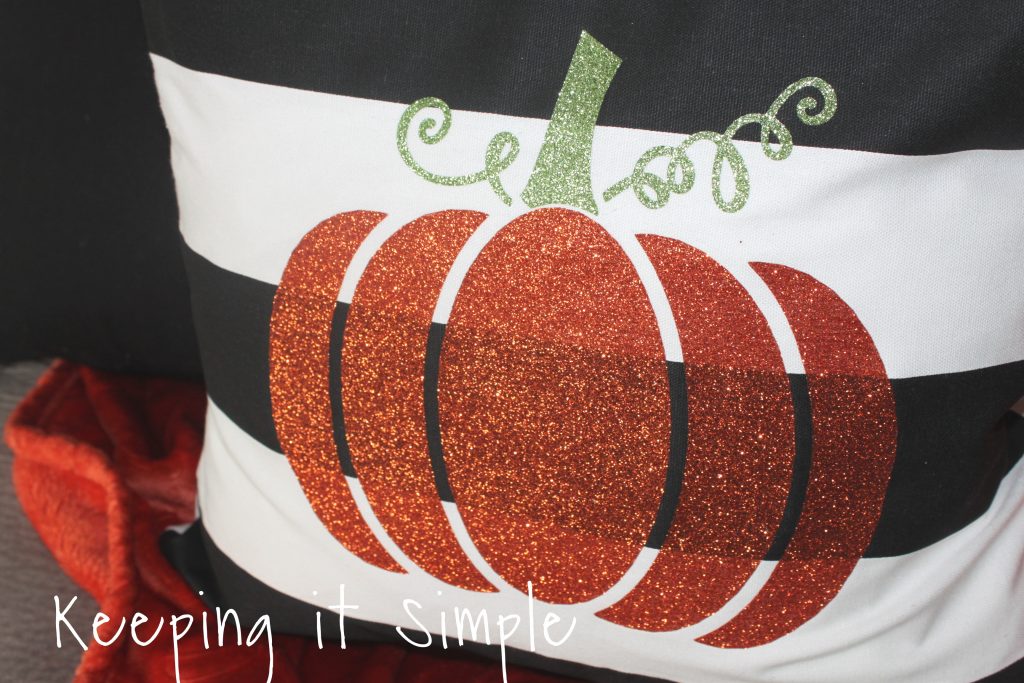
For this next pillow I made it out of black and white striped fabric. It’s an 18 x 18 pillow and I just made it an envelope pillow cover and then added a pumpkin to it. You can get the pumpkin here:
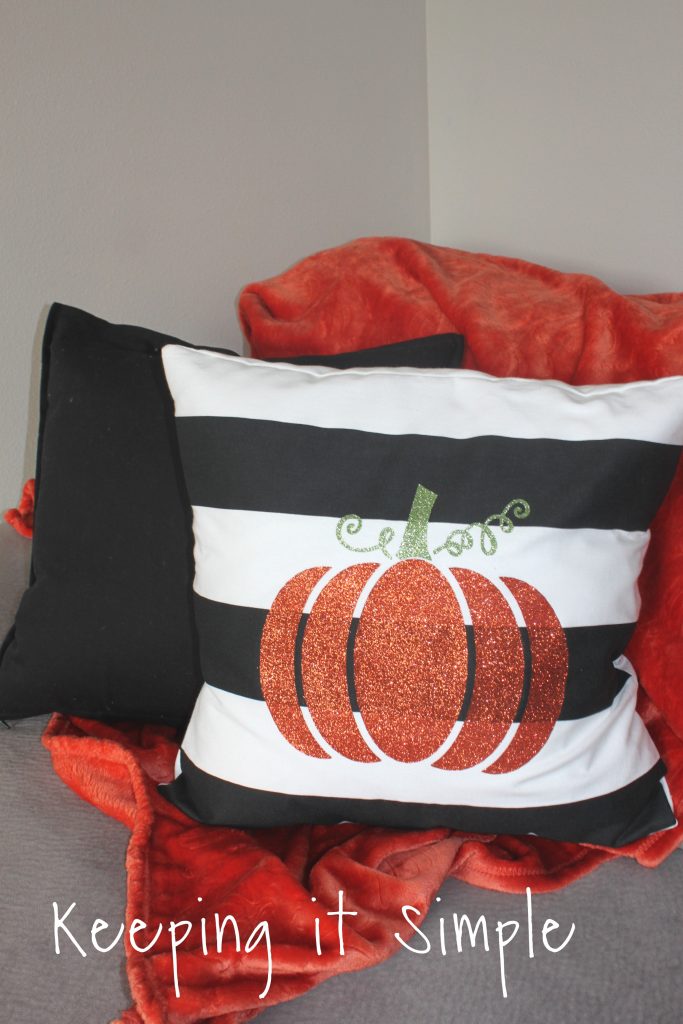
For this pillow I used the glitter HTV in copper and light green. This one would also be a great fall pillow.
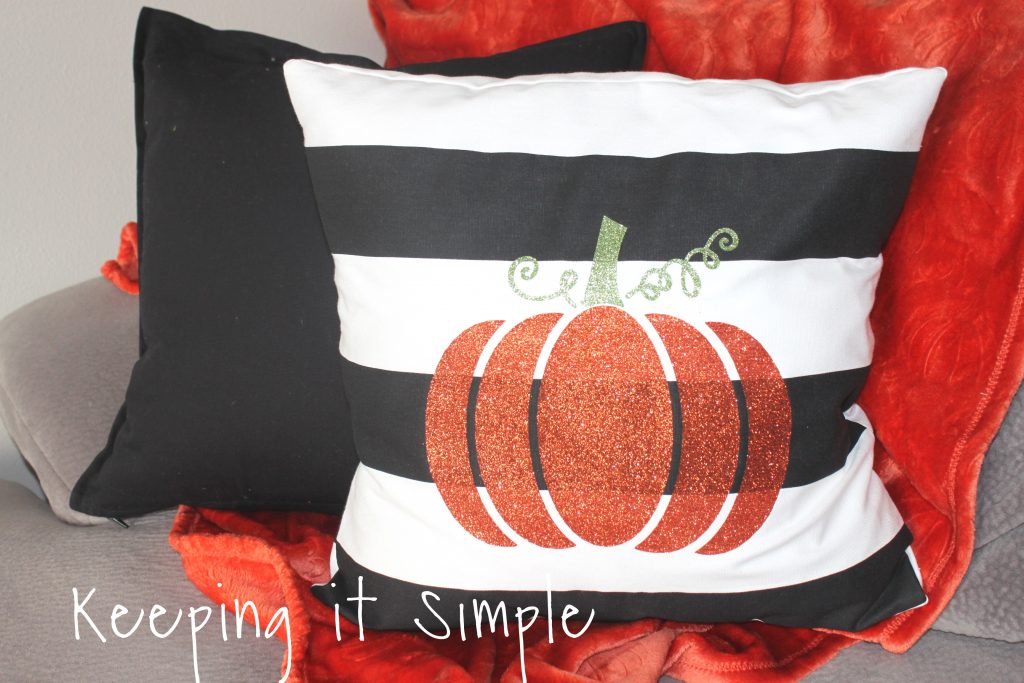
Here is a close up of it, I love how the glitter HTV looks!
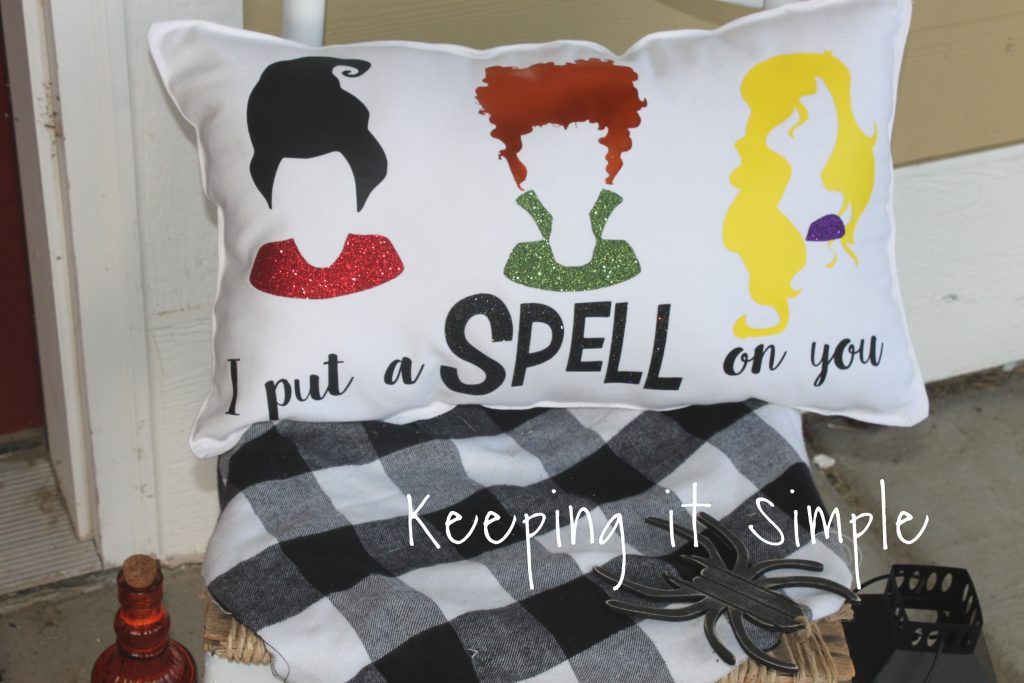
This pillow is my favorite Halloween pillow that I made. Hocus Pocus is my favorite Halloween movie, so I just love this pillow! To get the full tutorial of how to make this pillow, check out this post. You can get the cut file for it here:
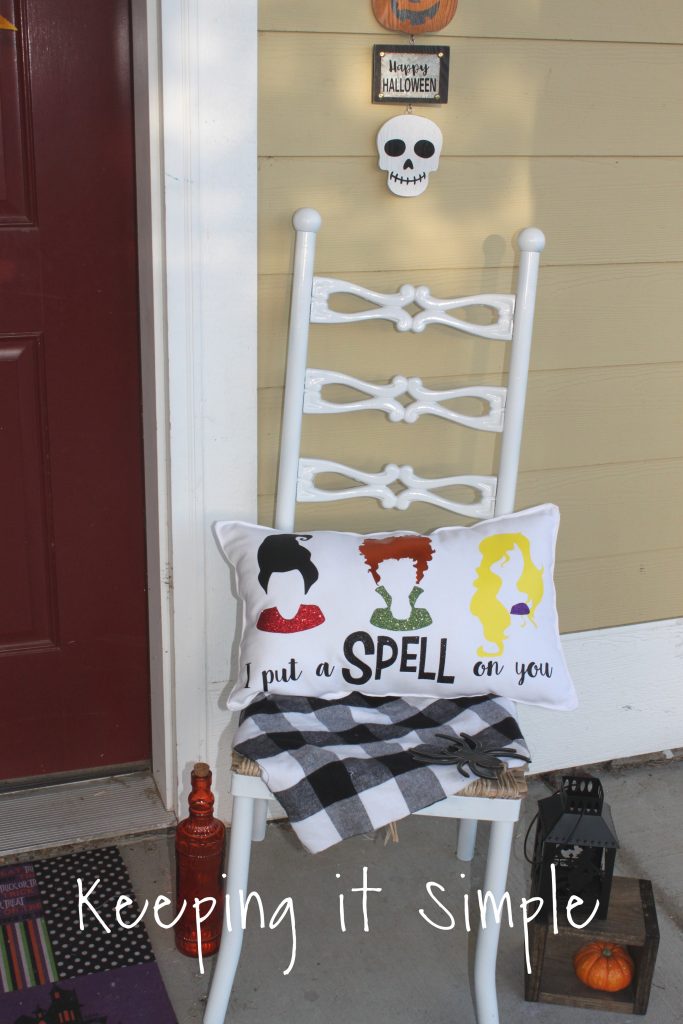
For this pillow I used the Easyweed HTV in black and lemon yellow and then an electric orange for Winnie’s hair. I also used the glitter HTV in colors galaxy black, dark green, red and purple.
This Halloween pillow was fun to make because the saying is just so much fun! I got the design from a bundle and you can get that here:
![]()
To see the full tutorial on how I made this pillow, check out this post. For this pillow I used an Easyweed HTV in black and then the glitter HTV in lavender, copper, light green and galaxy black.
![]()
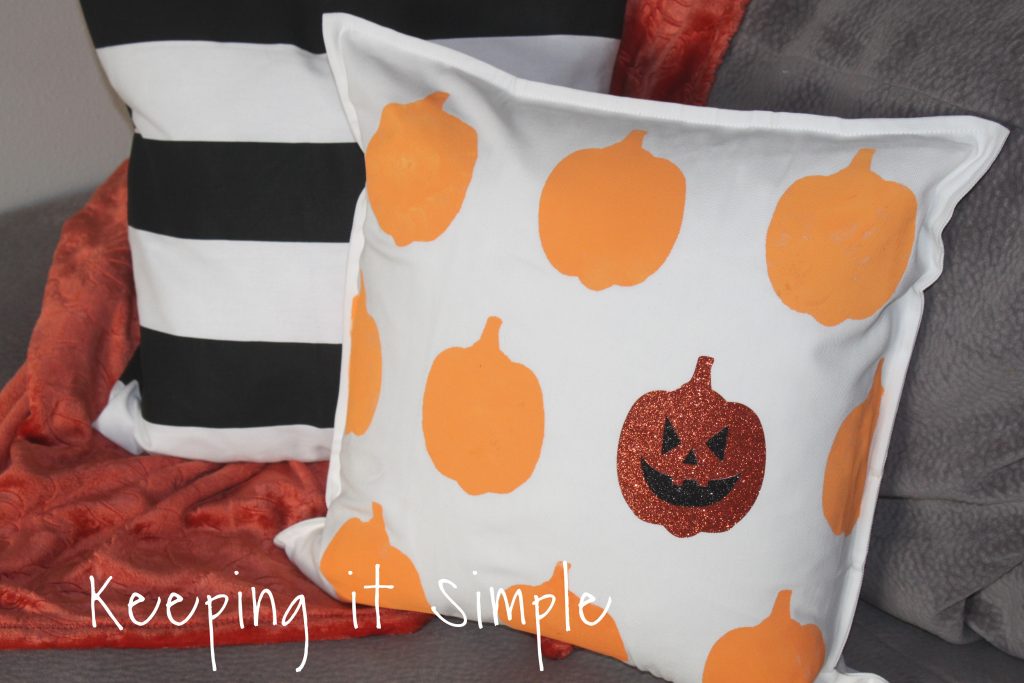
This last pillow I did a little differently, I used paint and HTV. For the full tutorial, check out this post. You can get the cut file here:
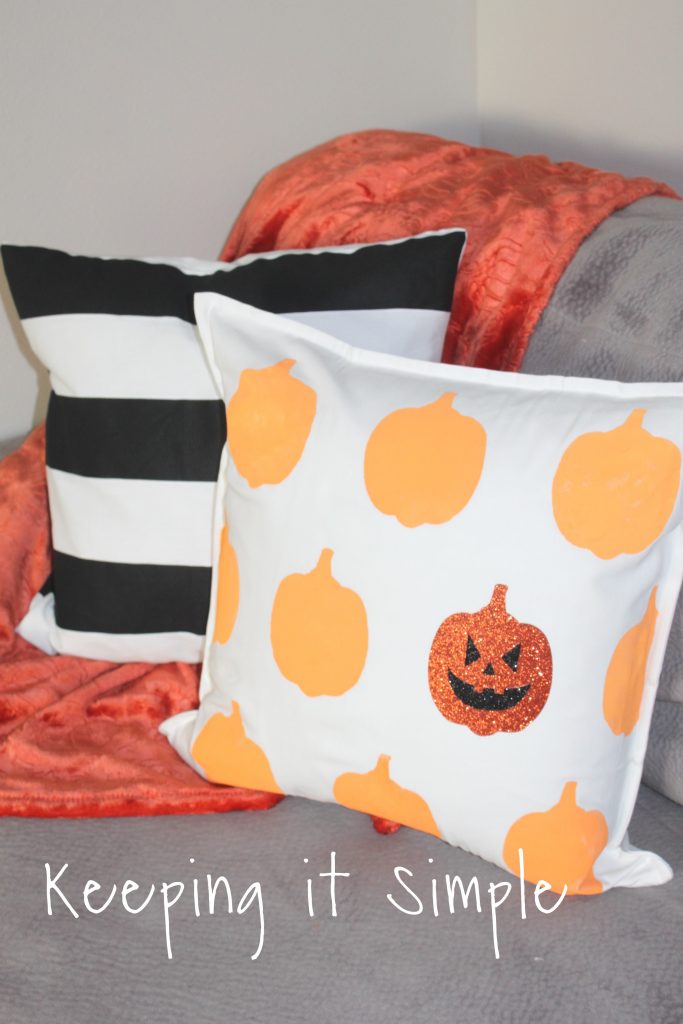
For this pillow I used stencil vinyl and then the glitter HTV in copper and galaxy black. You can’t layer glitter vinyl, so when you cut the jack o’lantern out, you have to cut the orange HTV first with the face in it and then you cut the face out in black. That way when you go to press the HTV onto the pillow, there are holes for the face vinyl to go so the HTV is sealing to the fabric and not the other pieces of HTV.
With all of these pillows, you can make them using an iron if you wanted. You just have to make sure that you put enough pressure onto the HTV that the fibers of the fabric are seen through the heat transfer vinyl. Here is a great chart to see how long you’re supposed to press the HTV and at what temperature.
Make sure to check out all of the other pillows I have made!
This post contains affiliate links.
Leave a Reply
You must be logged in to post a comment.