Hi! My name is Carolyn and I’m thrilled to be guest posting today at Keeping It Simple!
When I’m not running around chasing the four thrill-seeking little boys who call me Mommy, I’m usually busy crocheting hats for my etsy shop Moose Mouse Creations.

Otherwise, you’ll find me crafting, sewing, baking, cake decorating, or feathering my nest…and sharing all about it on my blog, also {very cleverly} called Moose Mouse Creations!
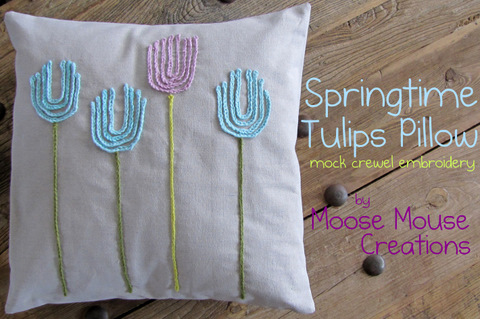
Today I’d like to share with you an idea that I had for a pretty spring pillow and a tutorial so you can make one too! The other day, I was playing around with some yarn, making little flower shapes from a crocheted chain (I wasn’t just mindlessly daydreaming, I was trying to come up with a new crochet flower design), when I started to wonder how the shapes would look sewn onto fabric. This led me to the question,
“Is it even possible to machine sew a crocheted chain onto fabric?”
Well, the answer is YES, it is. And it looks pretty cool, too! It almost has the appearance of a thick crewel embroidery, but, is much easier to do (for me, anyway).
So, here we go…
You will need:
A 20 x 20 pillow form
approx 3/4 yds fabric
small amounts of yarn. I used Robins Egg Blue and Lilac Cotton, and 2 shades of Green Wool
f or g crochet hook
sewing machine
thread
ruler and disappearing marking pen
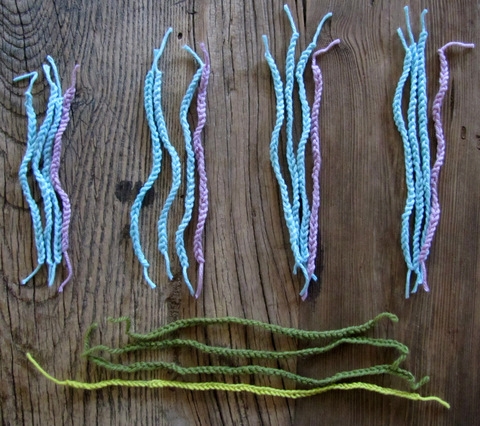
With the crochet hook and the blue yarn make 12 separate chains as follows:
(Here’s a great tutorial on making crochet chains from Aesthetic Nest)
3 chains 26 stitches long
3 chains 30 stitches long
3 chains 32 stitches long
3 chains 34 stitches long
make 4 chains in lilac (26, 30, 32 and 34 stitches long)
make 3 chains in the darker green (40, 44 and 48 stitches long)
chain 52 in light green.
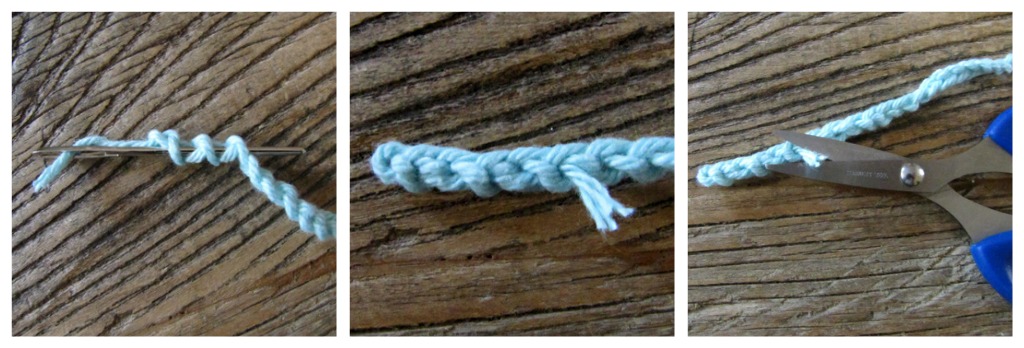
The tighter the stitches are, the neater they will look when they are sewn.
Finish each chain by weaving in its ends.
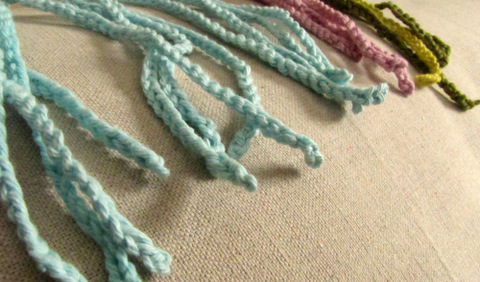
Cut a 21 x 21 square of your fabric and serge or zig-zag stitch around the edges if it frays easily.
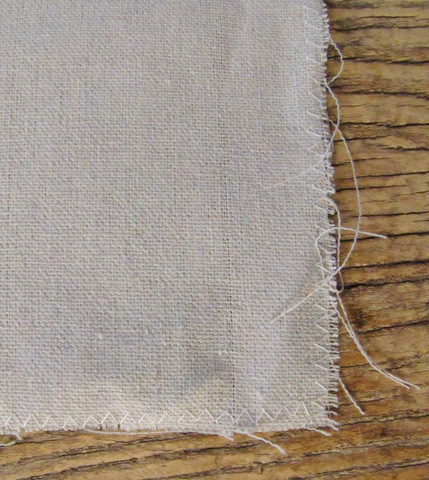
Can you guess what type of fabric I’m using?
I’ll give you a hint…It doesn’t come from a fabric store.
A bigger hint…I got it at The Home Depot.
It’s a canvas drop cloth. It has a great texture and little flecks of color throughout. Plus, it was cheap. (It would work out to be $2.75 per yard if it were a 54 inch wide bolt.) So why not?
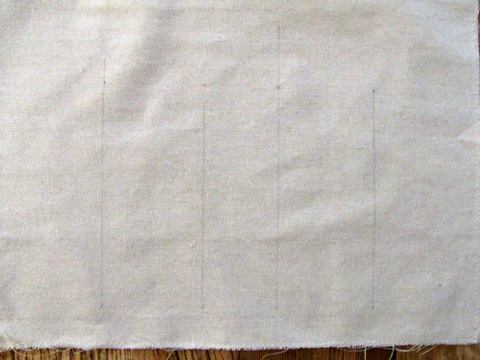
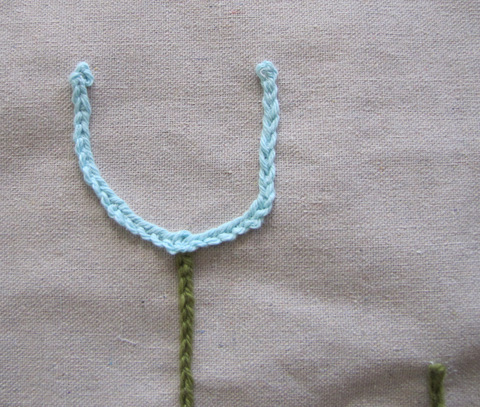
Using your ruler and disappearing ink pen, draw 4 guide lines on the fabric where you would like the stems to be, mine are at random intervals between 3 1/4 inches and 4 inches apart.
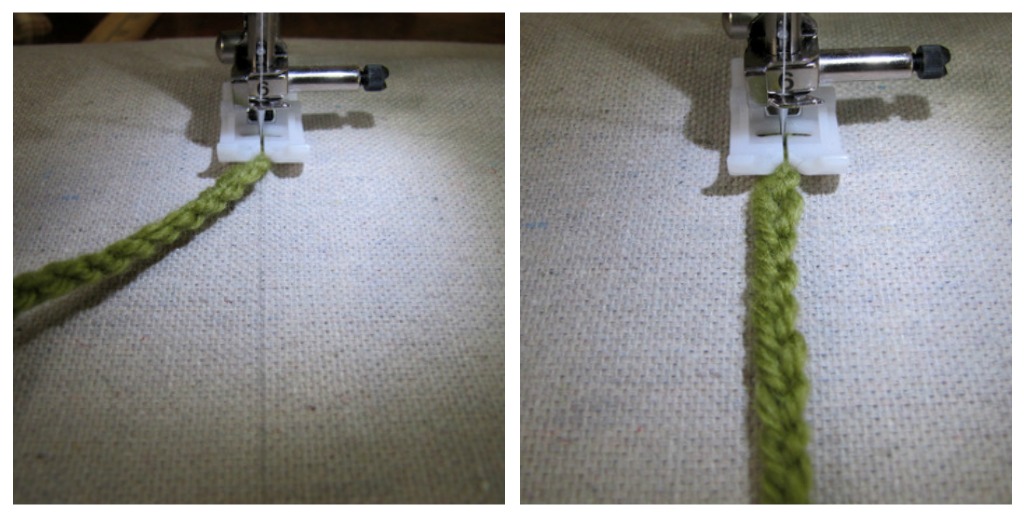
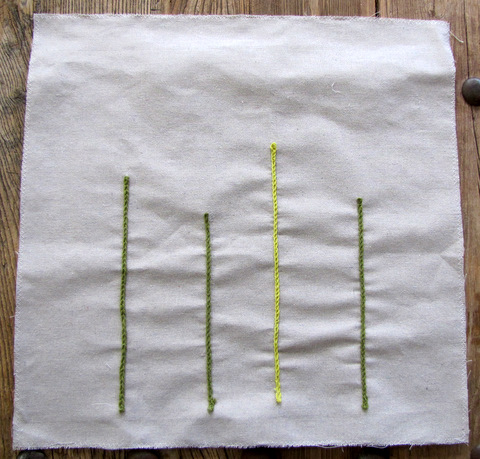
Using a straight stitch on your sewing machine sew the green chains into place using the lines to guide you.
You should now have this:
Time for the flowers…
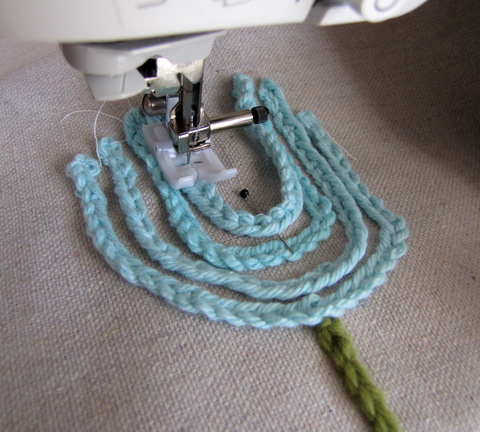
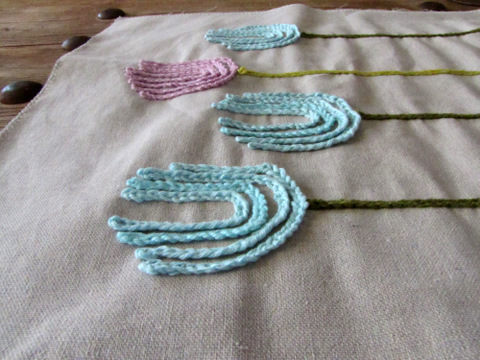
Starting with the longest chain for each flower, pin the center of the chain at the tip of the stem. Stretching the yarn gently, shape the flower and pin in place using as few pins as possible (allowing the chain to stretch a bit as you sew).

Sew the chains into place removing the pins as you approach them.
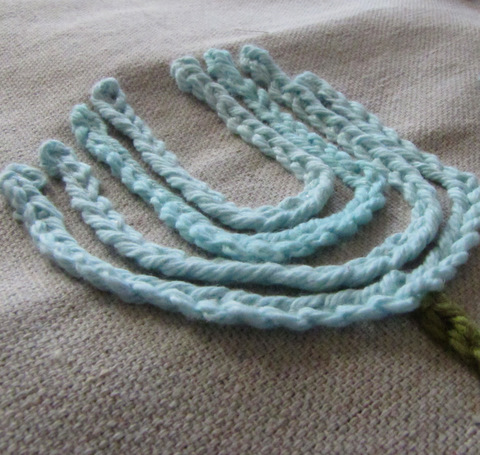
Continue this for each successively smaller chain.
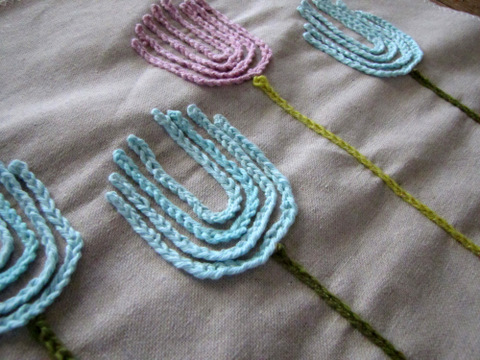
You now have one pretty tulip!
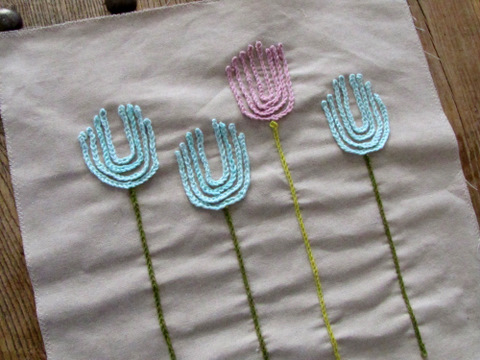
Finish the other three tulips in the same way and you have a beautiful front piece for your pillow.
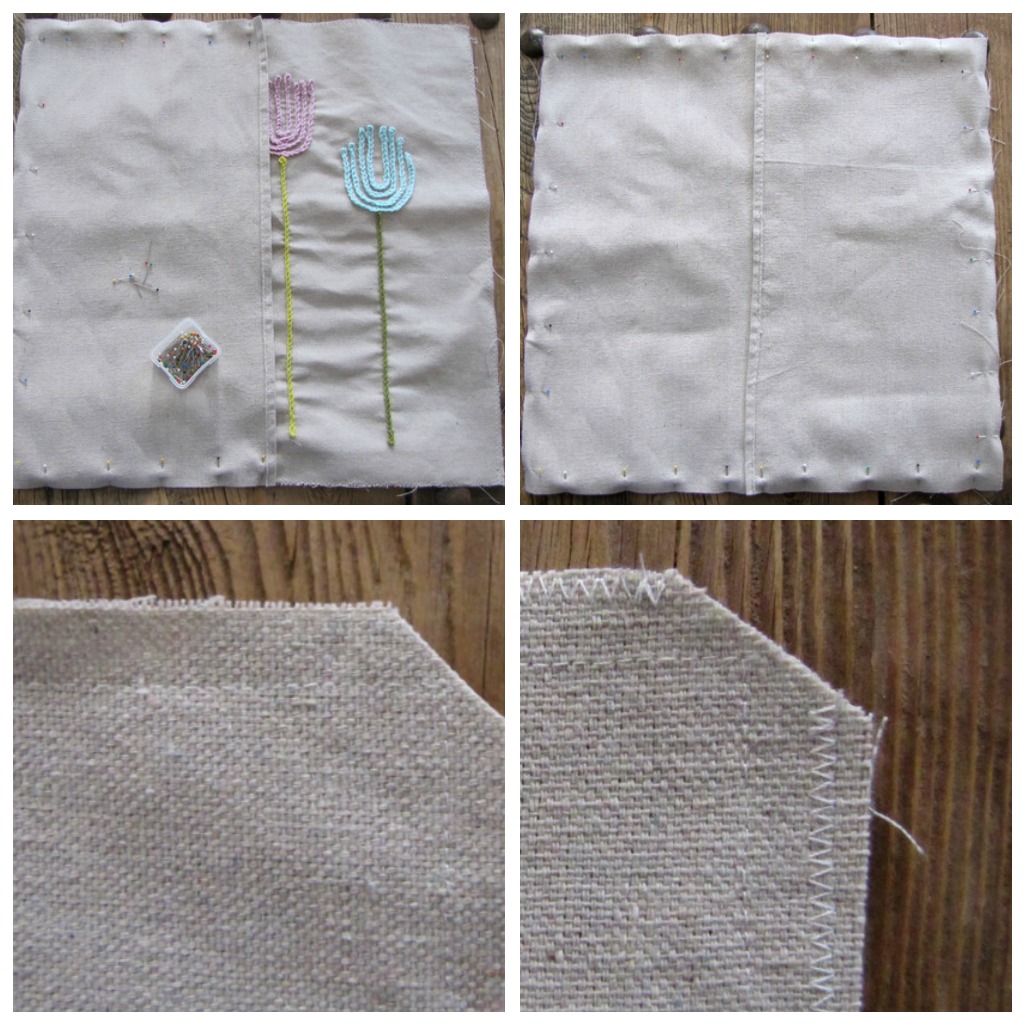
Cut two 21 x 12.5 inch rectangles from your fabric. Hem one of the 21 inch ends of each.
Pin onto your front piece with right sides together and hemmed parts overlapping Sew around the perimeter of the entire square. Trim the corners and finish the edges by serging or zig-zagging. For more detailed instructions on sewing the pillow, see my Simple Pillow Cover tutorial.
Turn right side out and stuff.
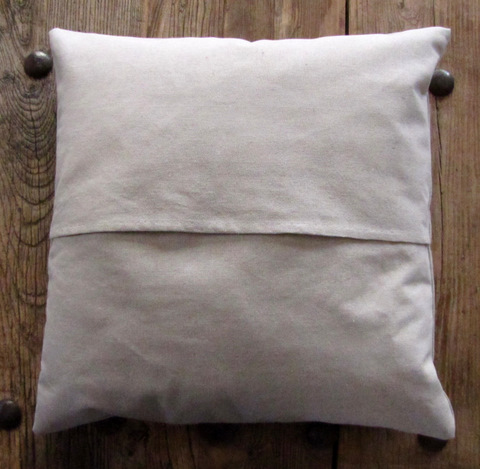
Voila! A charming Springtime Tulip Pillow! {cue the chirping birds and buzzing bees}

I would love for you to drop by and visit at Moose Mouse Creations…I even have a giveaway going on until April 9th…The prize is a hat of your choice from my etsy shop, so be sure to check it out!
Happy Spring!
I love this pillow!!! So cute and simple!! Thanks Carolyn for an awesome tutorial!

Woooo, this is lovely! I had no idea you could sew crochet, and the tuto is really easy to follow.Thank you!
Love, Olga♥