• Skip to primary navigation
  • Skip to main content
  • Skip to primary sidebar

Keeping it Simple

creating simple crafts, DIY, recipes and more

  • About Me
  • Advertise
  • Buttons
  • Contact Me
  • Privacy Policy
  • Tutorials
  • Home Decor & DIY
  • Recipes
  • Holiday Crafts
  • Gaming & Geek Crafts
  • Printables
  • Kids Crafts
  • Sewing
  • Vinyl Crafts

Hound Dog Backpack [Melly Sews]

June 8, 2012 by Kaysi 3 Comments

Hi Keeping It Simple readers! After a few girl projects, I’m here with a boy one.

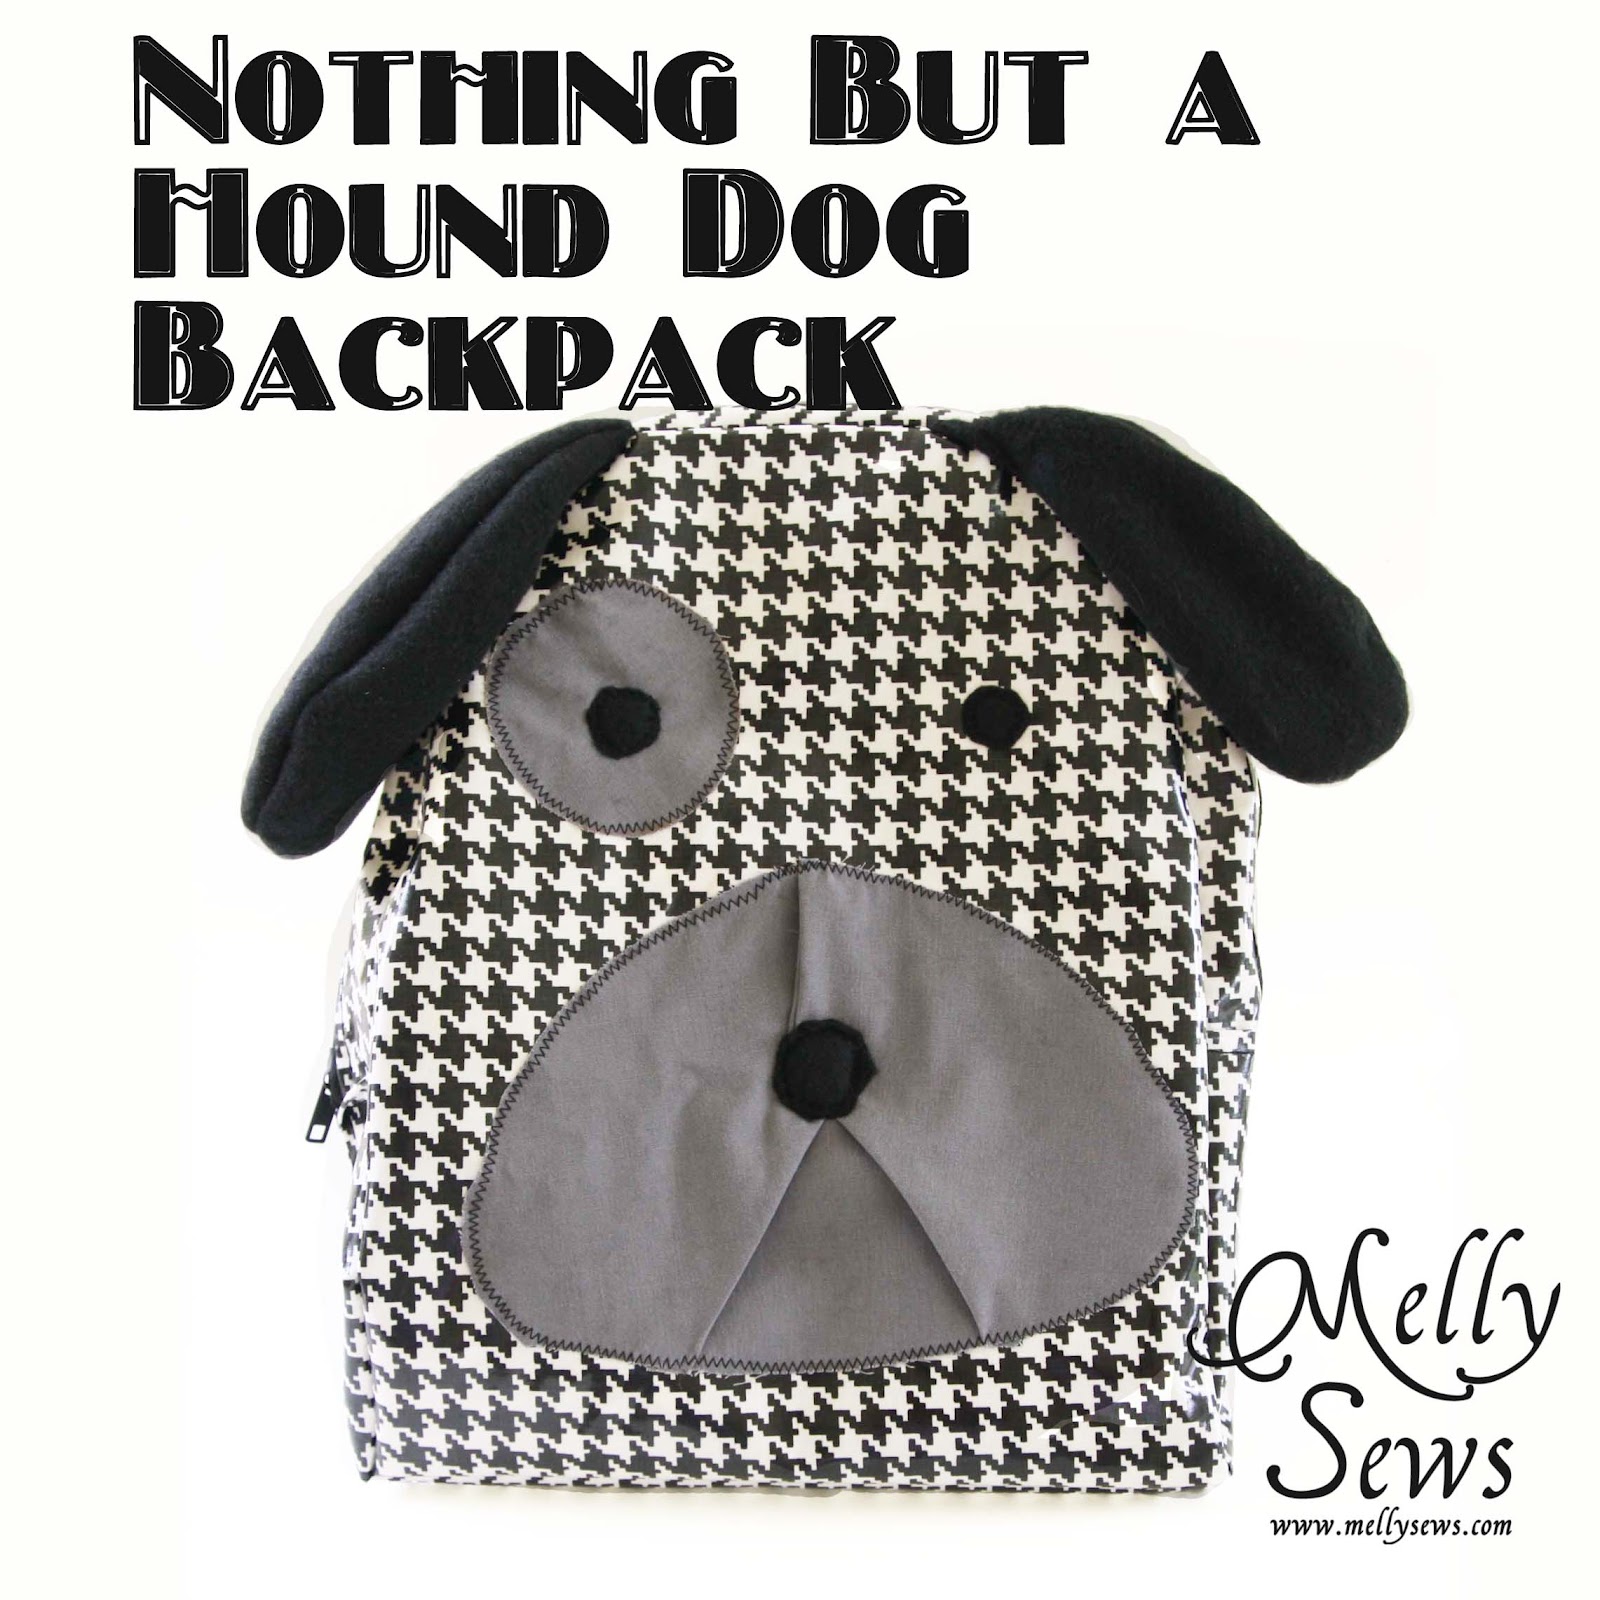
We’re doing some traveling this summer and I decided Bean needed his own little piece of luggage. I went into a local independent fabric store, and found this laminated cotton houndstooth, and the Nothing But a Hound Dog Backpack idea popped into my head.

I’m not going into all the details of how I made the backpack – for that, there is a pattern here from Made By Rae that you can buy (and it’s schmancietr than mine anyway) or there’s a very good tutorial from Naptime Crafters here that will basically show you the same thing I did. Why reinvent the wheel?

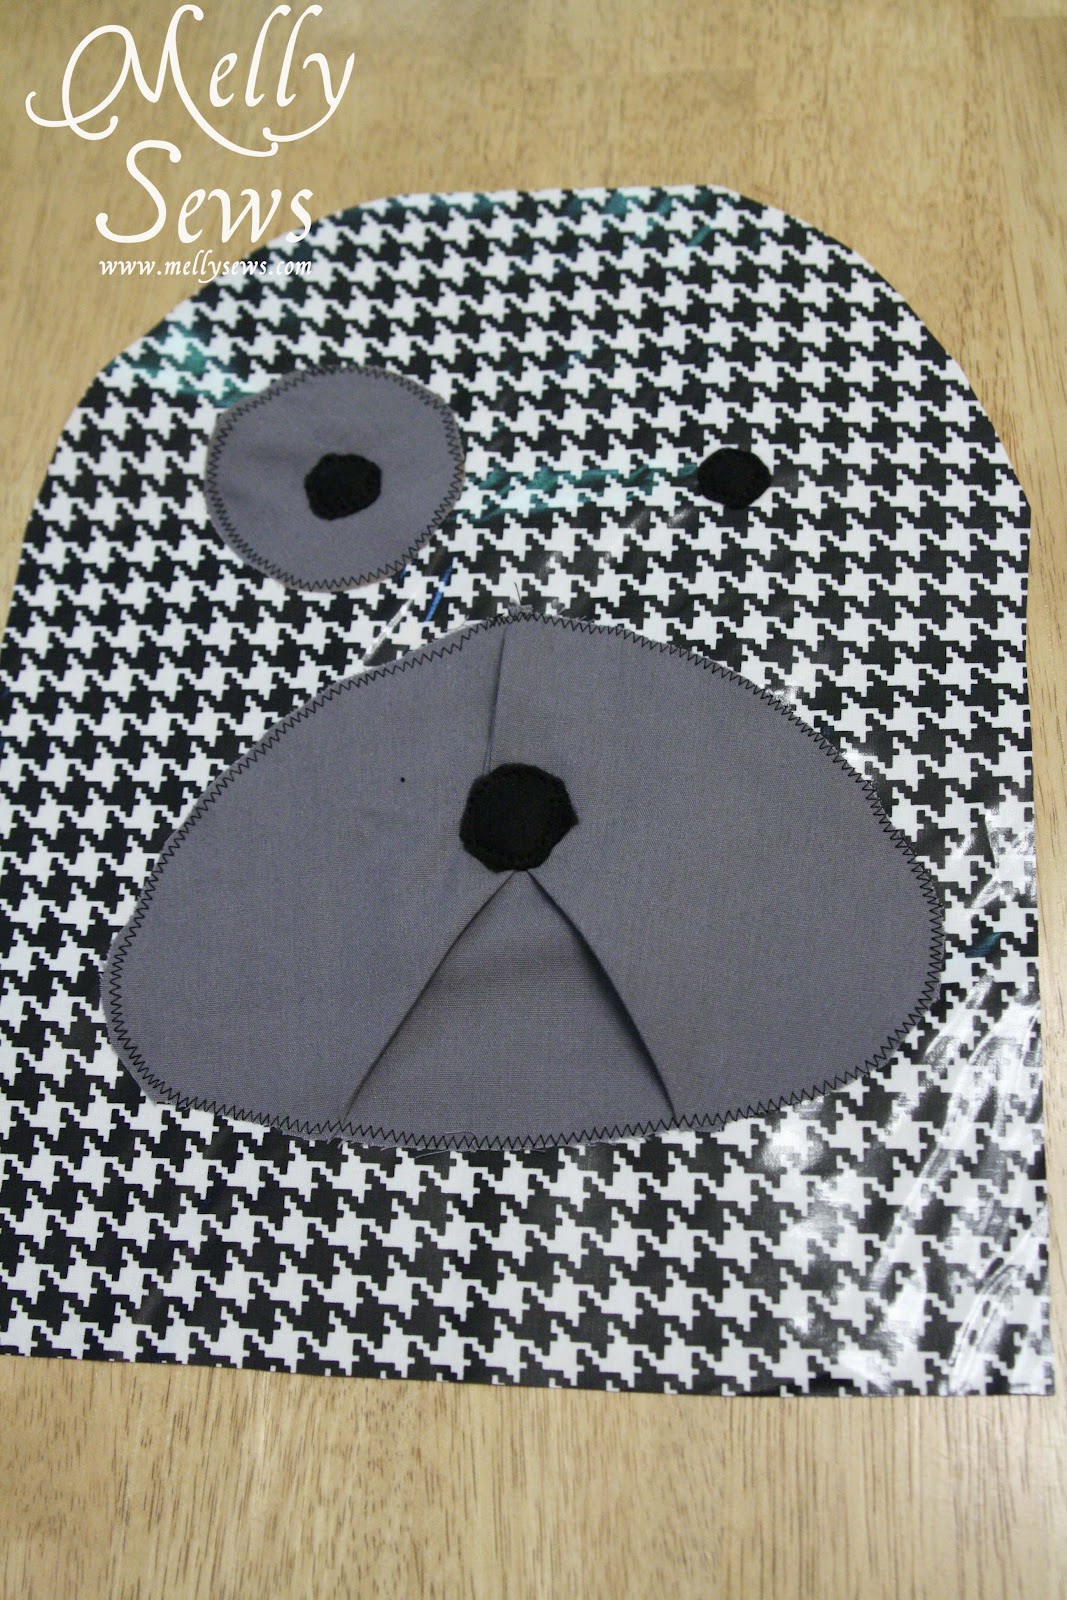
What I do have for you is the tutorial about how I made the dog face, and free printable pattern pieces for the dimensional muzzle and ears. You can use this to make your own hound dog with either of the backpack options I mentioned above.

I used:
These pattern pieces – Click HERE to download
Gray scraps for the muzzle and eye ring
Black fleece scraps for the ears, nose and eyes

Starting with the muzzle – cut 1 on the fold and mark the darts. Then, pin the darts and press but DON”T SEW them.

Now press the dart shape towards the outside of the muzzle while you’re looking at the wrong side of the fabric.

When you turn this right side up, it will give you the mouth shape. You’ll also notice the top part of the muzzle kind of bubbling up because of the darts. Press this to one side to create the nose shape.

Now place the muzzle on the backpack front and zig-zag stitch around the edges to secure it in place. Go slow near the darts to make sure you sew them down the same way you ironed them. FYI – I often use heat ‘n bond to hold applique pieces in place while I sew. DON’T do that on laminate fabric!

Now cut a circle about the size of a quarter and zig-zag stitch it on for the nose. The eye ring was my camera lens cap, and the eyes are the size of a penny. Zig-zag stitch each into place.

Sew two ears together with narrow seams, right sides facing. Leave the square-ish end open and turn the ear right side out. Repeat with the other two ears.

Sew the ears onto the top edge of the backpack. When you sew the zipper band onto the backpack, make sure the ears can still flap freely, but that they are caught in the seam.

And that’s it!

I made my straps on this extra cushy

And added a pop of yellow to the inside
And because I used laminated cotton for the outside and laminate backed nylon for the inside, this bag is water resistant. It might be the one to carry our wet swimsuits.

Thanks for having me Kaysi!

Keeping It Simple

Filed Under: boys, guest post, school, sewing, Uncategorized

Previous Post: « 4th of July Wreath
Next Post: A Little Glimpse »

Reader Interactions

Comments

  1. Winnie

    June 9, 2012 at 9:22 pm

    This is soooooooooooooooooooooo CUTE and ADORABLE

    Log in to Reply
  2. mintu dad

    October 3, 2016 at 8:57 am

    Thanks

    Log in to Reply

Leave a Reply Cancel reply

You must be logged in to post a comment.

This site uses Akismet to reduce spam. Learn how your comment data is processed.

Primary Sidebar

 photo KISsidebaraboutme.jpg

Keeping It Simple Photobucket Keeping It Simple Keeping It Simple Keeping It Simple Keeping It Simple

Copyright © 2023 · Foodie Pro & The Genesis Framework