This post contains affiliate links.
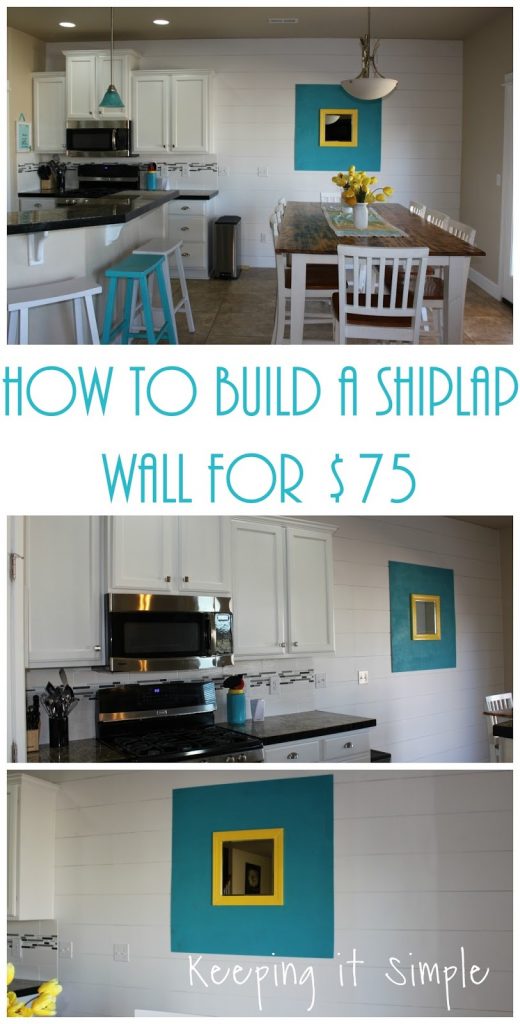
We have been redoing our downstairs for the past year and I am LOVING all the changes that we have done! It’s been so fun to watch it transform to a very bright kitchen! We have loved everything about it!! Well I wanted to add one more thing to our dining room to really make it pop, so we decided to add a shiplap wall and it’s so awesome!! It was an easy project (it only took a couple of evenings) and it cost us LESS than we expected (that never happens!). I so badly want to do our master bedroom now because I love it so much!
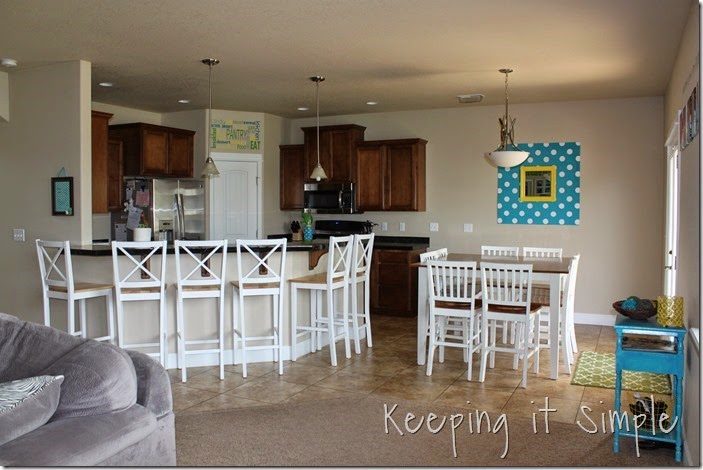
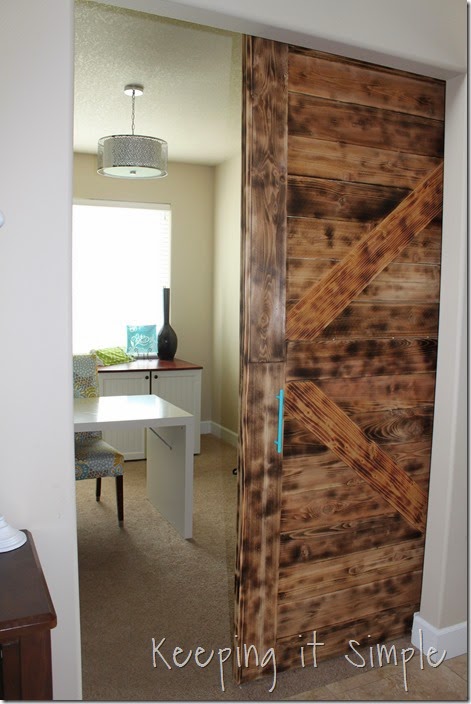
Just for fun, here what our house looked like when we moved in and I decorated it.
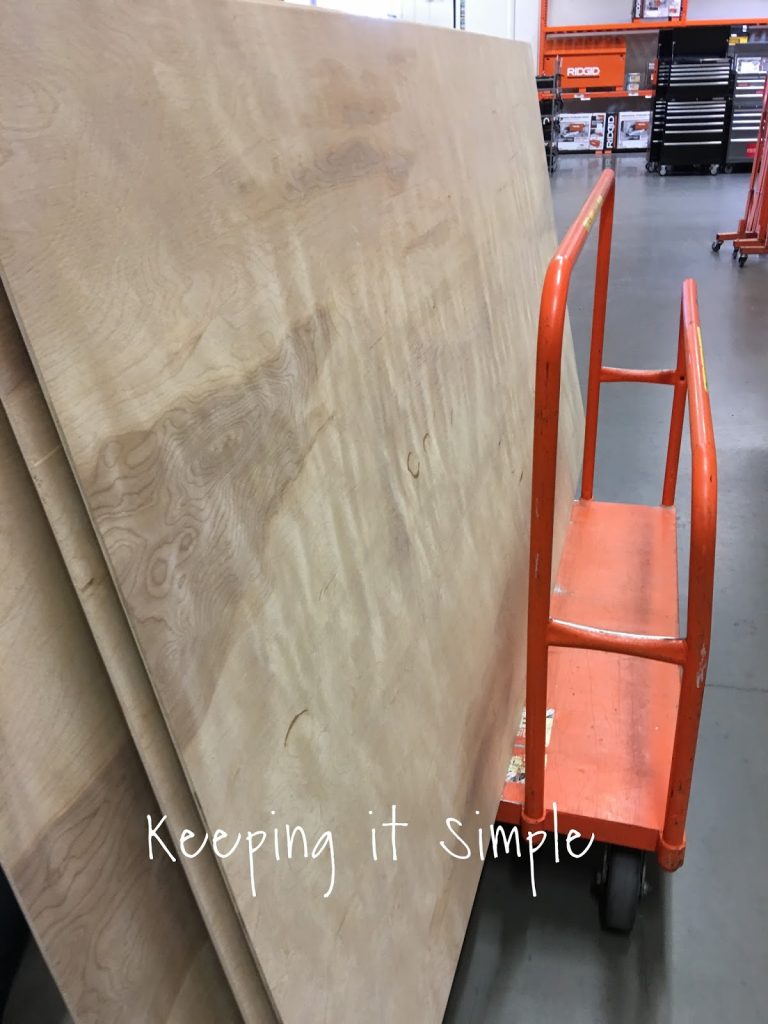
Here is how we made the shiplap wall. We headed to Home Depot and we got some 4×8 pieces of underlayment that were 5mm thick.

We picked up 5 boards just to make sure we had enough, we ended up being back 2 of them (woohoo!!).
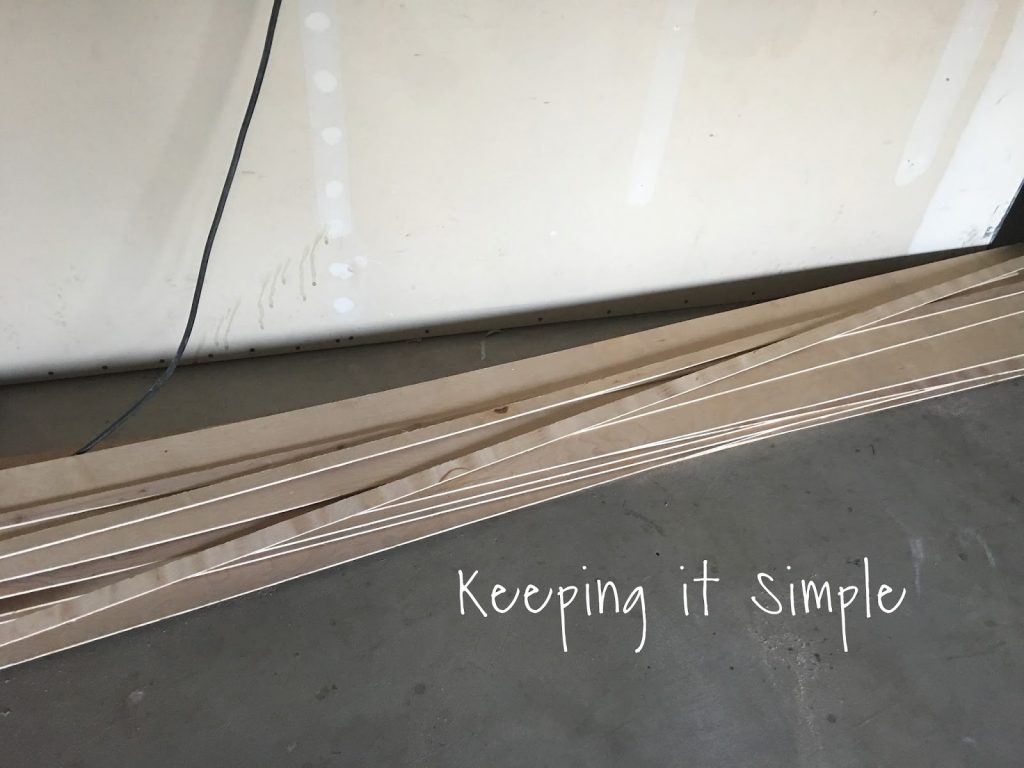
So you can get the wood cut at Home Depot but we decided that we wanted to measure our wall and cut it so we could have the same sized planks throughout the whole wall, rather than just cutting it to 6″ or 8″. So what we did was measured our wall from baseboard to ceiling and it was around 102.75″. We knew that we wanted the planks to be around 8″, so just dividing 102.75 by 8, you get a little more than 12 planks. So we had to decide if we wanted 12 or 13 planks. We went with 13, so our planks were slightly less than 8″. The gap between the boards were 1/8″ and there were 14 spaces, so we times the 14 by 1/8″ and subtracted that from the 102.75″ which was 101″. We divided 101 by 13 and we got 7.75″, so we cut planks to be 7.75 (or 7 3/4) using our table saw.
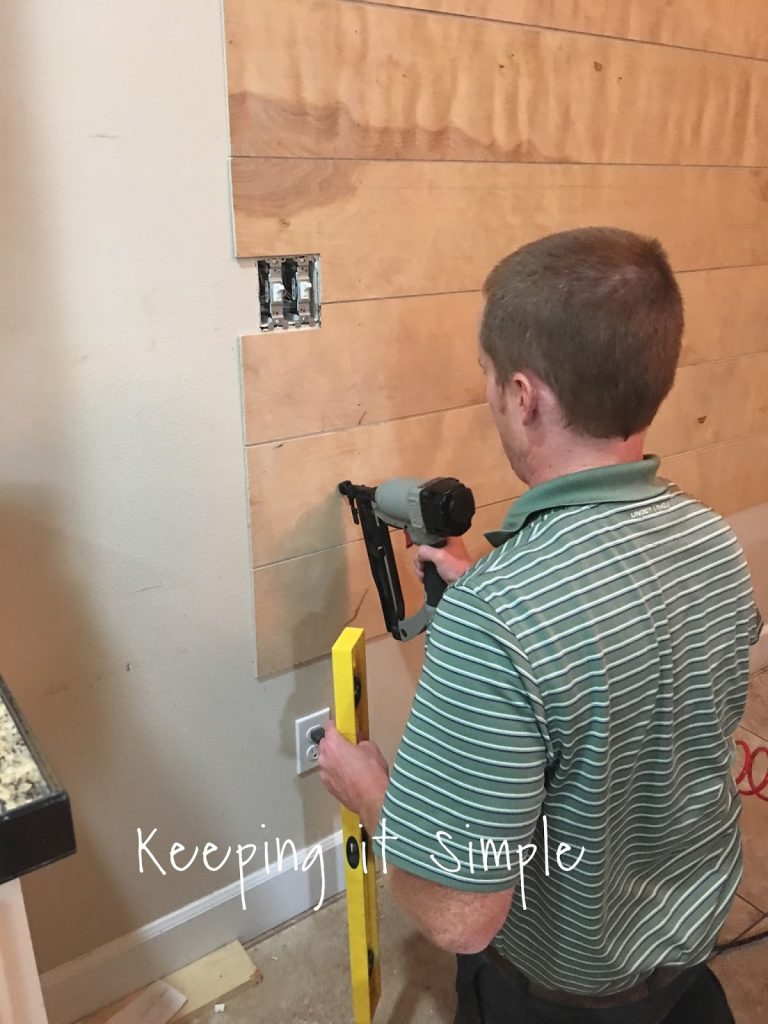
Once the board were cut, we started nailing them with a nail gun onto the wall leaving 1/8″ gap at the ceiling and in between each plank.

When it was time for the wood around the outlets, we just measured and cut the holes.
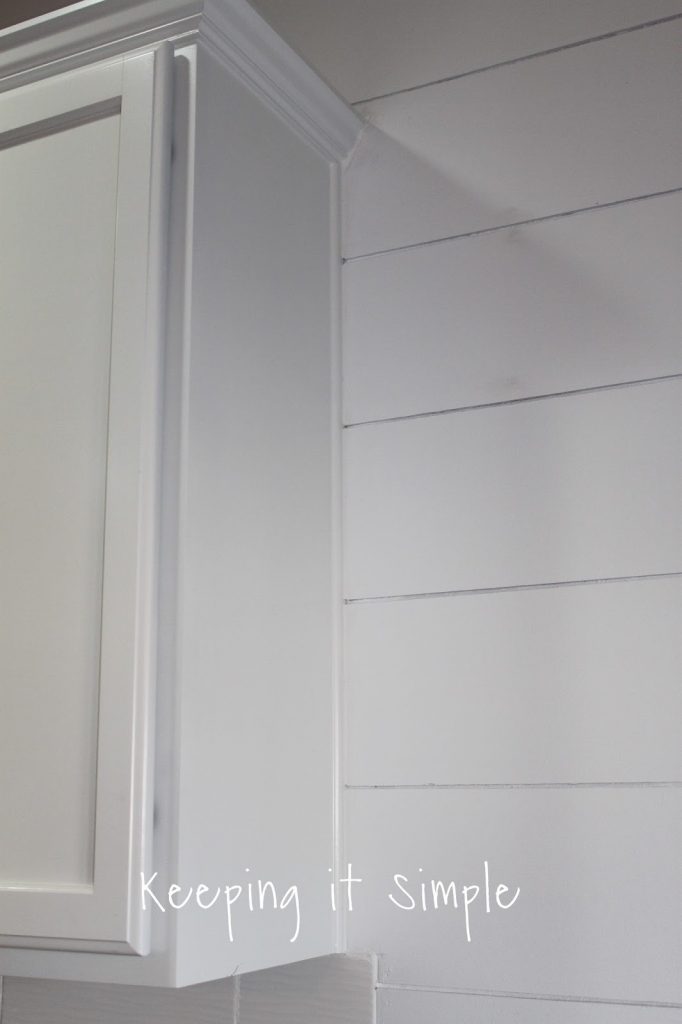
We continued to add the planks to the wall. We measured every plank separately to make sure it fit snugly against the cabinets and back splash.
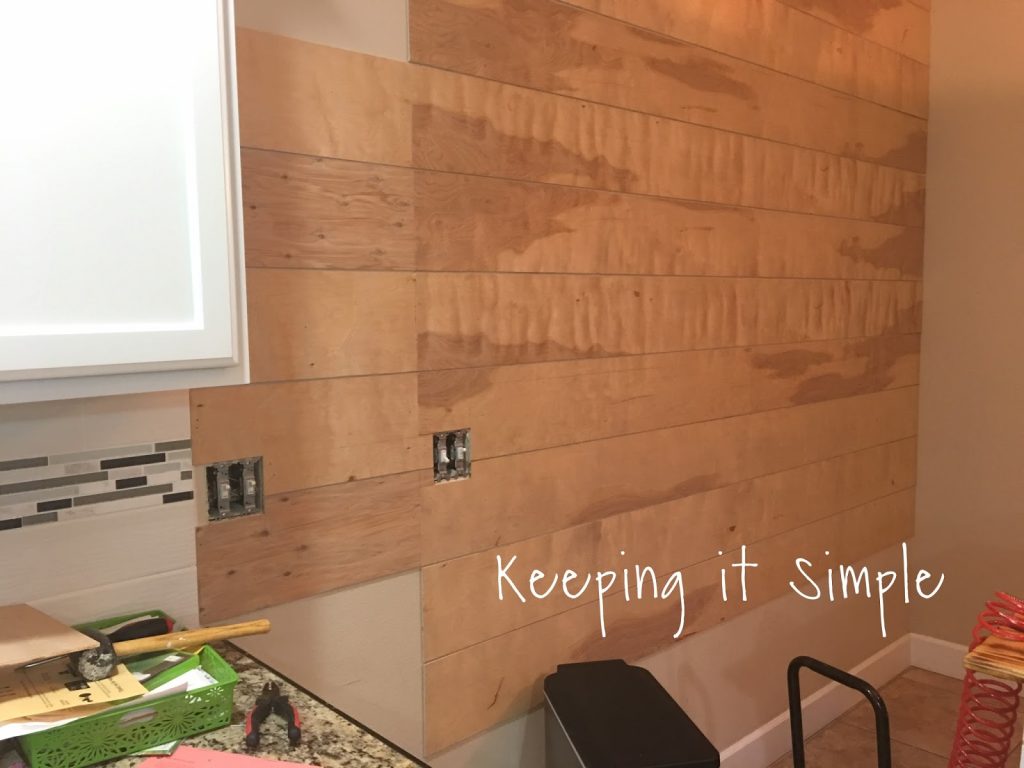
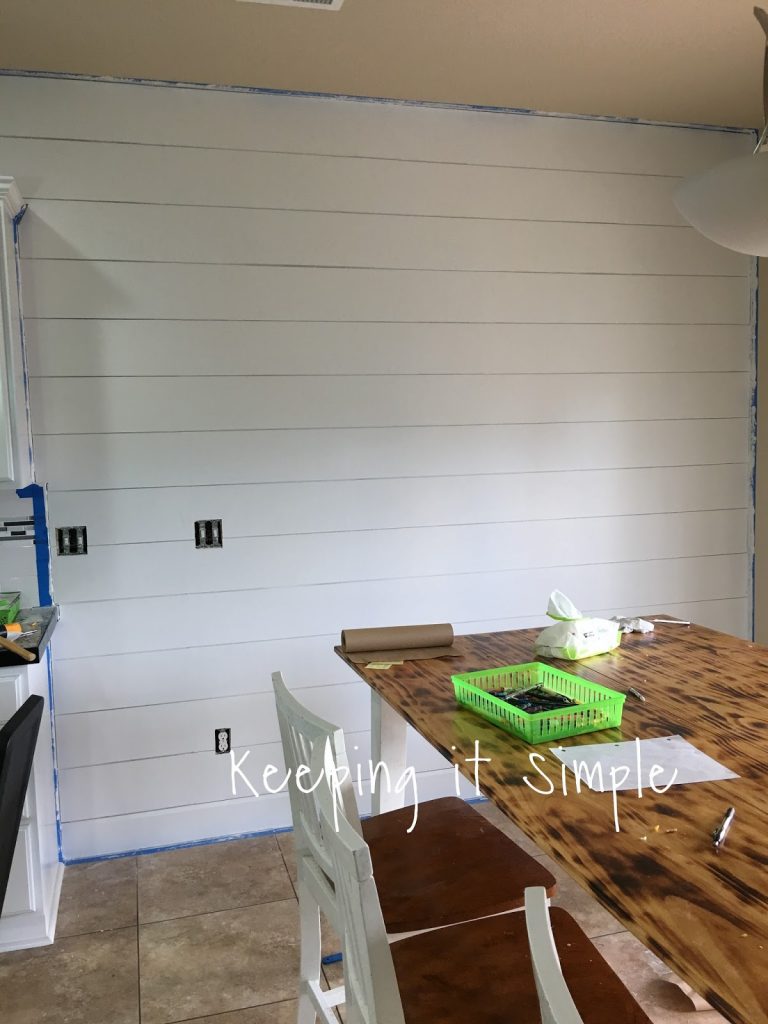
And here is what it looks like with all the wood on, isn’t it awesome?

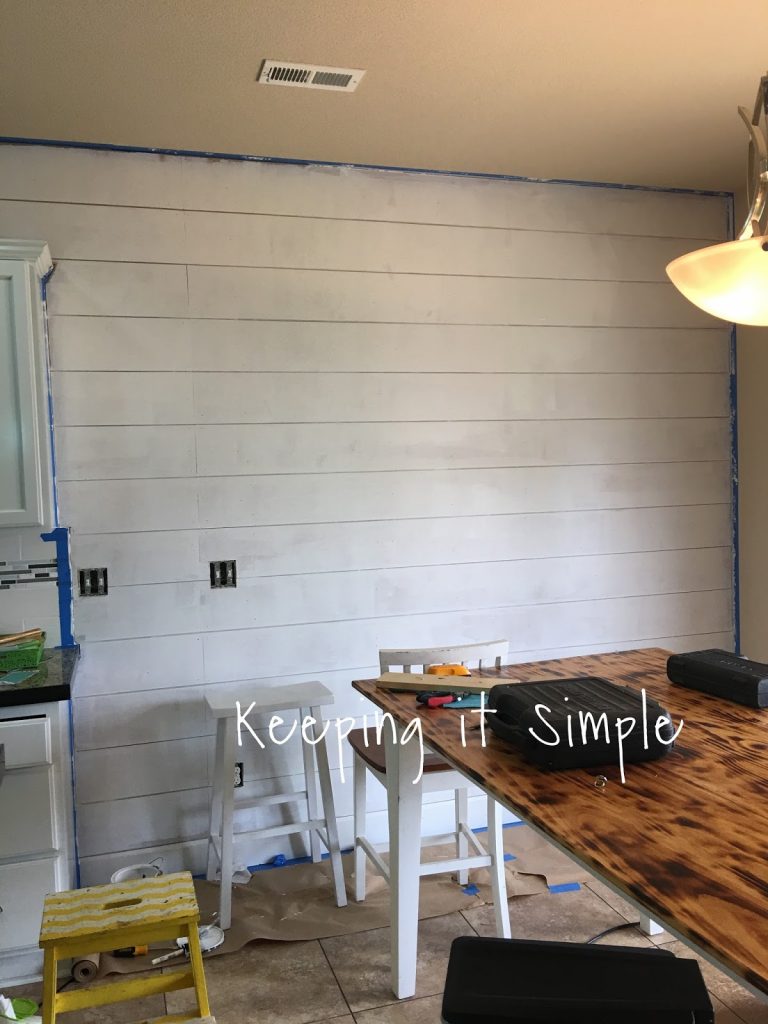
I then put a coat of primer on it. Getting into the spaces was pretty tricky, I used a foam brush (I had to use like 10 of them) to get into spaces and to get the back wall.
Once the primer was dry, we used joint compound (you could also use caulk) to fill in the seams and nail holes.
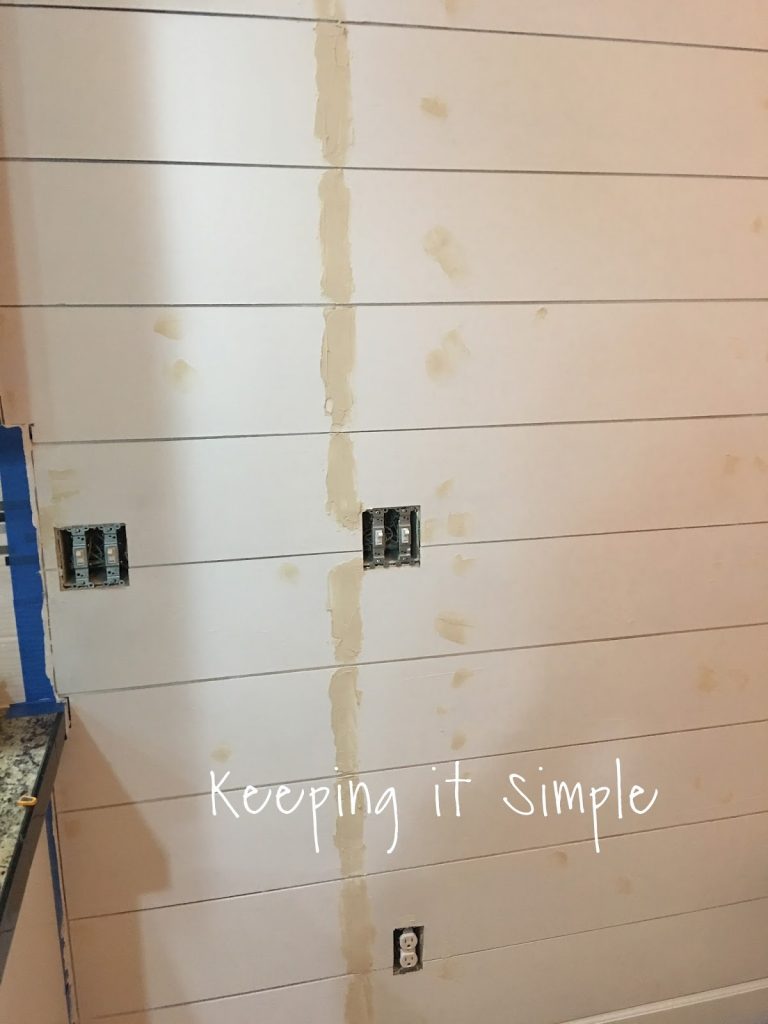
I then put the finishing paint on it.
Once the paint was done, we then caulked the edges to give it a finished look. We did it around the cabinets and the walls.
And that’s it! It was actually a pretty easy project and only took a few days to do and we love it!
Here is a rough breakdown of how much it cost:
3 underlayment boards at $11.96- $35.88
Gallon of Paint- $24
Paint supplies- $15
Which is roughly $75. You could do it for more or less depending on how much supplies that you have and if you have the paint or not. Either way, it’s a fairly cheap DIY project!
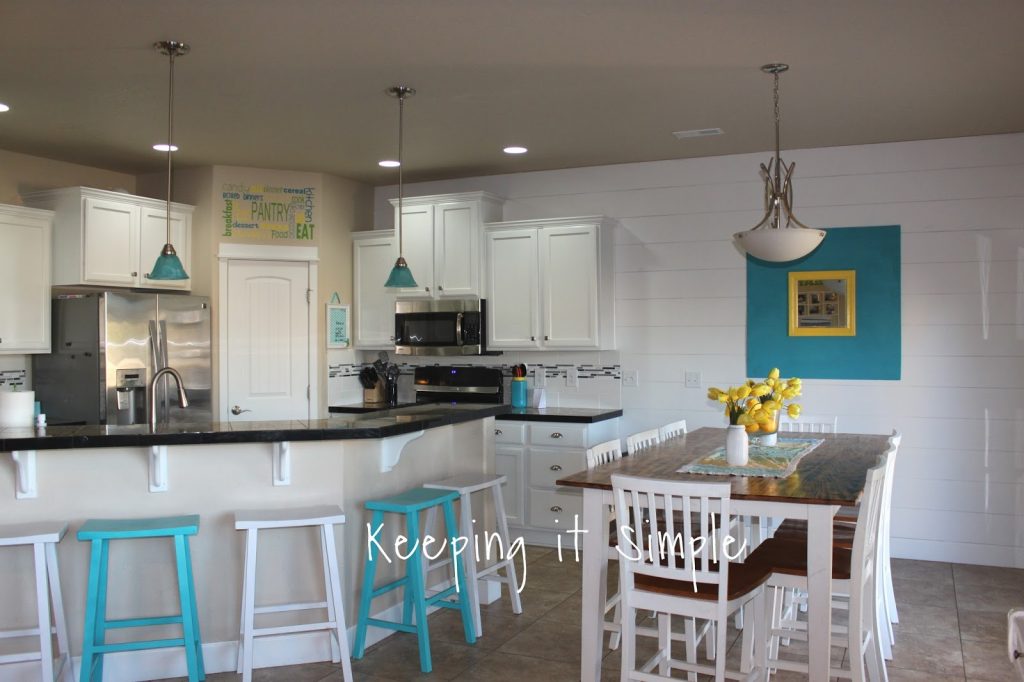
And now I can sit back and just enjoy my bright and fun kitchen!
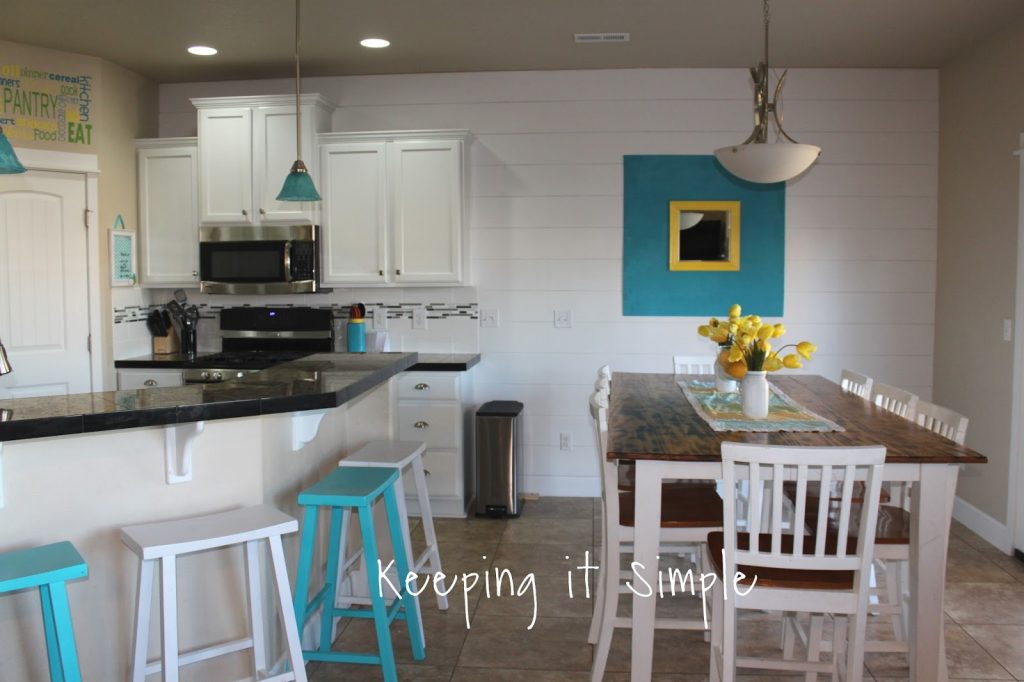
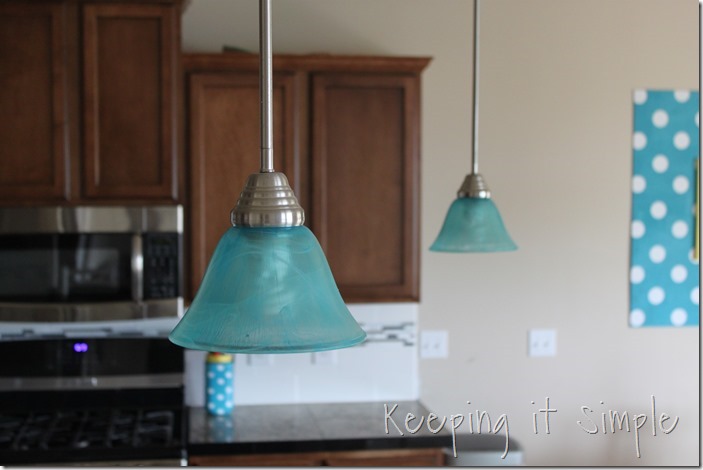
Now with the shiplap wall, my turquoise lights really stand out!
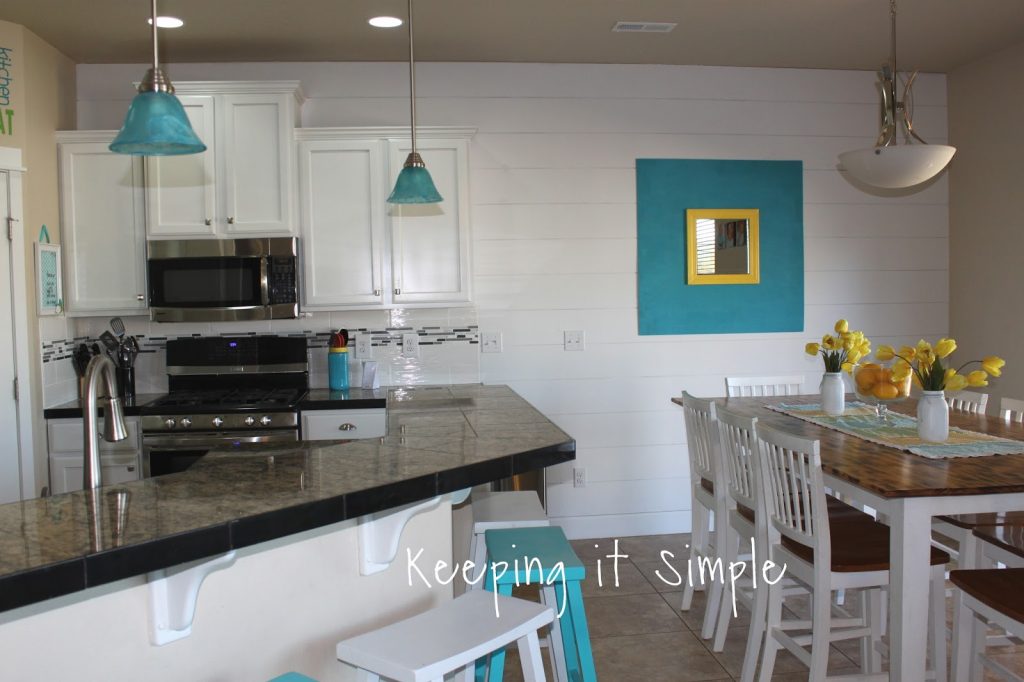
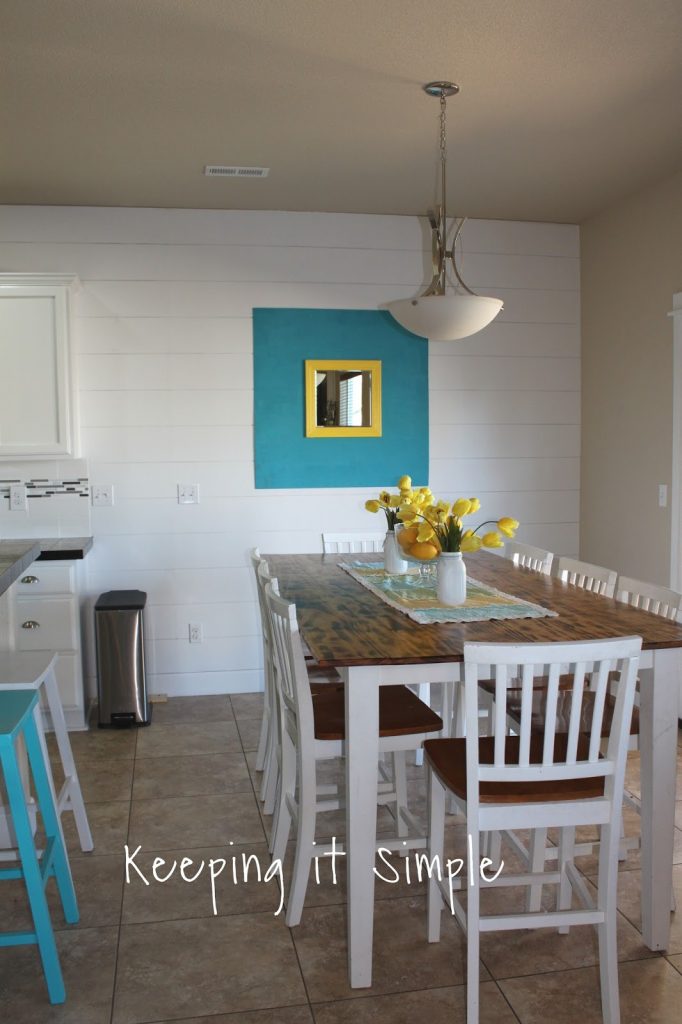
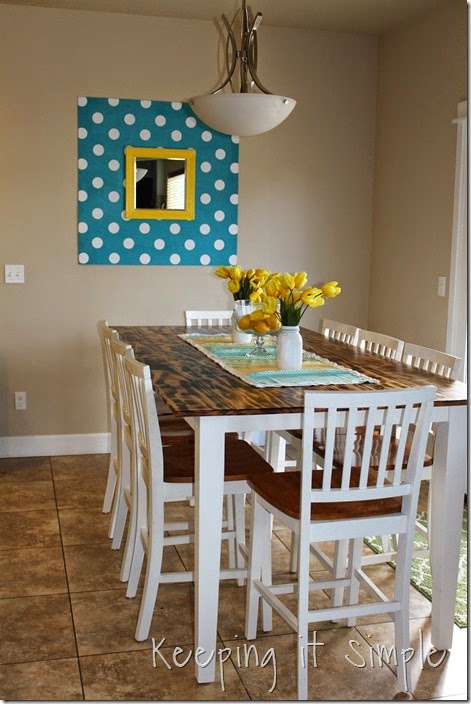
I love how it looks with my dining table and mirror that we built.
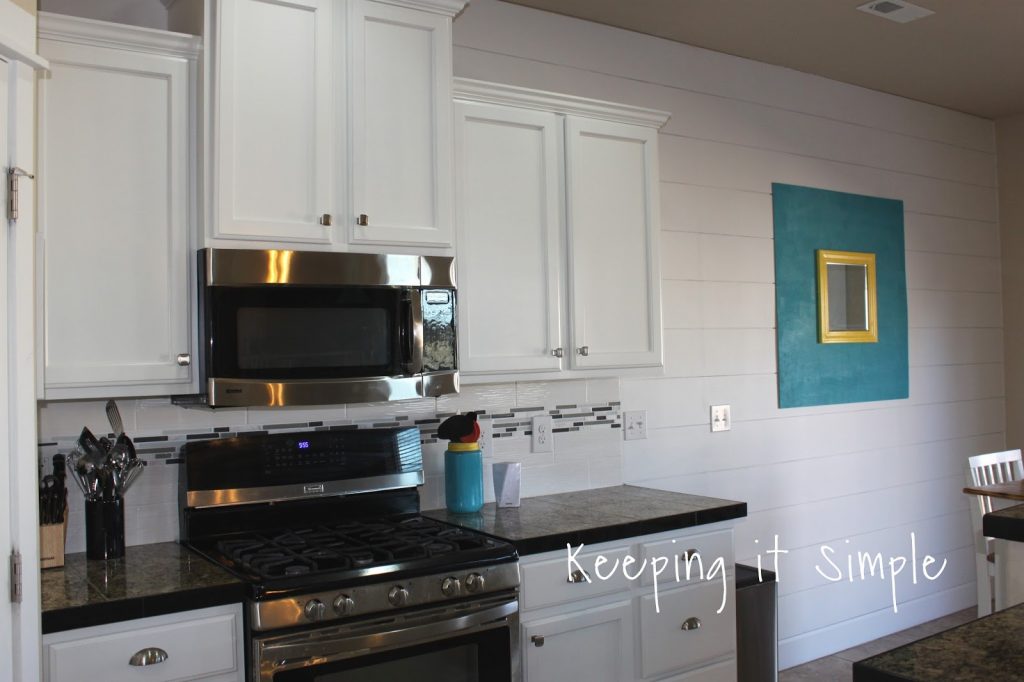
And I love how it goes with my backsplash.

It looks so good! Thanks for the tutorial, I'm considering it for my entryway!