This post contains affiliate links.
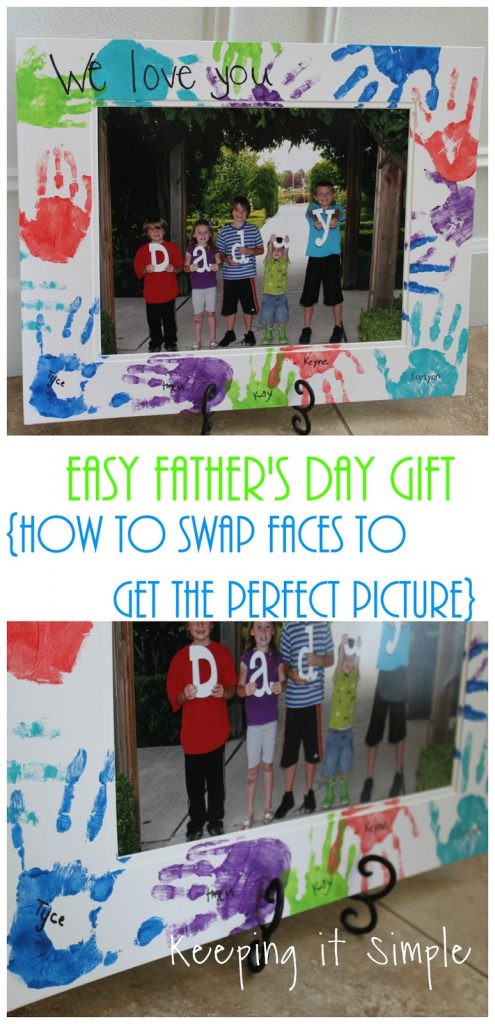
I know that Father’s Day was yesterday but I still wanted to show you all what I made for my husband this year (you can use the idea for next year!). A couple years back I made a chalkboard frame with a picture of my kids holding the word DAD. In that one I decided to do three different pictures so I could get really good smiles from my kids. Well this year I did a similar thing but instead of doing three different pictures I wanted to do just one picture with each one of my kids holding a letter for the word DADDY. I knew that trying to get all 5 kids looking at the camera, holding their letter correctly and smiling all at the same time wasn’t going to be easy. Luckily I learned a new trick so I could get a great picture for the frame. I learned how to face swap and it’s so easy!! I’m going to show you how to do it too (can you tell I’m pretty excited about this?!)!
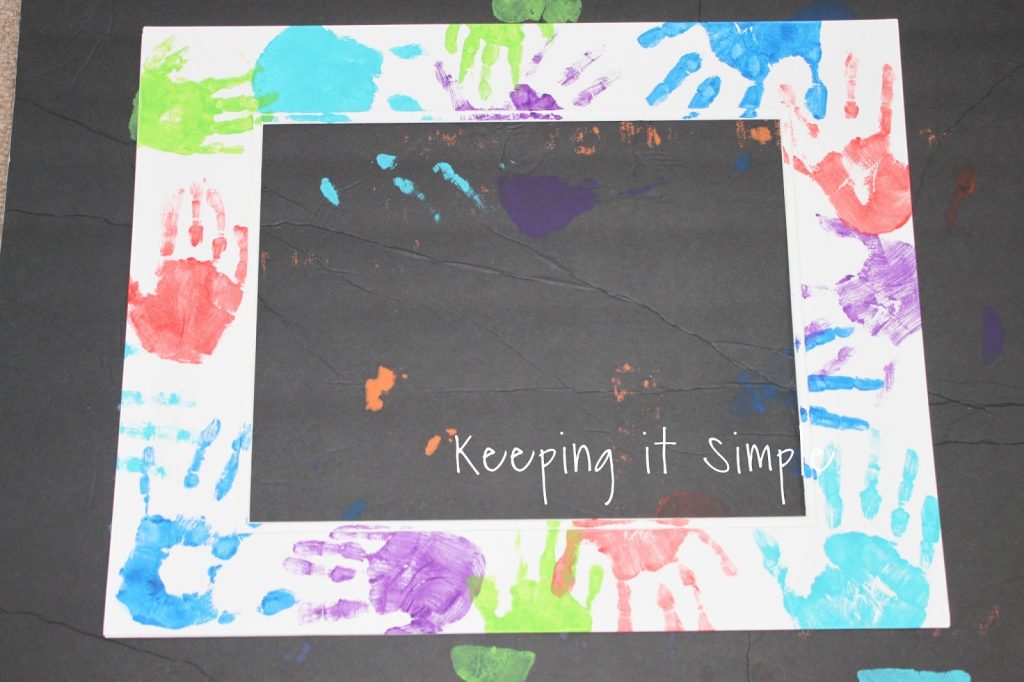
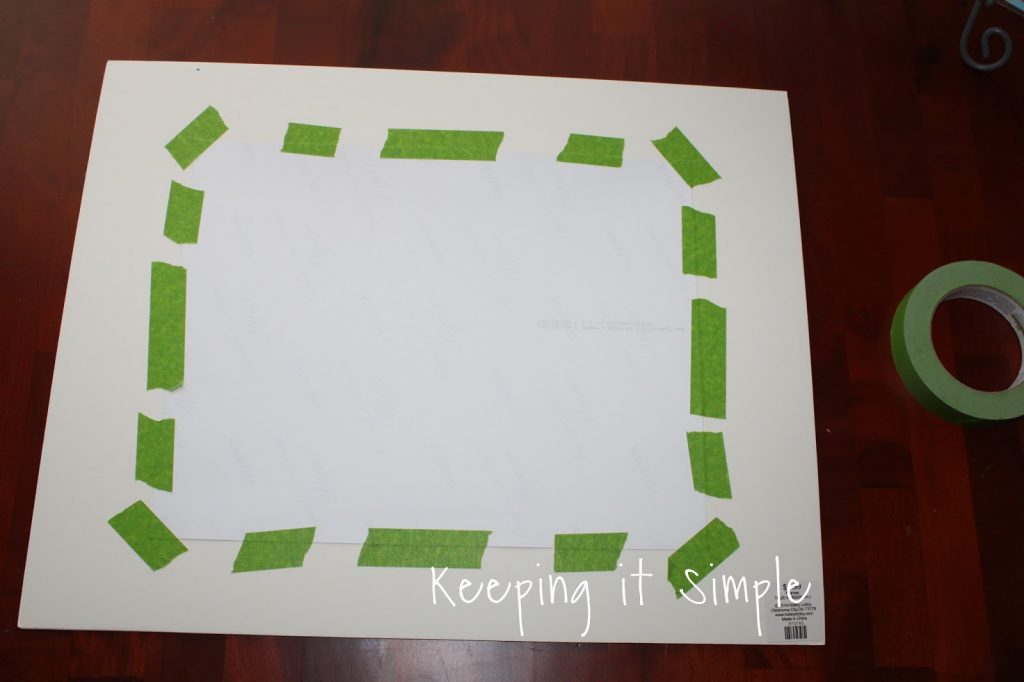
Every year I like to do something with hand prints, usually I make him a shirt but this year I did things a little differently. Instead I put the kids’ hand prints onto a 16×20 mat (with a 11×14 opening for the picture). I just used various colors of acrylic paint.
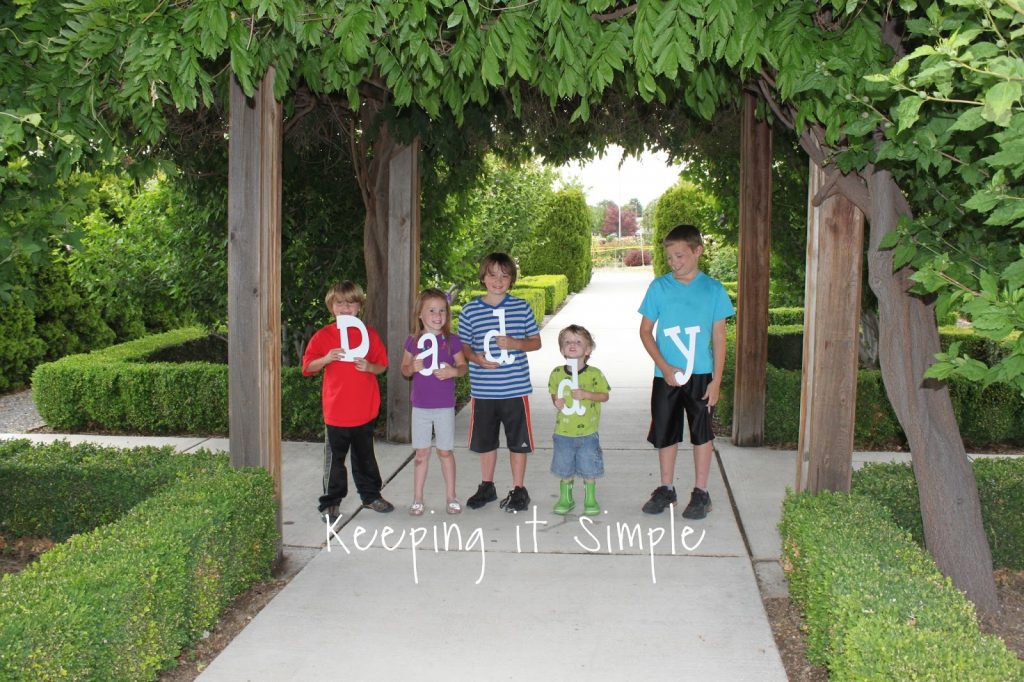
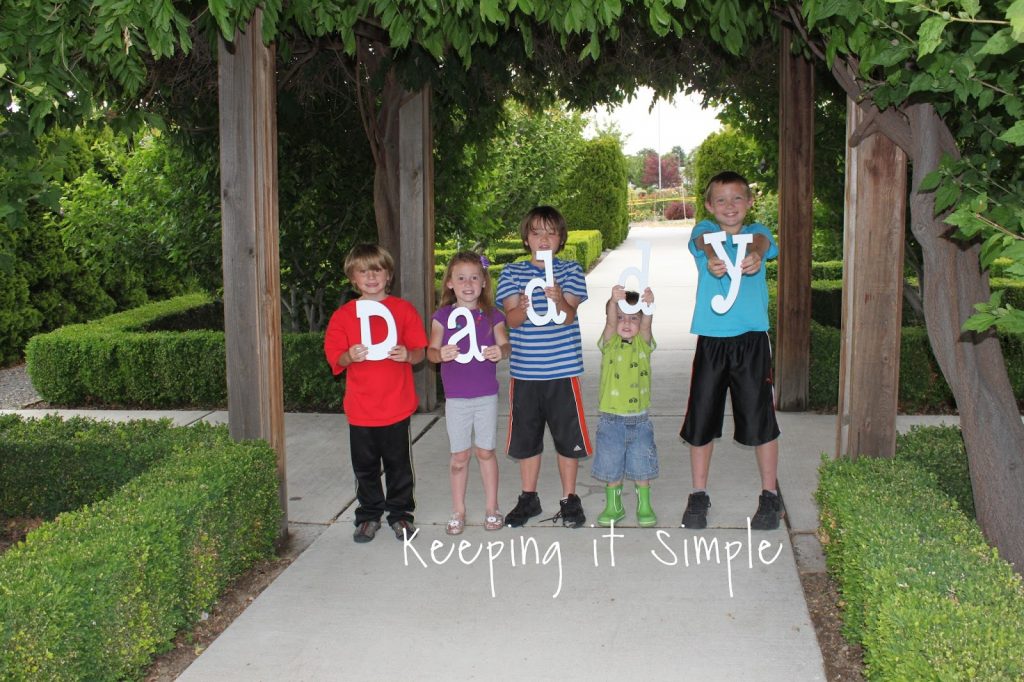
Now time for the picture. I got white wooden letters and had the kids hold them. They actually did really good considering I was asking a lot of them. Here are a few examples of the pictures I got from the session.
One looking at my son instead of me….
My youngest running away….

One not looking at the camera….
I have heard that you can switch faces in photoshop but I don’t have it so I figured that I couldn’t do it. I use Paint.net because it’s free and it’s great and I learned that you can swap faces in it and I was super excited! 🙂
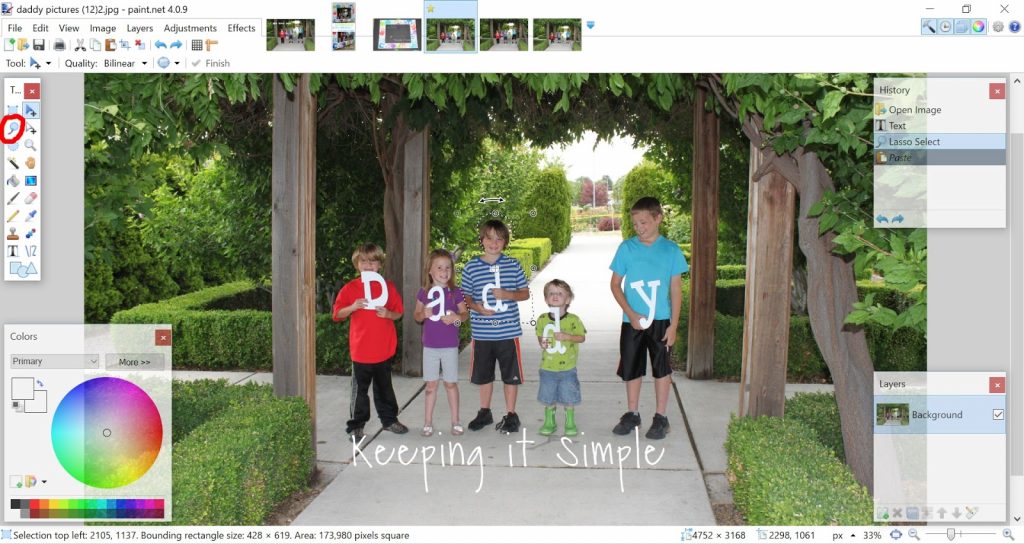
So the first thing you do is find two pictures that you want to swap the faces. Start with the picture that you want to take the face from. Then you will click onto the lasso select button and go all around the face (or body in my case) that you want to swap.
Once you go all over the image you want, then you will push the cut button.
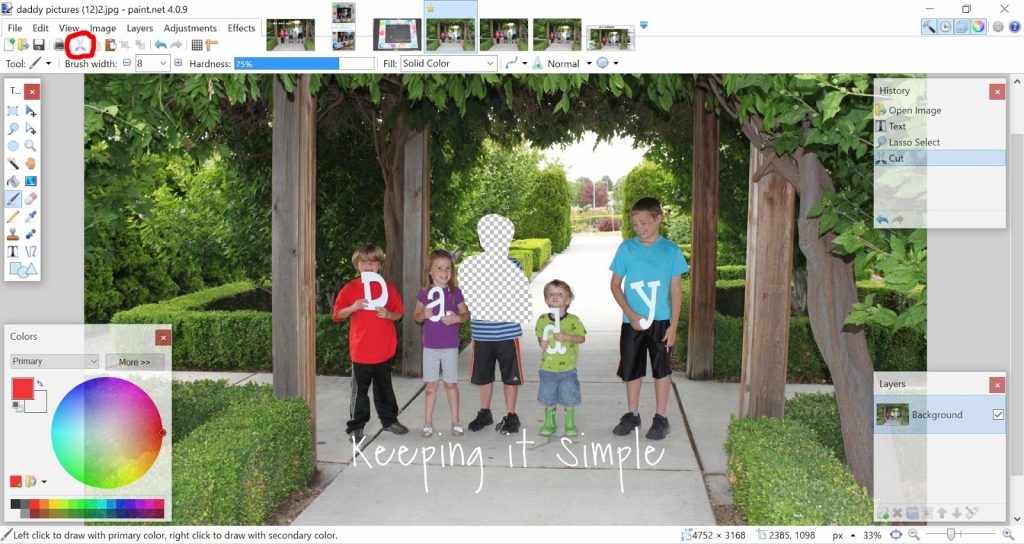
Now go to the image that you want to swap the body and then go into the Edit menu and click on the paste into new layer button.
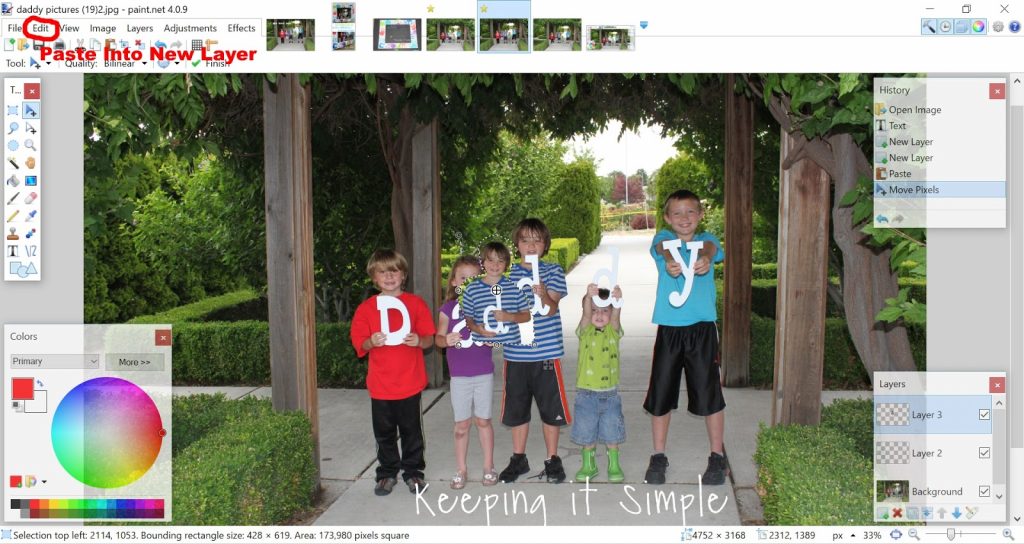
You can then resize the body/face and move it to where you want it to go.

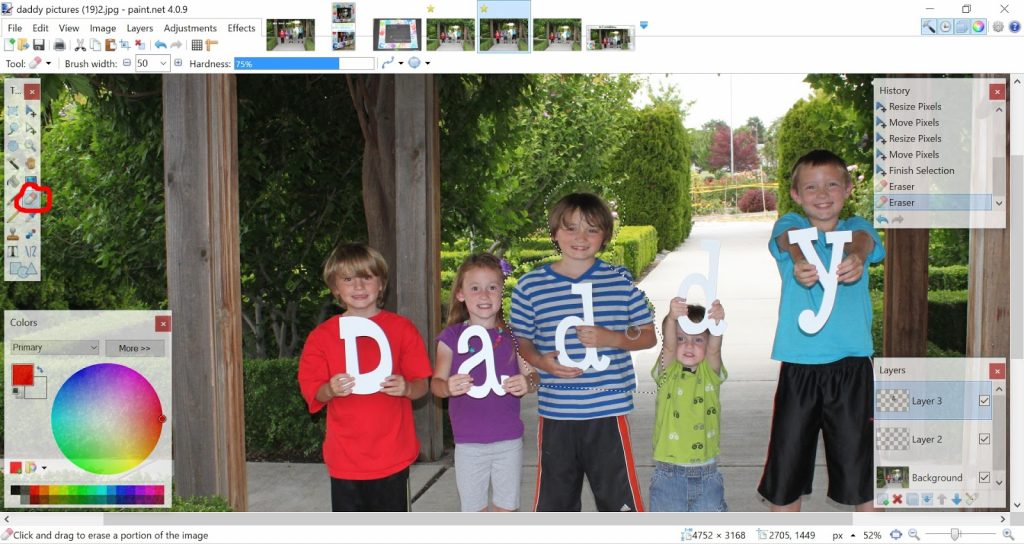
And finally you clean it up a little bit with the eraser, change the brush width (I changed it to 50) and then erase the parts of the image that don’t match up or are covering up another part of the picture. For example, there was a spot that was covering my little boy in the green right by the his elbow, so I erased it to show the original background.
And that’s it! Here is the finished pictured that I used for the frame, doesn’t it look great?!
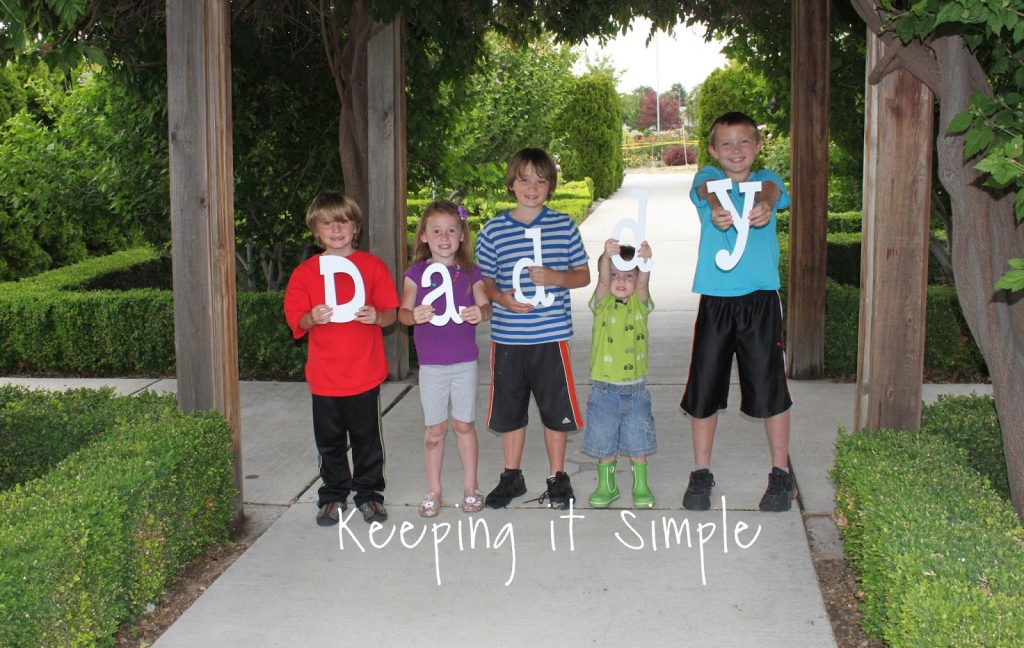
I got it printed out to be 11×14 and then in the mat I taped the picture in. Of course you could put it into a 16×20 frame too so you wouldn’t have to tape it.
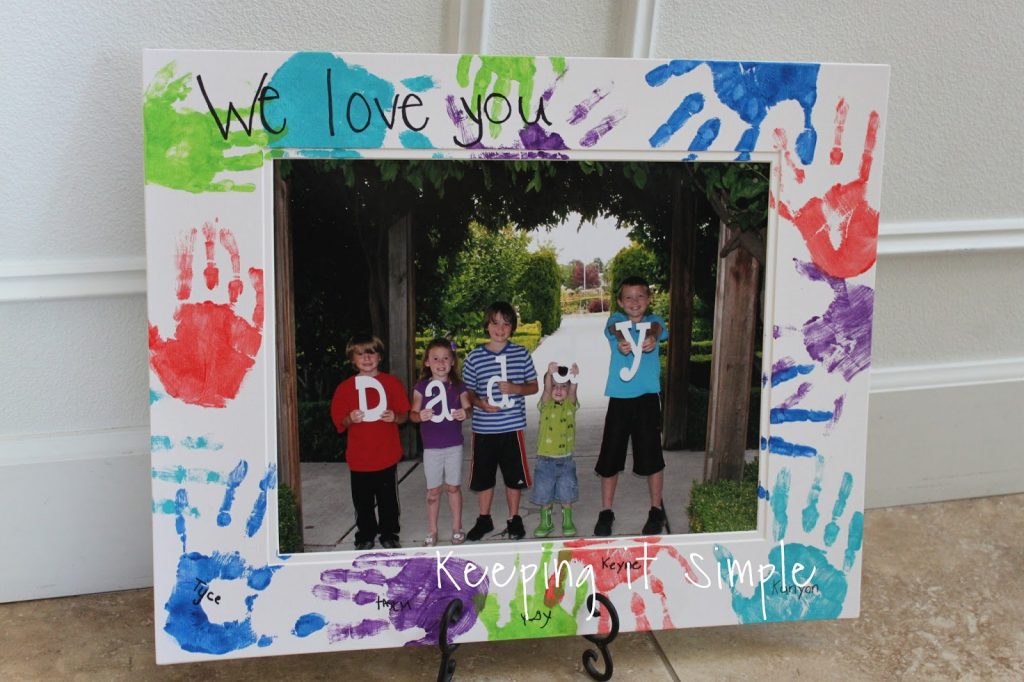
Using a black marker, we wrote on the frame.

I loved how the mat looked with a frame, so I just got a little easel to put it on. And that’s it!! It was really fun to make and my husband loved it, it’s perfect for his office :).
That is pretty darn cool. Now we'll see if I can figure out how to do it someday!
Such a lovely idea for Father's Day and I'm so glad about the face swapping tip, I also use Paint.net – thank you 🙂