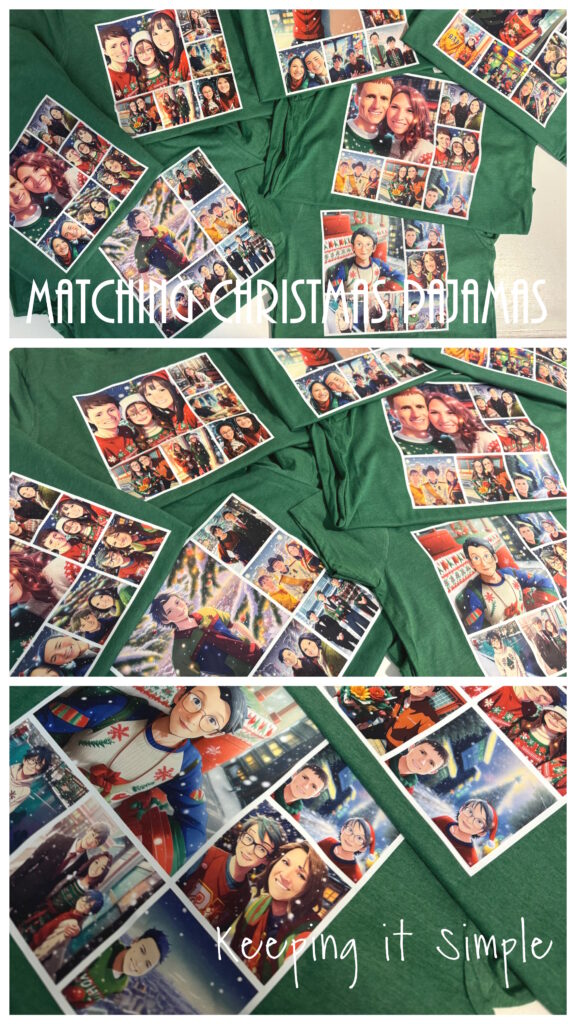
Matching Christmas Pajamas Made with AI Generated Christmas Pictures
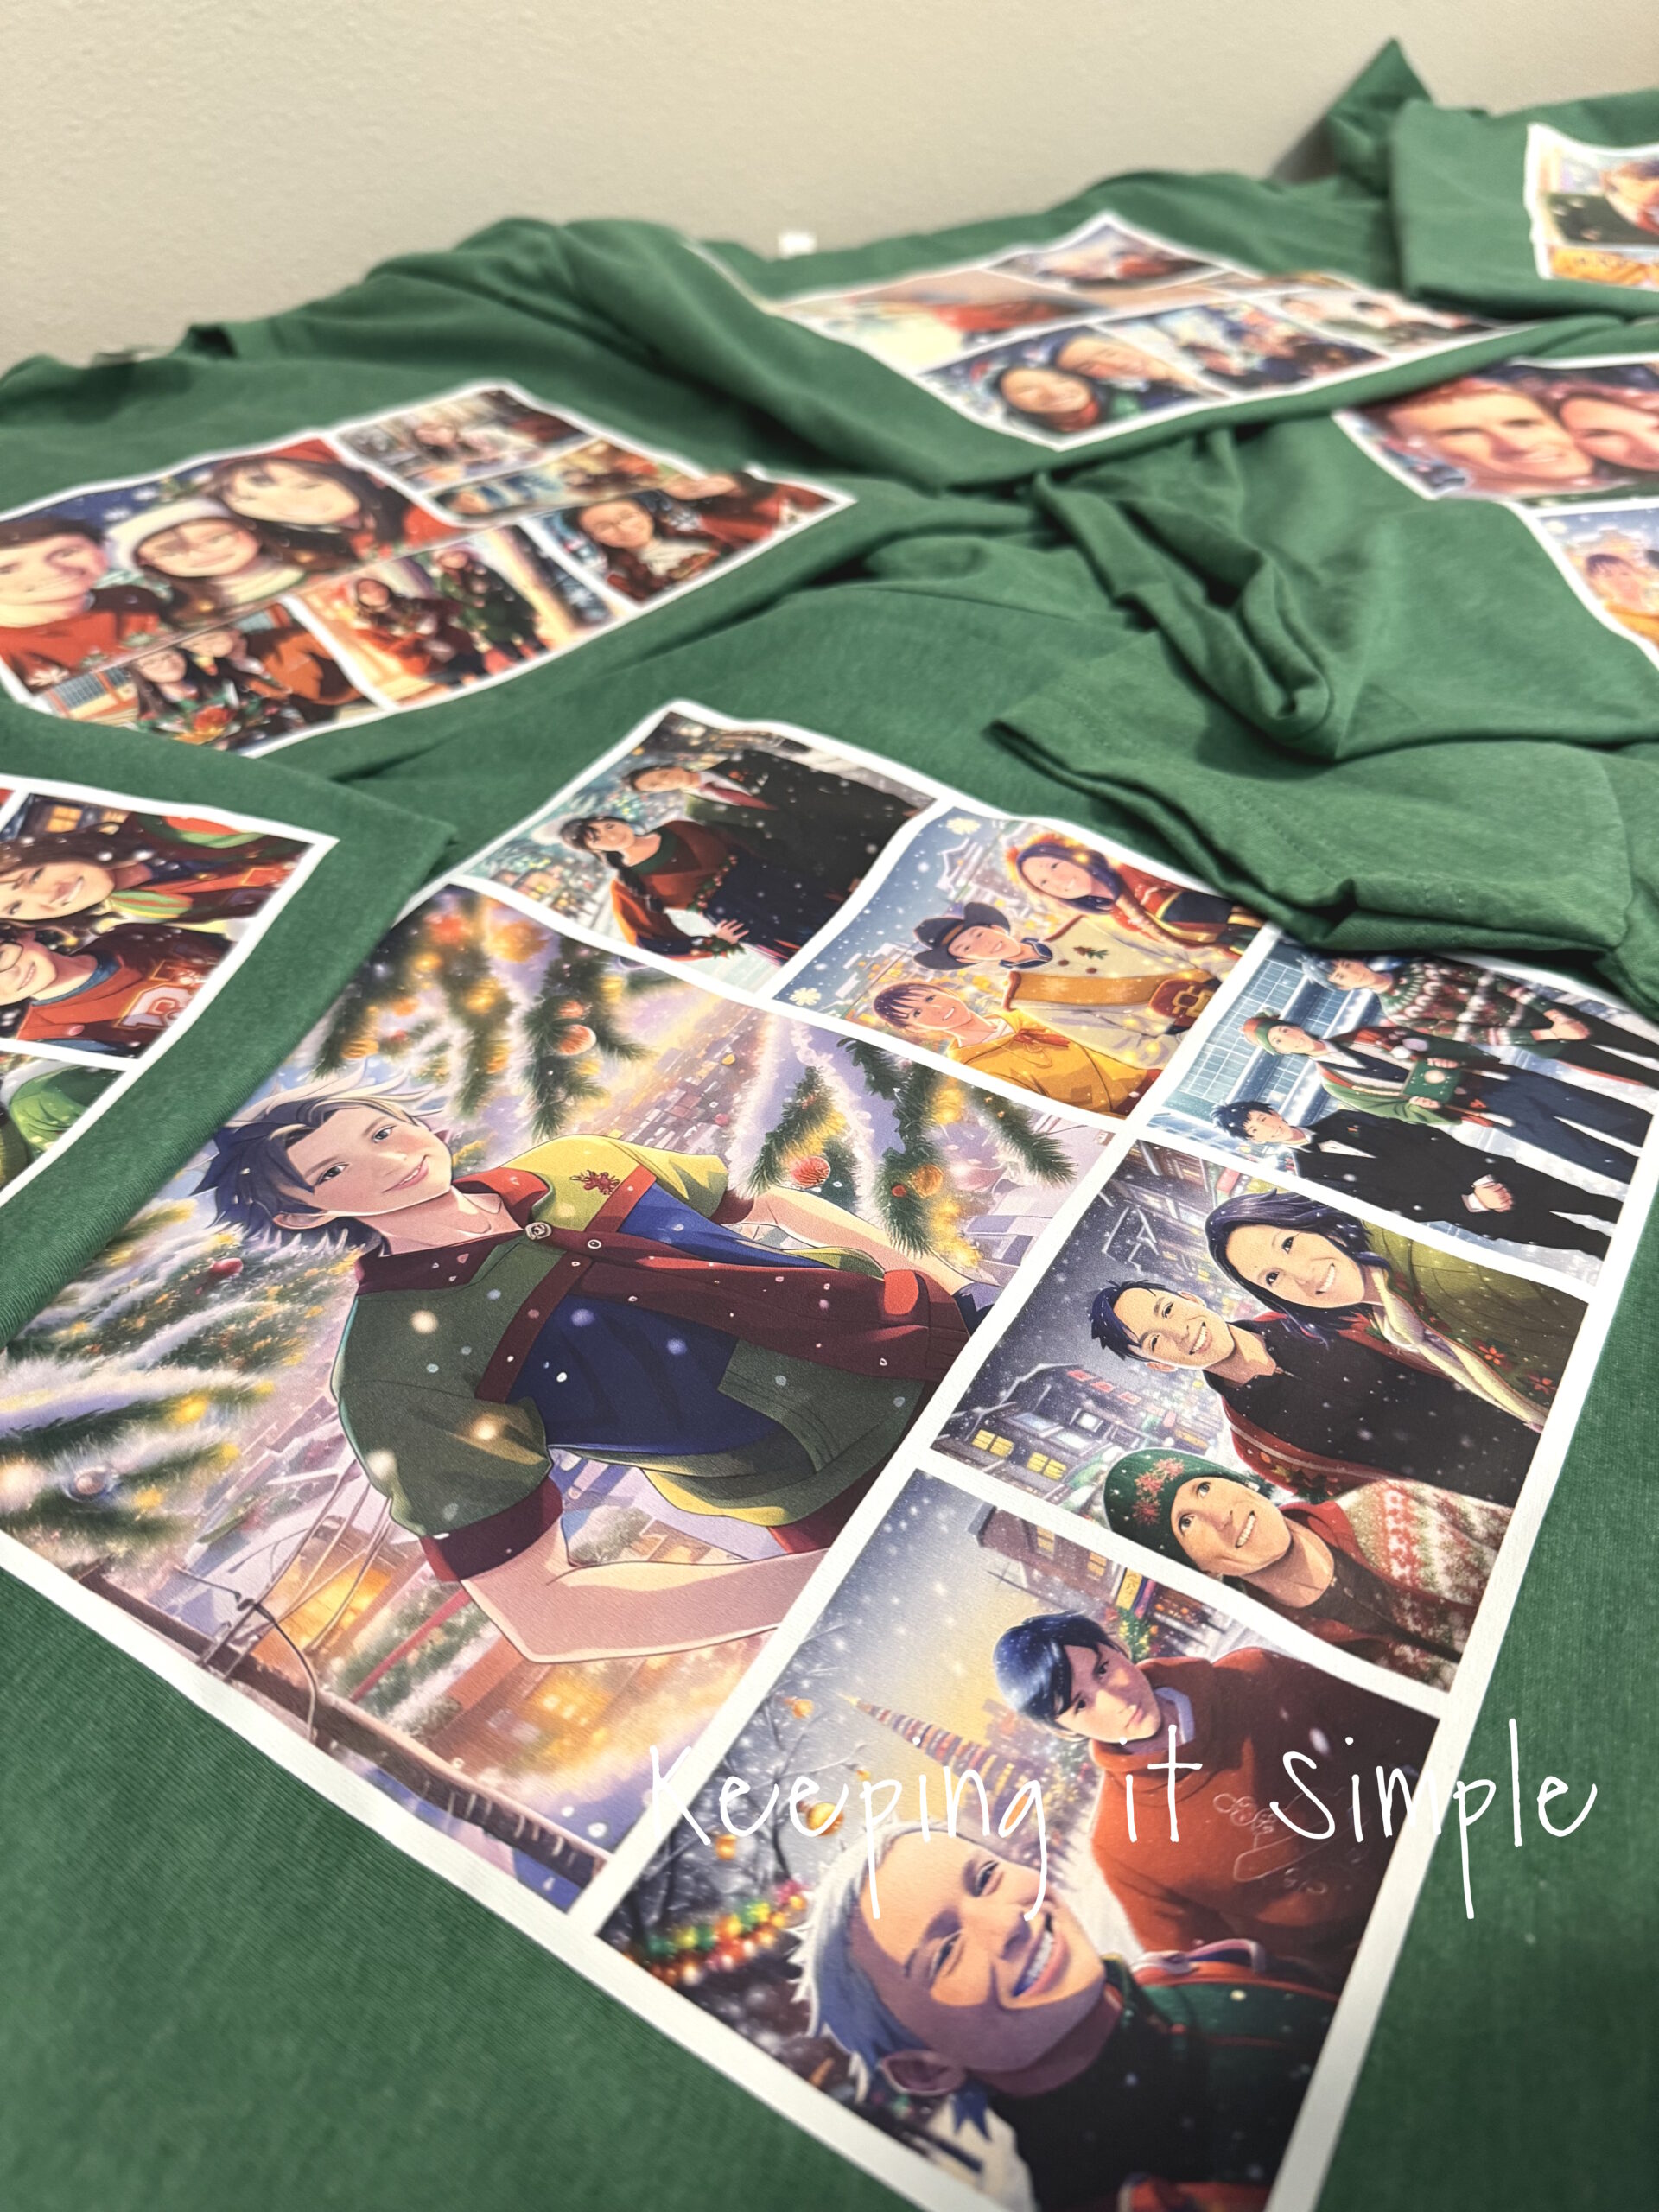
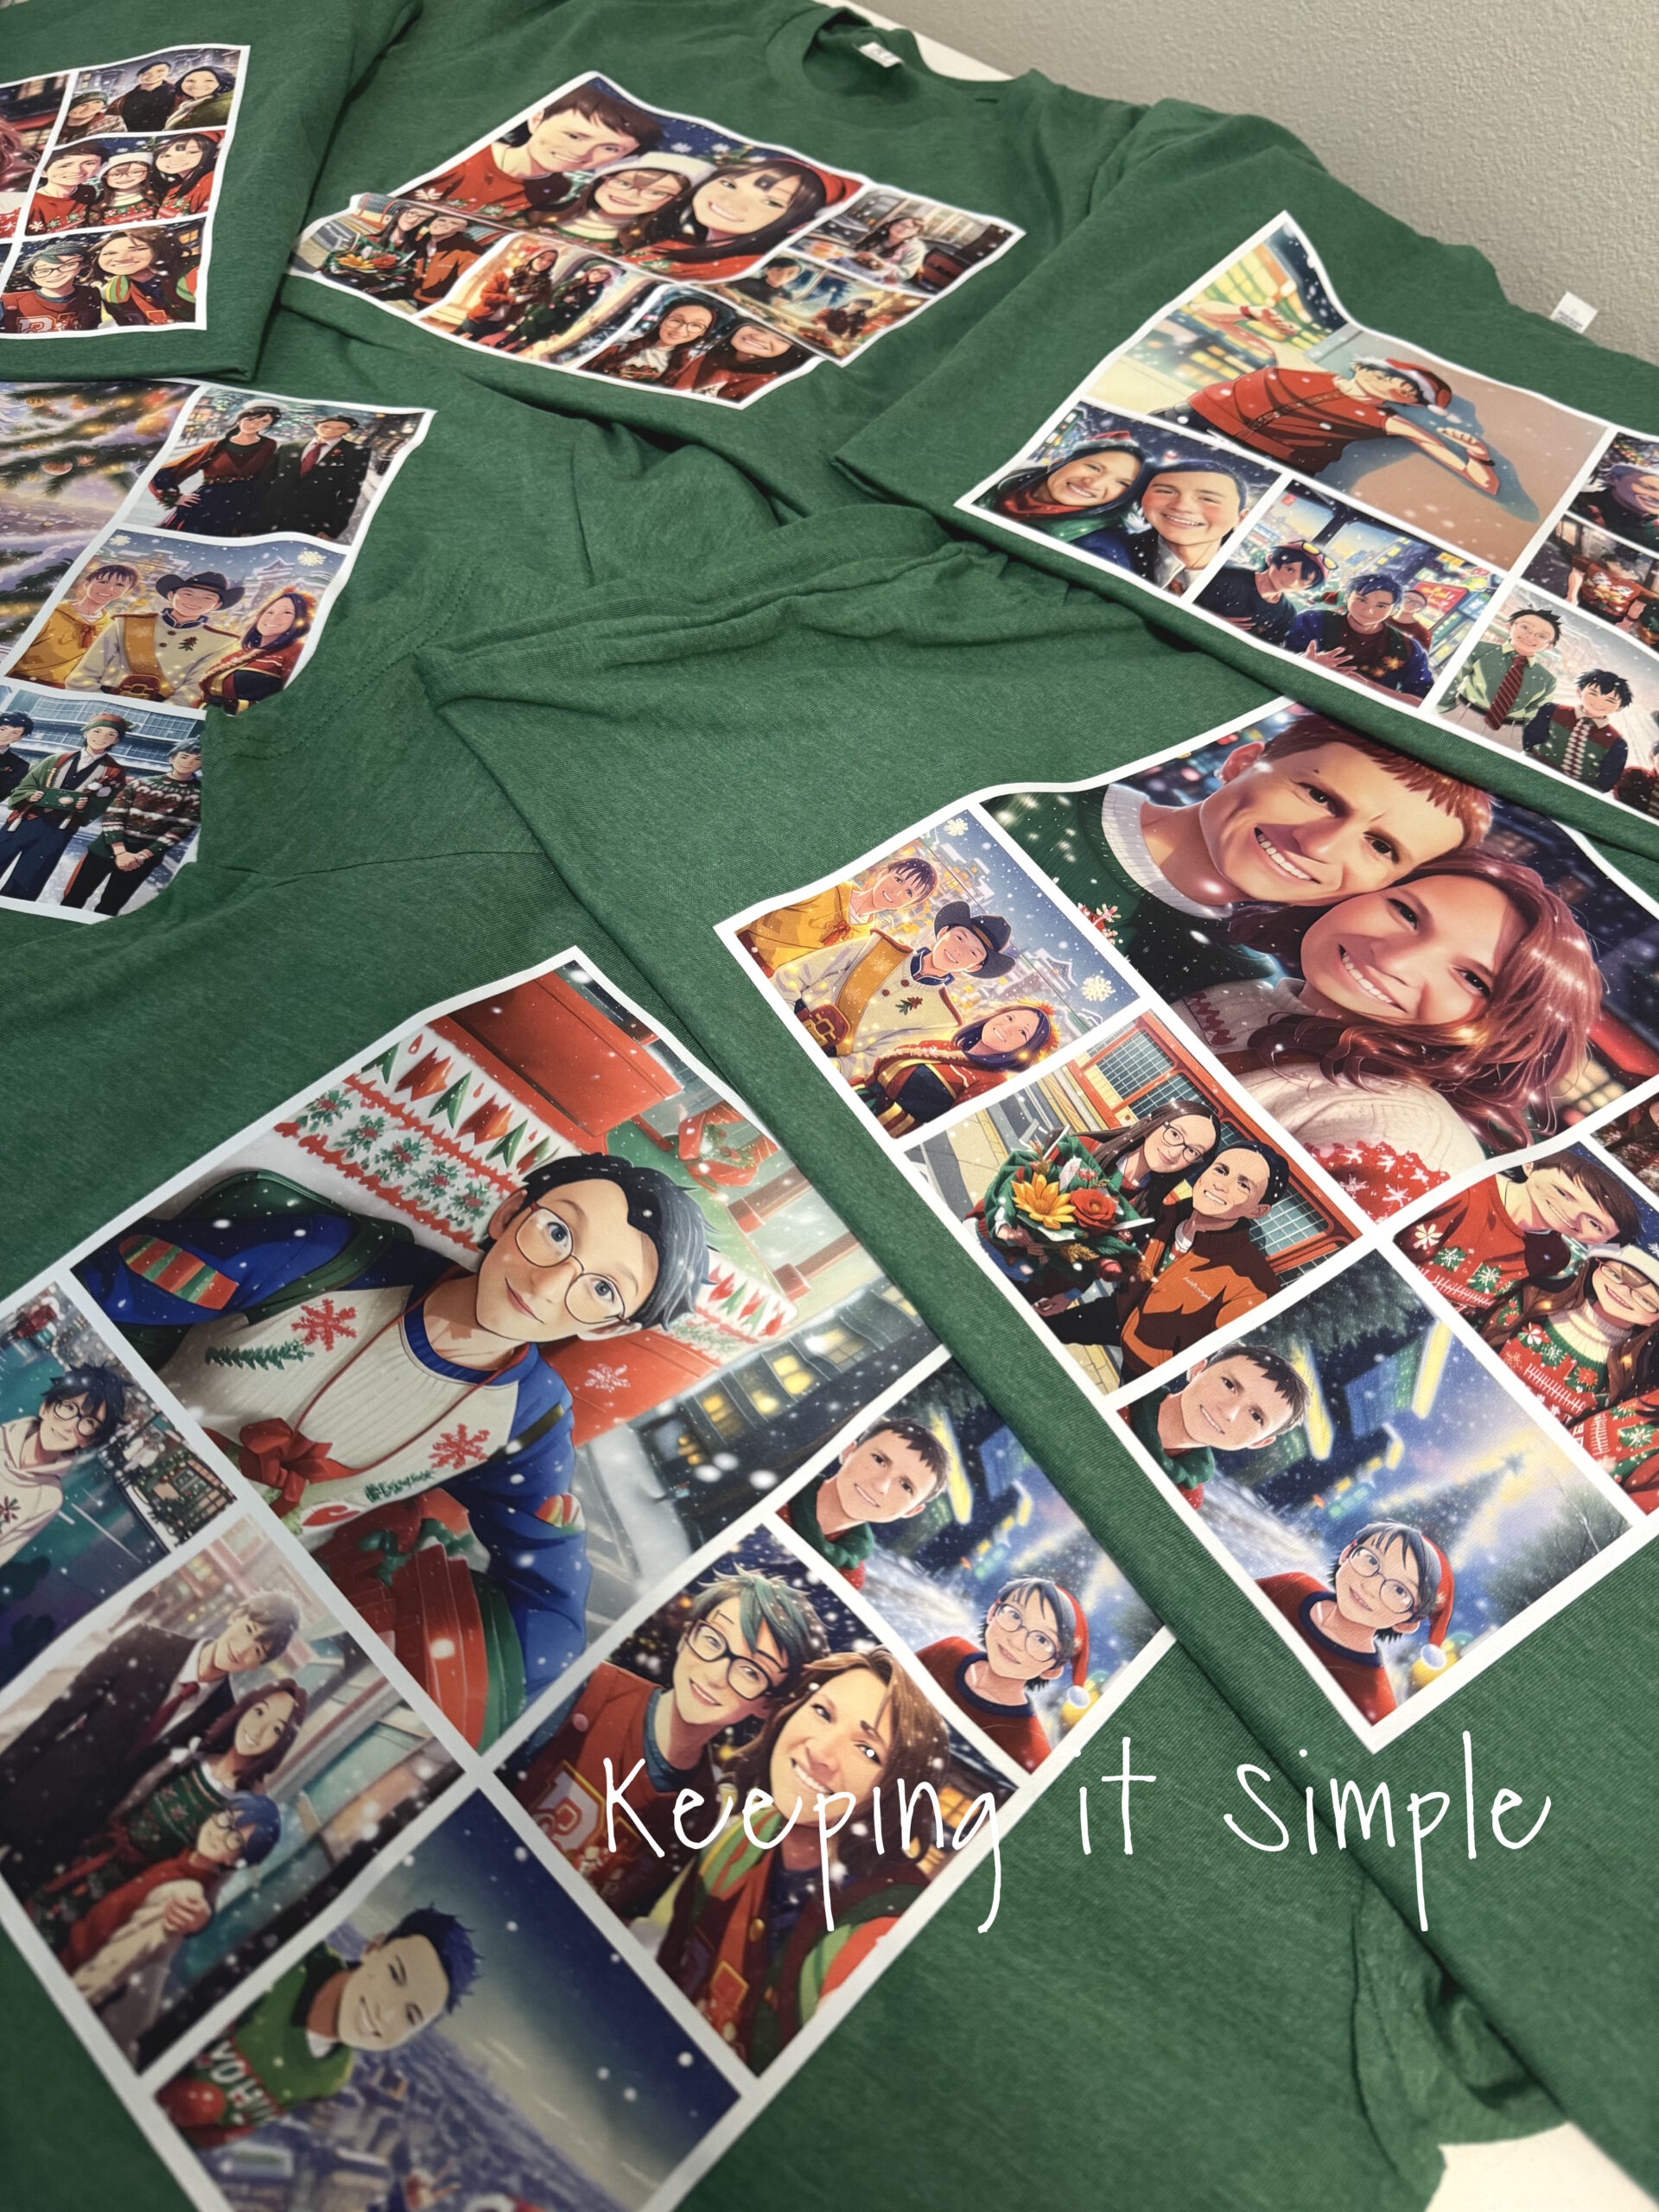
Every year we open up pajamas on Christmas Eve. For the past couple years, I have been making matching Christmas pajamas and it has been really fun to match Christmas morning. Of course some kids like it better than others :). Luckily, every year my kids are nice and humor me and they wear their pajamas on Christmas morning. This year I wanted to do something fun and different. Since AI is really popular right now, I thought it would be fun to do something with AI generated Christmas pictures. My first thought was to take a family picture of all of us and just put that onto the shirt. But as I was playing with the AI generator, I was having so much fun turning all of our random photos into Christmas photos. I kept playing around and kept getting more and more pictures. I ended up doing a collage of the AI generated Christmas pictures. The shirts are a little different because they have different pictures but the theme is the same throughout the whole family.
Here is a quick video to show how to make these matching family Christmas pajamas.
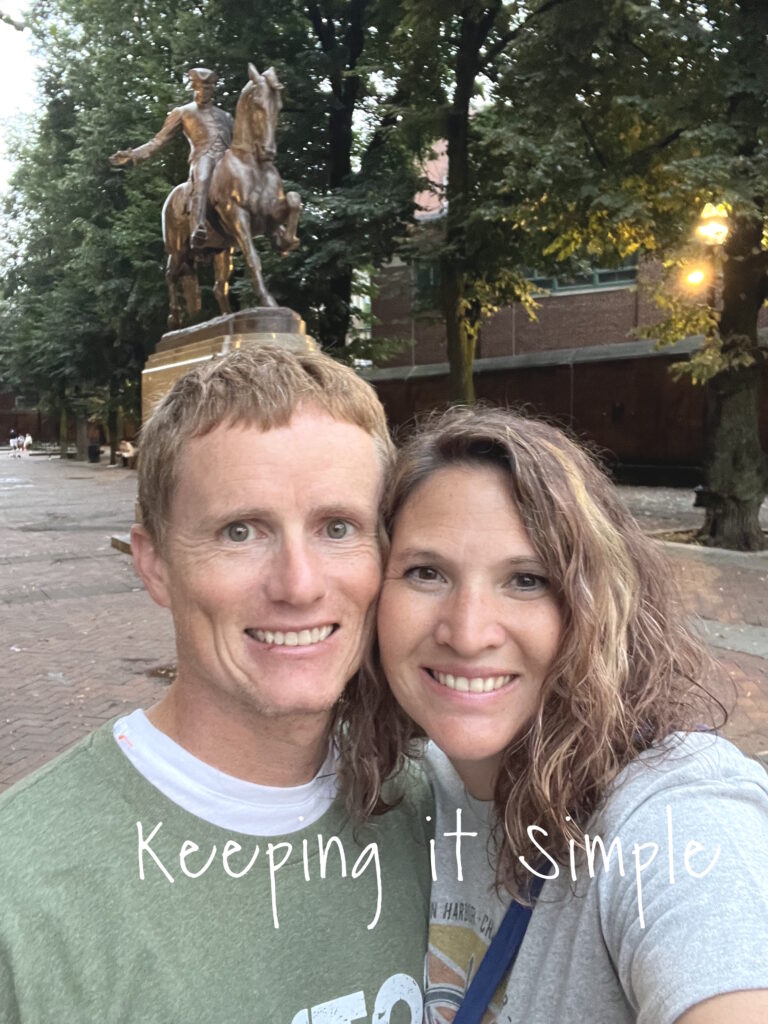
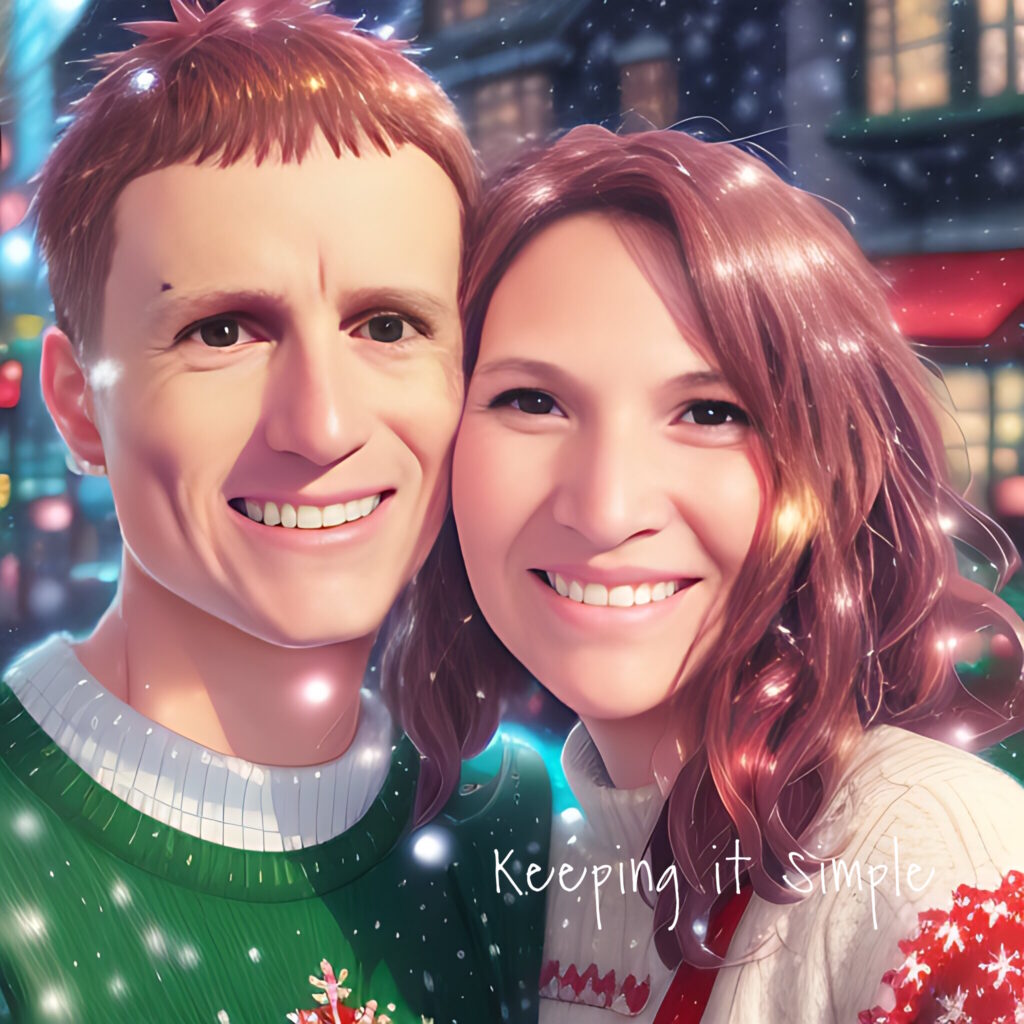
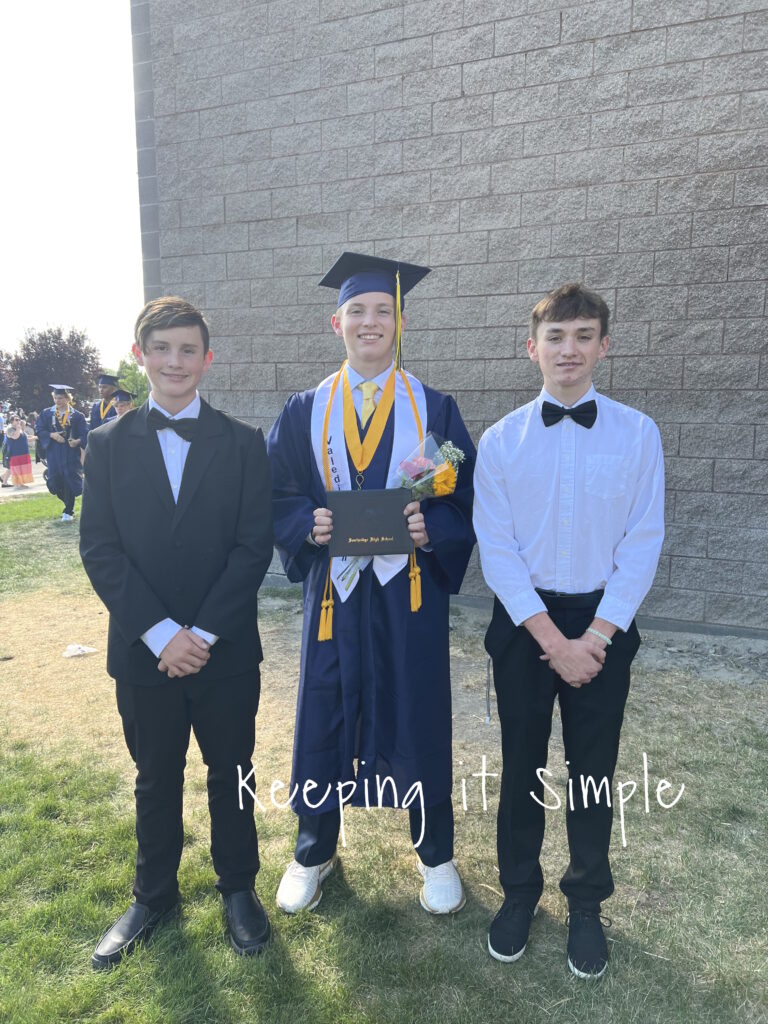
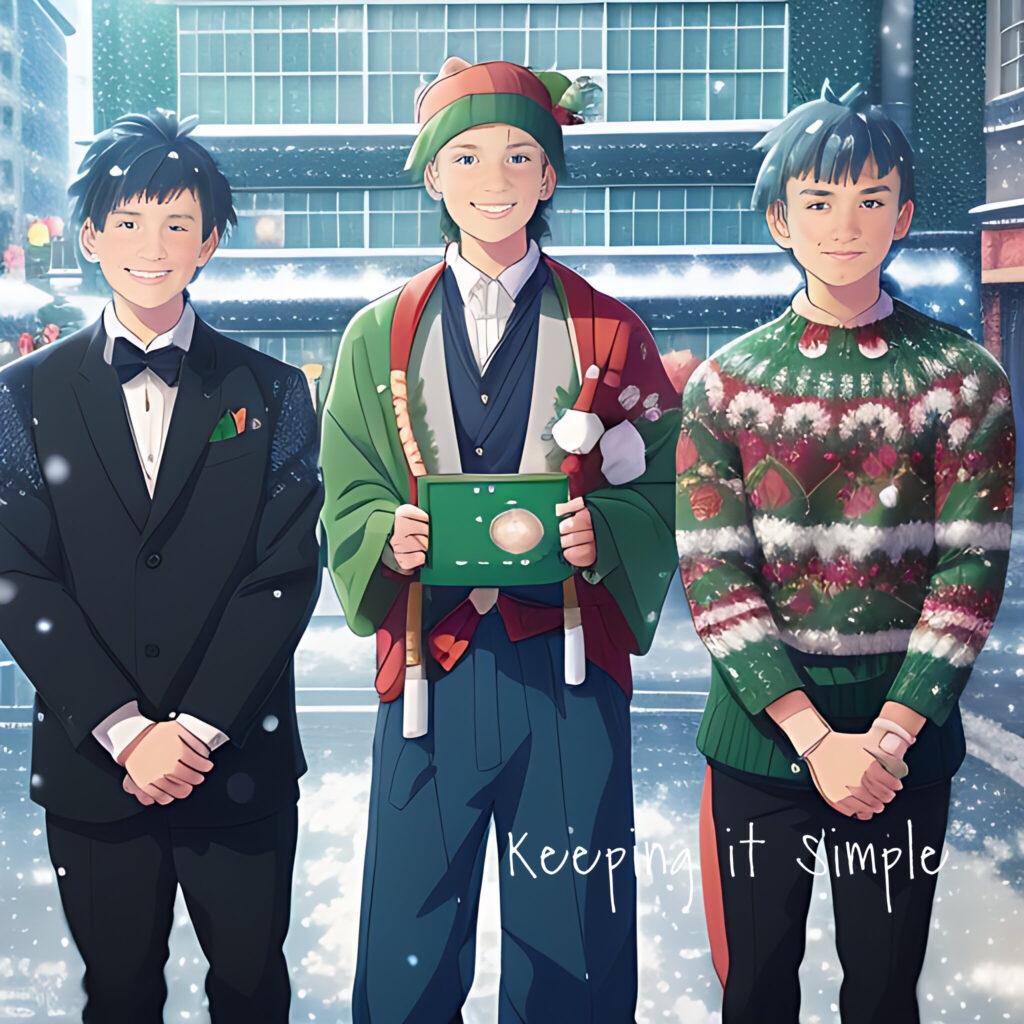
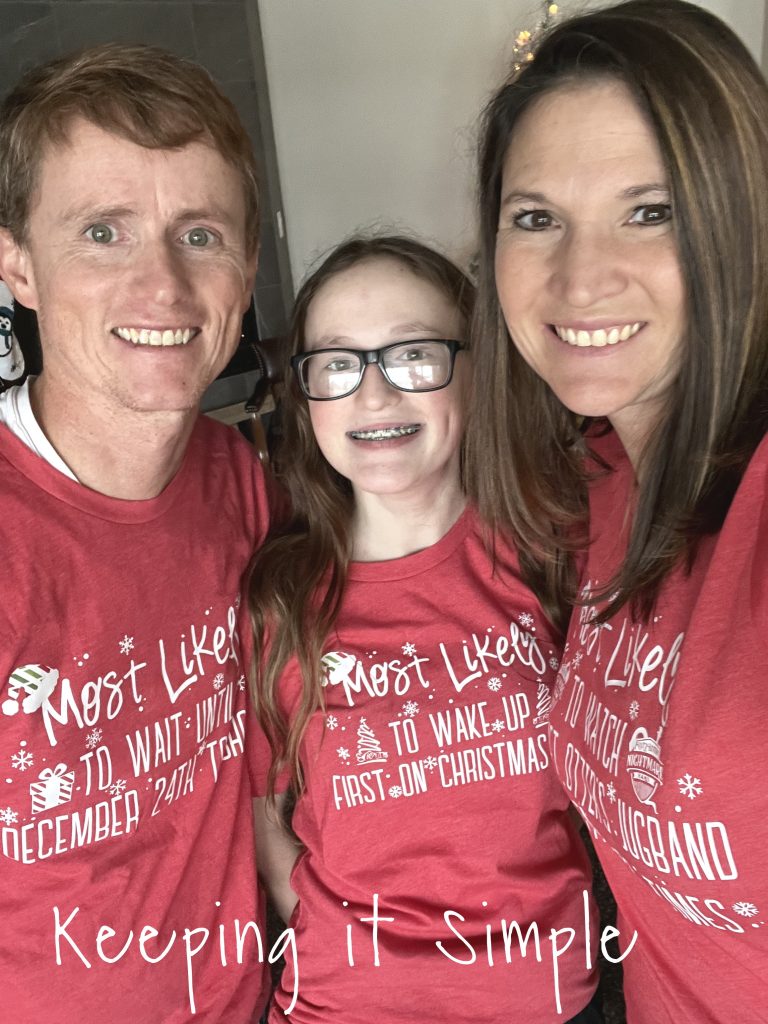
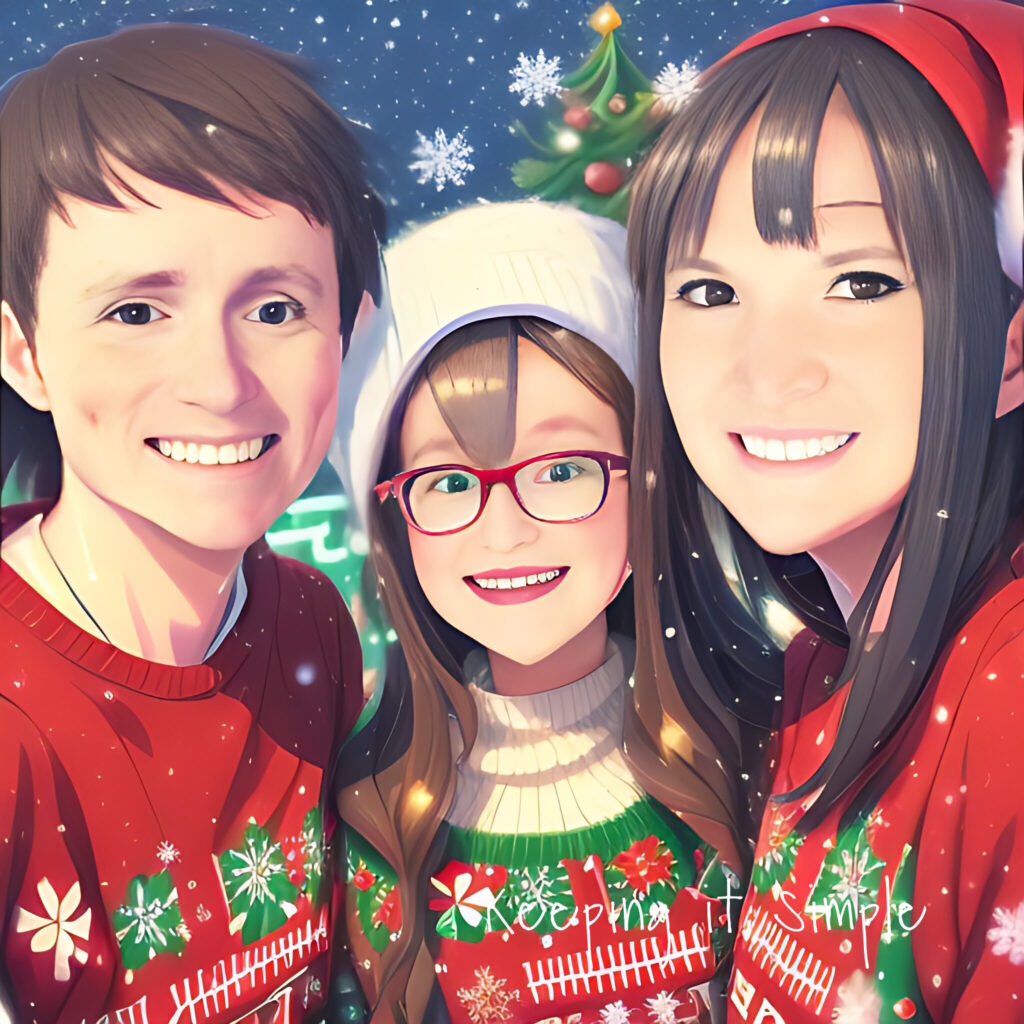
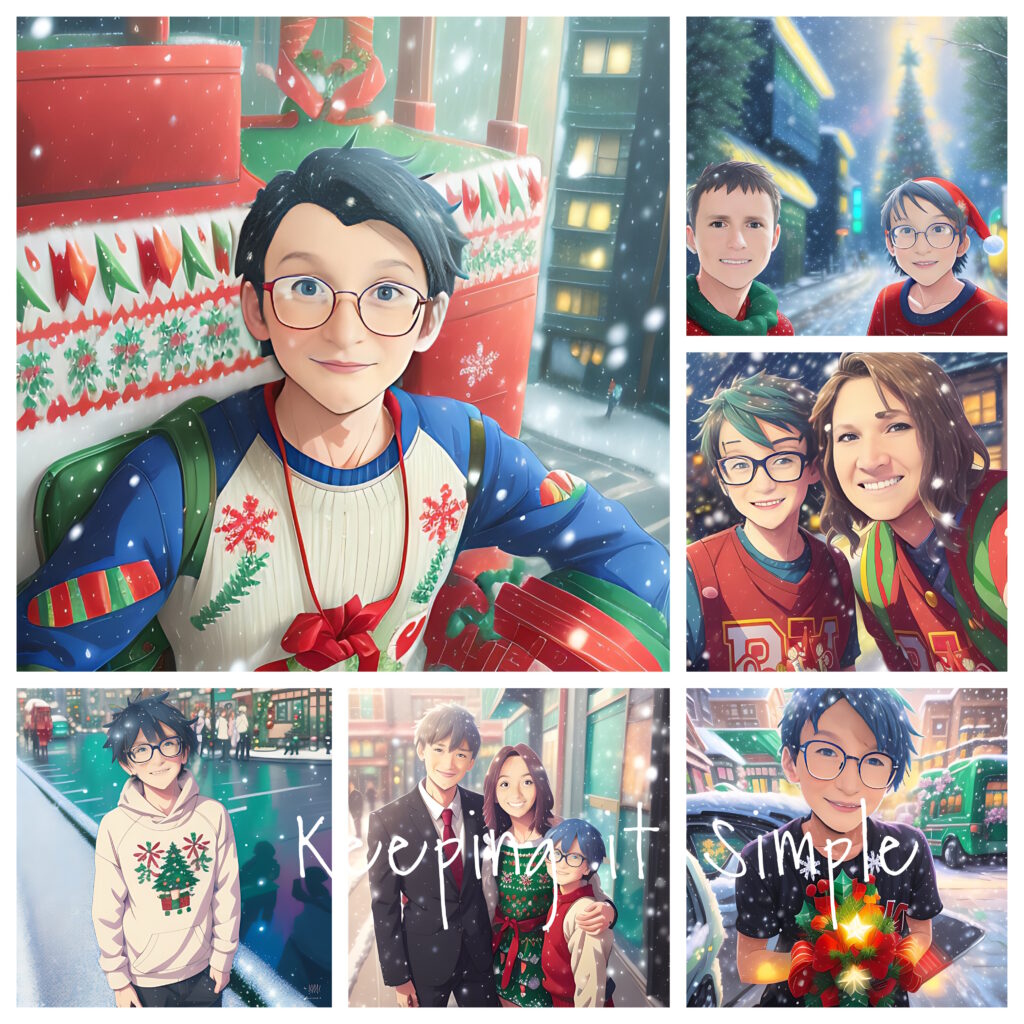
To make the AI generated Christmas pictures, I used an app on my phone called AI Arta. The app does cost money. I bought the pro version of it. For all of these pictures, I used my own photos and then used the AI selfies tab and used the “Let it Snow” filter. Here are a few of the pictures that I used in the app. They turned out so fun.
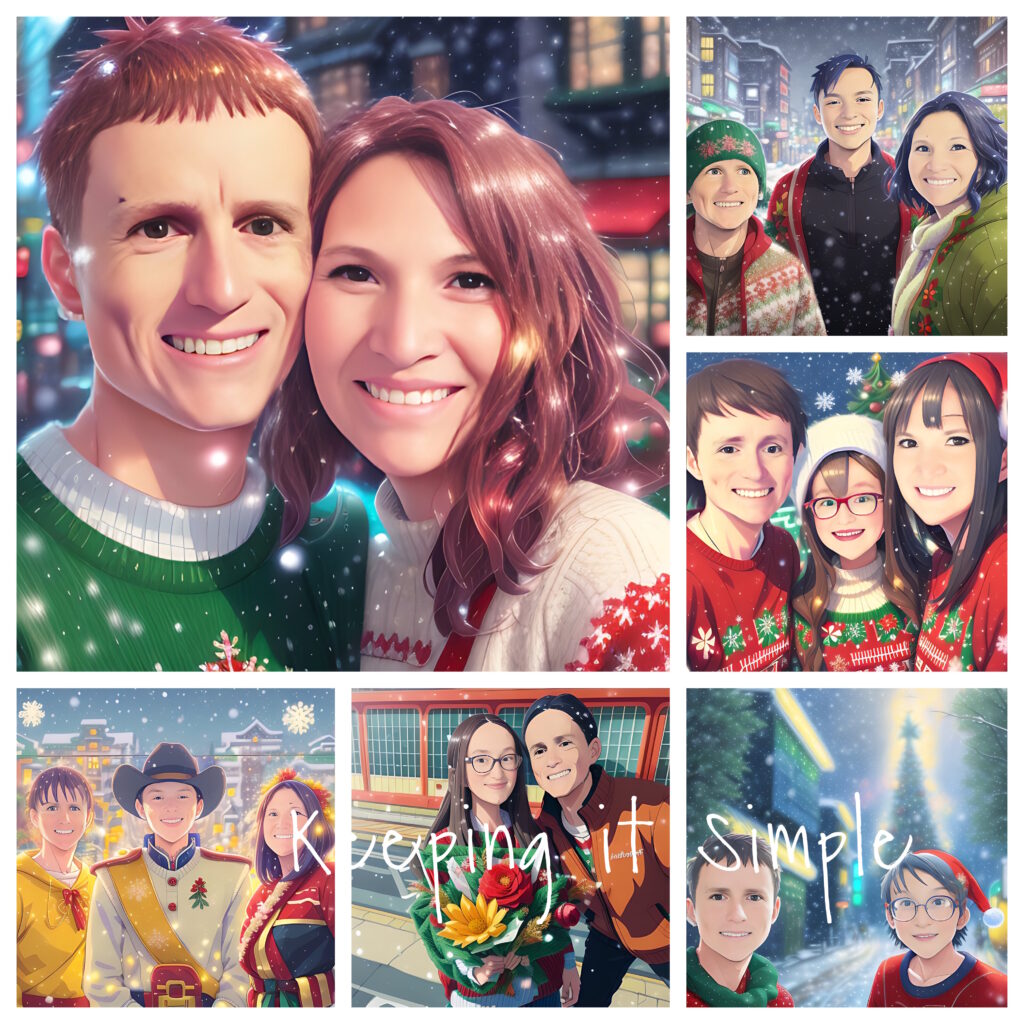
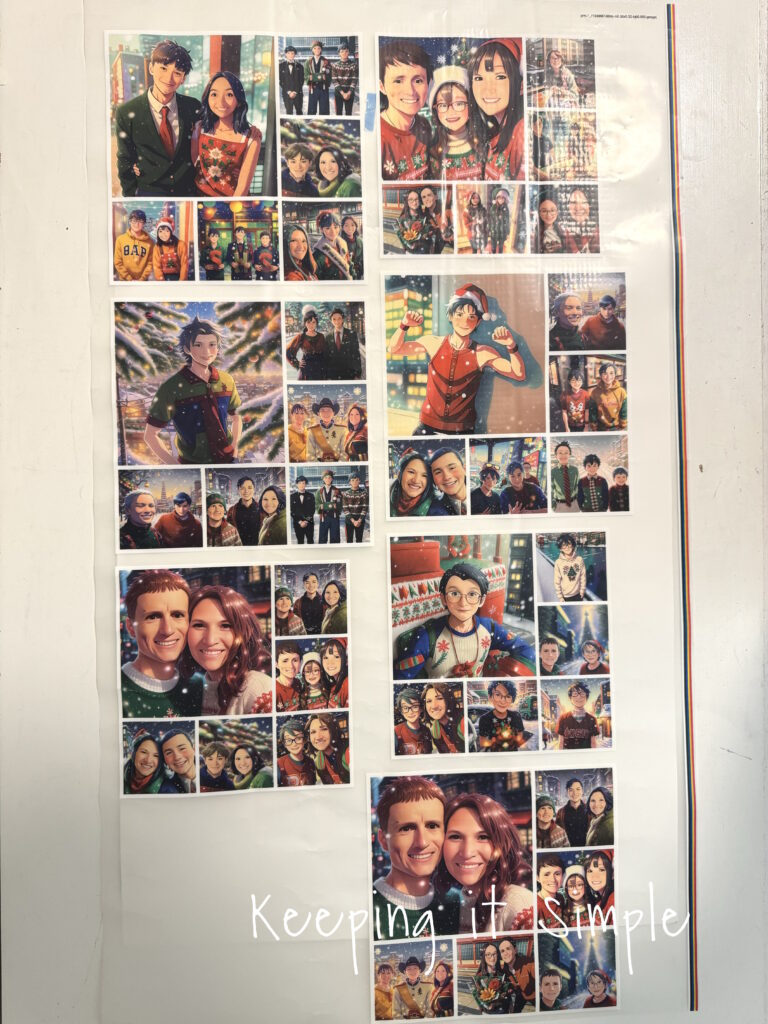
Using another app, called PicFrame (this one is a free app) I made a few collages. I used the same template for each shirt and just added the different AI generated Christmas pictures into the template. Then I uploaded the collage images to a website that makes DTF transfers. For the boy/men shirts, I made the collages 10 x 10 inches and for the girls/kids, I made the collages 9 x 9 inches.
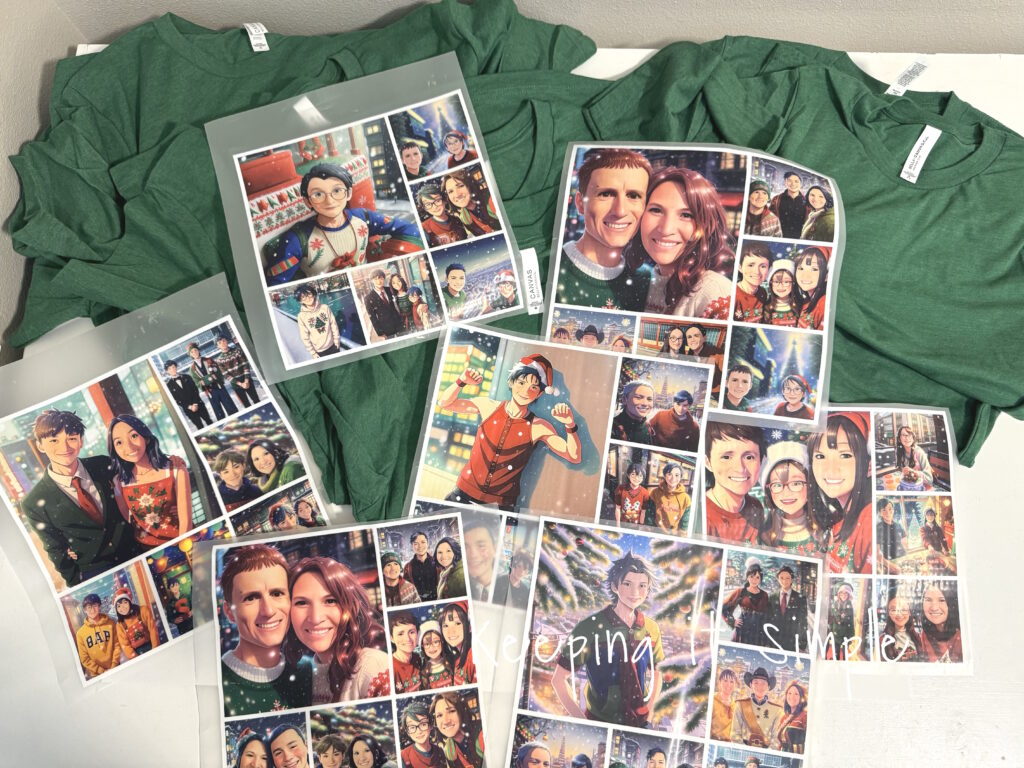
This is what the DTF transfers look like when they arrived at my house. They were rolled up and put into an envelope, so you don’t have to worry about the back of the DTF transfers touching something. Also there were a few folds in the plastic but when I pressed them, they didn’t transfer over.
With scissors, I cut out all the different collages. From the same company, I ordered some Bella and Canvas shirts in heather grass green.
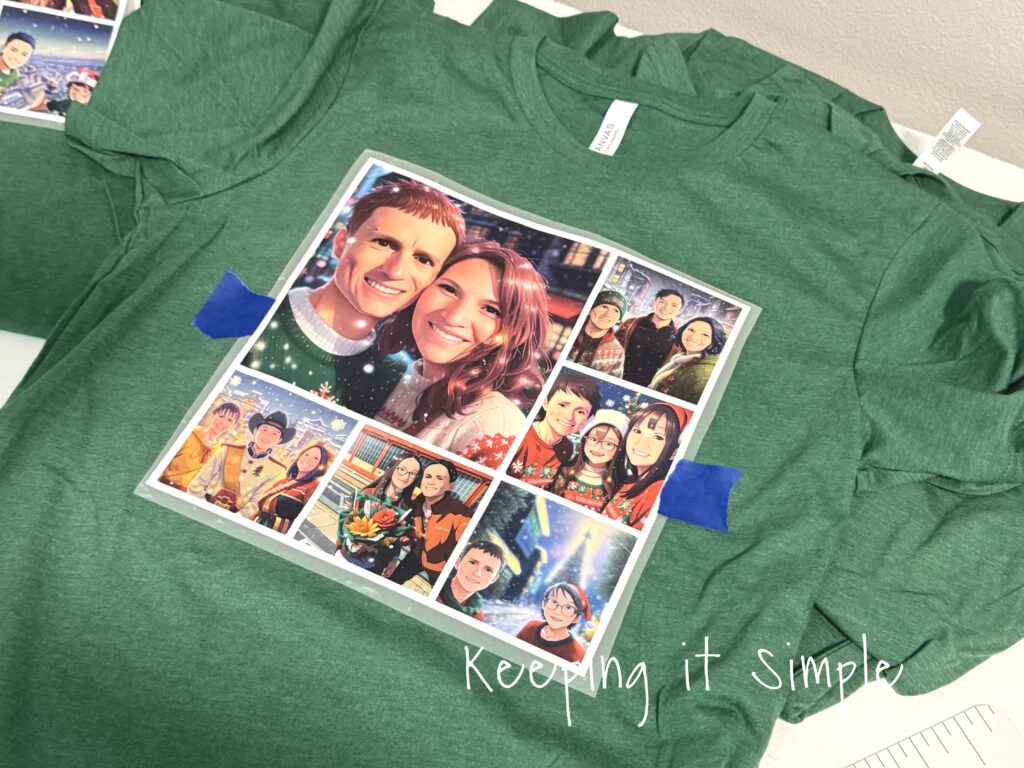
The DTF transfers are super easy to put onto the shirts. I placed the picture collage onto the shirt and situated where I wanted it to be. I used a little painters tape on the side to make sure it didn’t move when I transferred it to my heat press. For me, the best way to make sure the image is on the shirt straight is to lift it up and look at it hanging in the air. When I try to put the image onto the shirt while it is on the press or on a table, I seem to put on crooked. This is why I hold it in the air, just to see how it looks on the shirt, The painters tape helps keep it there when I do that too.
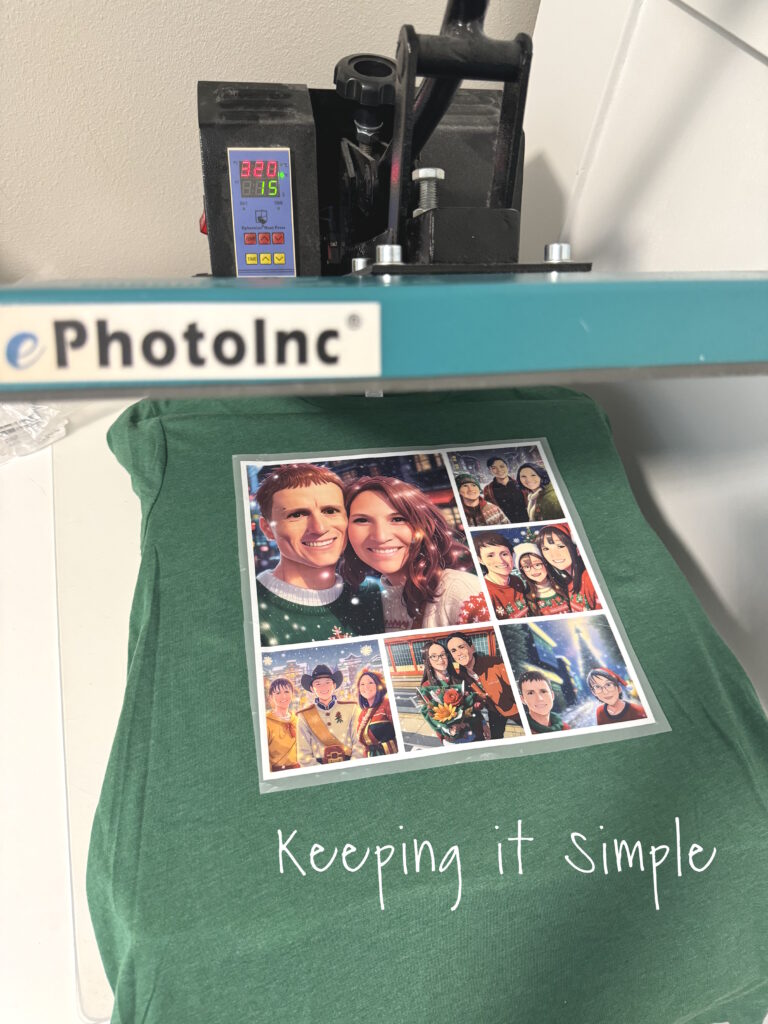
Once I got the DTF transfer in the perfect position, I then pressed it with my heat press. I pressed the DTF transfer for 15 seconds at 320 degrees. The instructions say to do it between 300-320 degrees and for 12-15 seconds.
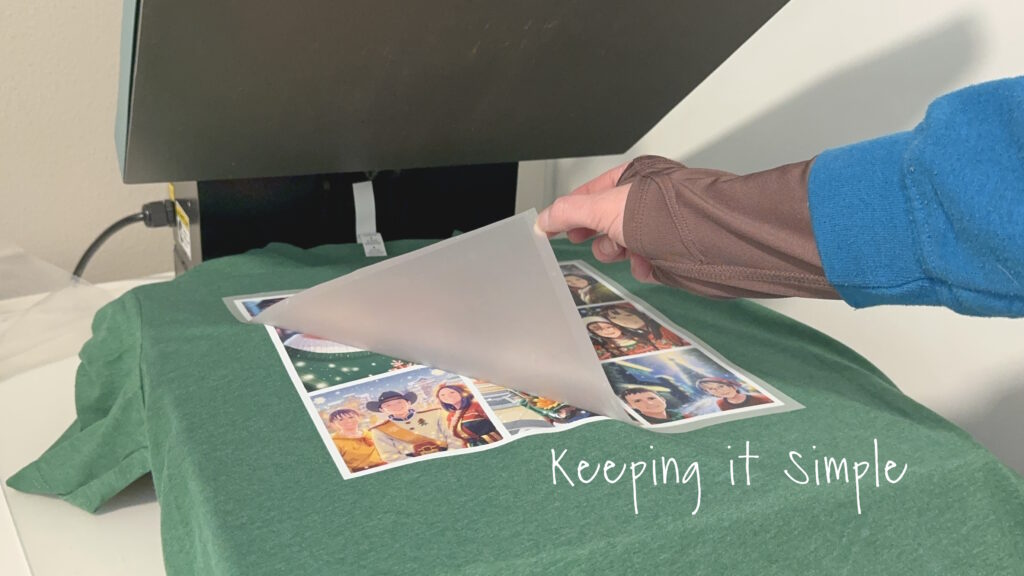
Once I pressed the transfer, I waited until it was completely cooled down before I peeled off the plastic.
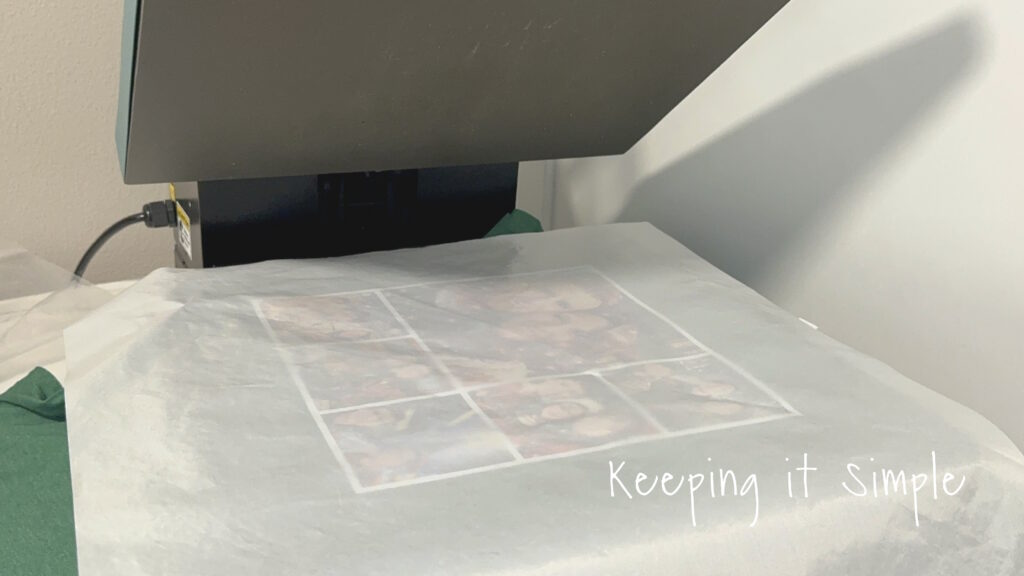
I then placed a heat transfer cover sheet onto the shirt and then repressed it. This time, I only pressed it for 5-10 seconds.
I did the same thing for the other 6 shirts.
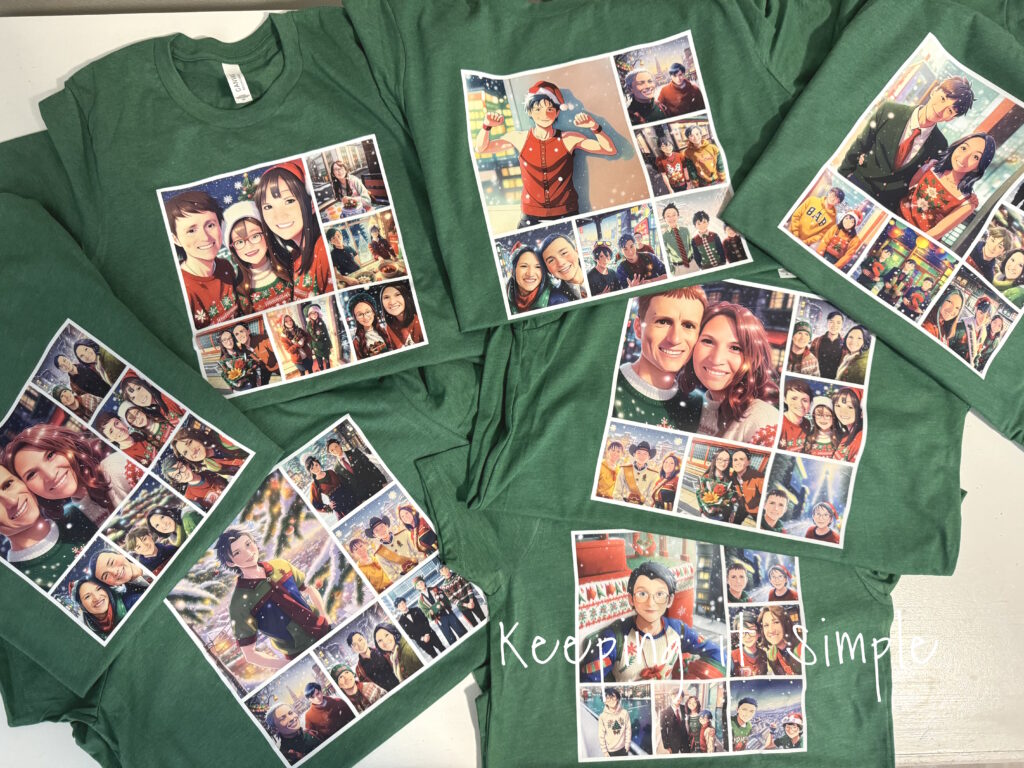
And that’s it!! They turned out so good! I love how they are all similar but all unique.
I used pictures from the past year, it’s a fun to look back at all of the fun we have had this past year. ![]()
Check out all of my other Christmas crafts!
This post contains affiliate links.
![]()
![]()
Leave a Reply
You must be logged in to post a comment.