If you follow me on Facebook or on Instagram, you know about this bench/ottoman. I bought it at Ross for $40 and I loved the look of it and the size of it, but I didn’t love the color combination. So I asked all you for some ideas. I was so surprised by what you had to say. There were a lot of really good ideas.
Here is the thread here.

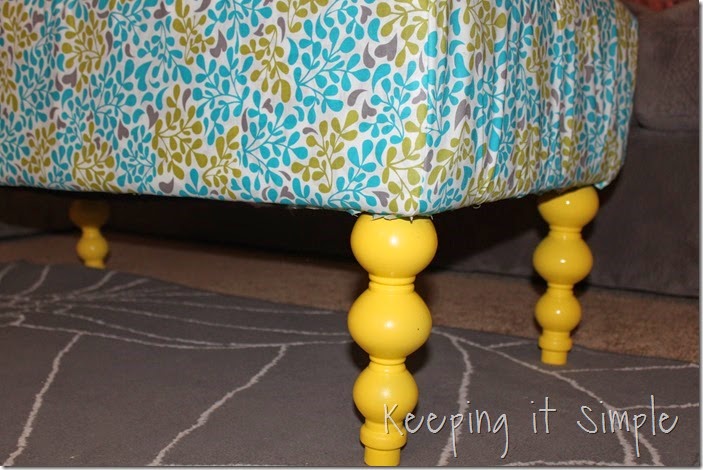
First thing I decided was that I needed a pop of color, so I spray painted the legs yellow. I didn’t love the look of the black and white with the yellow, but I didn’t mind it. I was surprised to see that a lot of people did mind it. See the thread here.

My first thought with was to find a fun yellow fabric to go over it. Kinda like this, but with white and yellow print. This one was just too yellow or green really. So I headed to several fabric stores and found nothing that I liked. I mean nothing. It was getting pretty frustrating, so I decided to go a completely different route. Since I couldn’t match the yellow perfectly, I decided to go bold and colorful! See what people had to say about this, here.

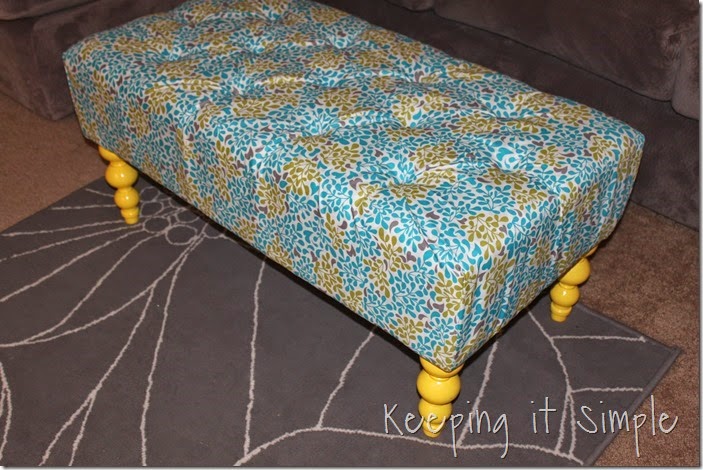
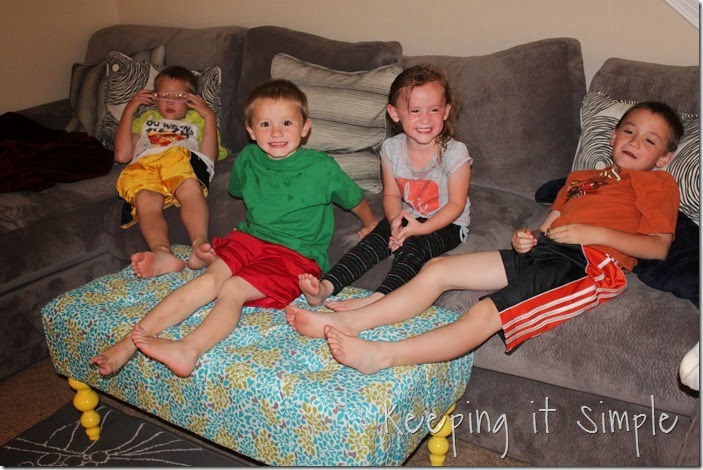
I’m a little hestitant to show you this because the room isn’t complete… it may look weird with my color choices but I promise that it actually flows with my family room perfectly. And I still plan on making some pillows for my couch and possibly changing out the rug to a yellow or green. But over all, I love it! I love how it looks compared to the black and white. Blue and green match perfectly.
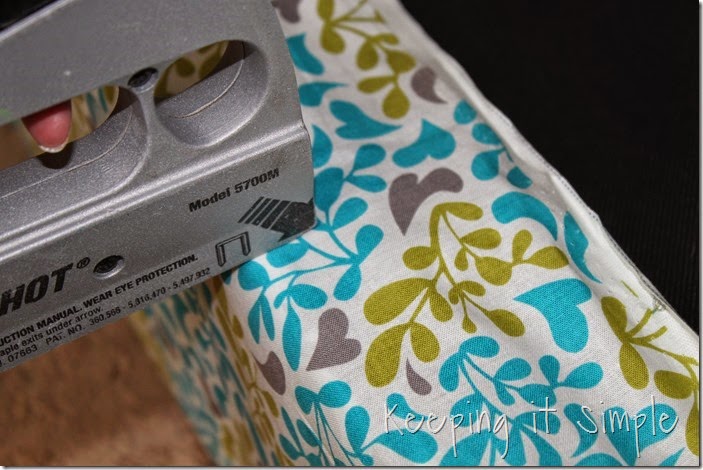
And this is how I did it. After spray painting the legs, I just used a staple gun and stapled the fabric to the bottom.
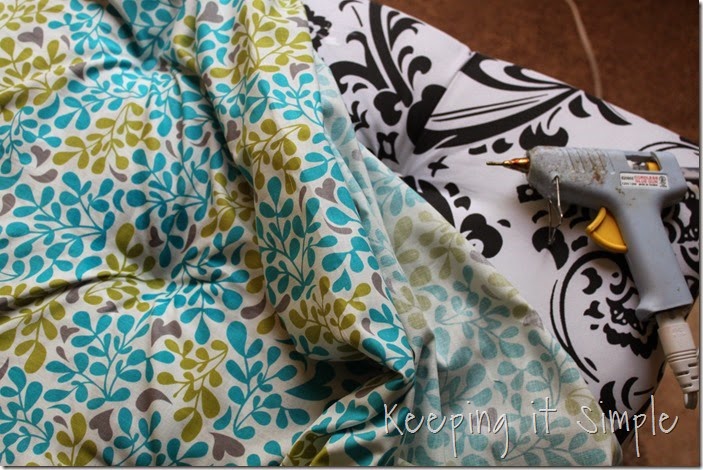
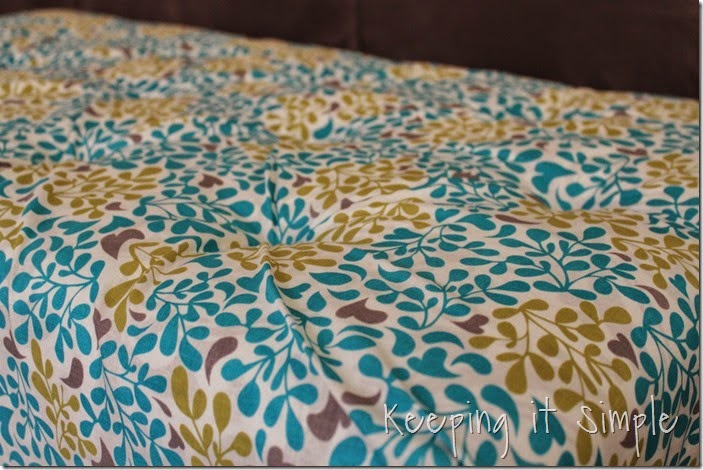
For the button holes, I just used my glue gun and glued the fabric directly onto it (so if I want to replace it or use the black and white, I still can).
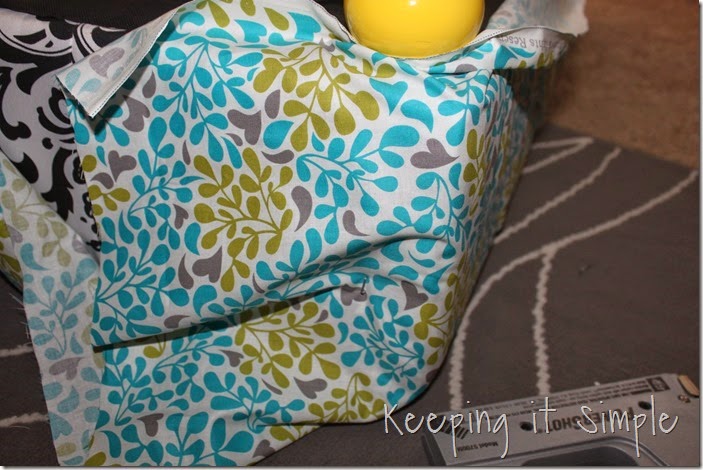
For the sides, I put the fabric tight and stapled it. Then I folded it over again.
And that’s it! I very bright and colorful ottoman for my couch.
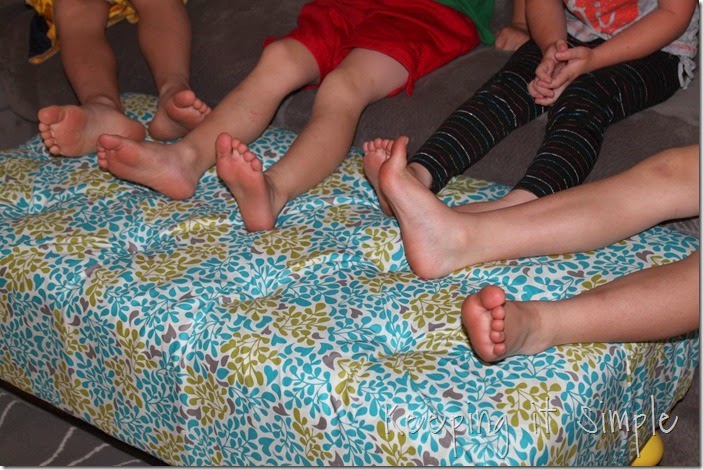
My kids love it!


Wow – I love, love, love the pop of yellow! Great job. I might have to try and tackle this myself…
I love the makeover! Great colors. It looks like the kids like it too.
Haha, I think I might be one of the only ones who didn't mind the yellow with the black and white, but I'm a sucker for black and white. Turned out cute!