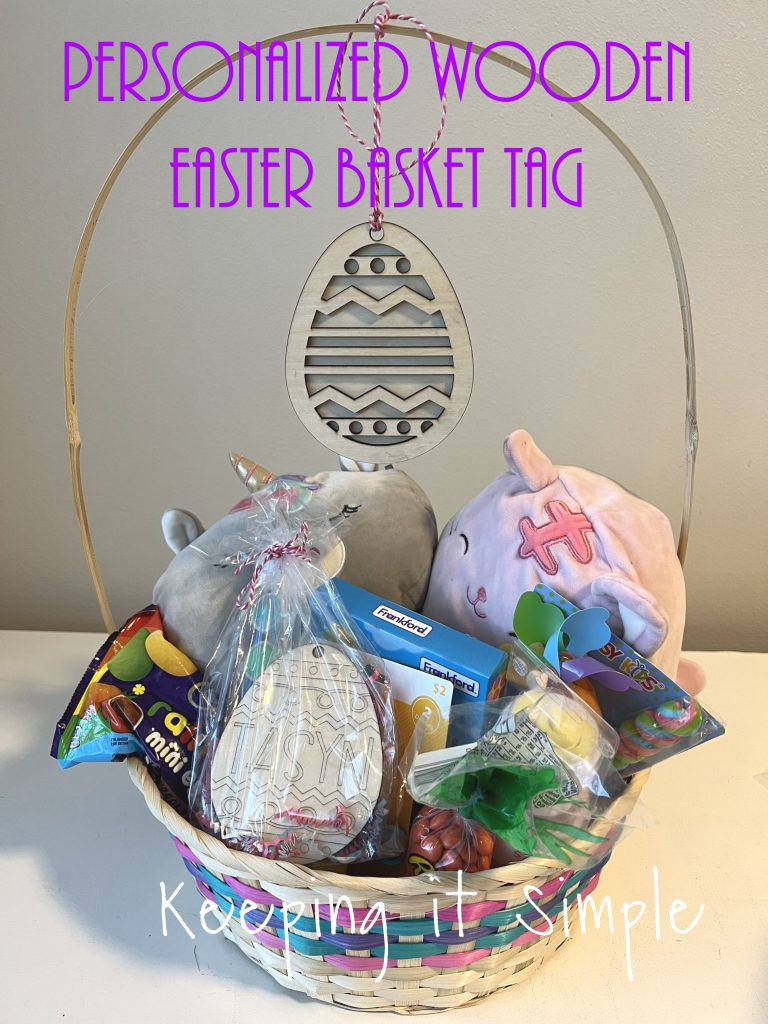
Personalized Wooden Easter Basket Tag with SVG File
Easter baskets are such a fun way to celebrate the holiday. I love making Easter baskets for my kids to come down to on Easter Sunday morning. It’s fun to see their faces when they see their baskets filled with goodies and candies. This year I thought that it would be fun have personalized wooden Easter basket tag on their baskets, just to make extra special. I made a few different designs for Easter baskets, including one that can be painted or colored. These paintable personalized wooden Easter eggs would be a perfect for inside Easter basket too, a perfect little activity for kids to do.
Here is a detailed video of how I made these fun personalized wooden Easter egg tags.
This is how I made the layered Easter basket tag. I opened the SVG file in xTool Creative Space by clicking onto the image button and opening the file. You can get the SVG file here:
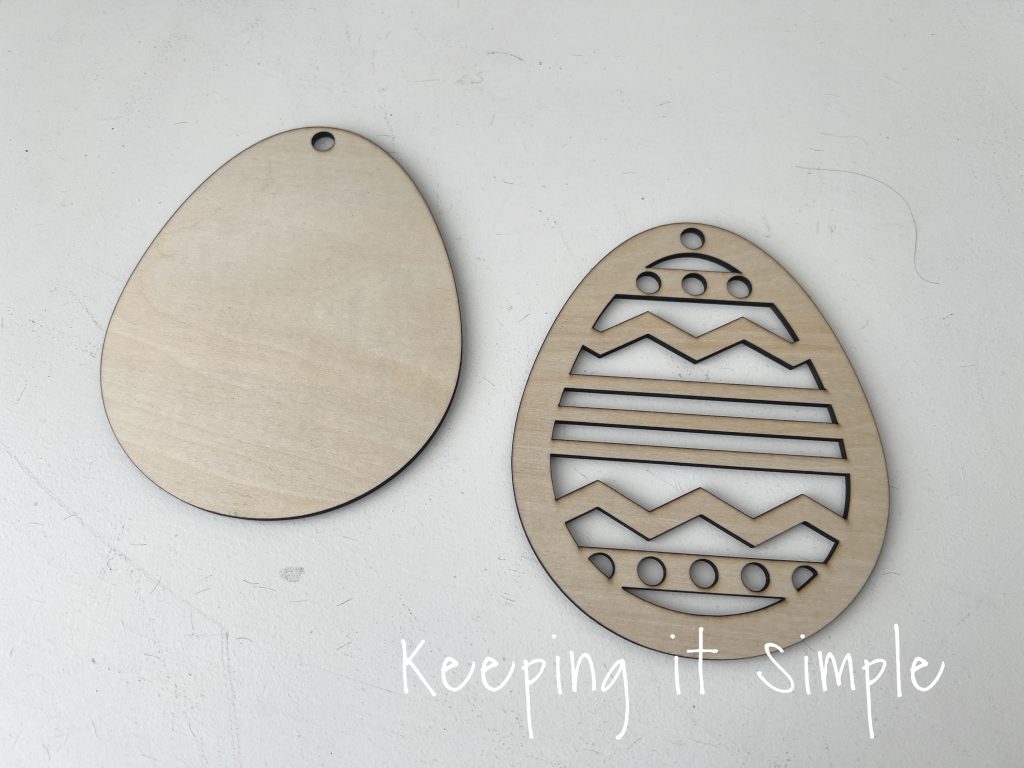
The SVG files has 3 images on it, the top two are for the layered Easter egg and the bottom on is for the paintable Easter egg.
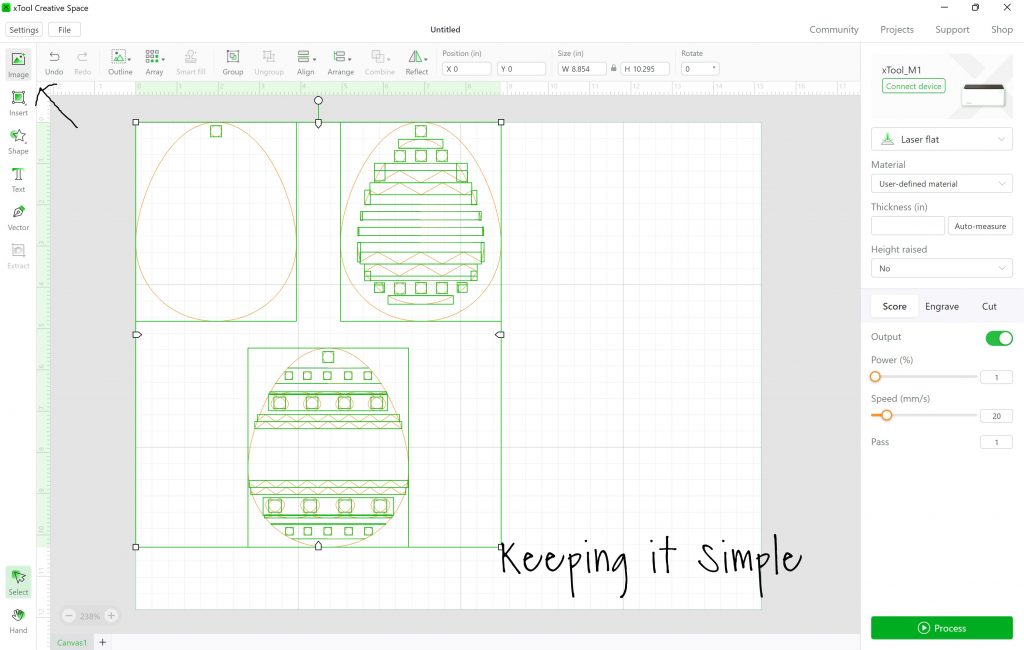
I separated the eggs and used the two for the layered egg. I highlighted the different eggs and then right clicked to group them together. I then sized them to about 4 inches and got them ready to be cut in my xTool M1 machine. A little tip I found out, if the image is orange, it will be scored and not cut. When it is purple, like in the picture it means that it is ready to be cut.
Once the design was ready to be cut, I turned out my air assist machine, pushed process and then cut. If you are wondering what an air assist machine is, check out my post all about it.
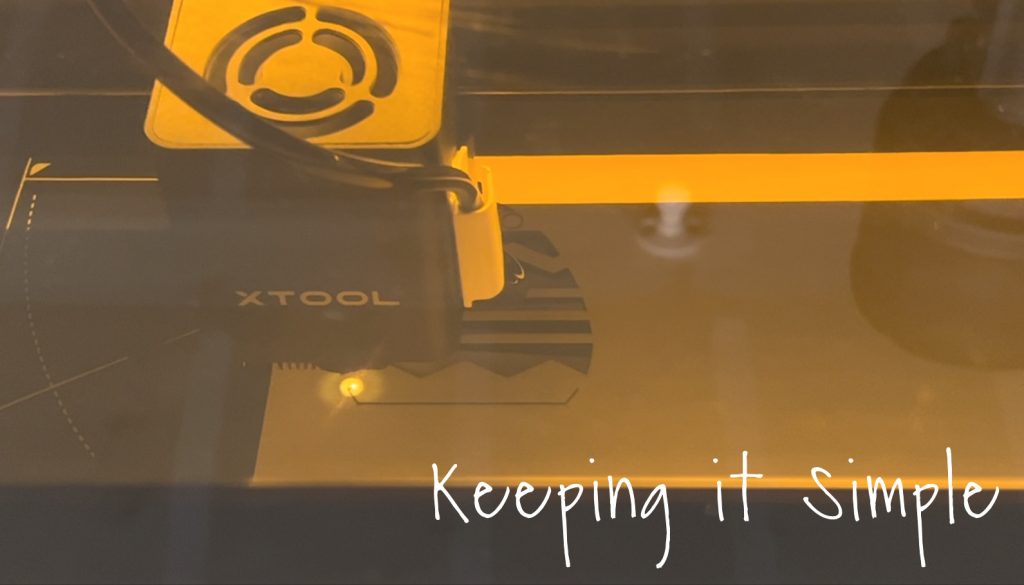
With the air assist and 10W laser in the M1, the wooden Easter egg cut out beautifully! No scorch marks and the laser cut through it with ease. The pieces just fell out while it was cutting, it was amazing!
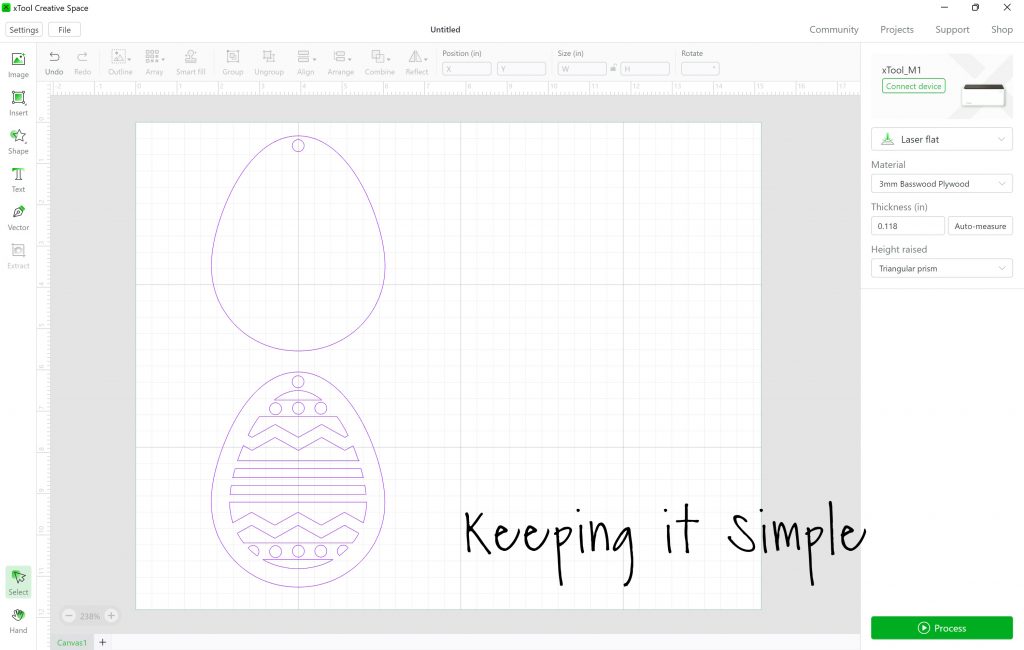
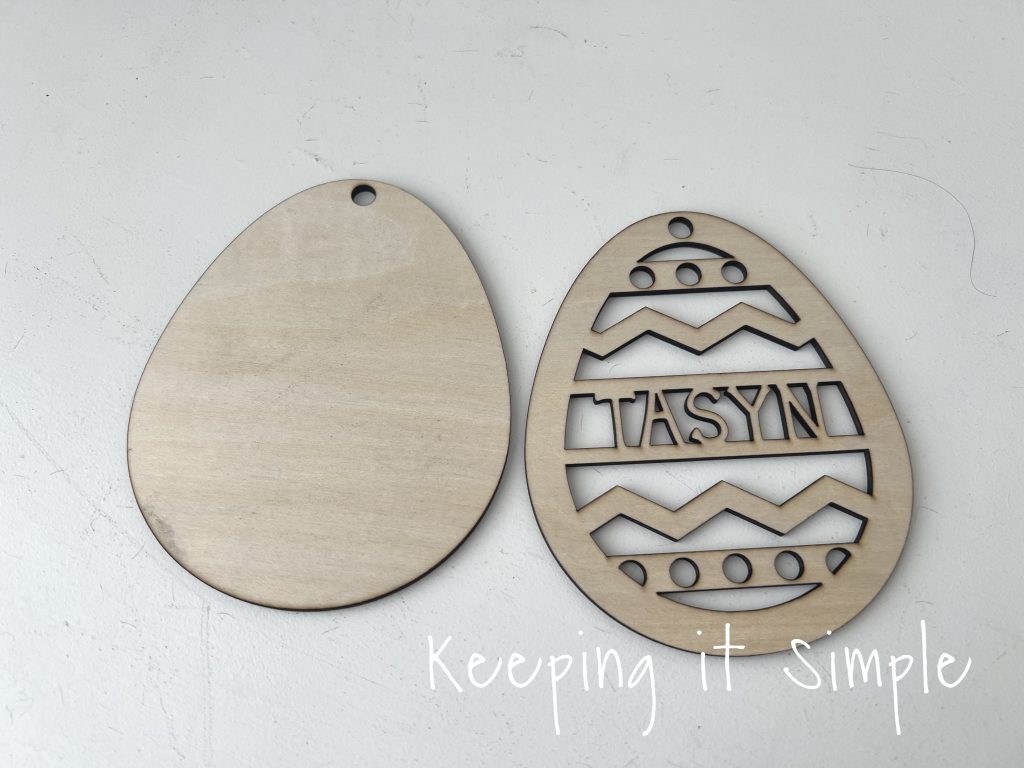
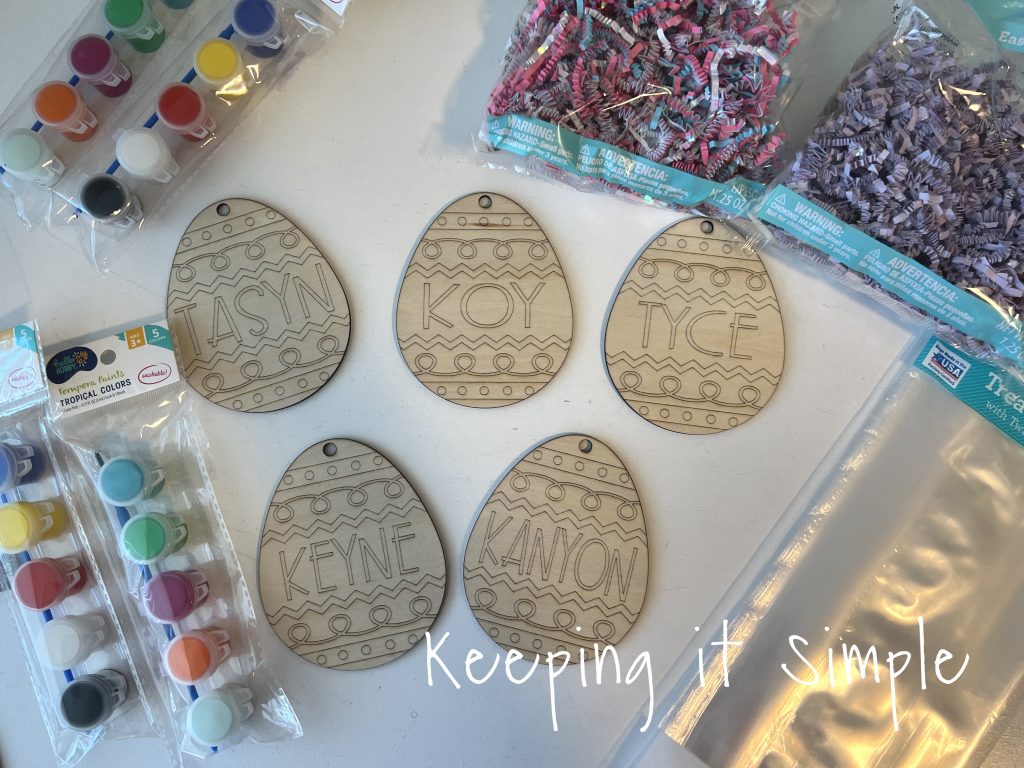
For the other Easter egg in the SVG file, this one is a little different. There is a blank space that you can easily personalized it with any name. I put my daughter’s name in egg by clicking on the text button and typing in her name. Then I sized it and positioned it to where I wanted it to be.
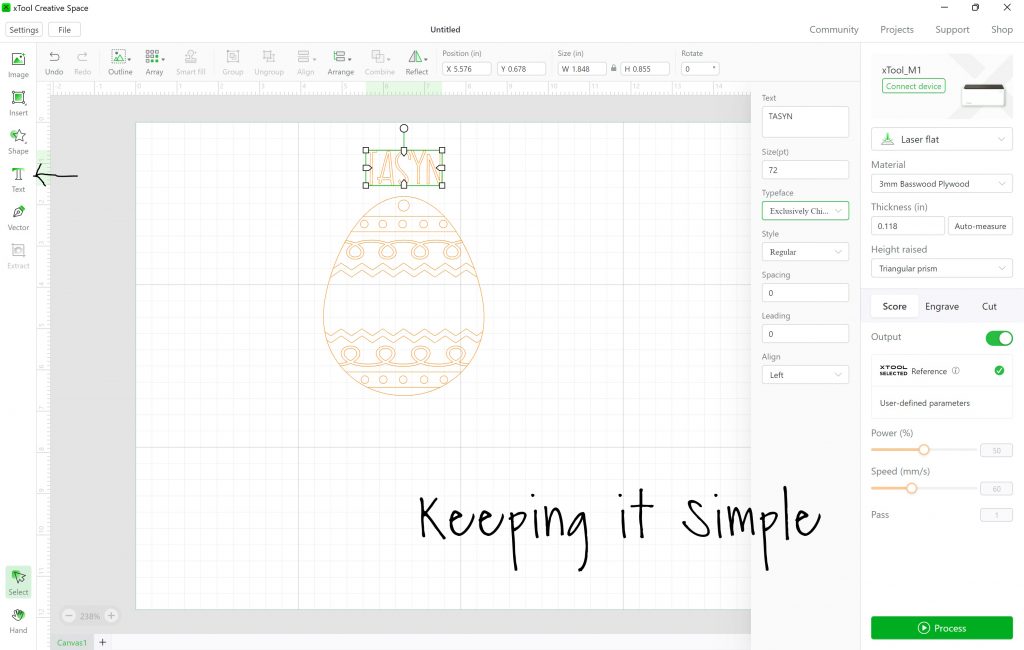
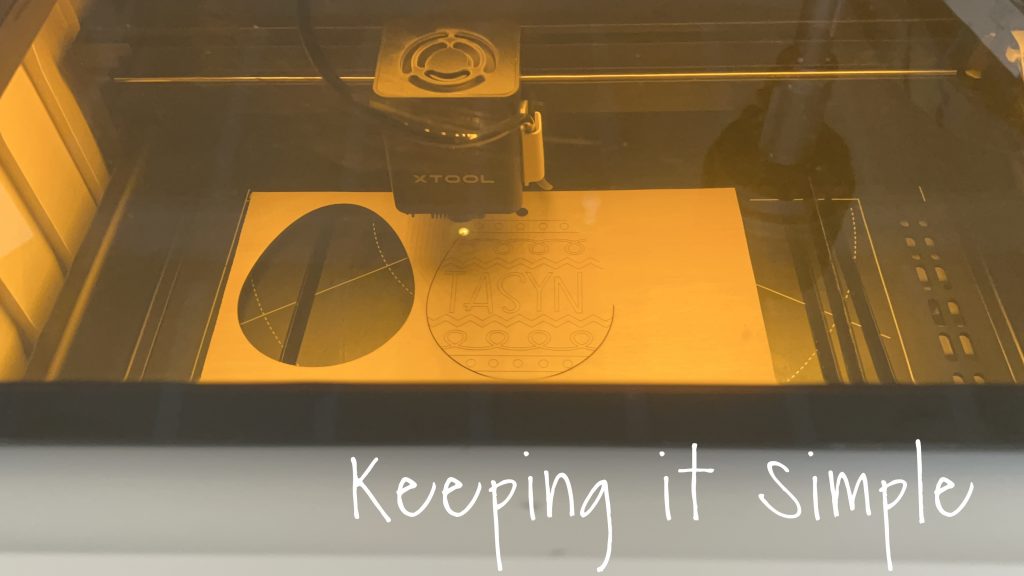
Once I had everything situated, I got it ready for the xTool. One cool thing about the xTool machine is that you can have it score and cut at the same time. In order to that, you have to select exactly what you want to be cut and what you want to be scored. I ungrouped the egg and then I highlighted the outside egg and then the little circle at the top. Then I clicked the cut button, turning those two things purple. As you can see by the picture, the sections that are purple will be cut and then sections that are orange will be scored.

I sent the design to the xTool and let it do it’s magic. It was really quick to do this cut and score and it was really fun to watch the machine do the different settings. It scored first and then cut it out.
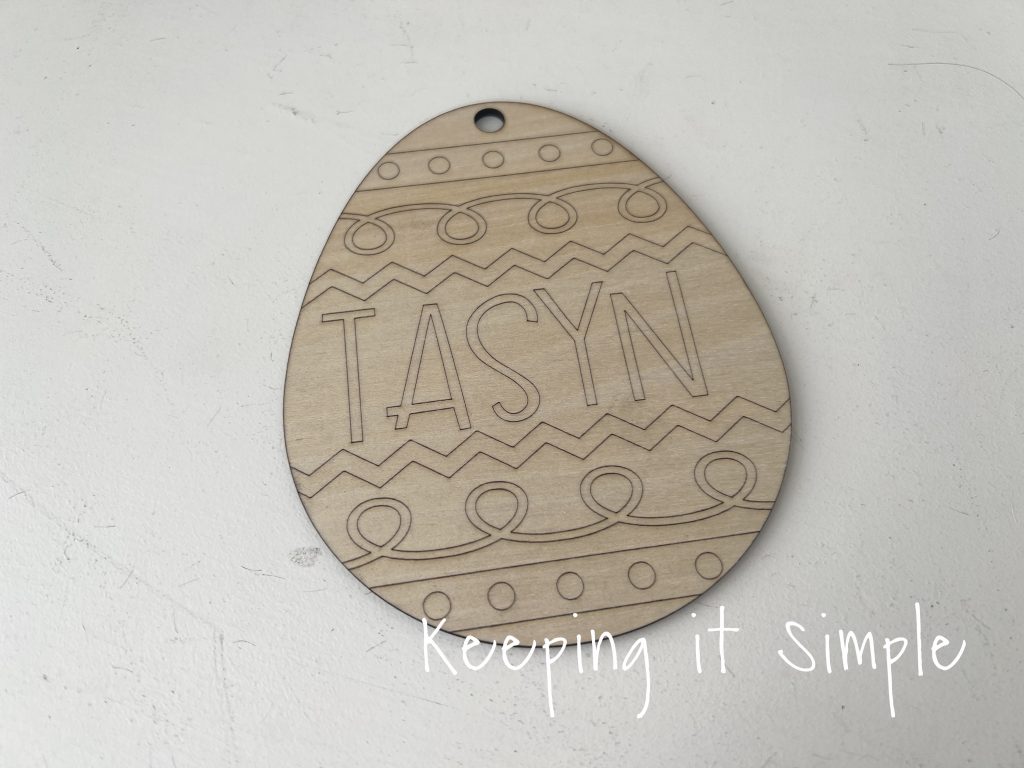
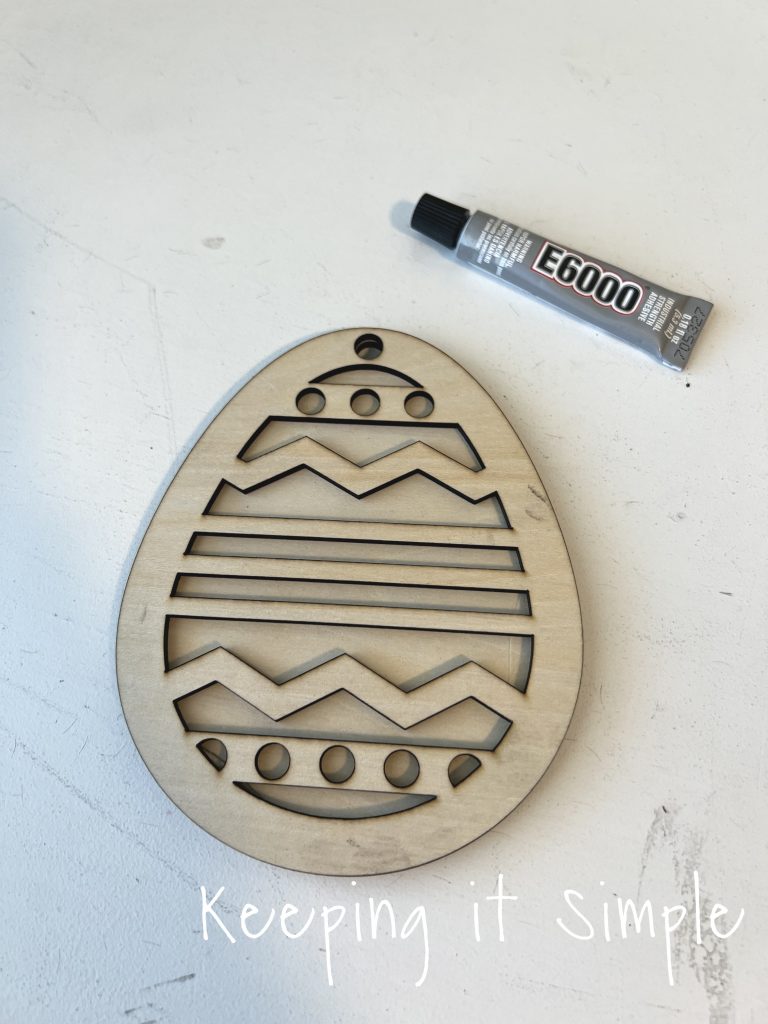
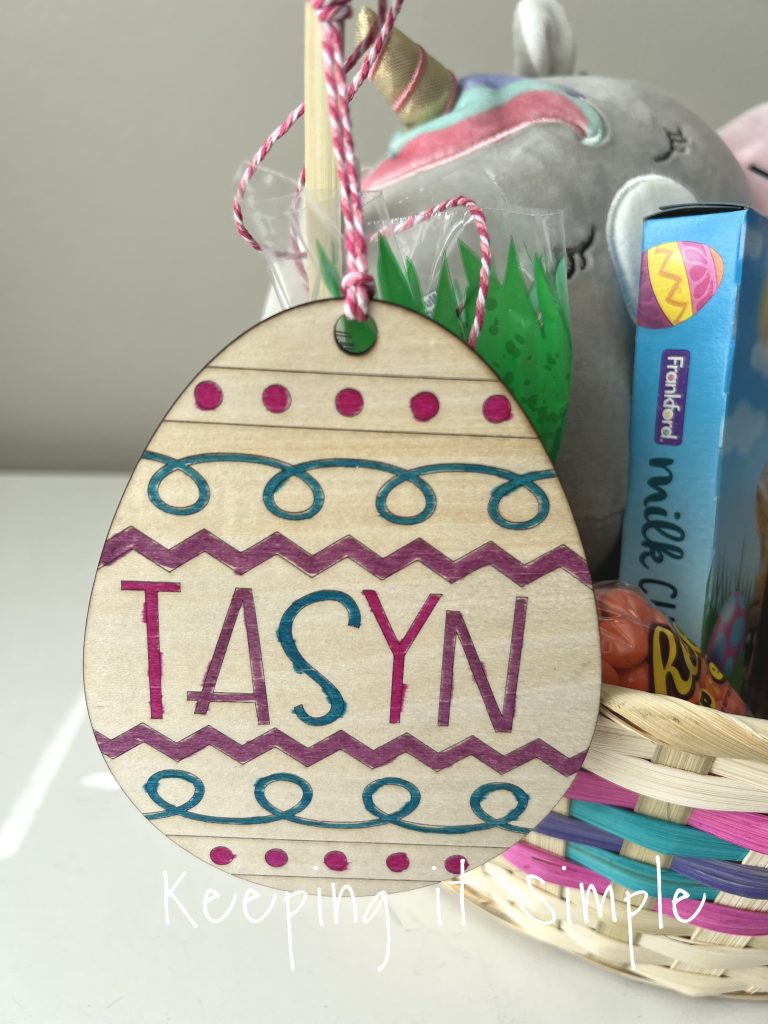
Here is the personalized wooden Easter egg with the design scored into the wood. Now it is perfect for coloring or painting.
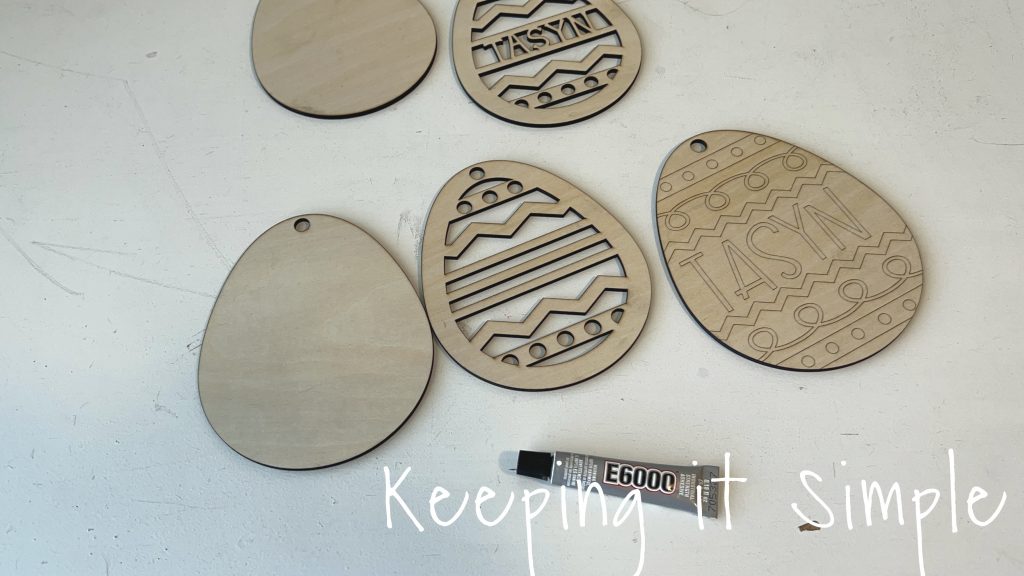
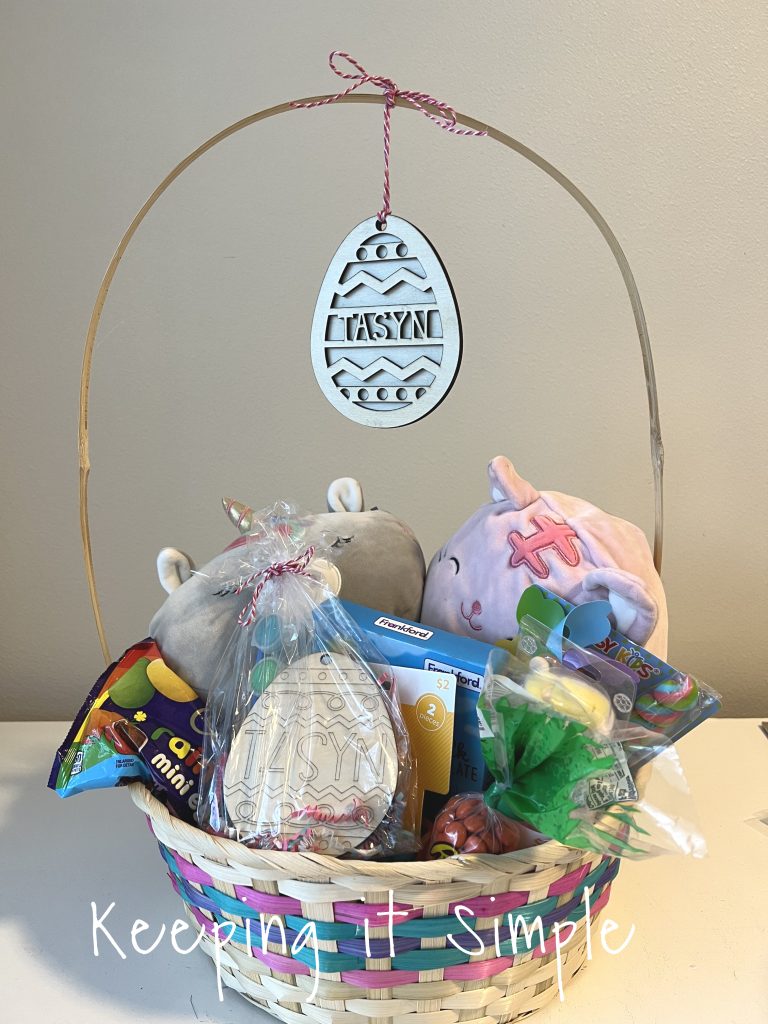
I wanted to do something special for my kids, so I combined the two and made a personalized layered egg. I cut it out the same way as the layered egg. And once again, with the air assist the design cut out beautifully! I seriously love that little attachment, it makes a huge difference with the cuts with lots of details.
Using E6000, I glued the layered Easter eggs together.
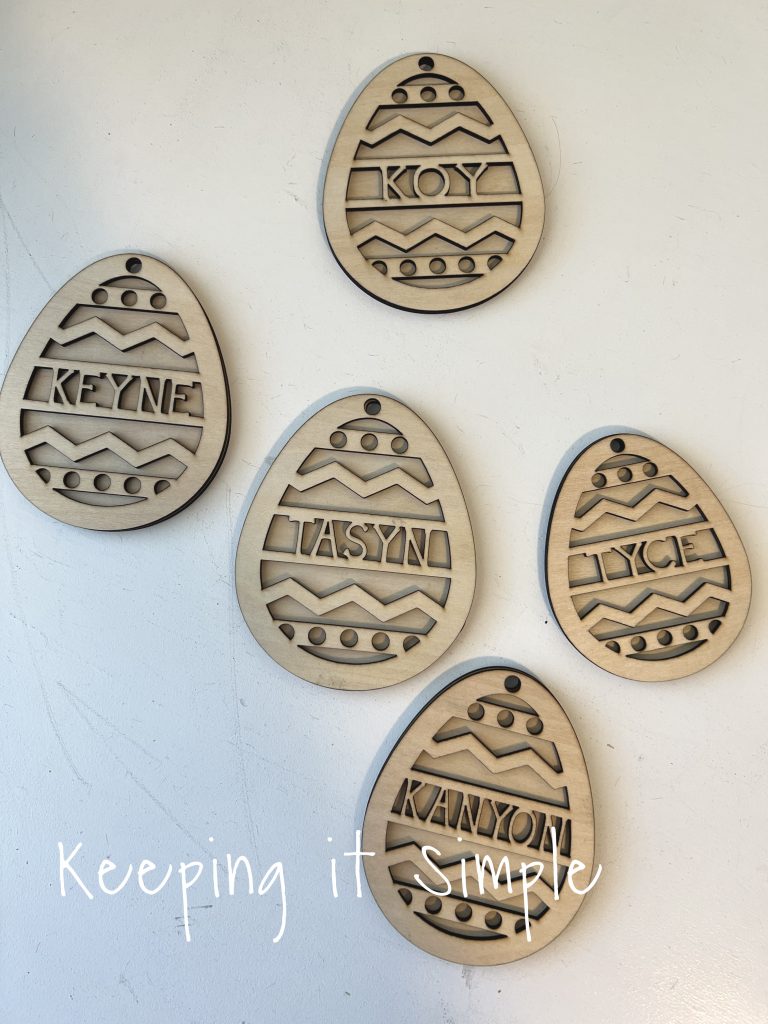
Here are all of the personalized wooden Easter eggs I made for my kids.
I added some baker’s twine, now it’s a fun wooden tag perfect for an Easter basket.

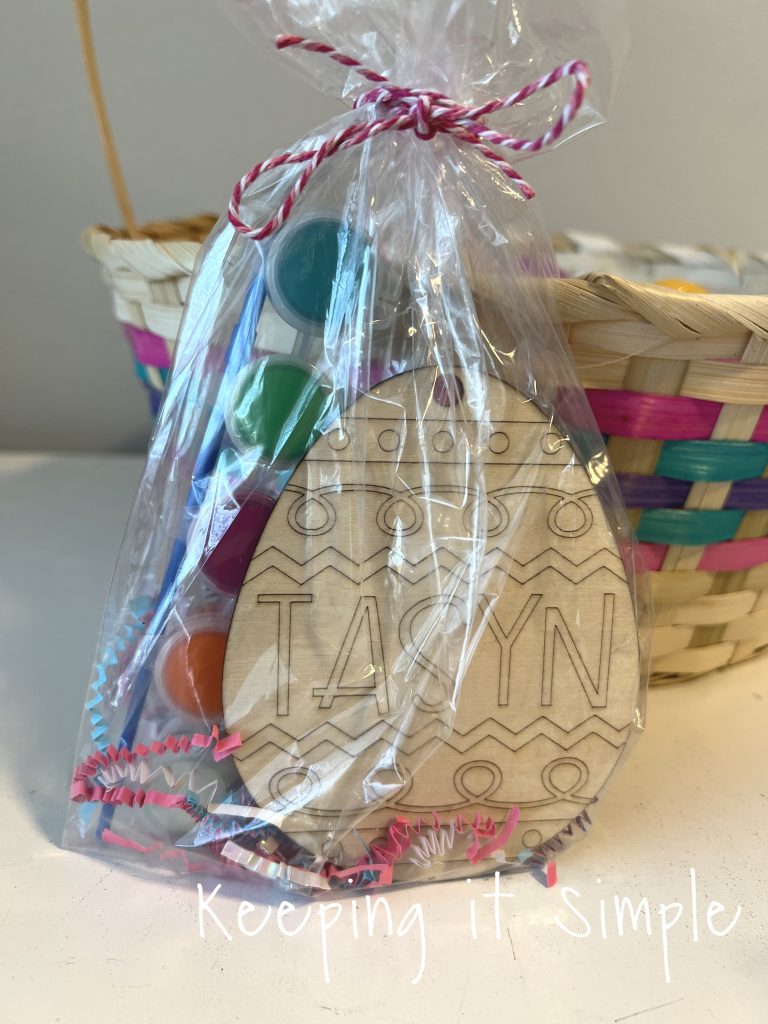
I also made all of my kids a paintable wooden Easter egg. I bought some fun paints to go with it, so I can add it to their Easter baskets.
I put the egg and paint together in a bag and tied it up, it’s a fun Easter gift.

And that’s it!
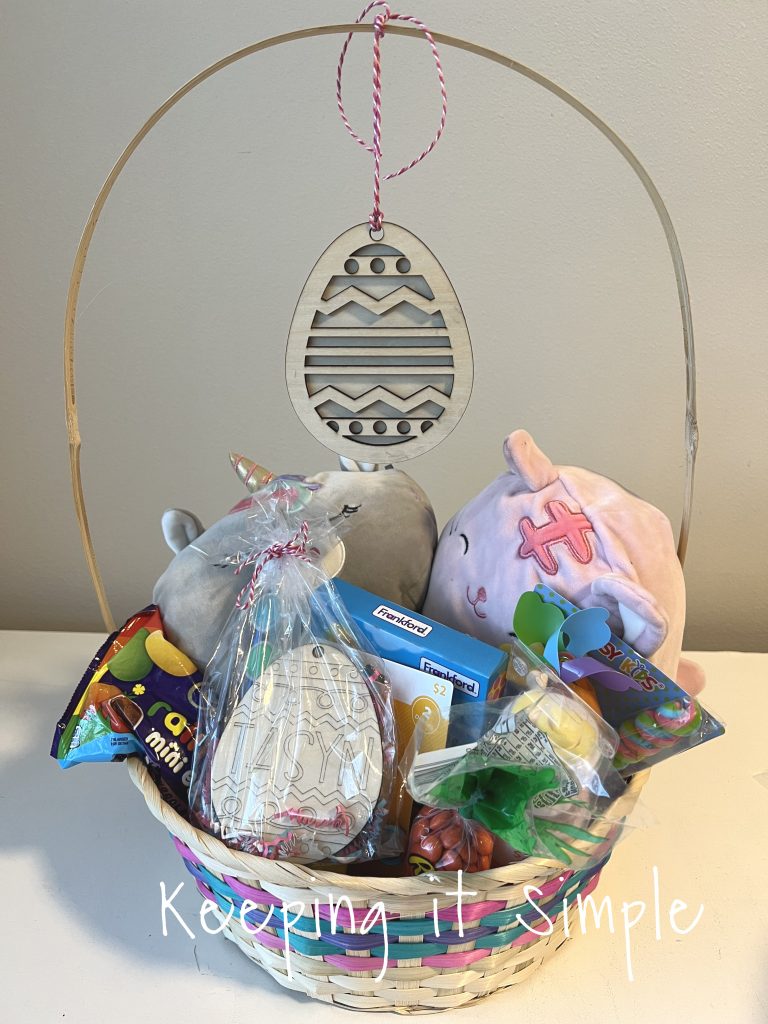
The Easter baskets are ready for Easter Sunday morning!

Here is the scored one colored, super cute and fun!
Check out all of my other xTool projects!
This post contains affiliate links.
Leave a Reply
You must be logged in to post a comment.