Engraved Wooden Tie Holder- Father’s Day Gift Idea
If you are new to laser cutters, check out my beginner’s post.
One of my favorite things about being crafty is being able to make things that have a lot of meaning for myself and for someone else. With my xTool M1, I am able to create with wood or vinyl, so I took advantage of both features and made an awesome engraved wooden tie holder for my dad’s ties. I then created a heat transfer vinyl label with his signature so I can know which ties are his.
When my dad passed away, my mom gave out his ties to the kids and grandkids to wear at the funeral and then to keep them. I picked up a few for myself and for my kids. Since I don’t want them to get mixed up with all the other ties, I wanted to make a special holder and for them, to display them. My dad had the best handwriting, it was so neat and unique, I just loved it. I especially loved his signature. It was so fancy and cool, so I used it to make his ties and tie holder extra special.
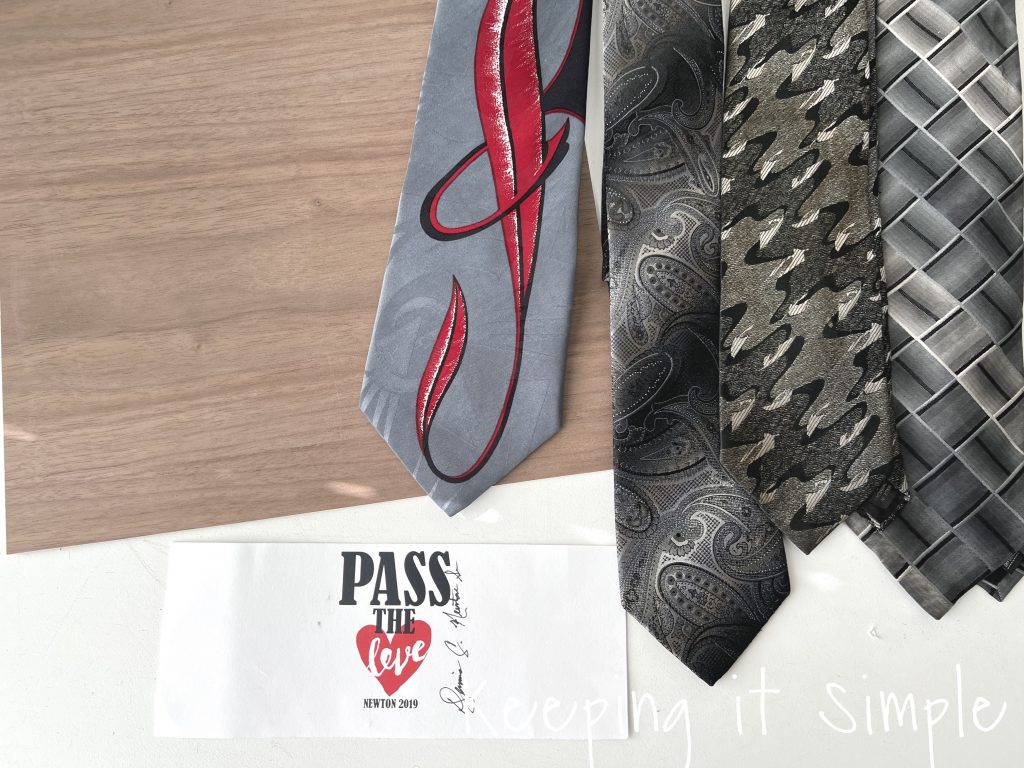
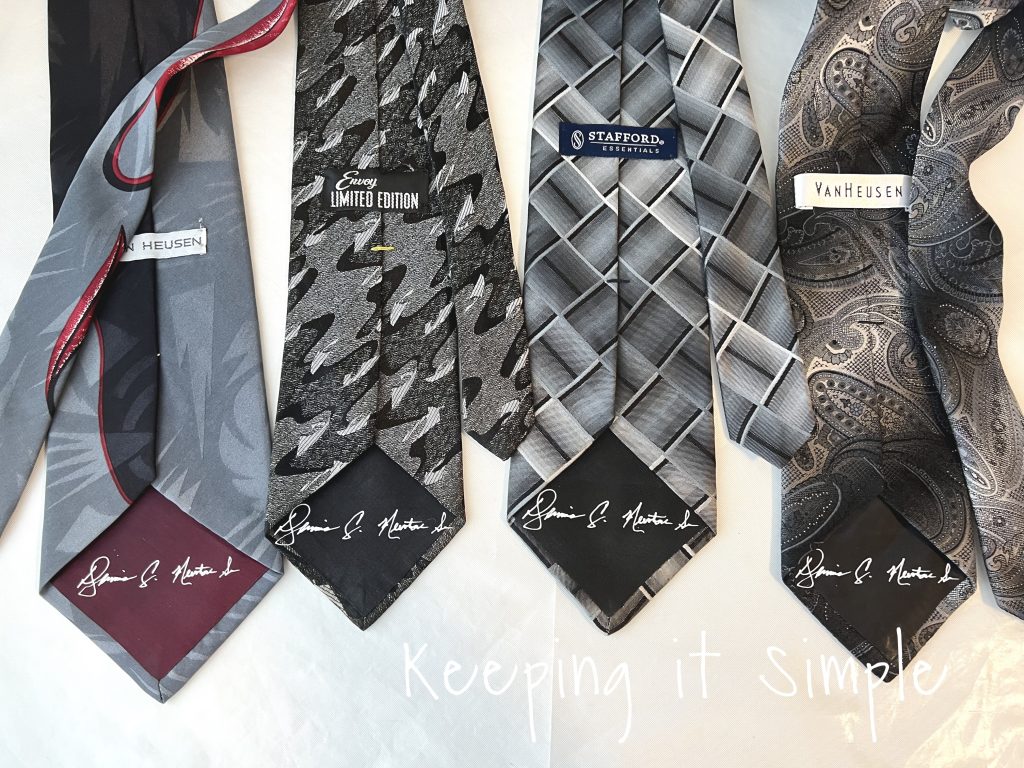
For the engraved wooden tie holder I wanted to use a pretty wood, so I used the walnut plywood. The color is gorgeous! It’s such a nice color of wood, I can’t wait to use it for more projects. Here are the 4 ties that were my dad’s ties and then a picture of his signature, that’s what I used to make the signature.
Here is a very detailed video on how I made the engraved wooden tie holder with my dad’s signature.
This is how I made the tie holder.
In xTool Creative Space, I opened up the tie holder cut file. I clicked on the image and then opened the SVG file. You can get the tie holder SVG file here:
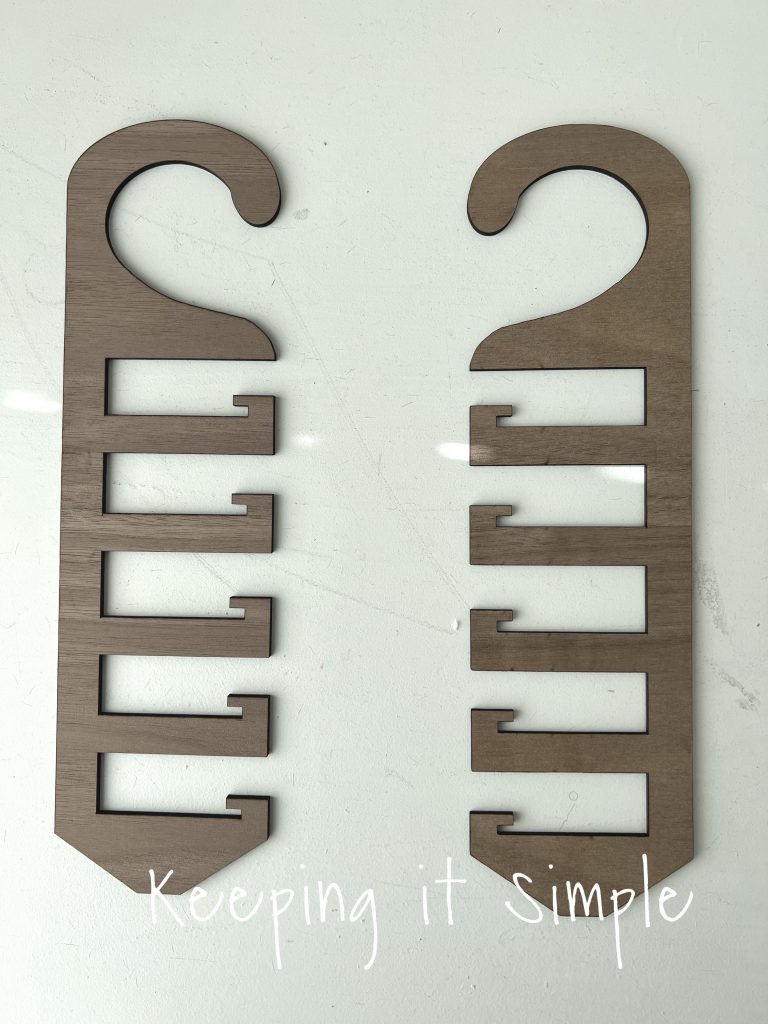
Tie Holder (use the design on the right)
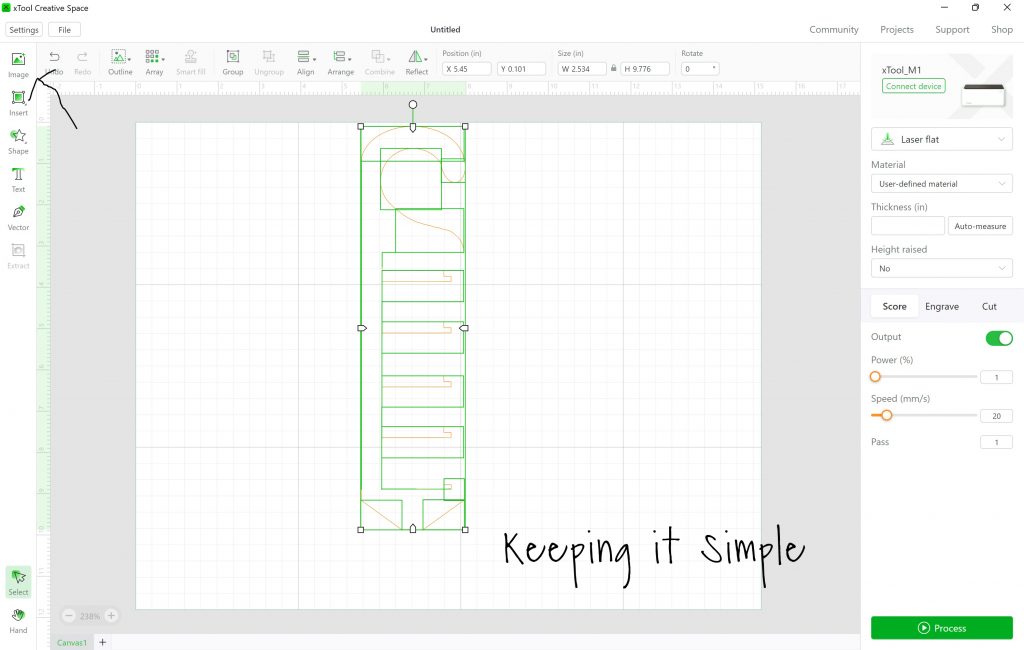
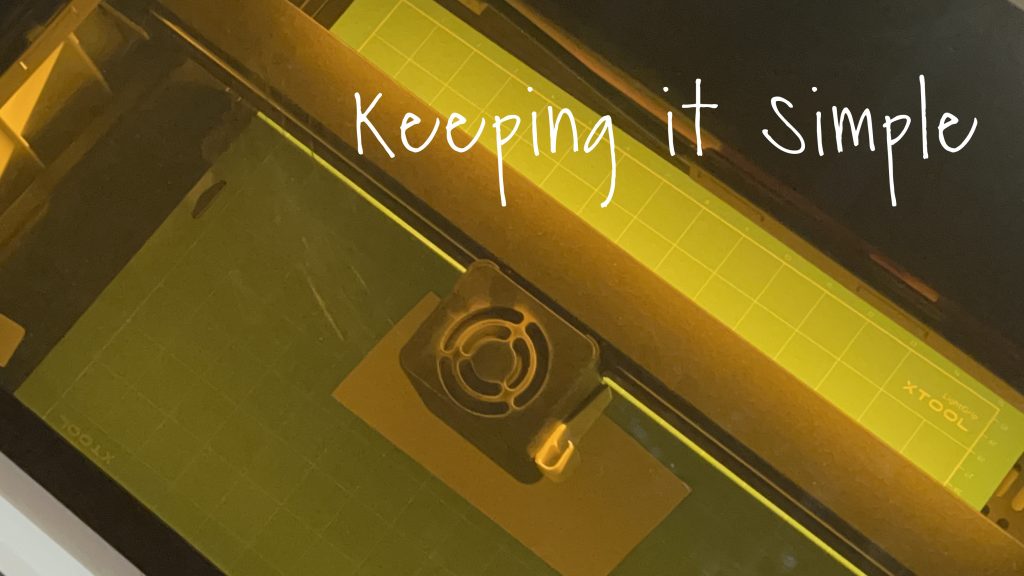
I cut out two of the tie holders because I wanted it to be thicker so it can handle the weight of the ties. I put the walnut plywood onto the triangular prisms and then changed the settings to cut. For the settings to cut walnut, the power is 100, speed is 4 and pass is 3. Since I have the M1 10W machine and the air assist to help direct the laser, I didn’t need 3 passes. Instead of doing 3 passes, I did just 1 and it cut out amazingly! Plus the air assist made it so there were no scorch marks, keeping the walnut plywood pretty! Read all about the air assist here.
Here are the two pieces cut out of the walnut, they look so good!
Now time to engrave the tie holder. This tie holder would make a great Father’s Day gift and you could engrave it with something else like “Best Dad” or “Best Grandpa”. I decided to engrave it with my dad’s signature. I took a picture of his signature and uploaded into XCS. Using the edit button, I cropped his signature and then used the magic wand to remove the background and then used the eraser to remove everything else.
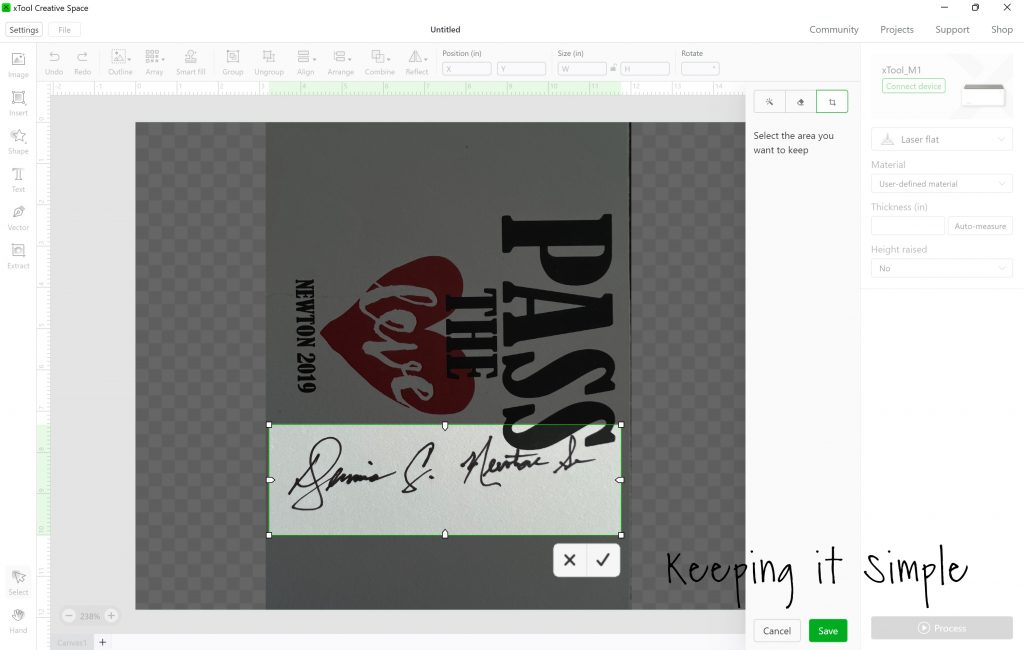
Once I had the signature the way that I wanted, I then engraved it onto the tie holder pieces. Since the walnut is a darker wood, the engraving doesn’t show up as dark. To make it look even darker, I didn’t use the air assist when I engraved it. I found that it was darker without it.
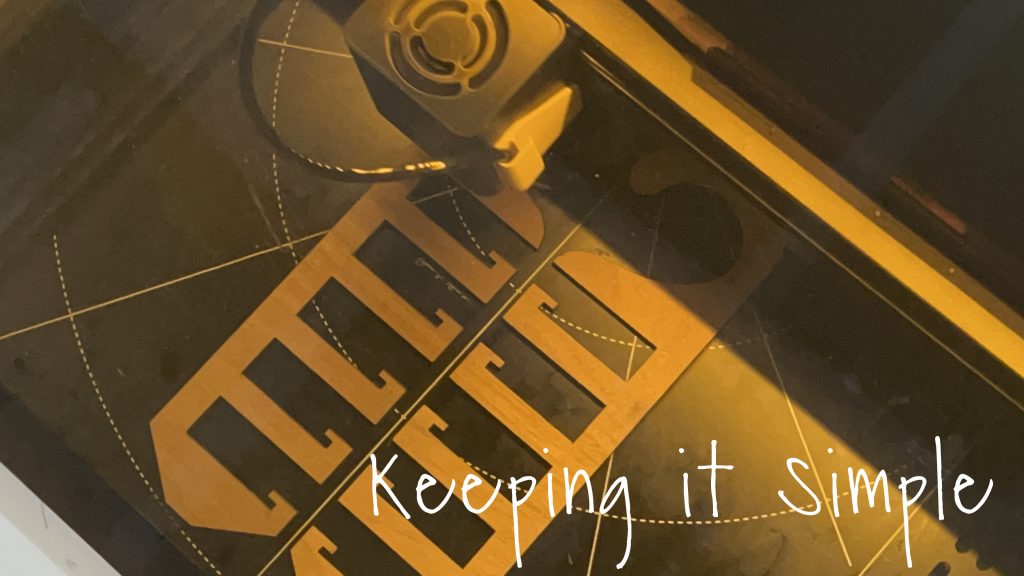
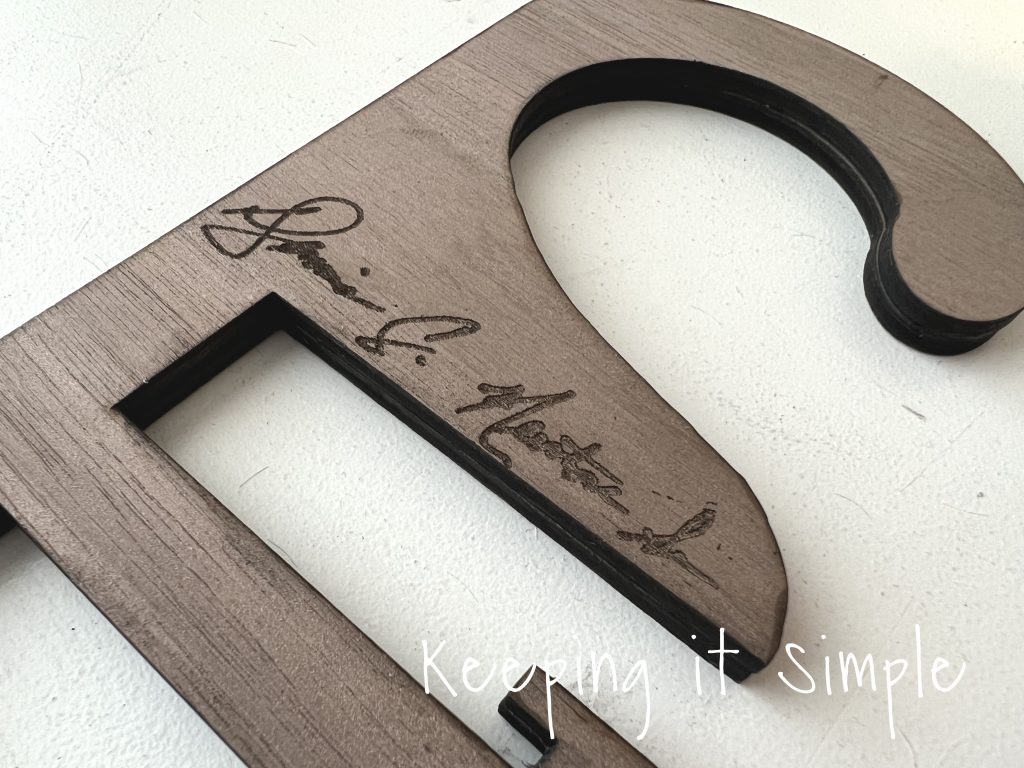
Here is the tie holder with the signature engraved onto it.
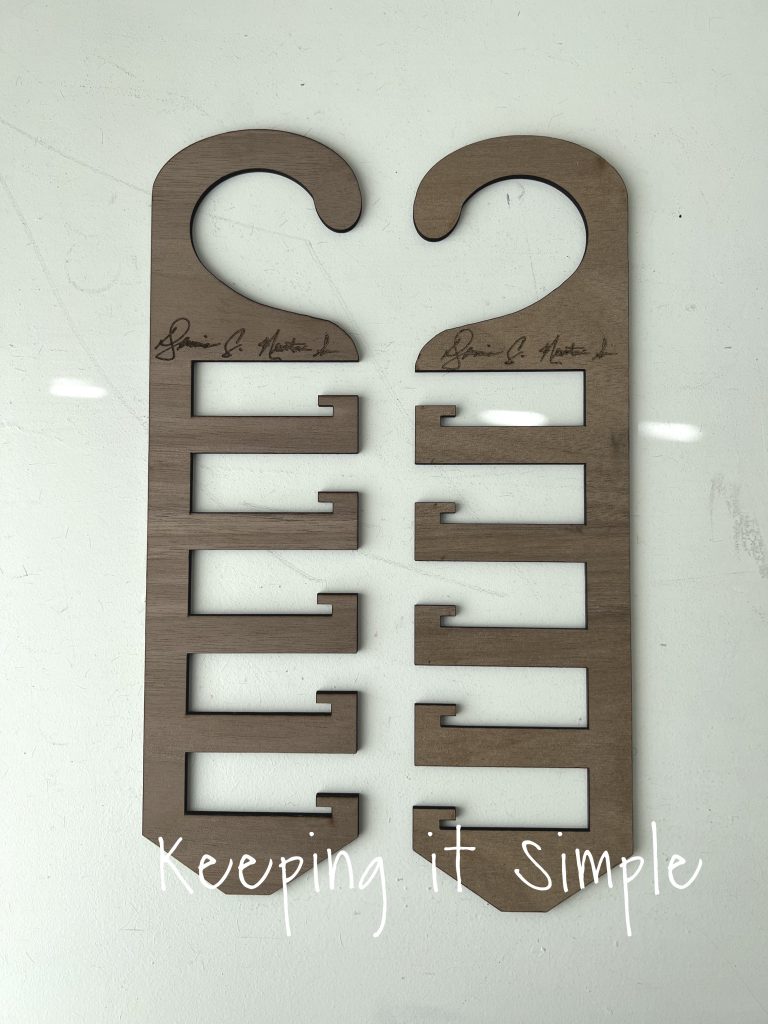
The engraving look so good!
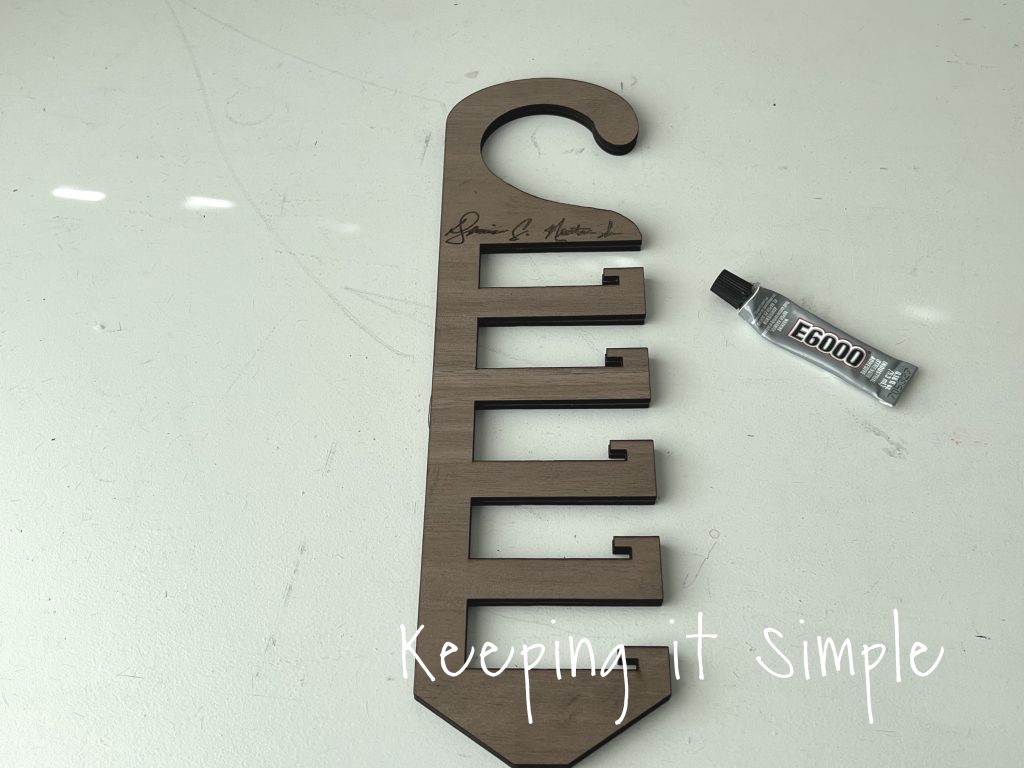
Using glue, I put the two pieces together to make the tie holder thicker.
Whenever you cut wood with a laser cutter, there is soot on the sides. So I took some alcohol wipes and wiped around the tie holder.
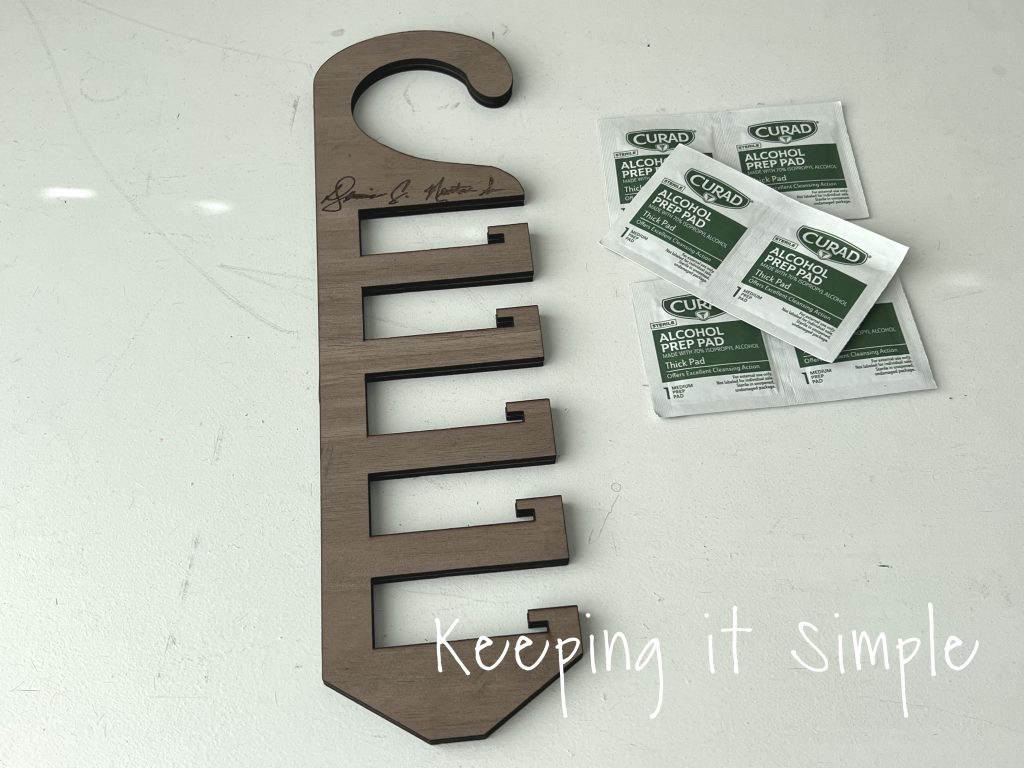
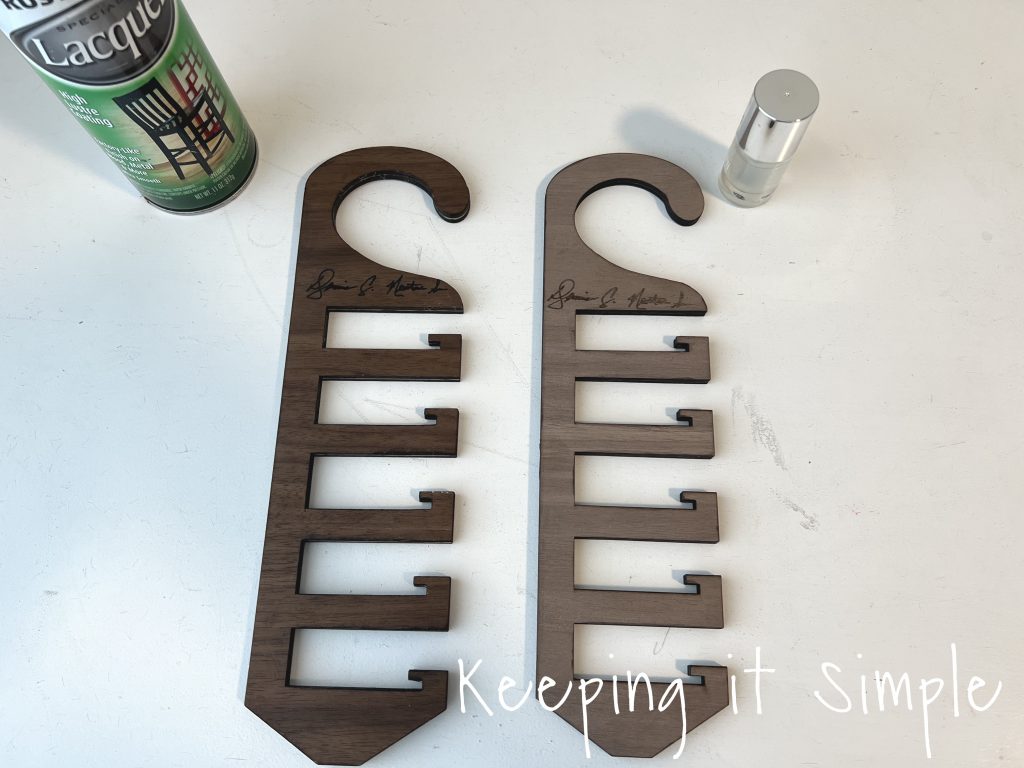
I wiped it 3 times and there was still a little soot on there, so I wanted to do something that took care of the soot, so it wouldn’t get onto my dad’s ties. There are two ways to help with the soot, lacquer and clear finger nail polish. I did both and both worked out great.
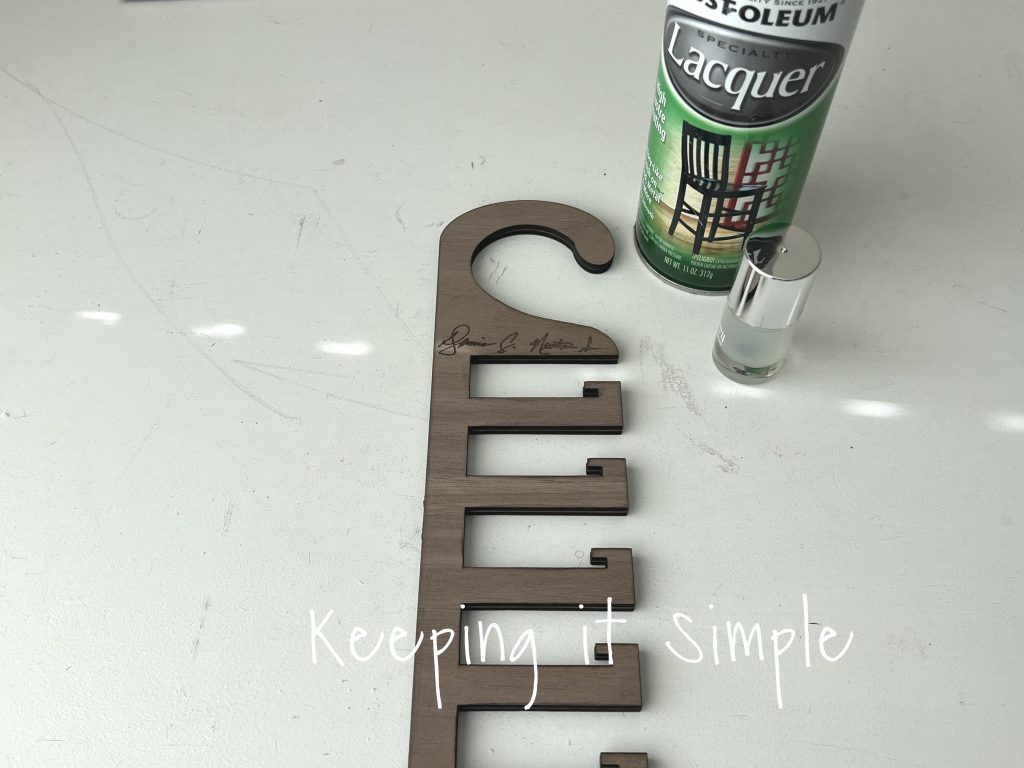
Here are the tie holders with the different finishes. The lacquer gives it a darker, more finished look but different changes the look of the walnut plywood. The finger nail polish worked great with the soot, it’s a great solution that doesn’t change the look of the plywood. Either way works, it’s just up to you which way you like it.
Since the xTool M1 has a blade too, I used it to cut out heat transfer vinyl for the ties. Here is a detailed video on how I did that.
This is how I made the tie labels with my dad’s signature.
I used the same picture of my dad’s signature to create a SVG, I did it in a different program and then uploaded it into XCS. I then sized it and then reflected it horizontally so I could cut it. I clicked blade cut and then used the settings for PU heat transfer vinyl.
![]()
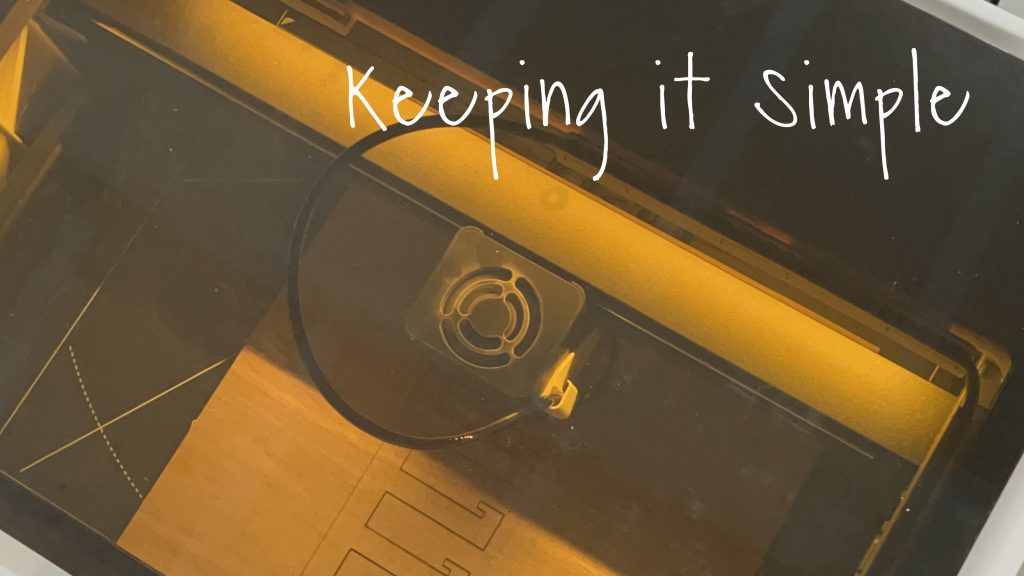
Since I used the blade instead of the laser, I had to remove the air assist hose and then add the blade back into the xTool.
I cut out several signatures. I then weeded the heat transfer vinyl.
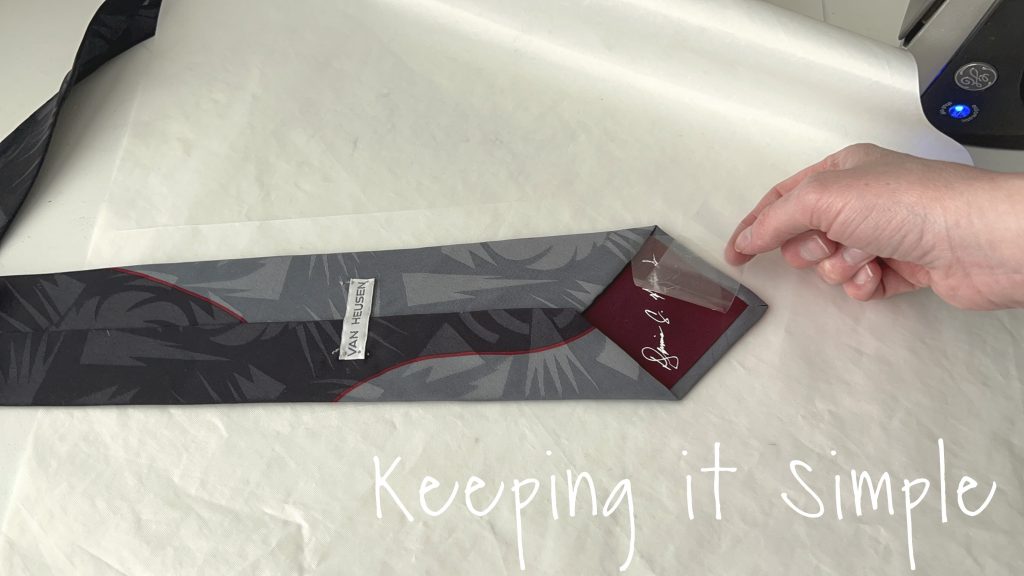
Using an iron, I ironed the HTV onto the back of the ties. I put a heat cover sheet onto the the tie before ironing it, just to protect the fabric. I used high heat and firm pressure to put the HTV onto the tie.
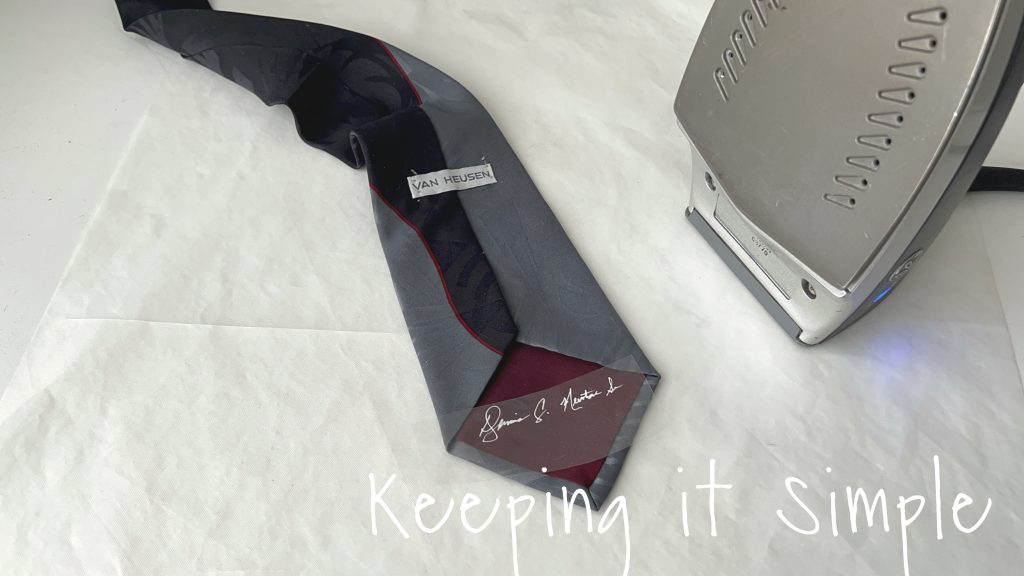
I slowly peeled off the plastic and then ironed the HTV again with the heat cover sheet on the tie.
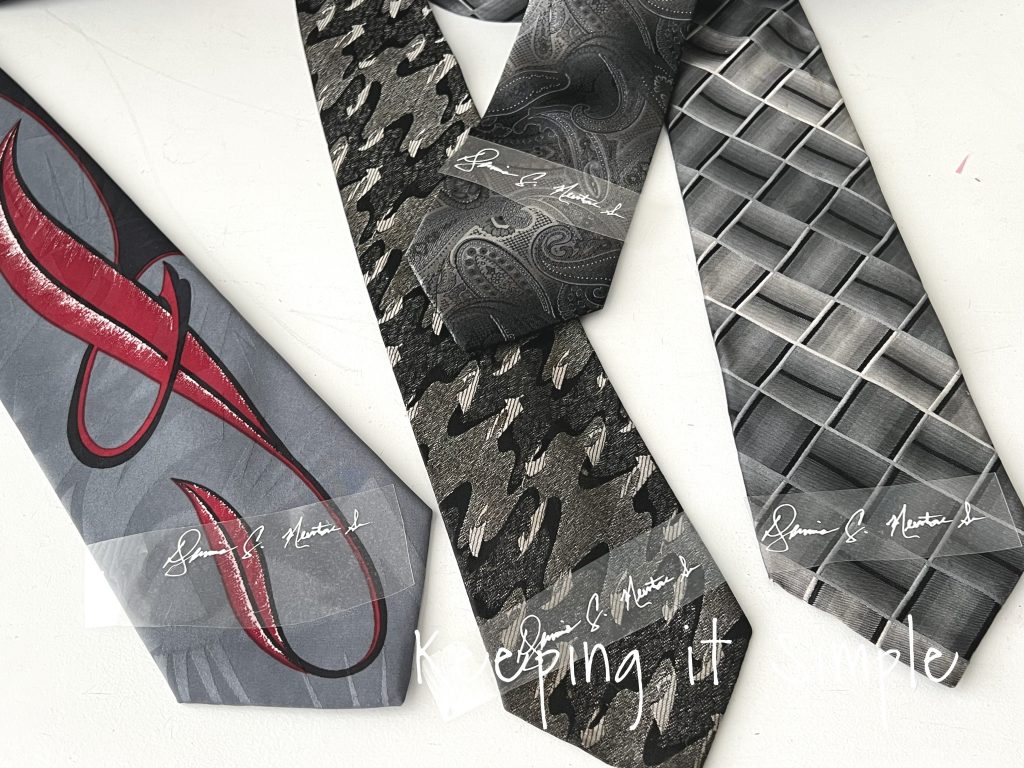
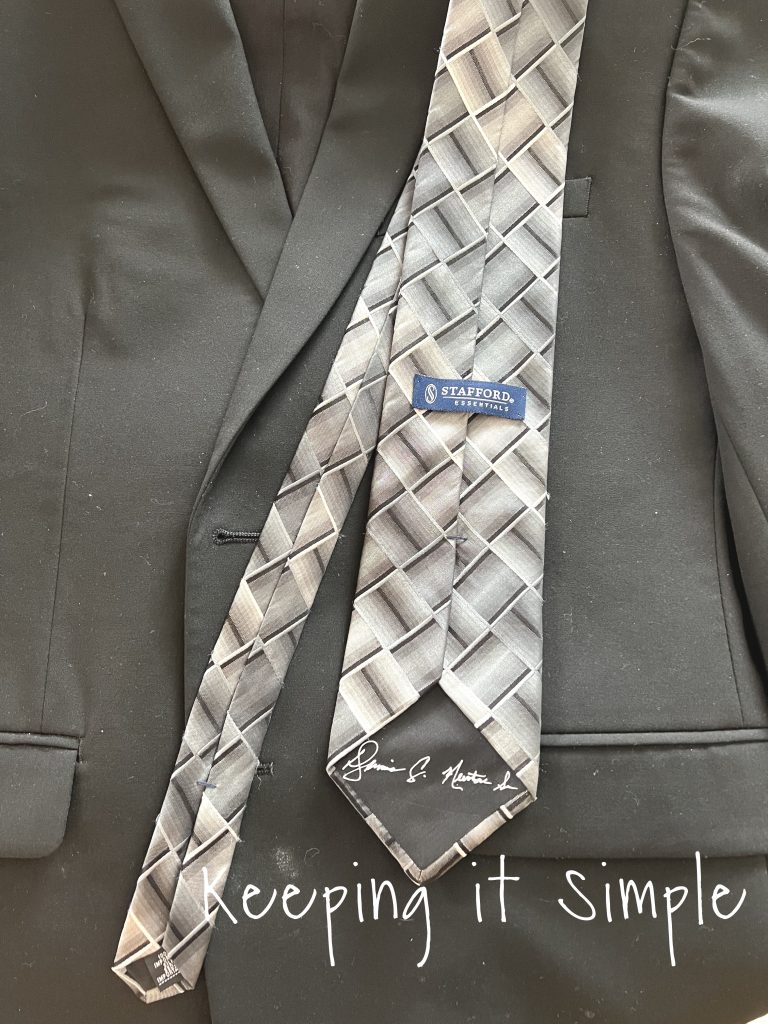
Here is what my dad’s tie looks like with his signature on it.
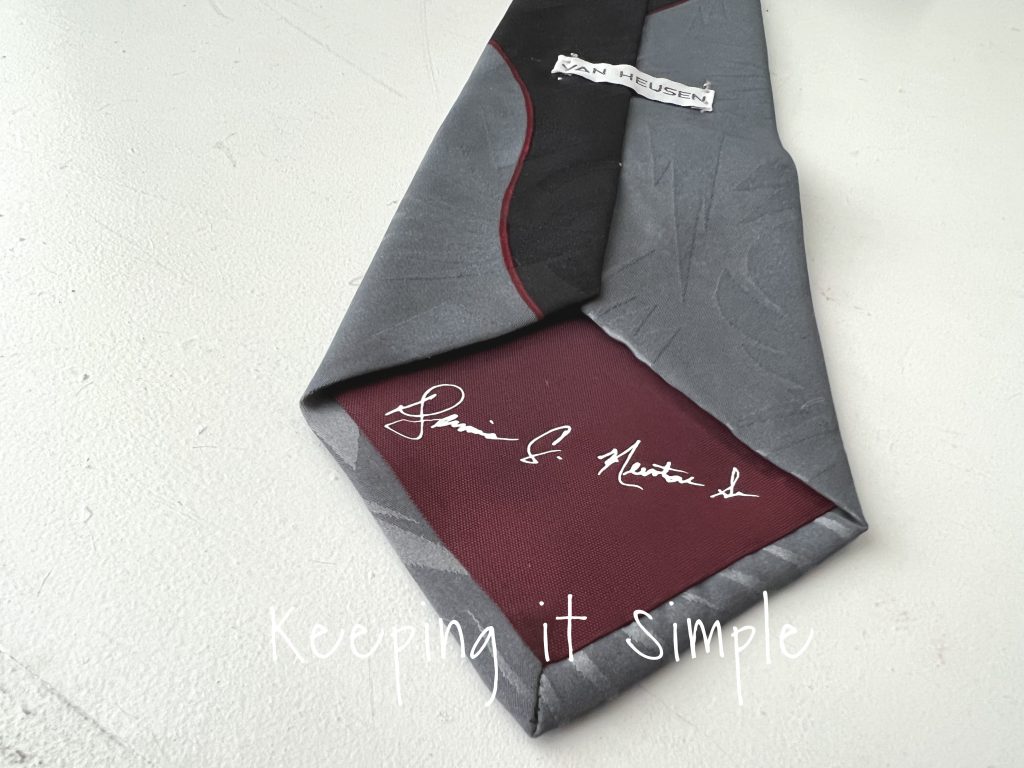
They all look so good!
And that’s it!
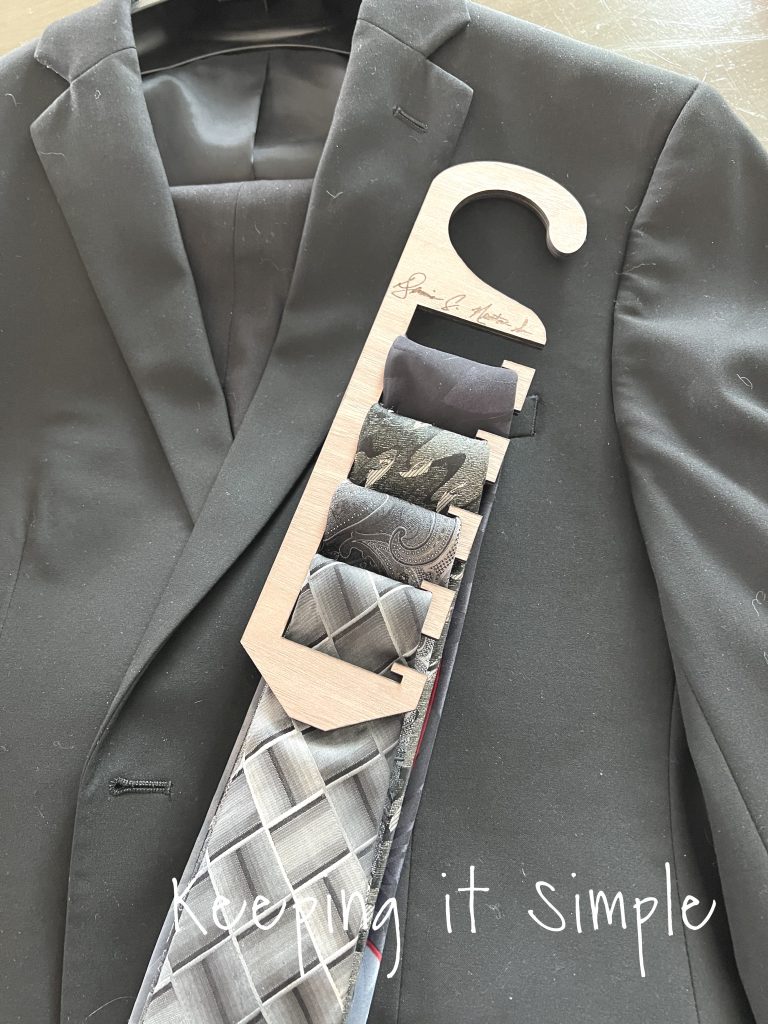
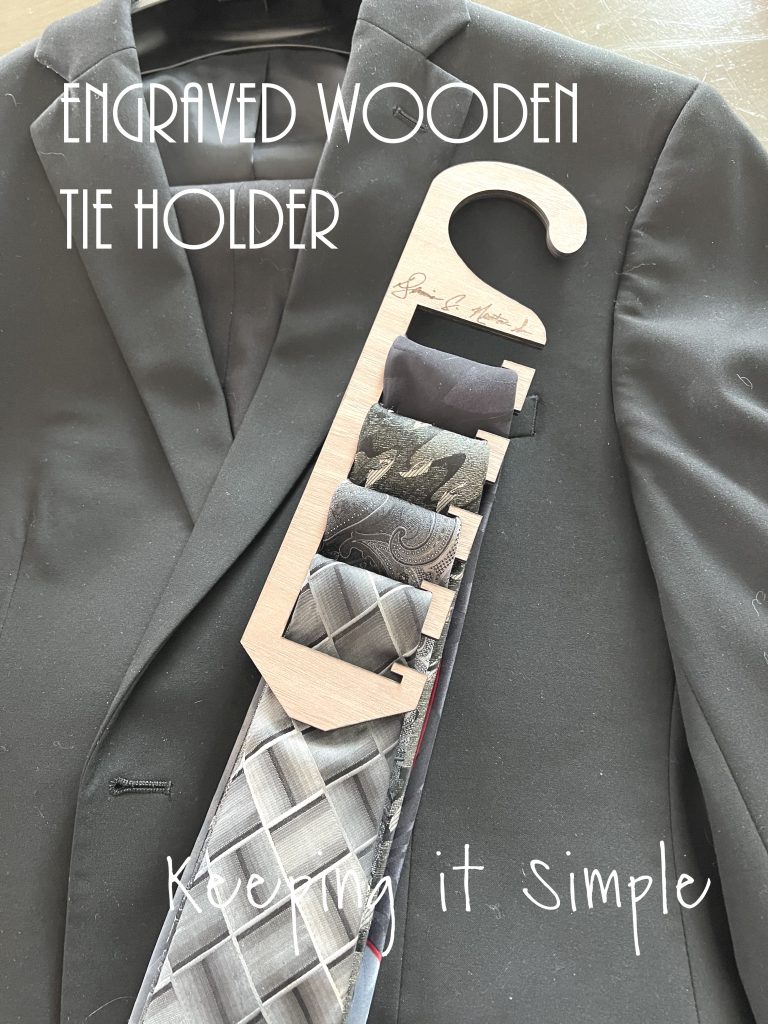
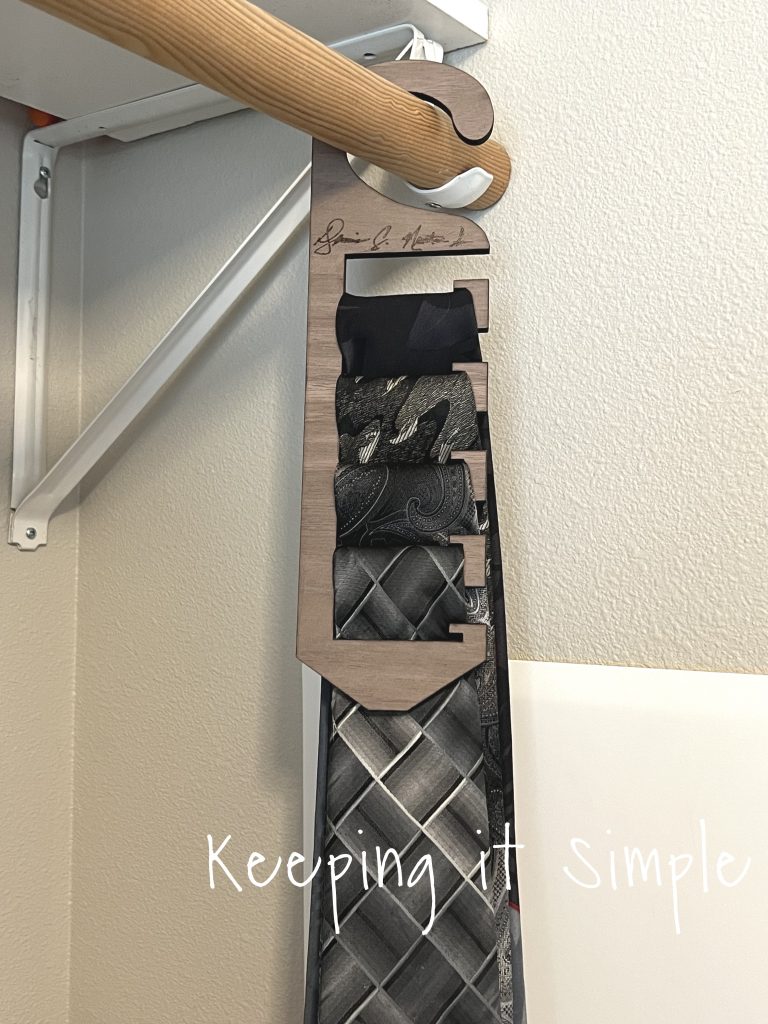
I put his ties in the tie holder and now I can display them and keep them safe. I love being able create crafts that make the things I treasure most even more special.
You can create so many amazing things with the xTool M1 machine. Check out all of the crafts I have made with my M1 machine here.
This post contains affiliate links.
Leave a Reply
You must be logged in to post a comment.