
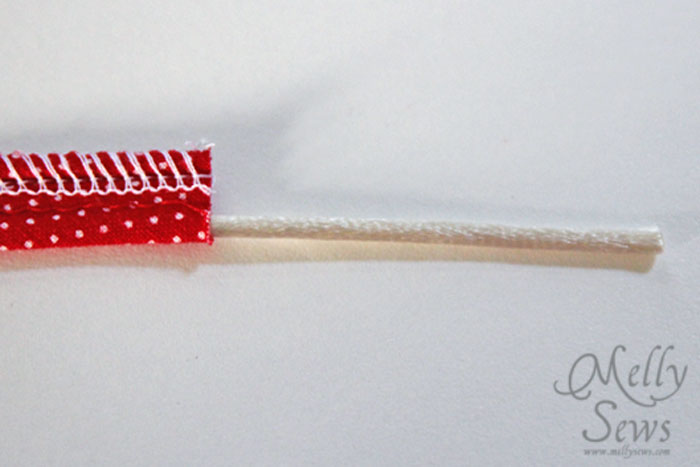
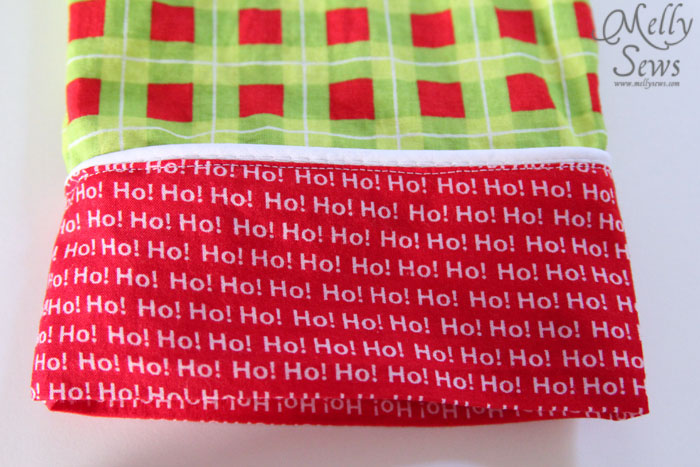
Piping is what you see in the above picture – the white line between the two fabrics.
When it’s not sewn, it looks like this:
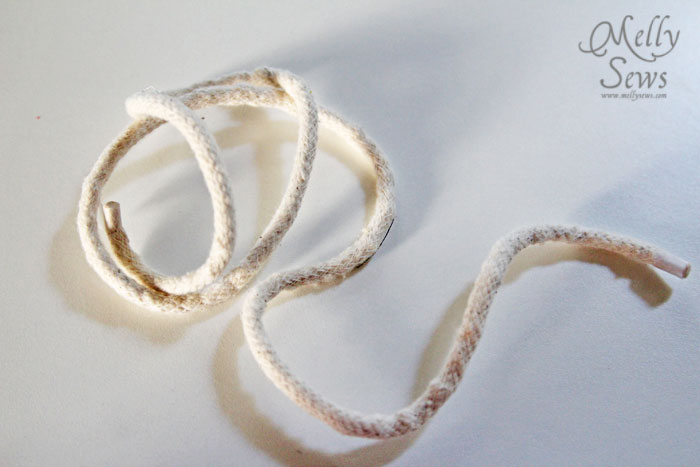
To make your own piping, cut strips of fabric on the bias, and wrap them around the cording.
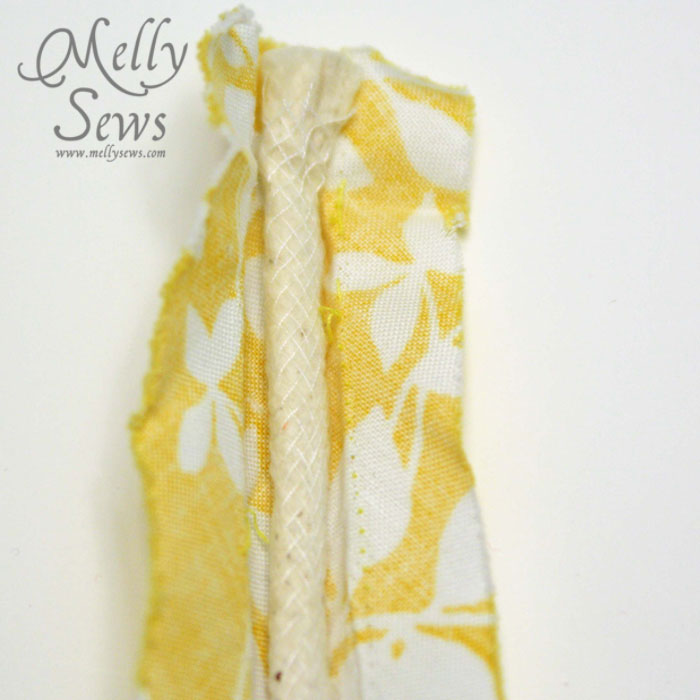
The trick to sewing piping into clothing is to baste it to your fabric first. Just pinning won’t give you good results.
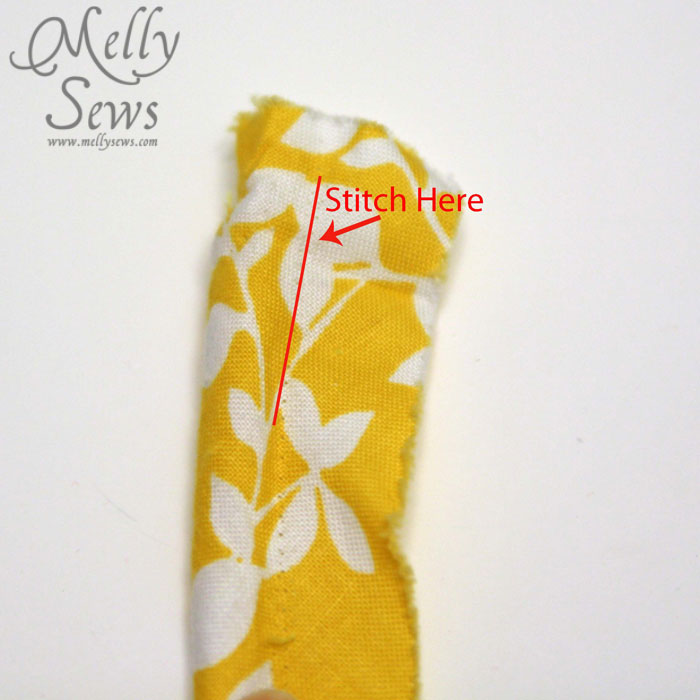
So take your piping and place on your fabric so that the stitching on the piping lays right on top of where you want your seam to be. Use a zipper foot on one side of the cording to baste it in place.

After basting your piping, you sandwich it into the seam when you sew. Depending on your piping’s thickness, you may or may not need to use your zipper foot at this point.
To sew piping around corners, sew to the corner, then clip the tape part of the piping, bend, and continue stitching.


Love this so much, i am currently recovering a chair and needed this 🙂
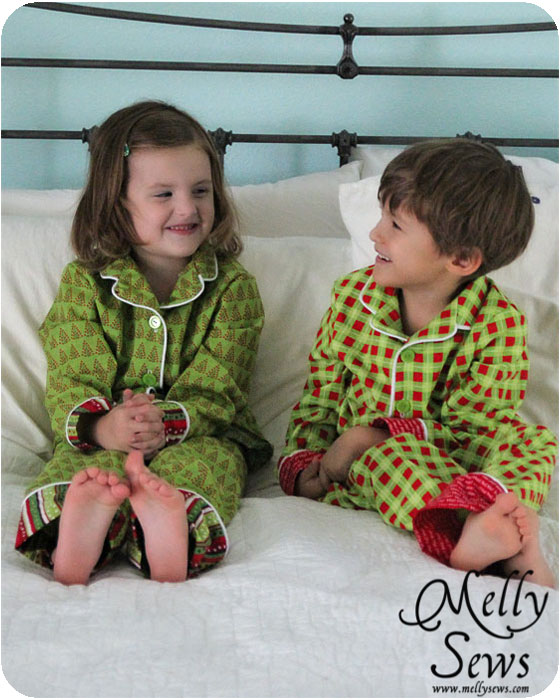
Thank you for the great tutorial. I love those jammies and the models are adorable.
very helpful instruction!!! i want to do it but i dont know how!!! thank you
Do you need to unpick the stitching from the piping once it's topstitched? I used some piping once and couldn't get close enough to cover the basting on the piping! x