Just in case you missed my guest post on the Ribbon Retreat blog.
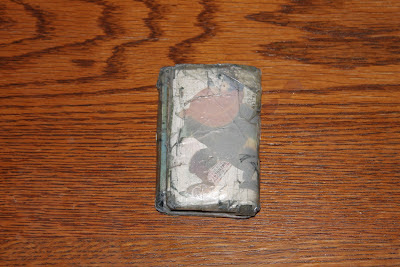
When I was 16 I made this clear tape wallet. Inside it I put a picture of a monkey and cheese, because back then I was obsessed with monkeys and cheese. I still use this wallet…. until just recently I would put it in my back pocket. I know not very girlie. I wanted to continue to use my wallet, but it was time to grow up….
So I made this cute ruffled purse!

I used the super cute fabric, Joyful Garden by Studio E and a grey kitty 14″ zipper from the Ribbon Retreat.
This is how I made it:
1) First I cut out the fabric for the strap. I cut one piece 5″x45″ and the other two strips are 1 1/2″x45″

2) For the strap, I folded it in half and then sewed it together
3) I then turned it inside out.
4) For the ruffle, I sewed the two pieces together and then zig zagged the edges to prevent fraying. Then I sewed a straight stitch down the middle, using my longest stitch setting.
5) I then pulled the bobbin thread and gathered the fabric to make the ruffle.

6) I then put the ruffle onto the strap and sewed it on.

7) Next I cut the fabric for the bag. I cut 5 different pieces. The front and back were 12″x10″, the sides were 4″x10″ and the bottom was 4″x12″. This fabric will be the outside of the purse.

8) I then cut the same size pieces, using a different fabric. This will in the inside of the purse.

9) Next I cut some pieces of fabric for the pockets inside the purse. These pieces were all 5″x12″

For all the pieces, I put the fronts together and sewed them together, leaving one side open so I could flip it inside out.
10) I started with the pockets and sewed them together
11) I sewed the pockets onto the front and back pieces of the fabric that will be in the inside of the purse. I just did a straight line in the middle of the pocket.
12) I put all of the 5 pieces together, fronts facing each other. At this time, I put the strap into the side pieces.
13) I sewed all of the pieces together and then turned them inside out.

Now it’s time to start building the purse
14) I put the front piece together with a side and sewed them together. I used a zig zag stitch so it would be a stronger stitch.

15)I continued building the bag by putting the front and back pieces with the side pieces.

Now for the bottom.
16) Here is the purse without the bottom
17) I flipped the purse inside out and then pinned the bottom onto the bottom of it. Then I sewed all around the edge.

Since my kids love to get into my purse, I wanted to put a zipper on it so they can’t get into it so easily 🙂
18) I took the 14″ zipper. I only needed it to be 10″ so I used a needle and thread to close the zipper at the length I need. Then I cut off the rest of the zipper, leaving an inch.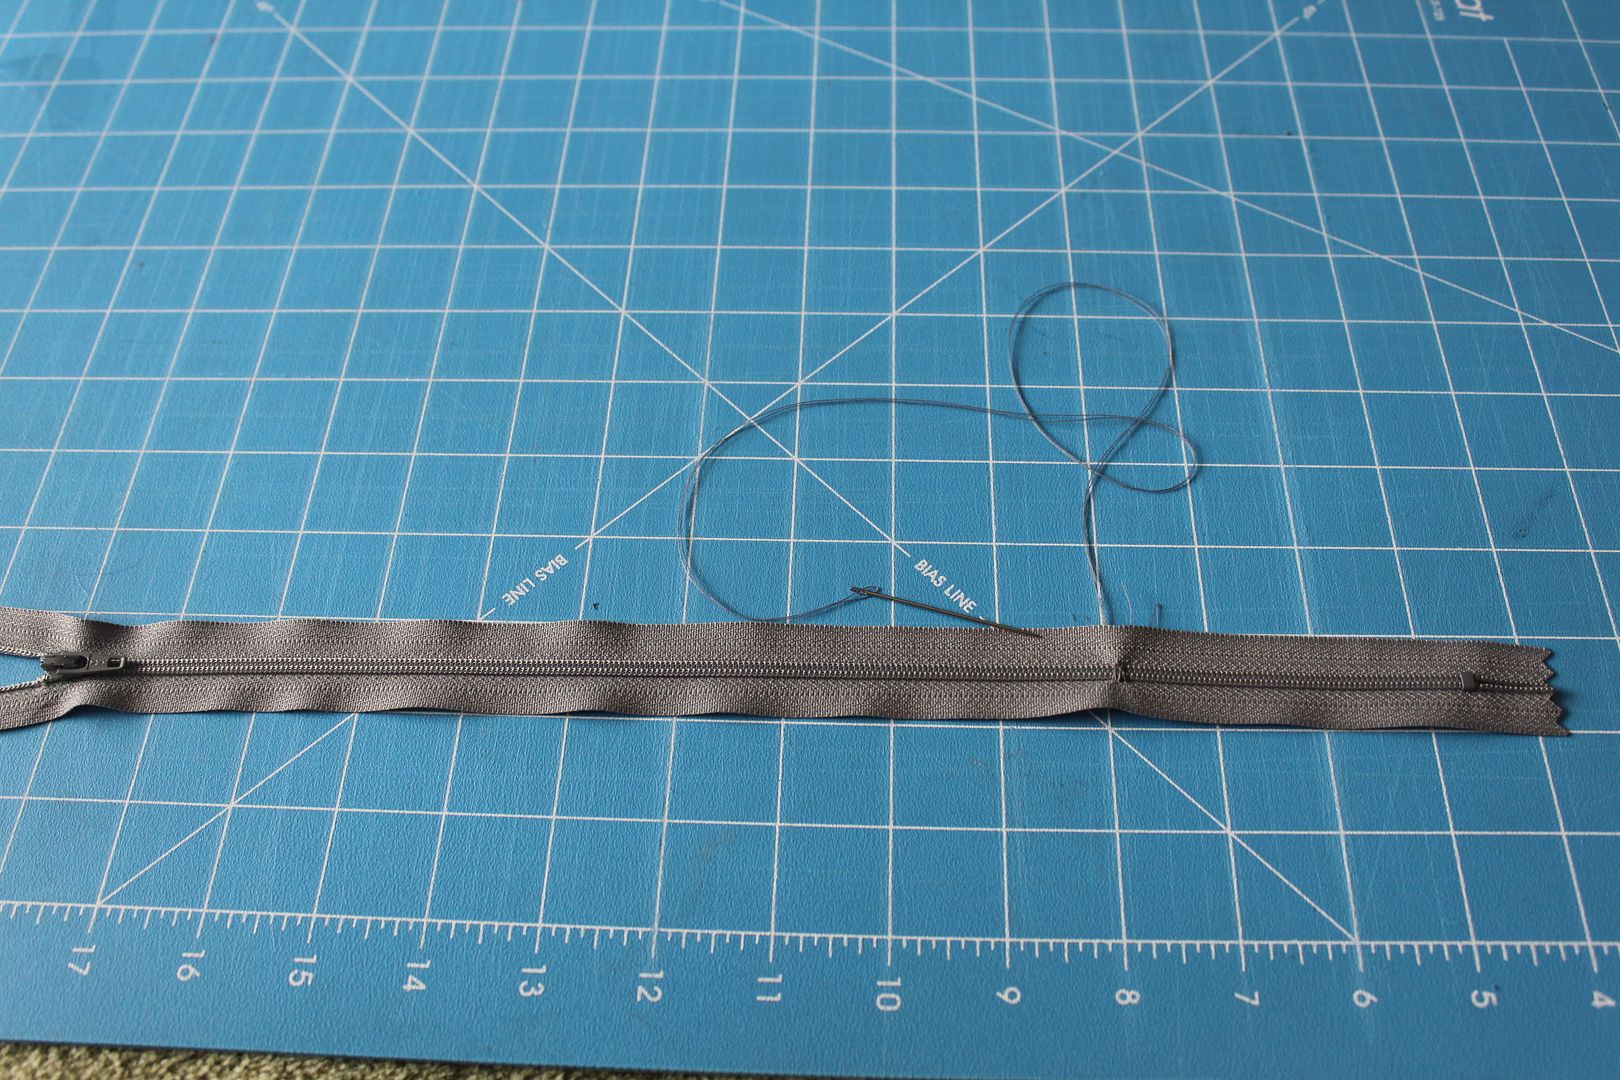

19) I then sewed some fabric onto the zipper, making it 4″x12″

20) Just like the bottom, I sewed the zipper to the top. This time I didn’t turn it inside out and just sewed it onto the purse.
And here’s the purse, super cute but it needs some ruffles 🙂

For the ruffles:
21) I cut four different fabric into strips of 5″x45″. Each fabric needed two strips.
22) I folded the strip in half and then sewed the two strips together. Then I ruffled the fabric.
23) Using a hot glue gun. I glued the ruffles onto the purse. I pinned it in place first and then glued it.
24) I worked my way up the bag, gluing the ruffles onto it.

25) I wanted to leave a little bit of the fabric of the purse showing (because it’s sooo cute!). I made a 1 1/2″ strip ruffle to finish off the ruffles. I made it the same way I did the grey ruffle on the strap.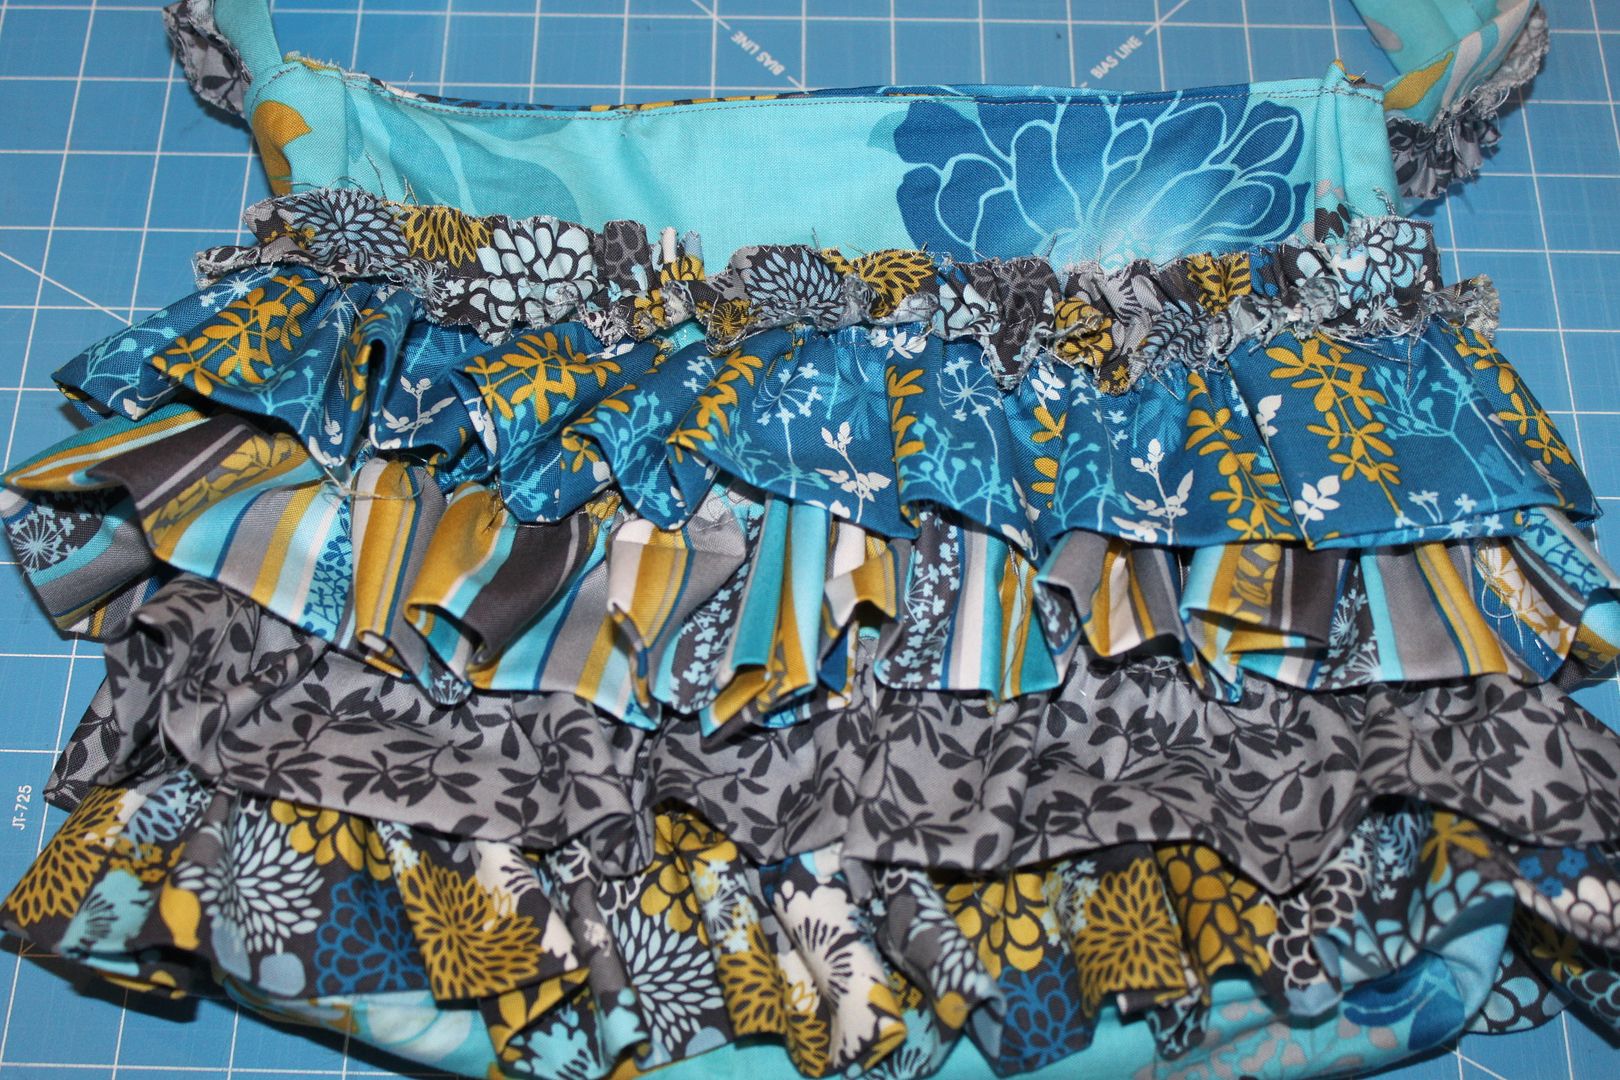

26) Next I added a flower to the front of the purse. I just used the ruffle and wrapped it around itself to make the flower.

And now I have a super fun purse!!! I just love the fabric 🙂
Here’s a close up

And the inside, prefect for my phone and camera and keys.

I just love the length of the strap, so I don’t have to worry about it falling off my shoulder when I’m dealing with kids 🙂


That came out great! I love the fabric you used too! 🙂
Very cute bag. I love the fabric and ruffles!! Stopping by from Fabric Bows and More linky party.
Here is what I shared this week: http://craftybrooklynarmywife.blogspot.ca/2012/04/another-coat-for-holly.html
Yahoo. I am soooo making me one. You might have to come help me.
I love this tutorial and how well you explain it. I need to make one. I would love for you to share on my blog, The CSI Project. The challenge this week is accessories. You can start linking up Wednesday night. And a great giveaway will be given out. You could win.
http://www.thecsiproject.com
Each week is a new challenge.