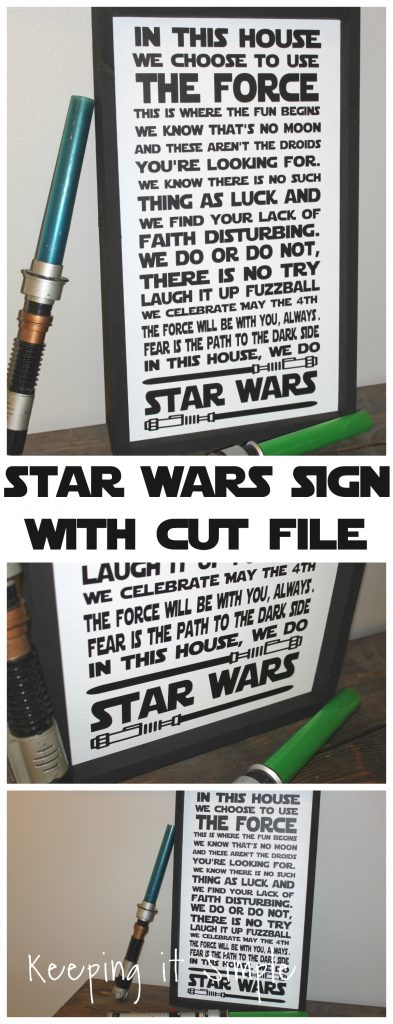
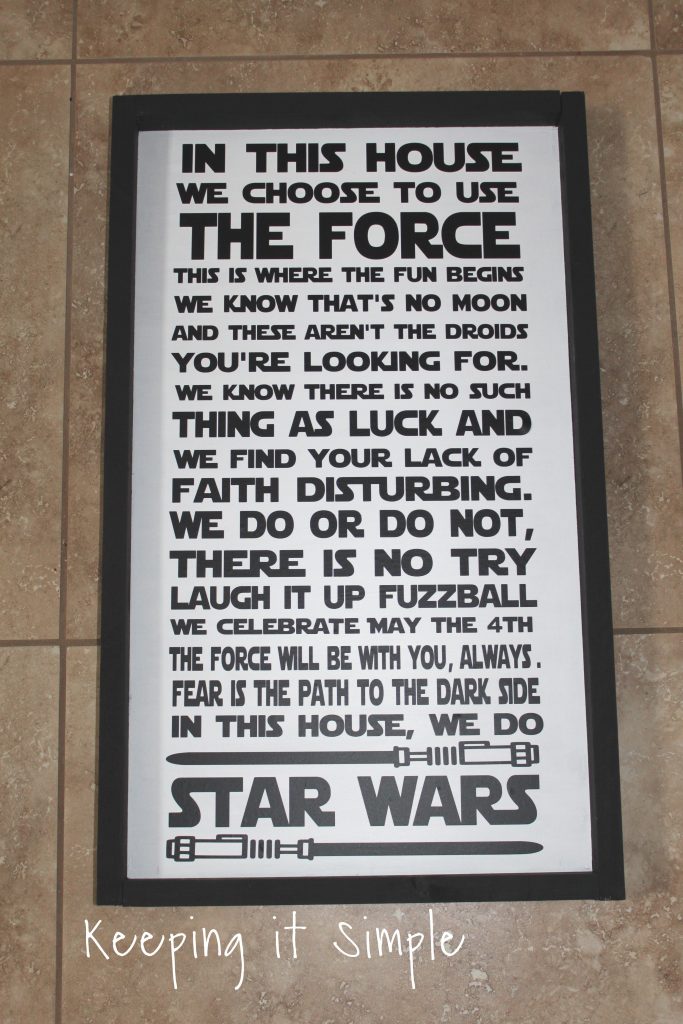
A couple weeks ago one of my friends posted this epic and awesome Star Wars sign on facebook (you can see the original sign here) and she said that she loved it and needed it. Well I thought to myself, I can make that for her. So I did just that. It turned out awesome and I’m so excited to surprise her with it before Christmas! Being a Star Wars fan myself I might have to make this Star Wars sign for my house too!
Here is a quick video to show the process of making it. Watching the weeding in fast motion is my favorite!
This is how I made the Star Wars sign.
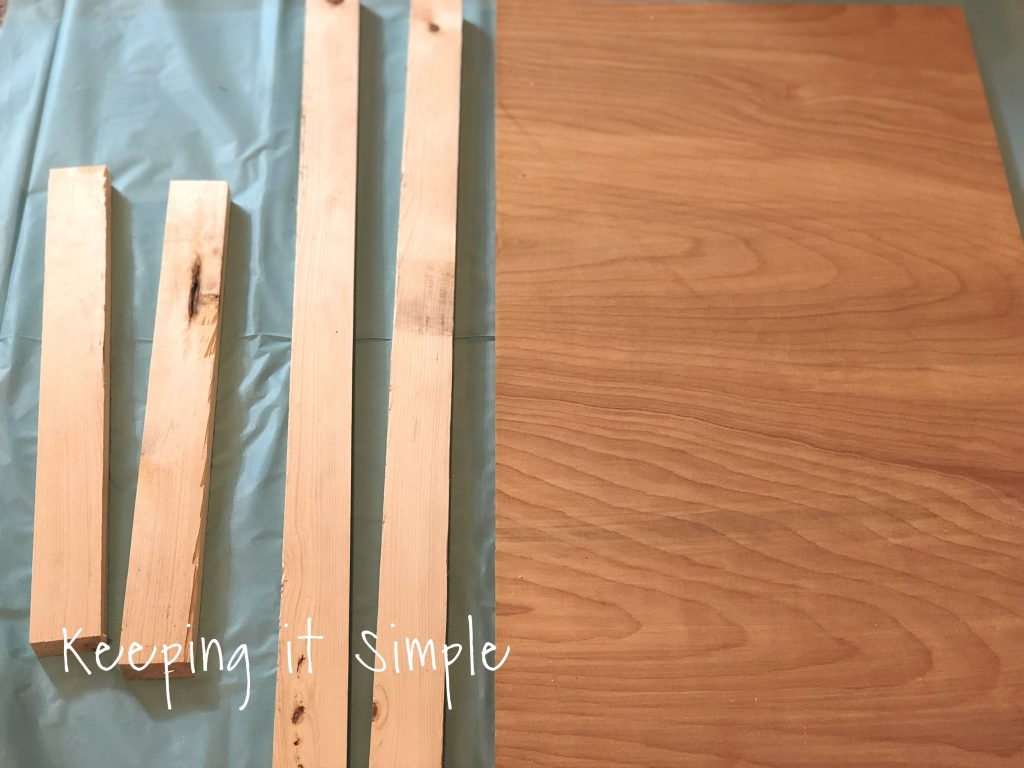
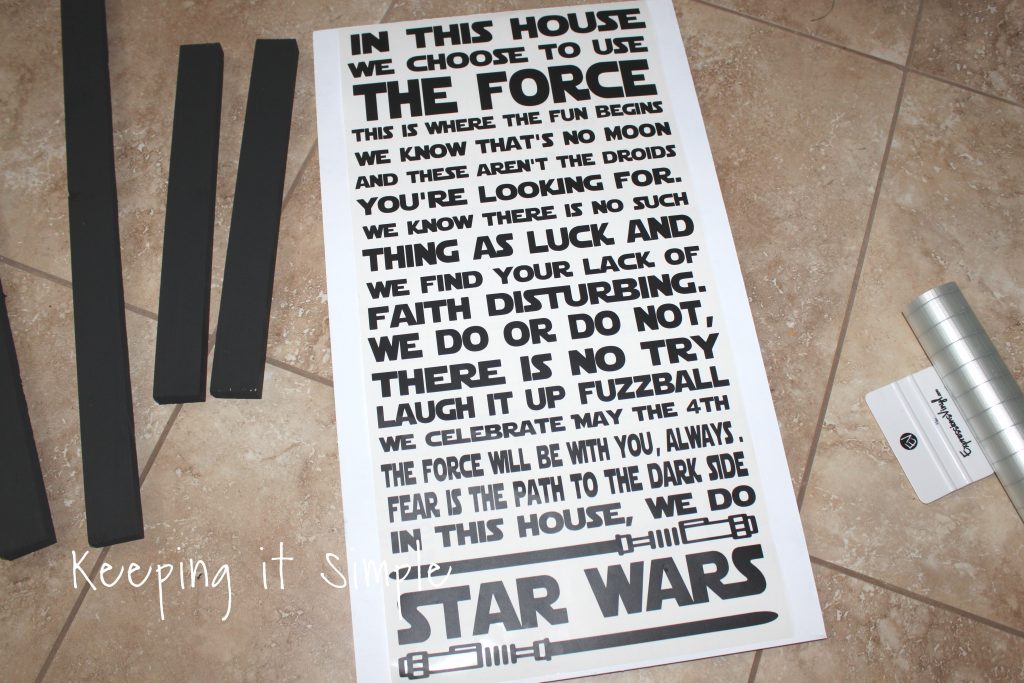
I wanted the sign to be on one sheet of vinyl, so I made the words 12×24 inches but I wanted to sign to be a little big bigger, so I cut a piece of plywood (make sure you get a plywood that is really smooth or you will hate it when you try to put the vinyl on) to 14 inches by about 24 1/4 inches (that’s how big the plywood was so I kept it the same size). Because it is a bigger sign I used a thinner piece of plywood (it’s only 1/2 inch thick instead of the usual 3/4″). I cut the frames out of a 1×2 and two of them are roughly 14 inches and the other two are roughly 25 3/4″. I say roughly because I don’t use a tape measure, I measure them with the board.
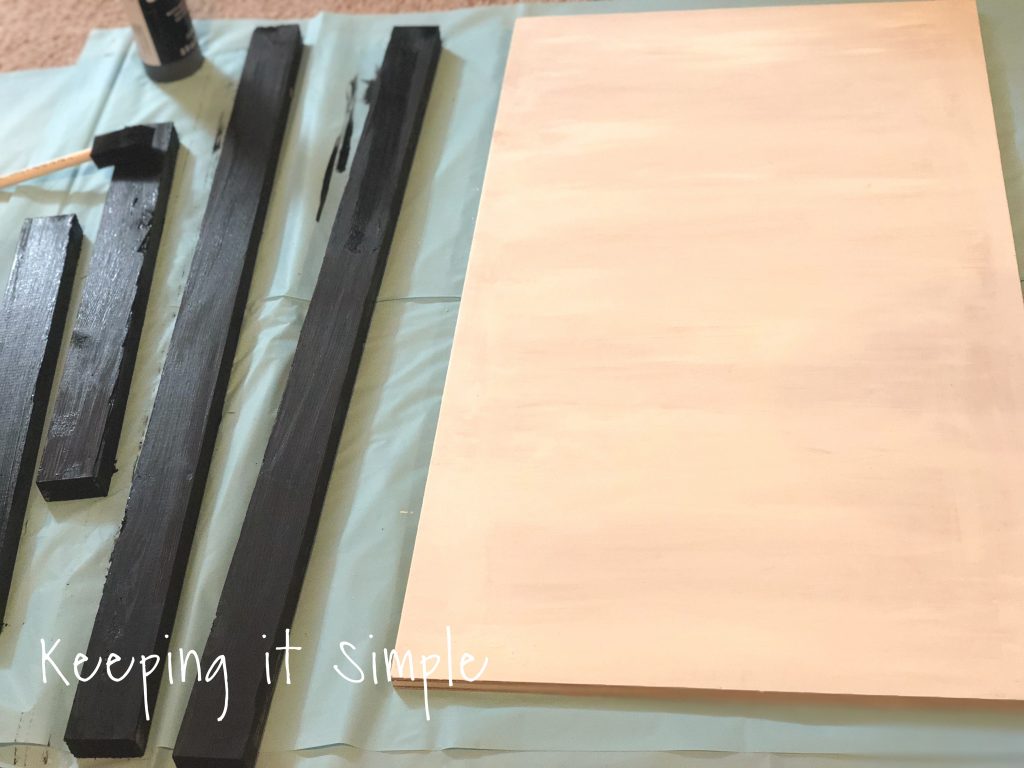
I then painted the board white and the frame black, because black and white are classic.
This is where the fun begins (see what I did there :D). I then cut out some black vinyl using my Silhouette CAMEO. Like I said before I used a 12×24 sheet of vinyl for the words. Once it was all cut, I weeded the vinyl. You can get the cut file here:
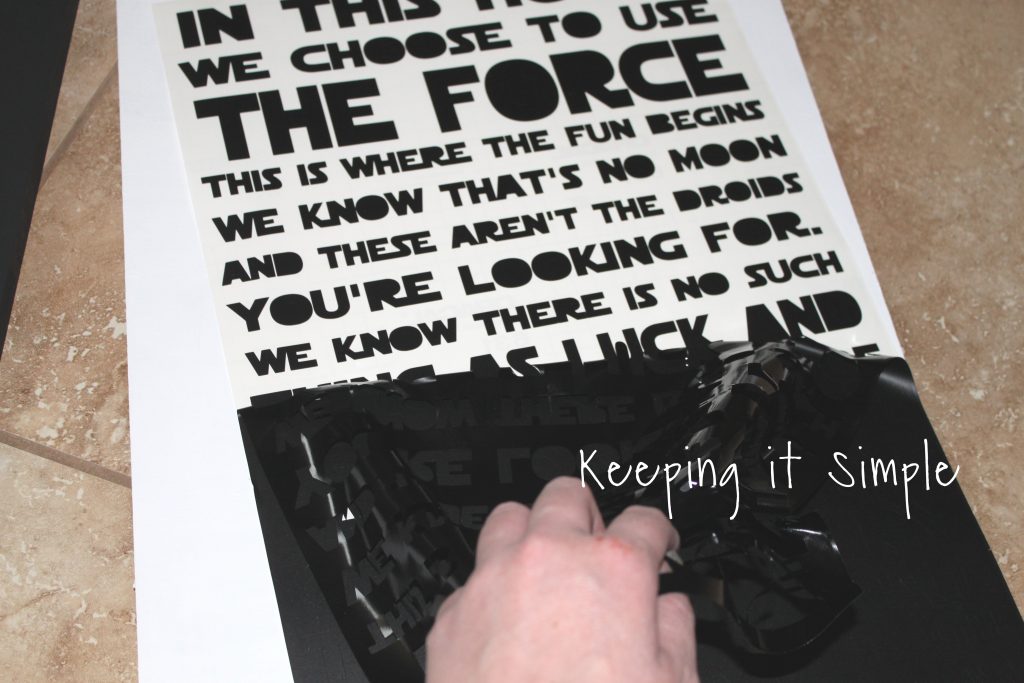
Here is what it looks like weeded, this is going to be an epic Star Wars sign!
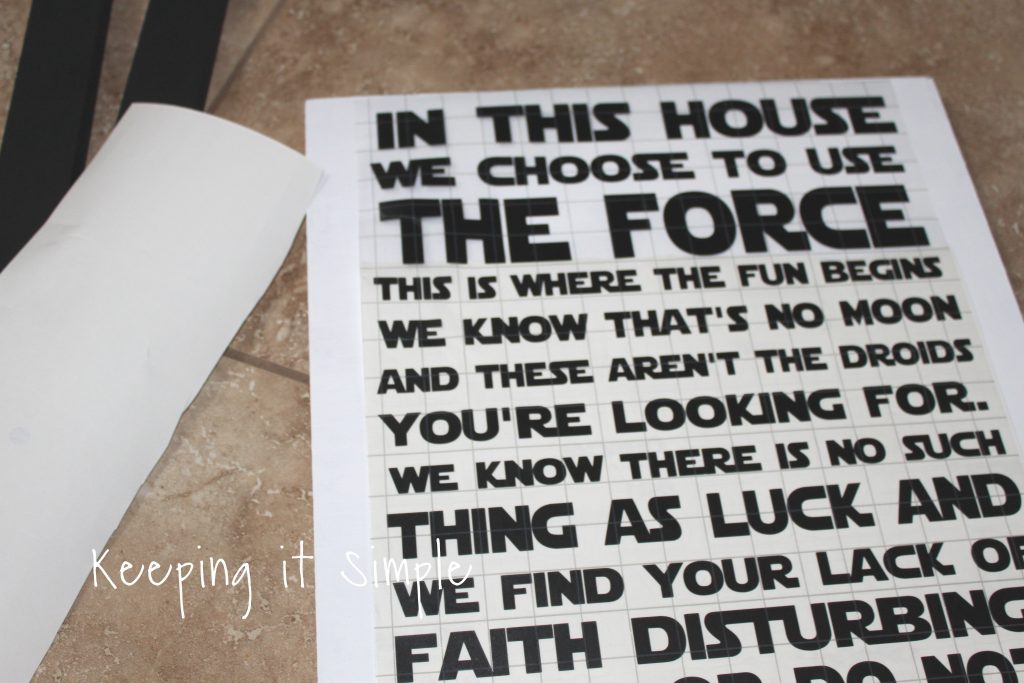
Now to put the vinyl onto the board. My FAVORITE transfer paper is this clear grid transfer tape it is especially awesome for projects like this where you really want it to be straight. I used the grid to line it up with the vinyl and then slowly work down the sheet.

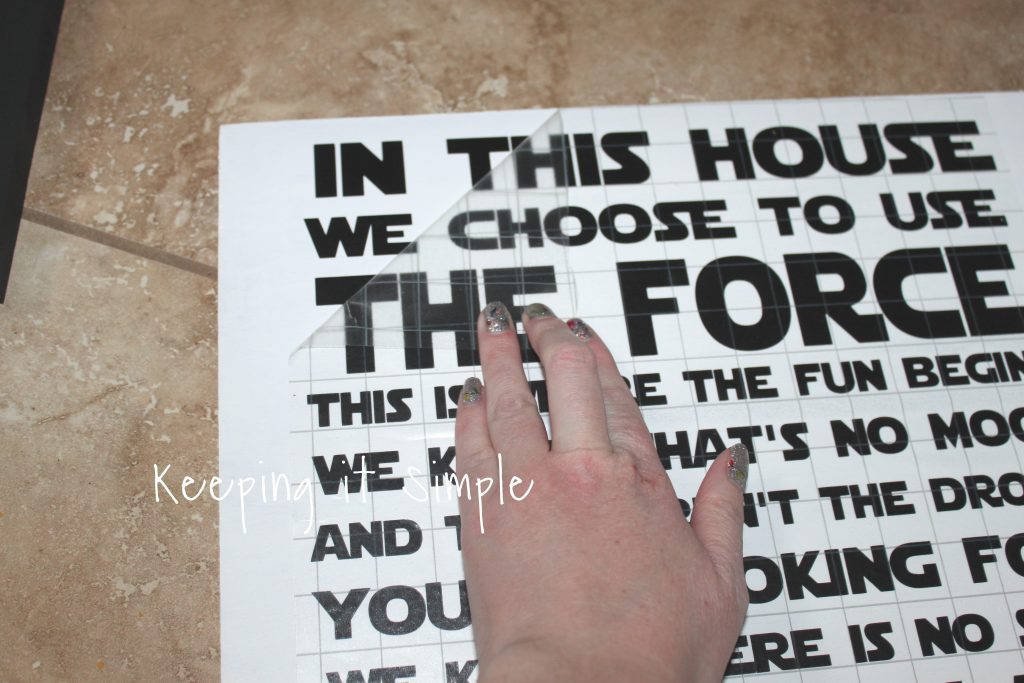
Once the transfer tape is on, I used an application tool to make sure it was nice and smooth and then I took off only a little section of the vinyl and cut off the backing. I then placed it onto the wood (centering it and making sure it was straight) and then using the tool, I pressed the vinyl onto the wood. Then I worked on the rest of the backing paper and taking it off. The benefit of doing it this way instead of just taking the all the words off at one time is that since the tape and vinyl are sticky, it’s sometimes hard to make sure it doesn’t touch something or itself. So with only having a little section off before you put it onto the wood, it makes it a little easier.
Using the tool again, I made sure the vinyl was on the board really good. This is the part where if you don’t have a nice smooth board, the vinyl won’t stick as well onto the board and it will be a pain to get the vinyl off of the transfer tape.
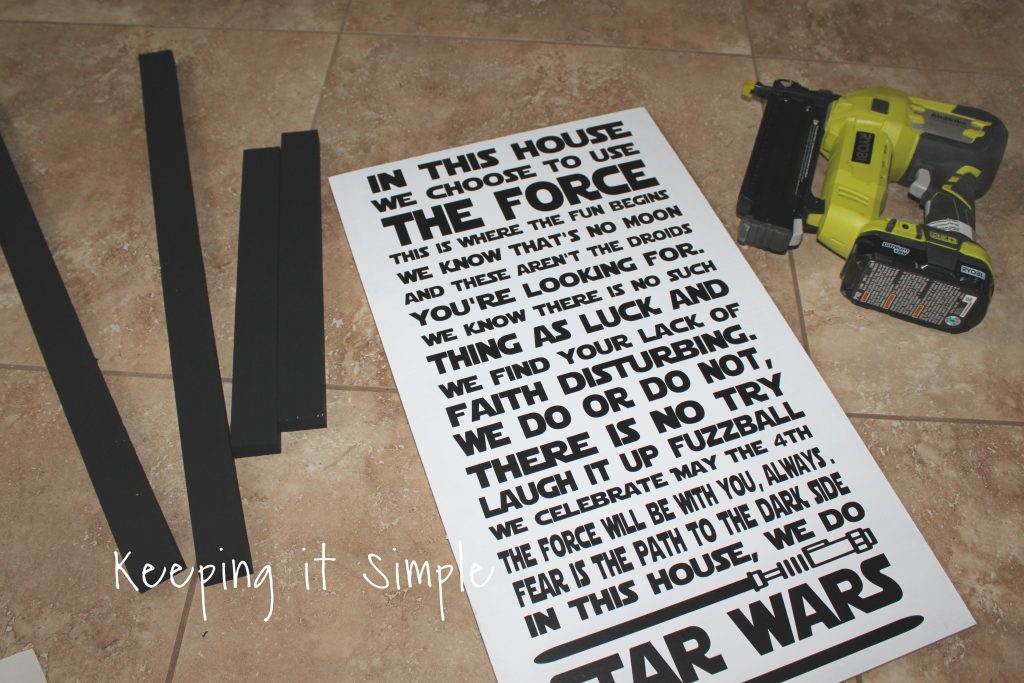
Now for the frame. Using the Ryobi brad nailer and 1 1/4″ nails I nailed the frame onto the board, starting with the shorter pieces (which were the top and bottom for this sign). Since the board is a little thinner, be careful when nailing it in. Try to err to the back side because if a nail comes out, it looks a lot better in the back than in the front (and yes I had a fun oops but it’s okay, I just remove the nail or paint it the same color as the back, good thing no one looks at the backs of signs, LOL).
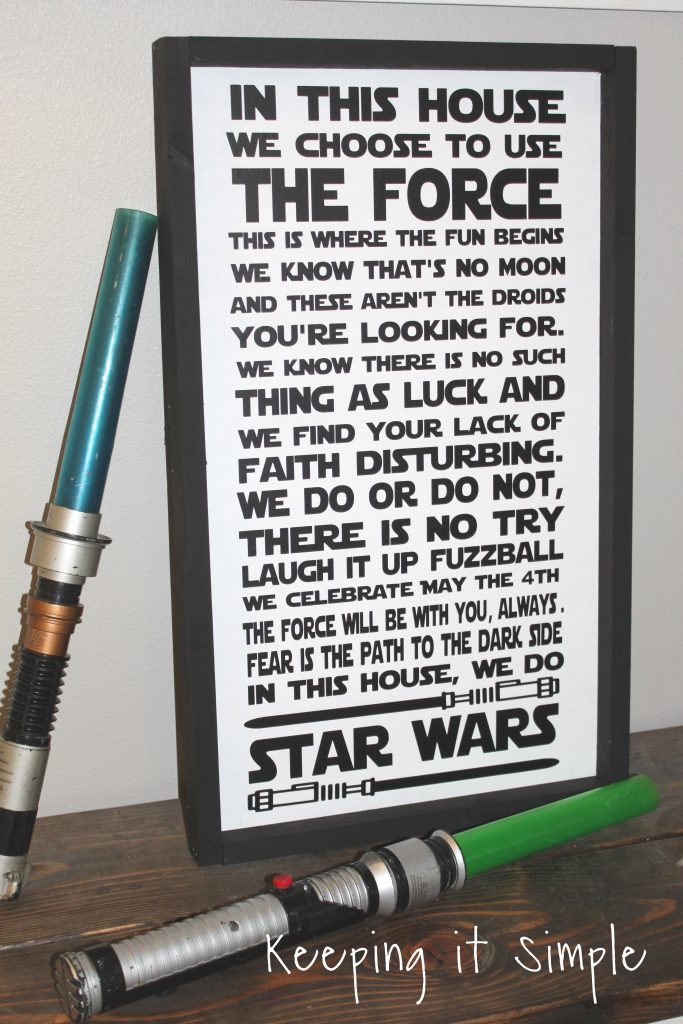
And that’s it!! Oh how I love how it turned out!
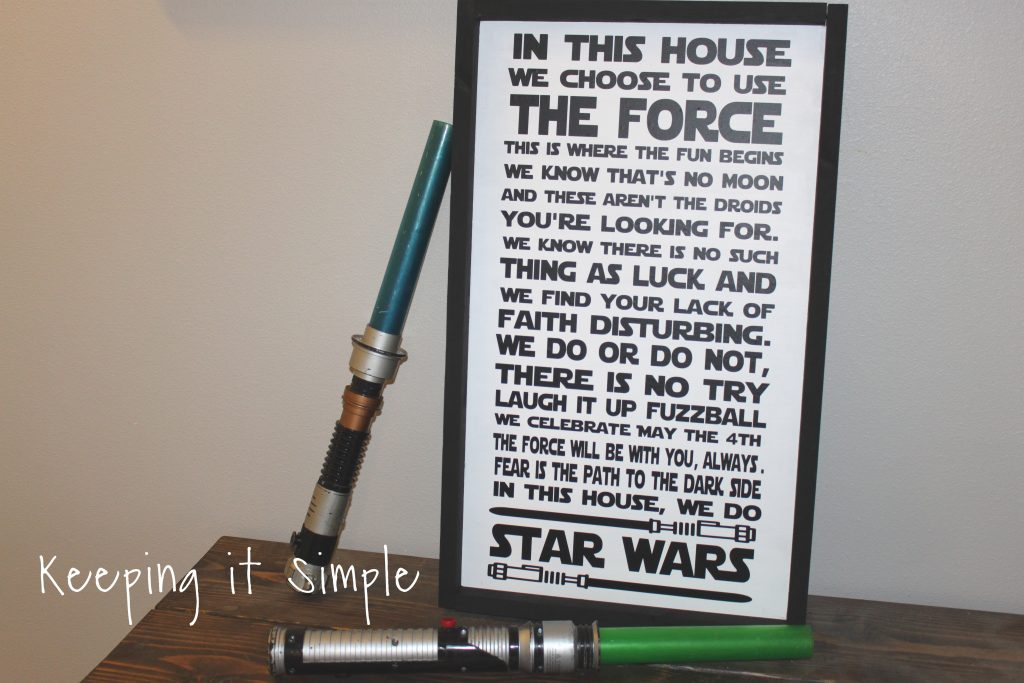
You can put it on the wall or you can put it on a table, either way it’s awesome! I added a couple light sabers for some color and flare.
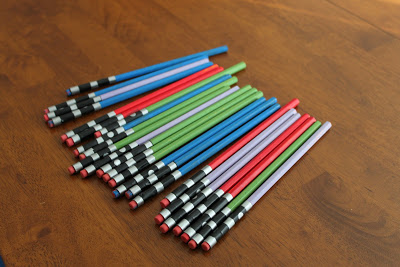
Here is a close up of the vinyl light sabers, they are so cool!

Love this idea? Check out my other Star Wars posts!

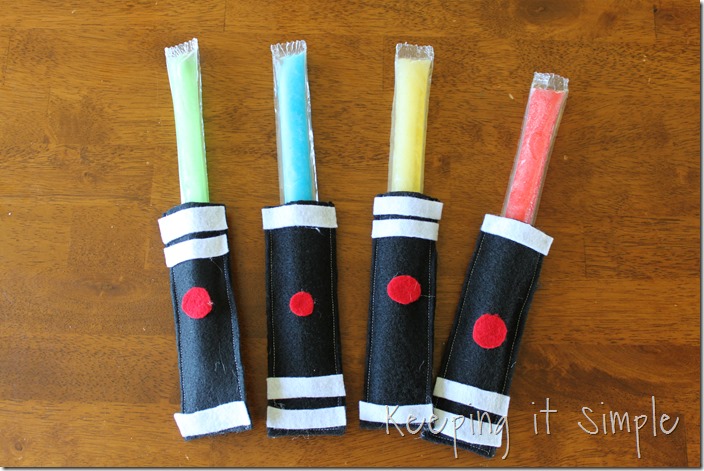
Wrapping Paper Roll Light Saber

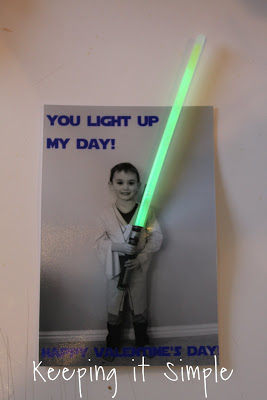
Star Wars Valentine
Star Wars PJS

This post contains affiliate links
Leave a Reply
You must be logged in to post a comment.