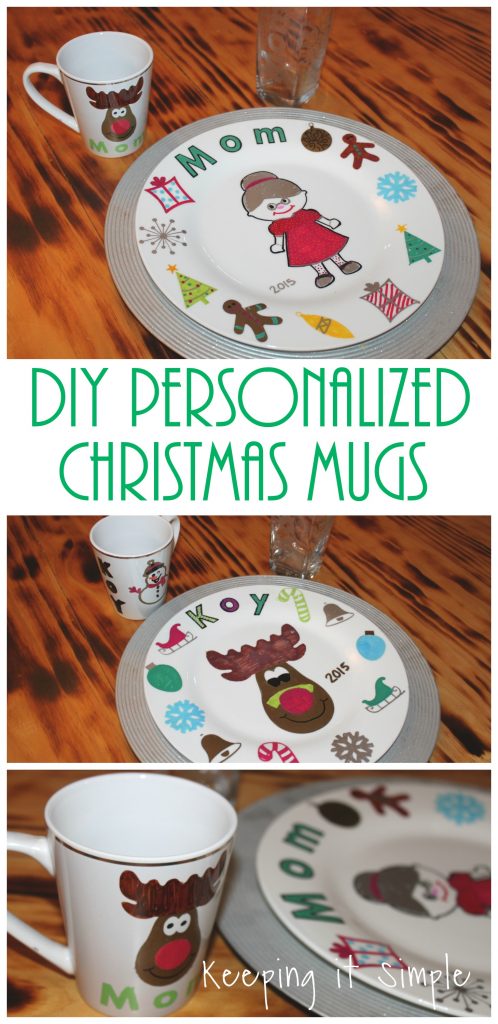
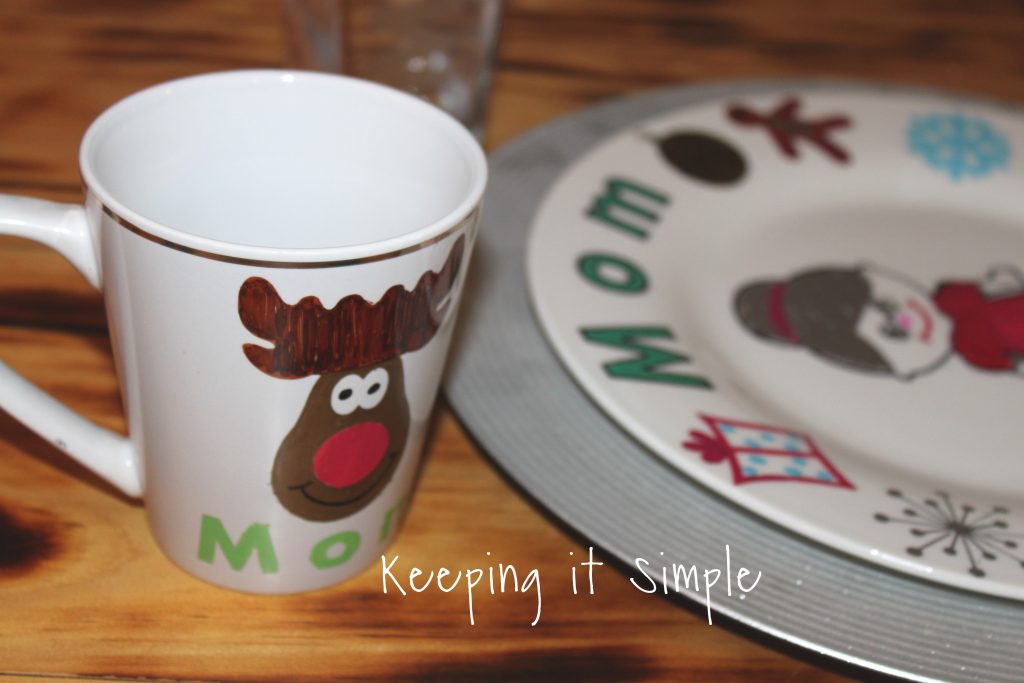
Two years ago I decided that instead of buying Christmas dishes, we should make our own. It was a tradition that I wanted to start and when another year came, we made up another dish. We are on year three now and the kids (and I) love it! We have made plates, glasses and now Christmas mugs because we get hot chocolate in our stockings on Christmas. It is a fun family activity and everyone enjoys it! I love to see the creativity that comes out while we are doing it. As you will see, I let my kids just go at it and do the design the way that they want to.
Here is a quick video to show the process of how to make these.
This is how I made them:
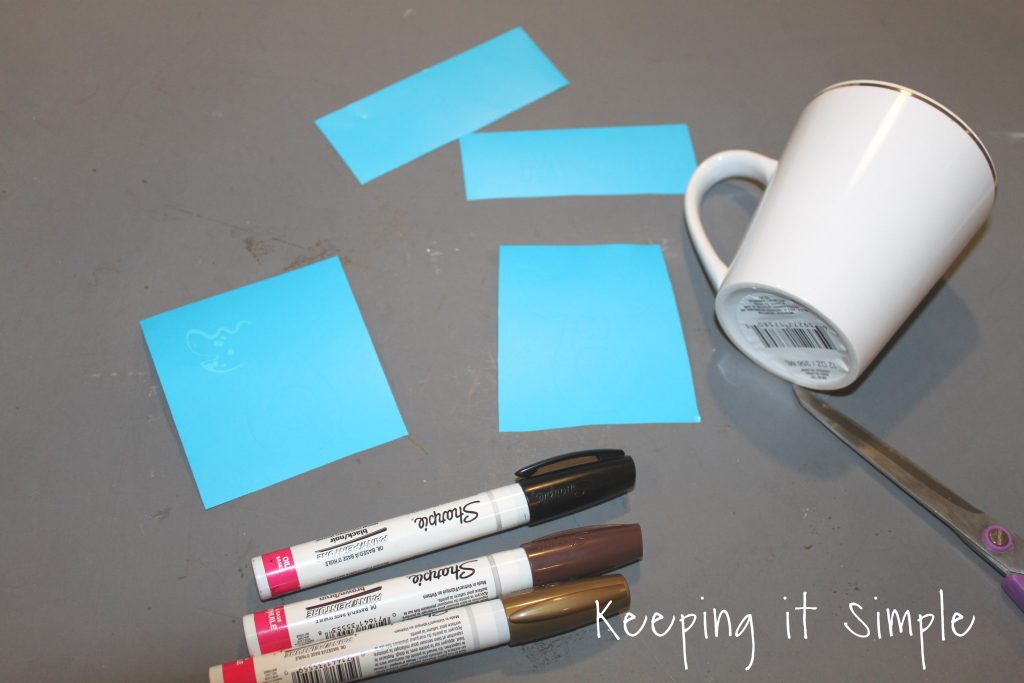
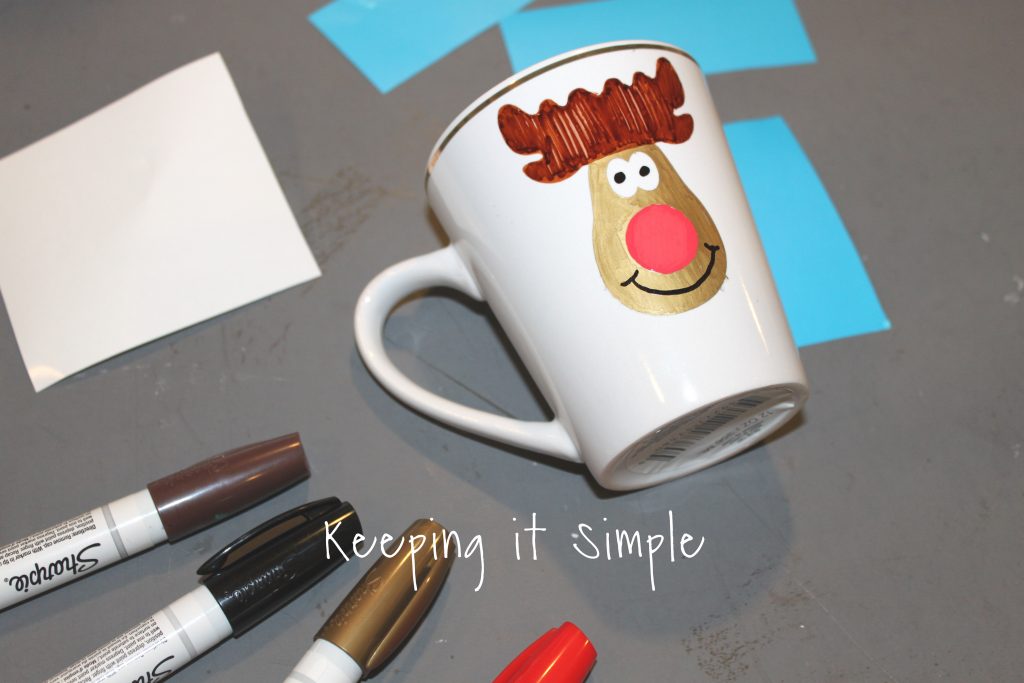
I got some white mugs, paint markers and some stencils that I made out of stencil vinyl. I cut out the images with my Silhouette CAMEO. Since these will be a stencil, you remove the image instead of the excess vinyl.
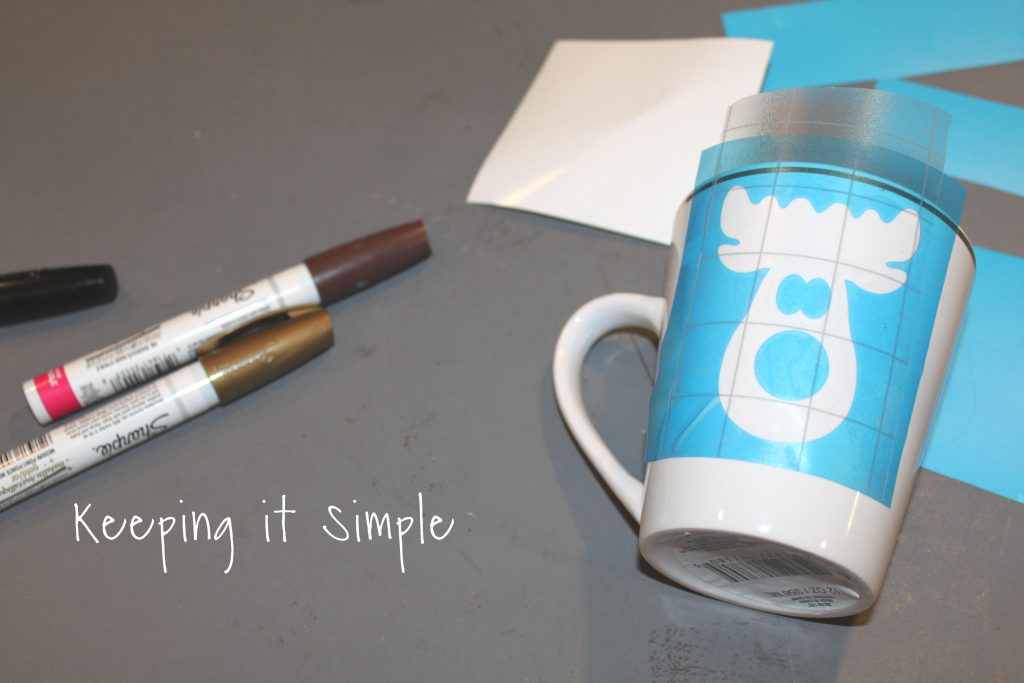
Using clear transfer tape, I put the image onto the mug making sure to press down the edges. When you put on the vinyl, put the middle of the image on first and then work your way to the out sides, that will help with the curve of the mug.
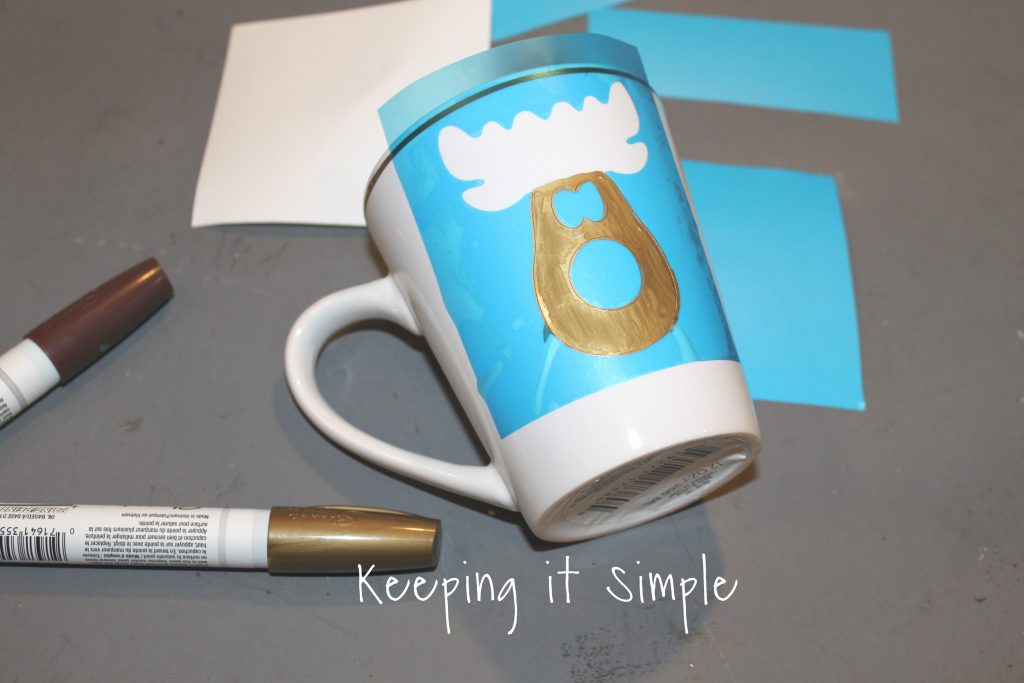
Using the paint markers, I drew on the mug. I used a gold for the face and a brown for the antlers.
I then took off the vinyl (including nose and eyes) and then drew in the nose, mouth and eyes.
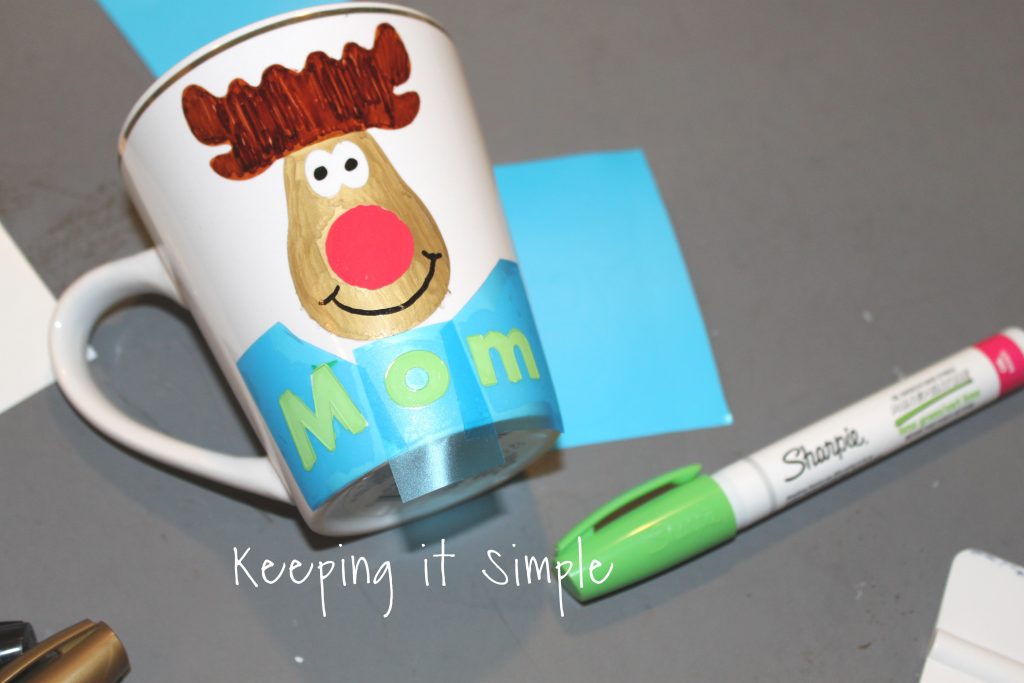
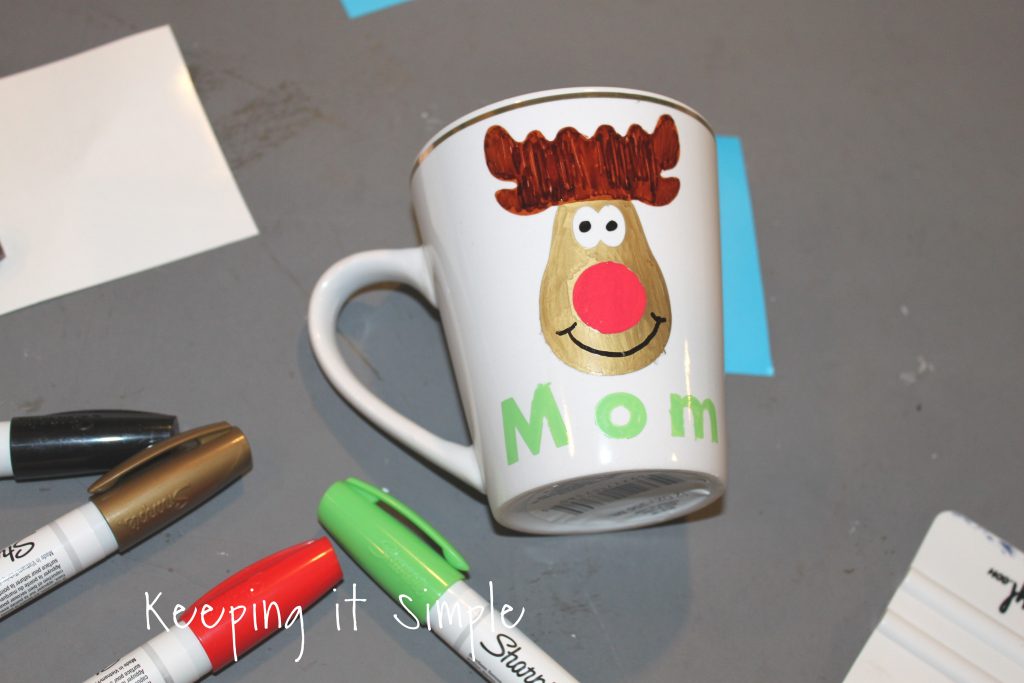
I then put on the letters for my name. I had each letter be separate because with the curve you get a lot of bubbles in the vinyl so the markers leak under it. For my kids, I just had them write their names, so either way works great.
I then peeled off the vinyl.
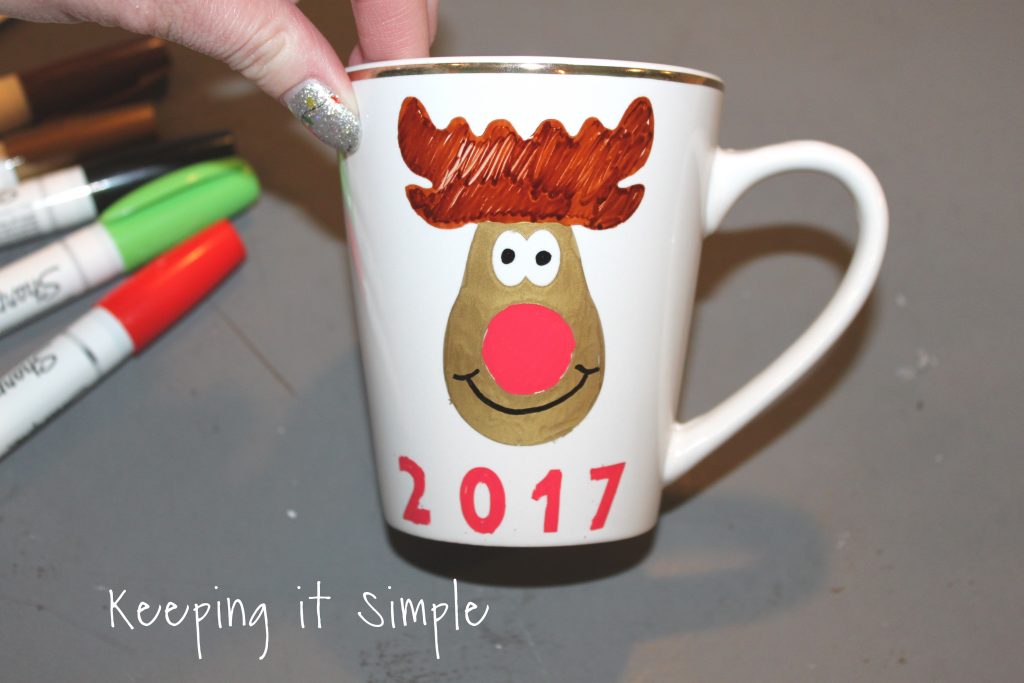
I did the other side of the mug the same way but on the other side had a 2017 on it.
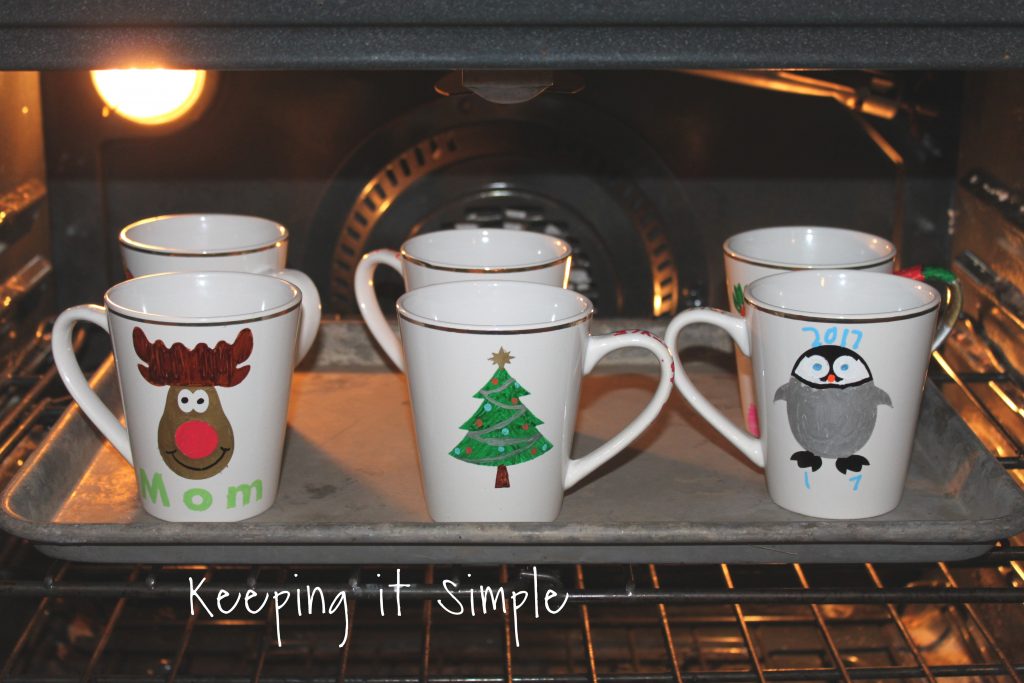
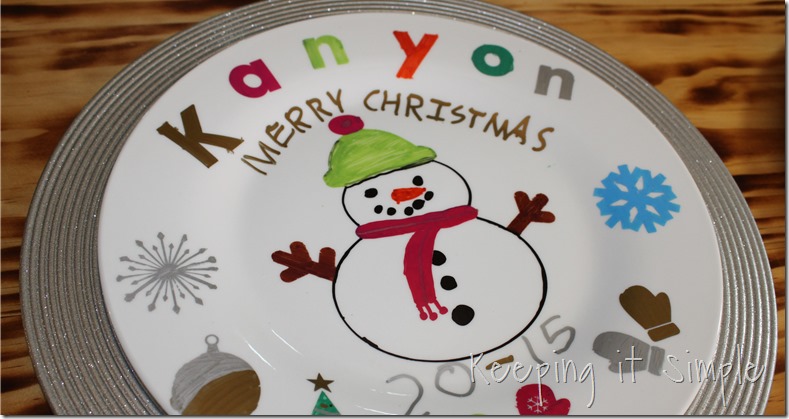
I let my kids create their own designs (I let them pick and then I cut it out) and then I let them draw on them. They turned out really good! Once they were all done, I put them into the oven to set them. You put them in a cold oven and then turn it on to 400 degrees and leave them in there for 20-25 minutes. The longer they stay in there the darker the colors turn out. You don’t want to use the bottom rack because the colors get really dark. I put them on a cookie sheet so they would have more stability in the oven.
And that’s it! I love how these Christmas mugs turned out! The kids had fun and they will enough bringing them out every Christmas!

Here is the other side too. These can be washed in the top rack of a dishwasher but I plan on hand washing them to make them last a little longer.
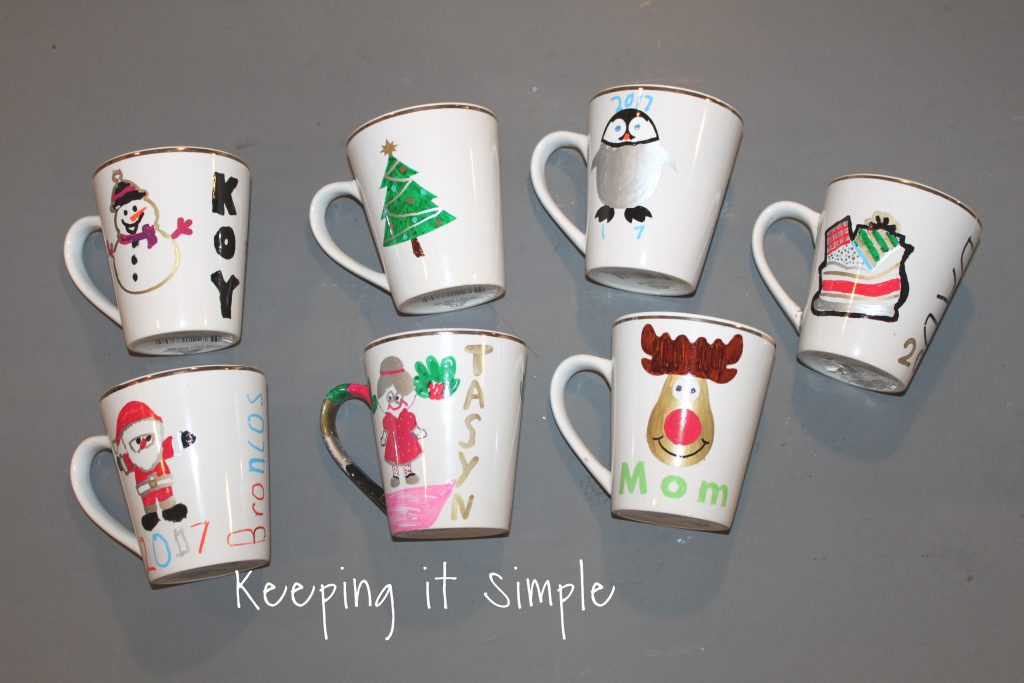
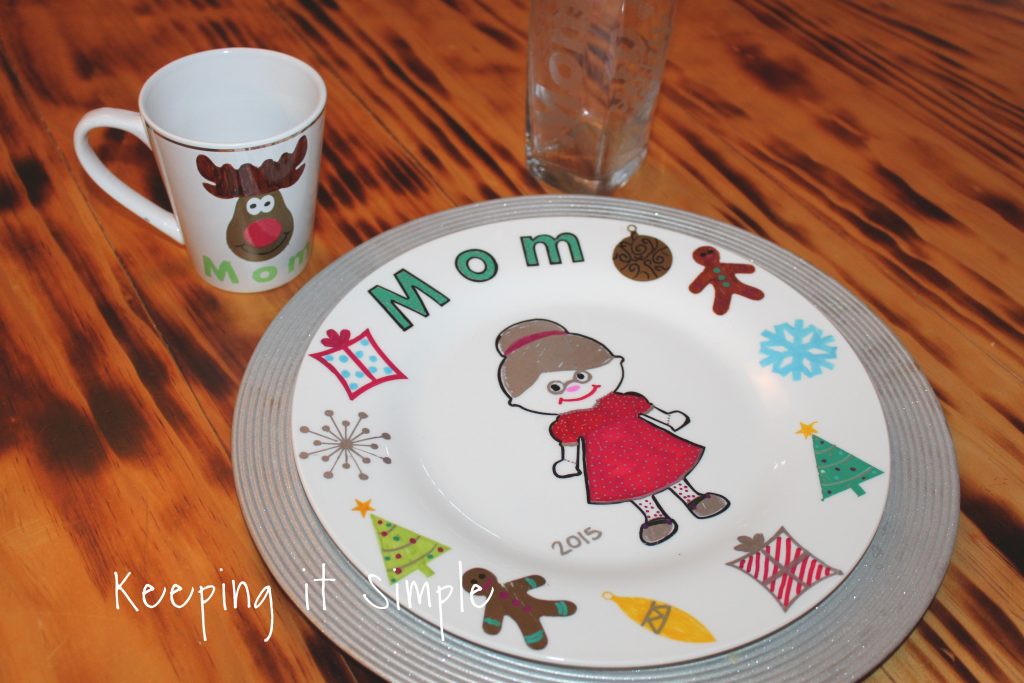
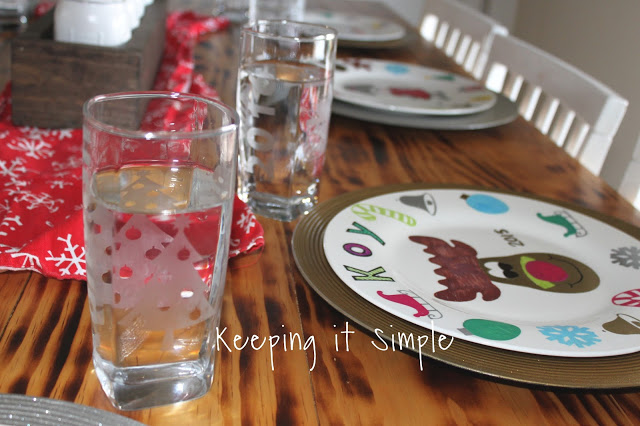
Here are all the dishes that we have made for our collection. I love how they all look together.
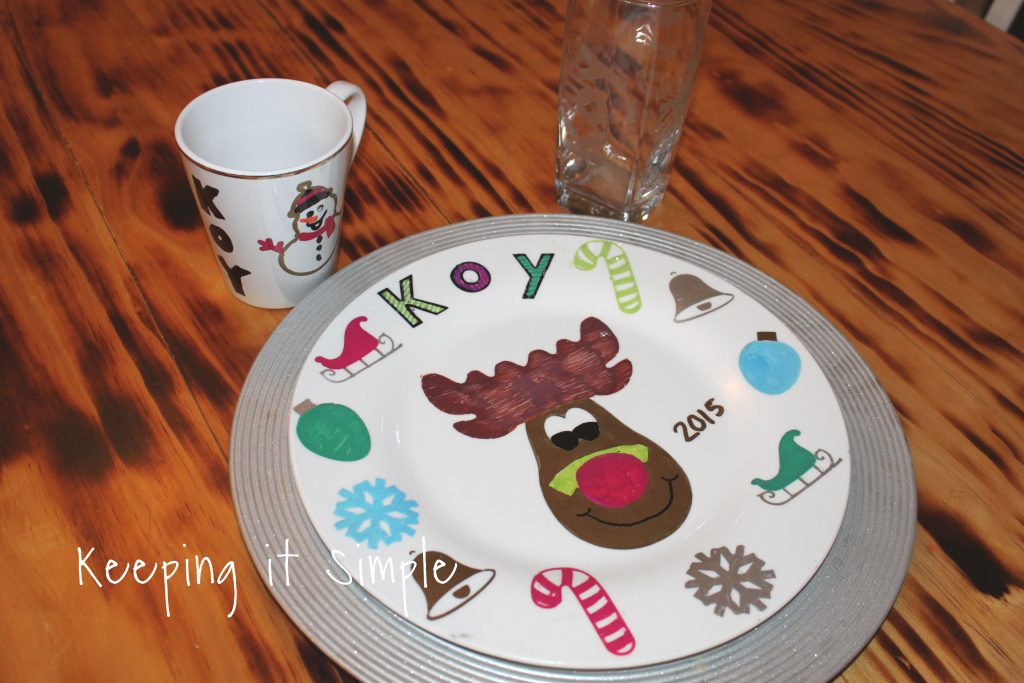
Here are my dishes, I have had fun making these!
And here is a close up of the Christmas mug :).
Here are the other ones that we have done the past years.
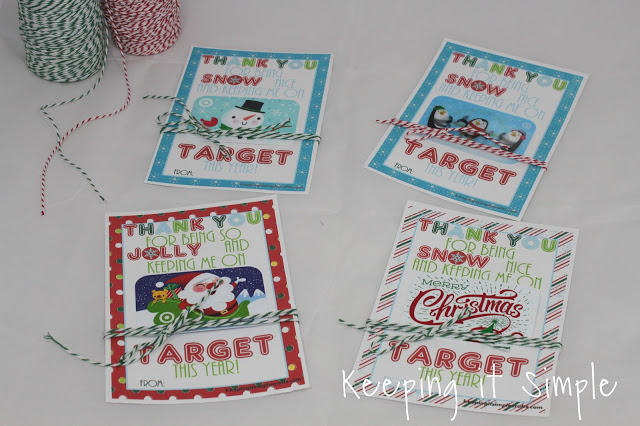
If you like this idea, you might like these Christmas ideas!

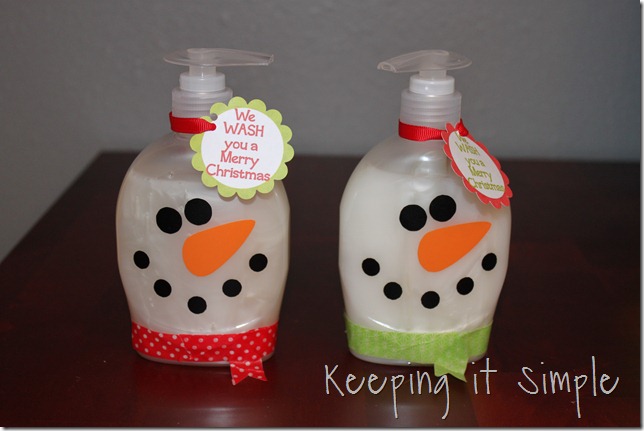
 Christmas Soaps
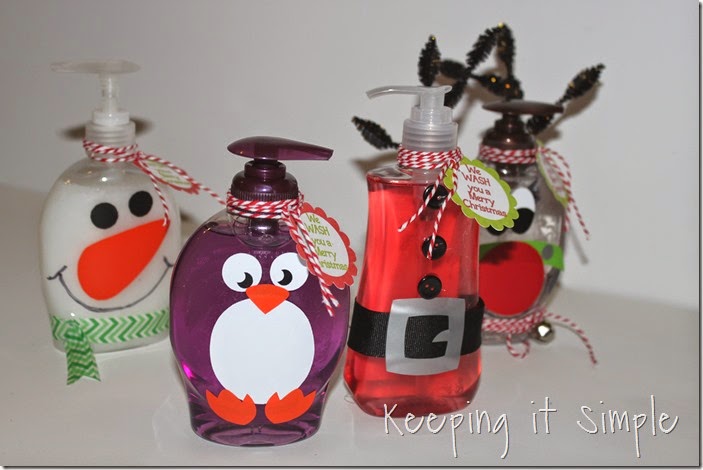 Reindeer Gum
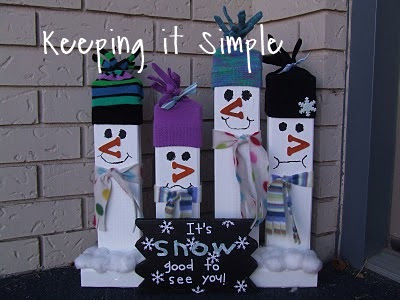
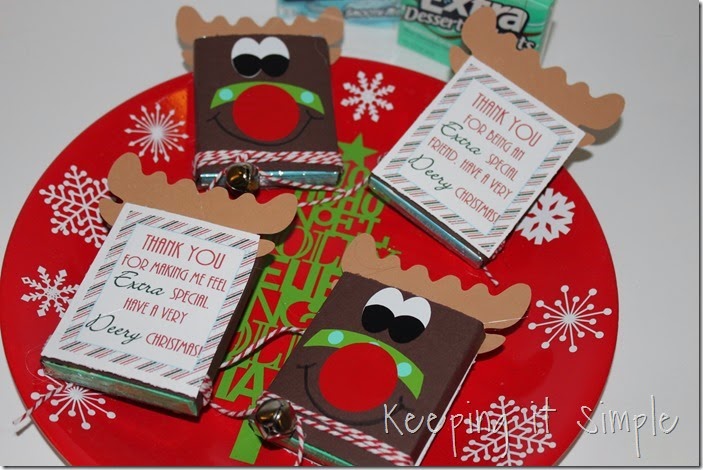 2×4 Snowman
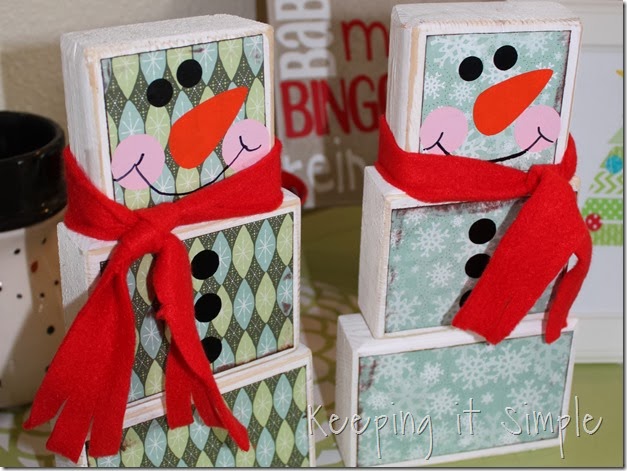 Personalized Stockings
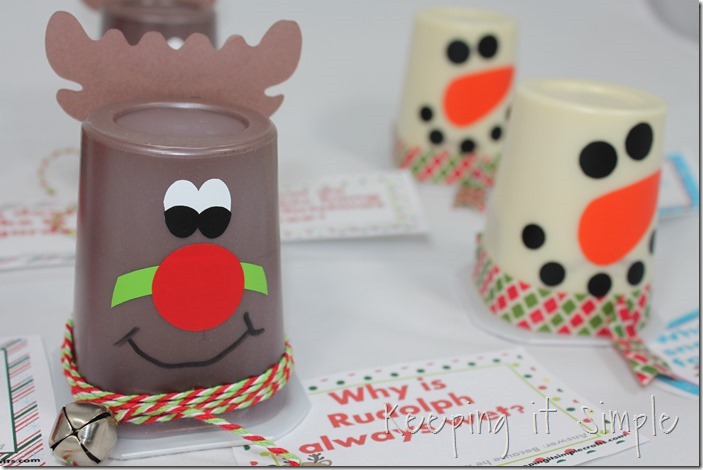
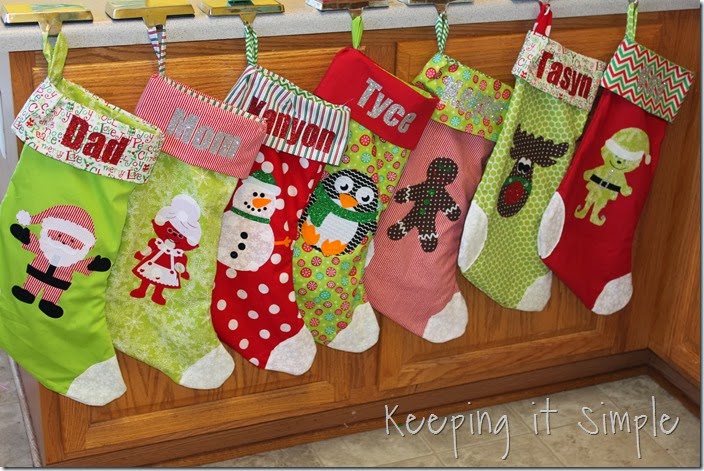 Santa and Snowman Gum
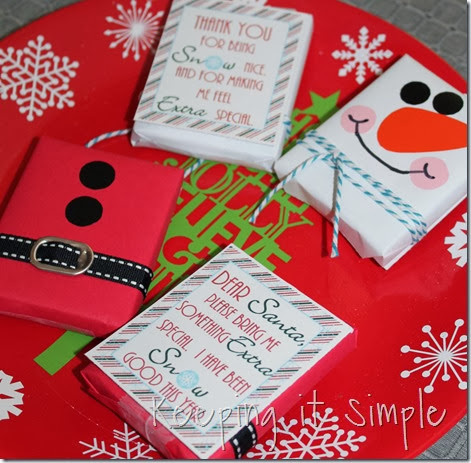 Christmas Candy Pouches
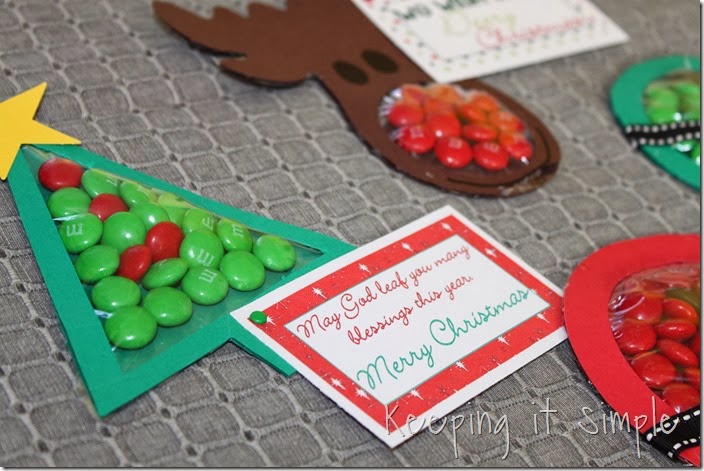 Christmas Bowling Cans
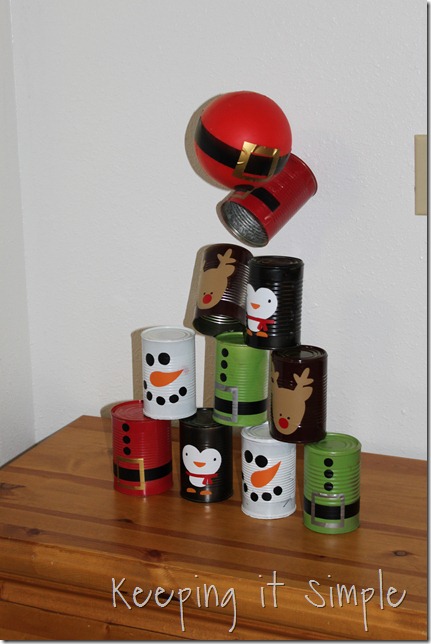

This post contains affiliate links
Leave a Reply
You must be logged in to post a comment.