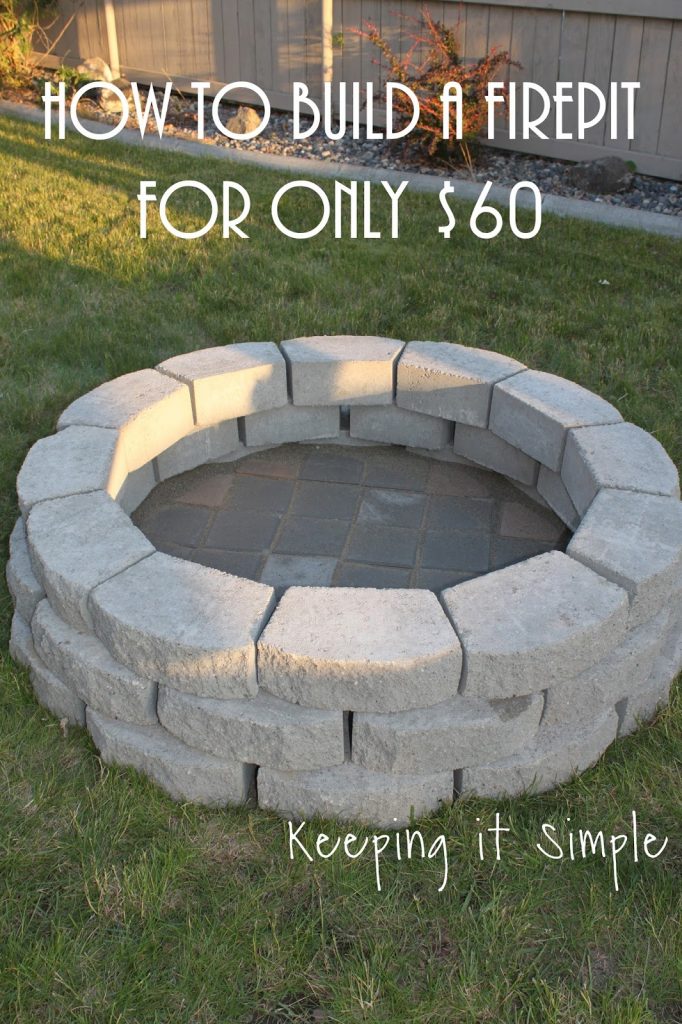
Over the weekend my husband and I decided to build a fire pit in our back yard. We have been wanting one for a couple years now and finally got to it. We were trying to figure out a design that we knew we would like and would work for the space that we had. Plus we wanted a design that wouldn’t cost a fortune to build. I was so surprised by how easy and quick it was to make. It only took us about a morning to make it and we love how it turned out! So much better than the ones that you buy and so much cheaper too! I cannot wait to use this all summer long!
This is how we made it:
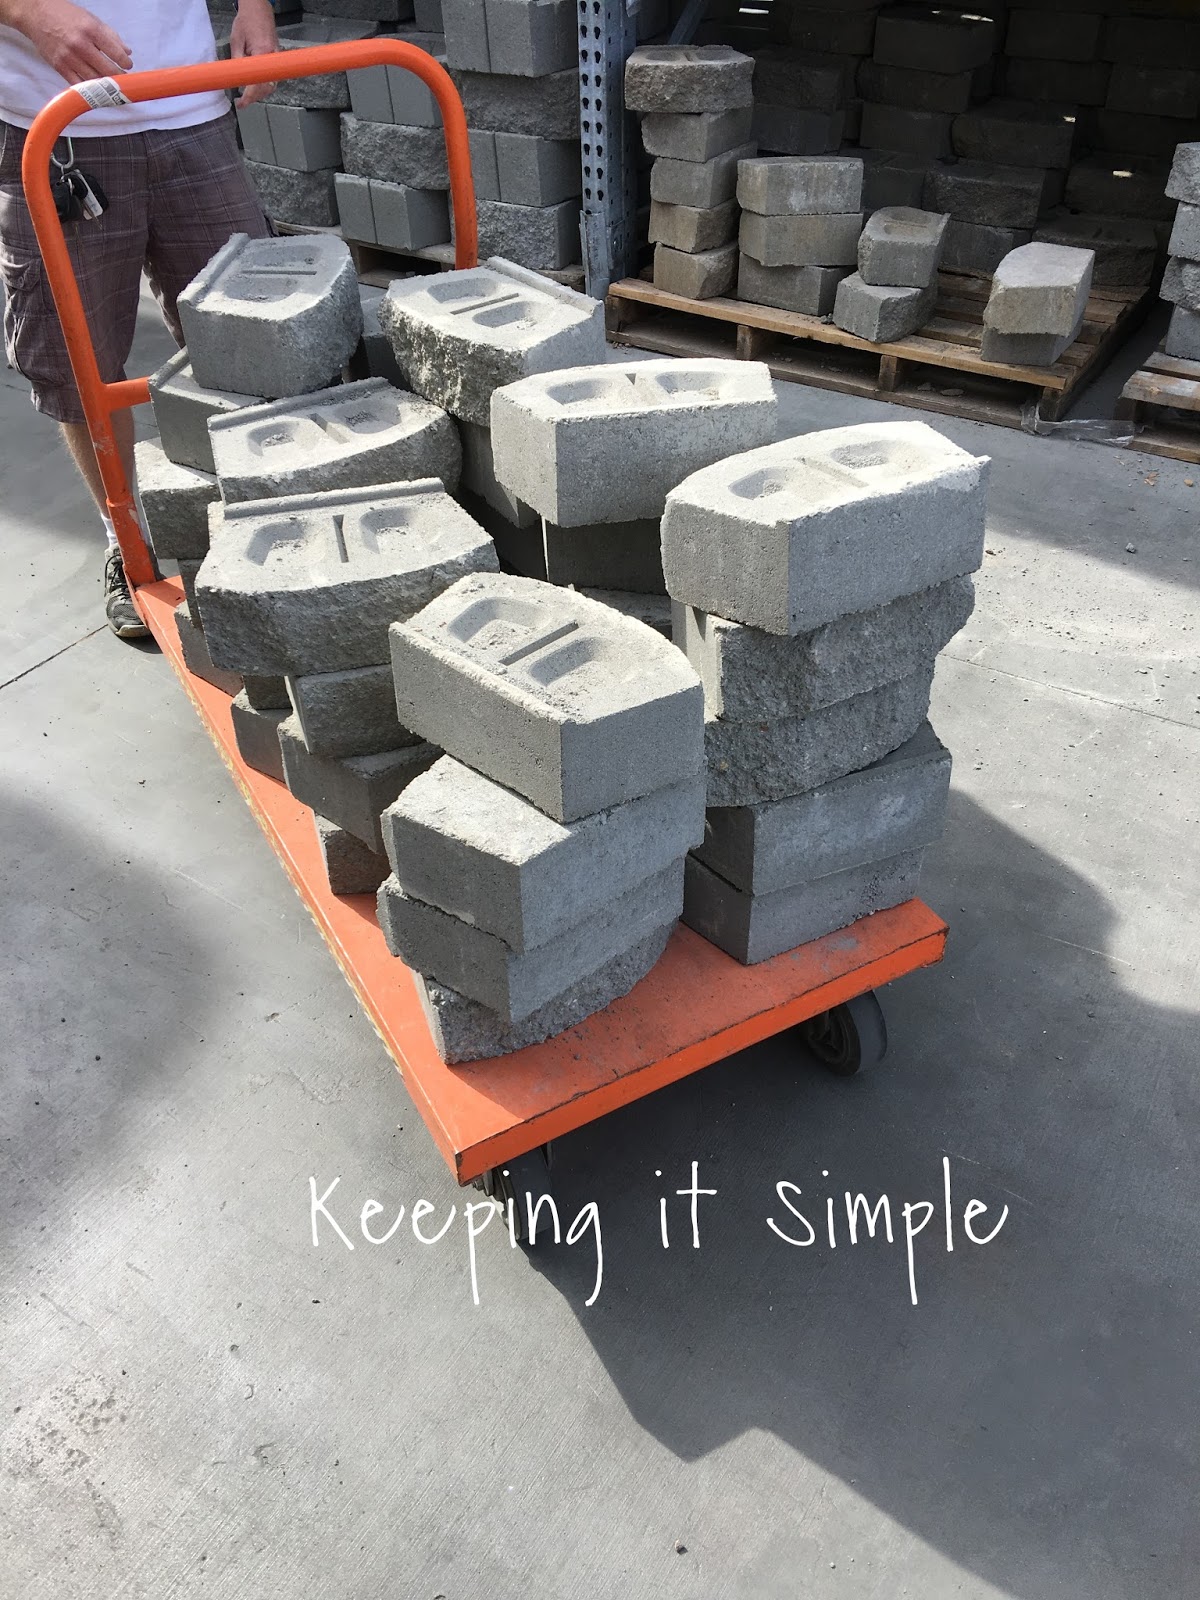
We headed to both home improvement stores to look for pavers and we ended up with these 12″ gray pavers from Home Depot. They were only $.77 each!! We got 36 of them (12 for each level).
*** This was the price we got because there was a good sale going on, but I see them for $1.20 all the time.***
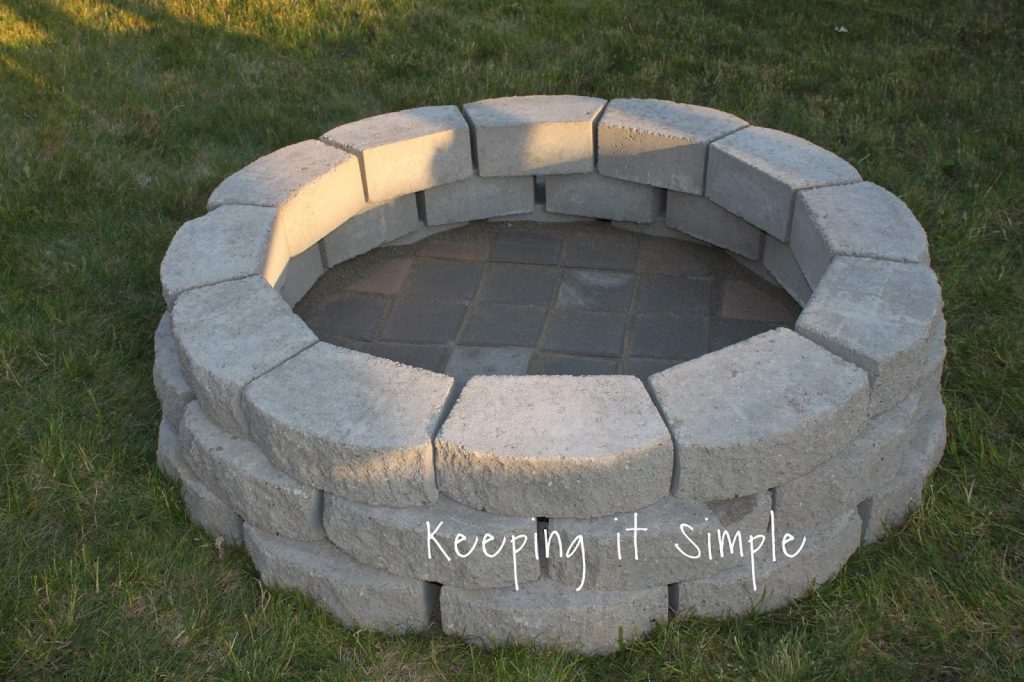
Once we got the pavers home, we laid them out in a circle with 12 pavers in the circle. Since these pavers have a little lip on them we had to make the bottom circle bigger (so there were gaps in between the pavers, which is not shown in the picture). Then as we put the pavers onto it, the circles go smaller. So what we did was put the pavers in a circle with no gaps and then move each paver roughly 1.5 to 2 inches out. The inside diameter of this is about 37″.
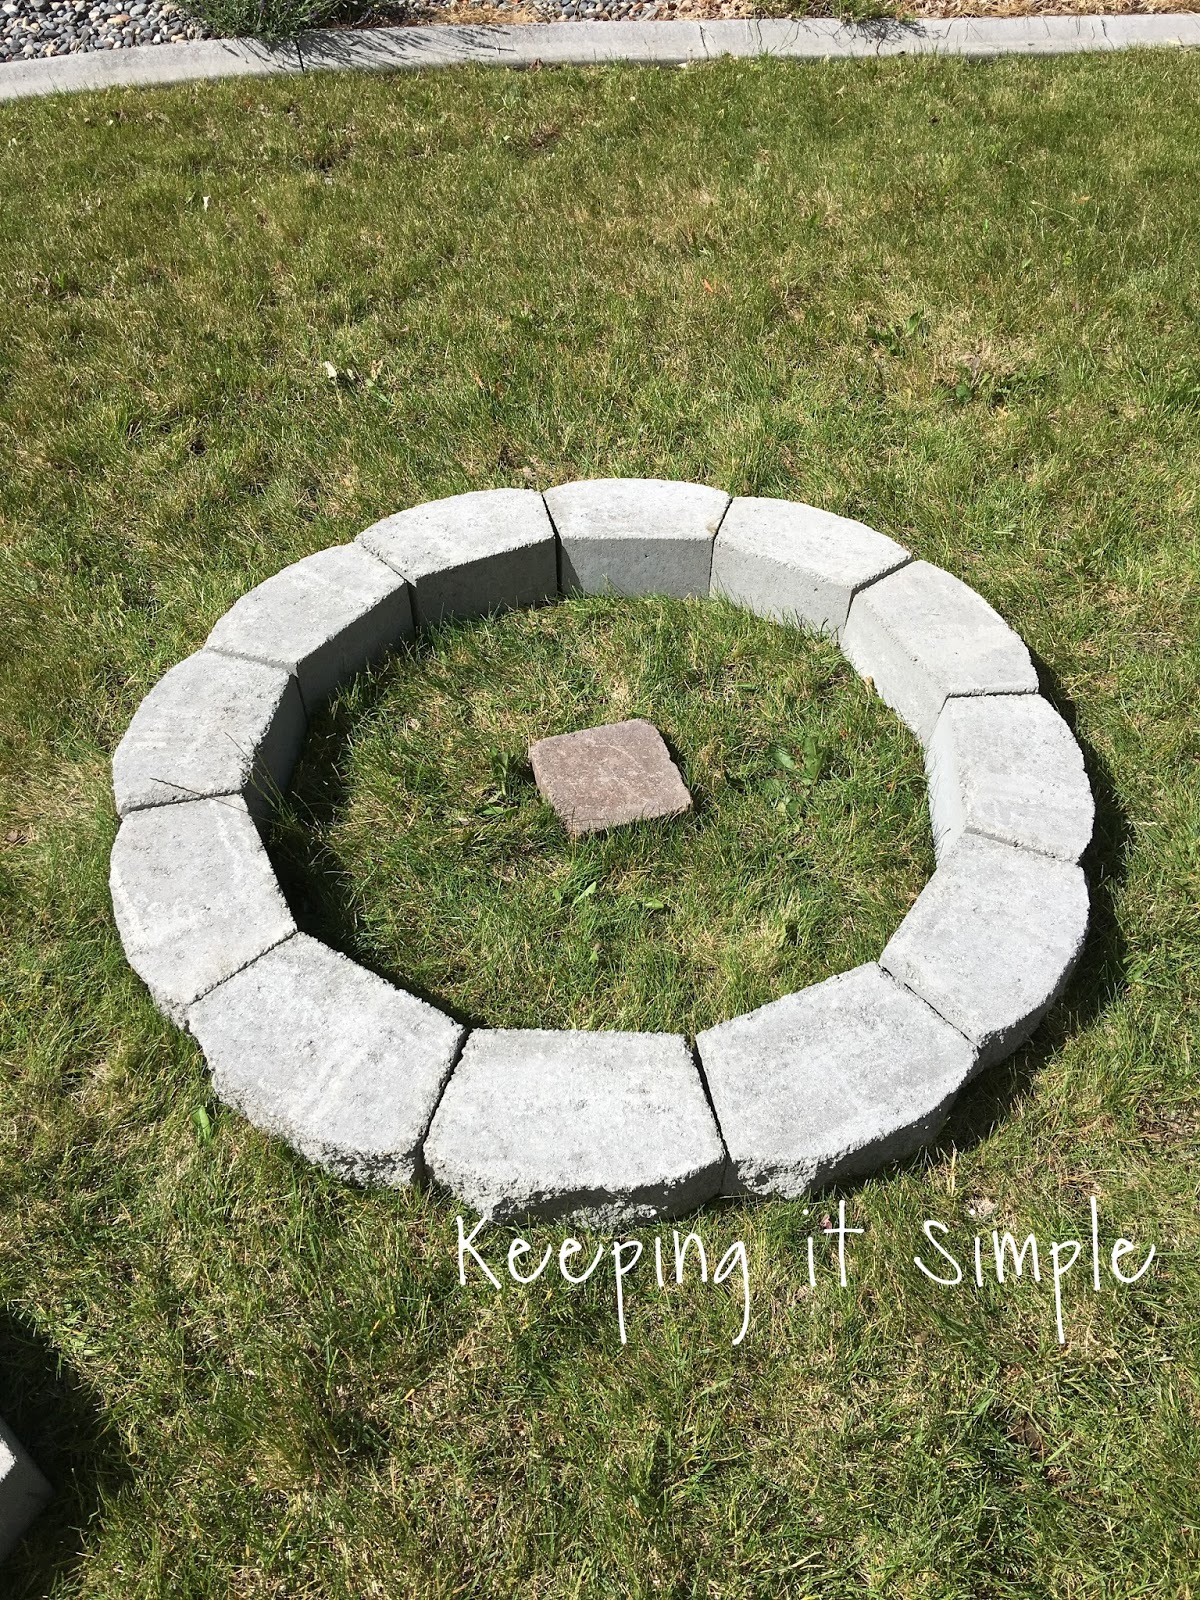
We then built the pavers up three levels. We ended up having to do this a couple times to get the top layer with as little gaps as possible. For more added support, you could use concrete in the gaps too. The inside diameter of the top layer is about 33″.

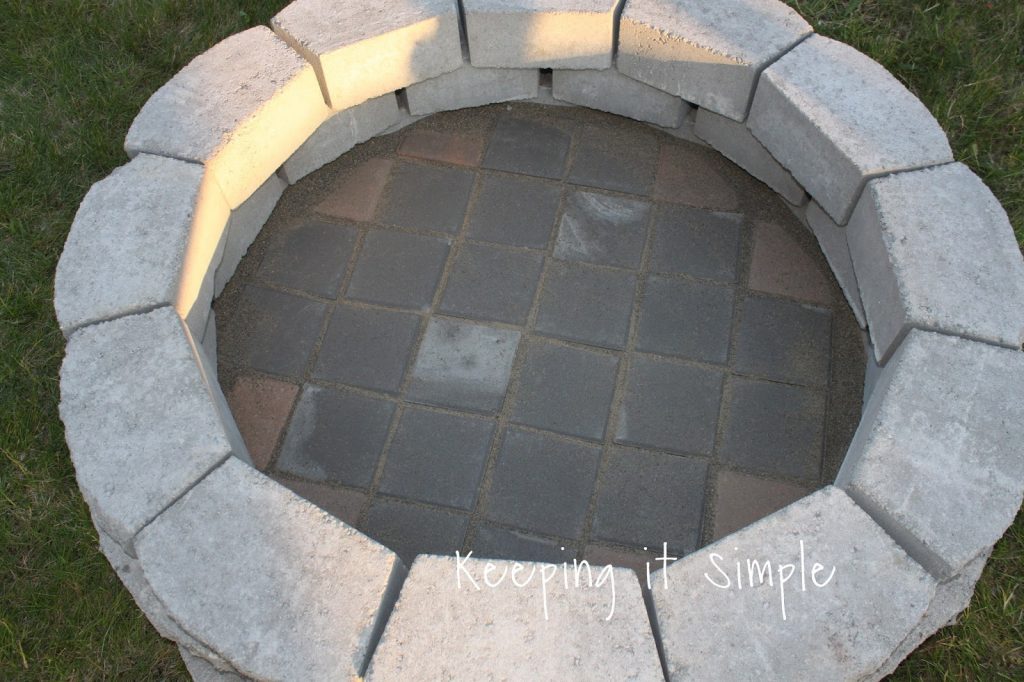
Now for the floor. This is one of my favorite part of the fire pit. We used some pavers that were square and some that were kind of a triangle shape, they fit nicely with the square ones. They were are Home Depot too and were around $.68 each. We ended up with 24 of the squares one and 8 of the triangles ones. We laid them down onto the ground in the fire pit in a pattern that filled the circle as best as we could.

We ended up having a use a hammer to chip off a little piece of the triangle ones to make it fit, but you can’t tell when it’s all done.

Once the floor was in, we took a some paver sand and put it into the cracks and sides of the flooring. Then using our hands and a broom, distributed it evenly all over
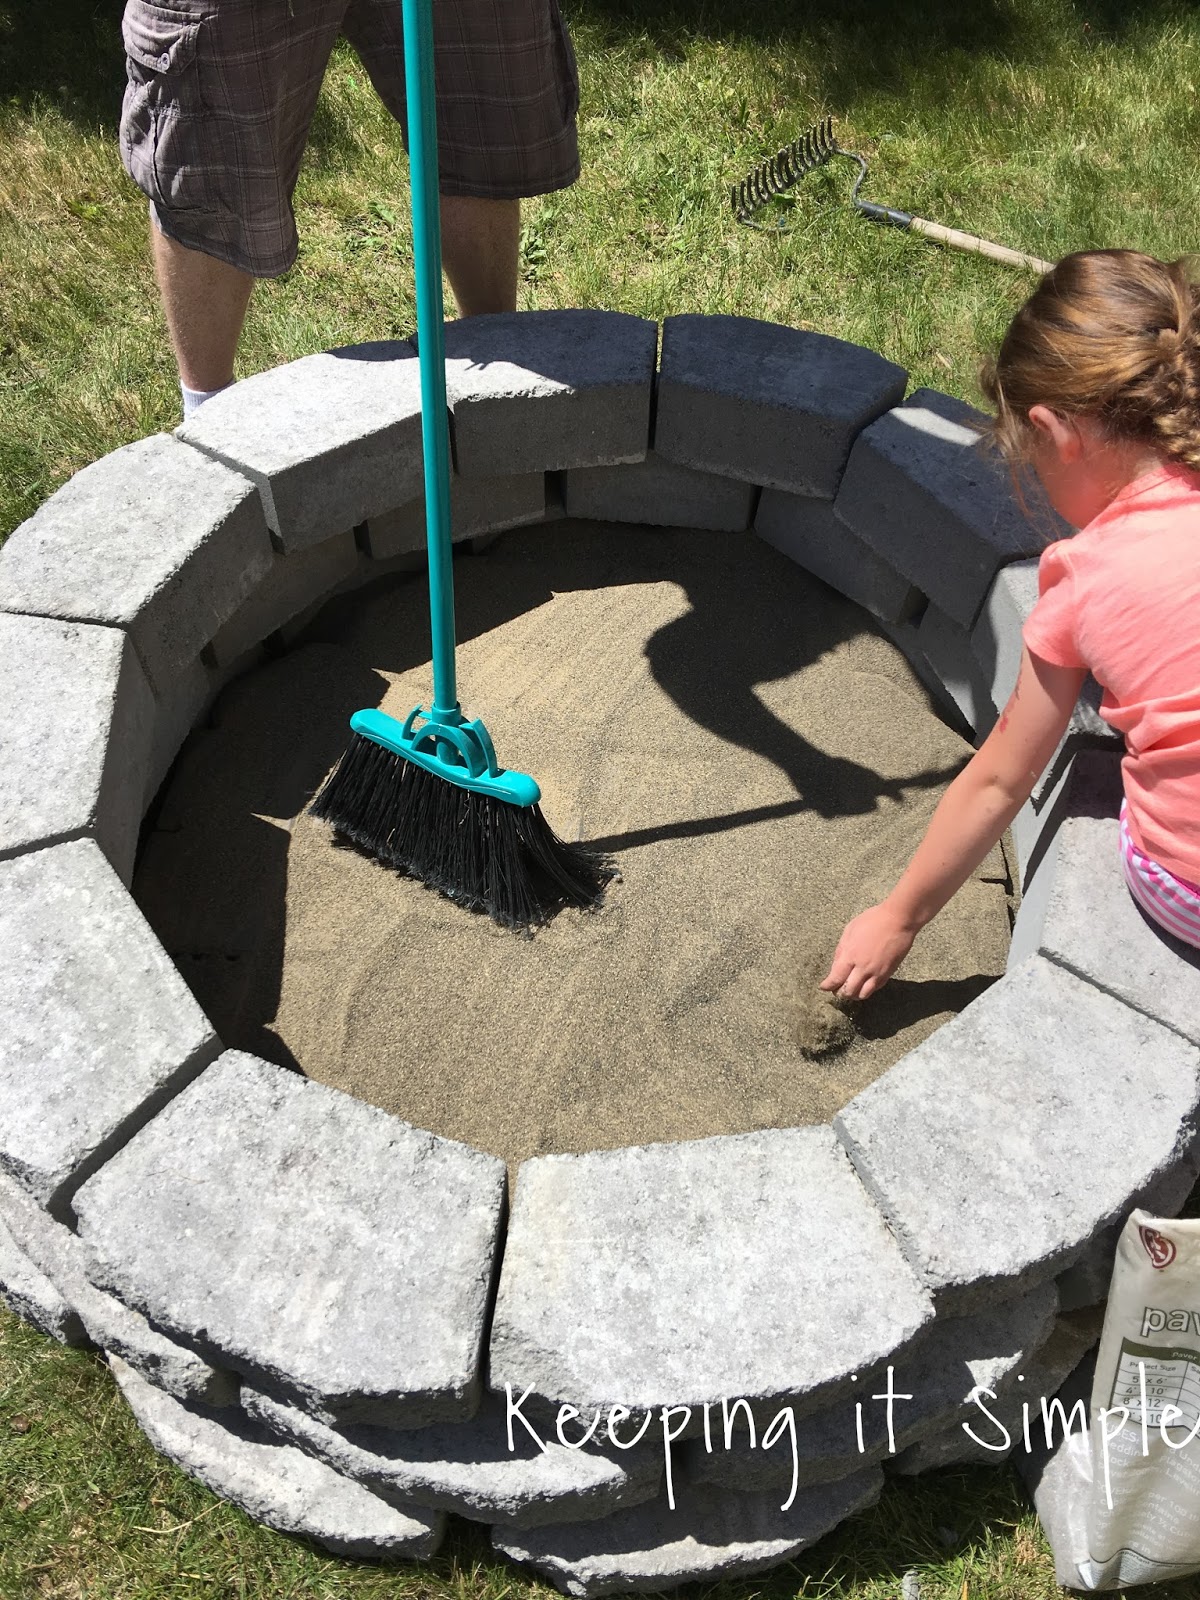
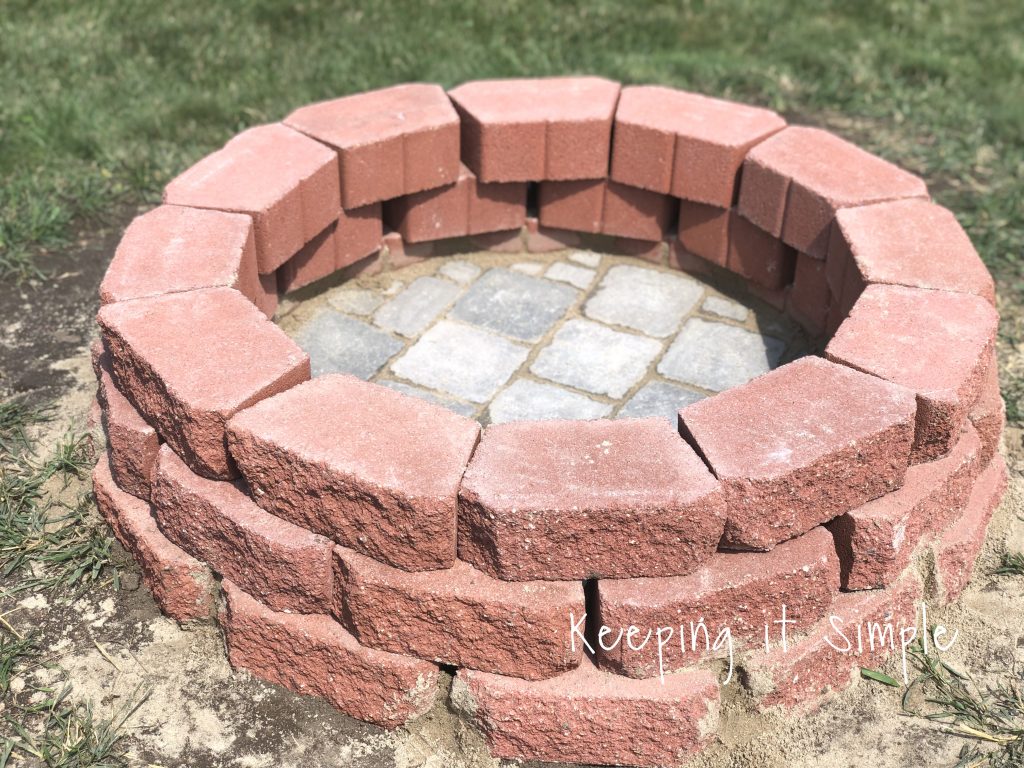
Here is what the floor looks like with the sand in.
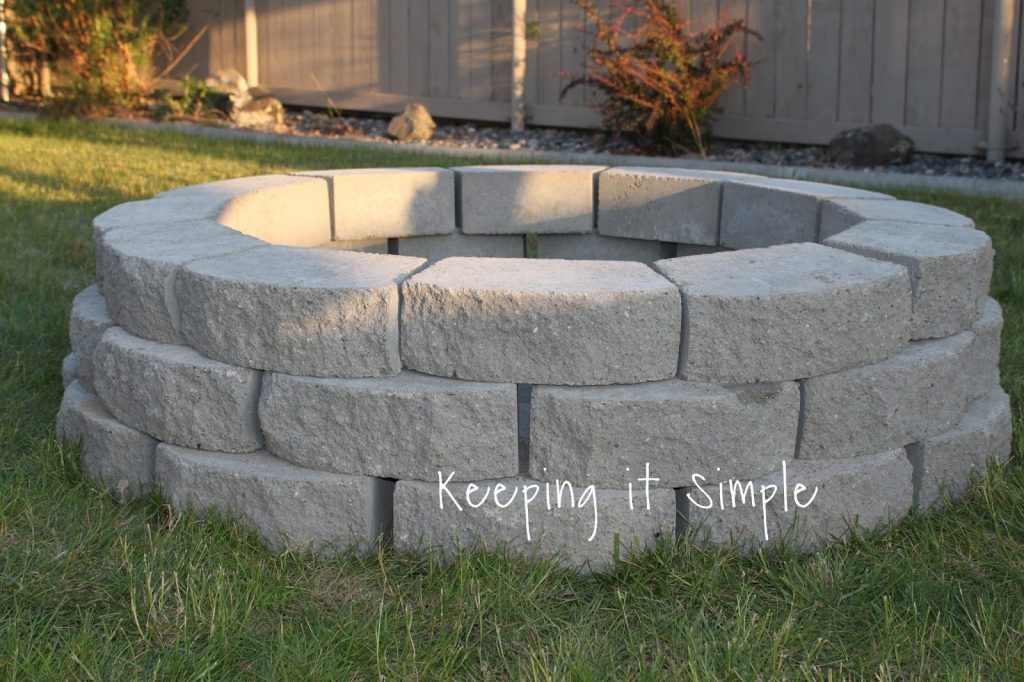
And that’s it!!! Doesn’t it look so cool?! So much better that the metal ones at the store, plus it’s nice that no one can tip it over (my kids did that…. dropped all the ashes onto the ground with our old metal fire pit).
Here is a quick break down of the costs-
36 gray pavers at $.77= 27.72
24 square pavers at $.68= 16.32
8 triangle pavers at $.66= 5.28
Paver sand= 3.97
Making the total $53.29 before taxes. 🙂
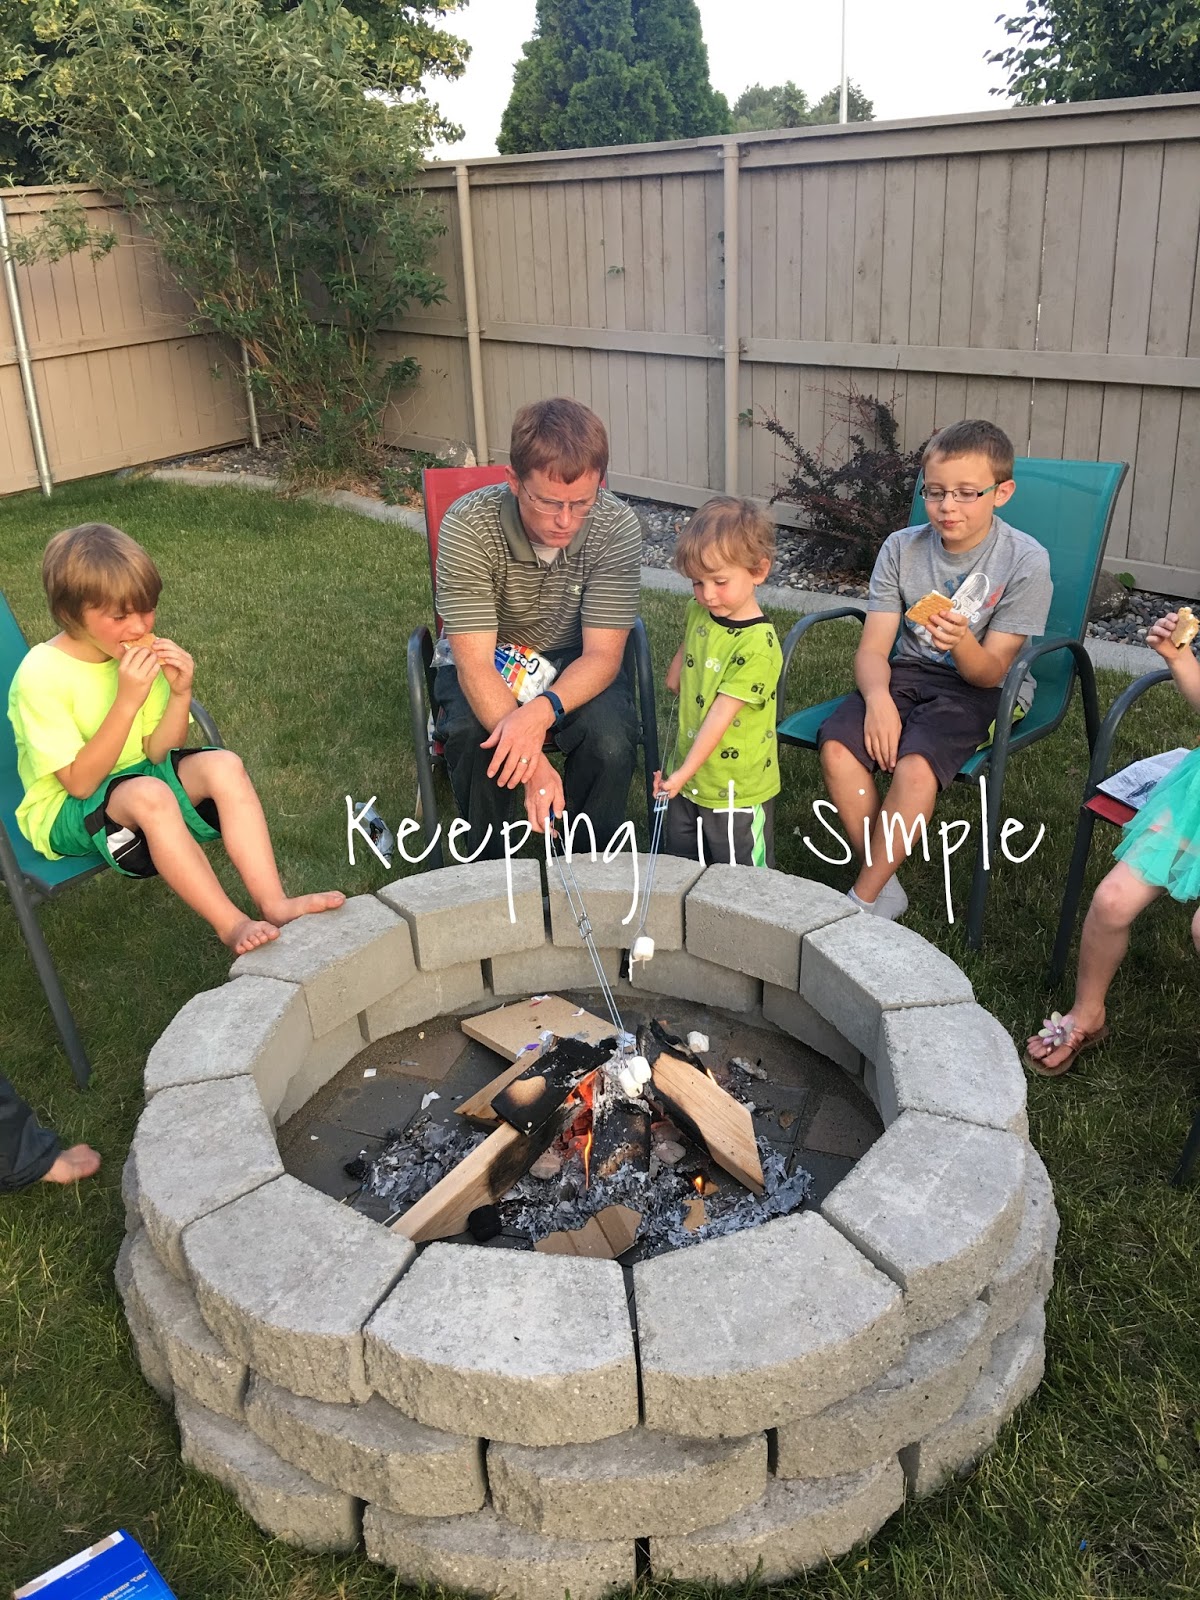
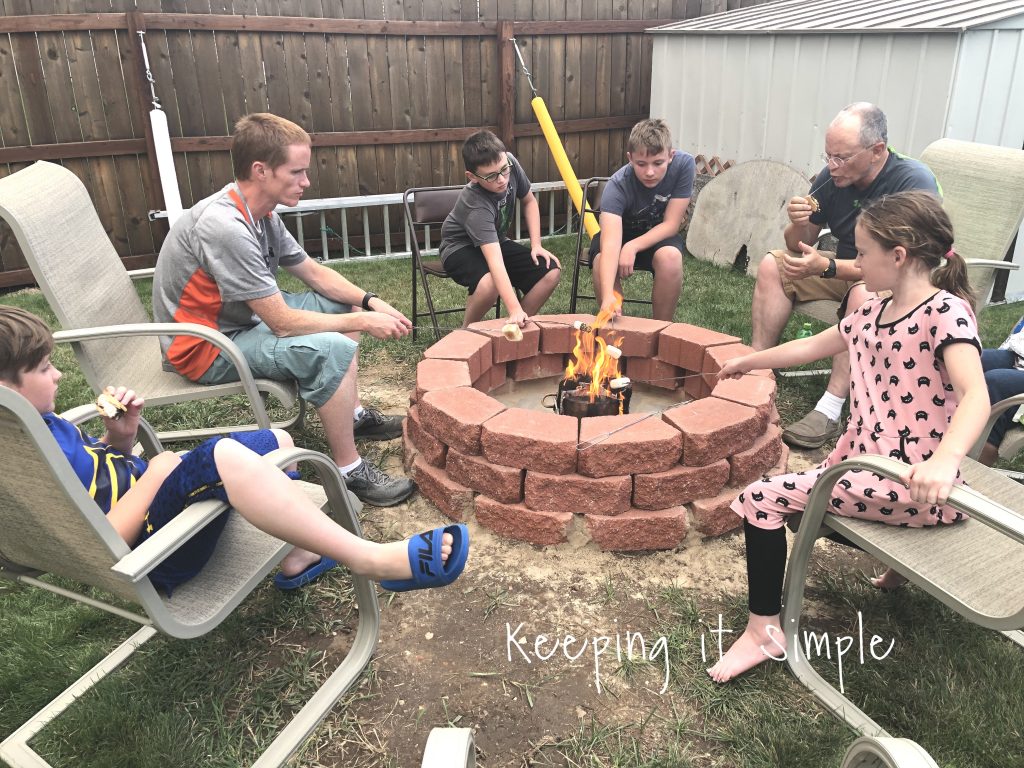
We got to sit back and enjoy the fire as a family!
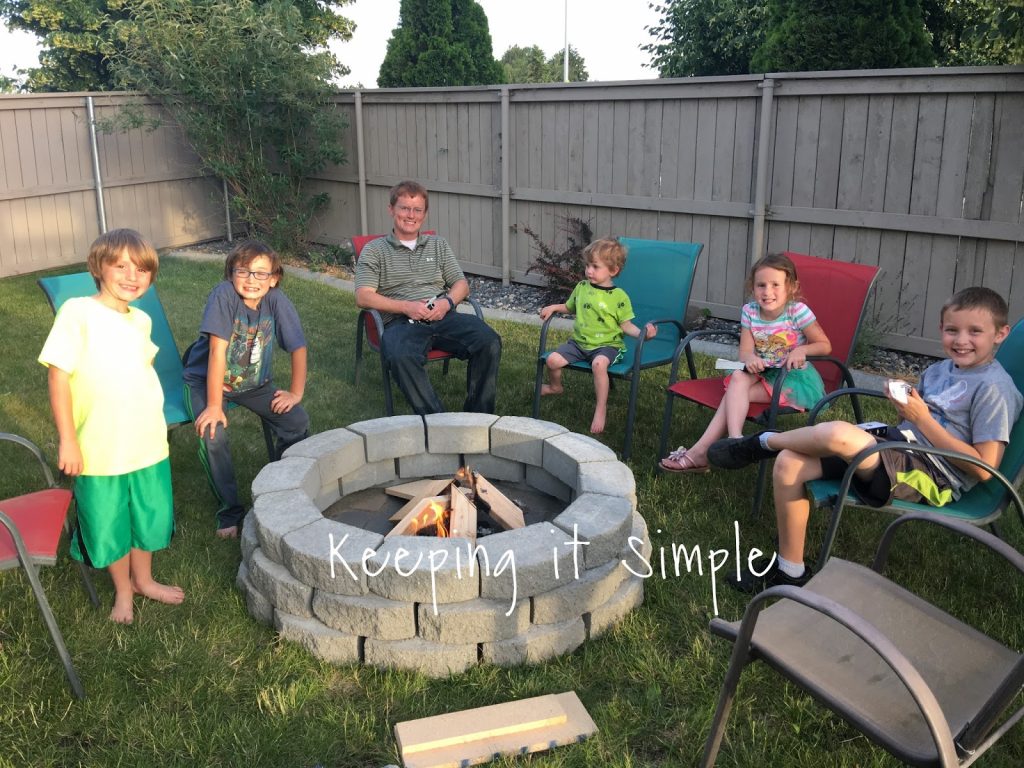
And of course enjoy some yummy s’mores too! The out side pavers don’t get too hot, as you can see my son has his feet on them without any problems at all.
*** Update- we have had this fire pit for 3 years, we love it so much that we made one for my in laws! We used the same tutorial as we did for ours, just used different pavers. We used what we could find at Home Depot. Here is a video tutorial to show you the process of making it. From start to finish it took us 3 hours to make and that included going to the store 2 times to get the pavers. As you can see in the video, we had to build it a couple times to get the spacing just right. We also had to level out the ground. For the floor, we used a hammer and chisel to break off pieces of the pavers.
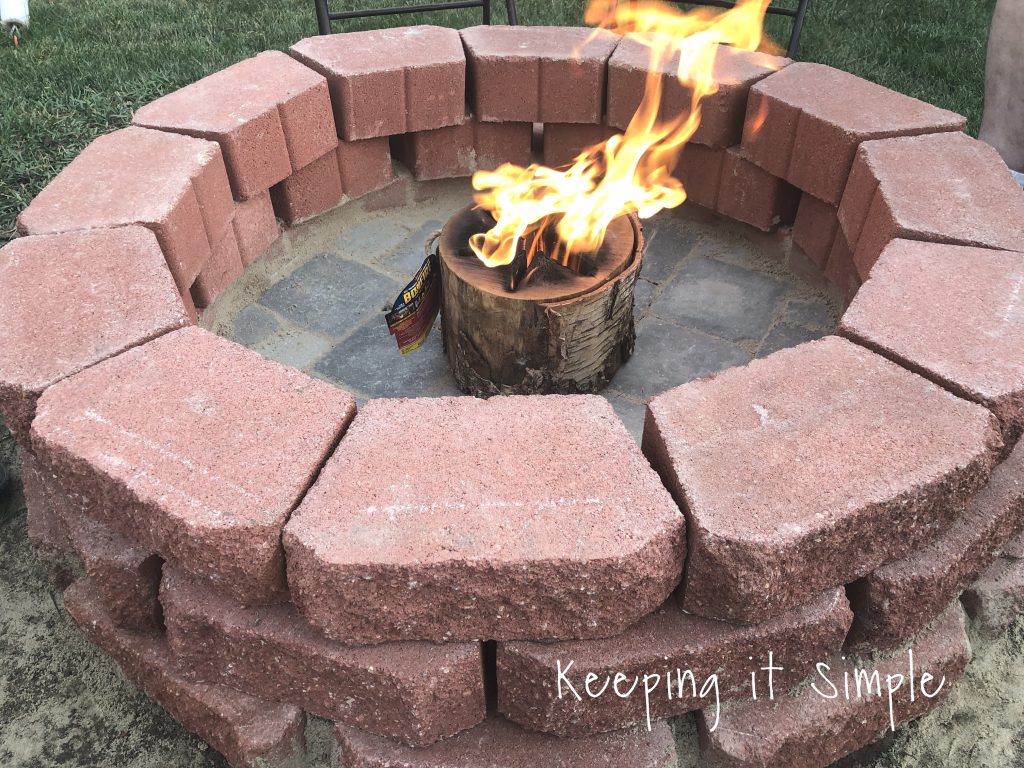
Here is a the finished fire pit. They picked out a River Red for the 12″ pavers and then we used some 7 x 7 inch squares for the bottom of the fire pit and some 7 x 3.5 inch. We got 36 of the 12″ red pavers and then we got 15 of the square pavers and 10 of the rectangle pavers. We built this fire pit for cheap, it was around $110 because those are the pavers my father in law wanted BUT there were others ones that weren’t the right color at Menards for only $.99, so had we gotten those it would have only been $75 to make.
Here is a quick break down of the price of this fire pit:
36 12″ pavers for $2.08 each = $74.88
15 square pavers for $1.48 each = $22.20
10 rectangle pavers for $.98 each = $9.80
Paver sand = $3.97
Total= $110.85
We got to use this super cool log in the fire pit, it was awesome. It burned for about 1.5 hours and all you had to do is just light it, so much easier than just plain wood,
We all of course enjoyed yummy s’mores after we got done building it. They were amazing as usual.
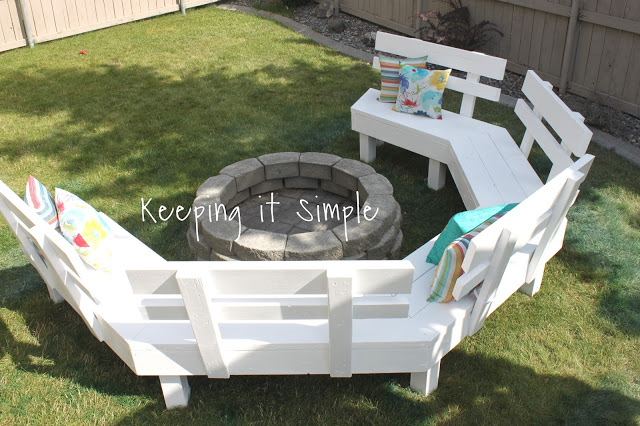
***Update- we have had this for over a year now and it still looks amazing (it’s a little dirty but that will happen with fire pits). We have had no problems whatsoever with it and we love having it! We loved it so much that we built an awesome sofa bench to go around it too!***
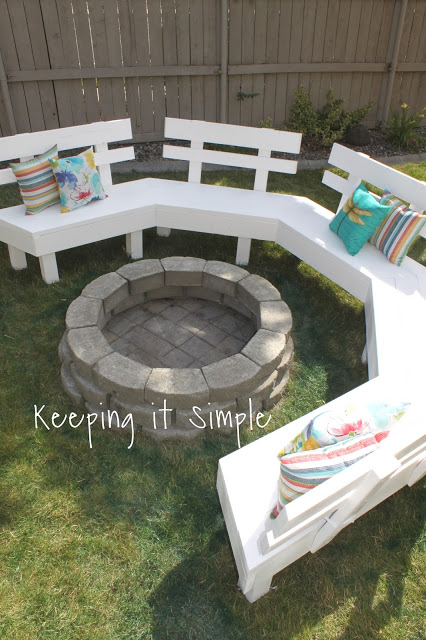
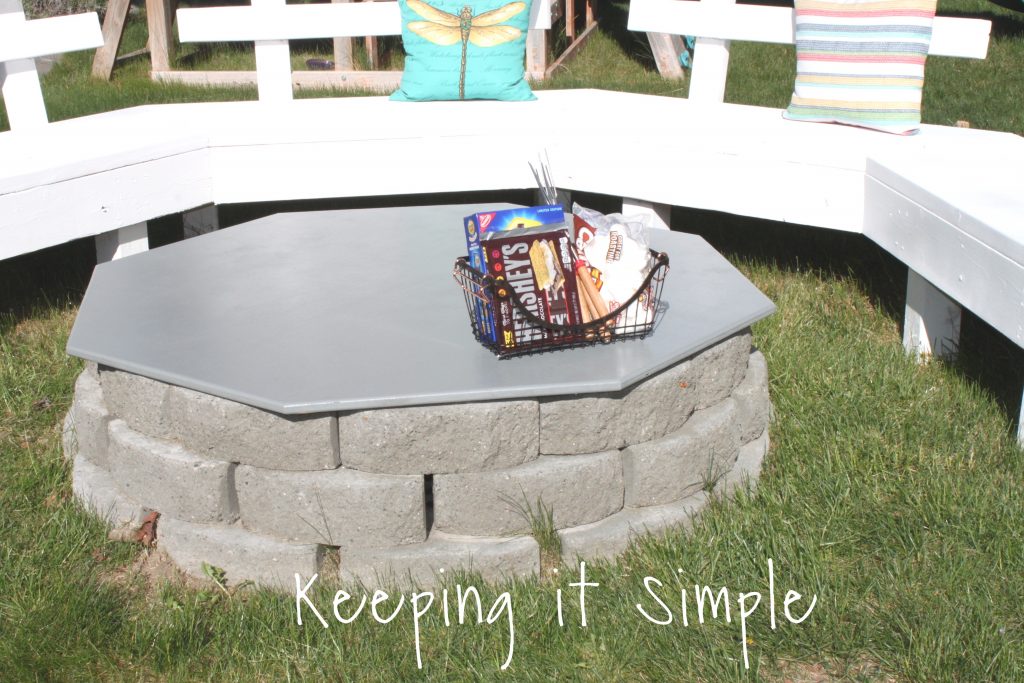
****UPDATE- We have once again added to our fire pit, we made a cover for it so that we can use our fire pit as a table too!****
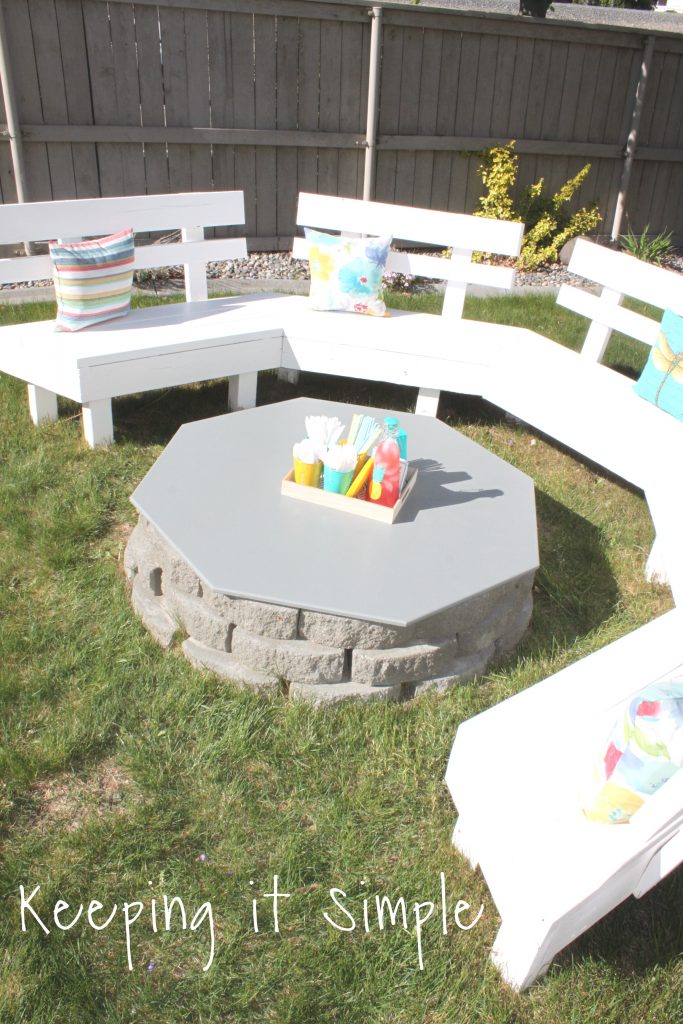
It’s perfect for enjoying the fire pit when we can’t have fires (when it’s too windy or too hot). But also it’s a nice cover too, so it will protect the fire pit and keep things out of it too.
These DIY fire pits are so awesome to make and the best part is you can make them how you want them. Check out this awesome fit pit that my parents built in their back yard! Talk about backyard goals! They have 3 acres of land and I absolutely love how they made their fire pit! If I had room in my backyard I would totally do this. And no, this fire pit did not cost $60 to make :).
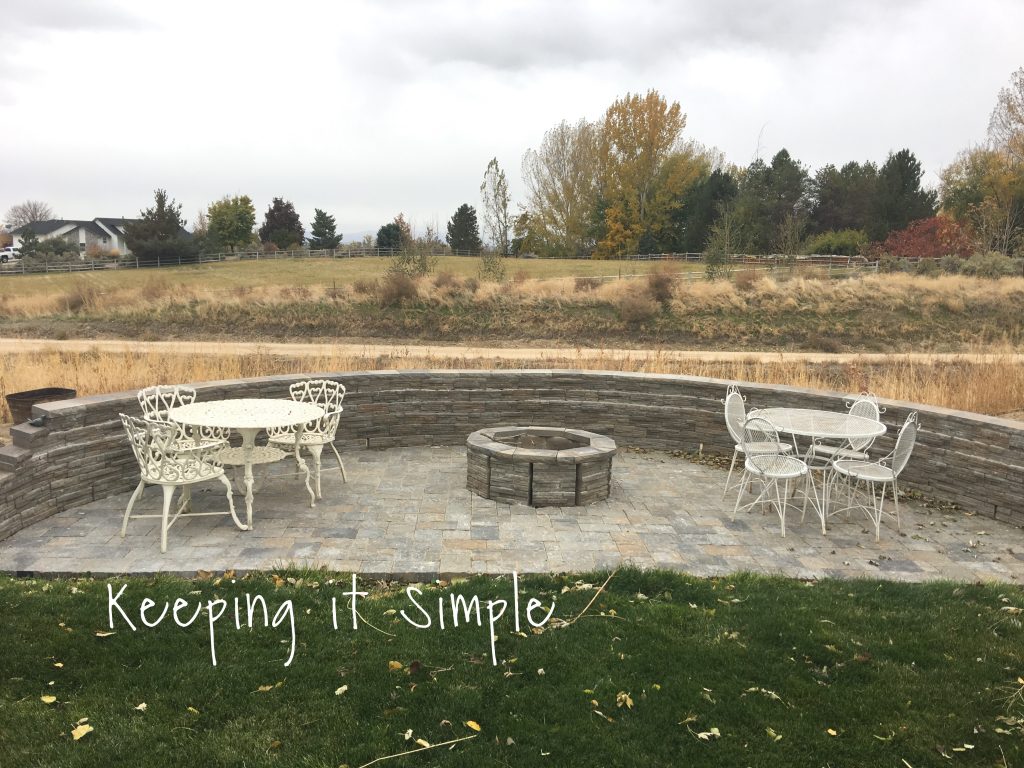
They did a paver floor and then a wall to go around it, then added some chairs and tables. My Dad thin set the wall with mortar so it’s not not going anywhere and people can sit on it.

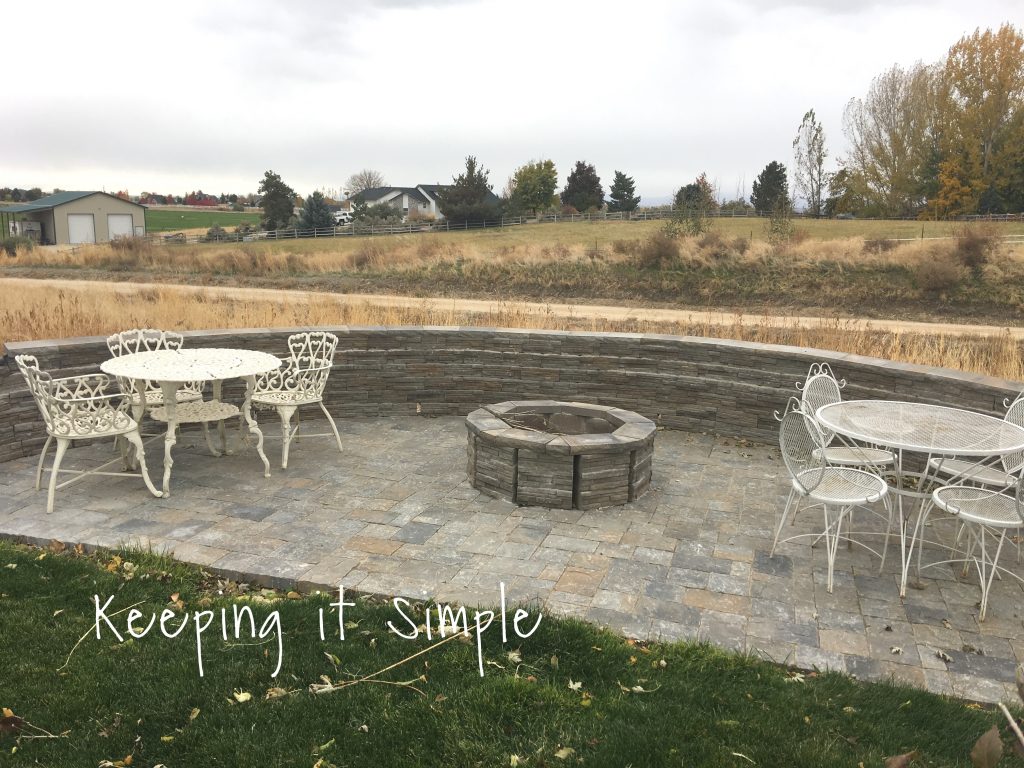
Here is a closer view of that actually fire pit. They used the same pavers as the wall for the fire pit. They also thin set the fire pit too to keep it together.

Like what you see? Here are some more DIY ideas you might like:


This post contains affiliate links.

This is a really nice fire pit! I've been wanting one in my backyard as well.
How do you clean out the ashes? Thaks!
Let them cool then use a dust pan
Beautiful! We are planning to make one next week. I saw round cooking grates on Amazon that fit over pits like these that come in various diameters. Can you share the diameter of the center of your pit? (I'm checking prices.)
What is the diameter of the fire pit?
What is the diameter of the fire pit?
Nice fire pit. What is your suggestion to prevent the pavers from cracking/breaking from the heat of the fire?
Nice fire pit. How do you suggest to prevent the pavers from cracking/breaking from the heat of the fire?
thanks
To help prevent the Pavers from cracking you can lay a bed of gravel or sans about 3' deep
3 feet?
I'm guessing 3"
once done you could use cement instead of the pavers and make a floor and with cement thickened you could bring it up the sides
Yes you could do that if you wanted to.
Love this! Thanks for the directions!
Nice fire pit, but I couldn't find prices near as low as you found for the concrete blocks and pavers.
I'd substitute pea gravel for the pavers at the bottom. You'll find that the pavers won't drain very well after a rain, and you'll have an ongoing mess in the pit. The pea gravel, or even lava rocks, will allow for better drainage.
Would I have to put something under the pea gravel bc it's sitting on grass??? Or would the pea gravel alone be ok??
Good idea with the rock.
How thick are the stone pavers???
3-4"
May be a silly question but my backyard is all concrete due to a pool. Can I do this over the concrete? I'd love to sit by one after night swimming.
Should be ok. We built our on our back patio. We just put a lot more sand down to protect the concrete underneath. Unless someone else has a reason against it???
When you say 12" pavers, which dimension (H, W or D) is 12"? Also, what size are the squares and triangles for the bottom?
7" deep and 4.5 inches high
My son and I made this today! We chose to only go with two layers of pavers. They were $1.28 at Lowes which was the cheapest I found around where we live. We also dug out about 4 inches of grass/dirt in the middle and used the paver sand on top of that. It looks great! Thanks for the example.
That's so awesome, enjoy it!
I had no idea I could do this for so cheap. I've been looking at making a fire pit for a while but most posts suggest expensive, custom cut stone and I just couldn't afford it. I'll definitely head down to Home Depot later. I assume if I wanted it a little bigger I could just add a few extra pavers to each circle?
Thanks Kaysi!
Eric
http://www.exoticpebblesandglass.com/
Yes that is what you should do to get it wider
Great idea. I bought 36 pavers from Lowes today @ $1.28 each. I also bought rocks for the bottom. Everything was only $59.99 to the number. I was thrilled. The pit looks great. We love it. Thanks!!
Woohoo that is sooooo awesome!!! So glad you found them for a good price. Happy building!
Any problem with those pavers cracking from the heat?
Nope not at all. The outside ones aren't close enough to the fire to get too warm, I've even touched them with my hand to feel.
I made my fire pit about 12 years ago. I dug a big hole in my yard and used "river rocks and stones" (big rocks that I found along the creek by my home) it turned out beautiful. Yours is beautiful as well. Just giving another idea to those who may want a more natural fire pit.
I wanted to know since you've had this for awhile how is the drainage when it rains?
We haven't had any problems at all
Did you just lay the rocks on the grassy ground inside or did you put something down first? What kind of rocks did you use? I'm trying to figure out the cheapest and easiest way to do it. Thank you.
Yes the pavers just went on the grass, just like the pictures and we haven't had any problems whatsoever