We all need a place that we can call our own. That space for me is my craft room. I LOVE my craft room and love being in it. Recently we moved our piano into my craft room and that forced me to reorganize a few things and eventually made me remodel the whole thing. I’m so glad that I did because my craft room is so much better now! We turned it into a craft room/office so that I can create but also work and have my kids create and work with me too. There are lots of craft room ideas including organization and storage ideas! A lot of the craft room furniture is from IKEA, so it is definitely an IKEA craft room!! Now let’s get the party started, time to see all the details of my craft room!
![]()
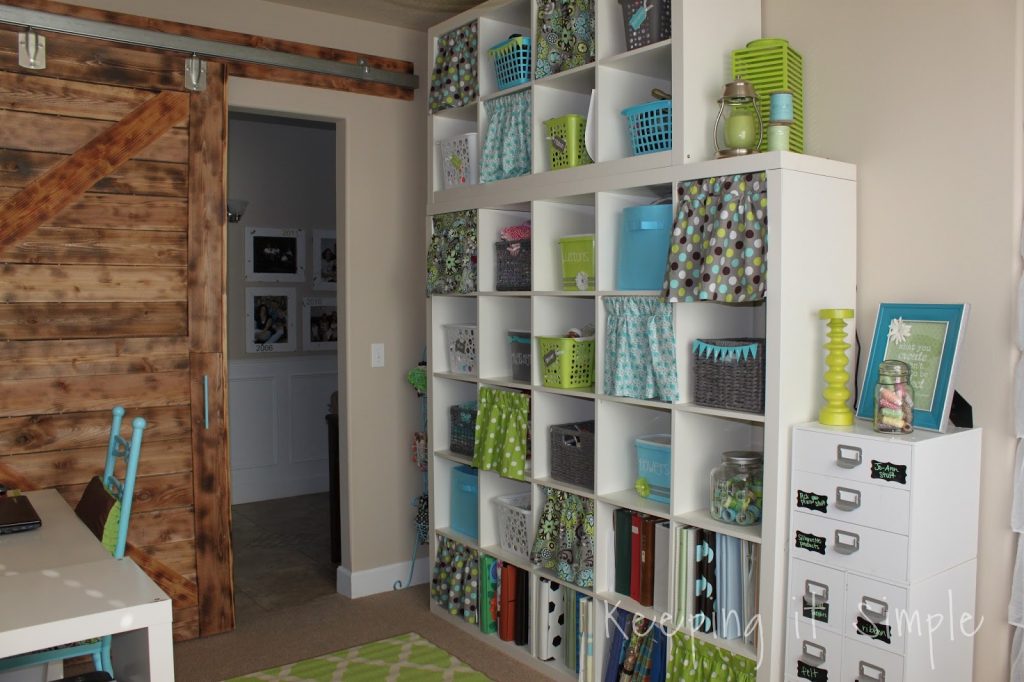
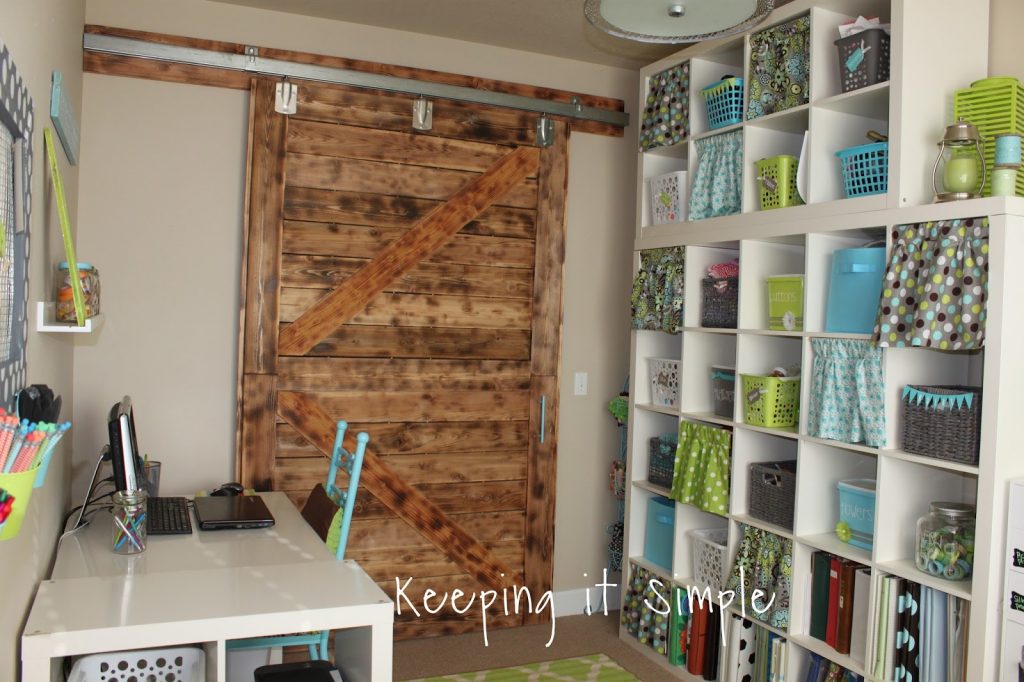
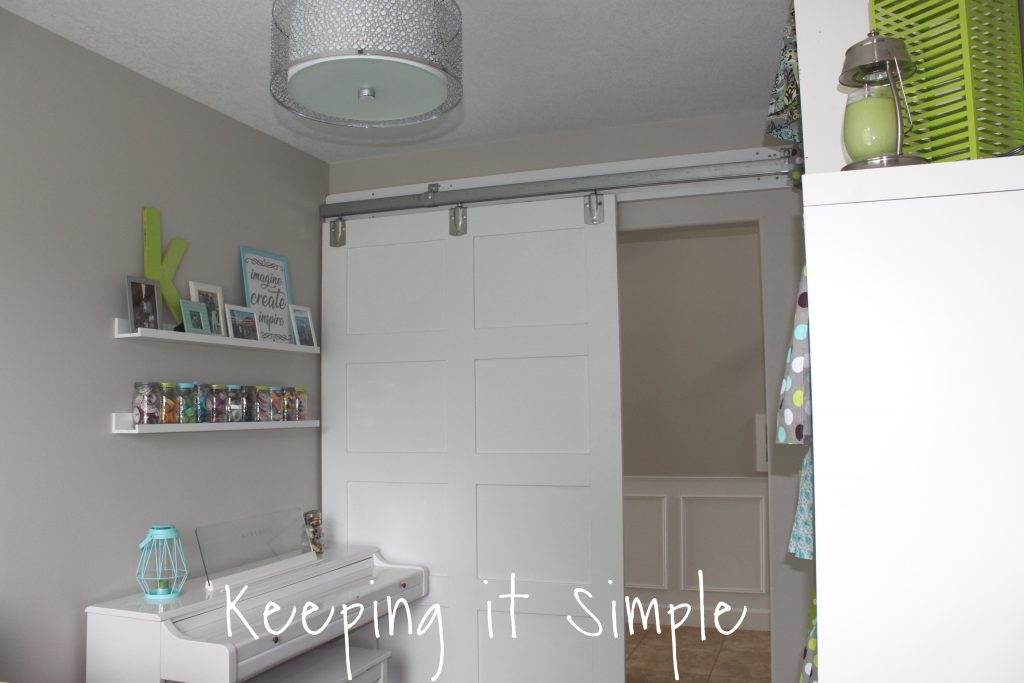
Before we talk about how the craft room looks now, let’s go back in time and see what it looked like before. You can see all the details on this post. One major thing we did was replaced the barn door for a more modern one. I painted the walls a nice warm gray called Worldly Gray and the ceilings white.
I kept the awesome IKEA Kallax (technically this one is called IKEA Expedit but they don’t make that line anymore) but I organized the space more.
One major thing that we did was change out this nook and make a built in desk. We also replaced the carpet with some nice bamboo hardwood flooring.
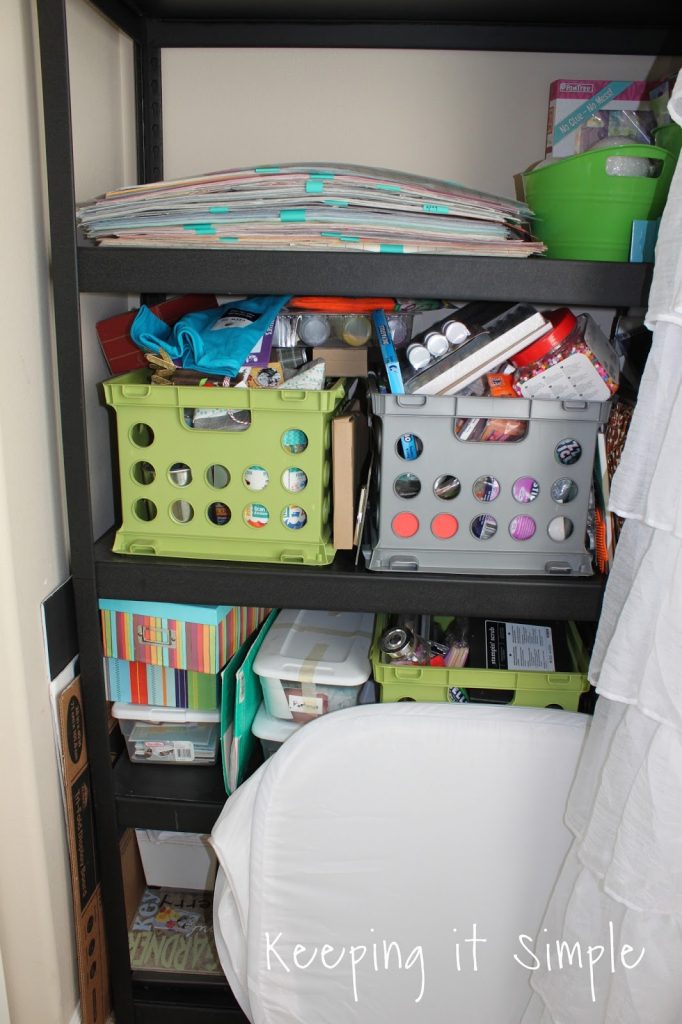
This right here, this disaster zone that was behind the ruffle curtain, this is what made me want to reorganize my craft room. It made me come up with some better craft room storage ideas.
And here is one more view. I rearranged some furniture and overall, just made a lot of changes :).
Now it is time for the after!! I do have to say that all of my changes that I did I made sure to make the room feel like an office more than a craft room. But also I wanted the room to look like it could easily be a formal dining room (if we sold our house and someone wanted to use it for that). Anyways, enough talk, let’s see the beautiful after!
This is the view from the entry way. We built a new, more modern barn door.
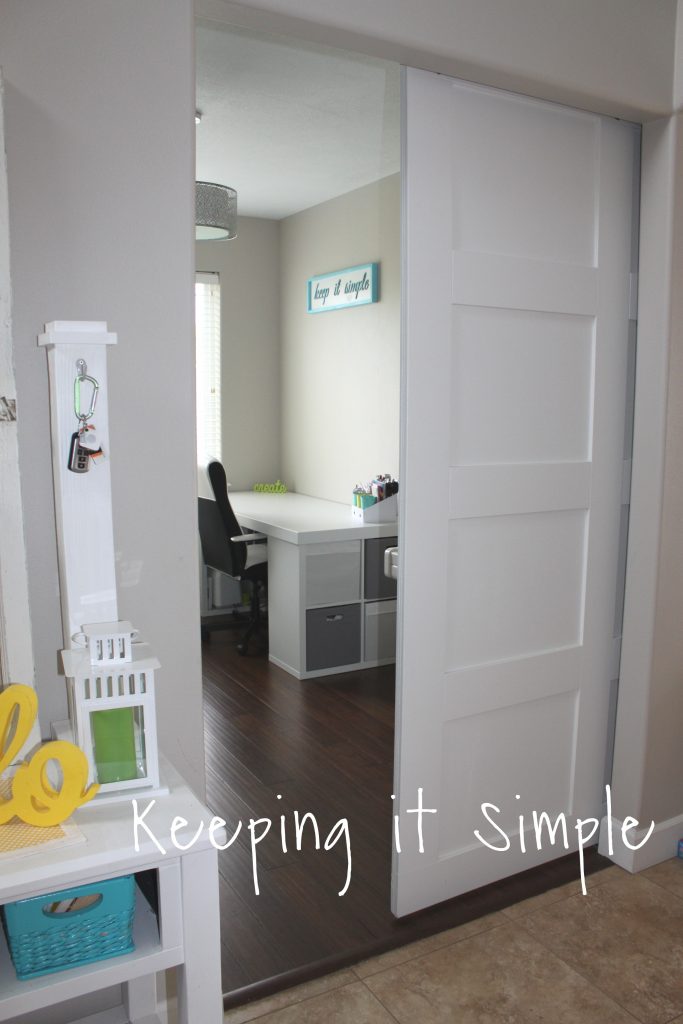
Here is how it looks from the other side.
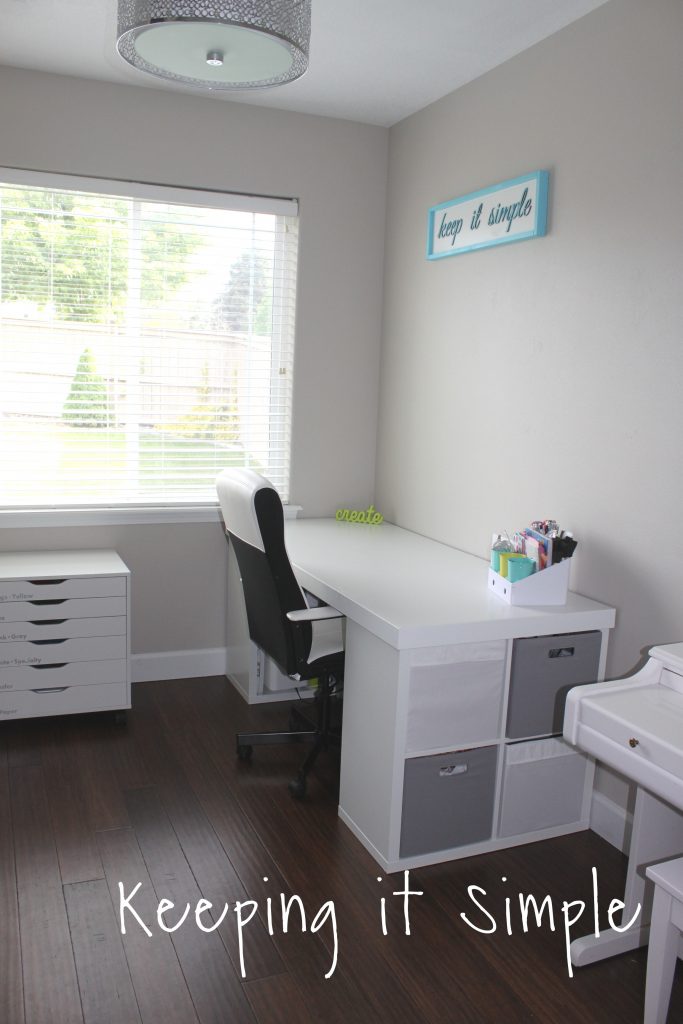
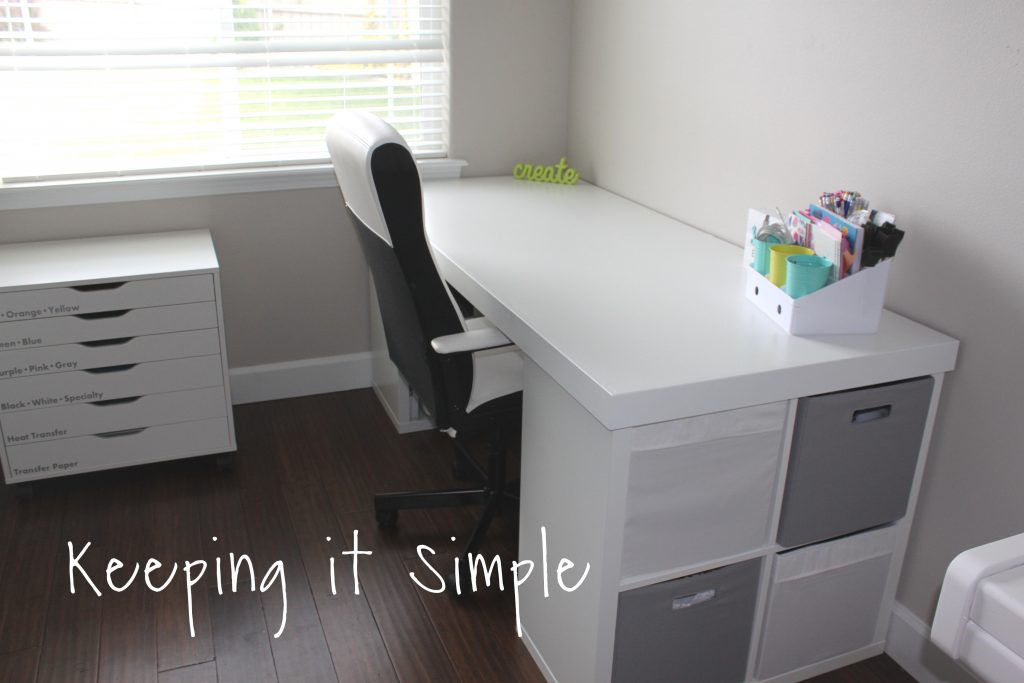
We built a BIG craft room table for me. It is a computer desk, creating desk and so much more. It’s big and has lots of storage, it’s just awesome! You can get the full tutorial here.
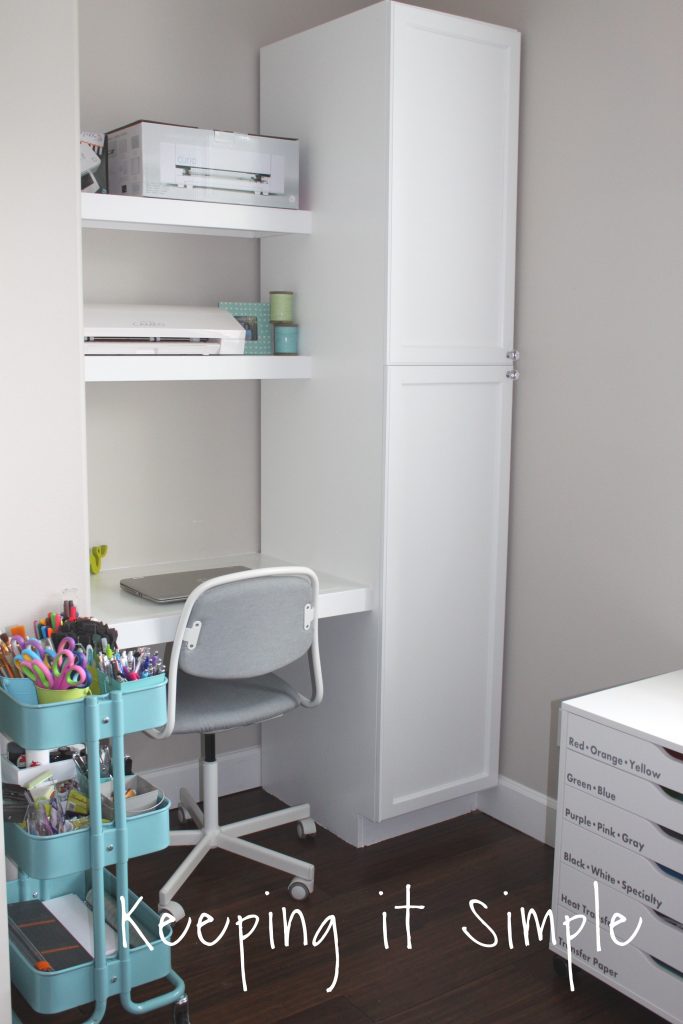
Here is the corner where the nook is. This corner was one of those awkward, waste of space kind of spaces. Now it’s one of my favorite places in the whole room. It looks so natural there and it makes it functional! You can get the full tutorial on how we made it here.
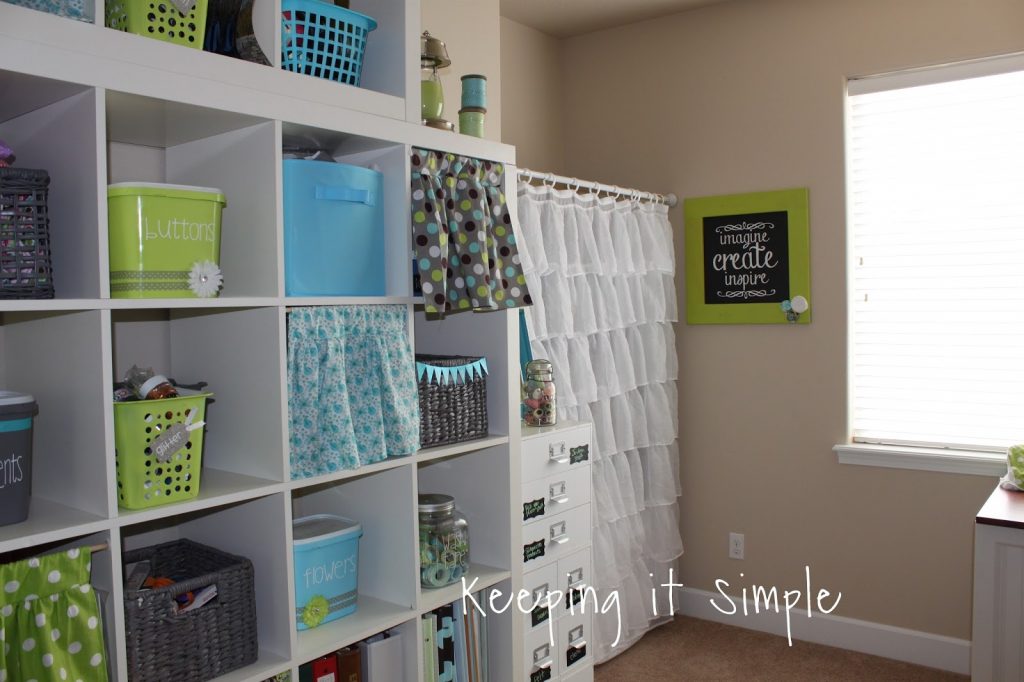
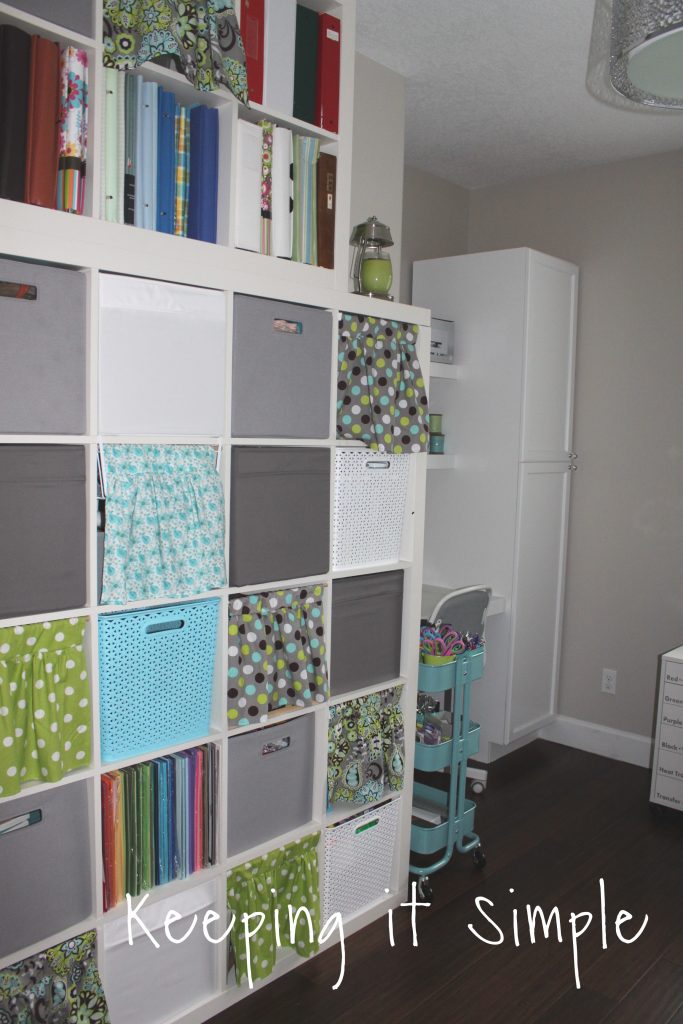
Here is the view of these awesome IKEA shelves. This thing is AMAZING!!! Seriously if you do not have one of these, you need one! The line is called Kallax and they have a variety of them.
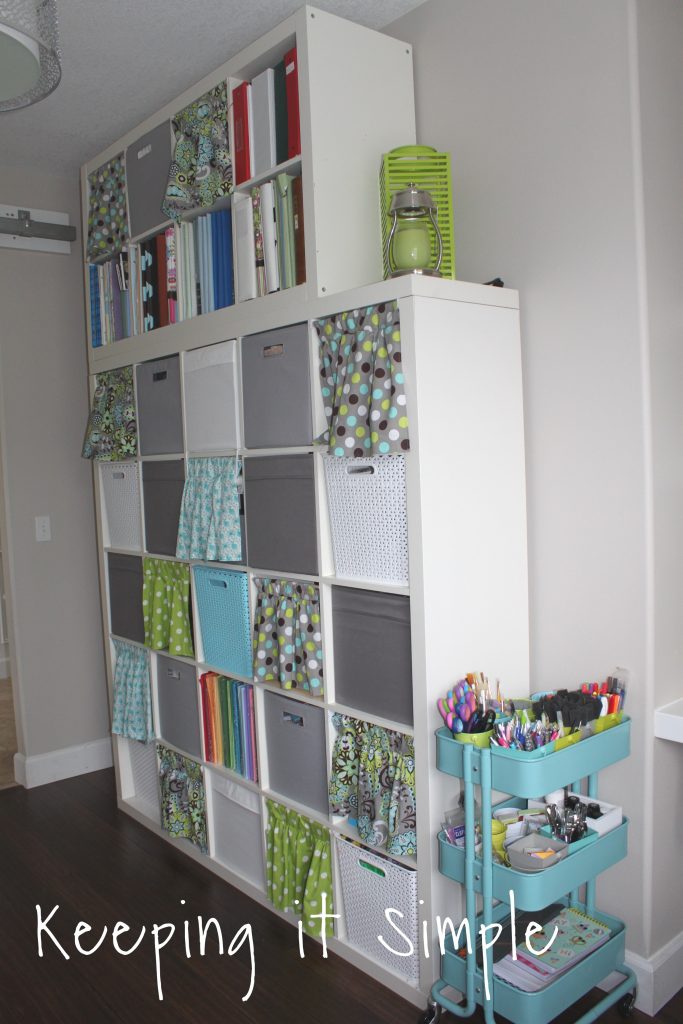
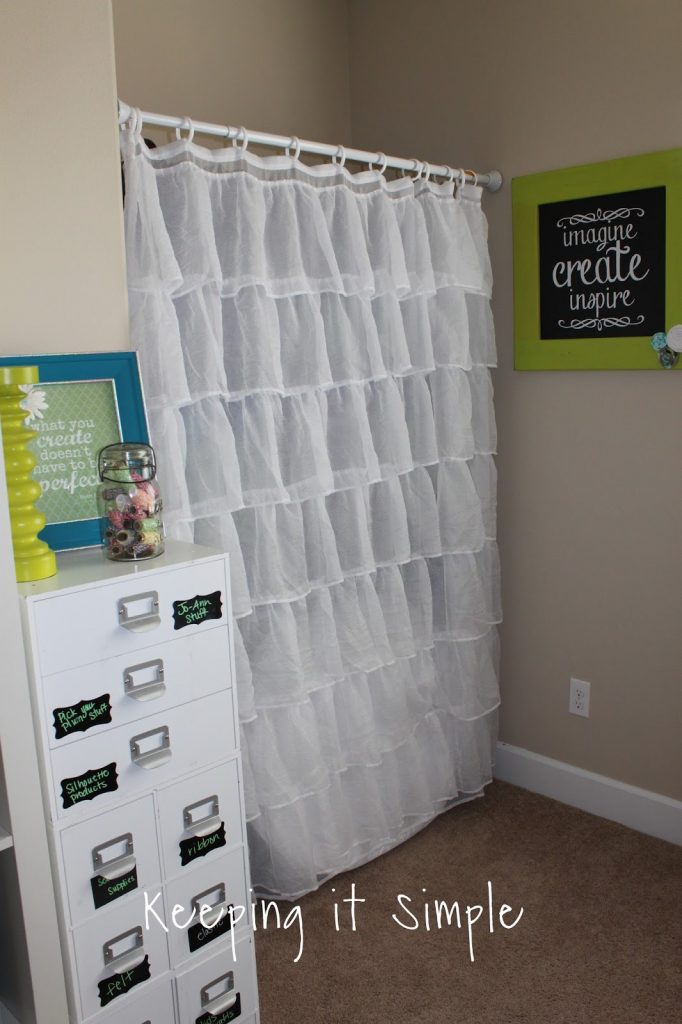
Then I have my fun vinyl storage cart, called the IKEA Alex. This is another one of those things that if you can get it, you need it!! It stores all of my 12×24 inch vinyl and it’s so awesome. You can see all the details about why I love that cart so much here (I loved it so much that I wrote a whole post about it!).
Here is another view of these shelves, seriously love them!
Lastly here is the other corner, the corner with the piano and the other side of the barn door. I love how that barn door looks, it just fits my style and decor!
Here is another view of the nook, just wanted to show how it flows with the shelves.
Now it’s time to go through all the details. There are a lot of details in this craft room. I spent a couple months coming up with the craft room ideas and figuring out how to organize and store all my craft supplies.
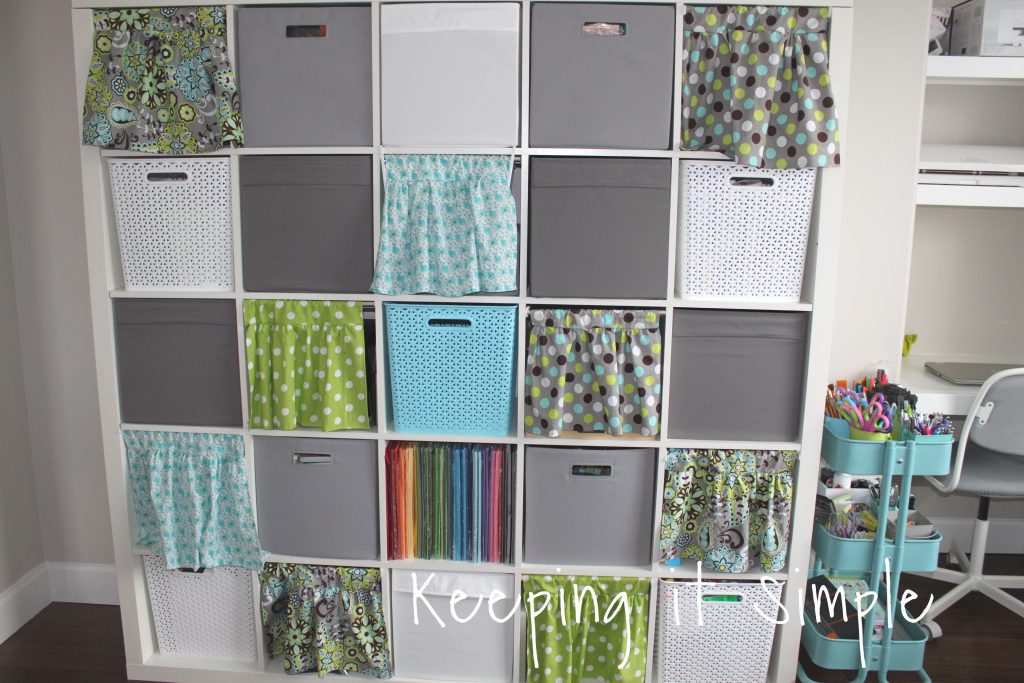
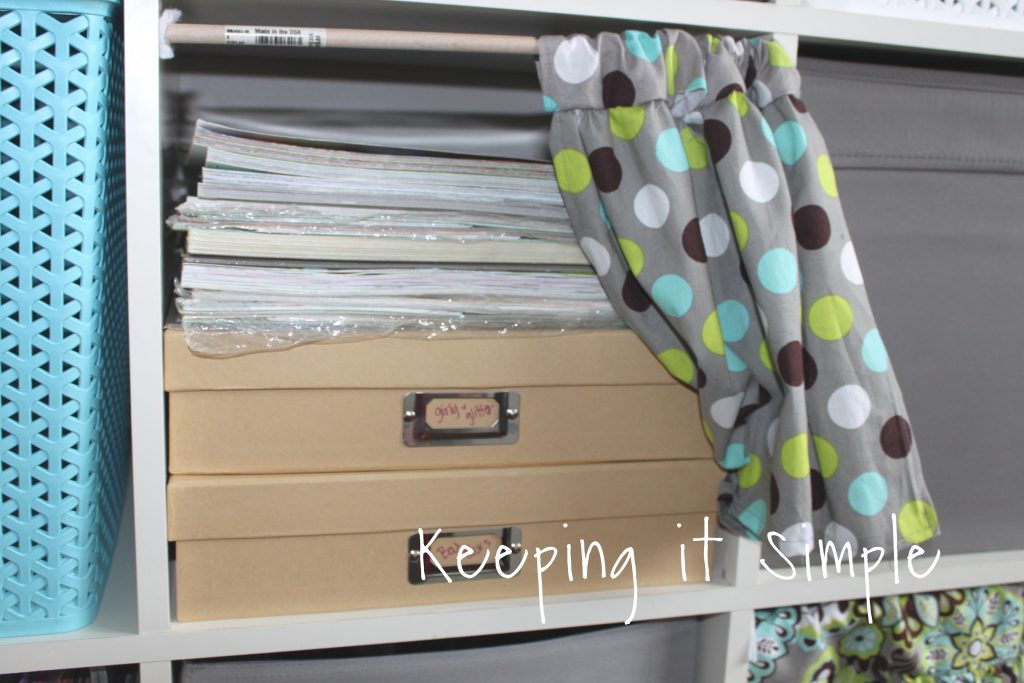
One major thing I did was got rid of my MiniBox, I love it but didn’t have the space for it. That is where I stored the majority of my scrapbooking supplies, like my paper and other supplies. So I had to figure out how to store my 12×12 paper. I was able to get ALL of my paper in just 3 of these cubes (seriously you can get SO MANY things in these shelves). I took all of my solid 12×12 paper and organized it by colors and put them on one of the shelves.

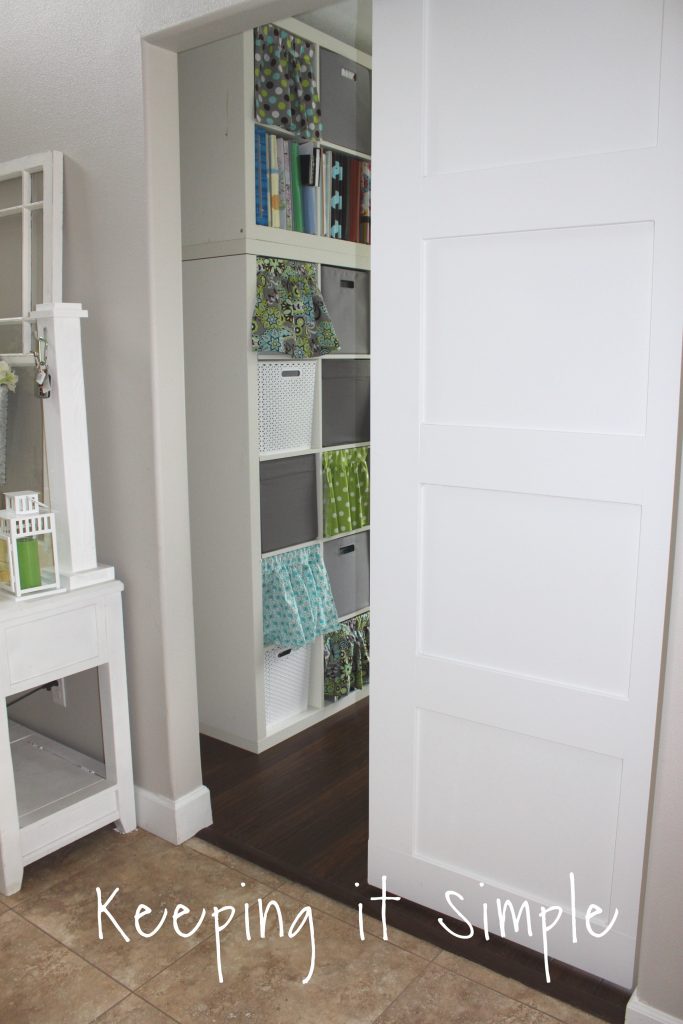
And for the patterned paper, I put it all behind one of the little curtains that I made.
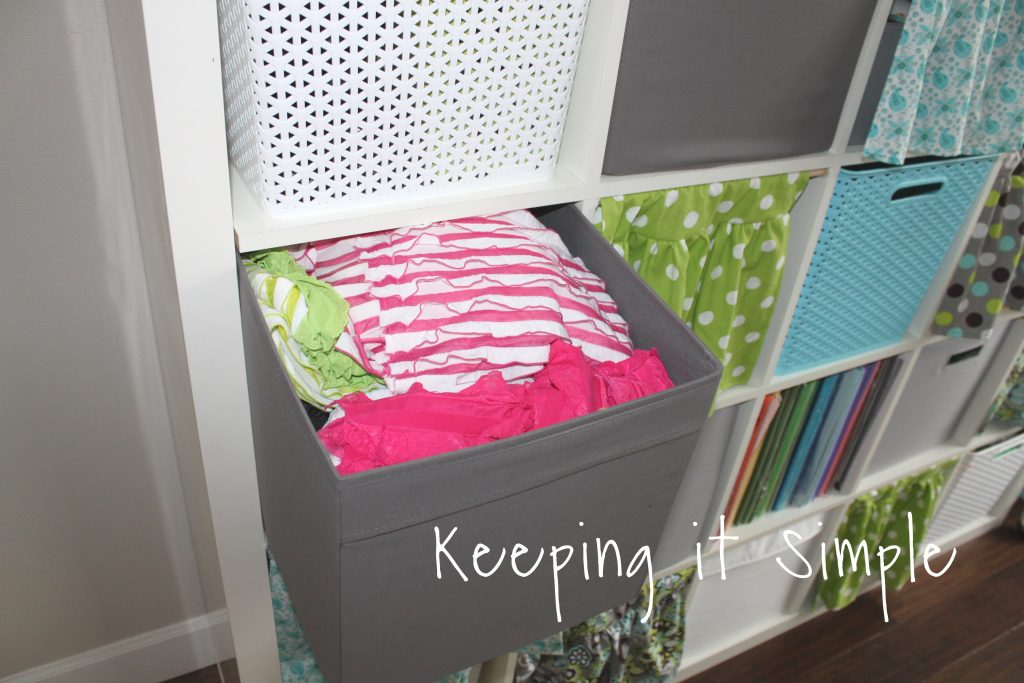
Another thing that I did was actually bought the containers that FIT in the Ikea Kallax (or the other brand ones, like Walmart and Target). These containers are a GAME CHANGER!!! Seriously I was sooooo shocked by how much fit inside one container. For example, before when I had everything organized, I used 6 cubes for just fabric. With these containers I was able to put ALL OF MY FABRIC in just two cubes!! Isn’t that incredible?! That opened up so much more room for other craft supplies. This container is the IKEA brand but I also used the Walmart ones and the Target ones. The hard baskets were from Target. I do want to say my favorite ones were either the IKEA ones or the Walmart ones because they are only $5 and are bigger (13x13x15) and the Target ones are 13x13x13. The IKEA and Walmart ones are deeper, but Target has SO MANY cuter designs and they seem to be thicker than the other two brands.
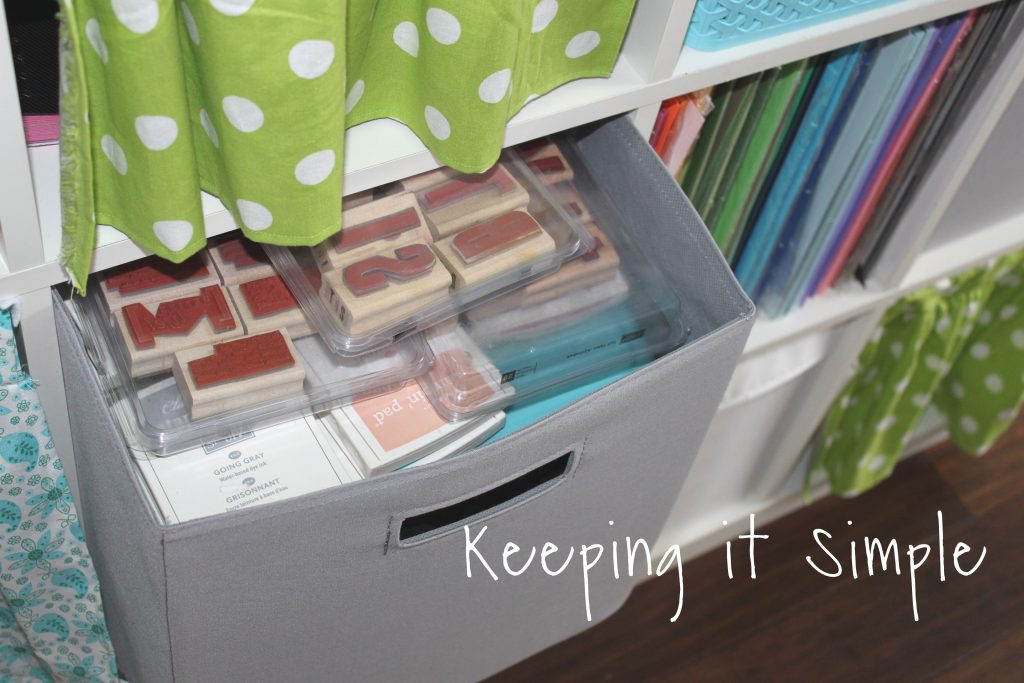
Another thing I had to do was organize all of those crafts that were in the nook (you know that disaster zone that was in the corner…). I have a lot of old craft supplies that I don’t use a ton but don’t want to get rid of. I want them to be accessible but also hidden. That’s what is so great about these storage bins!! I was shocked that I was able to get all of my stamps and stamp pads in two of the bins. Side note, this one is the Walmart brand.
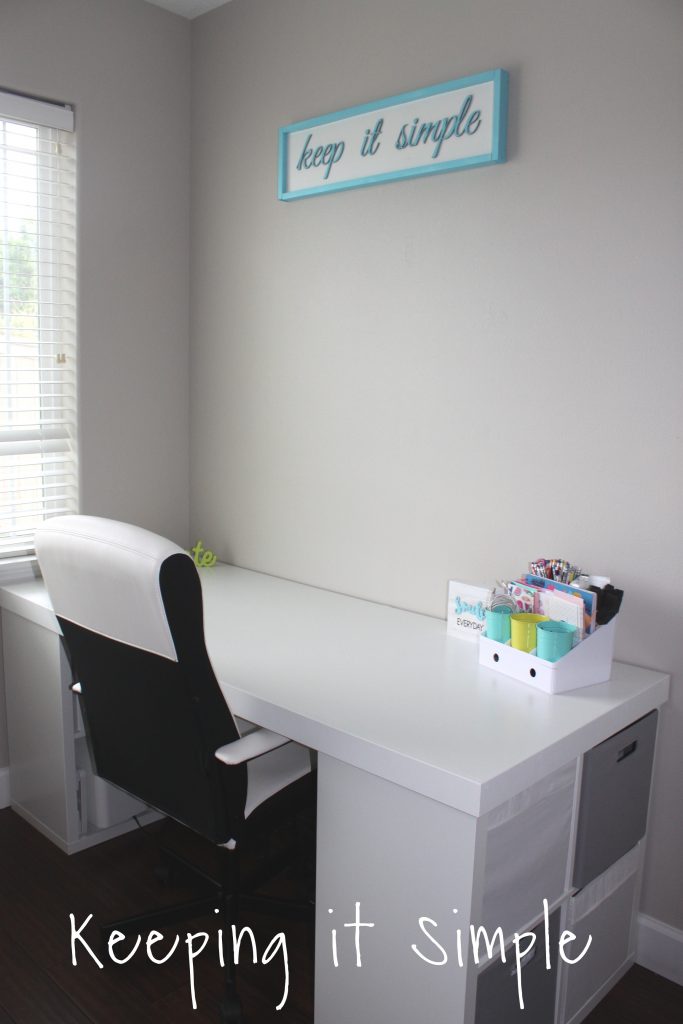
Now for the details of my awesome craft table. We used the 4 cube organizers so I can store a bunch of things in the table too. I store paper, envelopes and the office supply things in there. But also my sewing machine is under there. I got the office chair from Ikea. I even has 3 cubes that are completely empty because I didn’t need them… yet :).
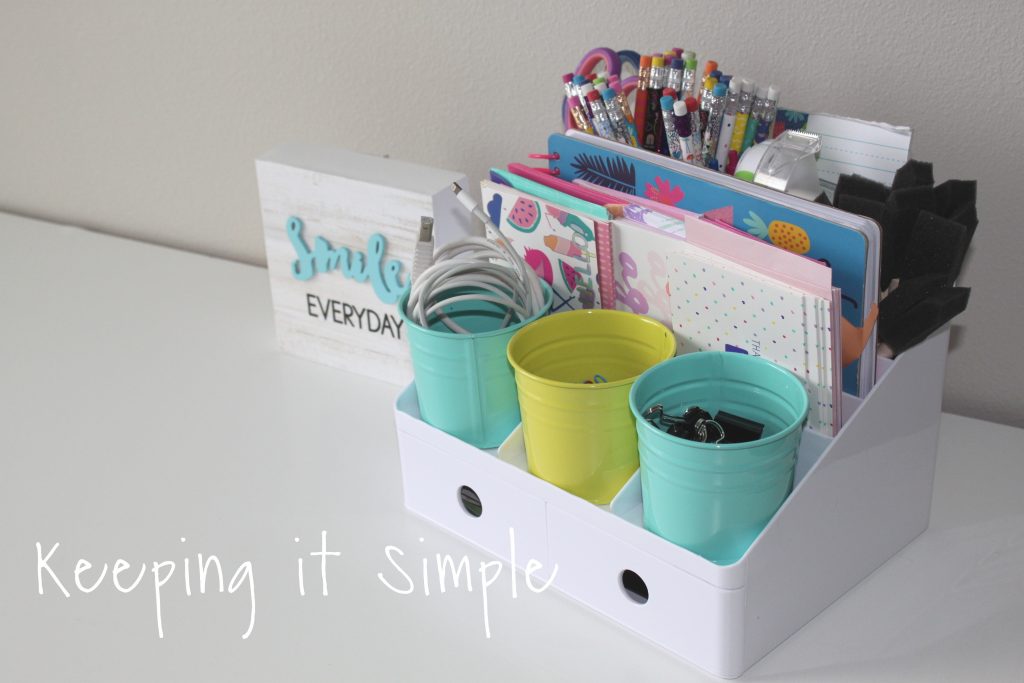
This desk organizer has been AWESOME!! I love having all of my office supplies out on display but organized and cute!
I didn’t want to have too much on the wall above my desk (in case I get a tv or a big monitor) but I did make a sign with the words “keep it simple”. It’s my motto and of course the name of my blog. I like to have that reminder that I need to keep it simple in all things. I got the wooden words from American Sign Letters.

Now for the nook. I love this corner, it just looks so much better than before. Plus the cabinet is awesome to store those big things that don’t really have a place. I have my camera and props and decor in there and a few other things. I got the fun chair from Ikea.
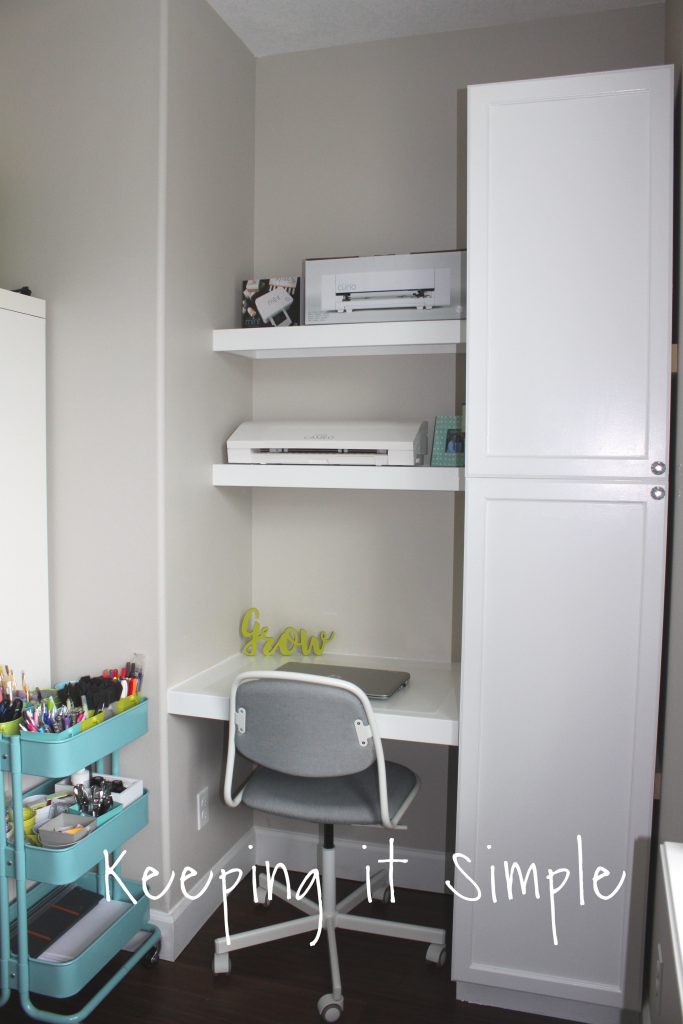
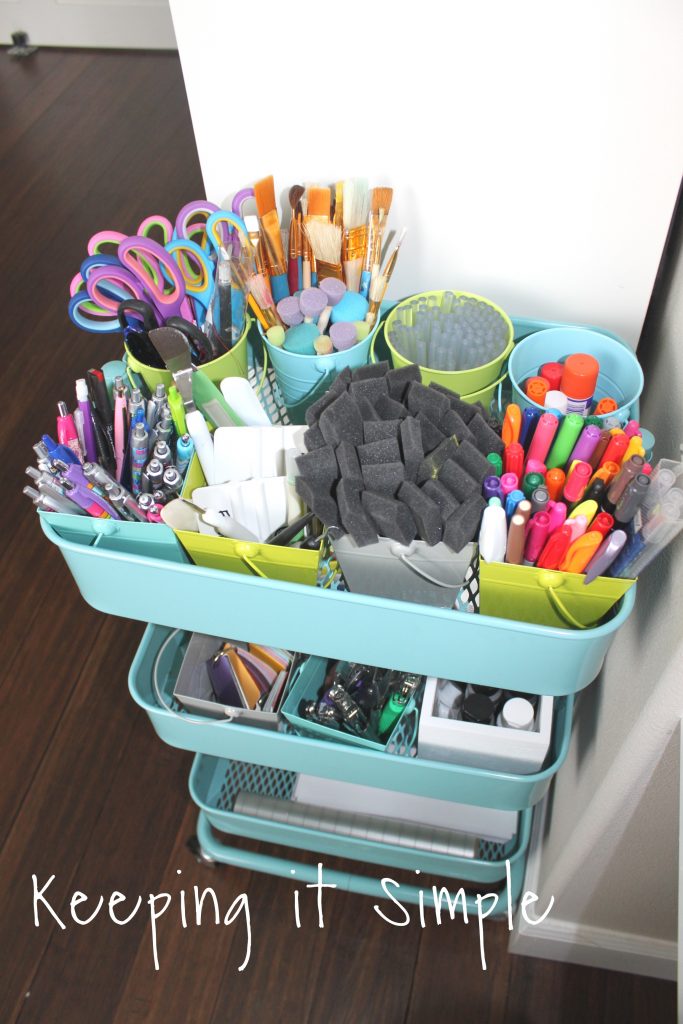
This cart is another one of those pieces of furniture that you need to have, they are awesome!!! I know you can get them from a lot of places now, but this one is from IKEA. I decided to fill it with lots and lots of craft supplies. I put all of the things that I use ALL THE TIME. You know, my go to craft supplies. Things like scissors, paint brushes, pens, markers, glue sticks, glue gun, vinyl tools, hole punches, neutral paint colors, paper trimmer and white paper. Stuff that I don’t want to have to go digging for when I need them, because I need them daily.
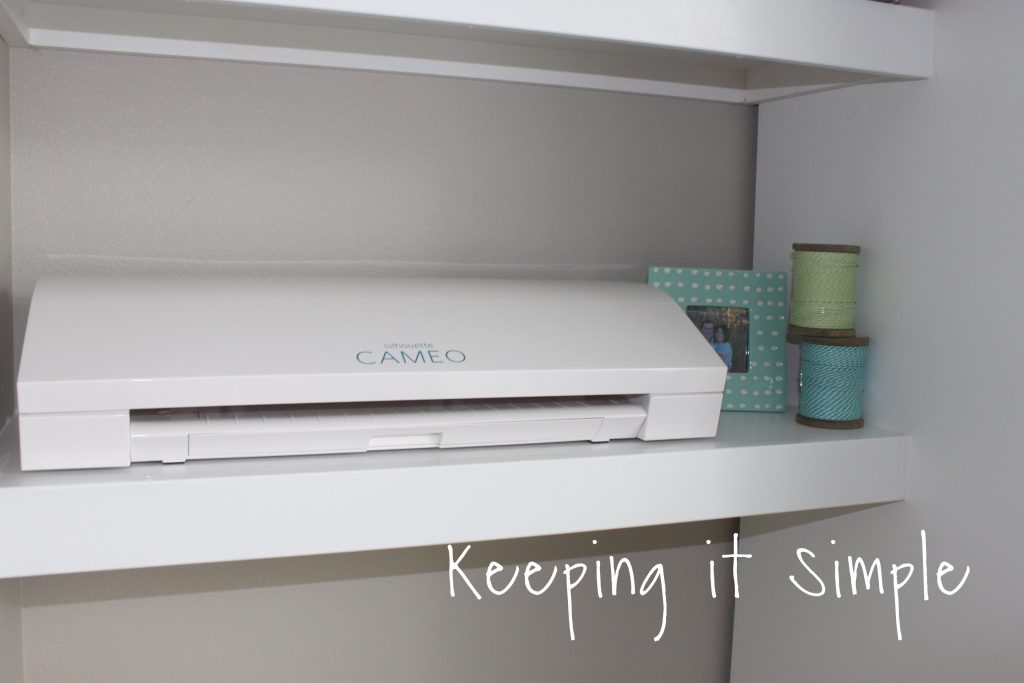
I love these shelves because they are the perfect place for my favorite crafting tool, my silhouette machines.
Above my piano I have these photo ledges and they are awesome. You could easily build them, but if you’re like me, you can just buy them. They are from IKEA too and so are the majority of the frames. I added a sign that I made and then a fun glittery k that I made several years ago.
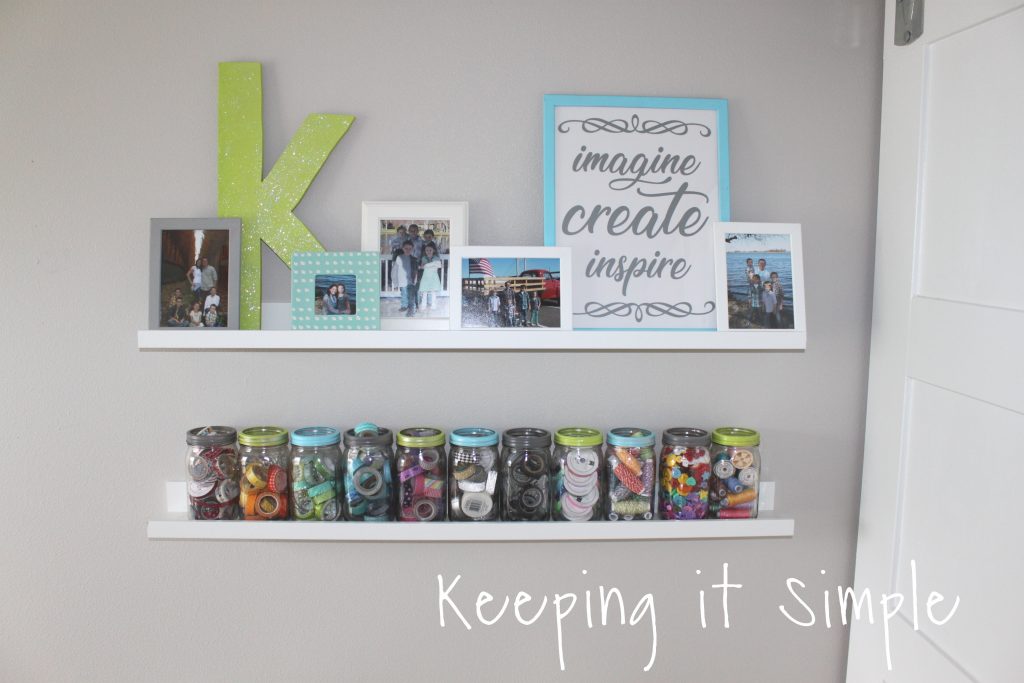
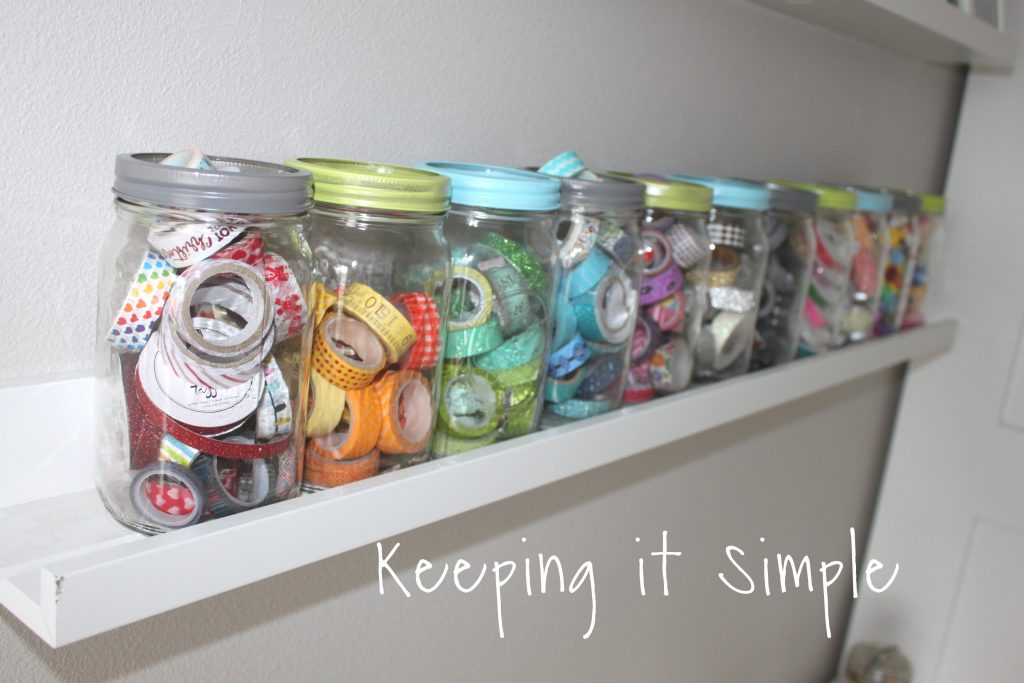
Through out the whole craft room, instead of buying a lot of decor, I decorated with my craft supplies. All of my washi tape is in these jars, separated by color. I also have thread, buttons and baker’s twine in there too.
Update, I moved the piano out and made a crafting table and vinyl work station. Get all the details about it here.

And that is my craft room! I hope that you enjoyed it and got some fun craft room ideas!!
This post contains affiliate links
Leave a Reply
You must be logged in to post a comment.