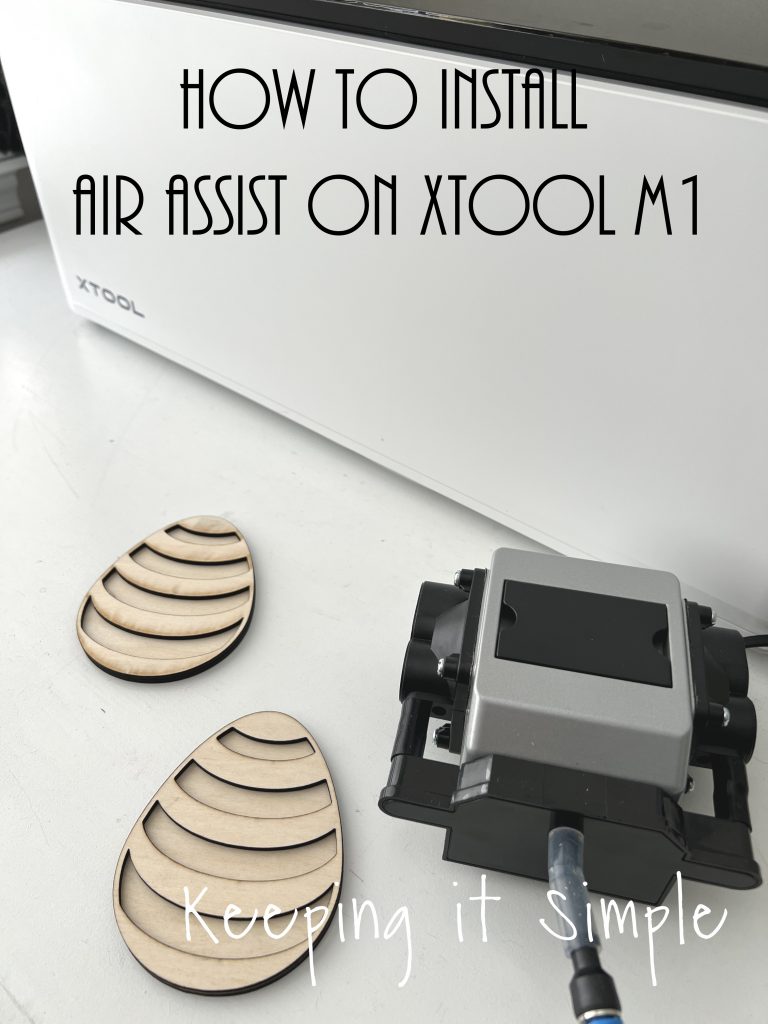
How to Install Air Assist on xTool M1- How to Prevent Burn and Scorch Marks
This post is a sponsored post. I was given the xTool M1 10w machine to review. All opinions, content and ideas are 100% my own.
If you are new to xTool and laser cutters, check out my beginner’s guide. There is lots of info there to help walk you through the process of laser cutting. There is definitely a learning curve, but in that post I hold your hand along the way.
I have been playing with my xTool M1 machine for 2 months now and I am LOVING IT! I am hooked and want to create with it almost every day. I have made a lot projects with my laser cutter in the past two months. I have cut wood, engraved wood, engraved leather and metal and much more, you can see all of those projects here. There are several things that I have learned along the way and one thing that I have learned is that there is a way to prevent burn marks and scorch marks on wood. That is a major problem with laser cutters, all laser cutters. When the laser is cutting the wood, it is burning it so of course there are going to be scorch marks. Also, there is a lot of dust particles going around the laser, so those are going to effect the laser beam as well, leaving burn marks. So what is the solution to this problem? The air assist attachment!
I had heard good things about the Air Assist. A friend of mine told me about his and how much he loved it, so I decided that I wanted it to try it out. Because this is a sponsored post, I want to let you know that I bought the Air Assist, it wasn’t given to me. I am not sure why I tell you that, I just felt like it was important to let you know that :). Anyways, back to the Air Assist attachment. So my friend told me that it made a huge difference when he was cutting wood and it intrigued me, it intrigued me enough to research it and buy one! So what is the Air Assist? The Air Assist is an attachment that you install onto the M1 (or D1, they have it for that model too) that blows air around the laser beam. The air flow helps prevent scorch marks and burn marks but also helps the laser cut deeper and make more precise cuts. It’s a pretty awesome machine.
In order to install Air Assist on xTool M1, you will have to unscrew things and replace other things. It isn’t hard to install but it’s not just plug in a tube and turn it on kind of thing. It is a little more involved than that, so I made a very detail video to show you the process, from start to finish. You can watch that video here:
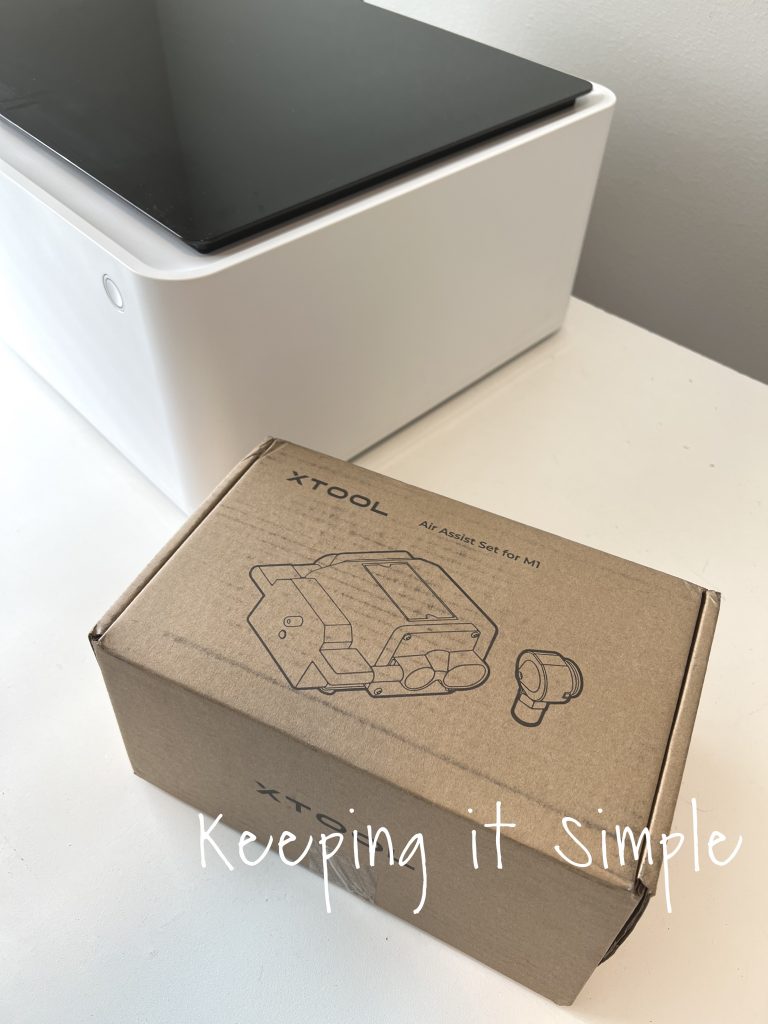
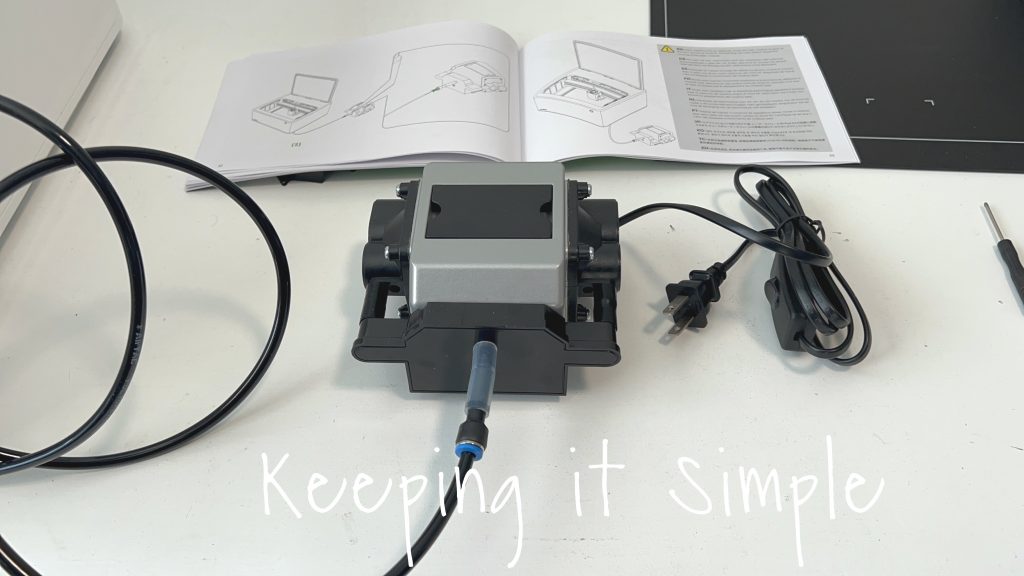
In addition to the video, I have a full tutorial on how to install Air Assist on the xTool M1. First let me show you what comes in the Air Assist kit. This is how it is packaged in the box.
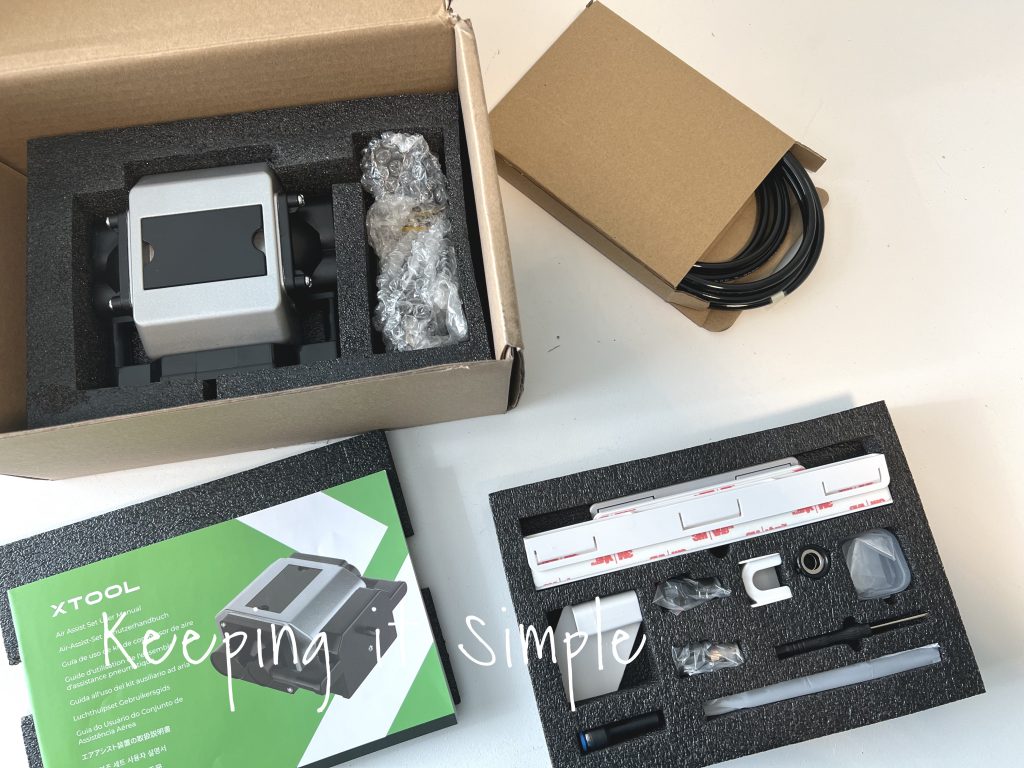
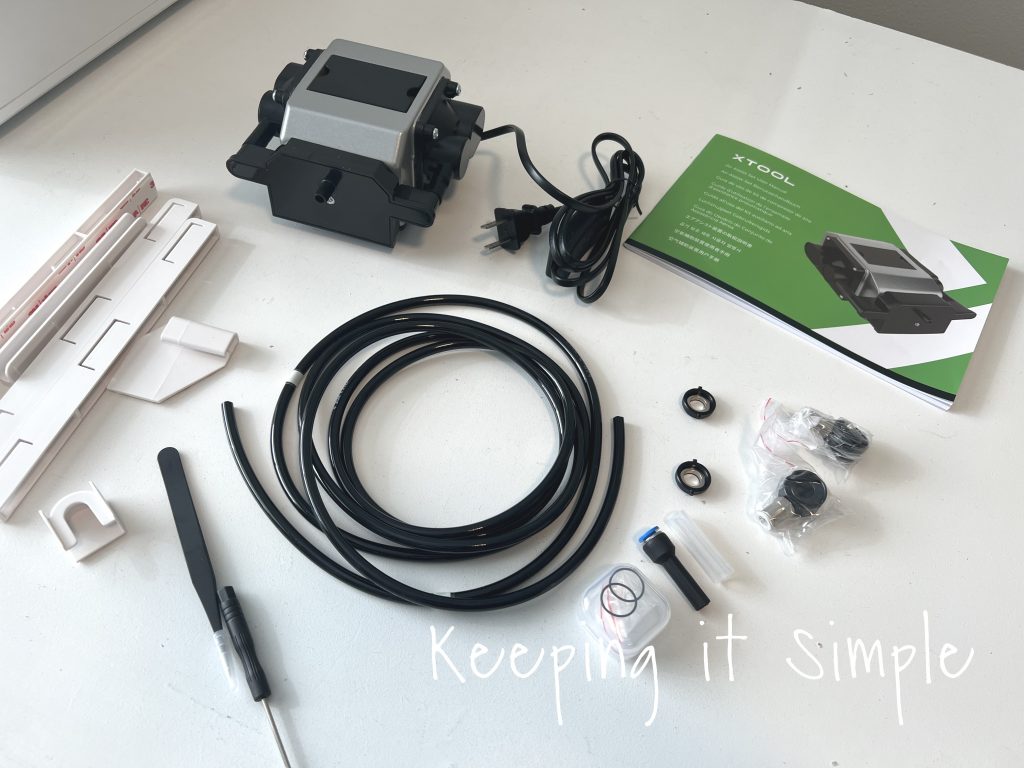
Here are all the items that are in the kit.
Air Assist machine
Plastic brackets that hold the hose
Hose
2 Lens Mount and hose attachment
Small screwdriver
Tweezers
Hose attachment pieces
Before I get started on the tutorial I wanted to mention: BE VERY CAREFUL WITH THE LASER BOX. The laser box is very delicate, so whenever you are turning the machine, make sure it is in the corner of the direction you are turning it. Turn the machine very slowly. And whenever you do not need to do something on the laser box, put it into a corner so it is protected under the plastic of the machine.
This is how to install Air Assist on xTool M1.
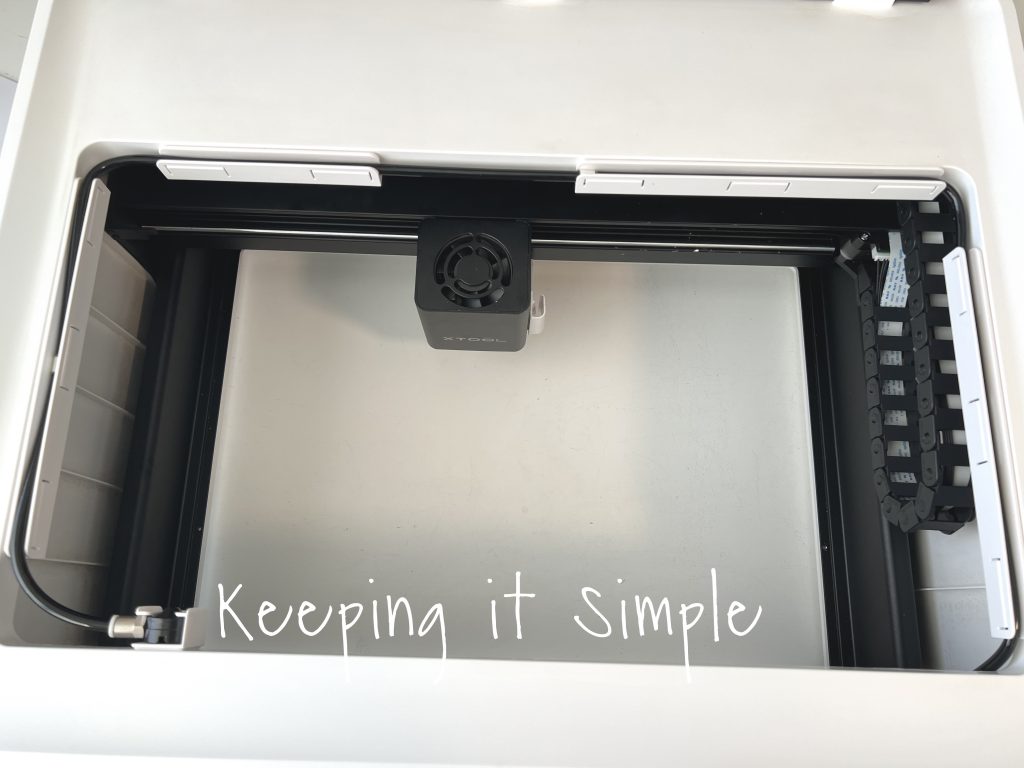
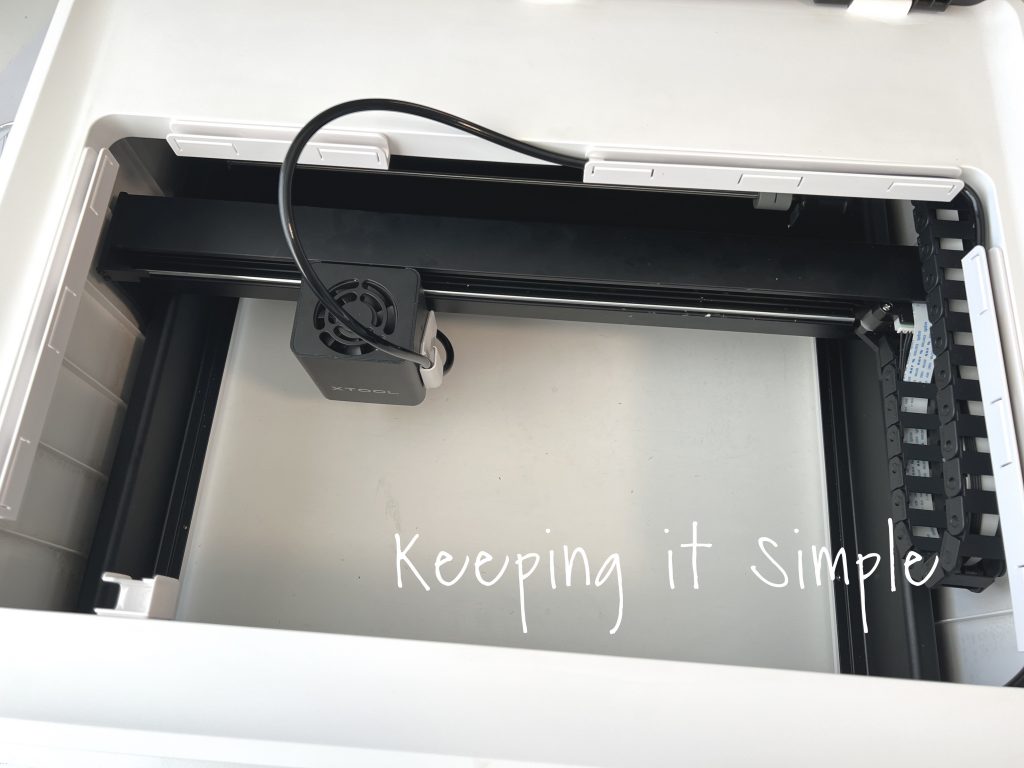
The first thing you have to do is unplug the machine and take out the base plate inside the machine. There are 5 screws that you have to unscrew and remove in order to remove the base plate. Place the screws in a safe place. Next you need to turn the machine upside down so it is on the lid. Doing this gives you access to the laser box. I didn’t take a picture of this step, but it’s all in the video.
When you are using the Air Assist, you will want to remove the blade so you don’t cut yourself. That is the first thing I did before working on the laser box.
The next step is to remove the 2 little screws that are holding the metal shield. The tiny screwdriver that comes with the kit fits the screws perfectly.

The next step is to remove the lens module. You do this with tweezers that are in the kit. The tweezers are very sharp, so be careful not to hit the lens that are under the lens module. You insert the tweezers into the little holes and then turn left. Once the lens module is off, make sure that the lens underneath didn’t move out of place.
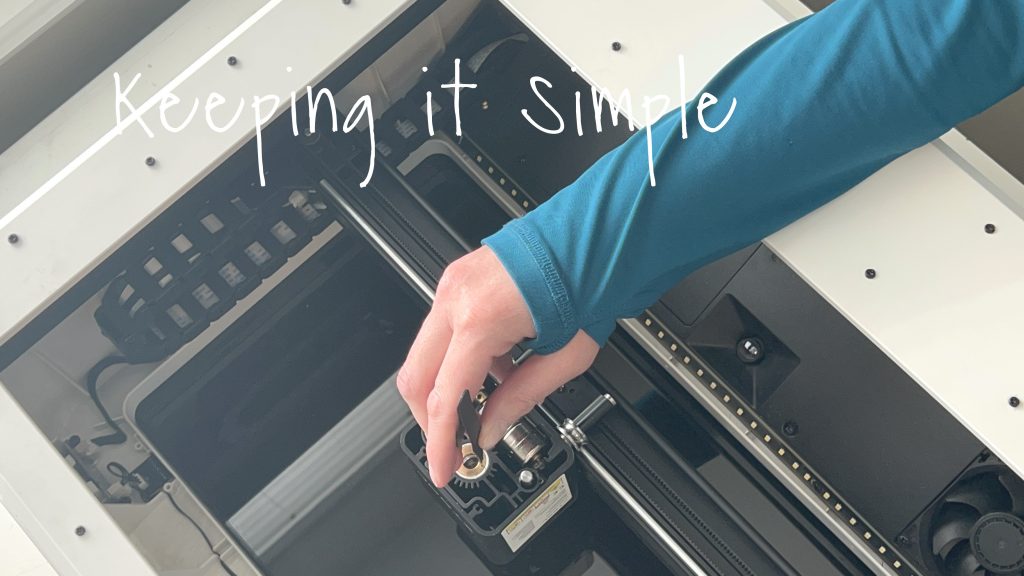
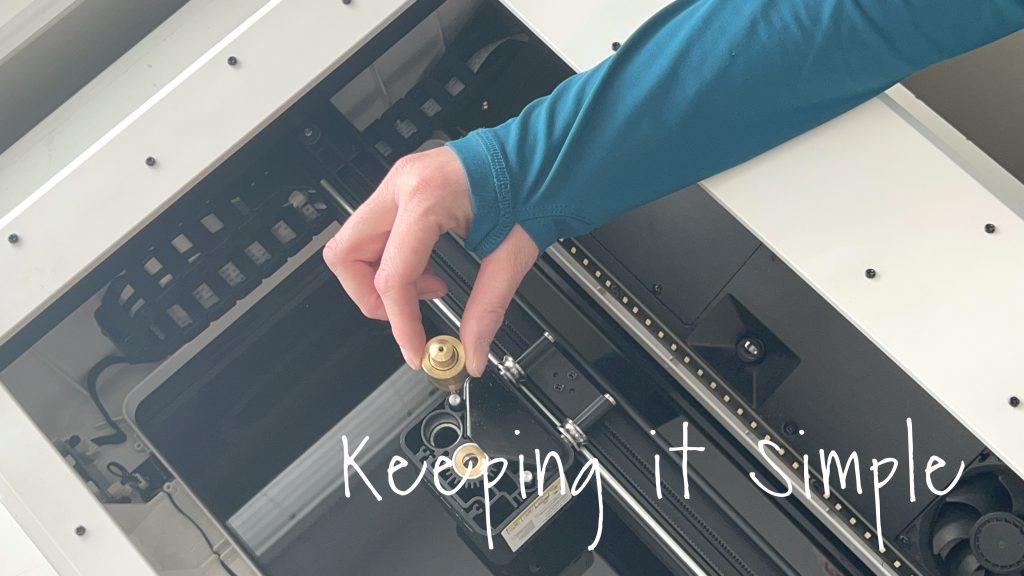
The next step is to screw in the lens mount. I didn’t get a picture of the lens mount (once again it’s in the video). There are two knobs on the side of the lens mount, you have to make sure that they are straight and parallel with the laser box (the knobs are going left and right when looking straight onto the machine). Once that is on tight and straight, you can put on the nozzle component. It is a magnetic, so it just clicks onto the lens mount.
The next thing you do is attach the hose to the nozzle. Make sure you attach the side of the hose that has the white marks on it, those are important for placement.
Now time to flip the machine again and work on adding the plastic brackets on the sides inside of the machine. I cleaned my machine really good with rubbing alcohol before putting the brackets on. When you are putting on the brackets, make sure to play close attention to the pictures in the instructions. The two brackets that are closest to the laser box (the ones at the top of the picture) need to be placed like in this picture. Especially the one on the right, it is supposed to be fairly close to the side. The second white tape mark is supposed to line up with left side of the bracket. That allows the hose to move freely within the machine without the hose getting in the way.
There is a little bracket to hold the nozzle when the Air Assist is not in use.
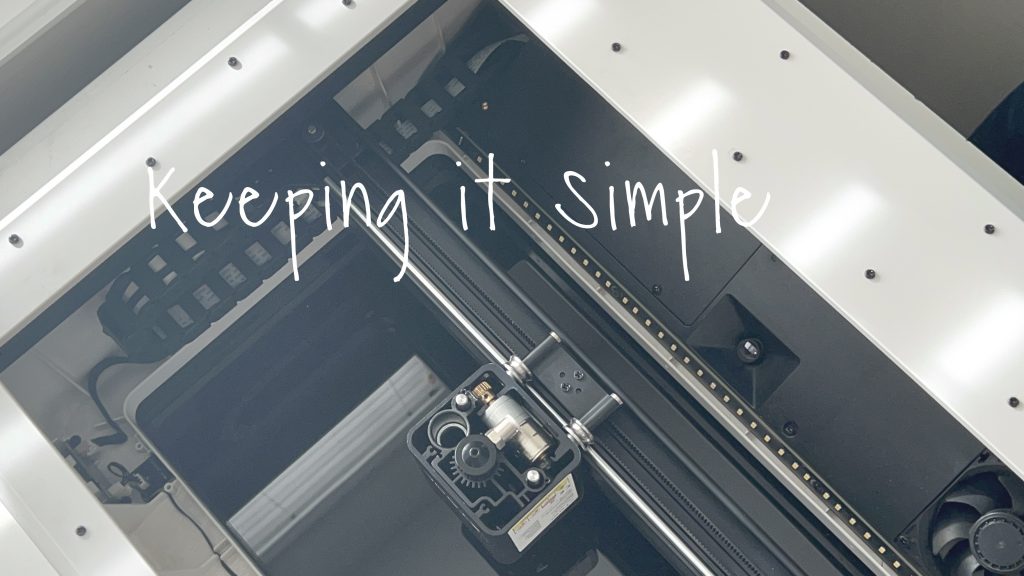
This is how the hose looks when the Air Assist is hooked up and ready to use. The first white mark on the hose is supposed to match up with the top of the bracket that is on the side of the laser box and then second mark on the right bracket in the back. Once you have the hose hooked up, you will want to gently move the laser box to all 4 corners to make sure that the hose doesn’t get stuck and moves freely. If it doesn’t, you will need to adjust the hose or brackets. The end of the hose goes to the corner and under the machine. There is a little gap in the base plate for the hose to fit.
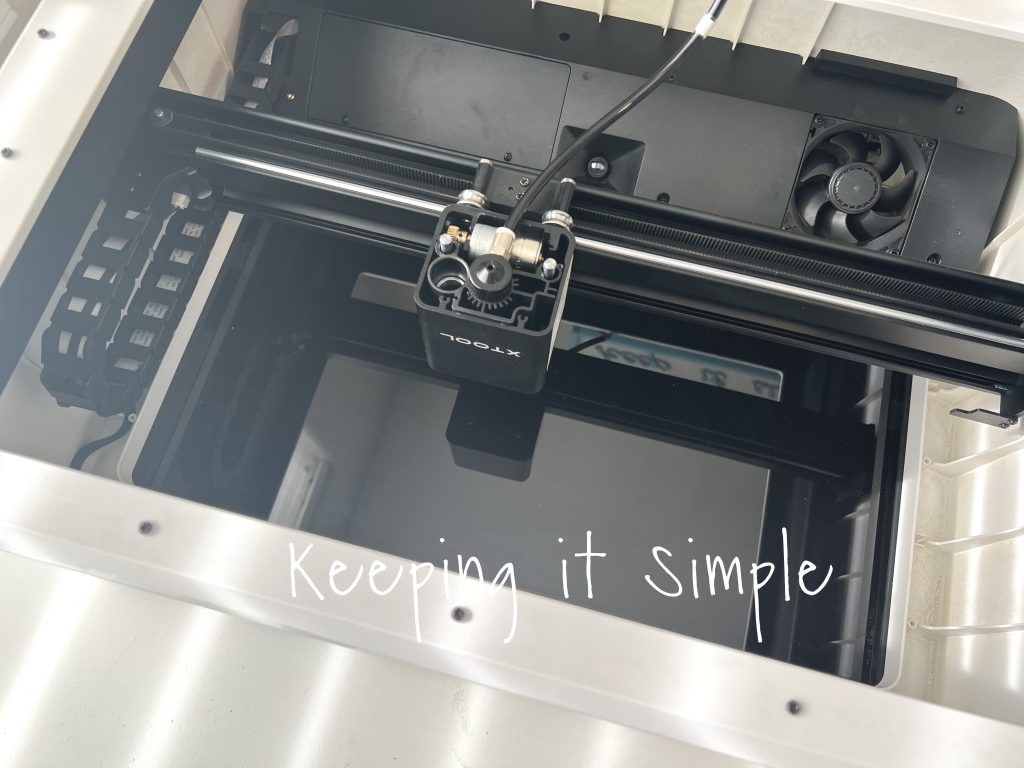
Once the hose is all hooked up to the laser box, it’s time to attach it to the Air Assist machine. First you put the clear plastic tube on, insert the attachment piece and then insert the hose. After this, the next step is to put the base plate back into the machine and screw it back in.
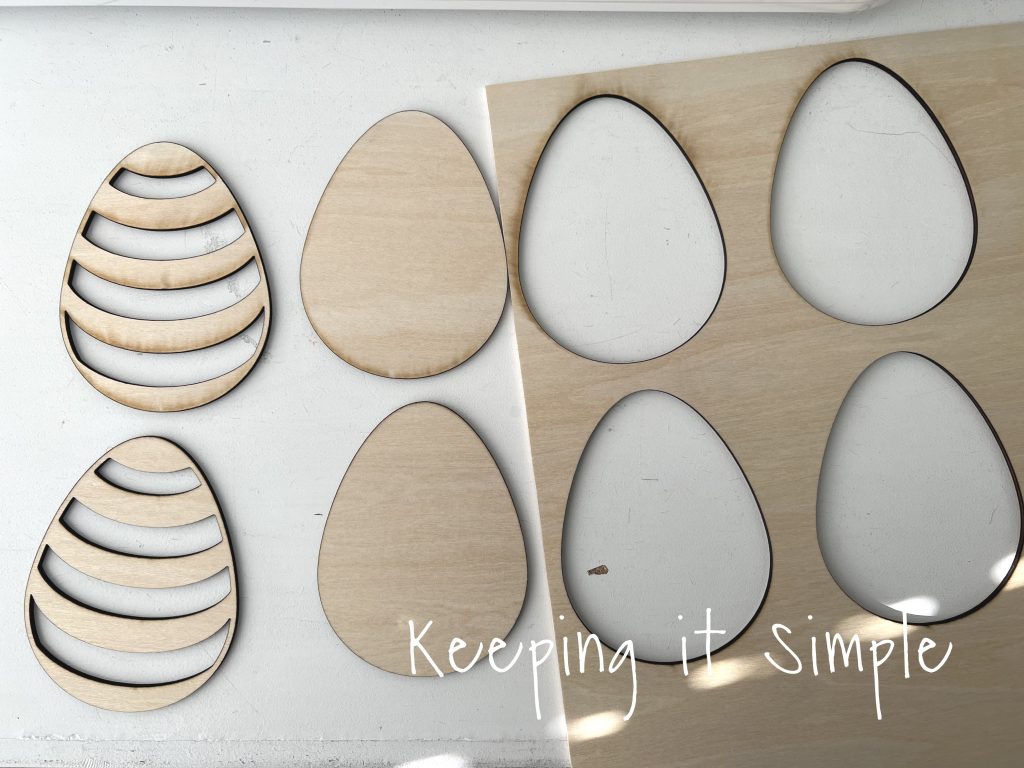
Now it’s time to test out cutting wood with the Air Assist and without. I did the exact same cut, one with the air flow and one with out. I was shocked by the difference! I used basswood plywood for both cuts.
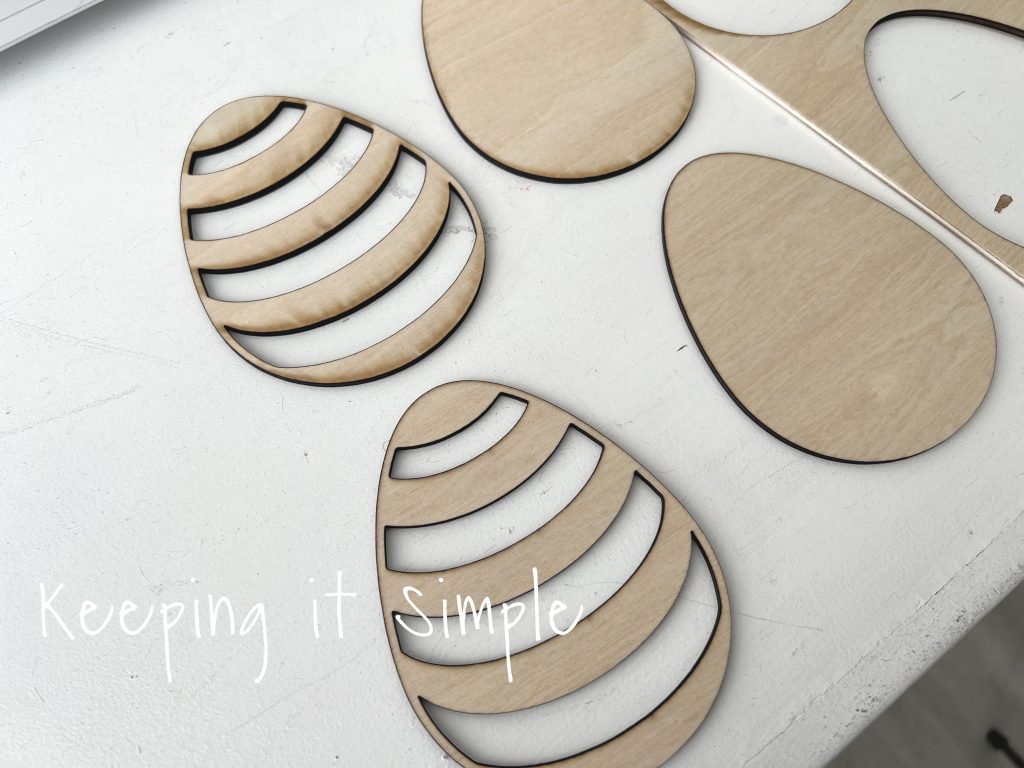
Here they are side by side. The top ones were cut without the Air Assist and the bottom ones were cut with the Air Assist. I wanted to do a design that showed a simple cut and one with more details, just to show how many scorch marks can be on the wood when it’s cut. The more cuts you have, the more chance of having the scorch marks. I was impressed by how good the one turned out using the Air Assist.
If you want the design, here is a SVG file :).
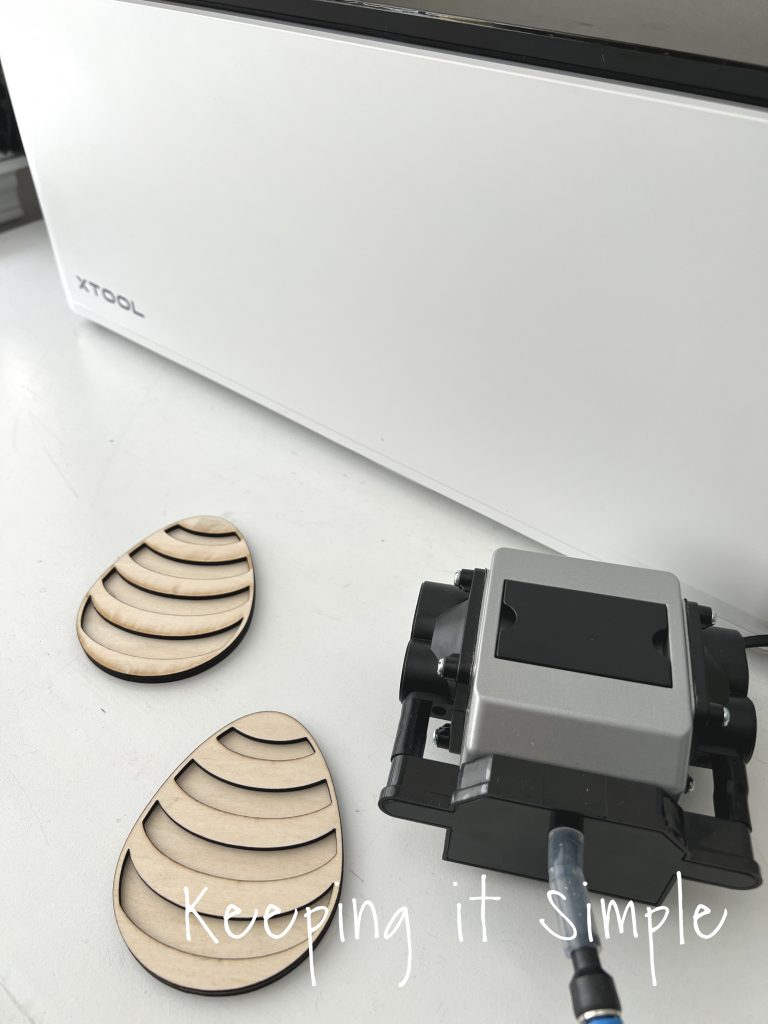
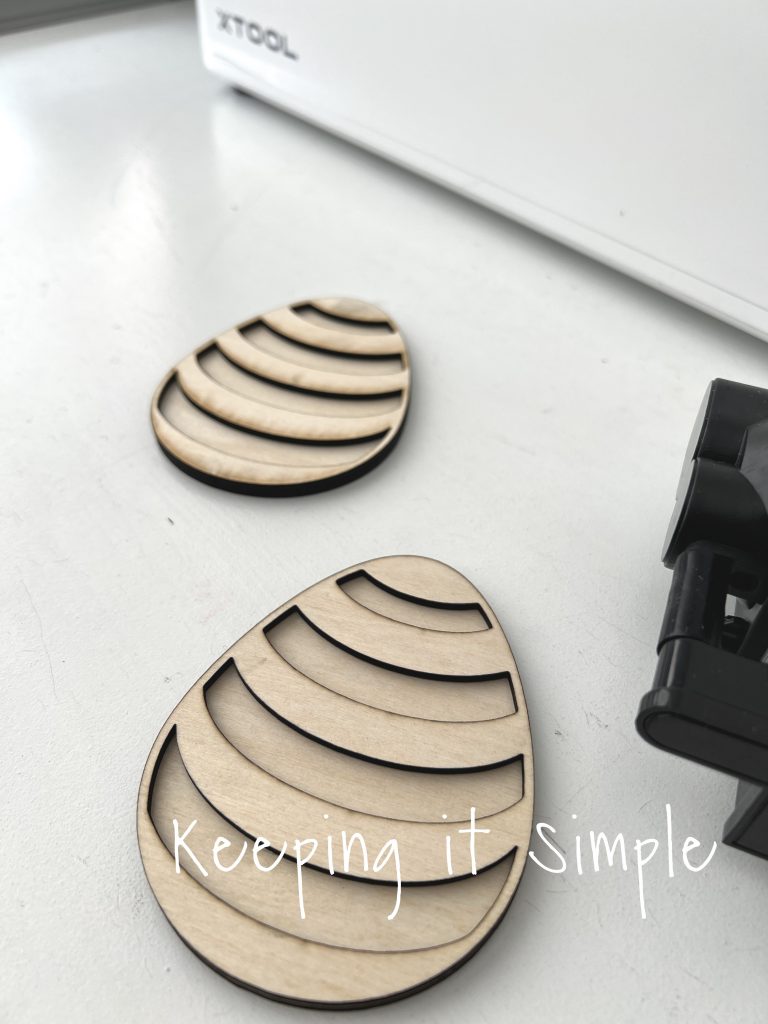
Here is a close up, I can’t wait to use the Air Assist whenever I cut wood for here on out.
I glued the two layers together to make a cute layered Easter egg!

The xTool M1 is an amazing machine and you can make wonderful things without the Air Assist attachment kit. There is another option for preventing scorch marks and burn marks, you can put masking paper onto your wood before cutting. It definitely helps with the scorch marks but it’s A BIG PAIN! It’s just a whole other step that you have to do, you have to put it on and then peel it off after it is cut. And if you are doing a very intricate cut, peeling off masking paper sounds miserable. No thank you! The more cuts you do, the more masking paper you will need and it definitely starts to add up. For me, installing the Air Assist was the best option for sure. I just wanted to let you all know that it’s not the only option for preventing scorch marks :).
Make sure to check out all of my other laser cutter projects here!
This post contains affiliate links.
Leave a Reply
You must be logged in to post a comment.