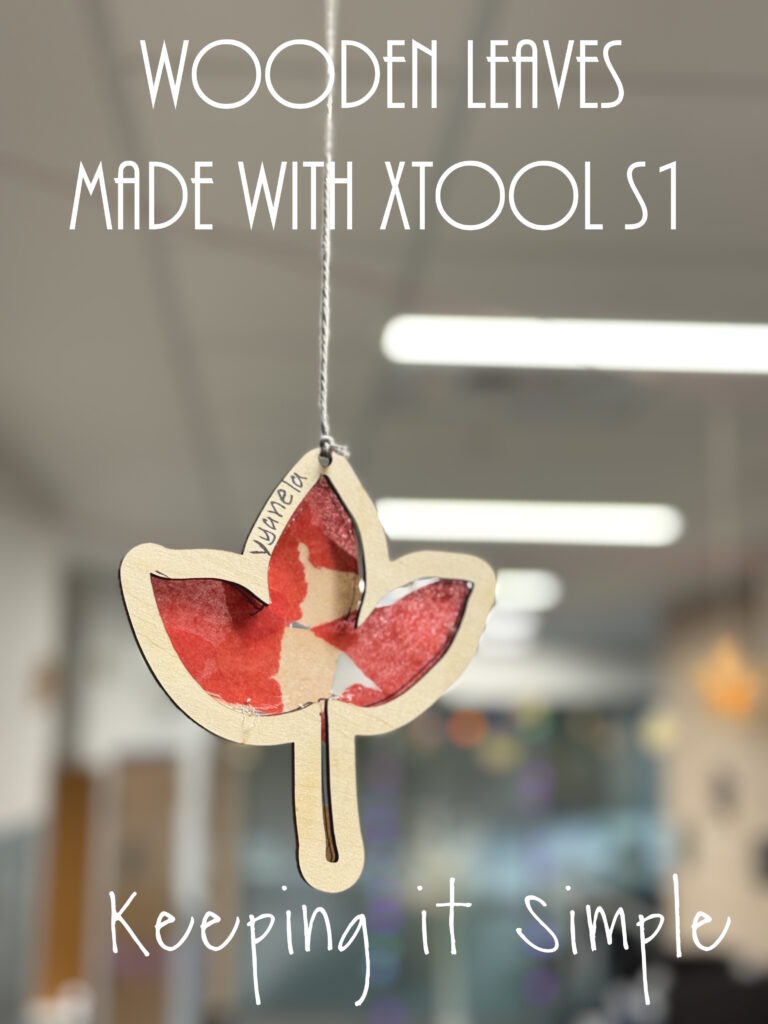
Autumn Kids Craft Idea- Wooden Leaves Made with xTool S1 Laser Cutter
This fall there were some pretty big changes in our house. For the first time in 15 years, I started working. It’s been a crazy few months but it’s been really fun to be working again. I am working at my kids’ high school, in the life skills room as a paraeducator. The class has some amazing kids and we have fun in there. We had our own little hallway in the school and our teacher loves to decorate it with holiday decor. We love to have crafts that the kids can make and then we display them in our hallway. I wanted to come up with a autumn kids craft idea that would be easy to do. Since I work in the life skills class, the ability levels of the kids are different. These wooden leaves were great for the kids to do. Some kids could do it all by themselves, some needed help. They all turned out great and I love how they look hanging in our hallway.
This is how I made the wooden leaves, using my xTool S1 laser cutter.
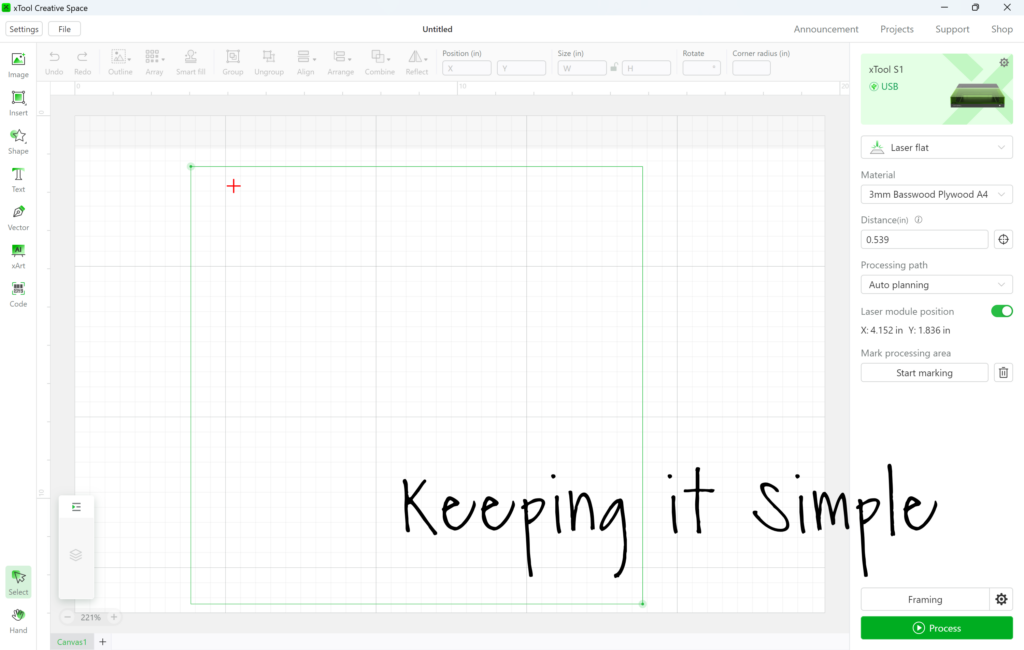
The first thing I did was open up xTool Creative Space. The xTool S1 using point positioning instead of a camera to position the laser. At first I was a little skeptical of this new technology, but after using it for a little bit, I am loving it. The camera positioning system was really nice because it was easy and quicker but it wasn’t exact. There were multiple projects that I made with my M1 that I didn’t get the engraving or cutting lined up perfectly. The point positioning is excellent and the cuts are exactly where I want them to be.
As I said before, it isn’t as quick of a process as the camera. With the M1, all you had to do was close the lid and the image came up in XCS. For the S1, you have to mark the area. To do this, I clicked on the start marking button.
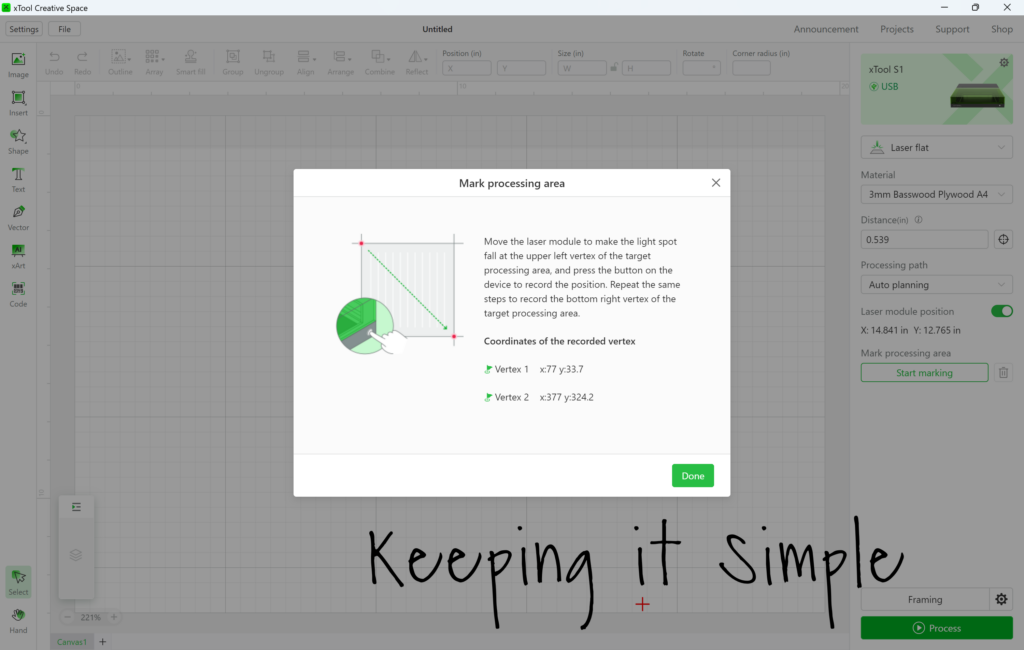
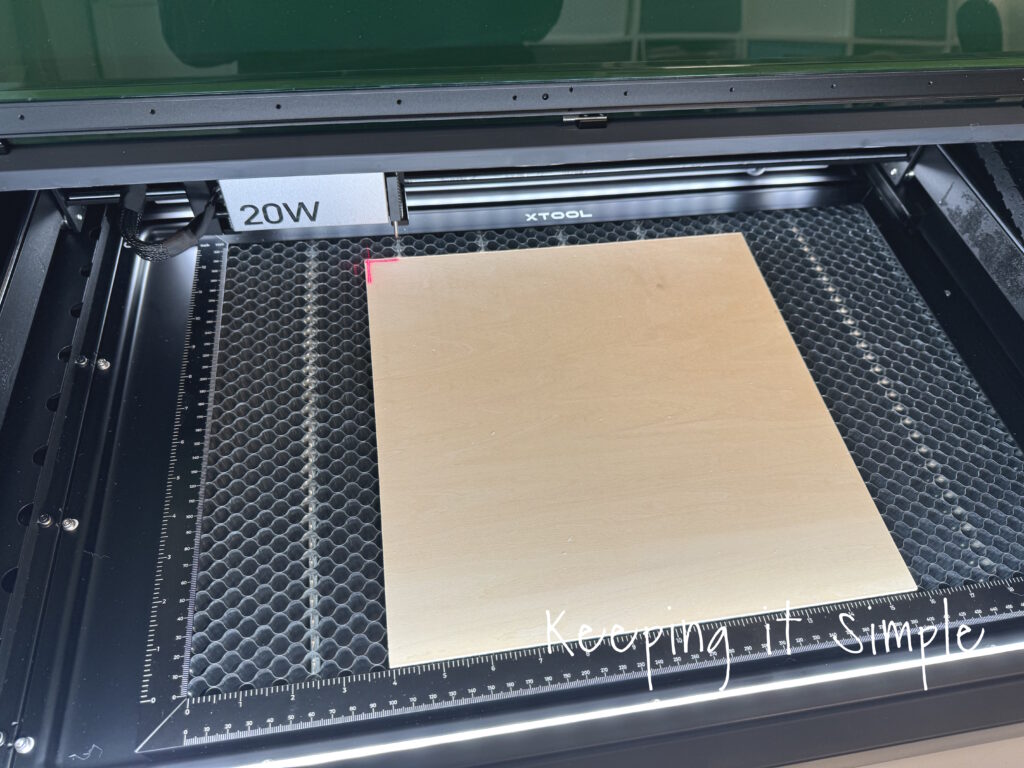
Once I pushed the button, I positioned the laser module to the top left corner of the 3mm basswood plywood. I then pushed the button on the machine (not on the computer).
I then moved the laser module to the bottom right corner and pushed the button on the machine again.
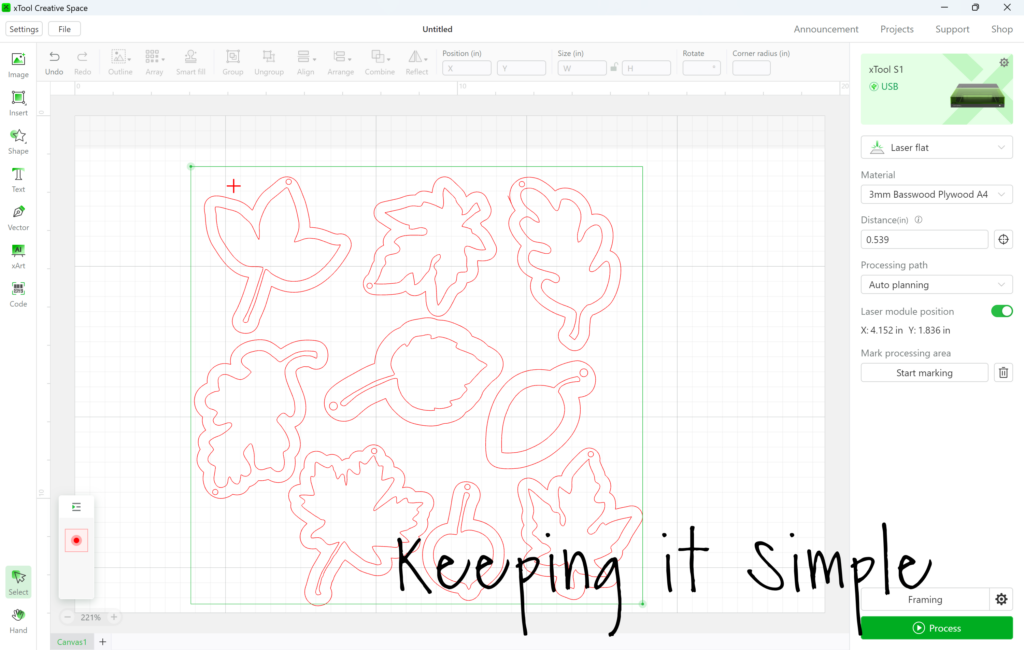
Once that was done, I clicked done on the computer and the rectangle came up onto XCS. The little red cross is where the laser module is positioned, it moves when you move the laser module.
Once I had everything measured, I opened up the wooden leaves as a SVG file. I did this by clicking on the image button and clicking the wooden leaves SVG file. You can get that file here:
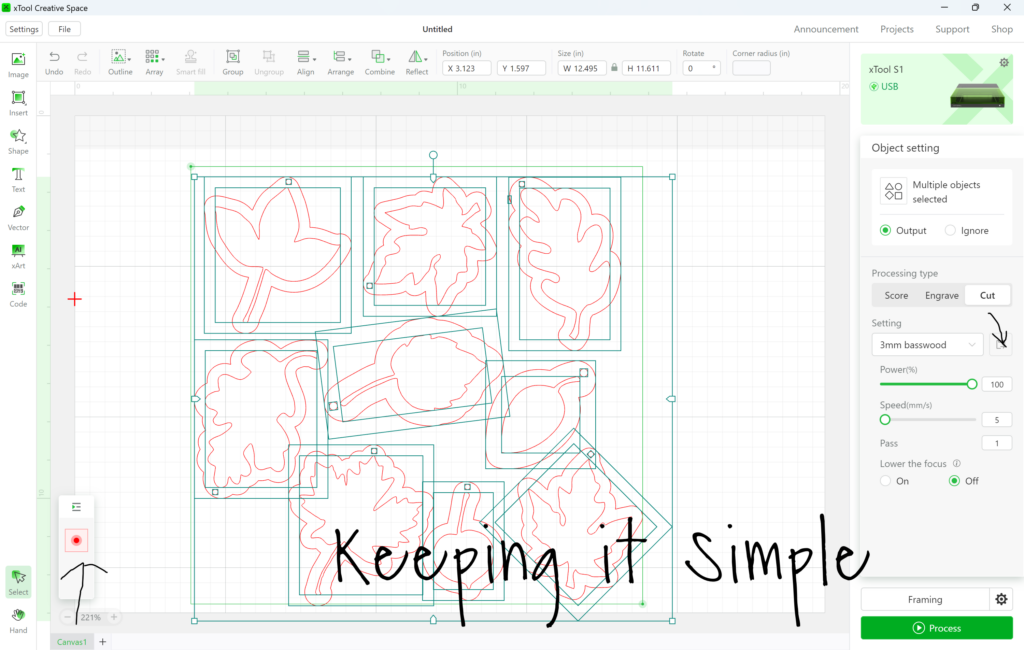
Once I got all of the leaves sized, I group them individually and then set them to be cut. There are a couple ways that you do the power settings for the machine. You can choose the material as 3mm basswood plywood from the drop down menu or you can put in the setting manually. It’s really a personal preference. If you want to do put in the power settings manually, here is a great chart that has suggested power settings for the different xTool machines. For the xTool S1 20W, the recommended settings are:
Power: 100
Speed: 7
Pass: 1
With the manual settings, you can play around with the settings and see which ones you prefer. You can then save the different settings, so you don’t have to remember them all.
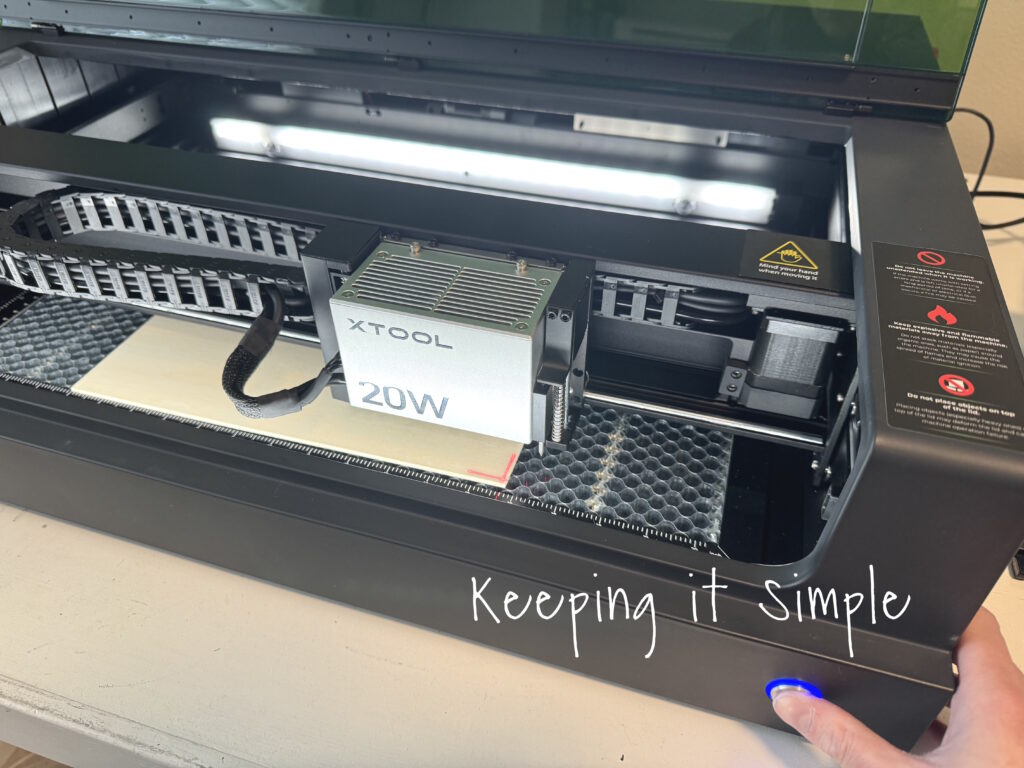
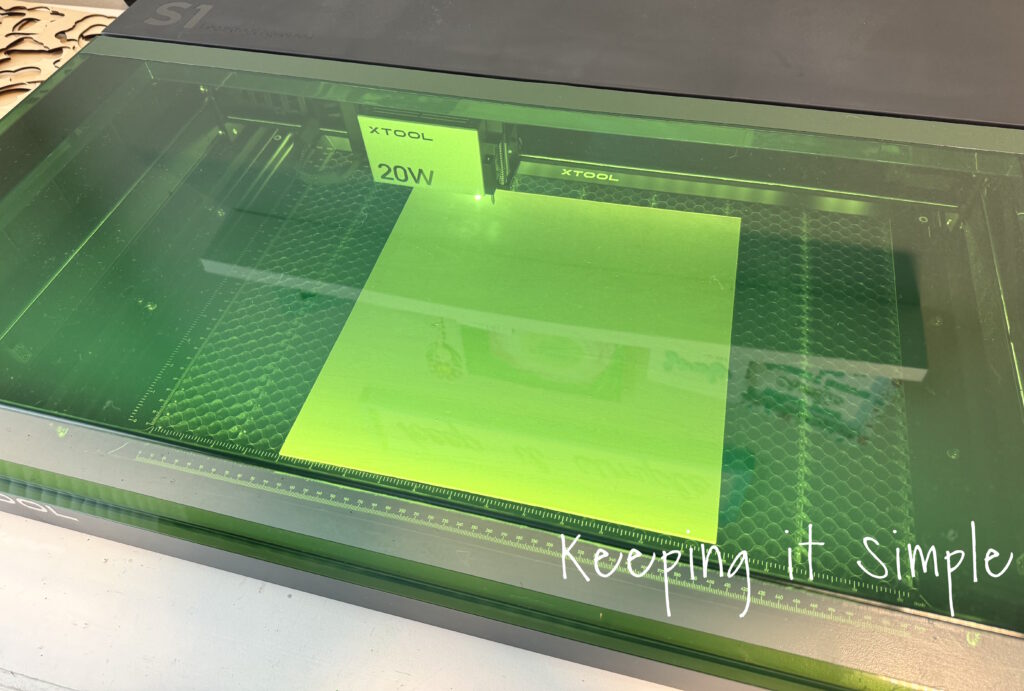
Once I got everything all set up in XCS, I then sent it to the xTool S1. I turned on the air assist and let the machine work it’s magic.
Here are the wooden leaves all cut out and ready for the kids to decorate.
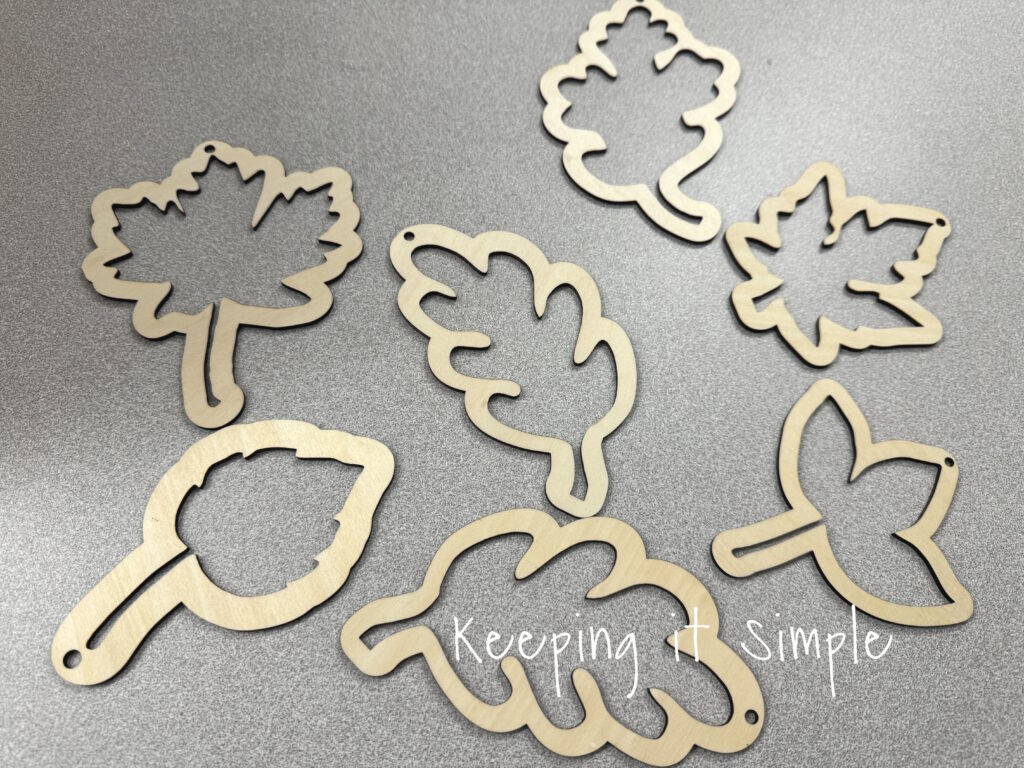
One perk of these wooden leaves is that you can use the inner leaves too. You could paint them, use mod podge and put tissue paper on them or just leave them blank. You could also engrave them and have them be Thanksgiving place holders. Lots of options!

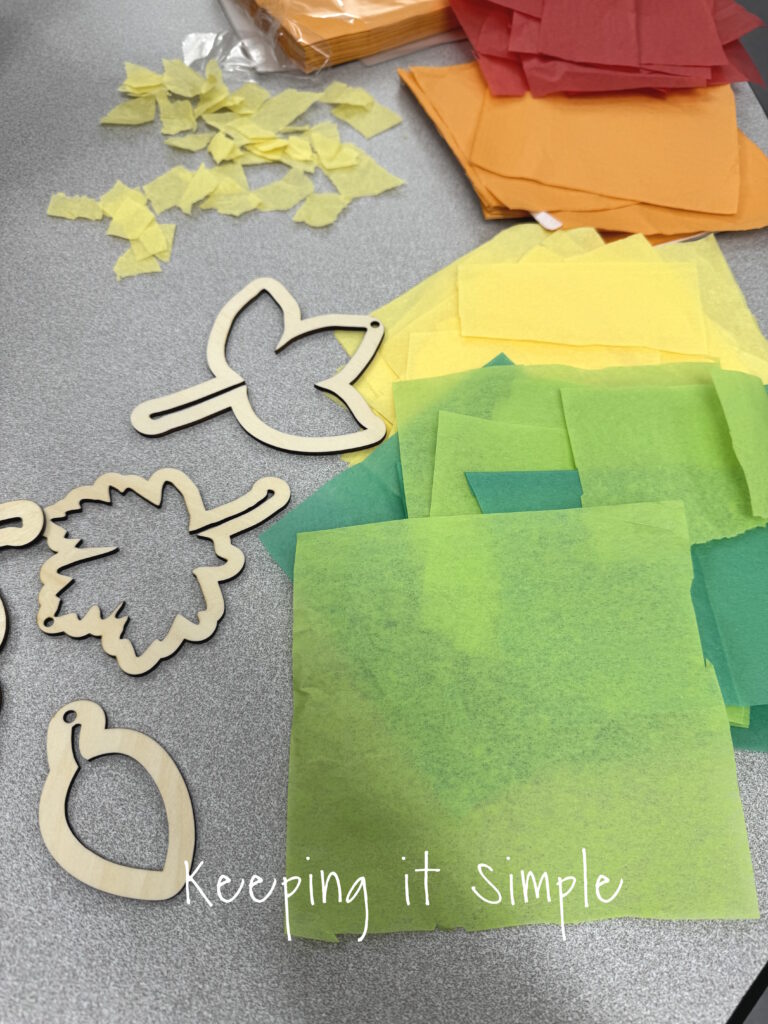
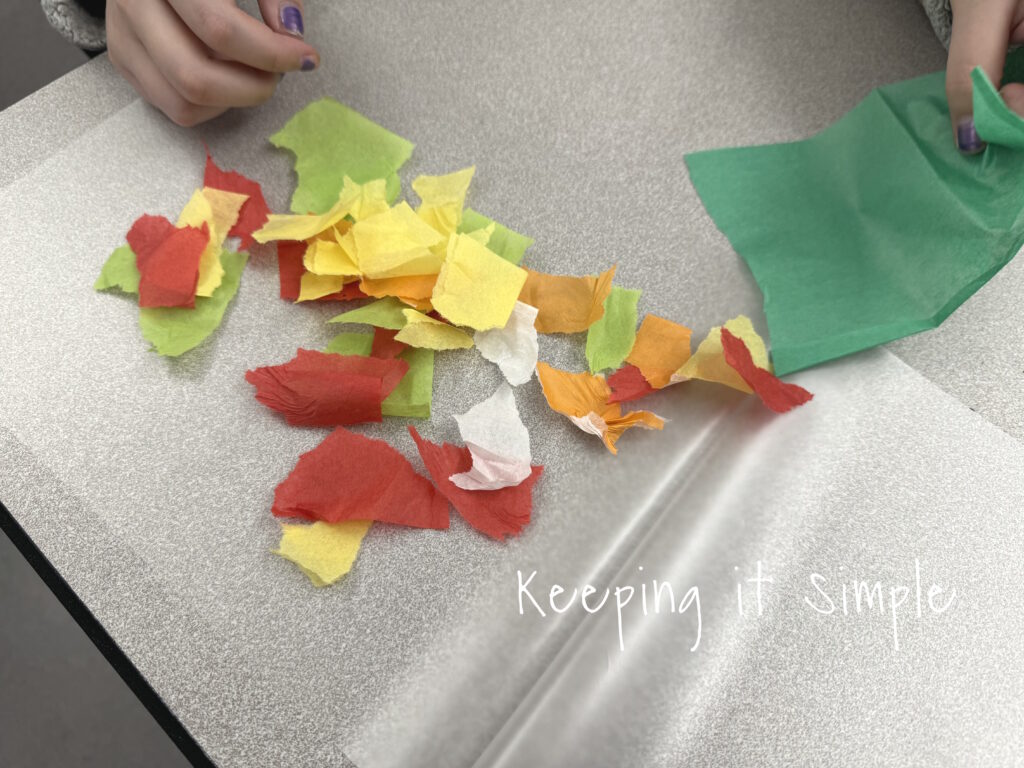
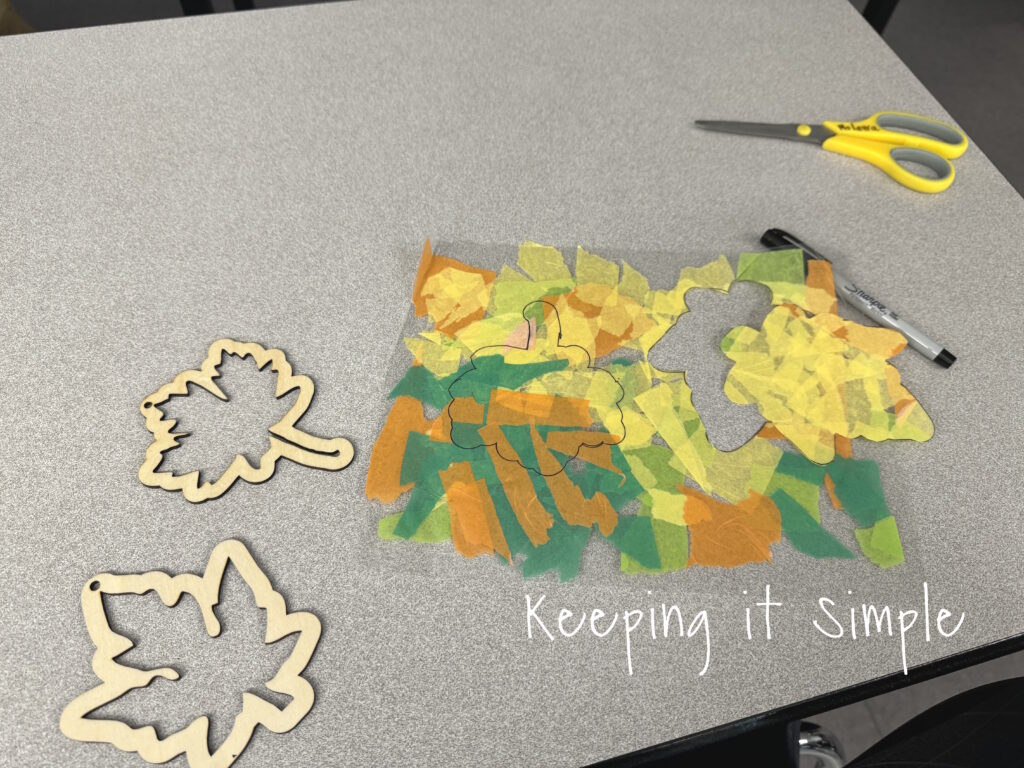
For the center of the leaves, I wanted the kids to be able to decorate it without it being too difficult. I thought it would be fun to turn them into a sun catcher kind of thing, so the light could go through them. I used tissue paper for the colors. I cut them into small squares and then let the kids pick out what ever colors they wanted and then they ripped the paper into small pieces. I also used napkins because I couldn’t find orange tissue paper.
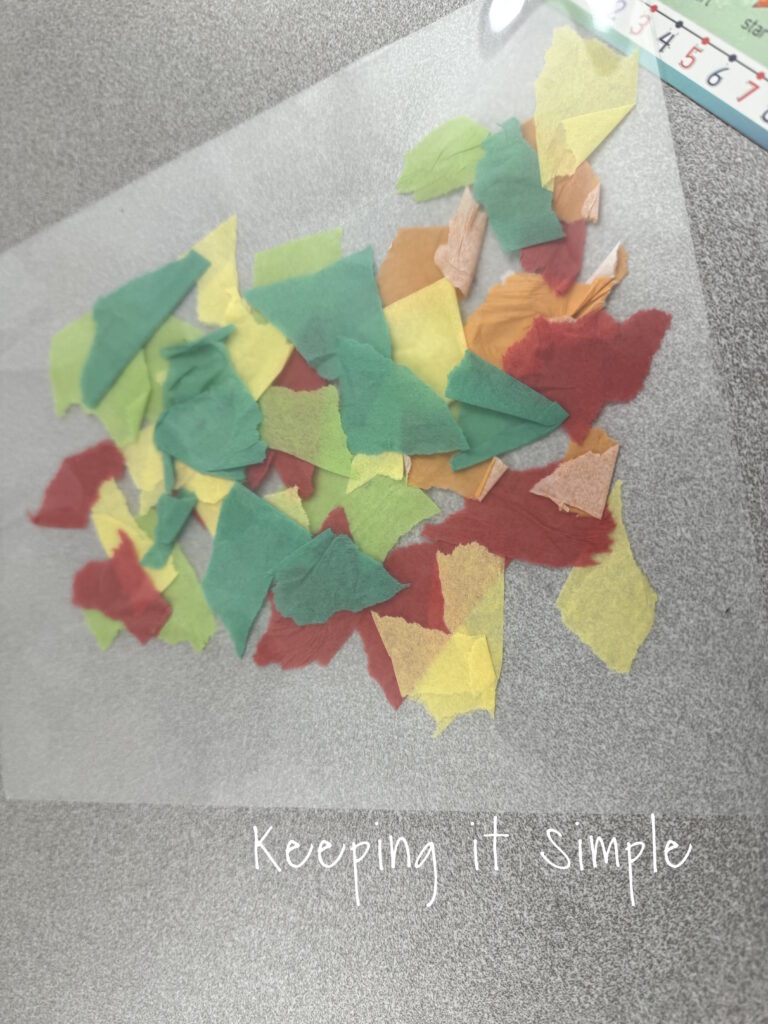
To keep the tissue paper together, we used laminating sheets and laminator that we have in our classroom. The kids put the pieces into the laminating sheets and once they were done with it, I closed the laminating sheet and then put it into the laminator.
Here it is all ready to go into the laminator.
Once the tissue paper was laminated, the kids traced the outside of the leaves onto sheet and then cut out the leaf. Once they cut it out, I glued the tissue paper onto the back of the leaf with a glue gun.
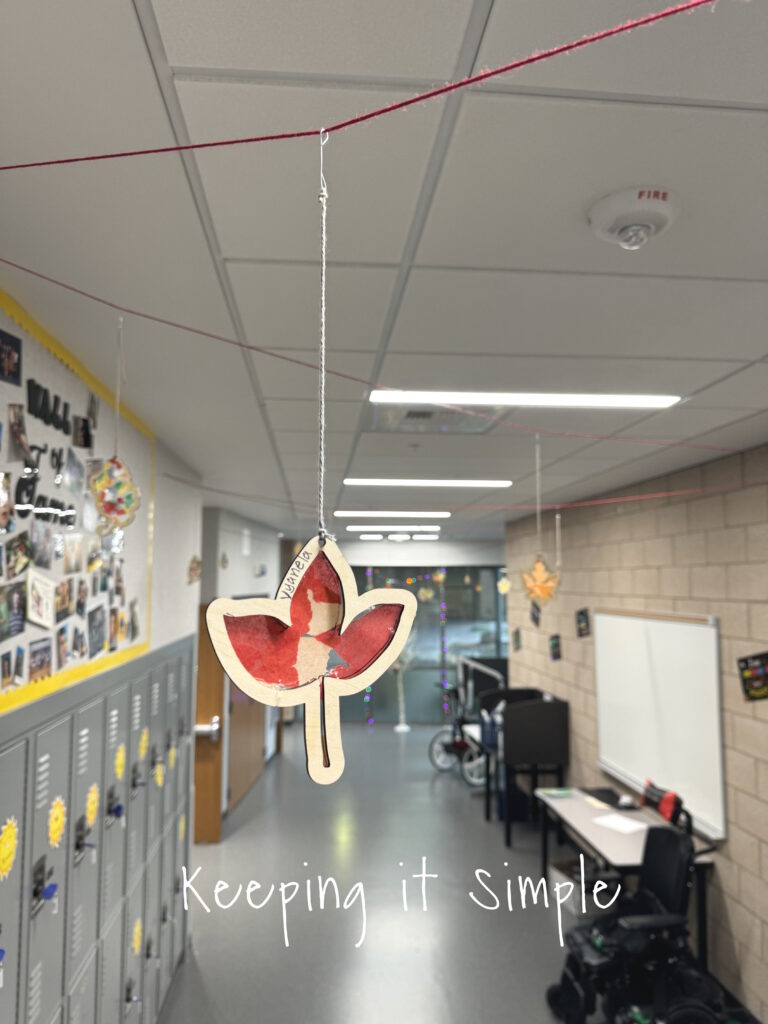
Then we tied string to the leaf and hung them up in the hallway using ornament hooks.
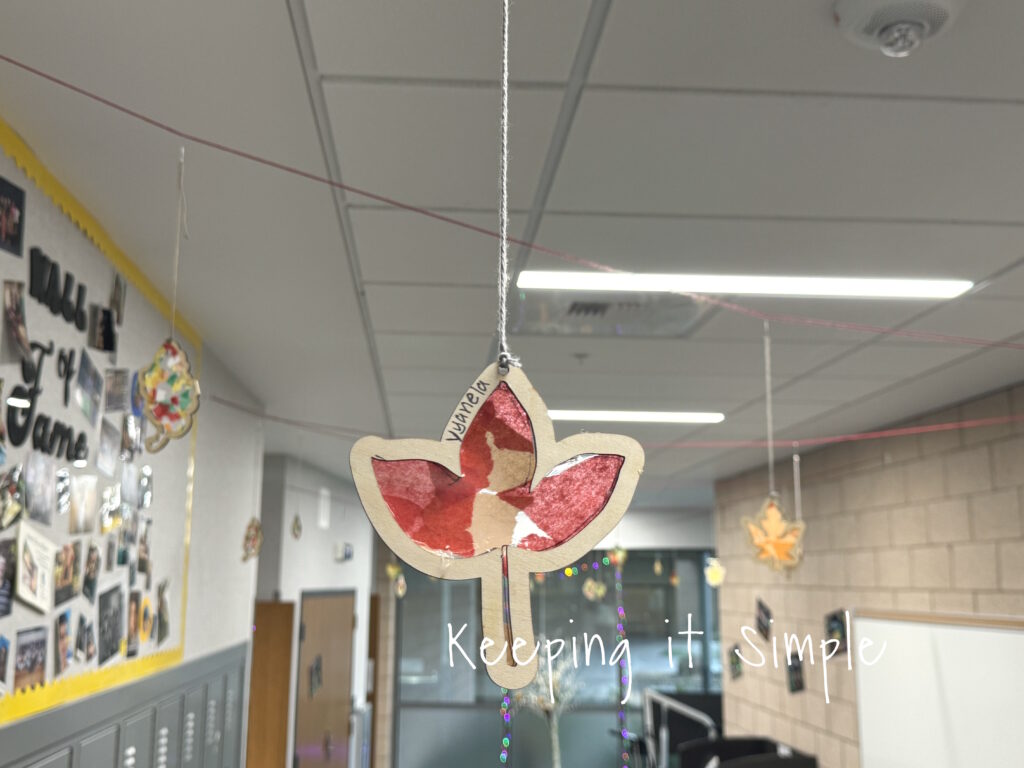
I love how they all turned out and I love how every single leaf is different. That is one of my favorite things about making crafts with kids, I love seeing their personalities shine through their art :).
For more ideas made with xTool laser cutter, check these posts.
This post contains affiliate links.
Leave a Reply
You must be logged in to post a comment.