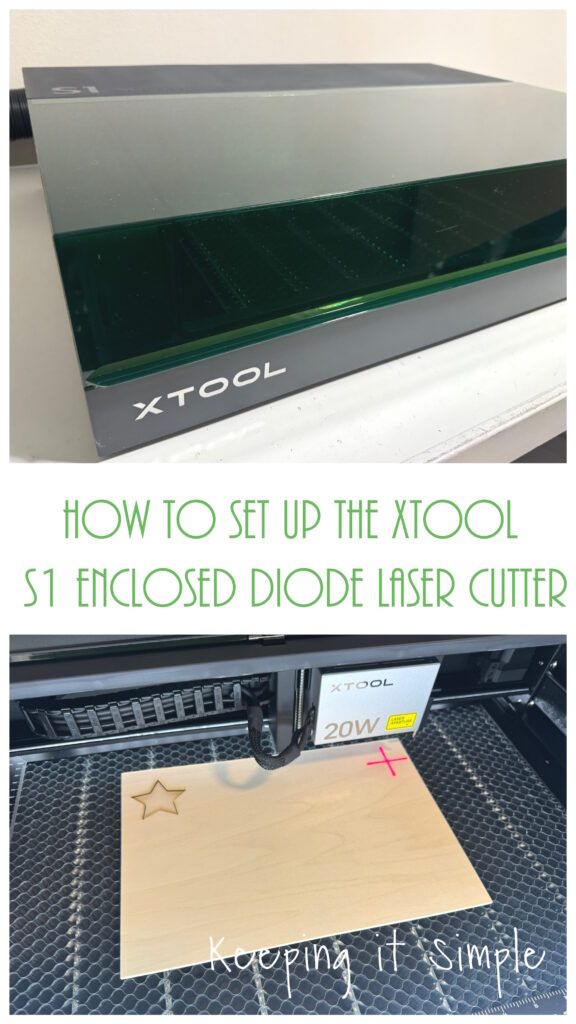
How to Set up the xTool S1 Enclosed Diode Laser Cutter
I was given the xTool S1 to review. All opinions, ideas and content are 100% my own.
About a year ago I was introduced to the company xTool and my eyes were open to a whole new world. I had always wanted to get a laser cutter but couldn’t justify the high price tags. Then I learned about xTool and their affordable laser cutters. I got the xTool M1, a hybrid blade and laser cutter, and feel in love with laser cutters. The amount of projects you can make with it is limitless. I have loved creating with it and have made lots of things, you can check out all the projects that I have made with the M1 here. This past year, xTool has been booming and creating more and more amazing machines and just launched a new machine, the S1. The xTool S1 is an enclosed diode laser cutter. xTool went above and beyond with the safety features of the S1. The built in enclosure makes it safe to use it indoors and the lid makes it safe to look at the laser without safety glasses. The lid has an automatic stop when opened but it doesn’t mess up the cutting/engraving, which is a super great feature. It has a 5 direction flame detection and there is a fire safety kit that you can buy separately to make it even more safe. There is also an emergency stop button on the side to stop the processing instantly. Another feature I am super excited about is that you can easily change out the laser module. I got the 20W laser module but there is also a 40W laser module and a 2W infrared laser module that can be switched out. One of the best features of the xTool S1 is how easy it is to set it up, so I am going to show you how to set up the xTool S1.
Here is video to show how to set up the xTool S1.
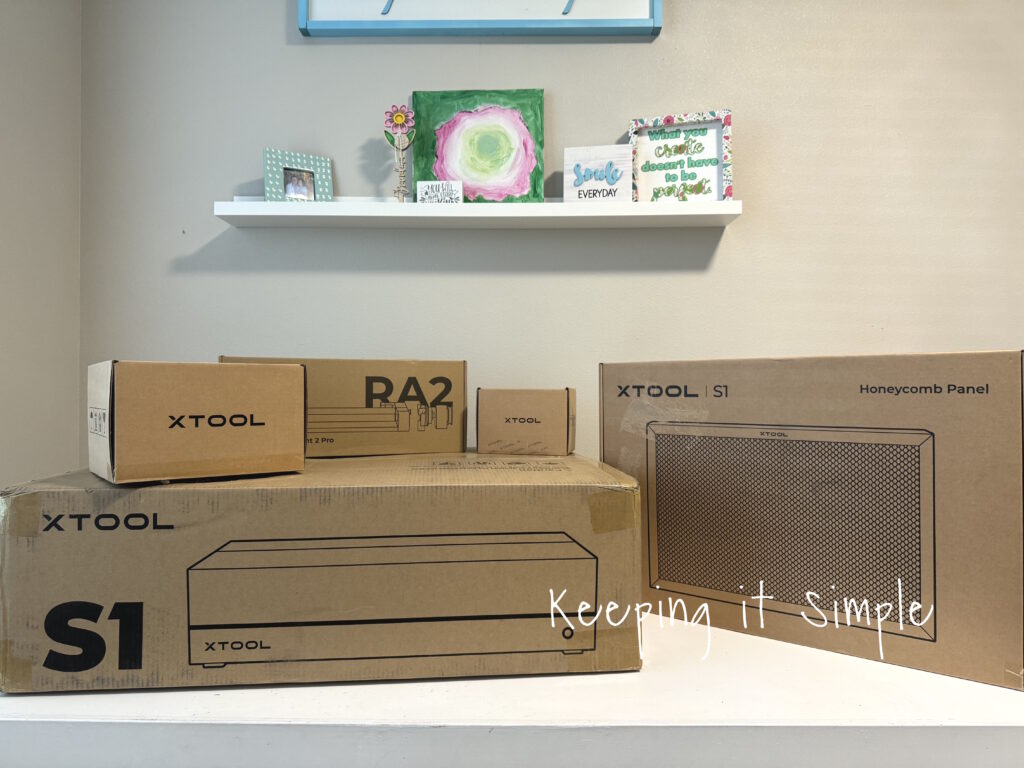
The xTool S1 has a variety of features and attachments. You can buy the basic kit, which is just the machine, or you can purchase different kits that have more in it. Or you can purchase the attachments separately. Any way you buy it, it is an amazing machine.
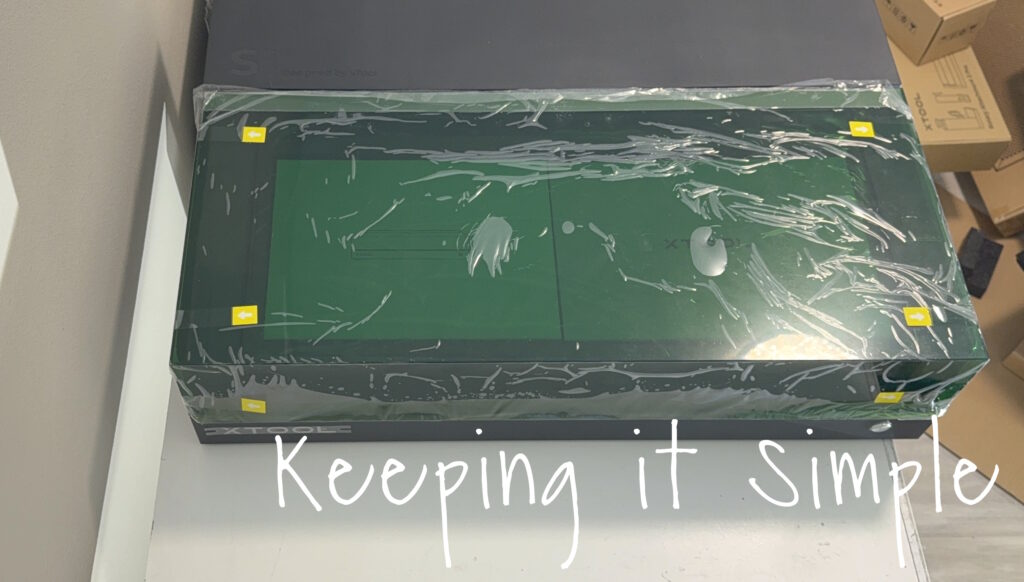
The S1 is packaged very well, it is surrounded by foam and even has straps to protect it during shipping. All the tools and hardware needed are stored neatly inside the machine.
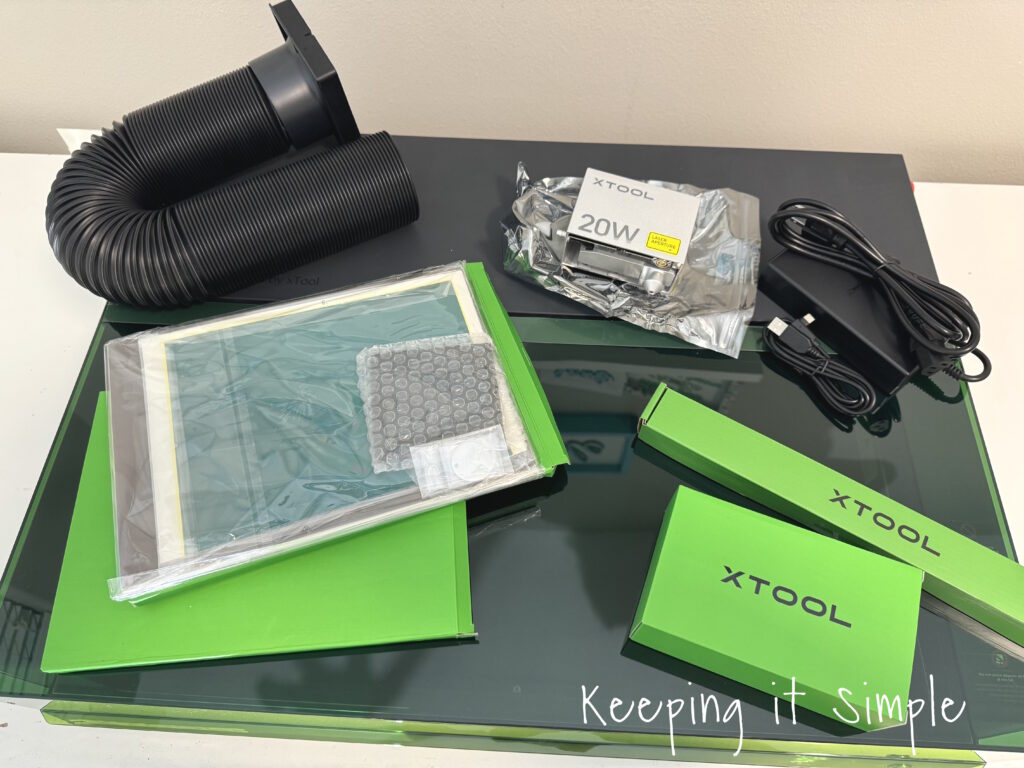
This is what in the basic kit. It comes with the machine, 20W laser (or 40W if that is the one that you buy), exhaust pipe, a material kit that includes wood, acrylic, slate coaster and more, tool kit and triangular prism.
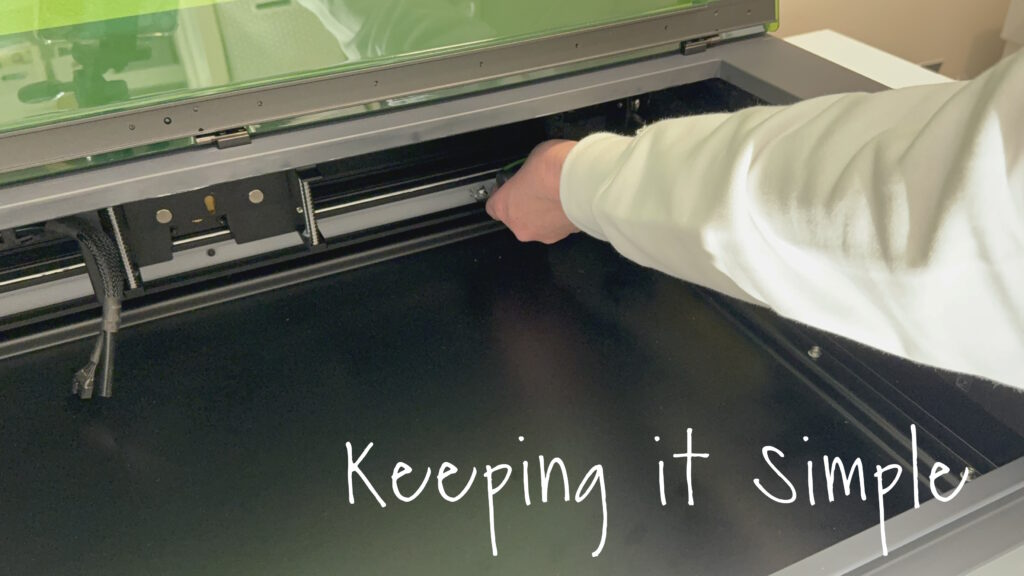
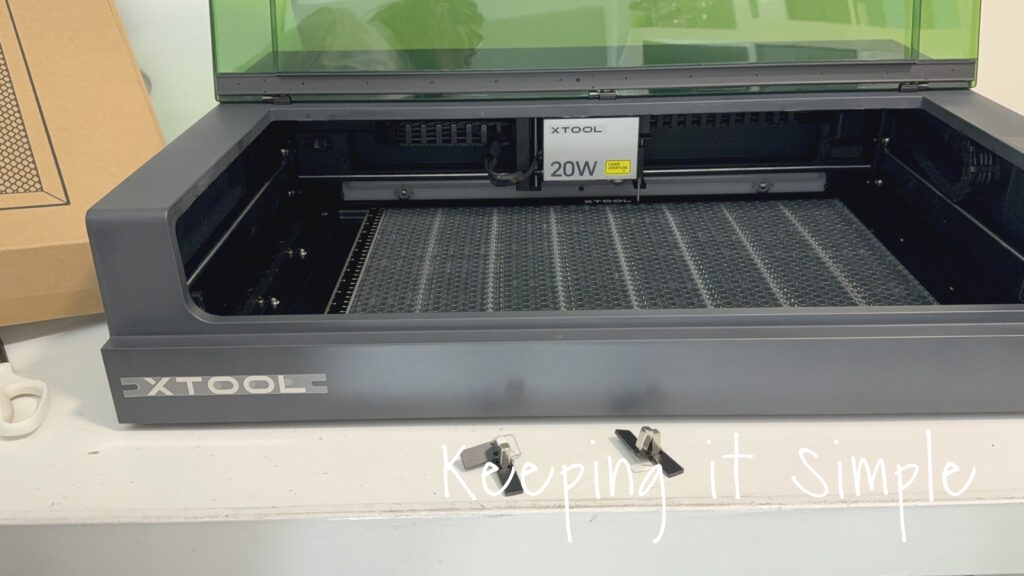
Once everything is out of the machine, the first step is to remove the brackets that are on the side of the machine. The brackets are there to prevent the rails from moving during shipment. There are 2 screws in each bracket and there is a bracket on each side of the machine The screwdriver is in the tool kit that is provided.
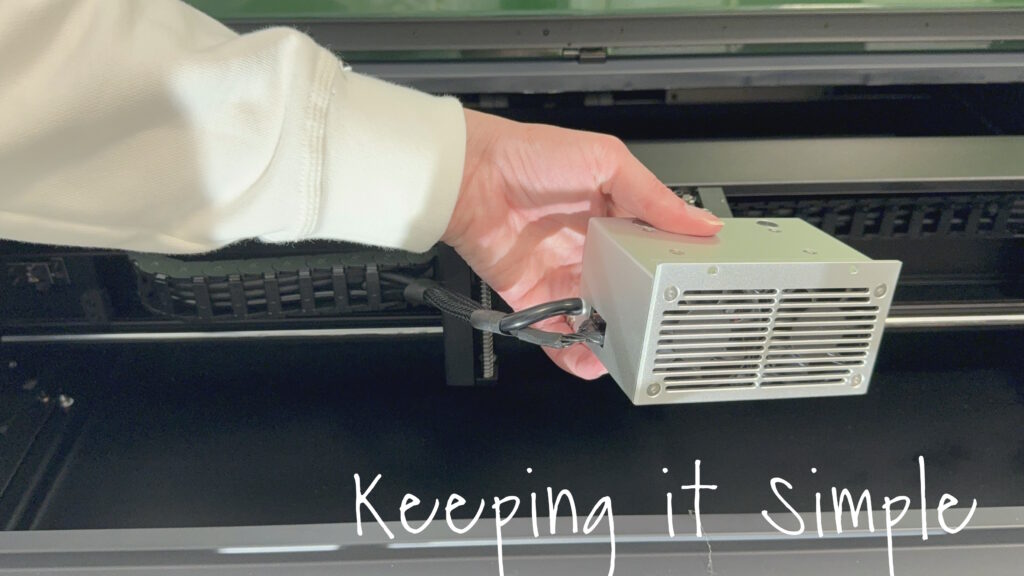
The next step is installing the laser module. The laser module can be switched out, so it super easy to install (and remove). There are cables attached to the rails that plug into the laser module.
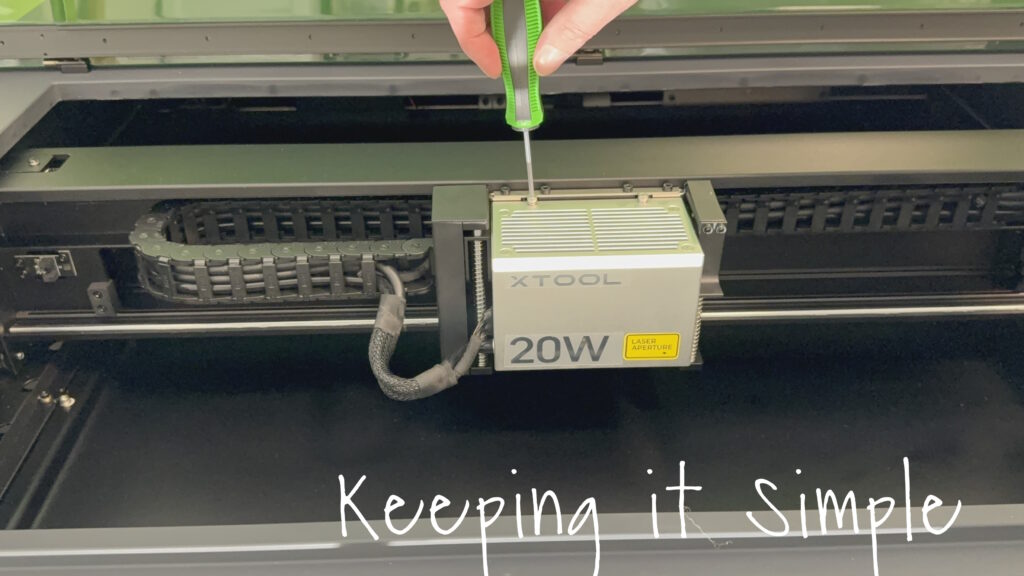
Once the cables are plugged in, there is knob in the back of the laser module that goes into a whole in the back of the metal holder. The laser module needs to be able to move up and down but not tip forward. The next step is to screw in the laser module. There are 2 screws that go on top of the module, just make sure it is flush with the top of the back metal piece. The next step is attach the laser aperture to the side of the laser module. It is magnetic, so it just clicks into place on the side.
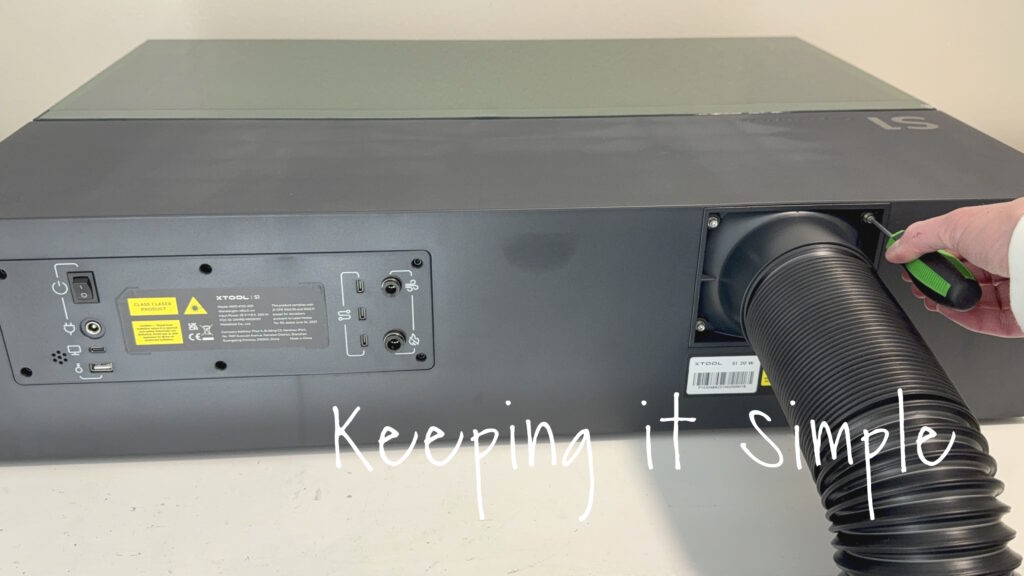
Next it is time to install the exhaust pipe. You have to remove the 4 screws on the cover. Replace the cover with the exhaust pipe and reuse the 4 screws. There is also a flash drive that needs to be plugged into the USB port with the key symbol. Then plug in the power cord and the machine is ready to use. Super easy to install :).
The machine is what is basic kit. I got a couple other attachments to make the machine even better. The first one is the air assist. This machine is amazing, it helps prevent scotch marks on the wood. It makes it even better is that the air assist has an automatic function, it will turn on and off when needed. If you are engraving and cutting during the same time, the air assist will turn off when it is engraving and then turn on when it is cutting. Another GREAT thing about this air assist is that it is VERY EASY to install. There is no unscrewing or small parts involved, all you have to do is plus in the hose and cables.
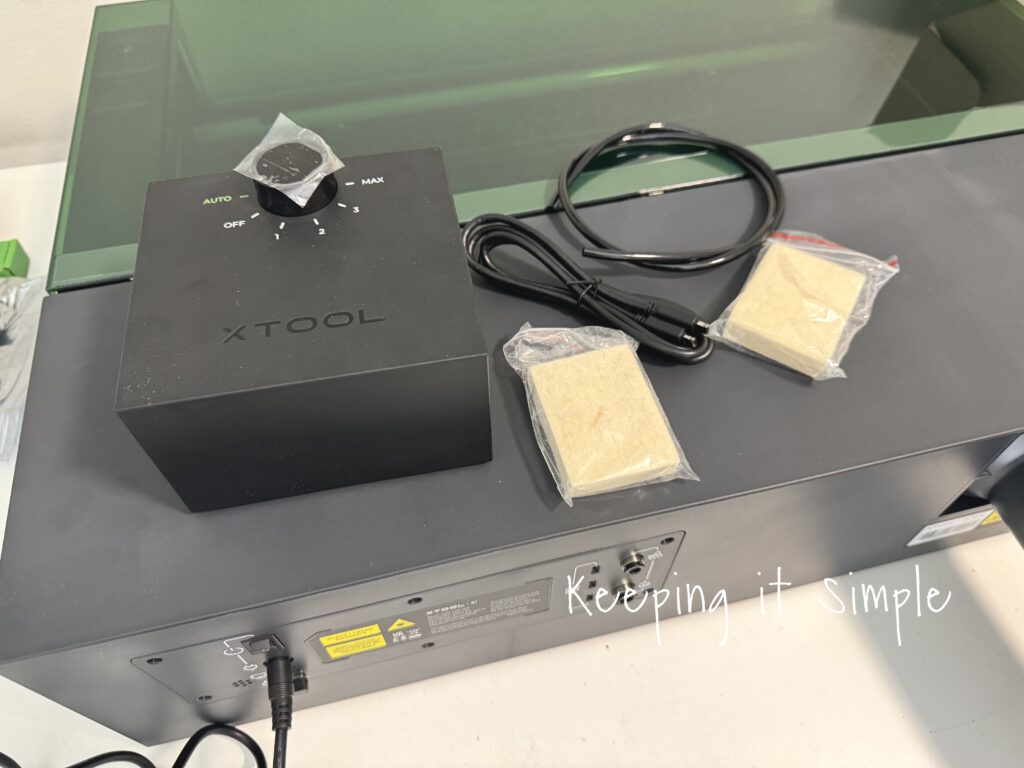
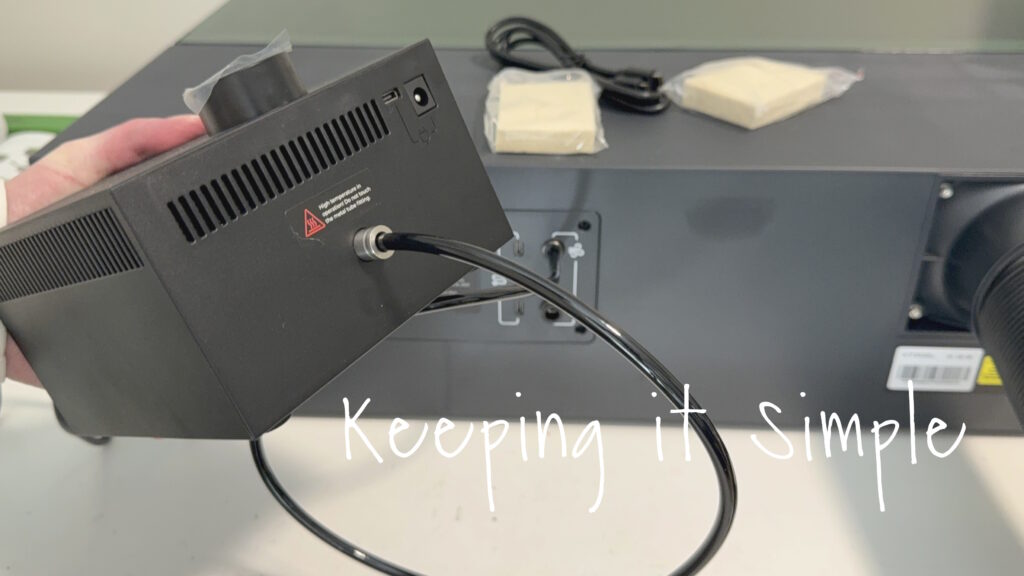
To install the air assist, all you have to do is plug the hose into the top hole in the machine and then into the air assist machine. Then you have to plug the cable into both machines.
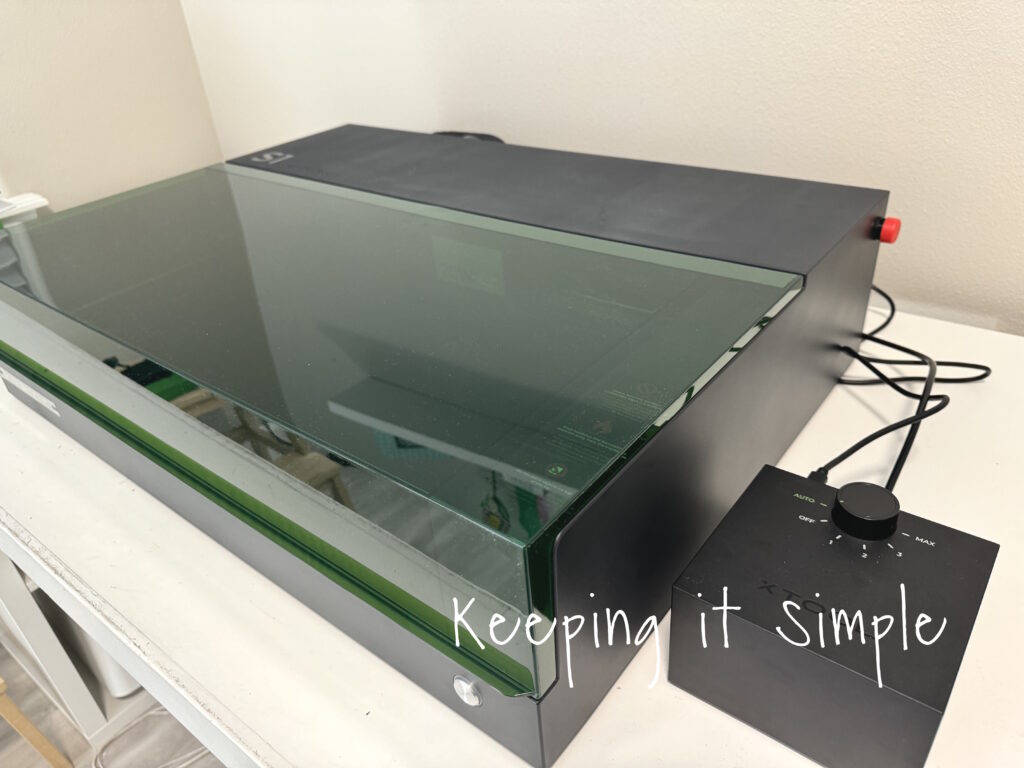
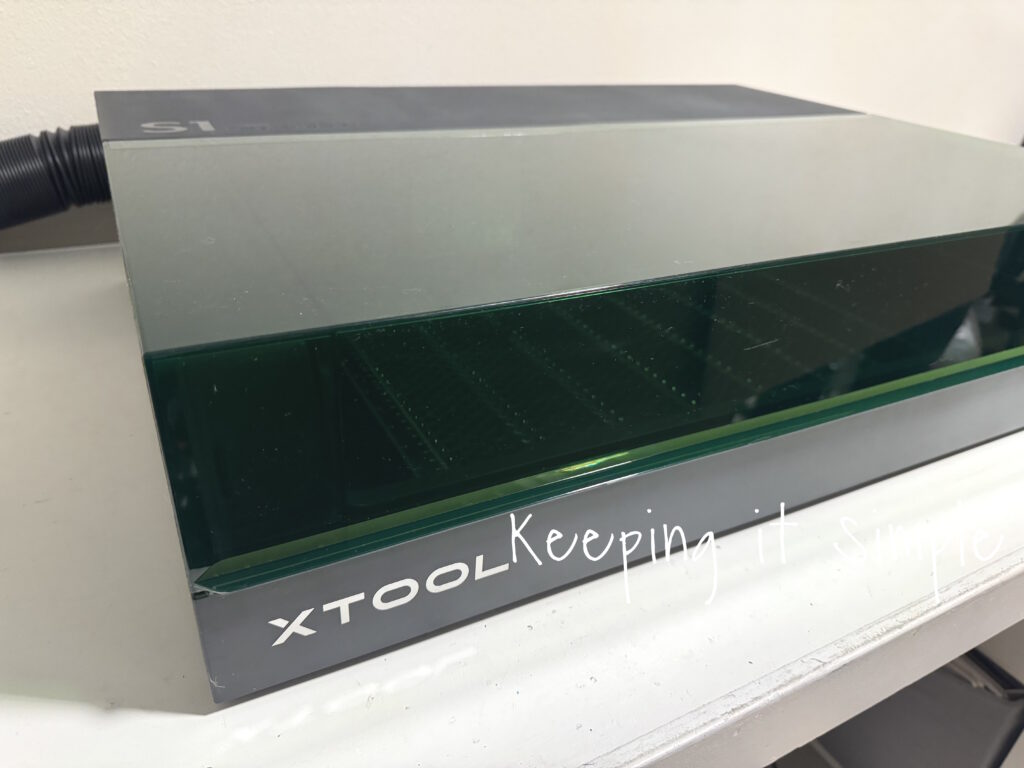
Here is the S1 machine with the air assist machine.
Another addition is the honeycomb panel. The honey comb panel helps with the air flow under the material. The honeycomb panel can be use with or without the base riser. All you have to do to install it is place it into the machine and then push the panel to the right. One thing to keep in mind, when using the honeycomb panel, you can’t cut as thick of material as you would be able to without the panel. The base riser is nice to have if you are cutting thicker materials.
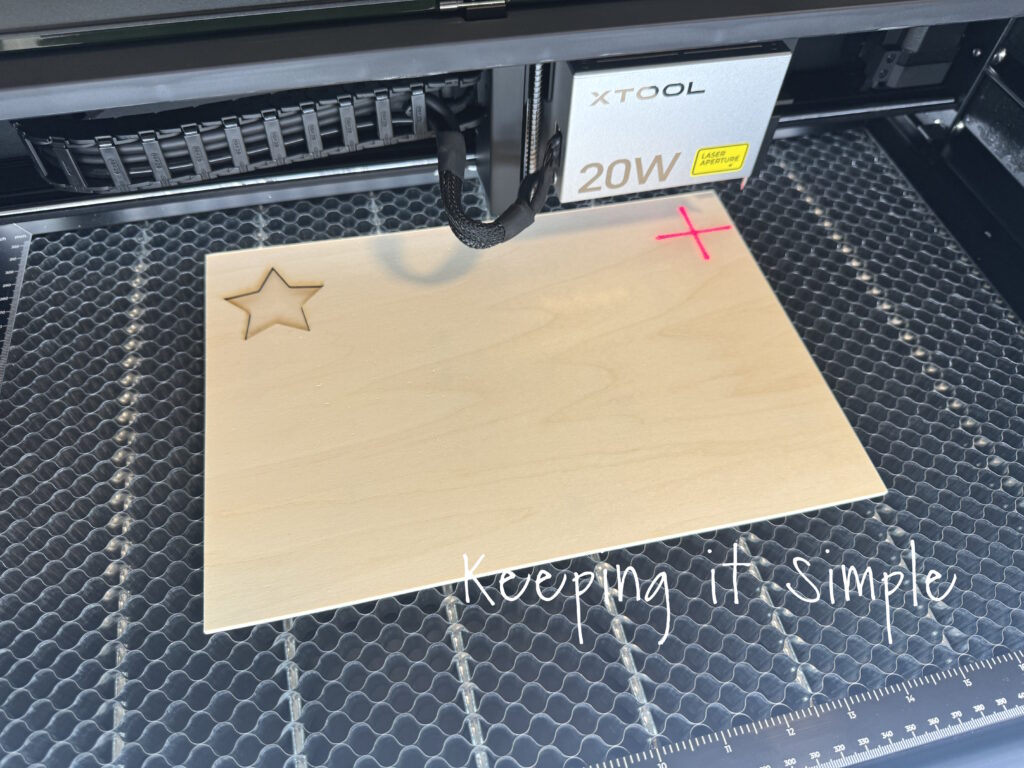
Now time to begin using the laser! The S1 doesn’t have a camera like the M1, it has cutting edge technology that uses twin point positioning. Instead of a camera seeing the material, you move the laser module and the technology measures and positions the machine. You do this by clicking on the start marking button and then move the laser module to the top left corner of the material. Once situated, you will then push the button on the machine and it will mark it. Then you will move the laser module to the bottom right corner and push the button. Once it is done, xTool creative space will do an outline of the material on the screen. That is what the rectangle is, it is the wood I put into the machine. The red arrow is the placement of the laser, it will actually move when you move the laser module around. The best part about this feature is that it allows you do engrave or cut on irregular shapes and even curved items!
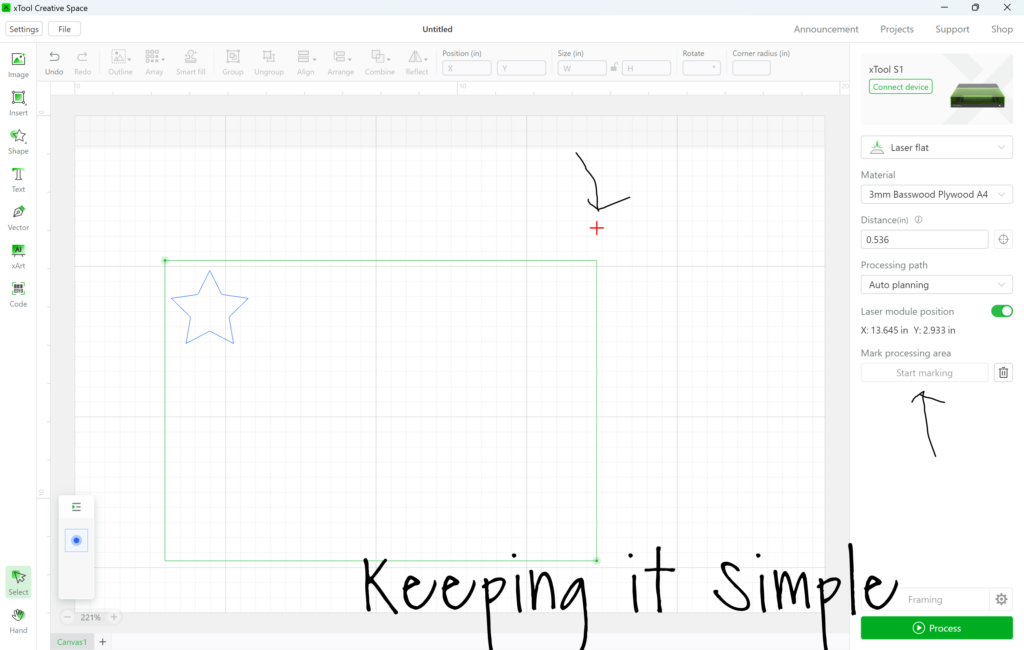
Once you have the design all ready to go in XCS, you close the lid, push process and then start. The laser was completely accurate and went exactly where it was supposed to go. The 20W laser is very powerful and quick! It only took 30 seconds to cut out the star :).
And that’s it! I can’t wait to really play with this amazing machine and share all the fun things I make with it!

If you are looking for an amazing and affordable laser cutter, you need to get the xTool S1!
There has been as update in the S1 software, now you can do circular pin-point positioning!
If you want to learn more about xTool and what you can make with their awesome machines, check out these posts!
This post contains affiliate links.
Leave a Reply
You must be logged in to post a comment.