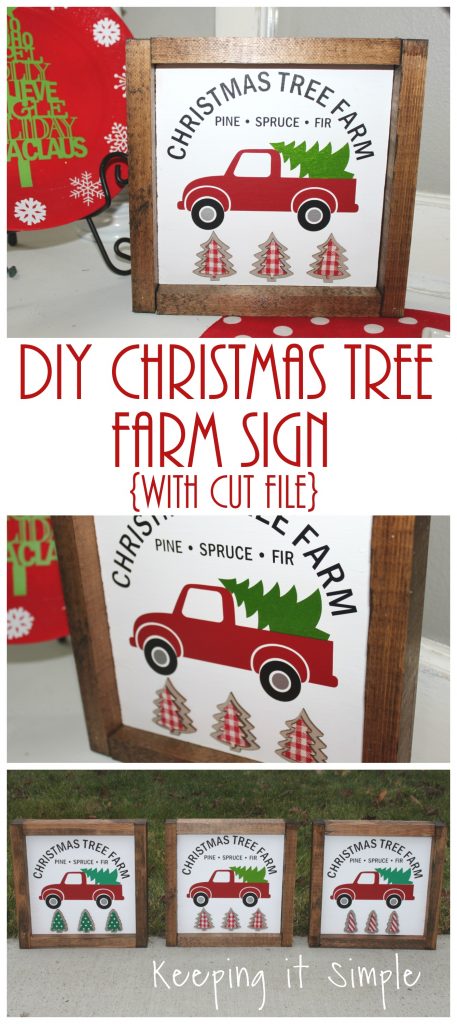
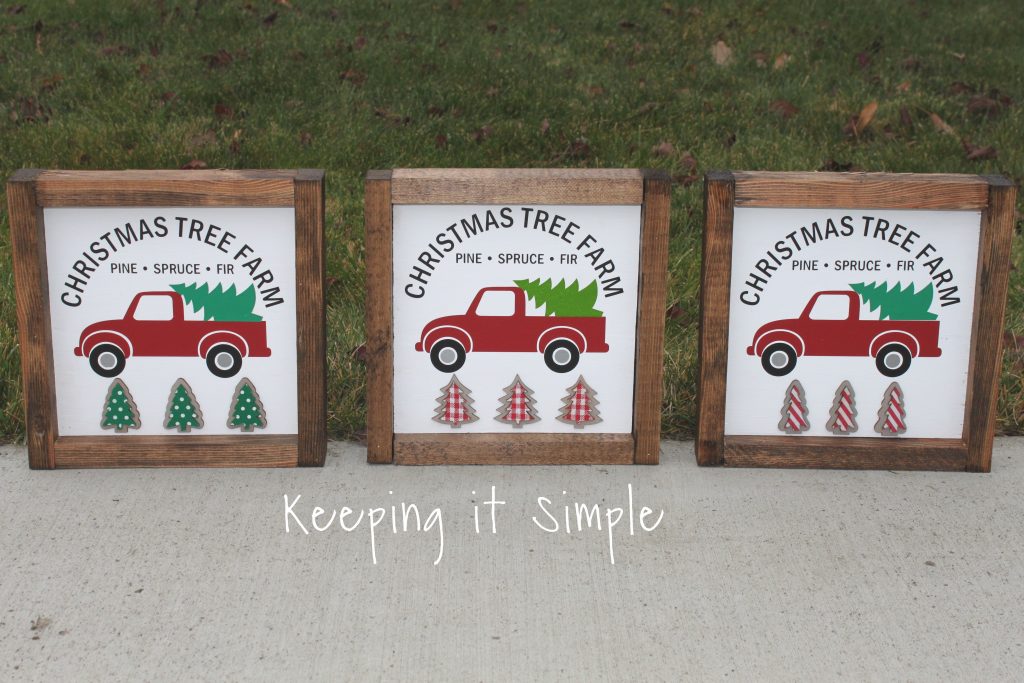
I love Christmas time, it’s one of my favorite times of the year! I love the happiest that is around and the time to create and give to others. Well I have been making a lot of farmhouse signs lately. I make up one for me and then several others to give to other people. It’s so fun to give people a gift that they don’t normally get! So I have been coming up with several designs for these signs. Well I loved my pumpkin patch and Christmas tree sign so much that I wanted to do something like that again, but smaller. Really what sparked my imagination is that I found these adorable wooden trees at the Target dollar spot and I knew that I needed to make a sign with them, I just loved them so much! So I made up this fun Christmas tree farm sign and I love it!
Here is a quick video to show the process of making these super fun and cute signs.
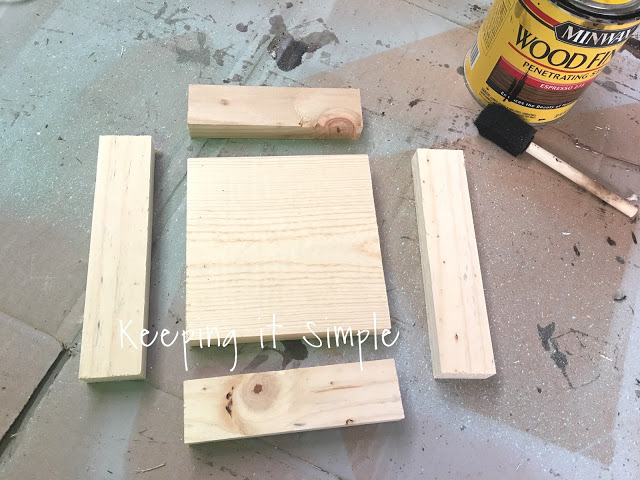
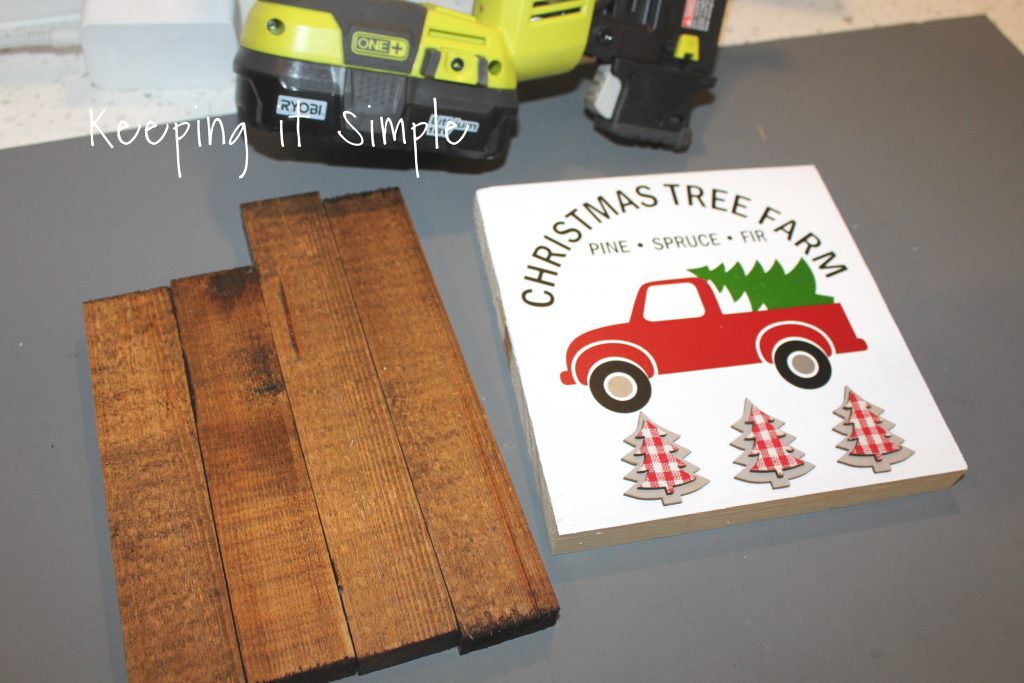
This is how I made it. I cut out some wood for the boards. This one is a little bigger than I normally do, it’s roughly 8×8 inches when it is finished. So I used a 1″x 8″x 8′ board and cut it into a square (it is roughly 7 1/2″x 7 1/2″). Then I cut out the frame out of a 1″x 2″x 8′ board. I cut two pieces 7 1/2″ and two pieces 9″ (I don’t measure them, I use the board to measure them so I can get a perfect fit with the board). I then stained the a provincial color (not the one in the picture, I was staining another board with that one).
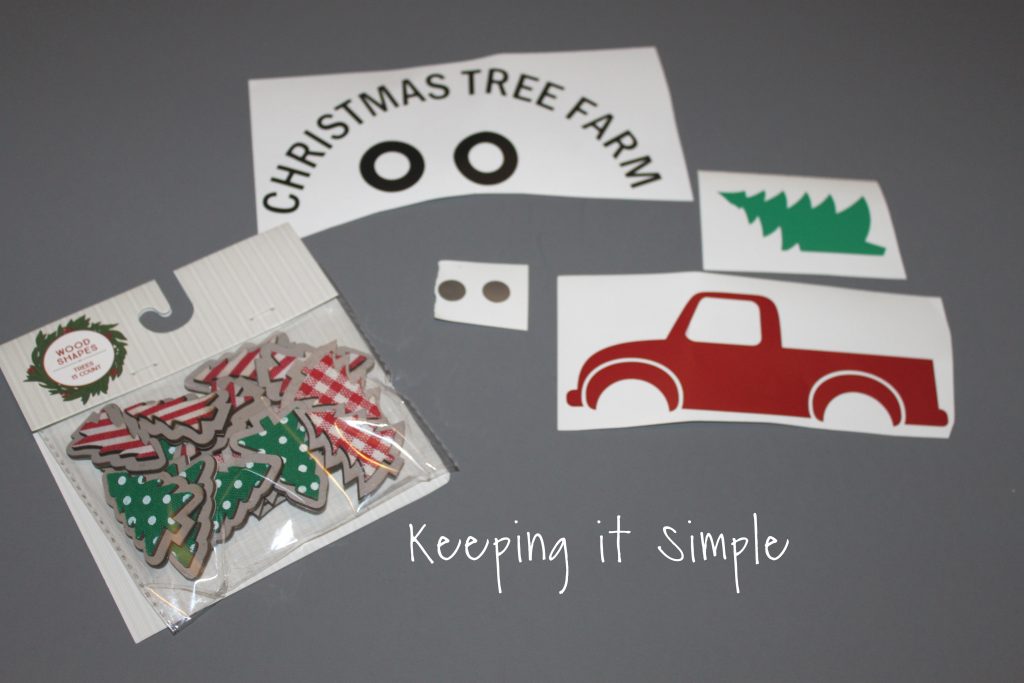
Now for the vinyl. You can use vinyl or you can paint it (using vinyl as a stencil). I designed the Christmas tree farm sign in Silhouette studio (I added a few trees too in case you can’t find the wooden trees at Target). You can get the files here:
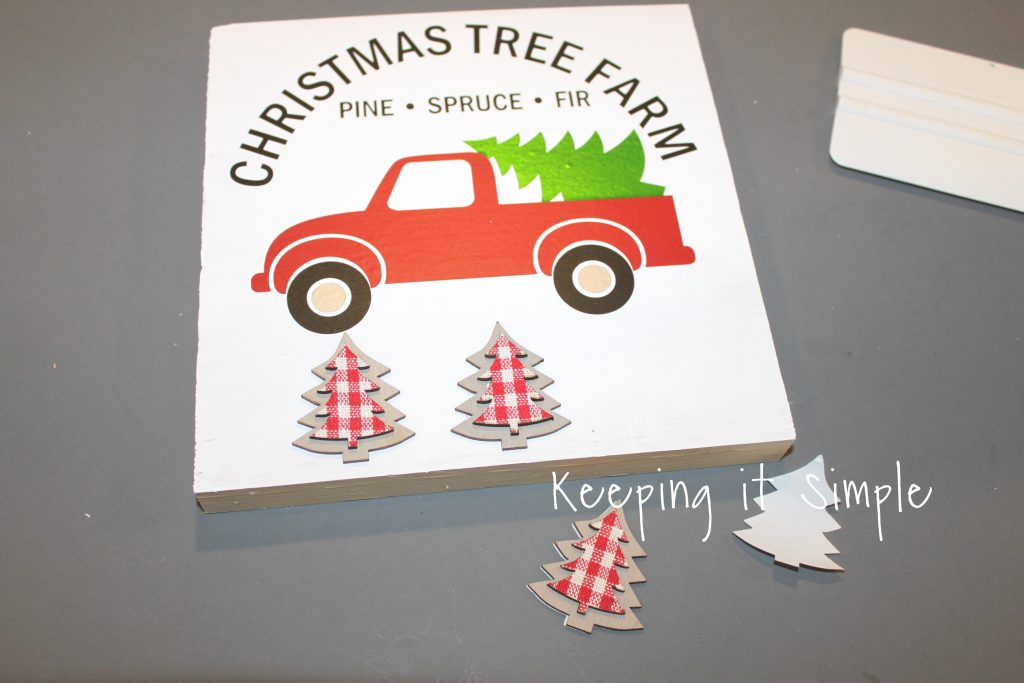
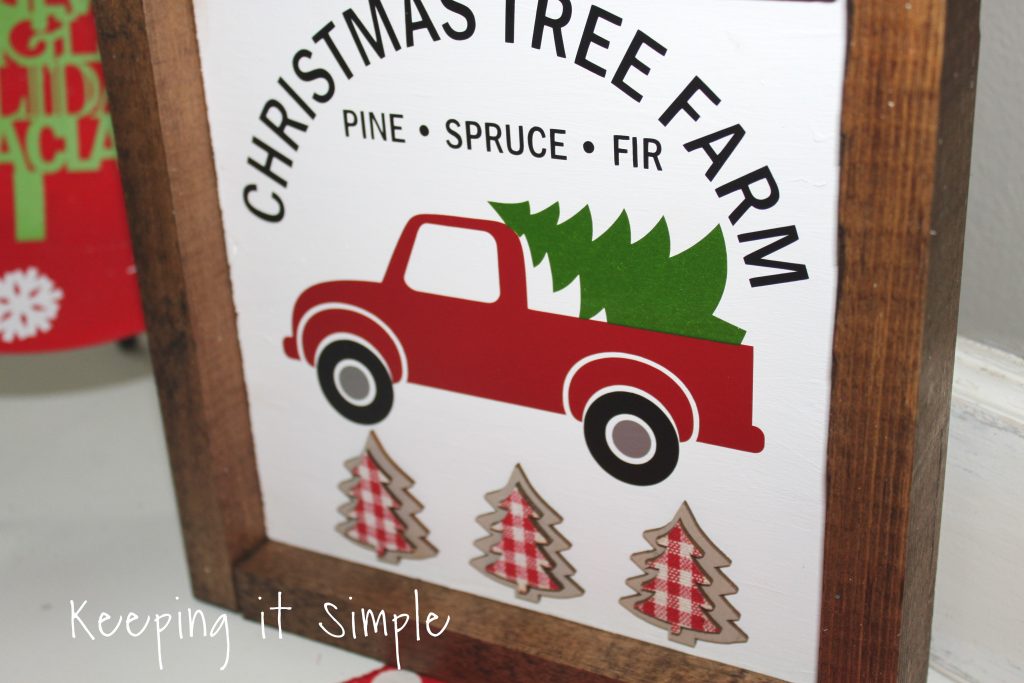
I cut out the vinyl with my Silhouette CAMEO. I used regular indoor vinyl and the colors I used were: dark red, black, silver and green. For one of the trees I used a heavy metal vinyl in green apple. And here is the little wooden trees that I got, aren’t they so much fun?! I seriously love them :).
Using the grid transfer paper and application tool, I put the vinyl onto the board.
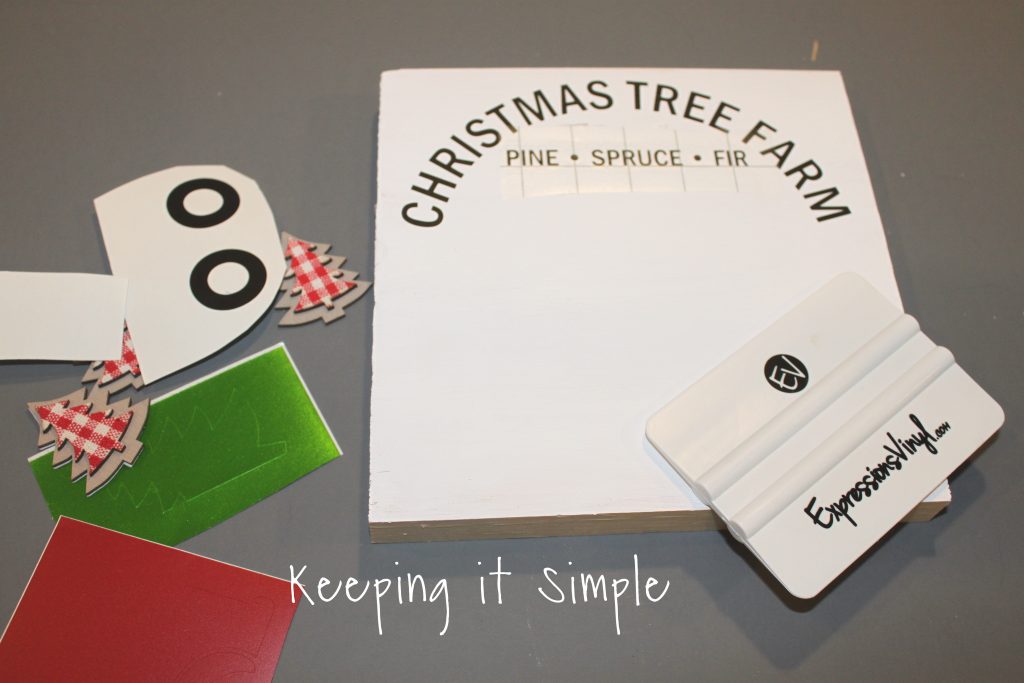
I then put the little trees onto the board. They had adhesive on the back of them (yay!) so I just peeled off the backing and stuck them onto the board.
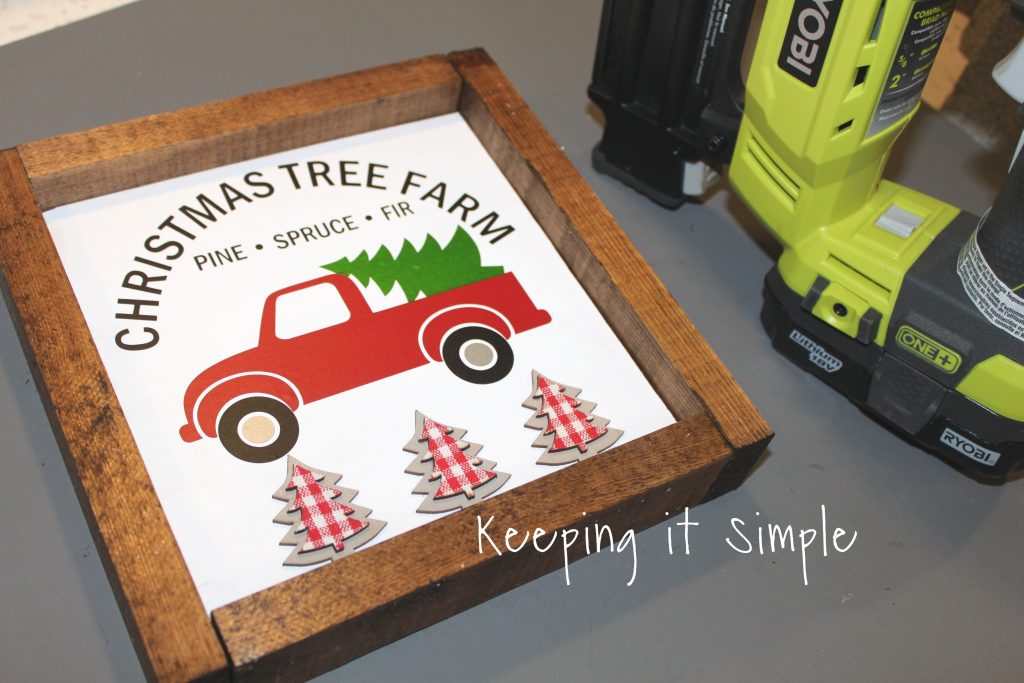
Now time to put on the frame. I used a Ryobi brad nailer and 1 1/4″ brad nails to put on the frame.
And that’s it! I love how this Christmas tree farm sign turned out!
Her
Here it is on my entry way table with all of my other Christmas decor.
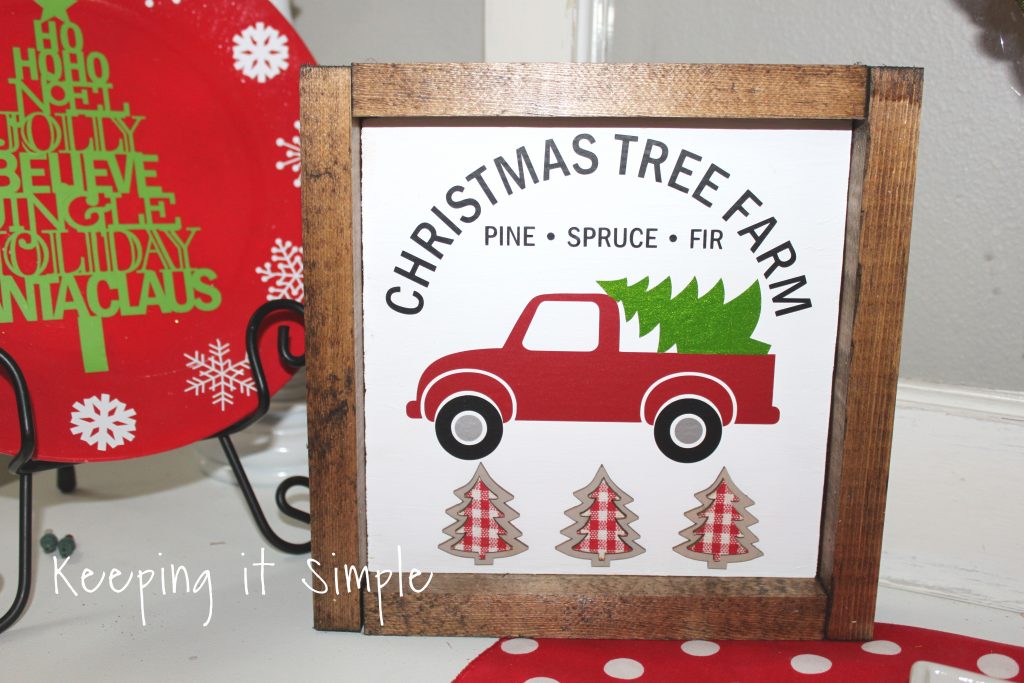
Here is a close up of the sign and the trees.
There were 15 little wooden trees in the package, so I had to make more! Here are the other two I did. I just love them all!
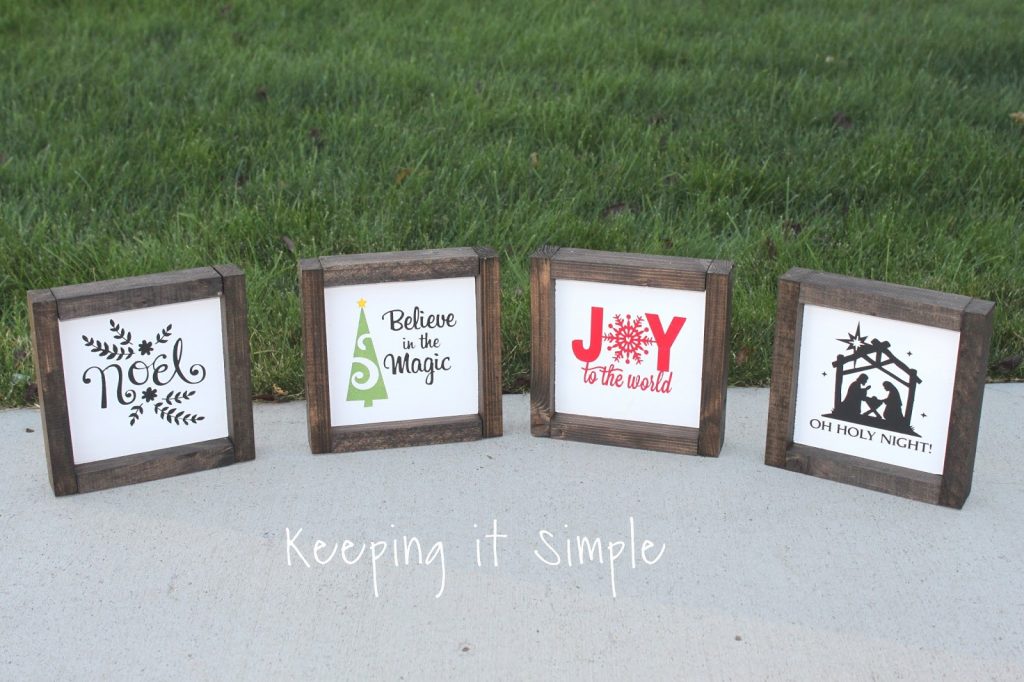
If you like this idea, then check out my other Christmas ideas and farmhouse signs.


This post contains affiliate links.
Leave a Reply
You must be logged in to post a comment.