DIY Christmas Napkins using Kids Drawings
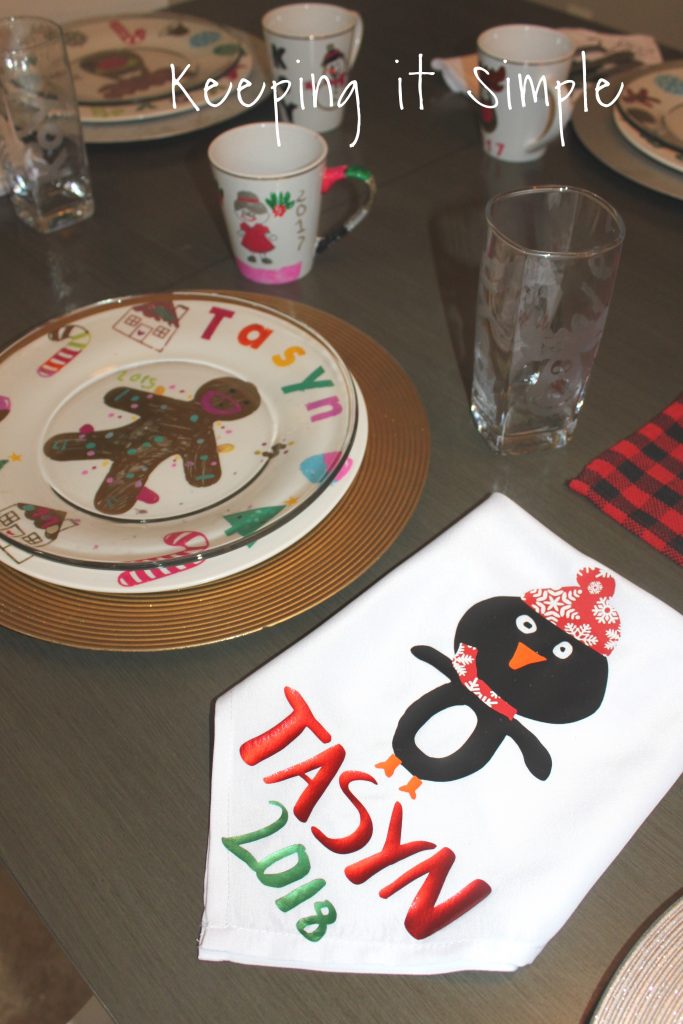
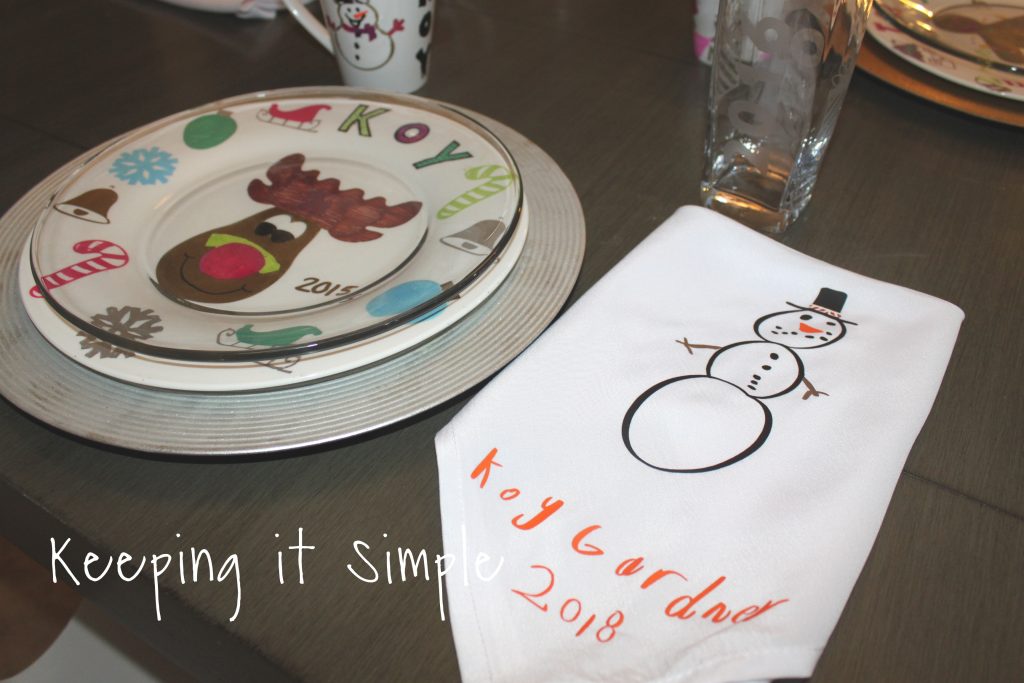
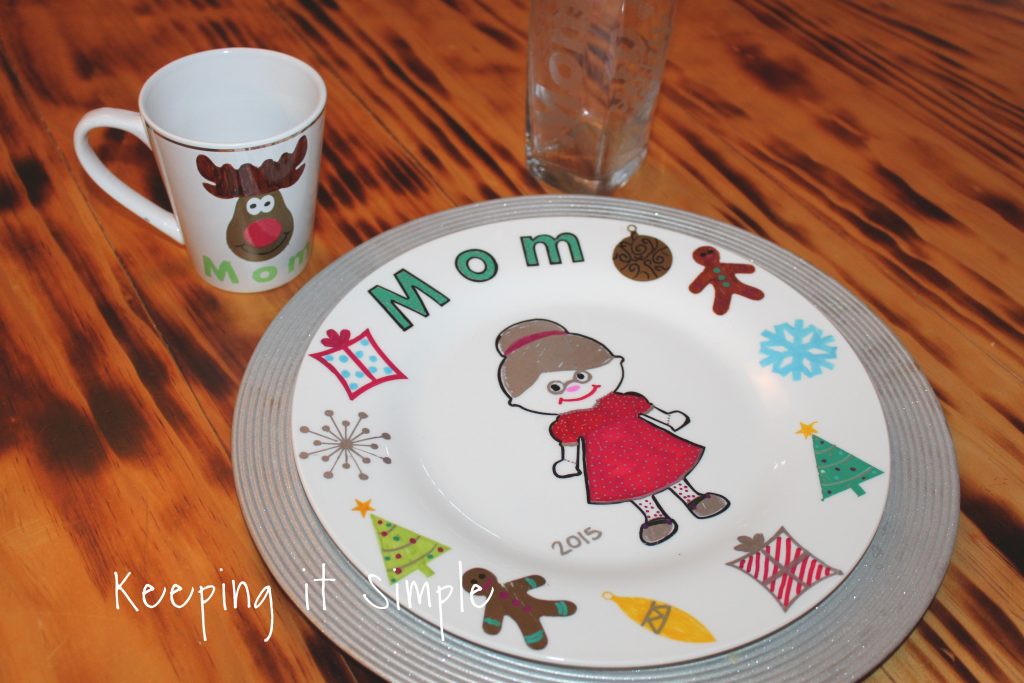
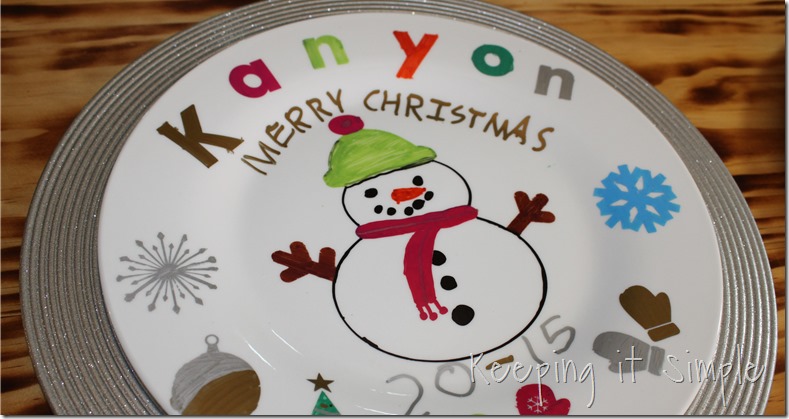
A few year ago I started a tradition with my family. We started making our own Christmas dishes. It’s been so much fun to bring them out every year and remember what they made last year. We made plates, glasses, mugs and now Christmas napkins. In the past years I had the kids pick out some images that I had on my Silhouette and then go from there. This year I got the great idea to let them completely design their own and even draw them! So the kids made their drawings and I create Christmas napkins out of them. They love how they turned out and everyone had a great time coming up with their own designs.
![]()
Here is a quick video to show you how I made them :).
This is how I made the Christmas napkins using kids drawings.
The first thing I did was let the kids draw on my iPad (6th generation) using my iPencil (1st generation). I used the Procreate app.
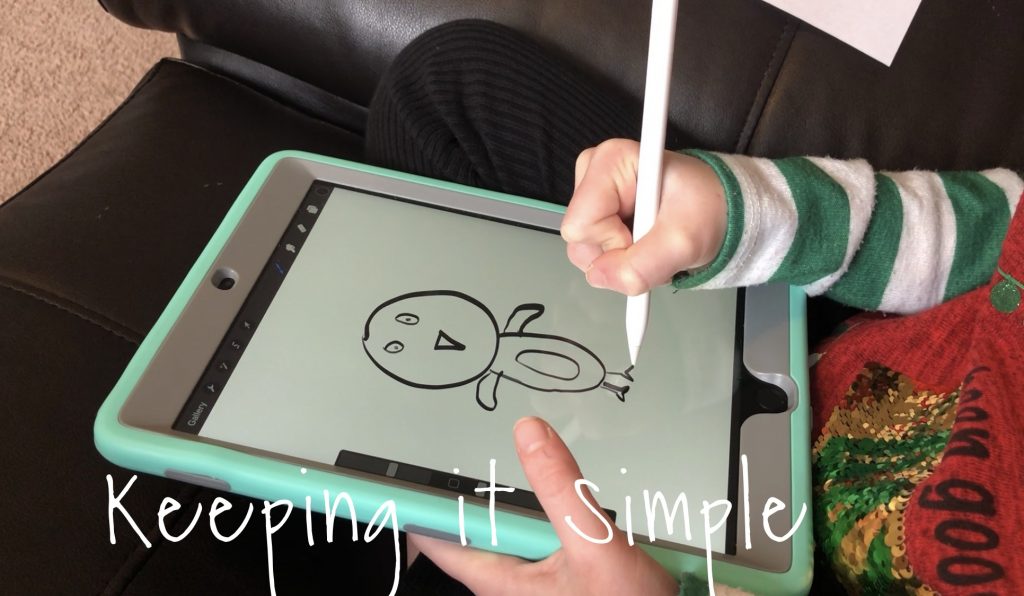
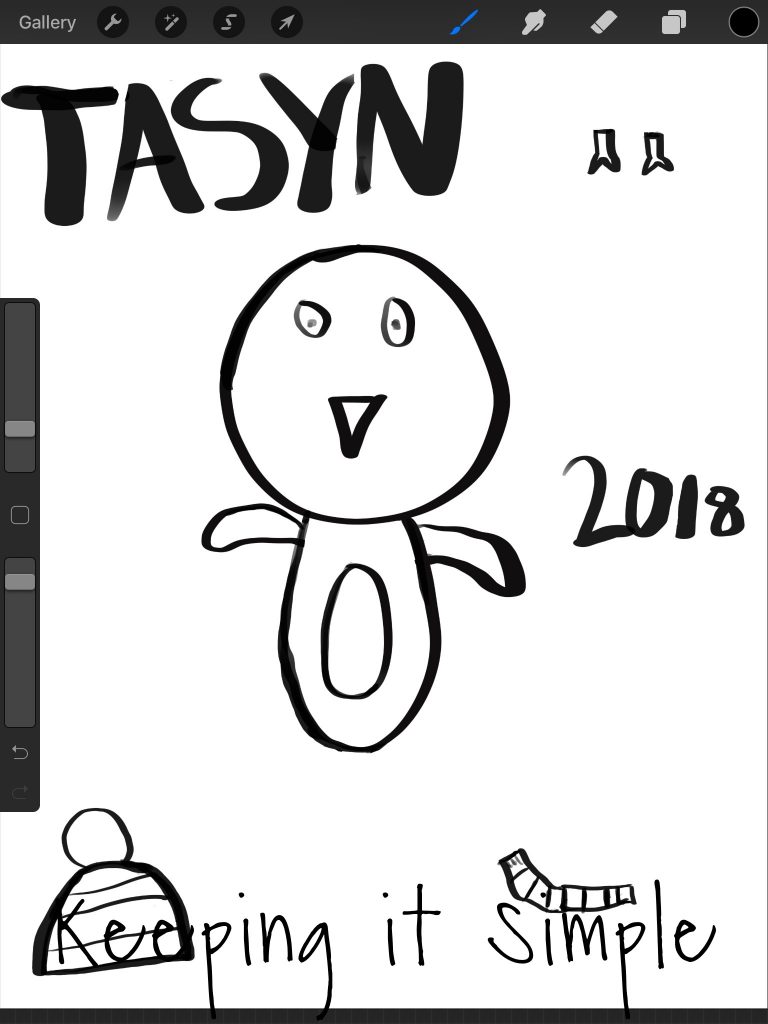
Once my kids were done drawing, I cleaned it up again using the eraser. Using black and white worked the best. I then took a screen shot of the drawing.
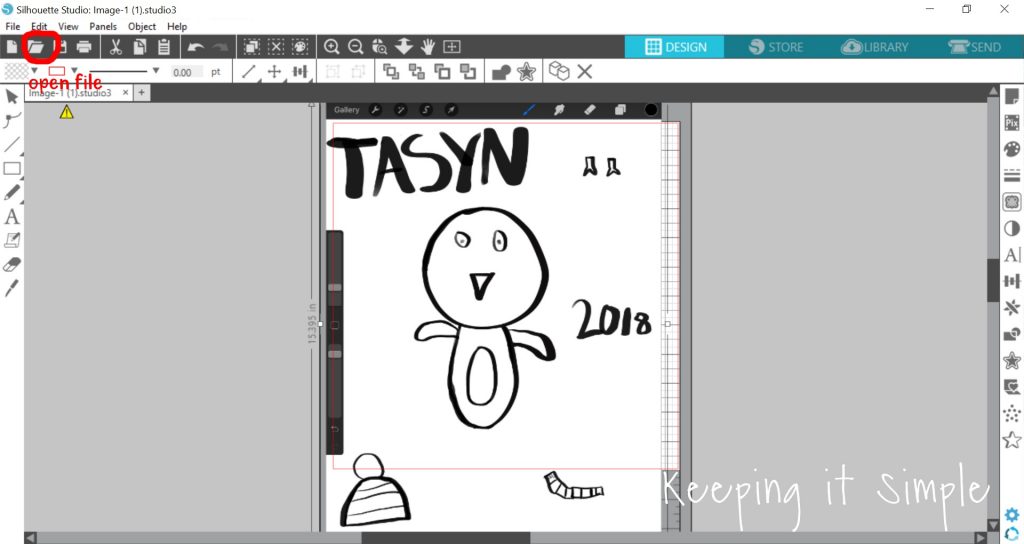
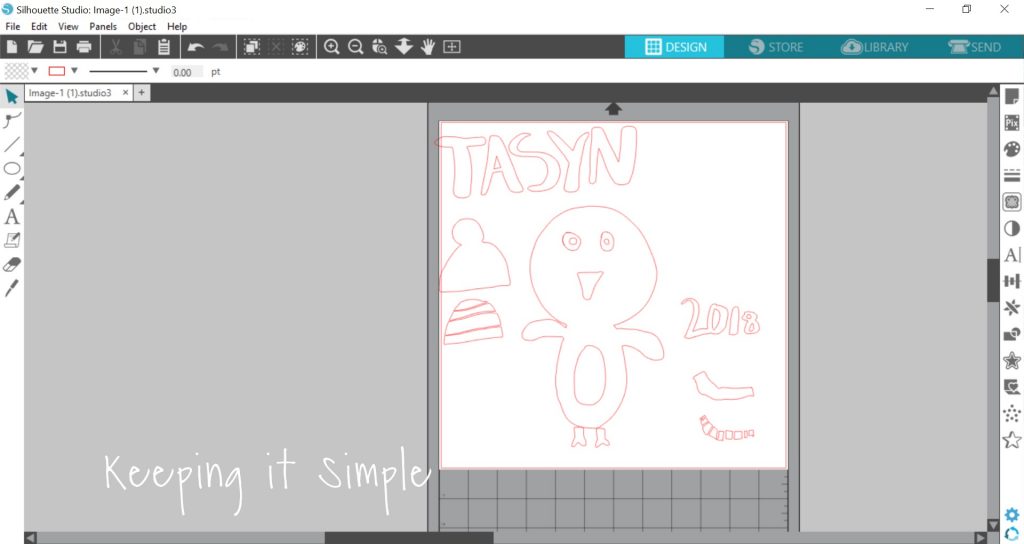
Then in Silhouette studio, I opened the file.
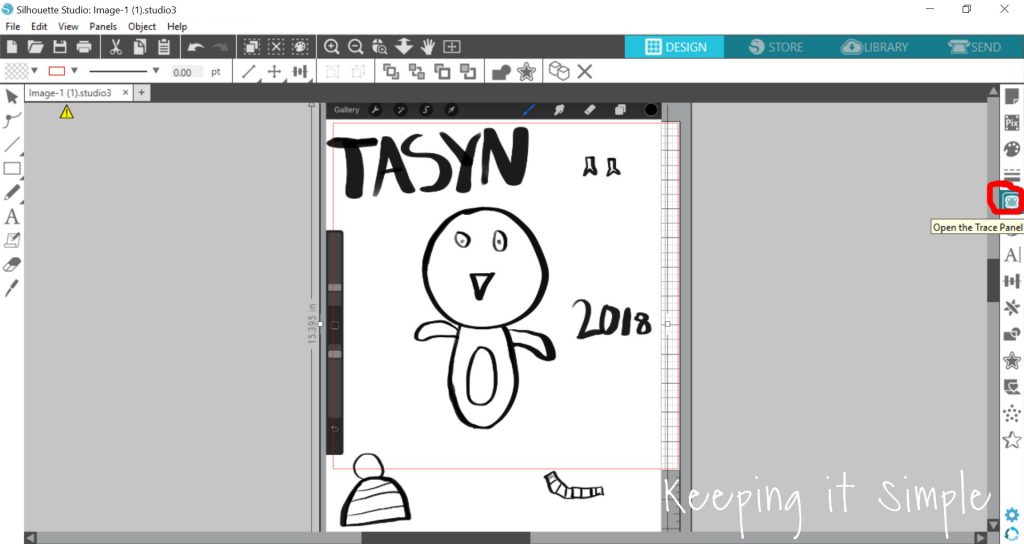
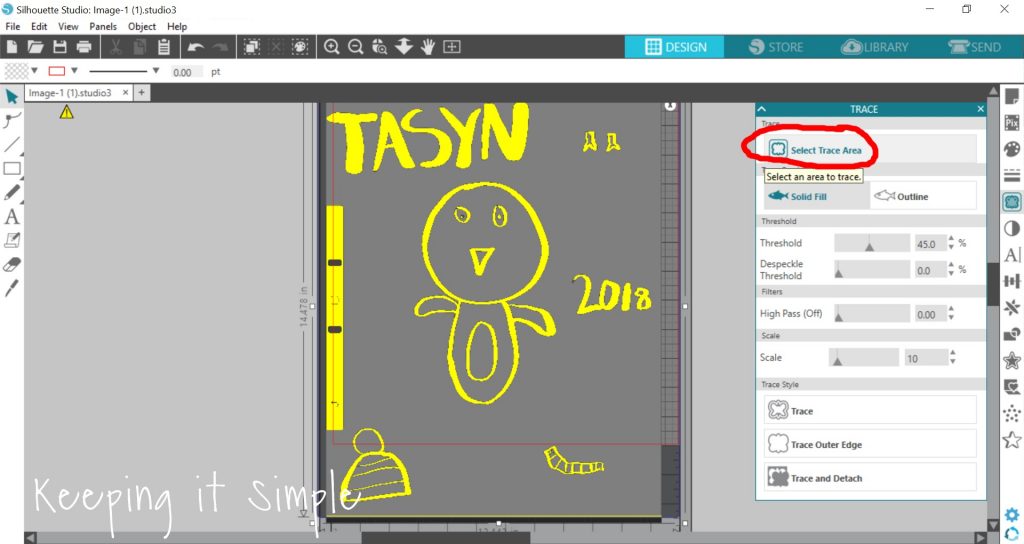
I then opened up the trace feature.
I then selected the area I wanted traced. The yellow shows you where the image will be traced.
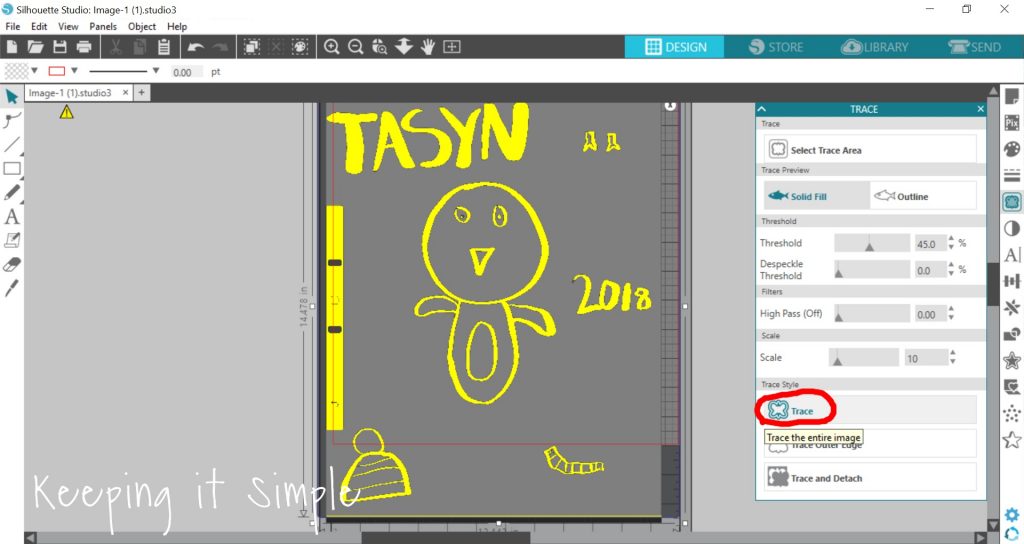
I then clicked on the button to trace the image.
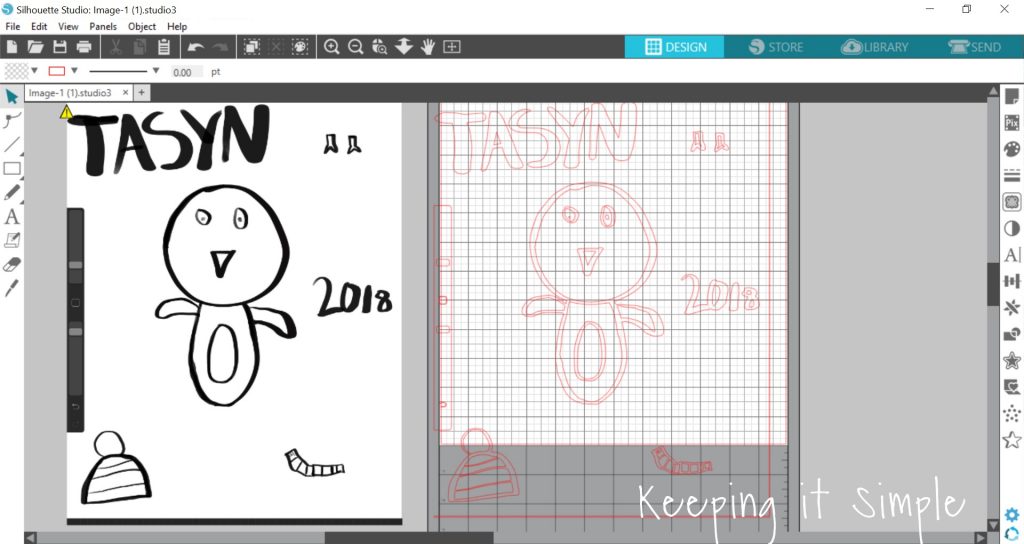
Here is what the image looks like traced.
I had to clean up the image a little bit, so I right clicked on the image and then clicked “release compound path”. This ungroups the image so you can delete the parts that you don’t want.
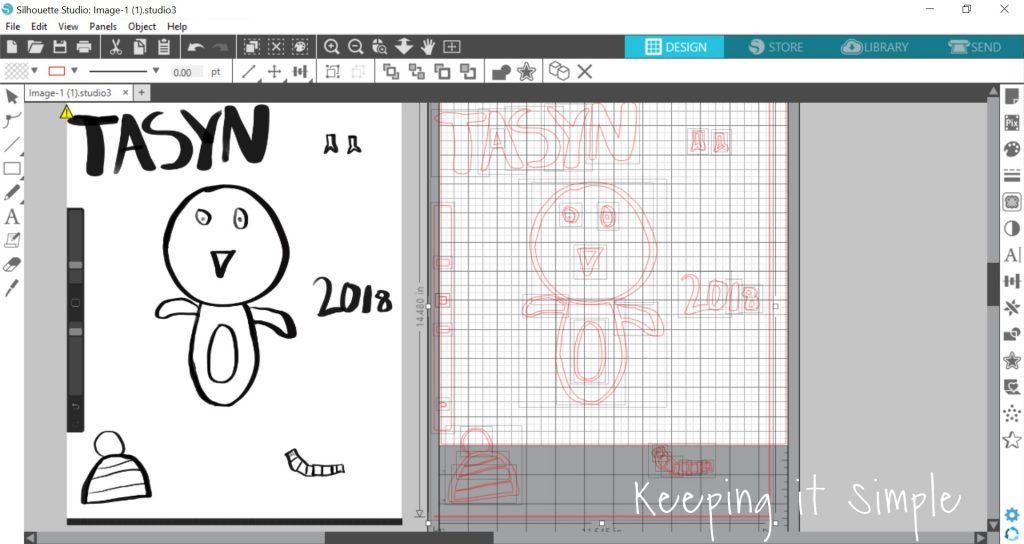
I cleaned up the image and deleted the lines that I didn’t want.
Then using my Silhoeutte CAMEO, I then cut out the design in heat transfer vinyl. I mirrored the image and put the shiny side down onto the mat before cutting.
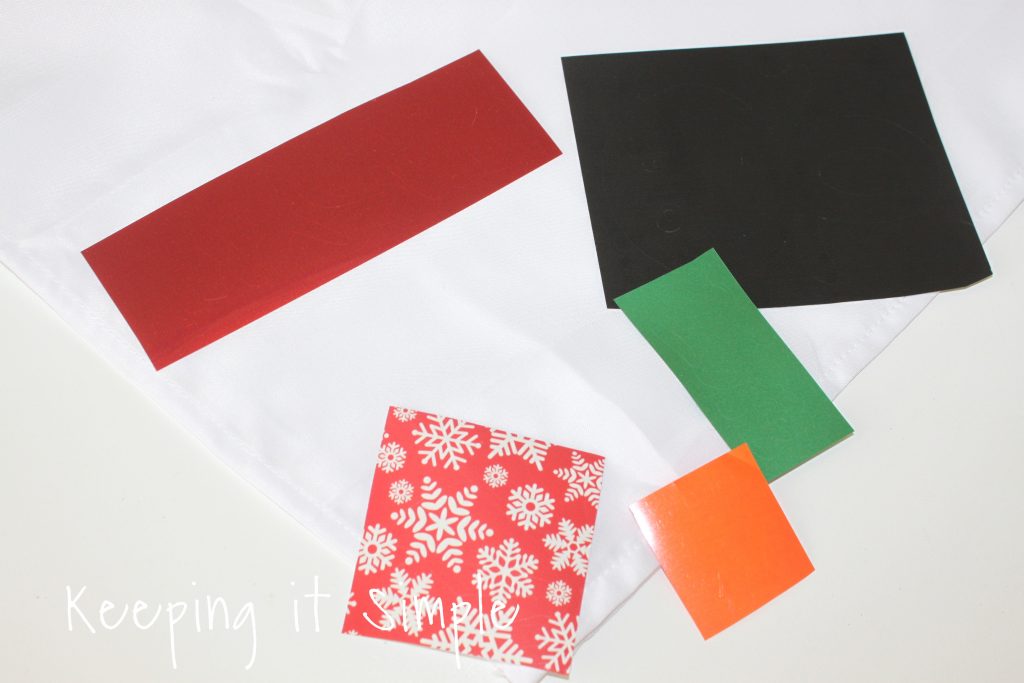
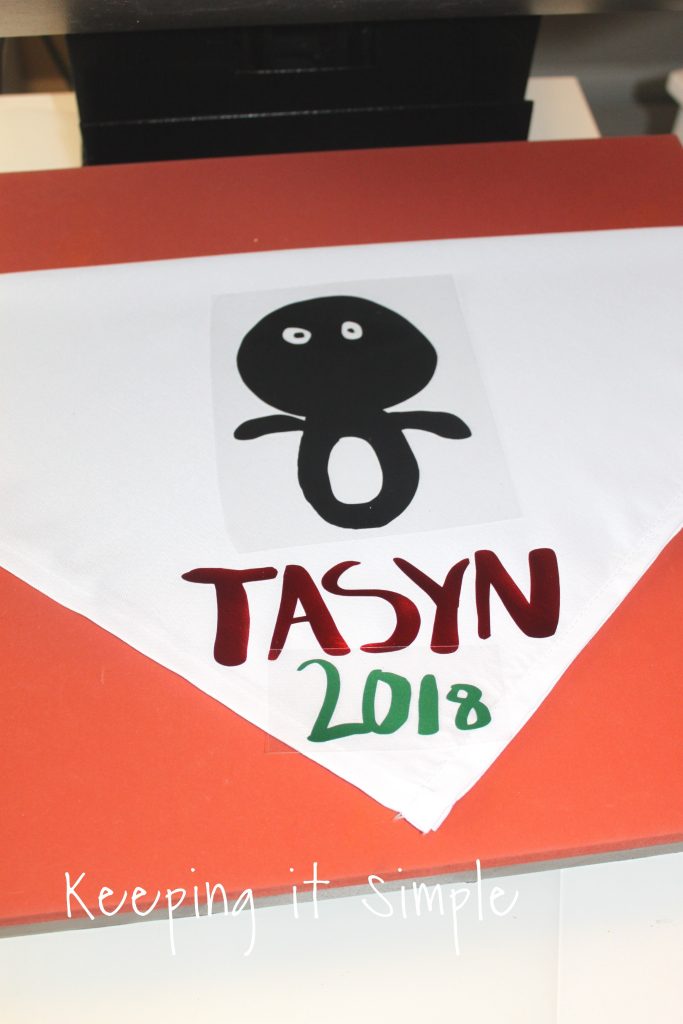
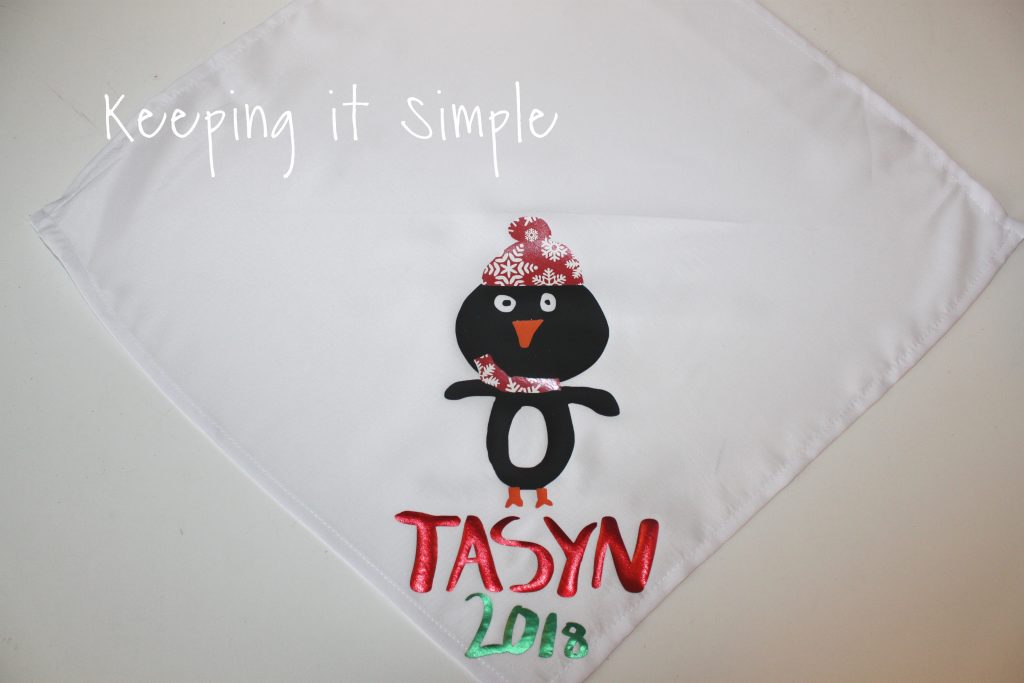
I separated the design, for the body I cut it out in black, for the beak and feet I used orange and then for the scarf and hat I used a super fun snowflake patterned HTV. I then did her name in an electric red and green HTV.
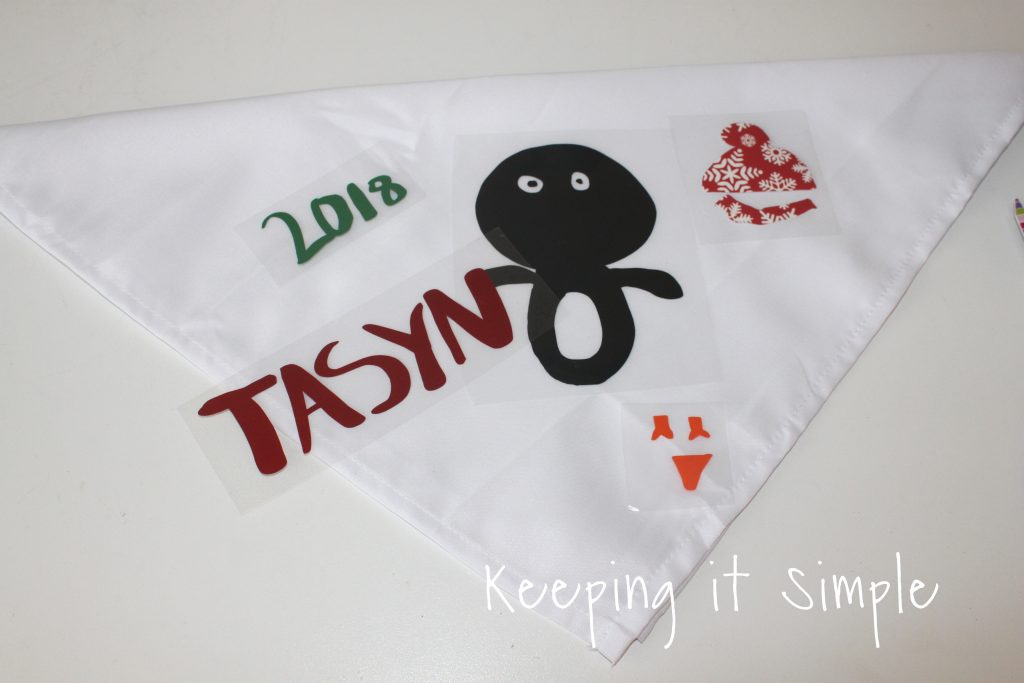
I arranged the design onto the cloth napkin.
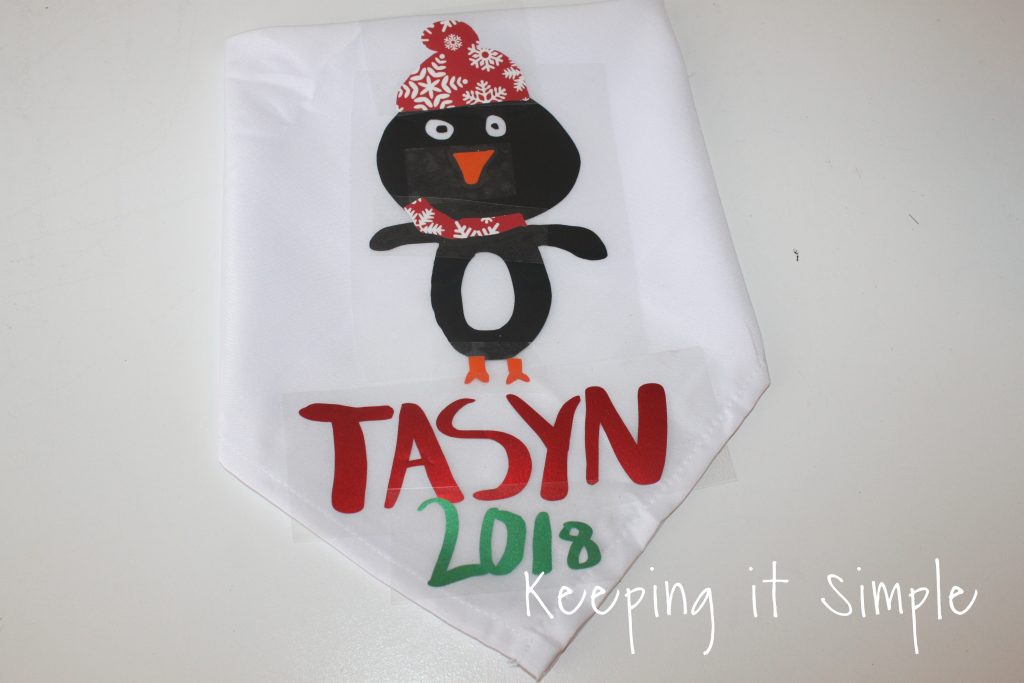
Then using my heat press, I pressed the HTV onto the napkin. I pressed it at 305 degrees and pressed it for 15 seconds. You can also use an iron to do this.
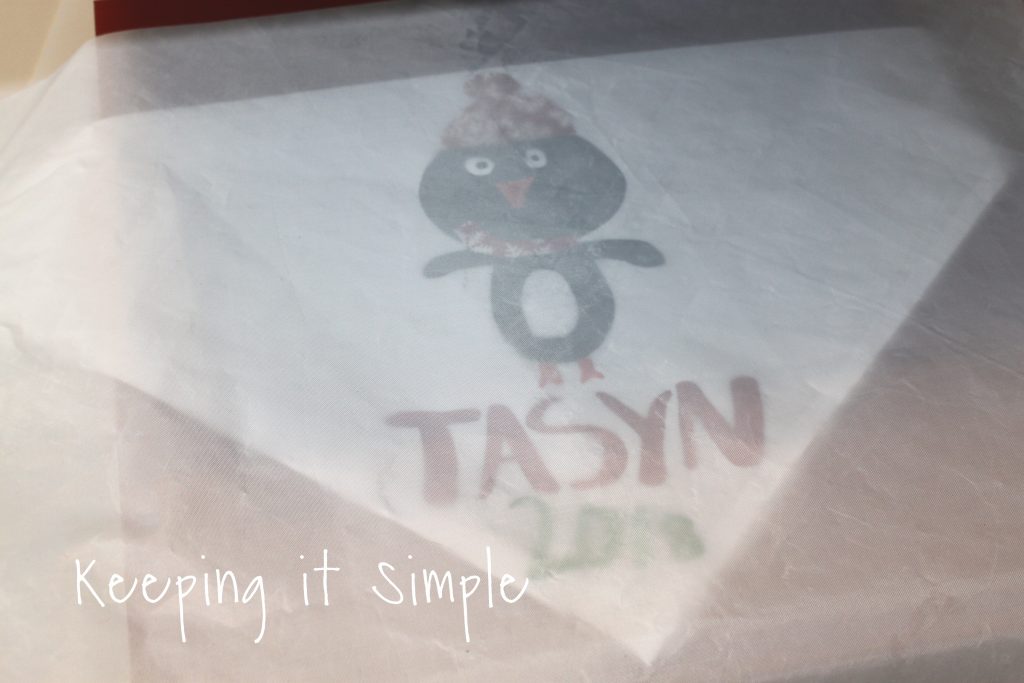
In between each layer, I covered the design with a heat press cover sheet.
And that’s it!! Super cute huh?? My daughter was so excited to see her drawing on the Christmas napkin!
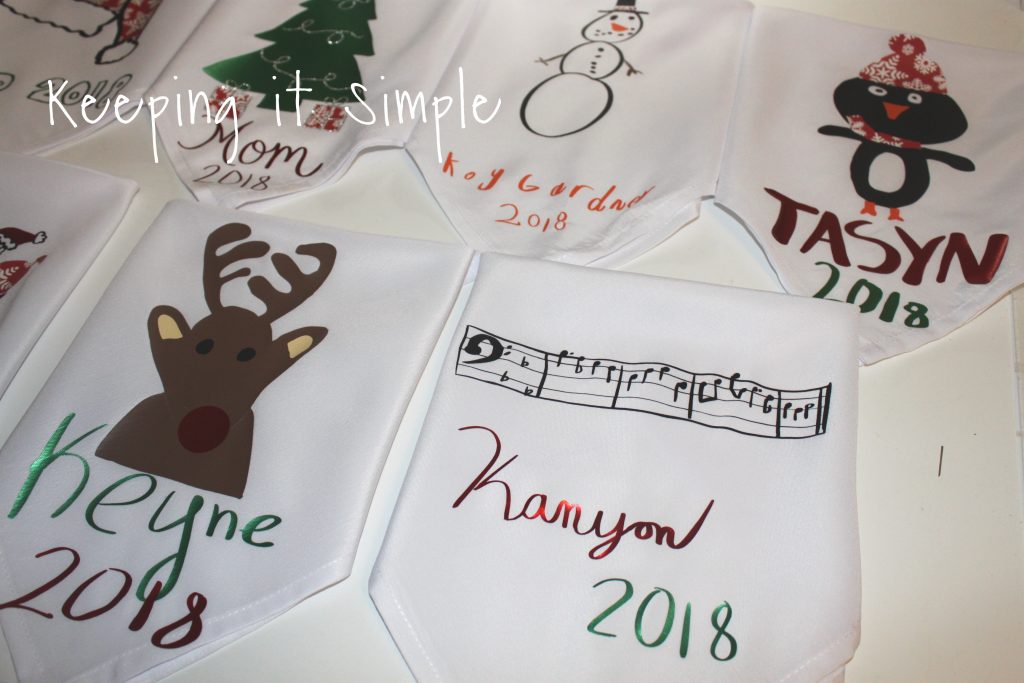
Here are the other designs that we made, all of them were from my kids drawings. Some of them were more detailed then others that’s for sure.
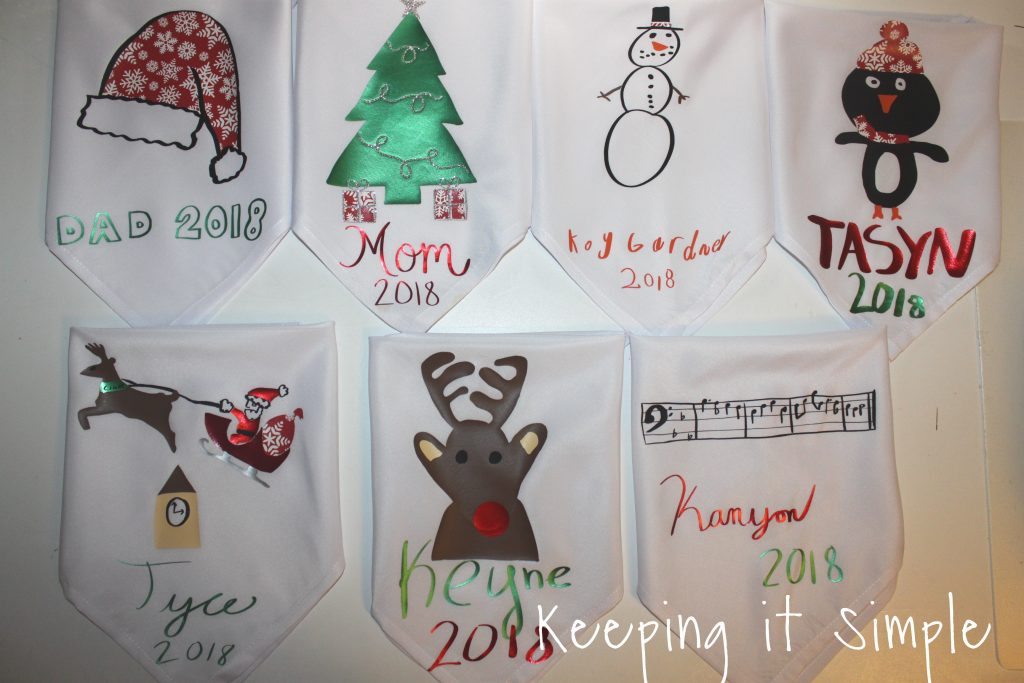
My son is an artist, can you tell? He really wanted to put a lot of details into his Santa and sleigh drawing. We made it work though and it turned out so good!
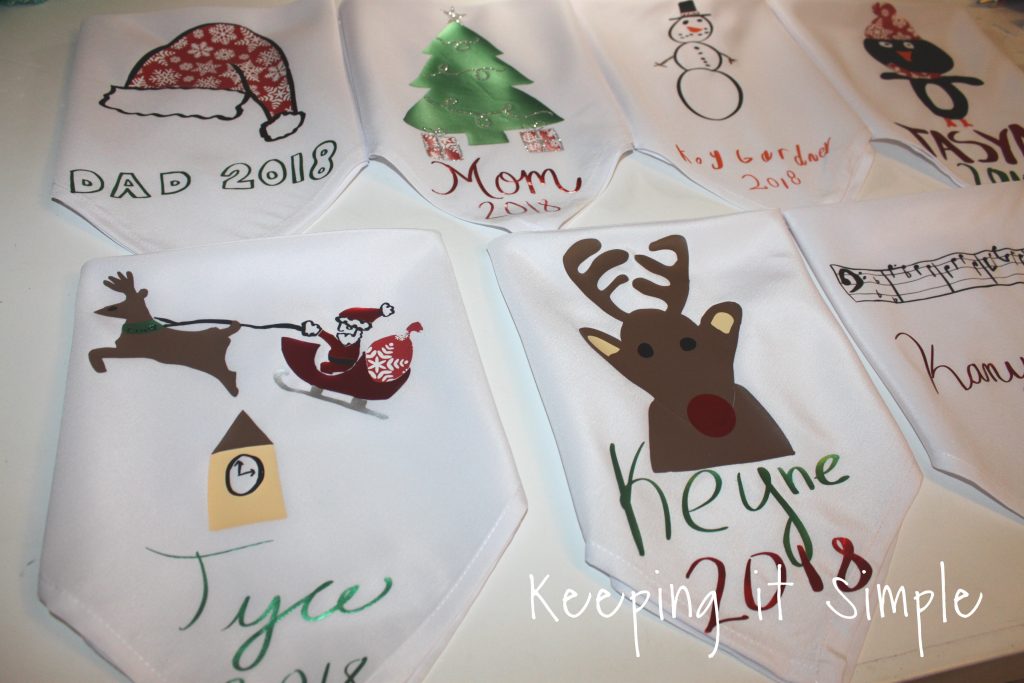
My other son is a musician and so he drew out Deck the Halls in base clef (he plays trombone). I love how his turned out!
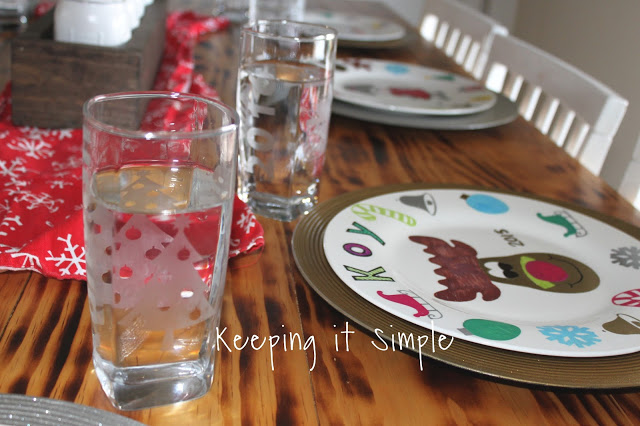
Here is our table all ready for Christmas dinner! I love all the fun Christmas dishes :).
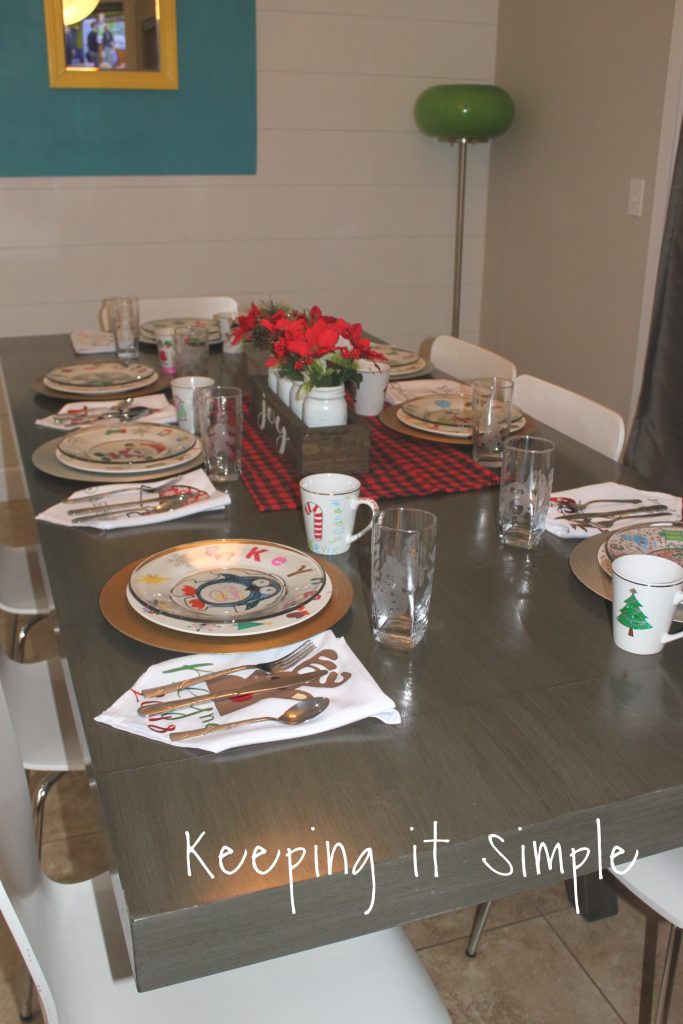
Here are all the ones that I have made through out the years.
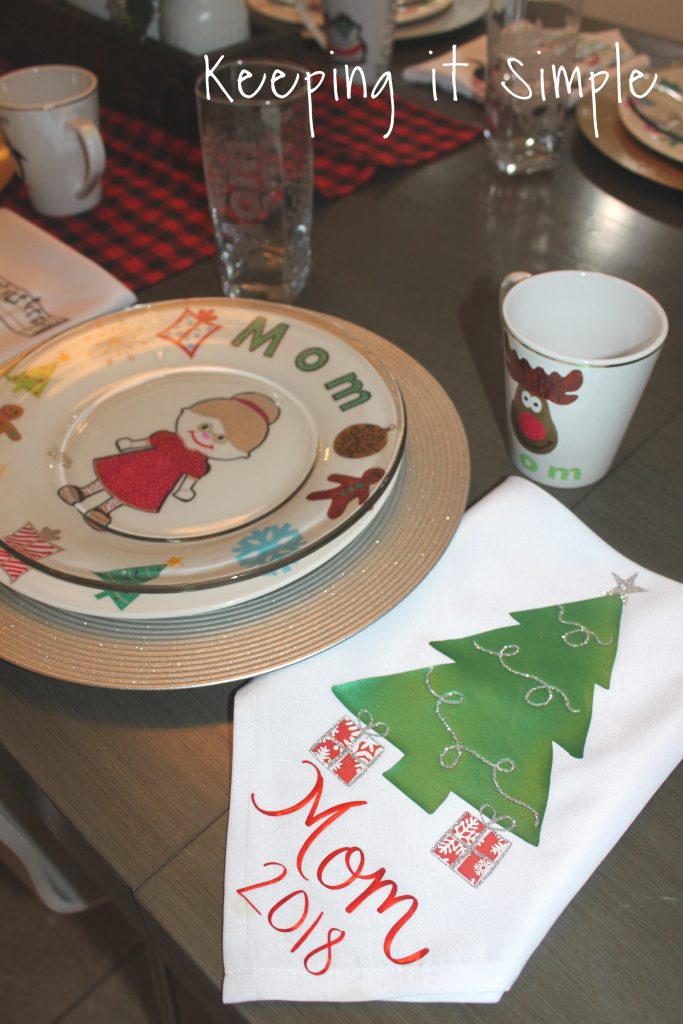
Here are my daughter’s Christmas dishes.
I love how this napkin turned out, it looks like my son just drew the snowman right onto the napkin. It’s so cute and it looks just like his drawing.
Check out my other tutorials on how I made the Christmas dishes, they have been a big hit every year!
If you like this idea, you might like these Christmas ideas!

Leave a Reply
You must be logged in to post a comment.