DIY Personalized Photo Gifts with xTool Apparel Printer
If you are new to xTool and DTF printing, check out my beginner’s guide here.
The ultimate way to personalized something is to put a picture onto it! Nothing screams personalization more than a homemade gift with a photo on it. When I got the xTool apparel printer I couldn’t wait to put pictures onto everything. I LOVE taking pictures, especially family pictures. We do family pictures every single year. I take a lot of pictures of my family and I rarely do anything with them. But now that I have an apparel printer that prints out amazing, vibrant photos, I can make amazing photo gifts for me and for my family! I am going to be putting pictures on everything, and I mean everything! We took these family pictures in the summer of 2025 and I have not printed out a single one. With the xTool apparel printer, printing out pictures is super easy, all you have to do is upload them and then push print, it really is that easy! You can put the photos on a variety of materials, I decided to use a 8 x 10 canvas, a can cozy and a mouse pad. The DTF photo transferred perfectly on each different kind of material.
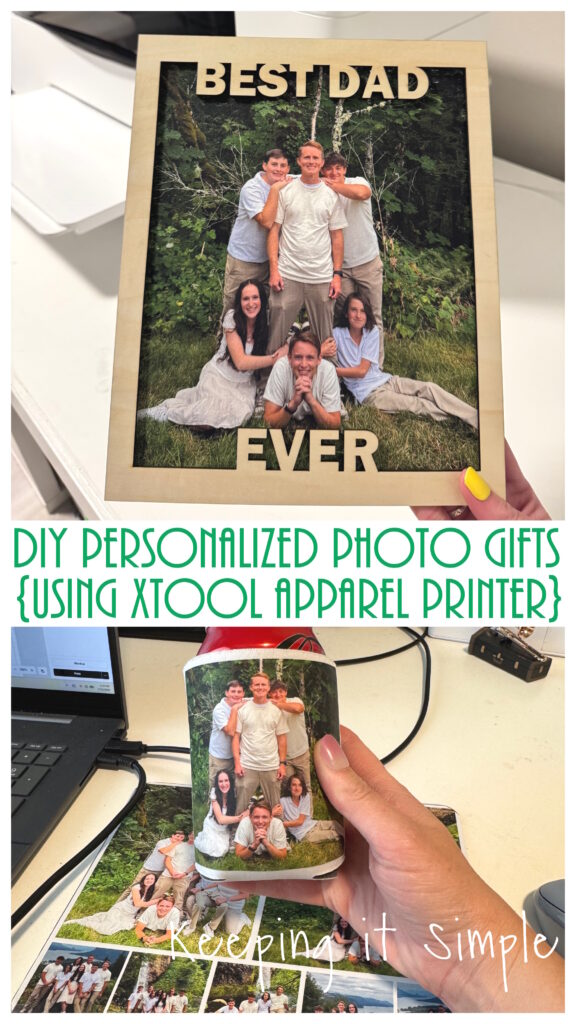
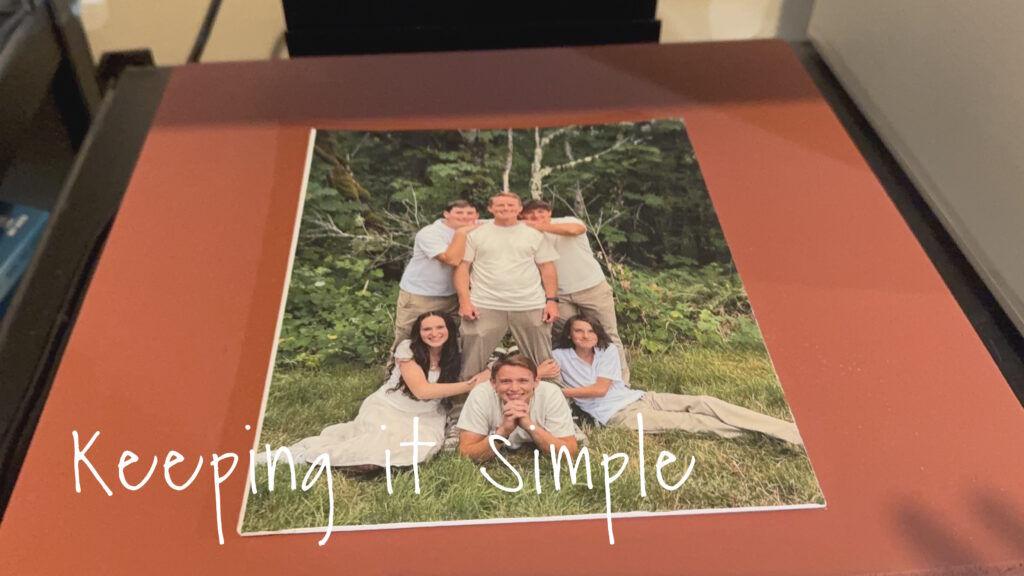
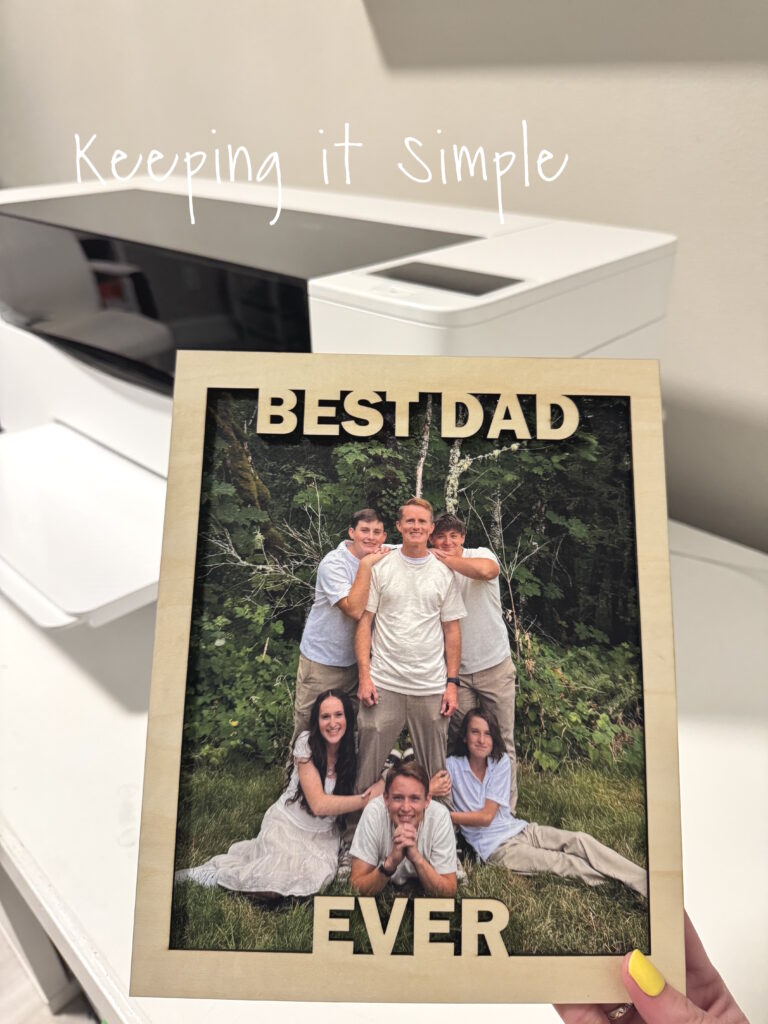
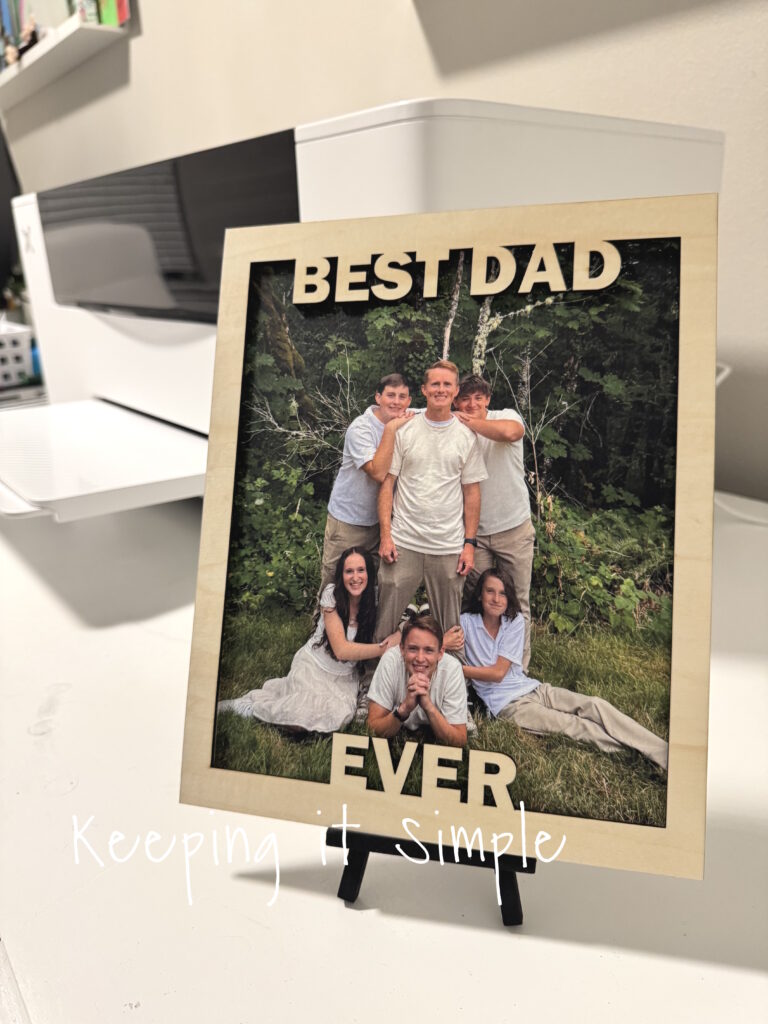
My husband just moved into a new office and we decided that we needed to decorate it. I sent him with a frame and an old picture, back from 2023, and I knew that he needed an updated picture, especially since our kids have grown a ton in the past few years. I made him a fun frame that said Best Dad Ever and then added a picture that I took of him and our kids. We were doing an awkward family pictures pose and I love the picture so much! This would be a GREAT idea for father’s day. The SVG cut file is in the tutorial.
Here is a quick video to show how I made this wooden best dad ever frame with the photo transferred to a canvas.
This is how I made it:
The first thing I did was printed out the picture with my apparel printer. I opened xTool Studio and then I added the photo that I wanted to transfer onto the canvas. I cropped it in the software.
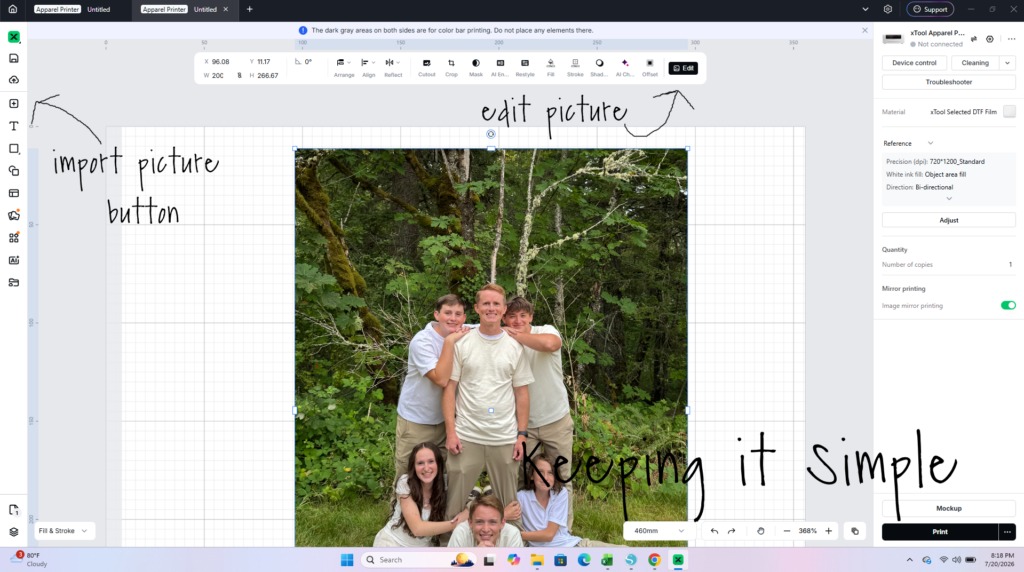
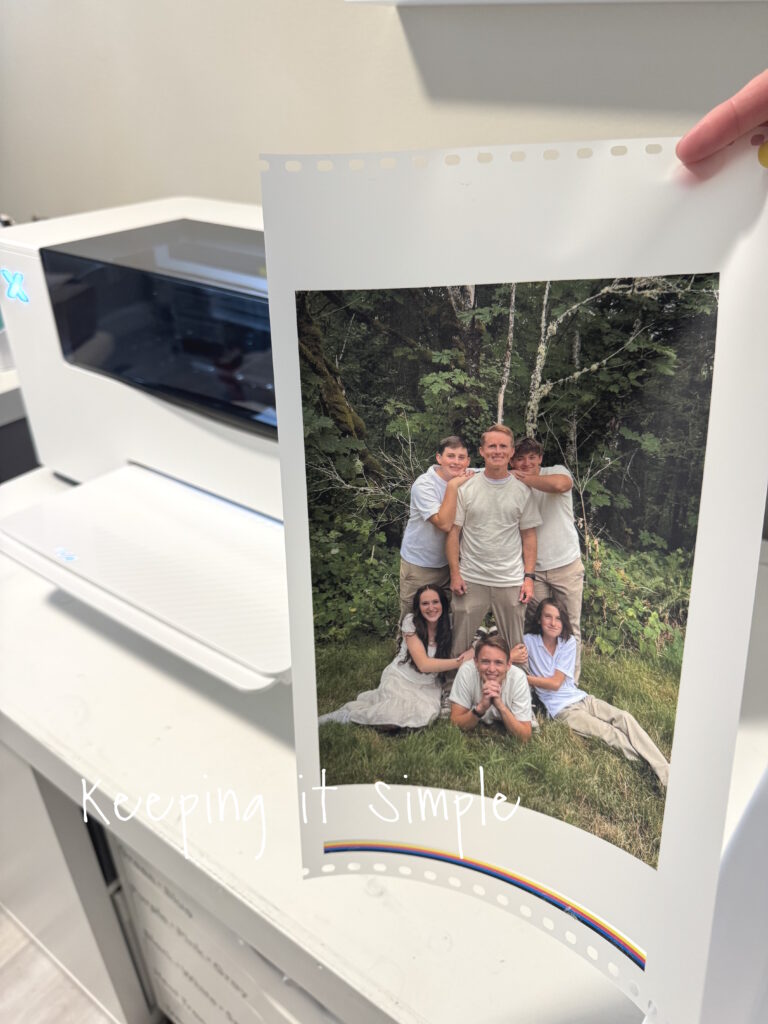
Once I sized it and arranged it, I clicked the print button. This automatically mirrors the image for you. I love that there is a place to calculate the cost of the print. This 8 x 10 picture cost $.58 to print, that is LESS than getting it printed at the store and the quality is just as good!
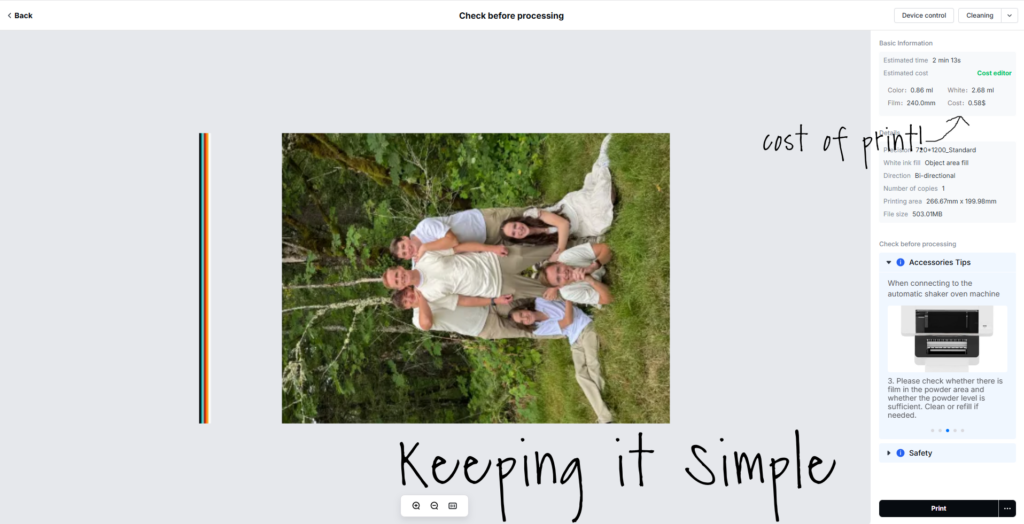
The apparel printer prints so quickly, this took about two minutes to print.
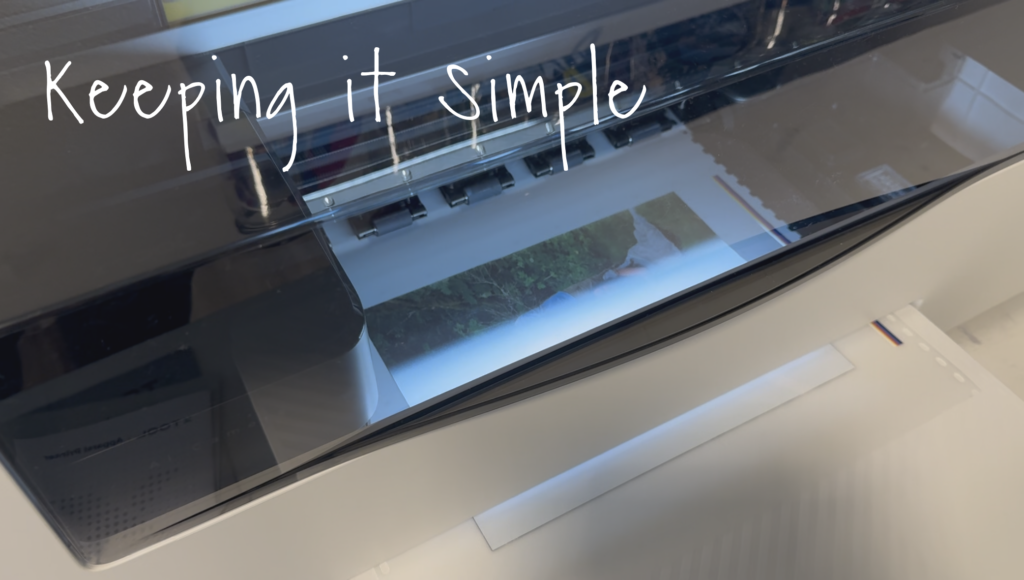
Look at the quality of it!! So clear and the colors are so vibrant!
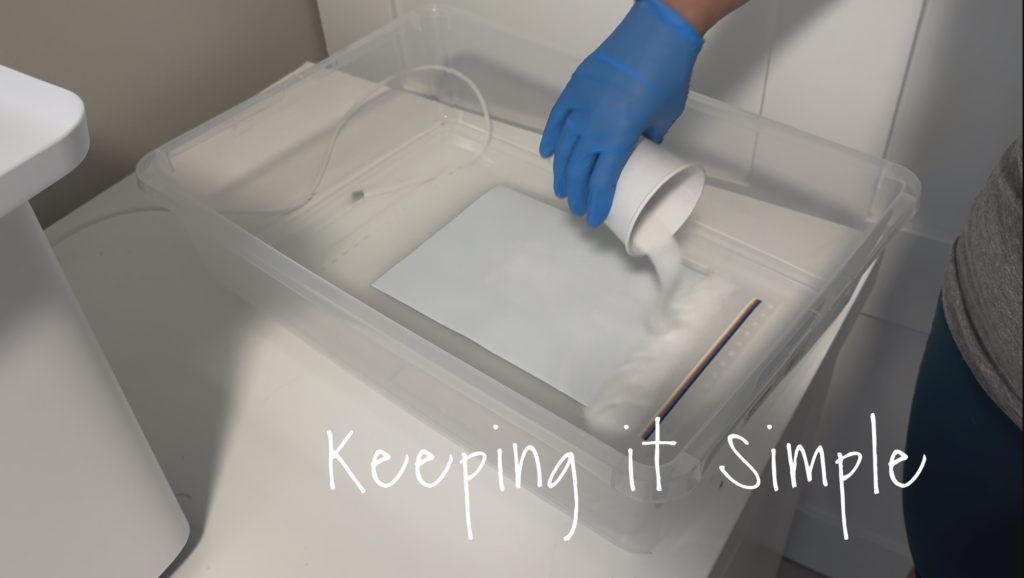
Immediately after the printing the photo onto the DTF film, I added powder to it. I put on a thin layer and then gently shook off the excess.
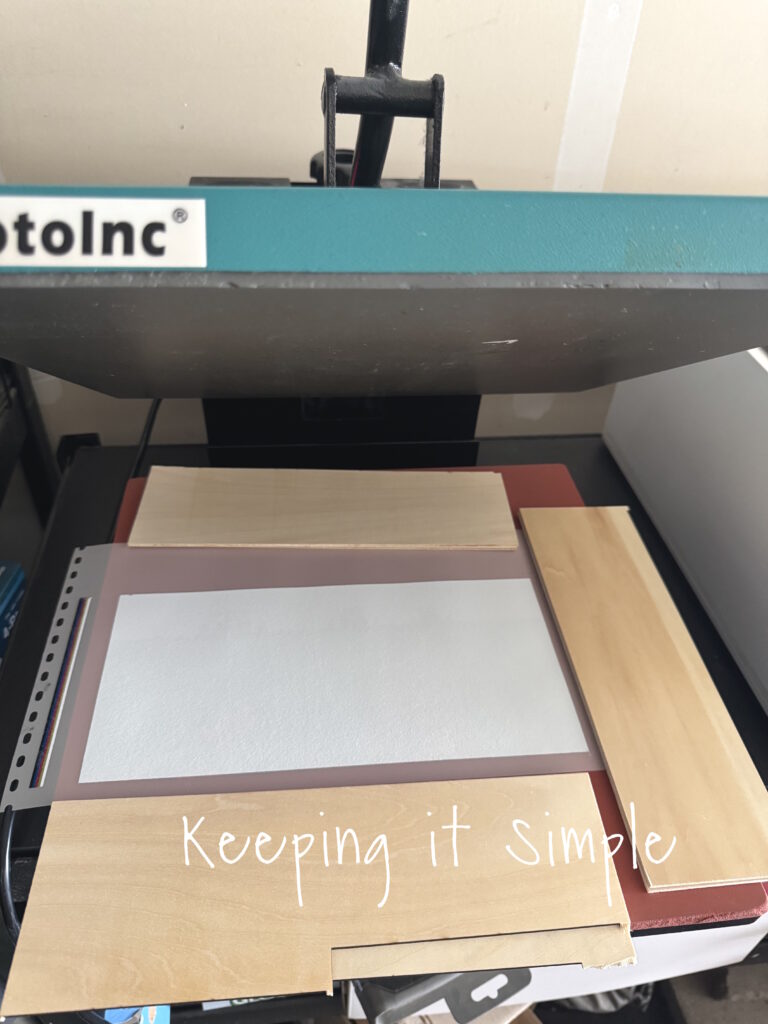
After I put the powder on, I used my heat press to cure the powder. I set the temp to 365 degrees and then hovered the plate just above the DTF film for 2-3 minutes. I found the easiest way to get an even cure was to add some scrap wood to the sides of it so I could put pressure onto the heat press without touching the DTF film and powder.
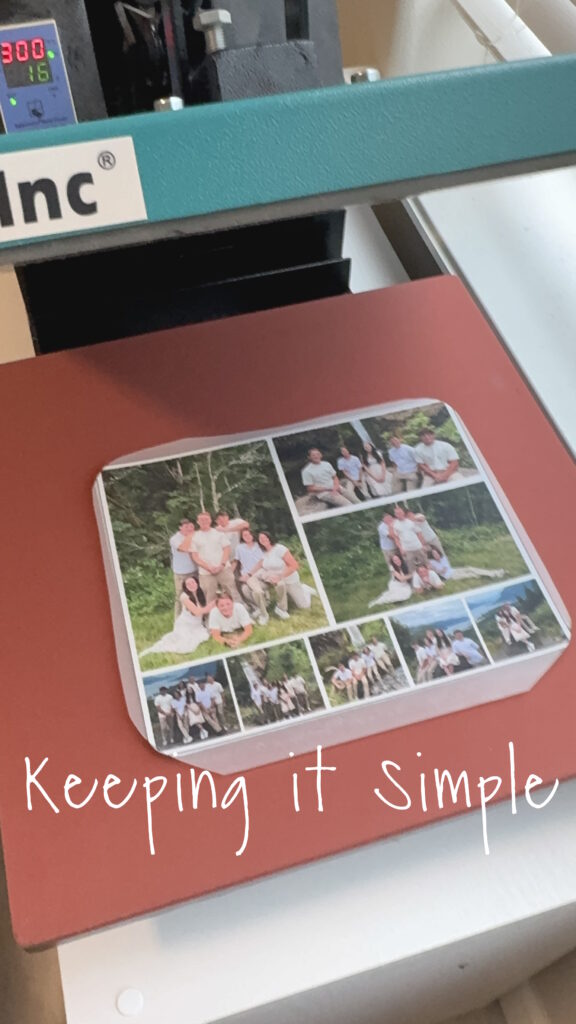
Once the powder was cured, then I placed the DTF transfer onto the canvas and then pressed it for 15 seconds at 305 degrees.
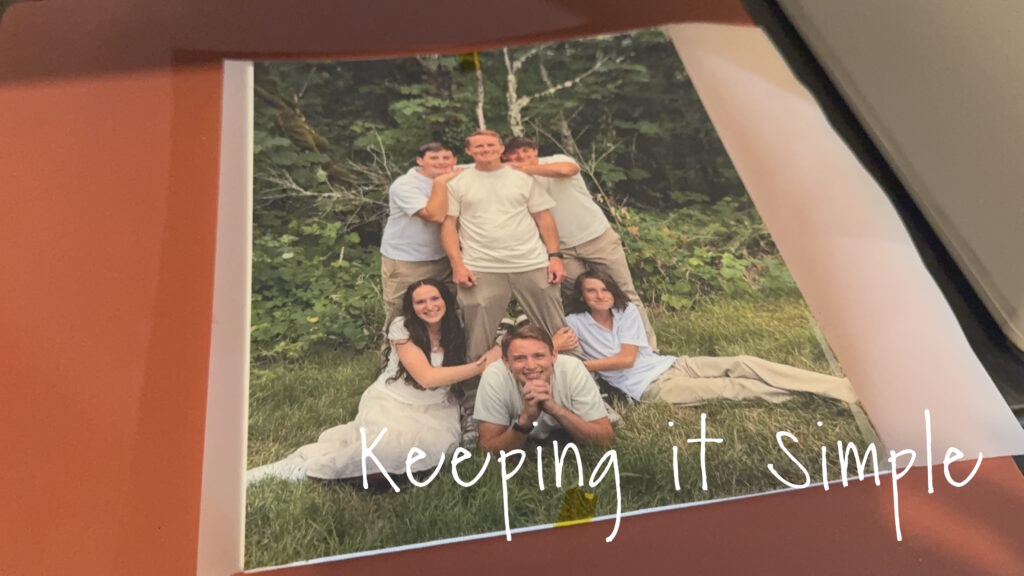
Once the photo was completely cooled, I removed the film. This is my favorite part of the process, it’s so fun to see the photo get transferred onto the canvas.
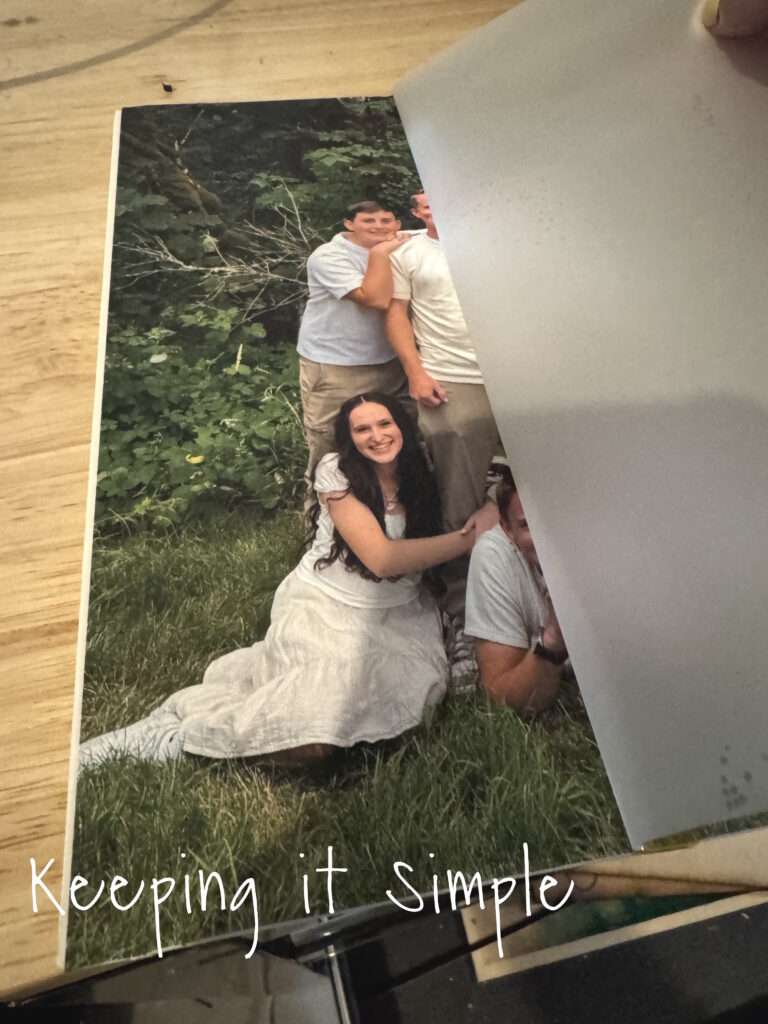
Once the film was off, I then pressed the photo again, for 10 seconds. I covered the image with a Teflon sheet cover.
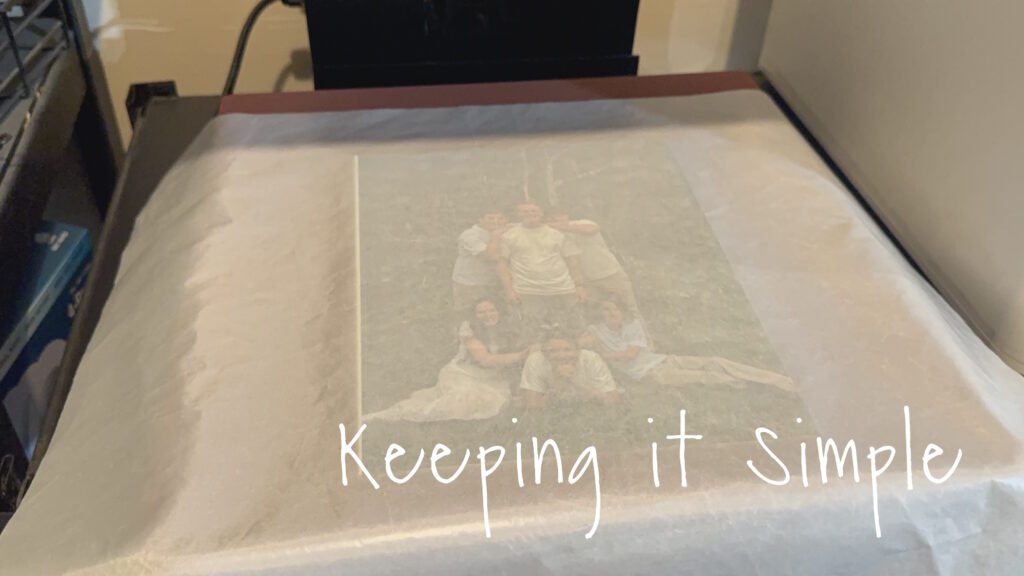
It looks so good!
Now time for the wooden frame. I used my xTool S1 to cut out a simple frame. You can get the SVG cut file here:
I added to SVG file to xTool Studio, I kept the file to it’s original size since it is already 9 x 11 inches. I selected the whole frame and then clicked cut mode. I used a 3mm basswood plywood and sent the design to the laser cutter.
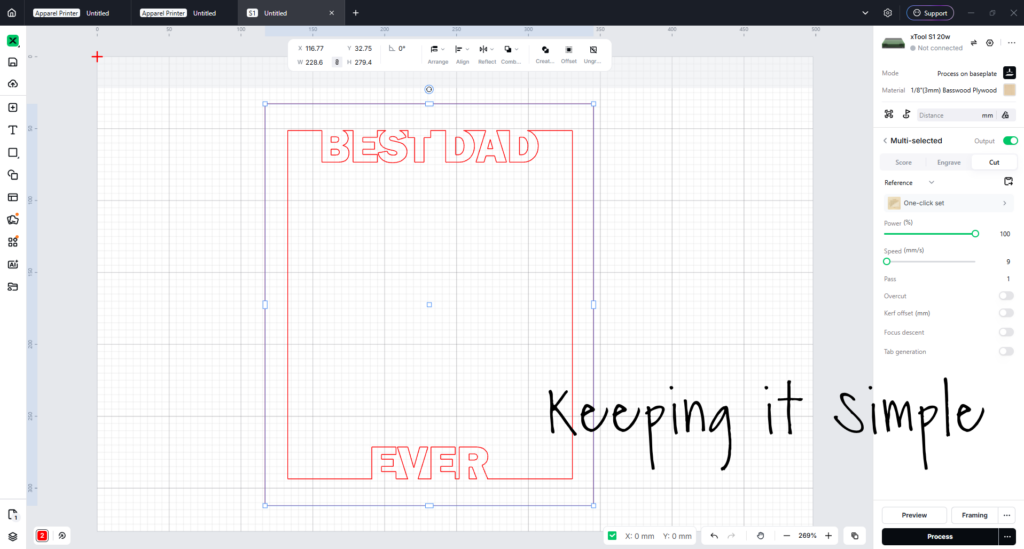
The xTool S1 is so great and cuts the wood perfectly!
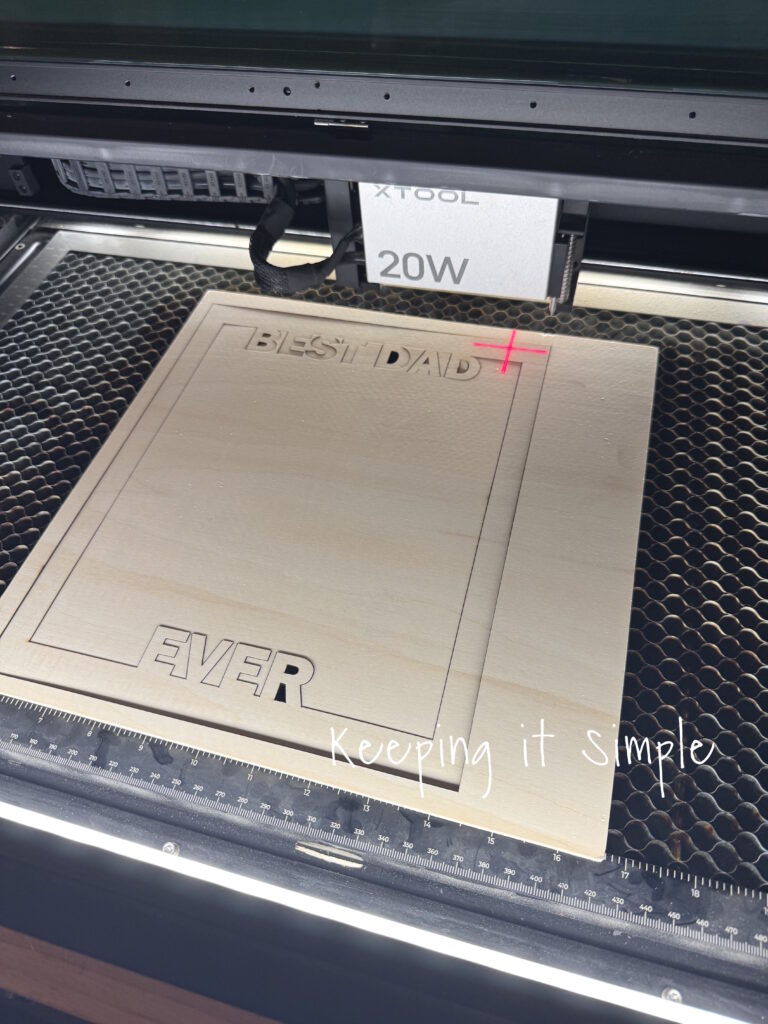
Once the frame was cut out, I glued the frame to the 8 x 10 canvas with E6000 glue.
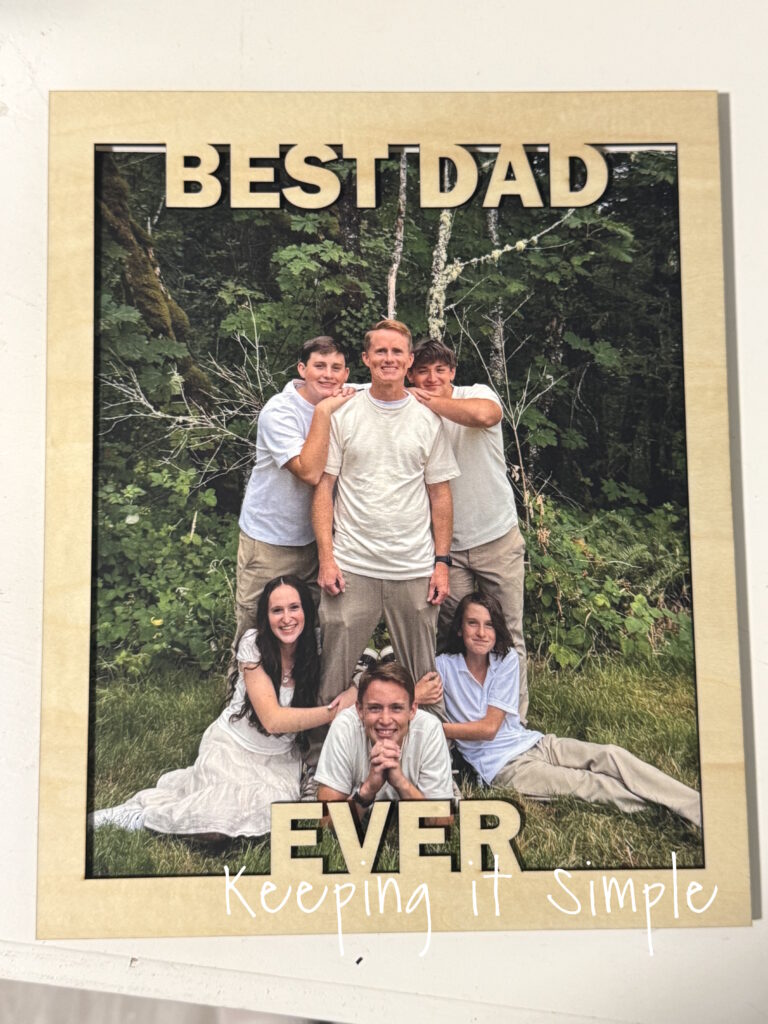
And that’s it for the frame I made for my husband.
Like I said before, I will be putting pictures on ALL THE THINGS now! I was so impressed by how well the apparel printer did with printing out the picture, I knew I needed to add the pictures to more things. I have purchased a few mouse pads with our family pictures on them before and I have loved using them, so I knew that I wanted to put the new family pictures on a mouse pad for my craft room.
Here is a quick video to show how I put the family pictures onto a mouse pad and can cozy. The transferring of the picture to the material is the same as the wooden frame.
This is how I made the personalized photo gifts.
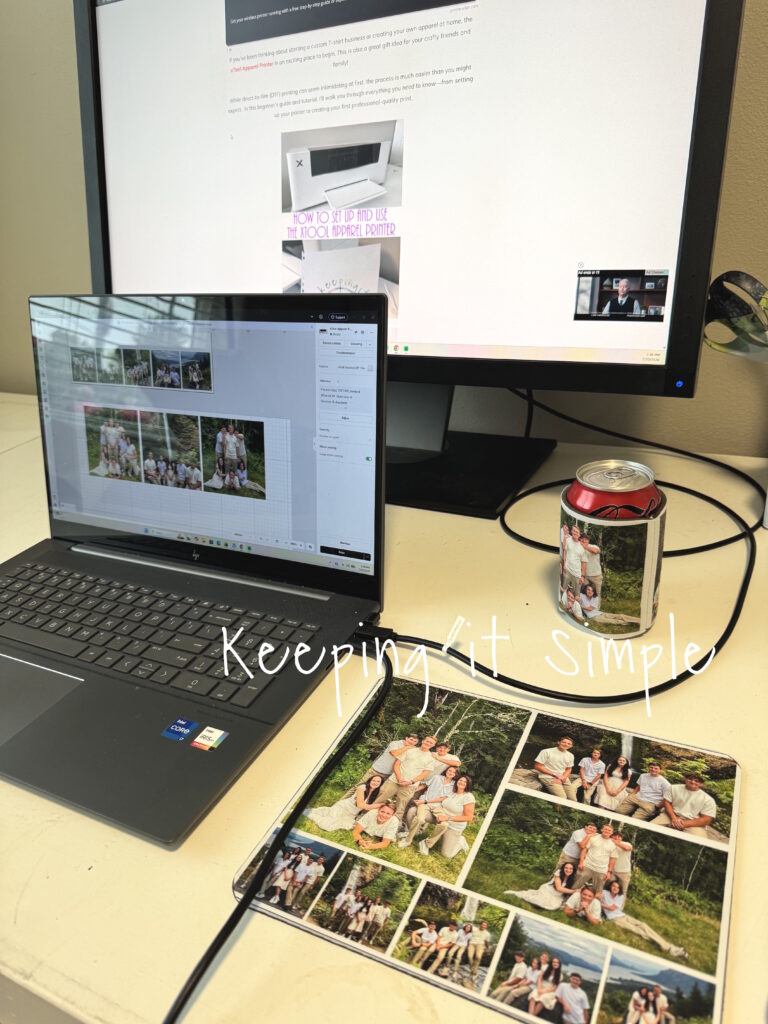
The first thing I did was created a photo collage in xTool Studio. It was super easy to do since I could edit, resize and arrange everything within the software. I wanted to have a white background, so I created a rectangle and filled it white. Then I added multiple pictures (I told you that I like to take lots of pictures!) and arranged them to fit inside the rectangle. I then printed the collage.
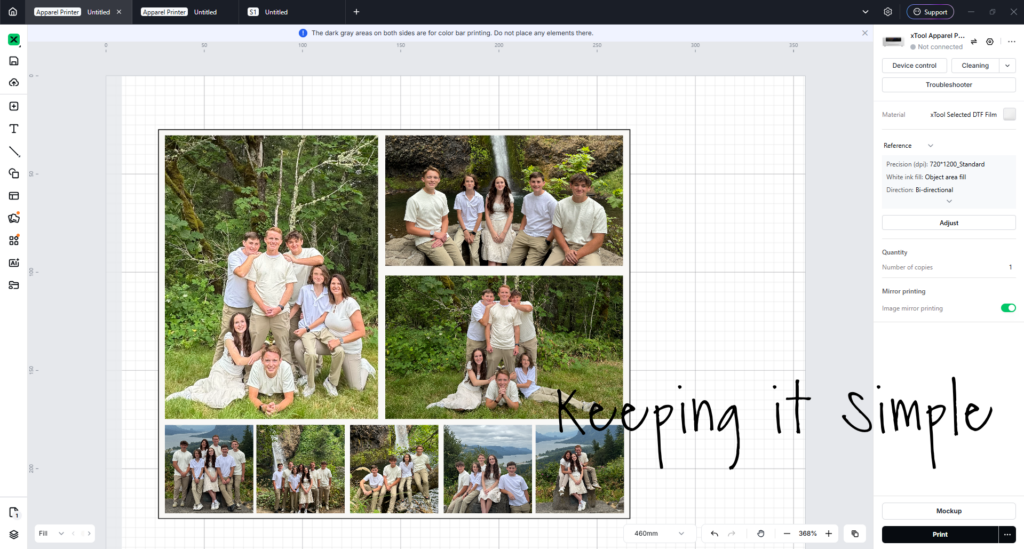
The pictures turned out so good! I love how bright and clear they turn out! I then added the powder and cured it, just like I did with the other picture.
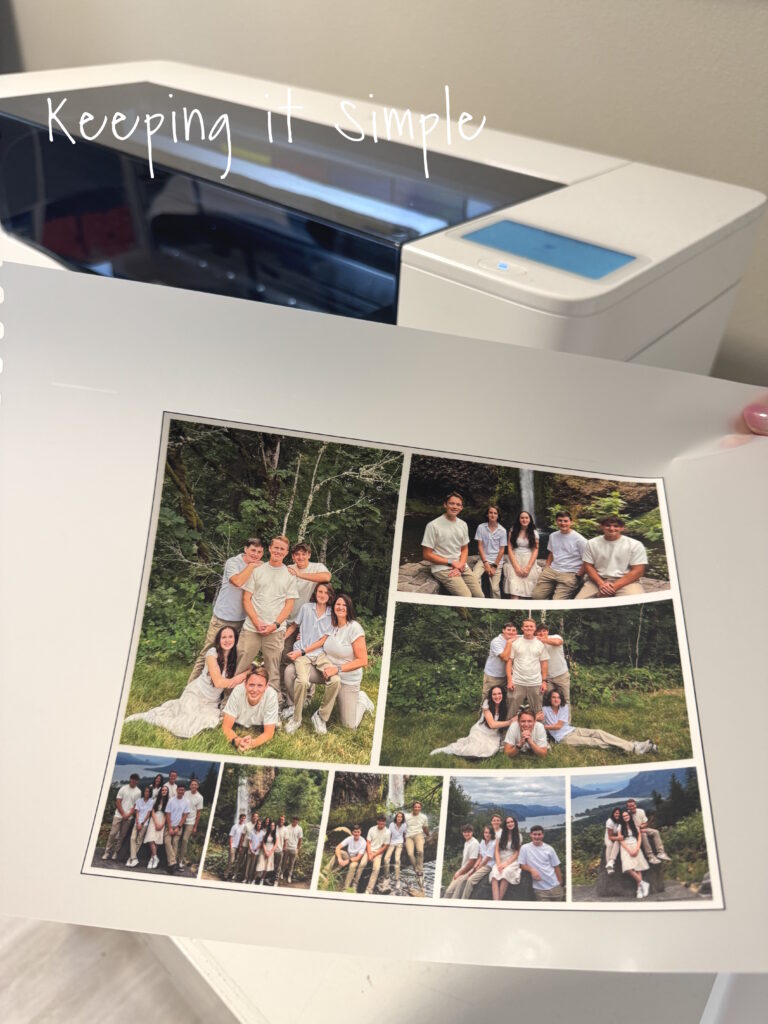
I then added it to the blank mouse pad.
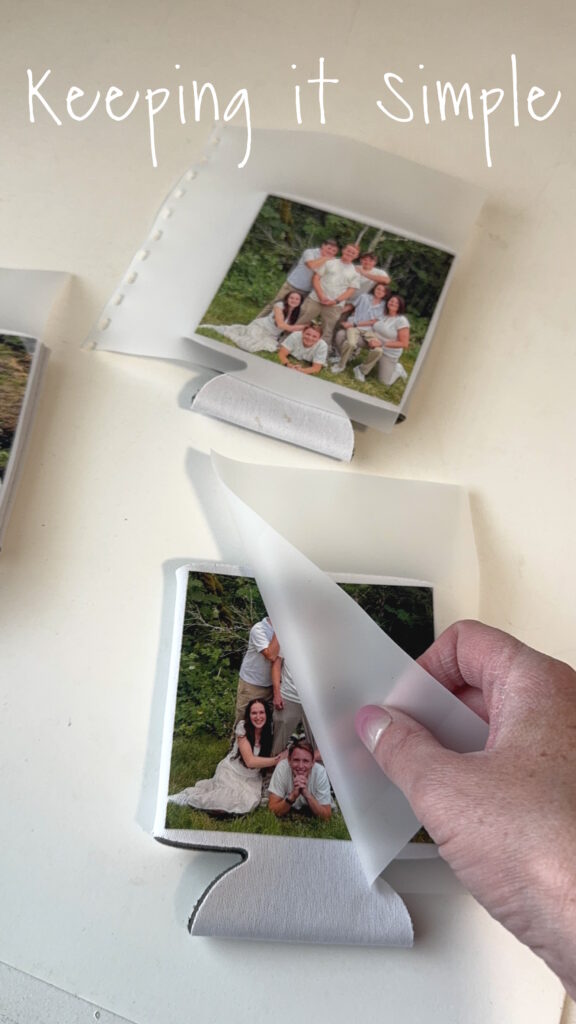
I repeated the process with the can cozies. I just made the images smaller and square.
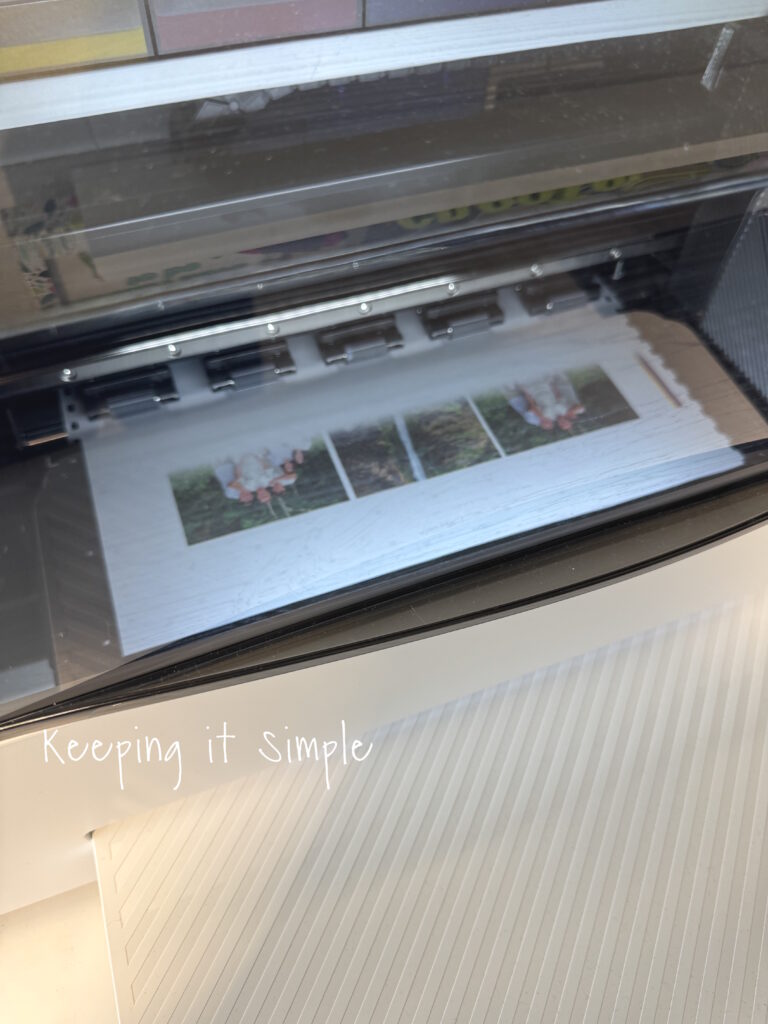
I pressed them and then removed the film. I decided that I wanted to make them double sided, so I did everything twice for them.
And that’s it for the photo mouse pad and can cozy. It looks so good in my craft room!
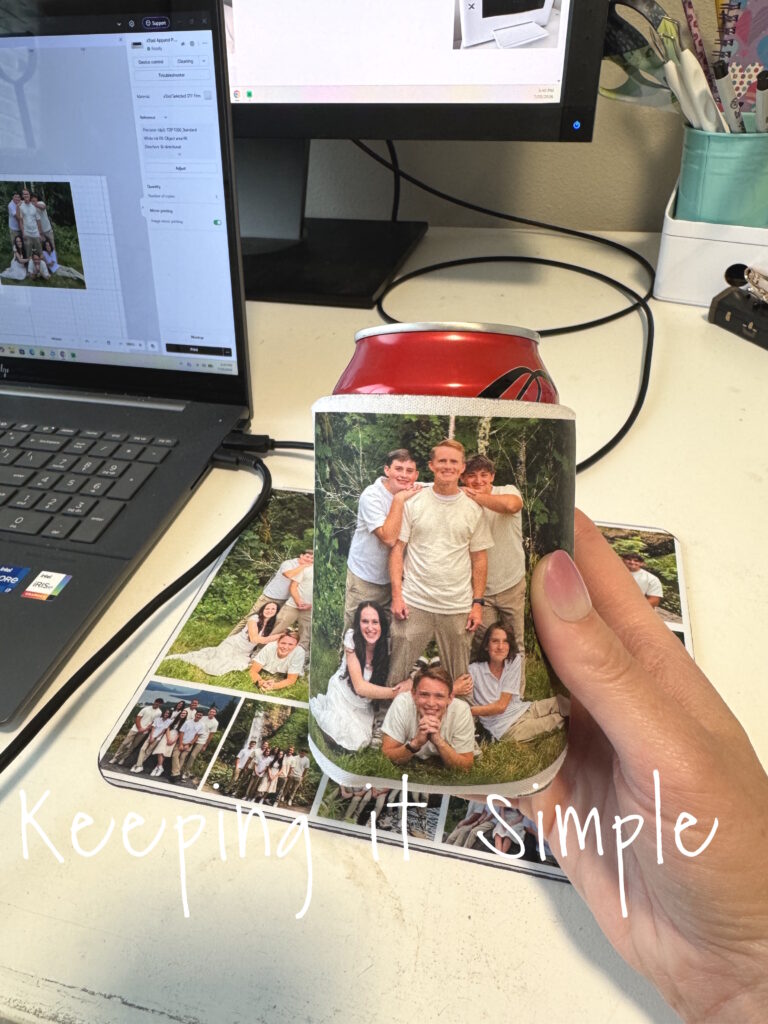
The details are so great! The cozy stretches and looks great, even when there is a can inside it.
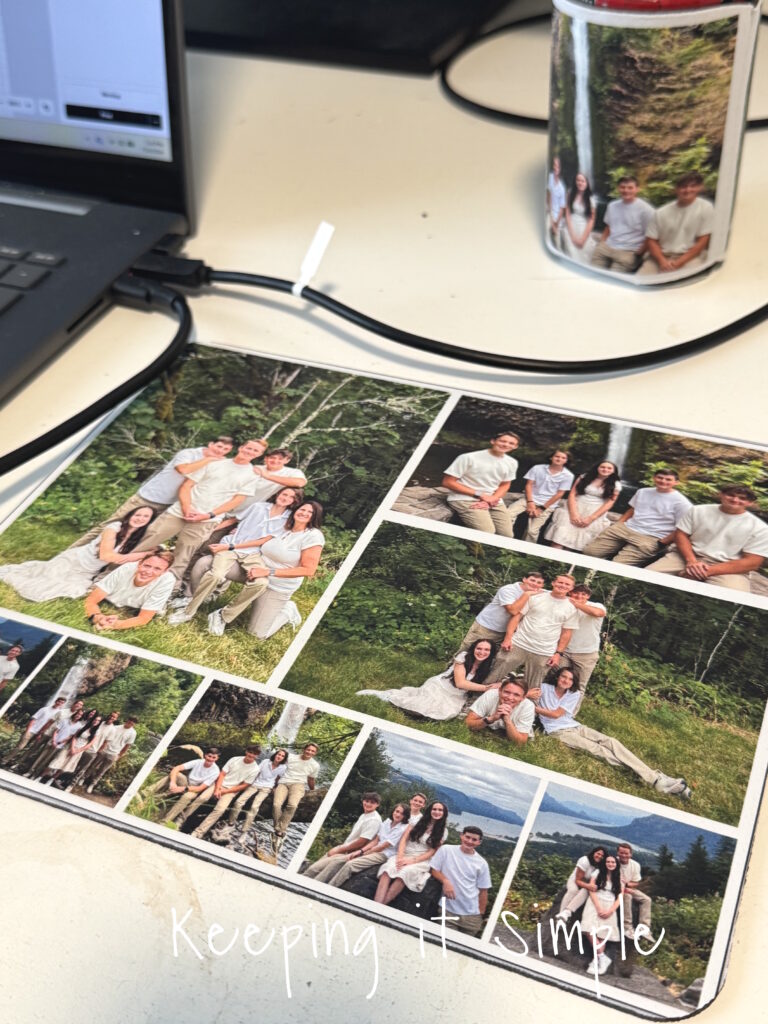
The mouse pad is so much fun and makes me so happy! I am definitely making more of these because photo gifts are great for anyone!
If you want to see more posts using the xTool apparel printer and DTF transfers, check out my ideas here!
This post contains affiliate links.
Leave a Reply
You must be logged in to post a comment.