Colorful Layered Wooden Farm Sign- How to Cut on xTool S1 and Print DTF on xTool Apparel Printer
If you are new to xTool and DTF printing, check out my beginner’s guide here. If you are new to laser cutters, check out this post all about the xTool S1.
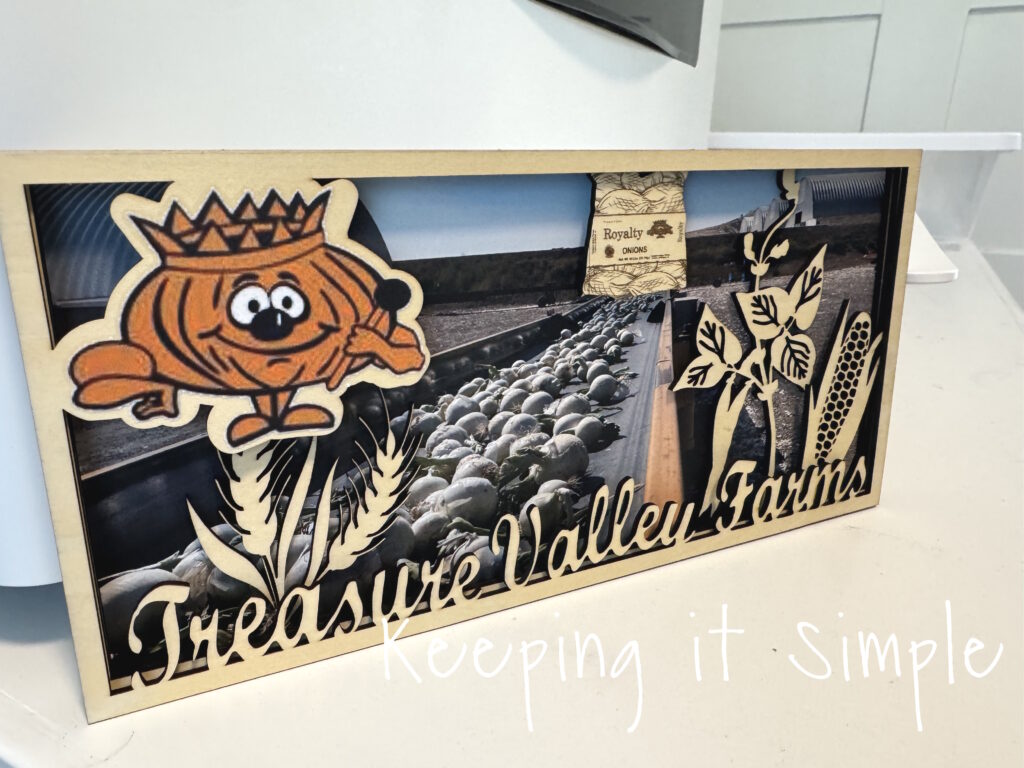
A few years ago I made some wooden farm signs for my husband, for his office. They were a big hit and he has had them on his wall ever since. Recently his job changed a little bit and he now has an additional office. It was looking a little bare, so I decided that I needed to make him some things for it. I love those farm signs so much that I wanted to make another one, for his new office. This time around, I really wanted the sign to pop and have some color in it. So I used my xTool apparel printer, found a pretty image of the farm and added that to the wooden layered sign. I love how the color on the wood pops and really makes the sign look amazing!
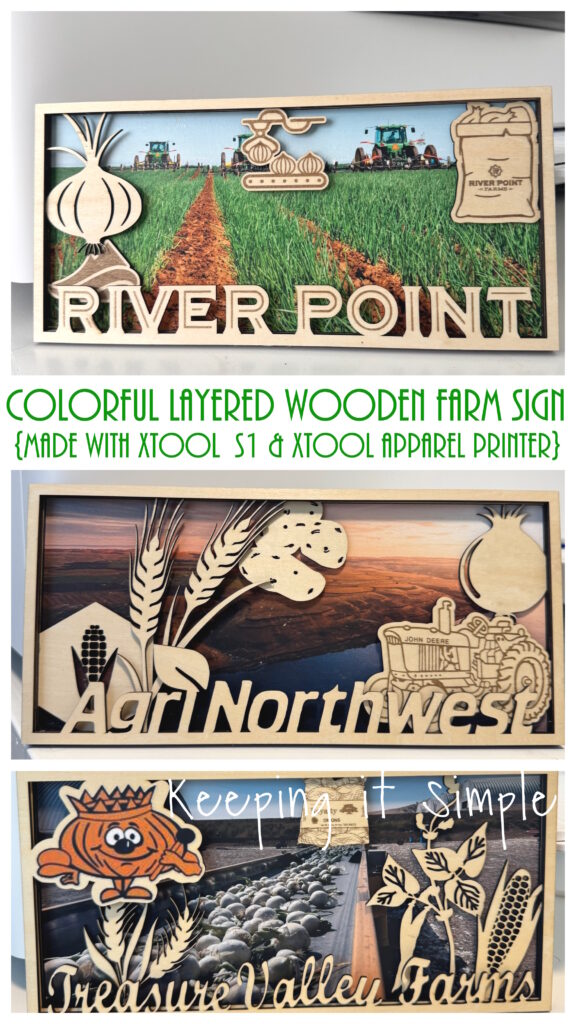
Here is a quick video to show how I made the colorful wooden farm sign.
This is how I made it:
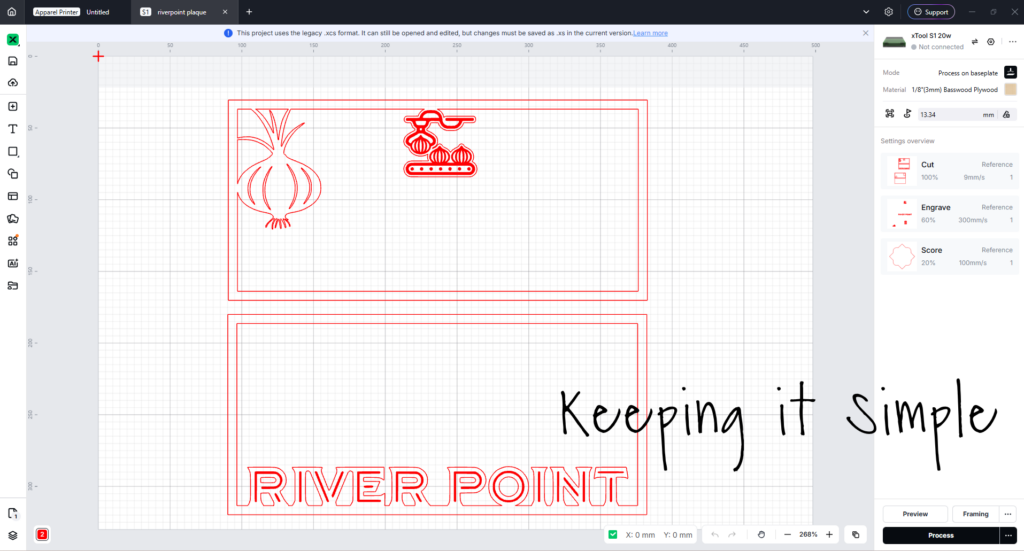
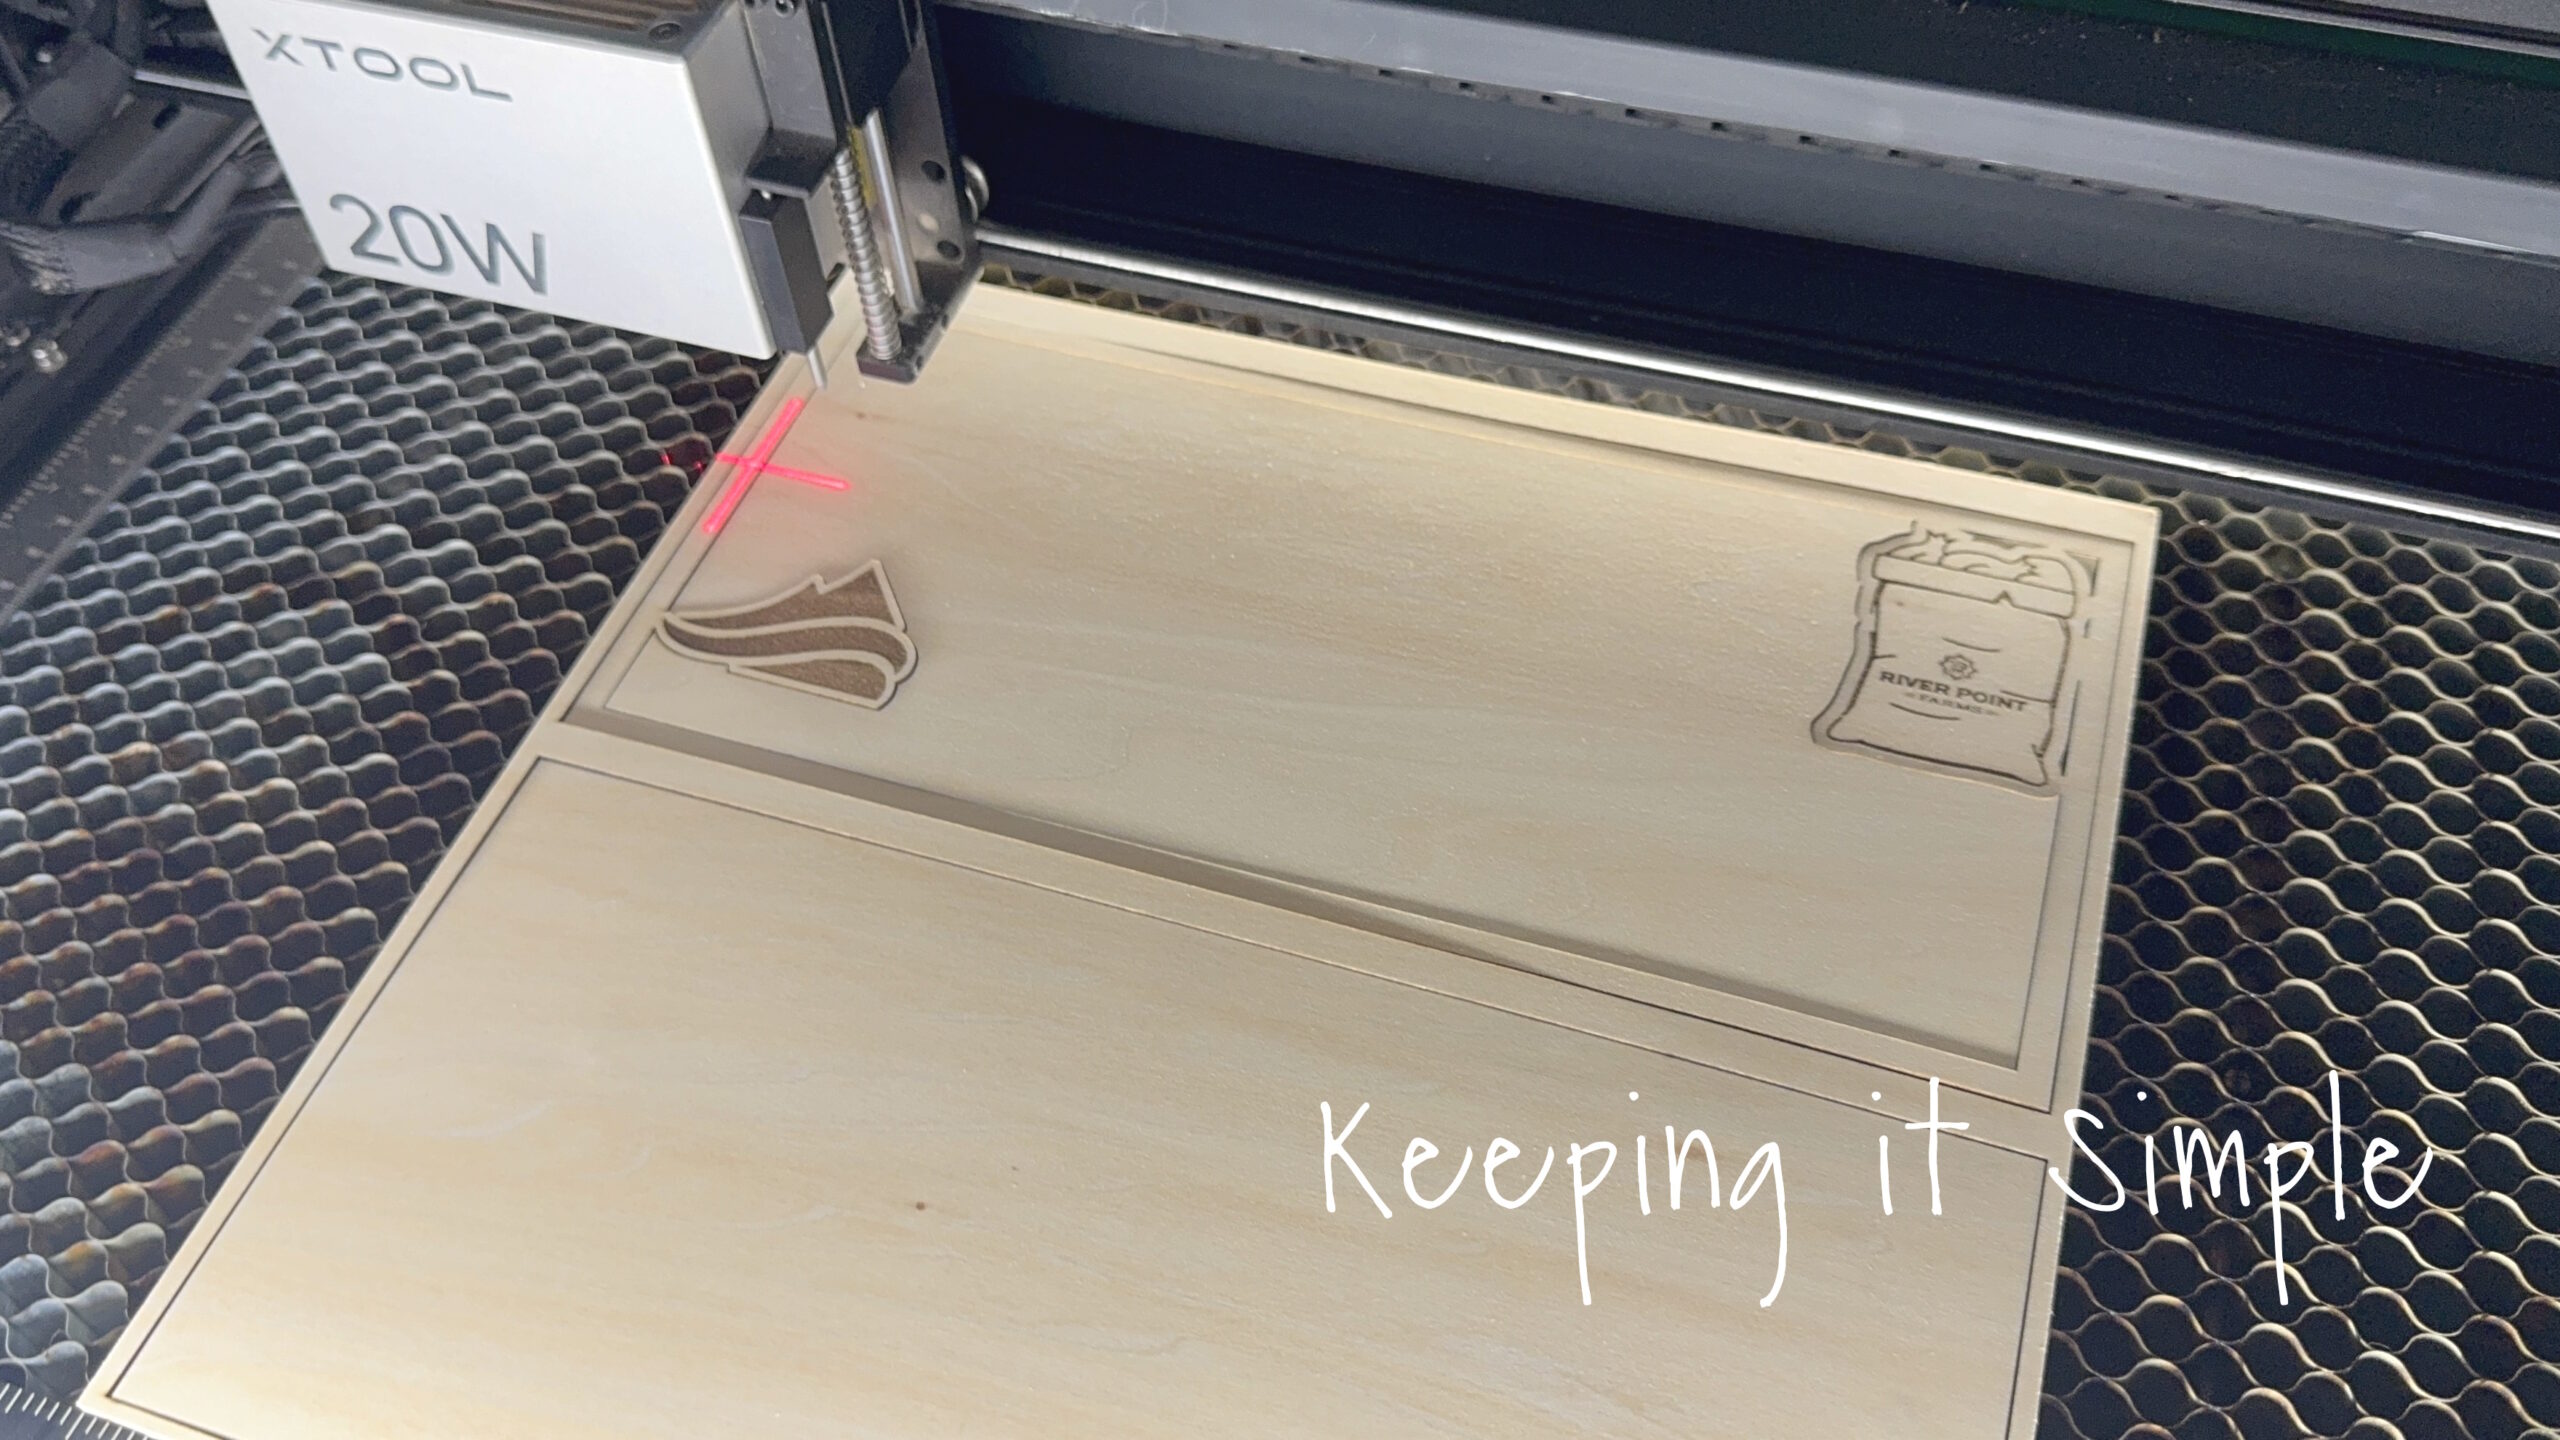
The first thing I did was cut the wood with my xTool S1. I designed it and then opened it up in xTool Studio. One thing that is amazing about xTool is that the machines can do multiple things at once, including engrave and cut at the same time. I set up the settings so that the bold red images would engrave and the rest of it would cut. I used a 3mm basswood plywood, I used two 12×12 sheets to create this layered sign.
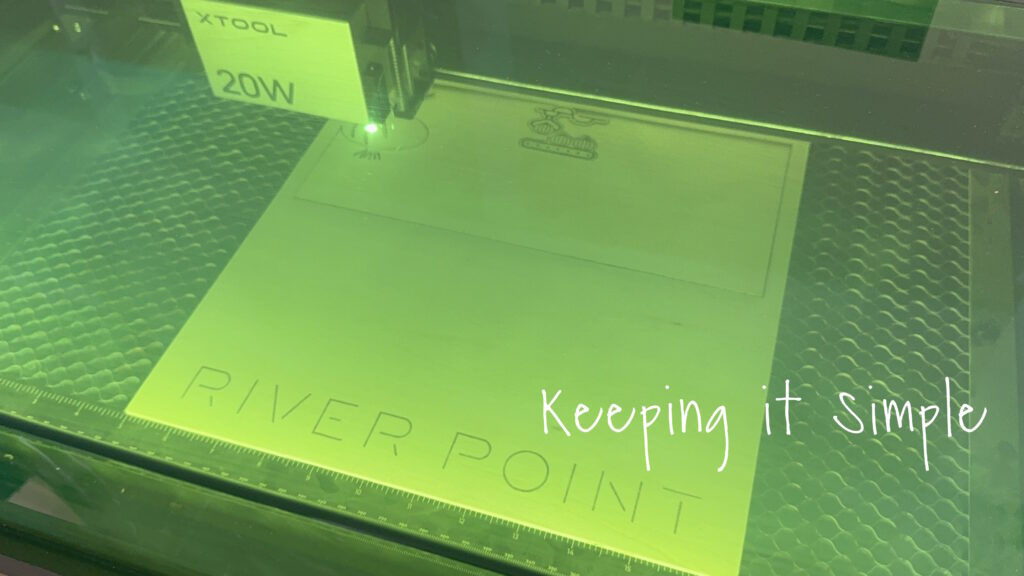
Here is the xTool S1 doing it’s thing and cutting the wood amazingly!
Look at how good it looks!
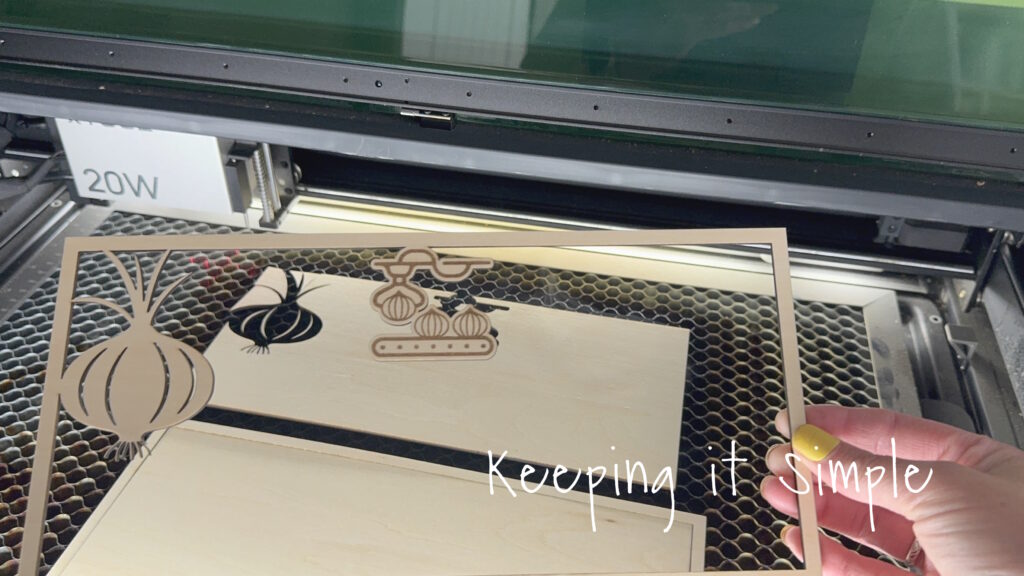
Here are the two layers together.
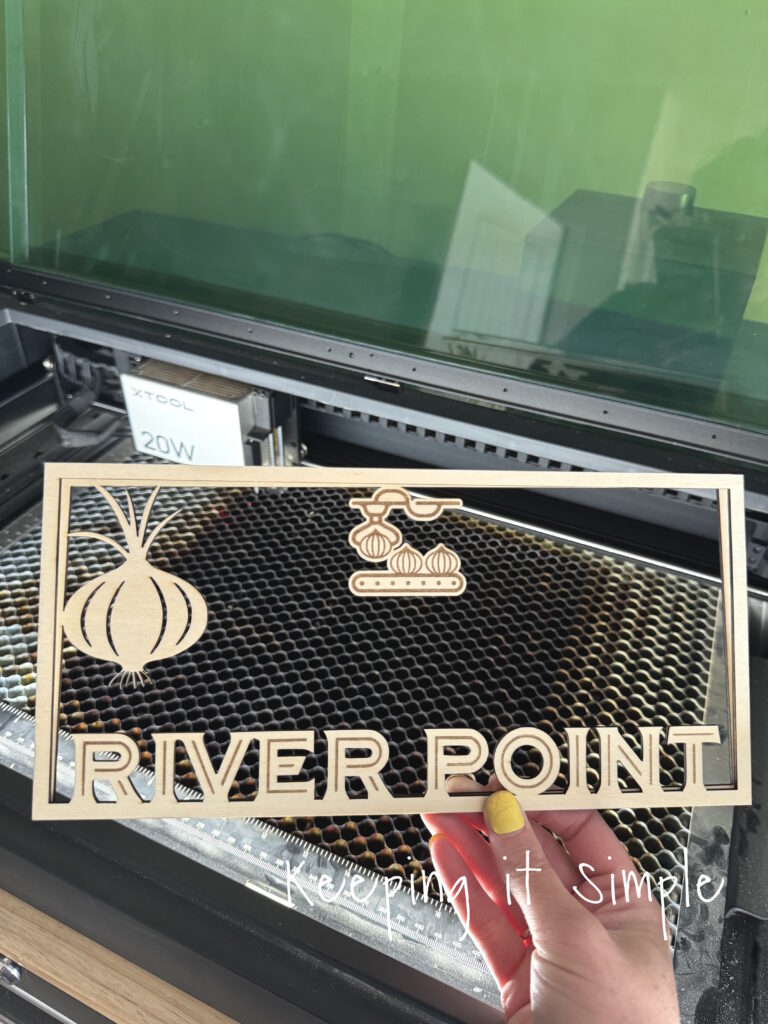
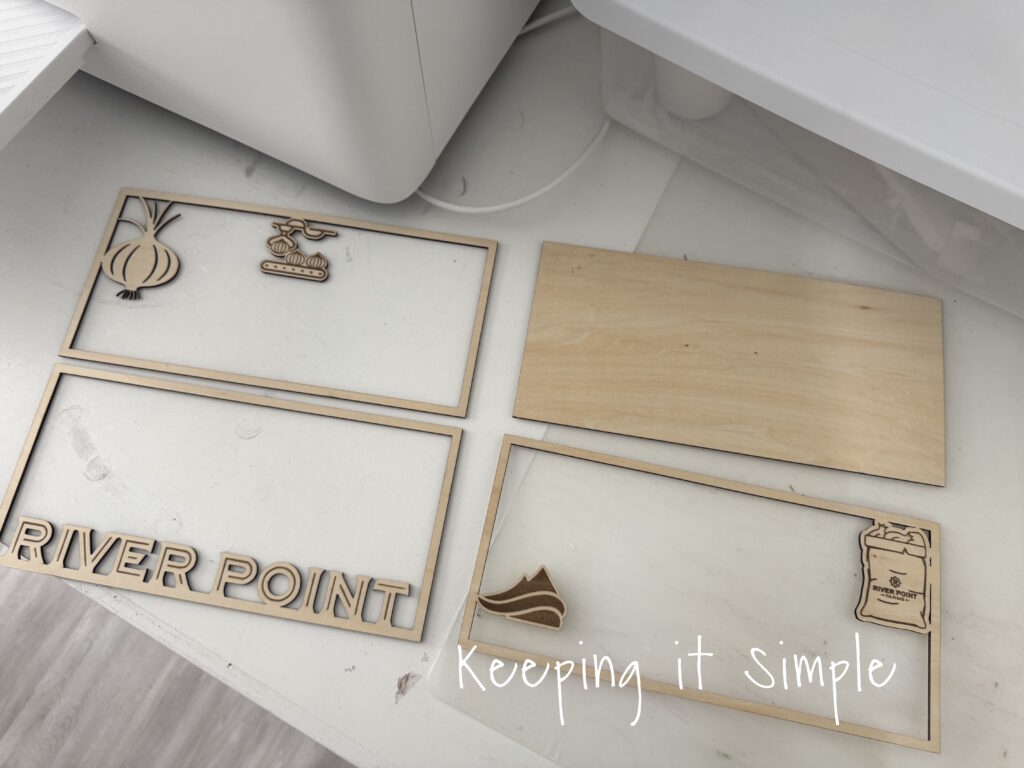
I then did the same thing for the other 2 layers, there are 4 layers in total. One of them is just solid, that’s where the picture will go.
Here are all 4 layers of the wooden sign.
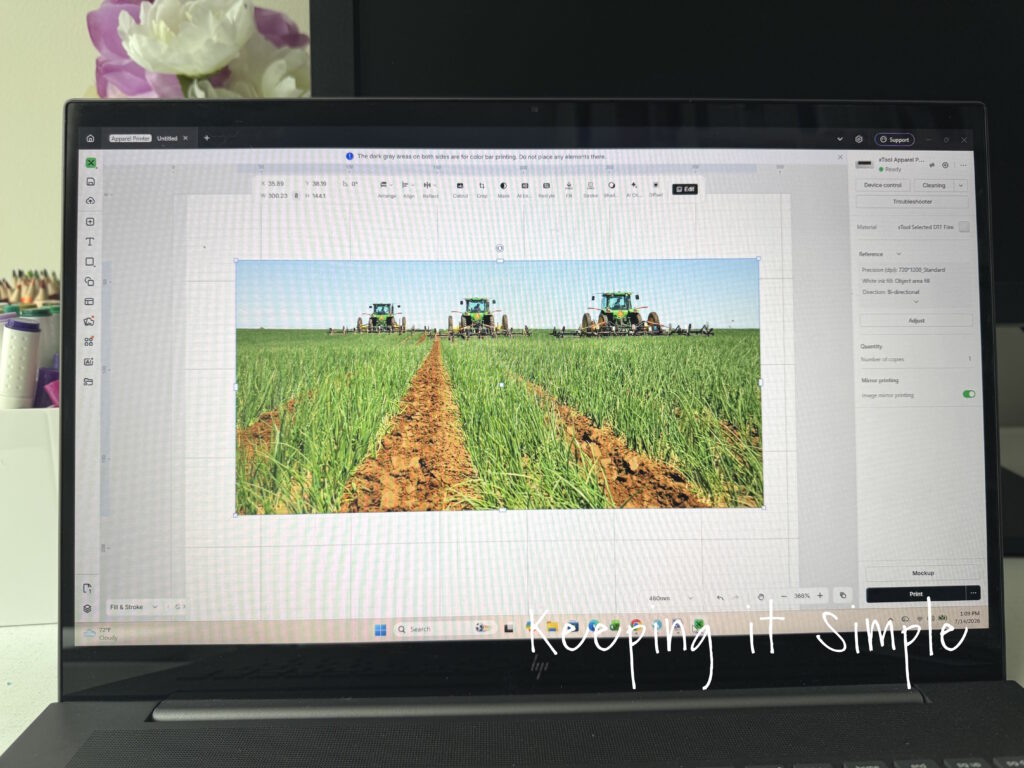
Now time for the background, I opened xTool Studio again and this time connected the apparel printer. I then added the image of the farm that I wanted to put into the background. I then sized it to fit perfectly onto the solid wood piece that I cut earlier. Once it was all situated, I sent the image to the machine and it did it’s magic!
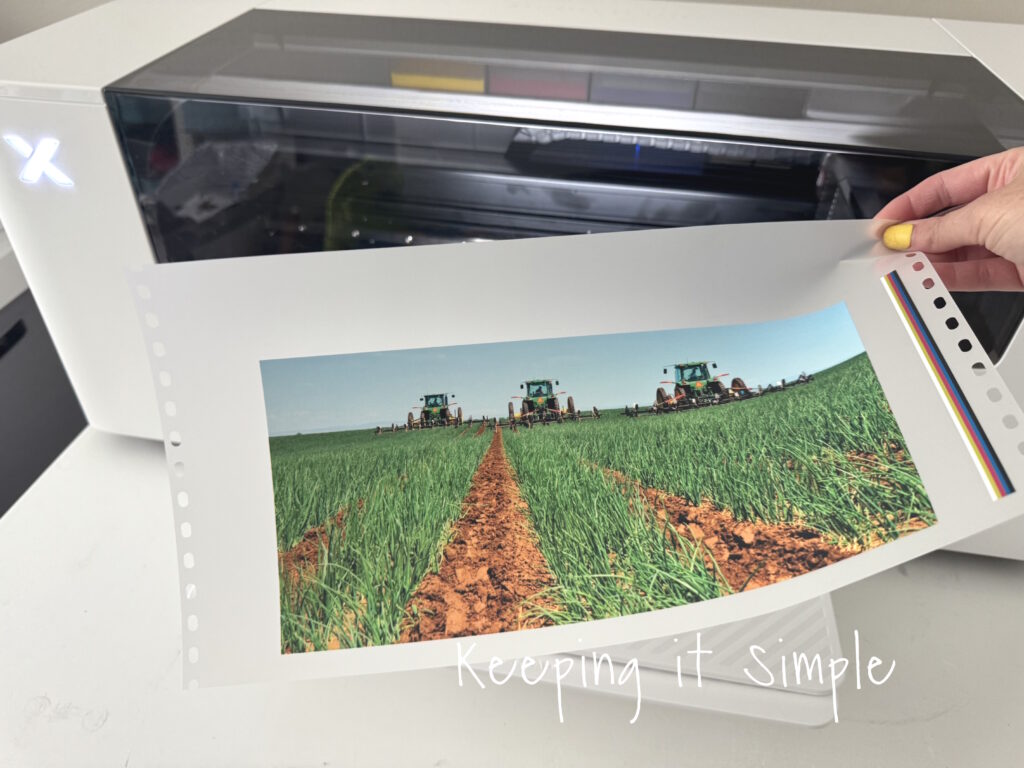
The image printed onto the DTF film in about 2 minutes and it only cost $.45 to print, you can’t print out a picture for that cheap!
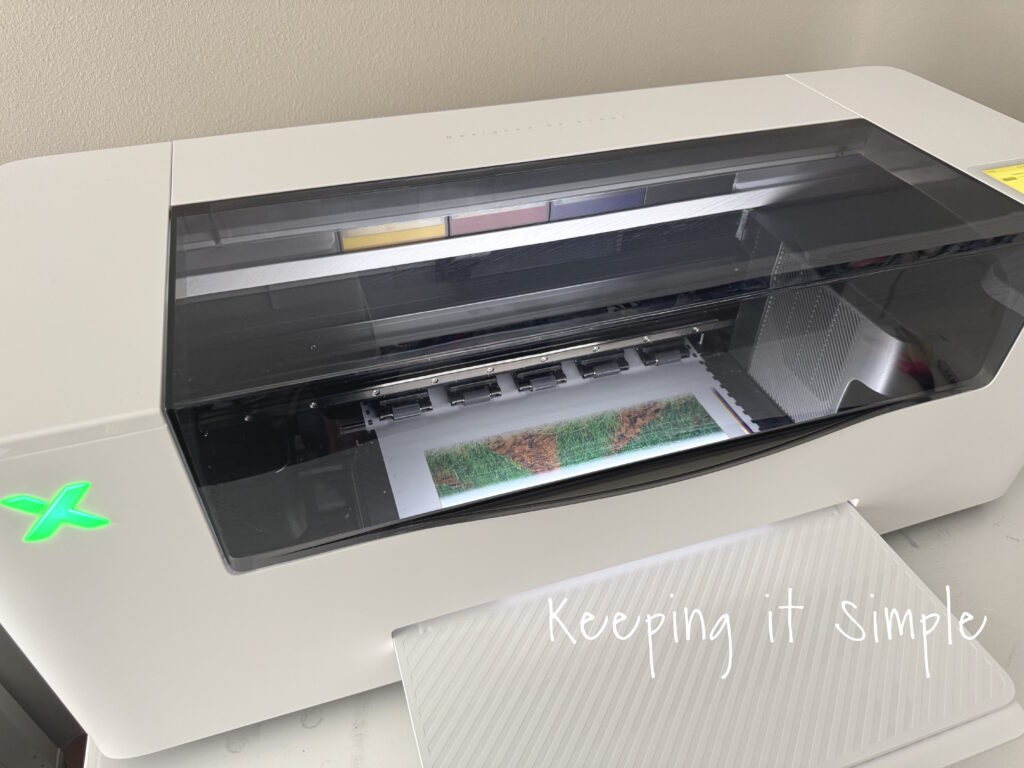
Look at how good it looks! I am still in awe by how well the pictures turn out and how vibrant the colors are!
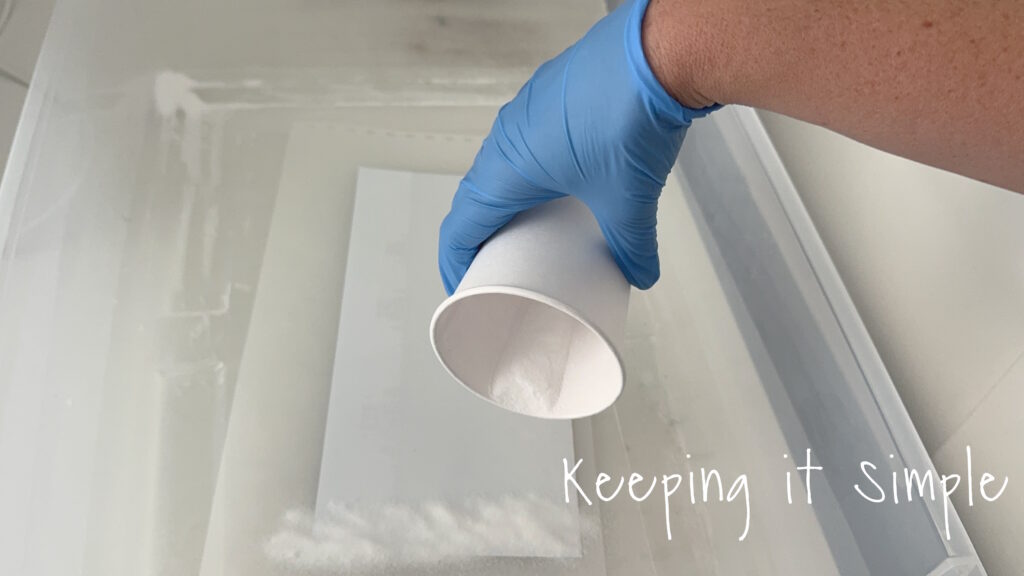
Once the picture was printed, I then added a thin layer of DTF powder to it, while the ink was still wet.
I then cured the powder using my heat press. I placed a few pieces of scrap wood around the image so that I could press the lid down and hold it without having to worry about it touching the wet powder.
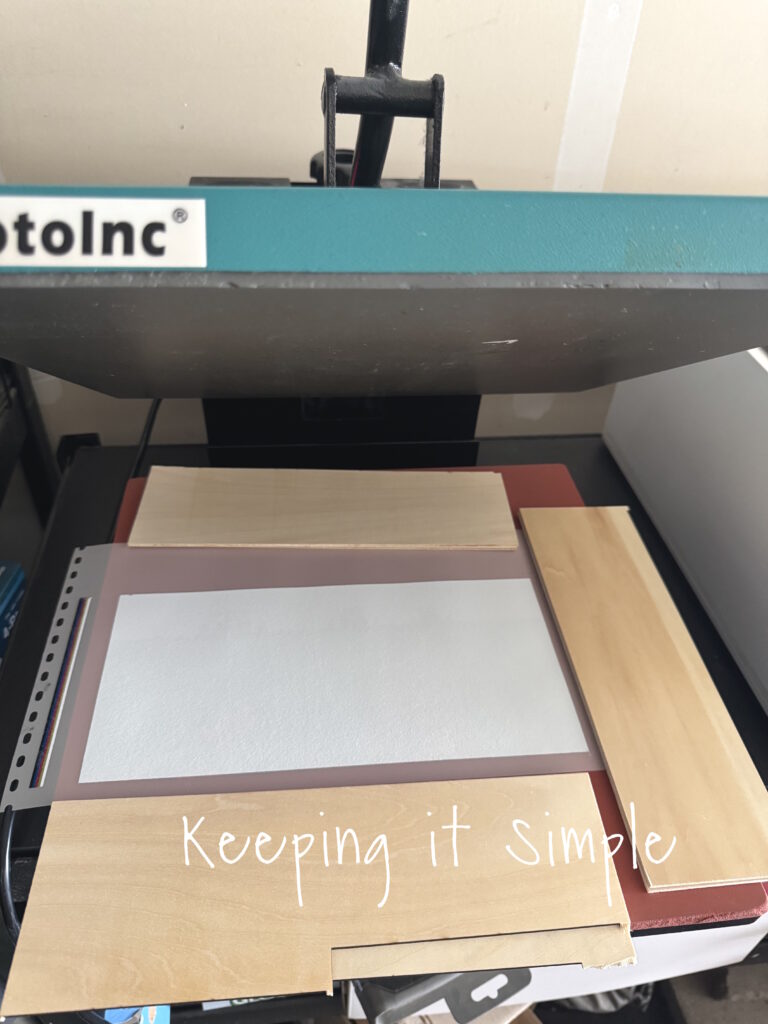
I held the lid down for 2-3 minutes and set the heat press to 350 degrees. Once it was cured, I let it sit and cool before putting it onto the wood.
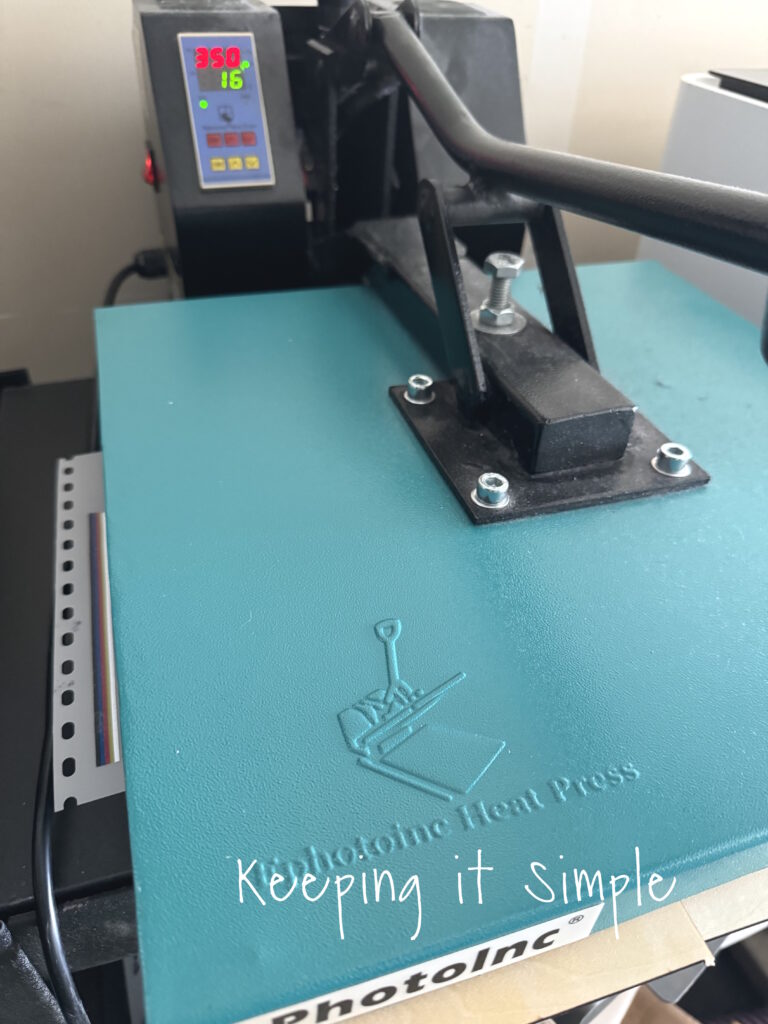
Once the powder was completely cured, I placed the dtf transfer onto the wood and pressed it at 305 degreed for 15 seconds.
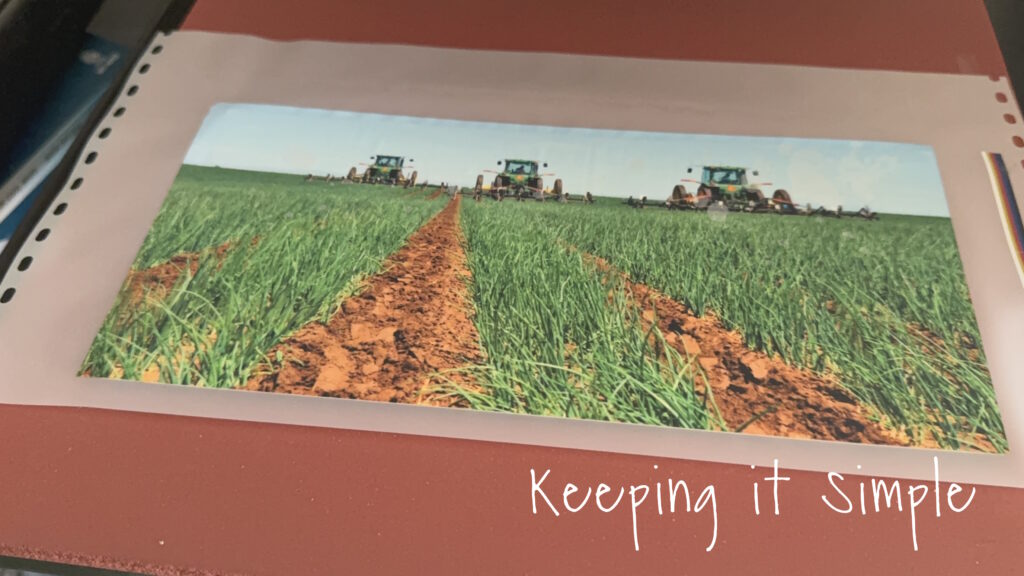
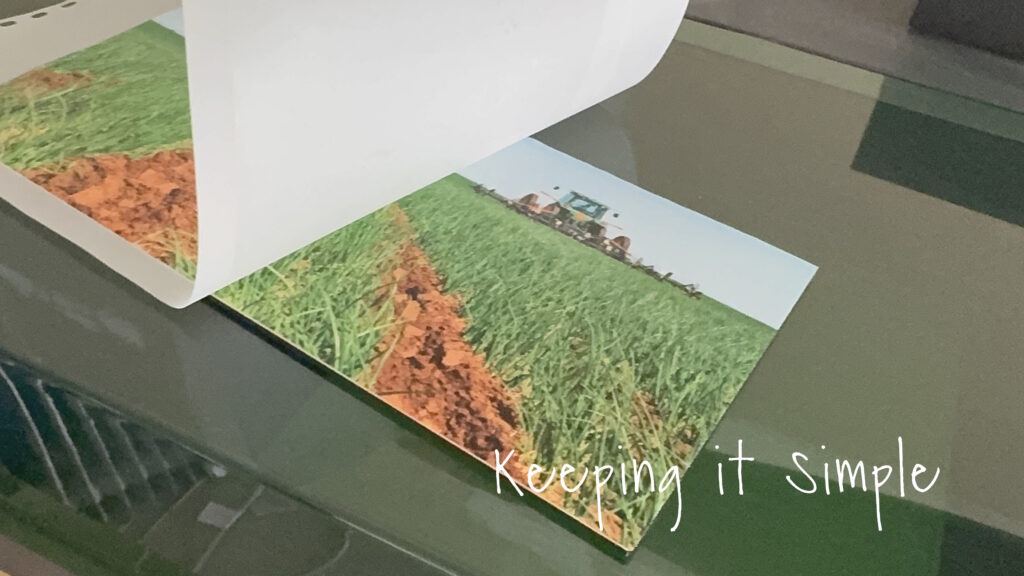
Then I peeled off the film.
Now time to put it together.
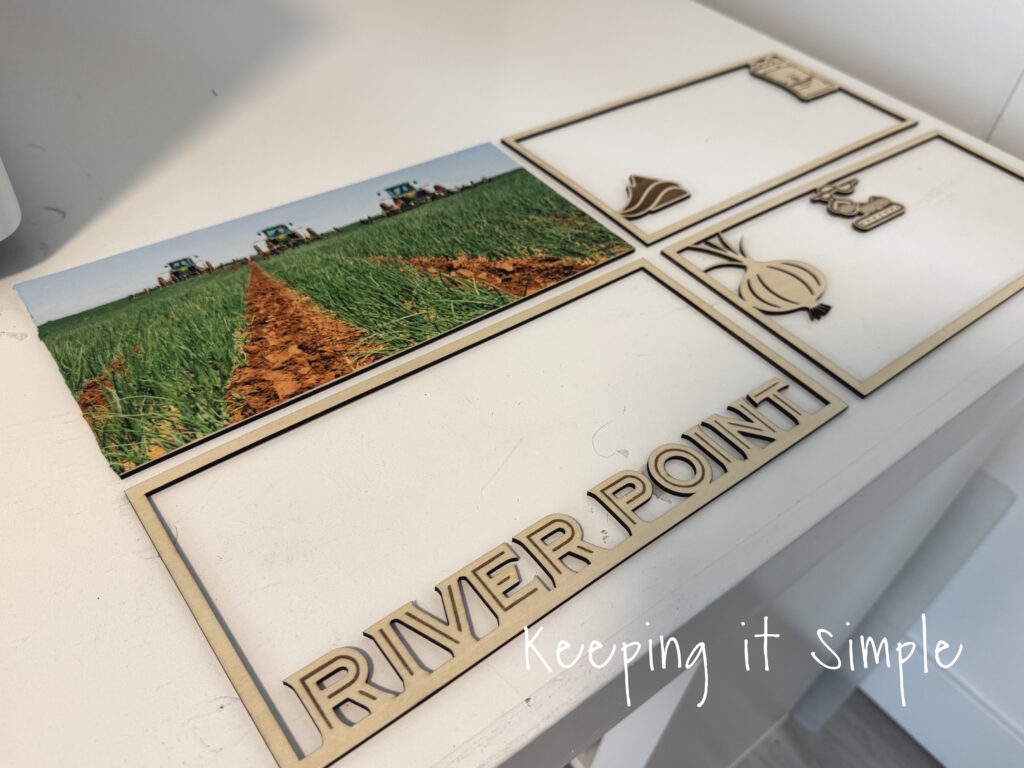
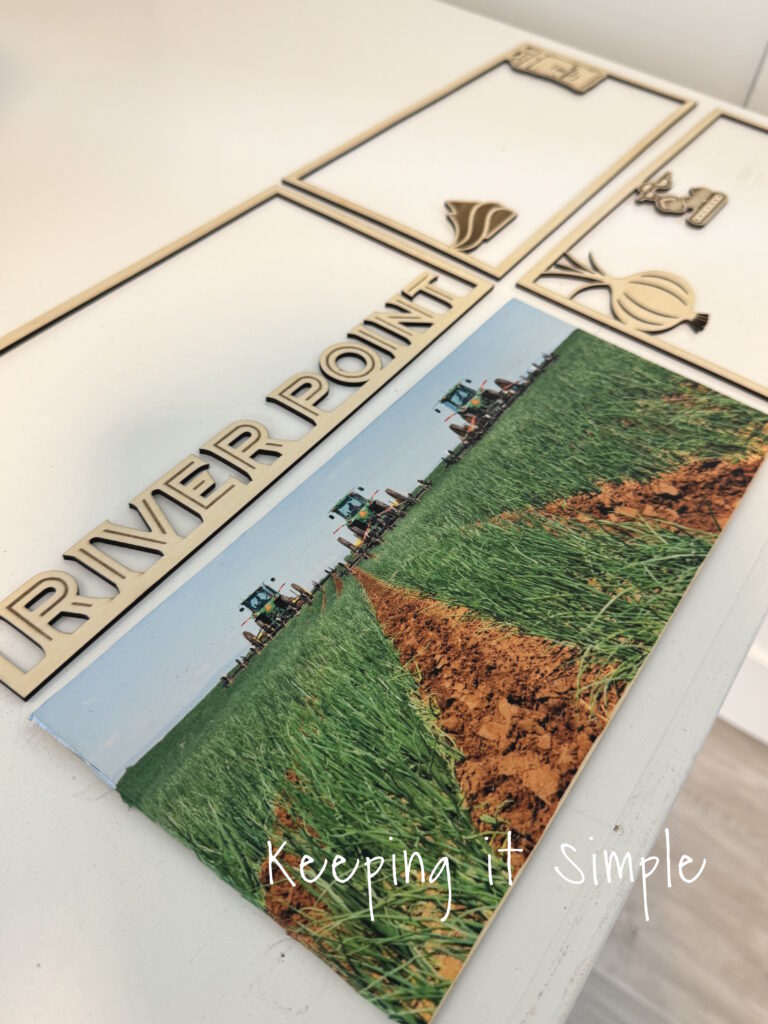
Using E6000 glue, I glued all of the four layers of the layered wooden sign together.
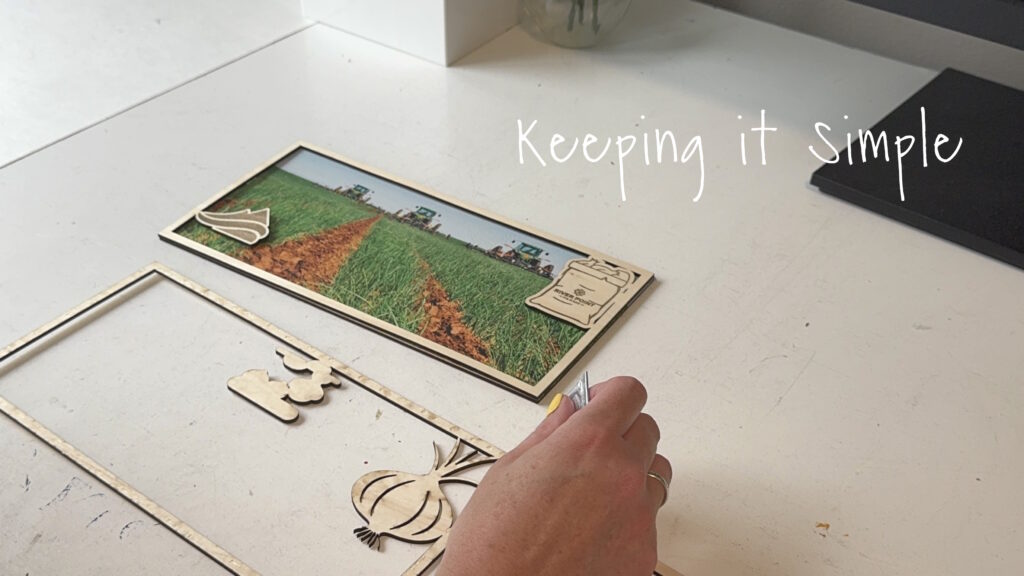
Doesn’t it look so good?! I love how it turned out!
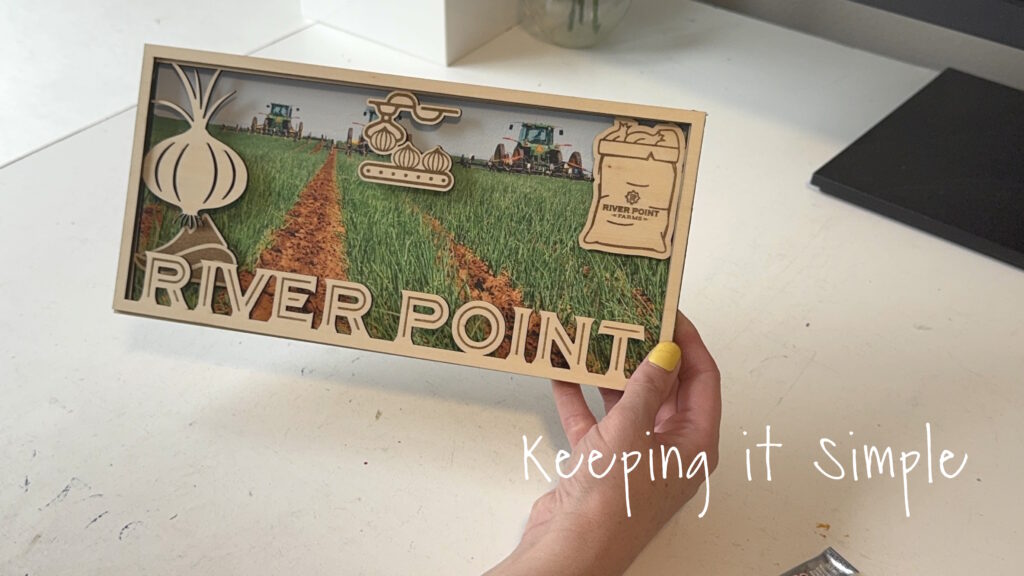
And that’s it! It looks so good! I seriously love how it turned out!
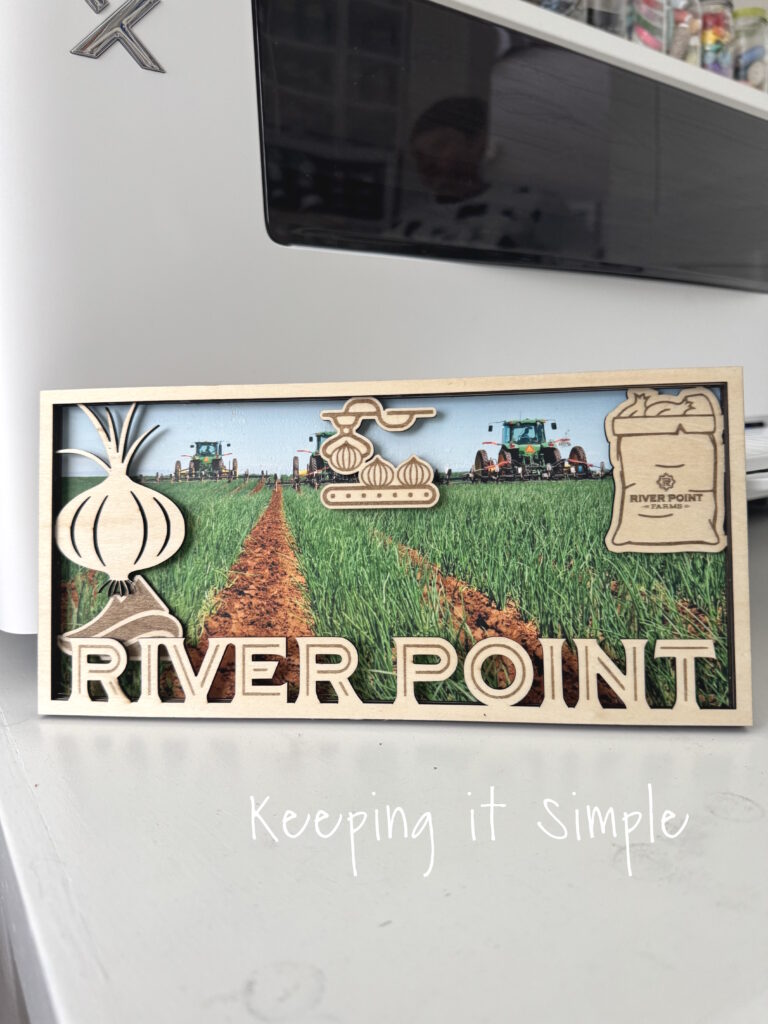
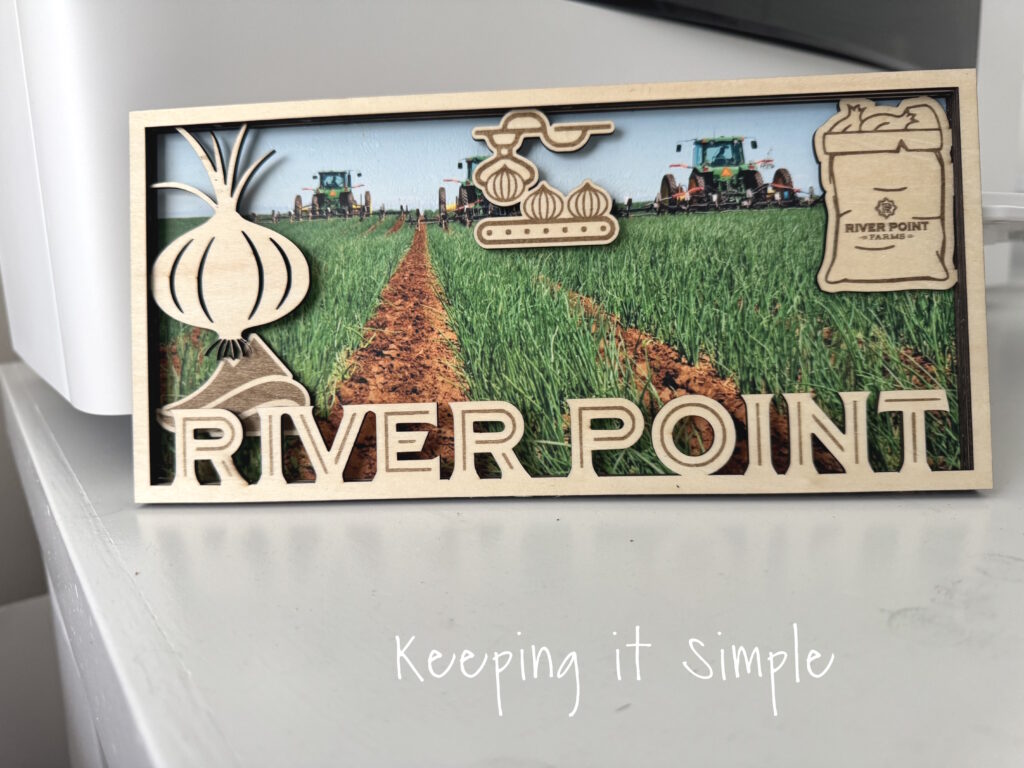
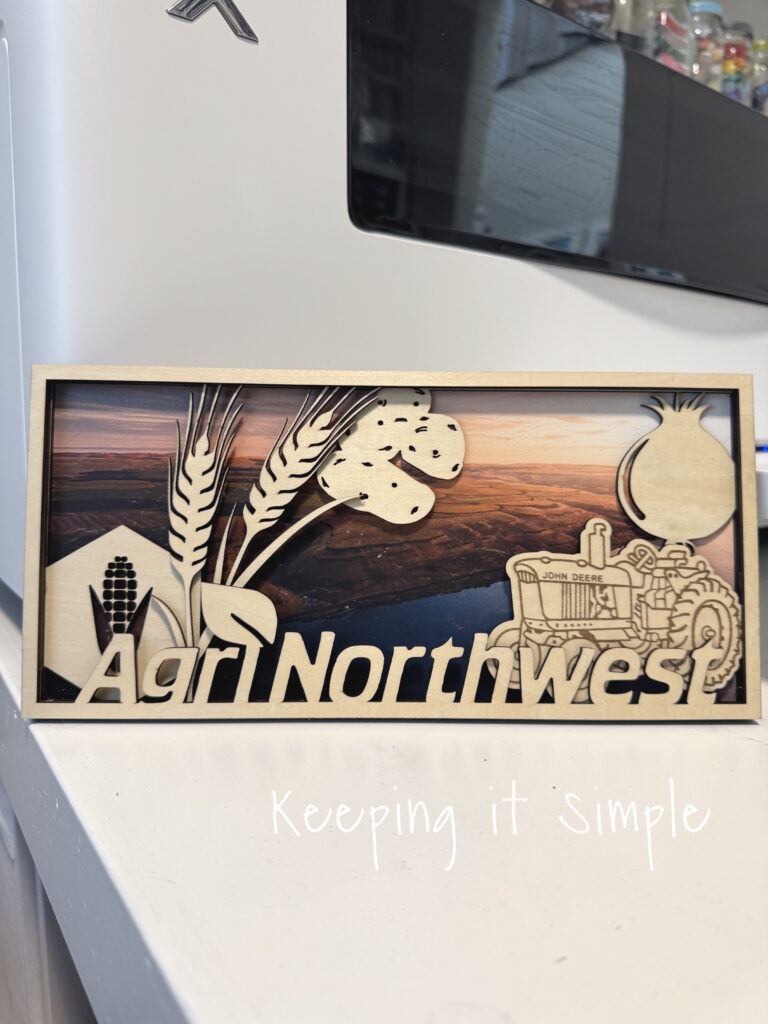
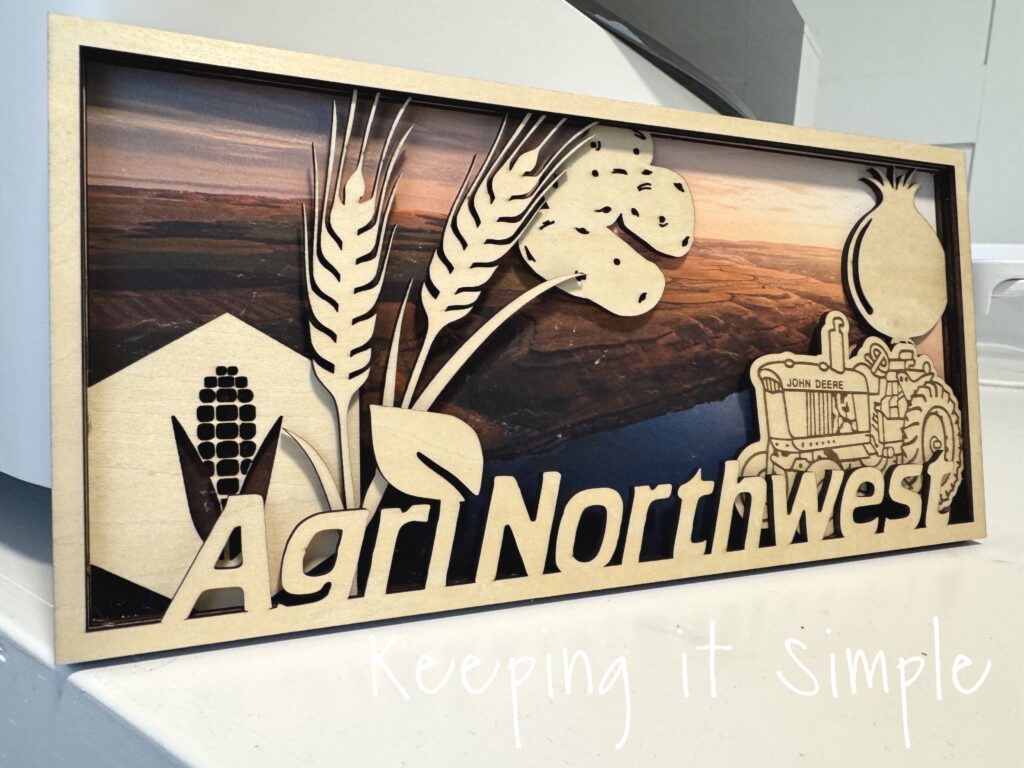
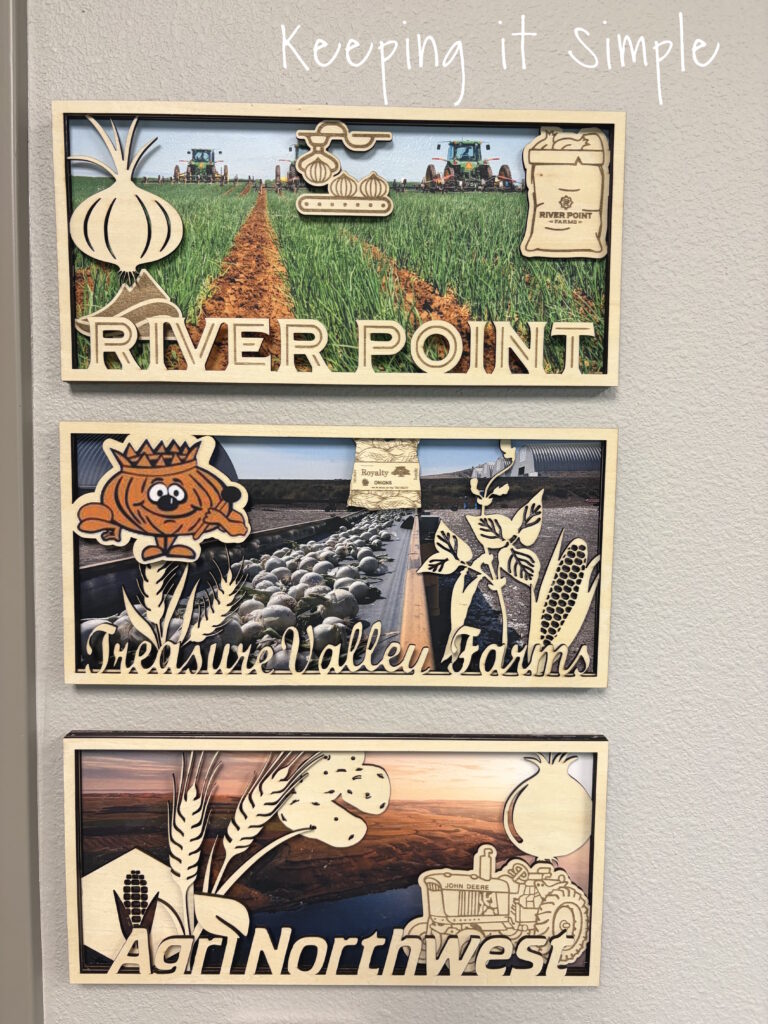
I loved how this turned out so much that I decided that I needed to redo the other two wooden farm signs that I made, just so they would all match.
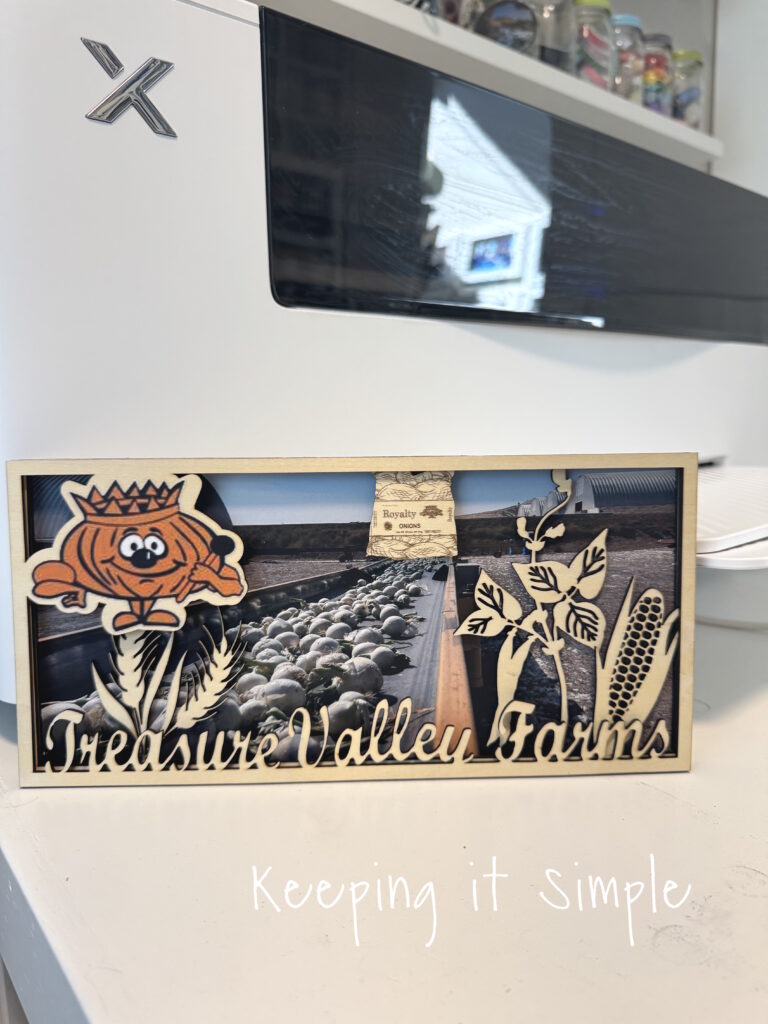
In addition to the picture in the background, I also added a colored version of the onion king. The apparel printer makes it so easy to add color to wood!
Here are all three of the signs put up in his office, they look so good together!! Plus it’s a fun way to represent his company.
If you want to see more posts using the xTool apparel printer and DTF transfers, check out my ideas here!
This post contains affiliate links.
Leave a Reply
You must be logged in to post a comment.