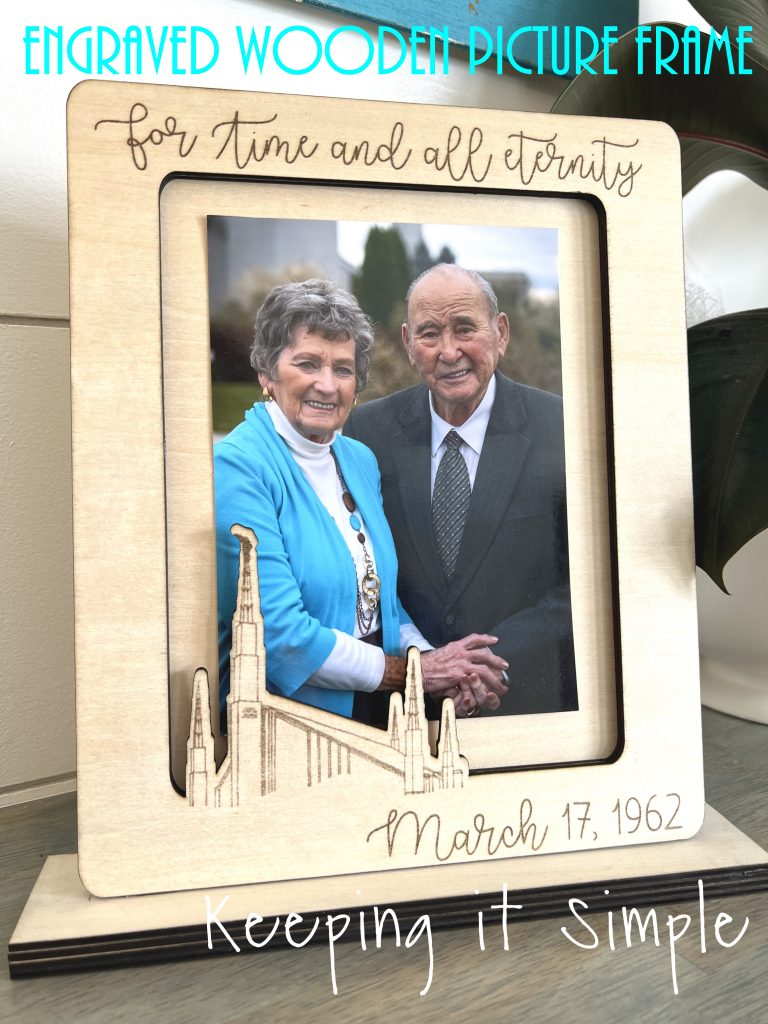
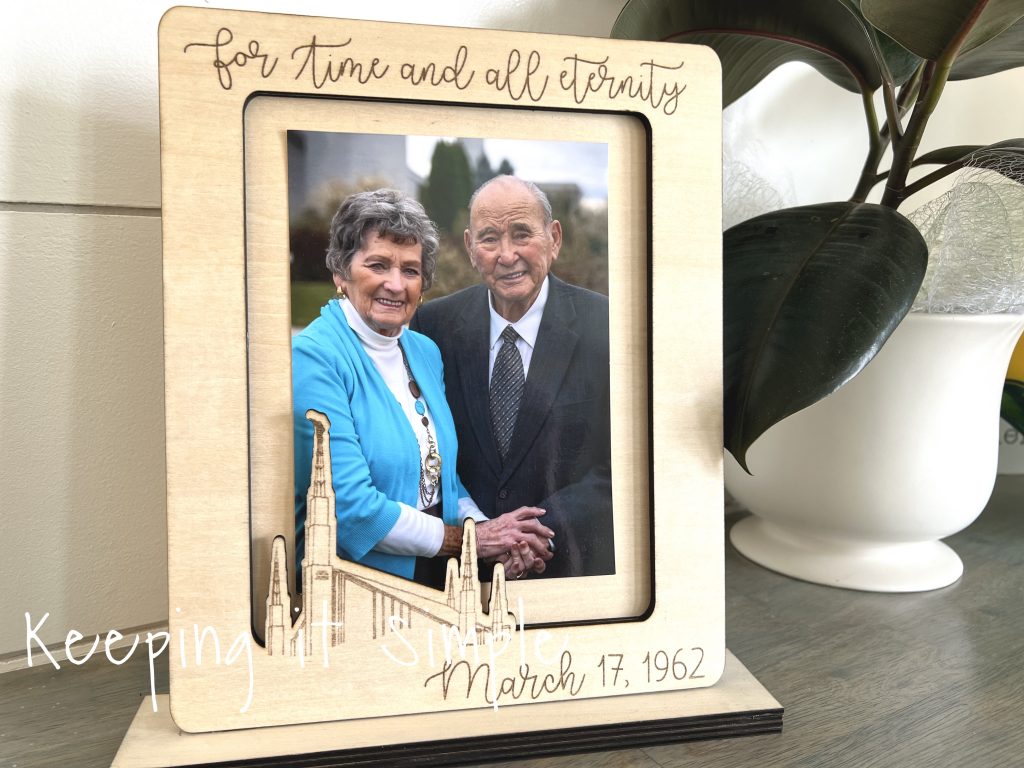
Engraved Wooden Picture Frame with Boise Temple
Today is my parent’s anniversary. They were married on St. Patrick’s Day 61 years ago today! It is the first anniversary since my dad’s passing, so I wanted to make something special for my mom. I know that it is going to be a hard day for her, so I wanted to make something that will give her hope and put a smile on her face. My parents took pictures at the Boise Temple one week before my dad died, so I wanted to use the picture from that. I added the Boise Temple to the frame and engraved the wooden picture frame to make it extra special.
Here is a quick video to show how I made the engraved wooden picture frame with the Boise Temple.
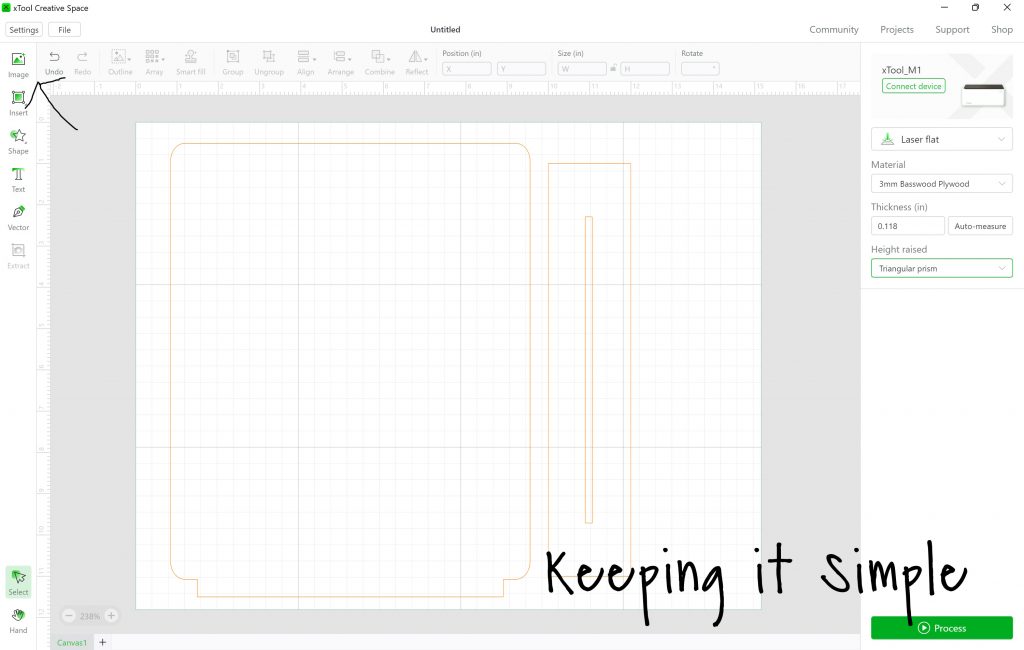
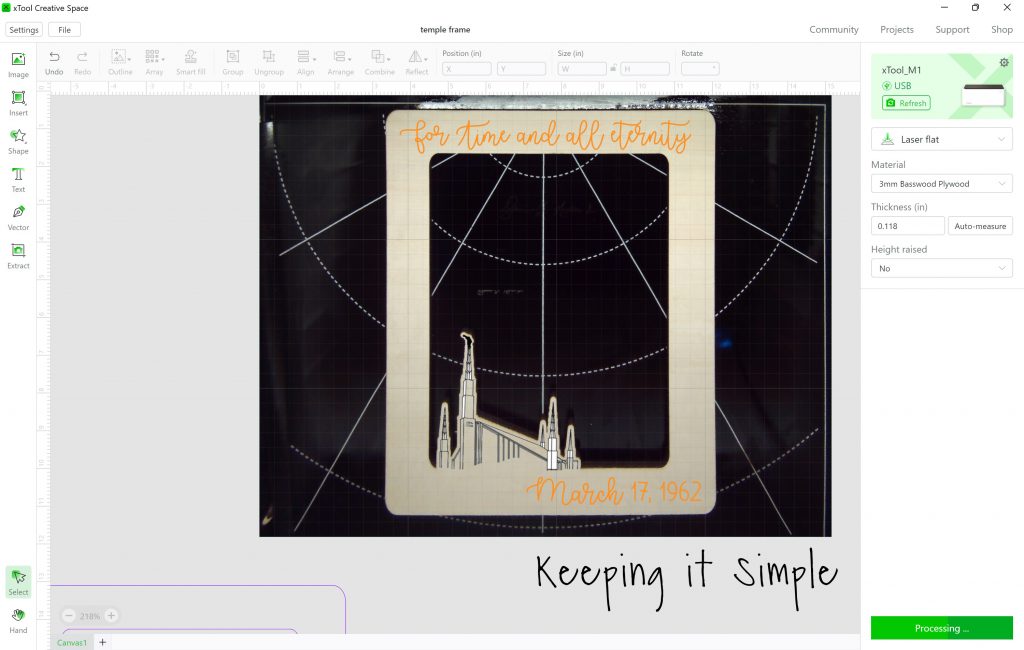
This is how I made the engraved wooden picture frame. In xTool Creative Space, I opened a SVG file that I designed for this wooden frame. I then sized it and got it ready to cut on my xTool M1 out of basswood plywood. The picture I used was a 5×7, so I made it about 8×10 inches. I set the width of the frame to 8.71 inches and then the base for the frame was 2 inches wide and 10 inches tall. I did those sizes for all 3 pieces of the frame.
You can get the SVG file here:
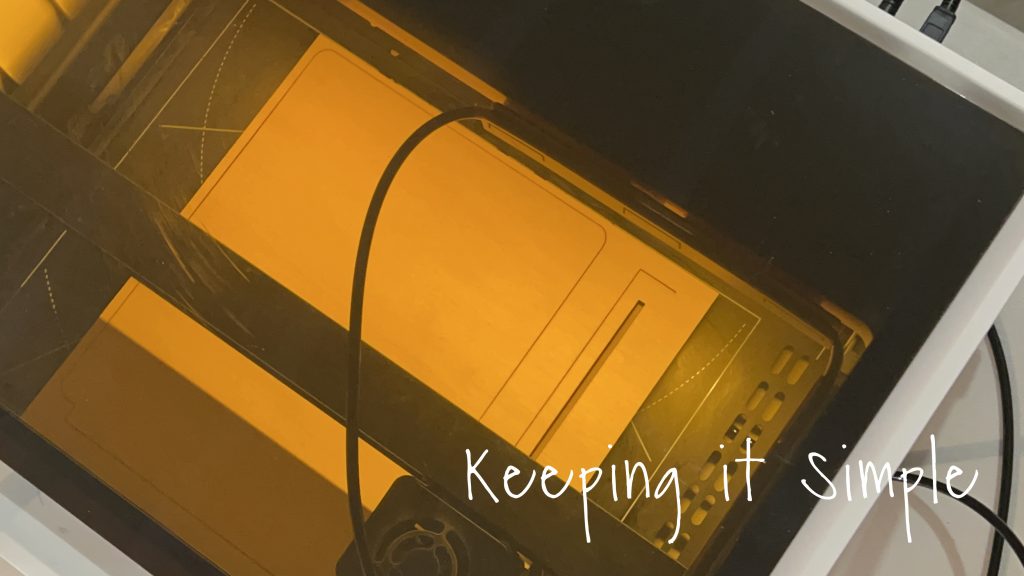
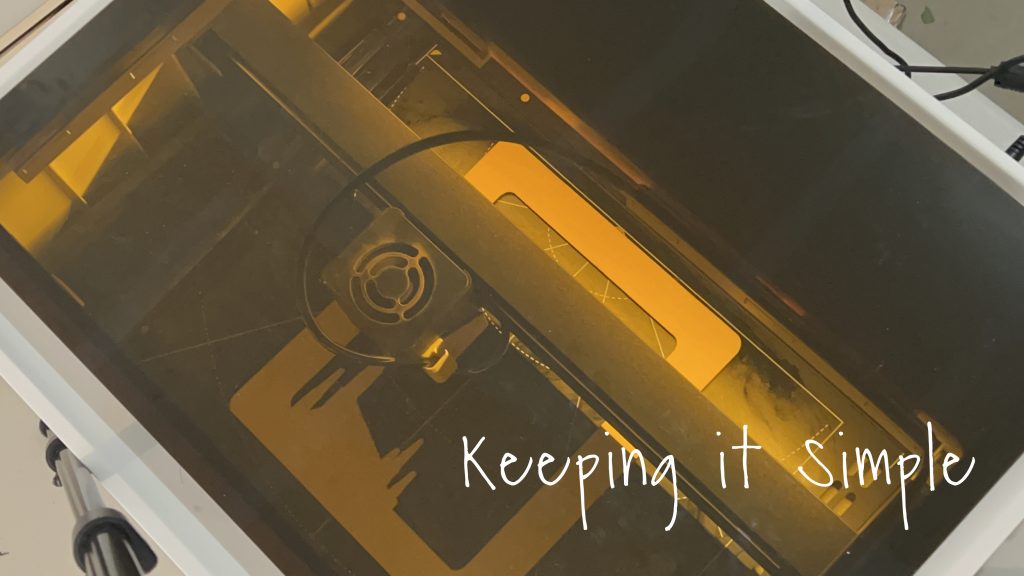
I sent the image to the machine. I had the plywood on the triangular prisms and set the settings to 3mm basswood plywood. I used the air assist attachment to help with scorch marks. Learn all about the air assist here.
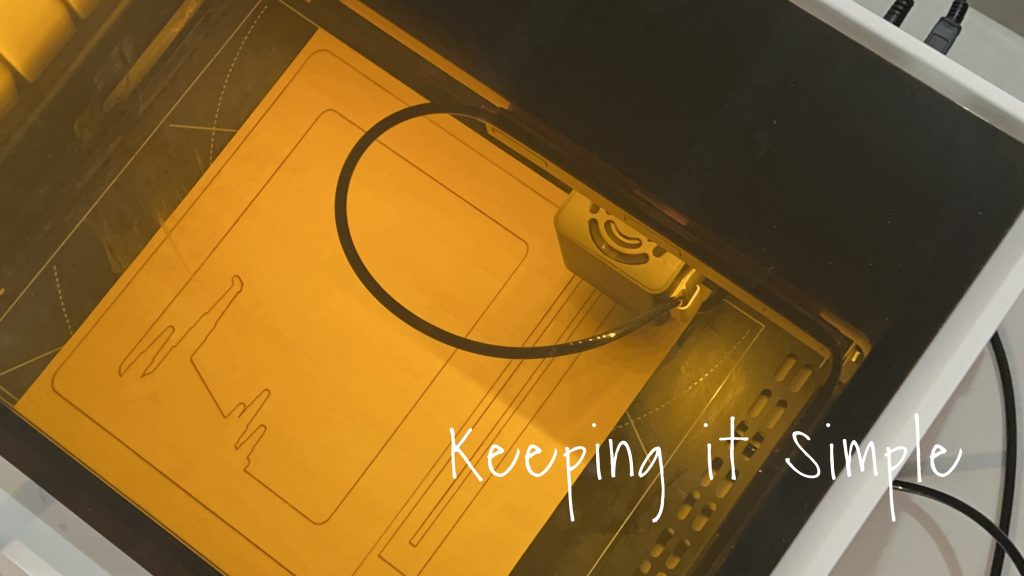
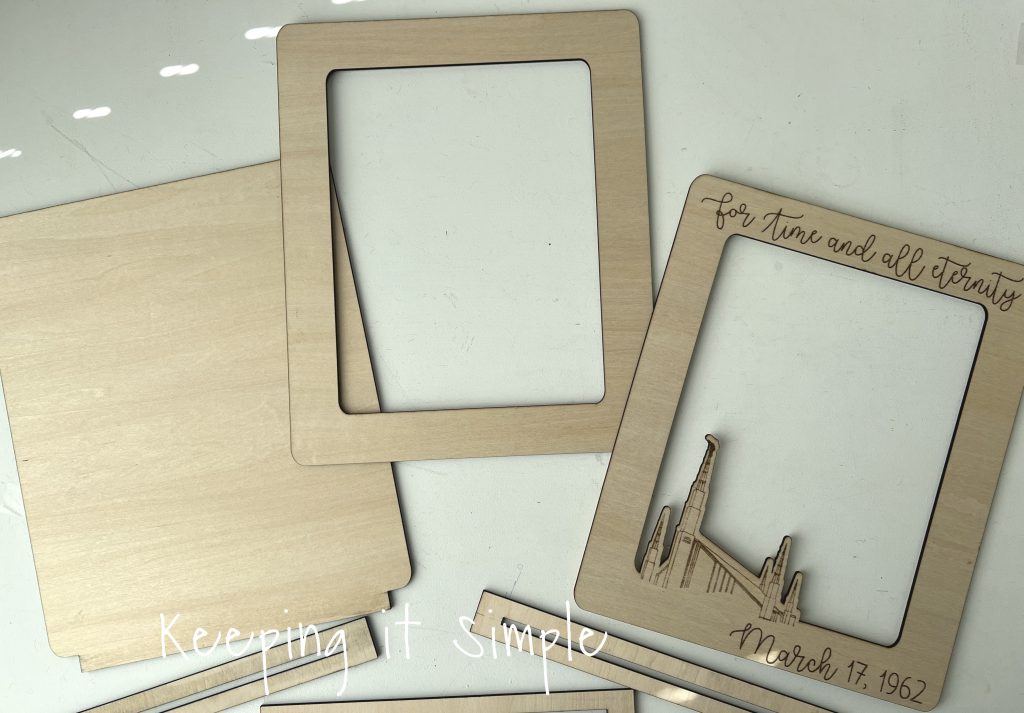
I continued to cut all 3 of the pieces of the wooden picture frame. If the base pieces look smaller in these pictures, that’s because they are. I had to readjust after cutting them, they were a little too thin and wouldn’t hold the frame up.
Once the top piece was cut, I then engraved the wooden frame. Before putting the frame back into the xTool, I cleaned the sap off of the base plate with alcohol and a paper towel. Then I removed the triangular prisms and put the frame directly onto the base plate. I then added the words and date and image to frame. I lined it up as best as I could and then engraved the wooden frame.
I love how good it looks all engraved!

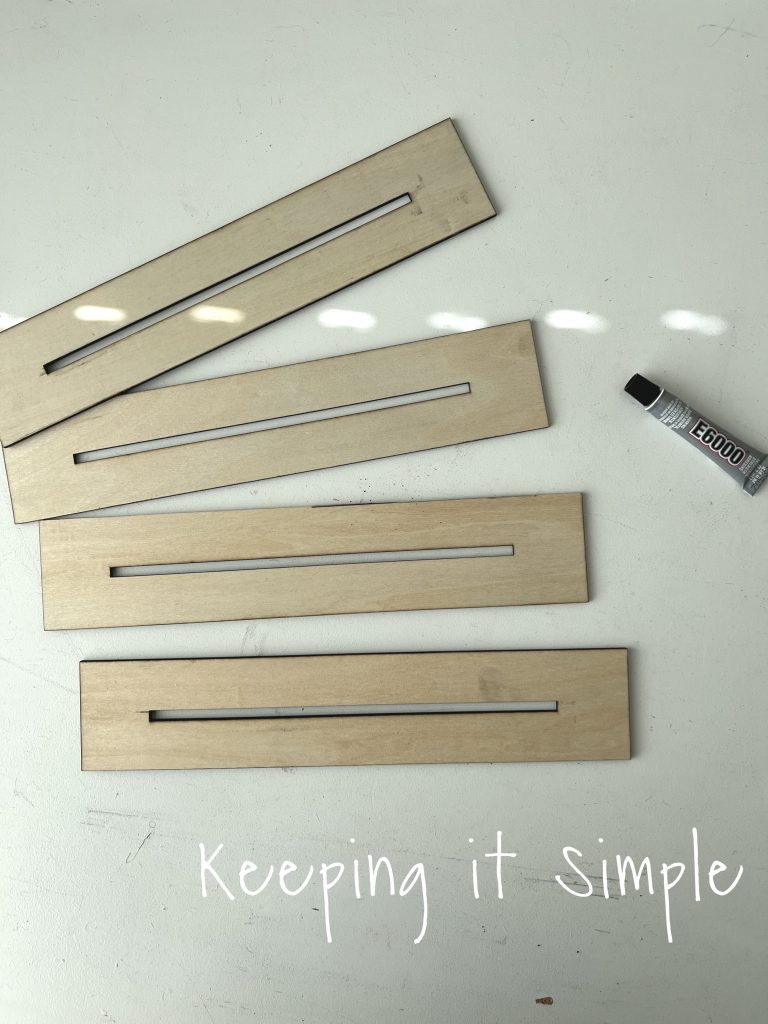
Here are all 3 pieces cut out and ready to go. I wiped the edges with an alcohol wipe to take off the soot.
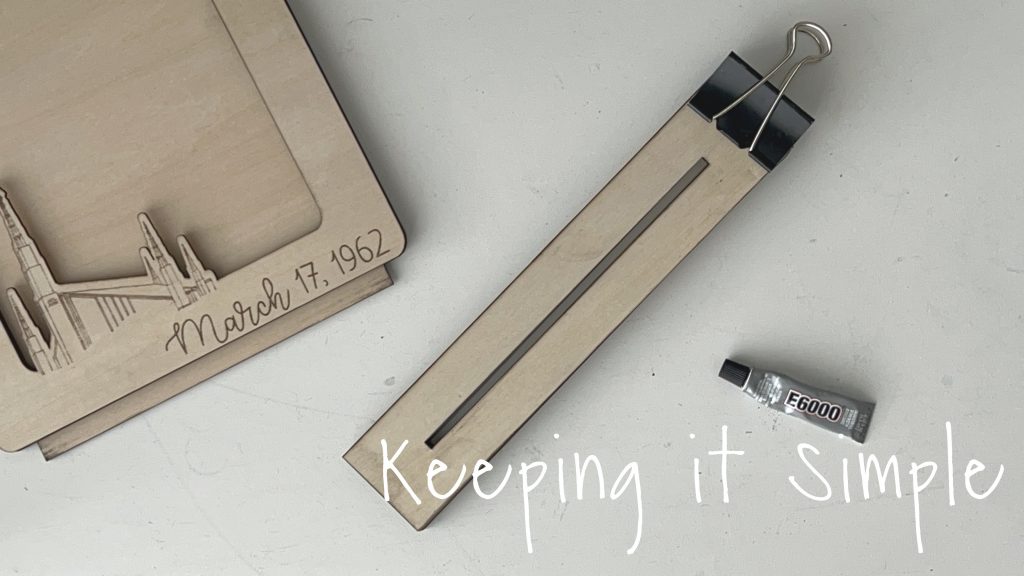
I glued the 3 pieces of the wooden frame. I used a binder clip to hold them together tightly while the glue dried.
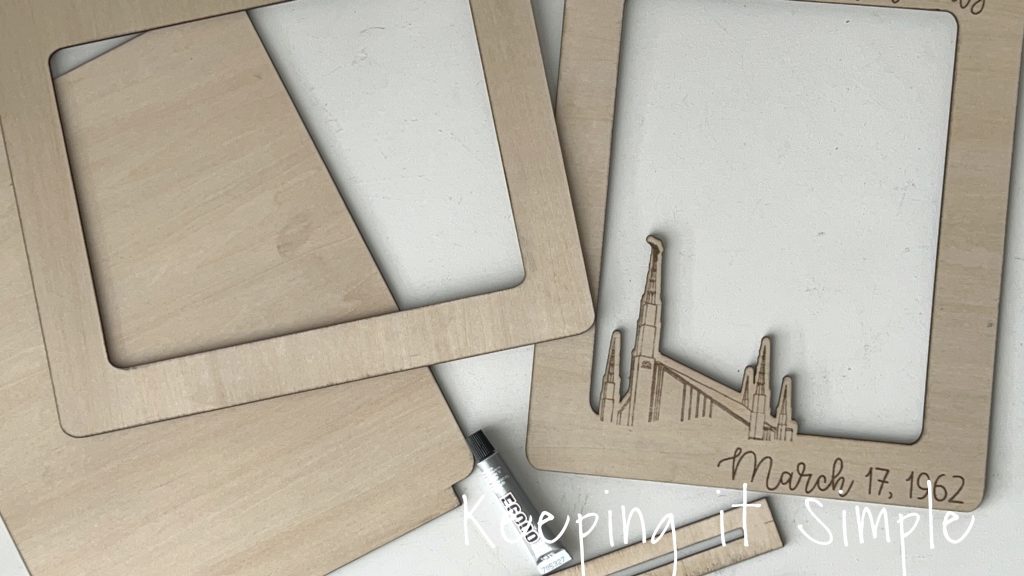
For the base I ended up cutting out 4 pieces, just to give it a little bit bigger base. I glued them together the same way I glued the frame.
The binder clips were a great tool to use!
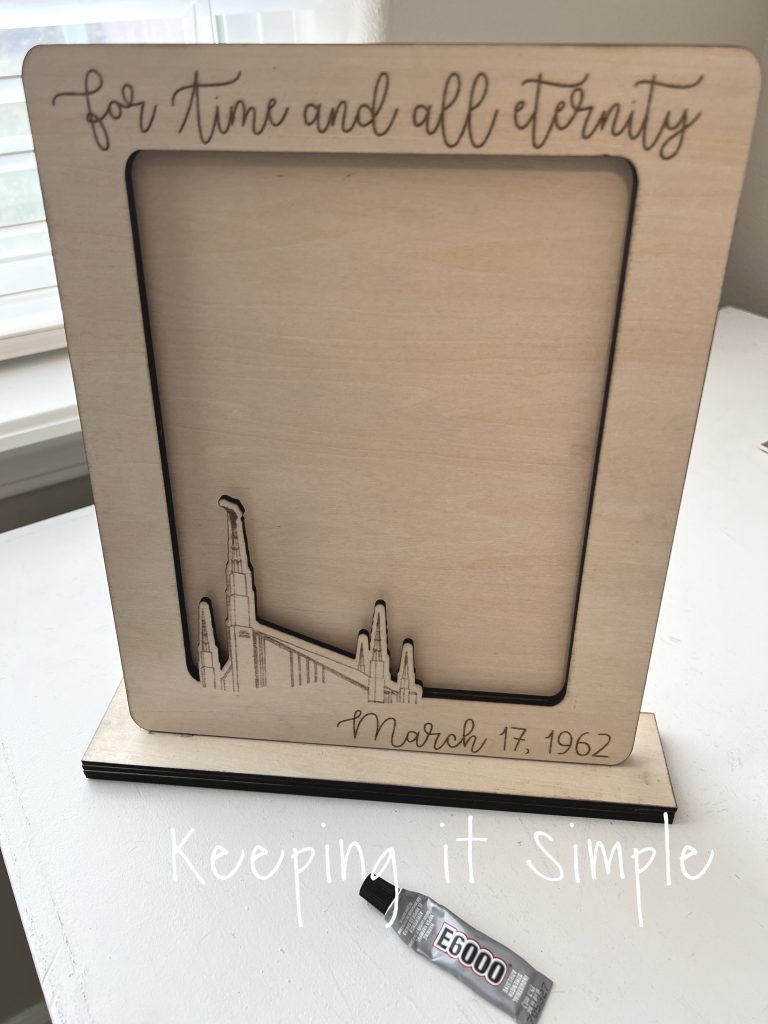
I then glued the frame to the base. I’m so excited about how good it looks! I love it when my ideas work out in the end :).
Using tape, I added the picture of my parents. I wanted to make a frame that my mom could easily switch out the picture if she wanted to.
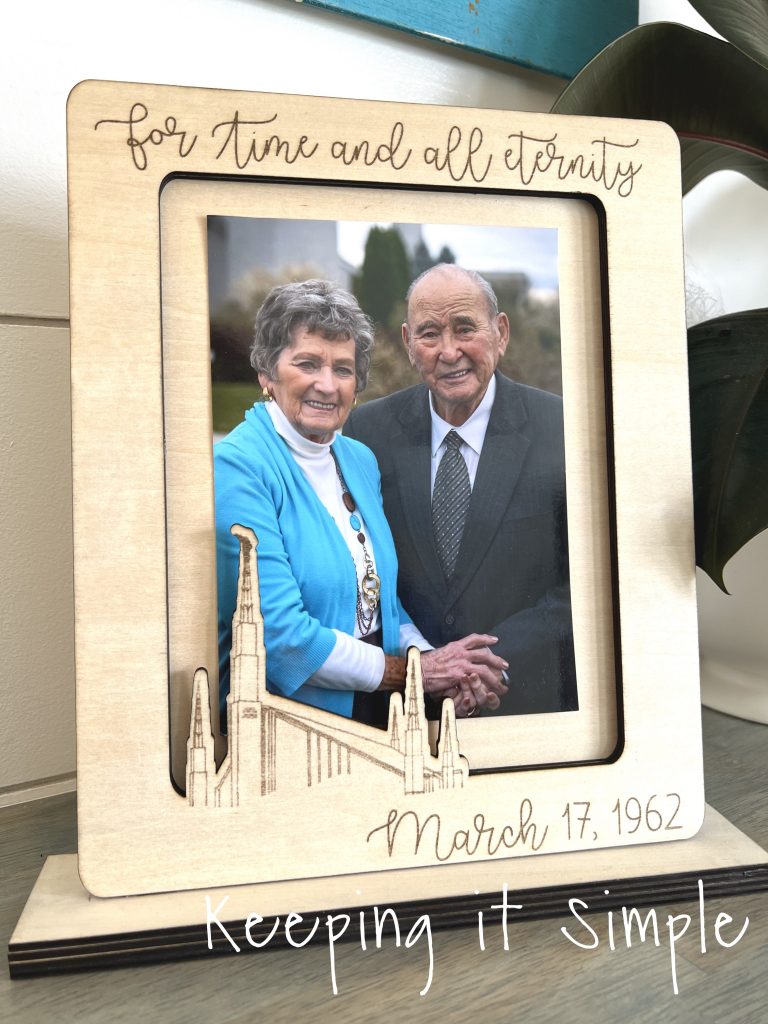
And that’s it! I love how this wooden picture frame turned out. I love it so much that I think I need to make one for myself.
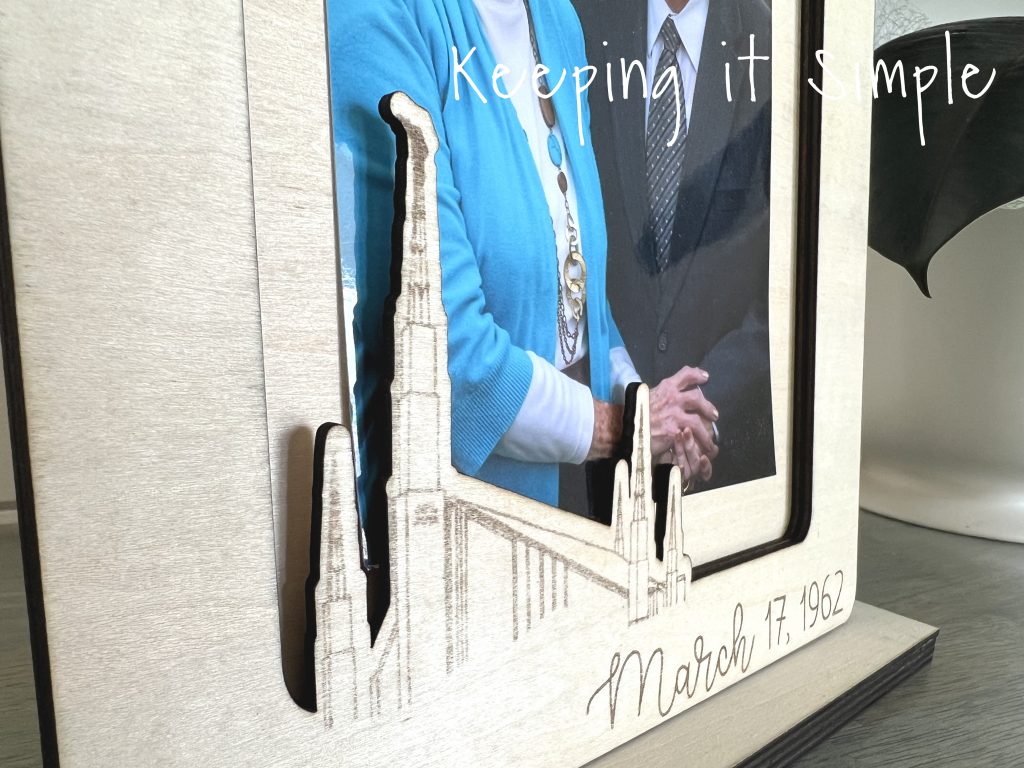
I love the details of the Boise Temple. I’m amazed what the xTool can do!
Check out all the other projects I have made using my xTool M1 here.
This post contains affiliate links.
Leave a Reply
You must be logged in to post a comment.