How to Build a DIY Backyard Patio with Pavers
For the past couple months, we have been wanting to transform our backyard into a more grown up/teenager space. The kids are growing up quickly and so we wanted more of a hang out spot than play area. We got rid of our playhouse and that gave us more space in the backyard. We wanted to add onto our patio to give us more area to hang out on. We decided that the best way to add to the patio is to build a patio with pavers. I love how much room we have now and how much better our back yard looks with it.
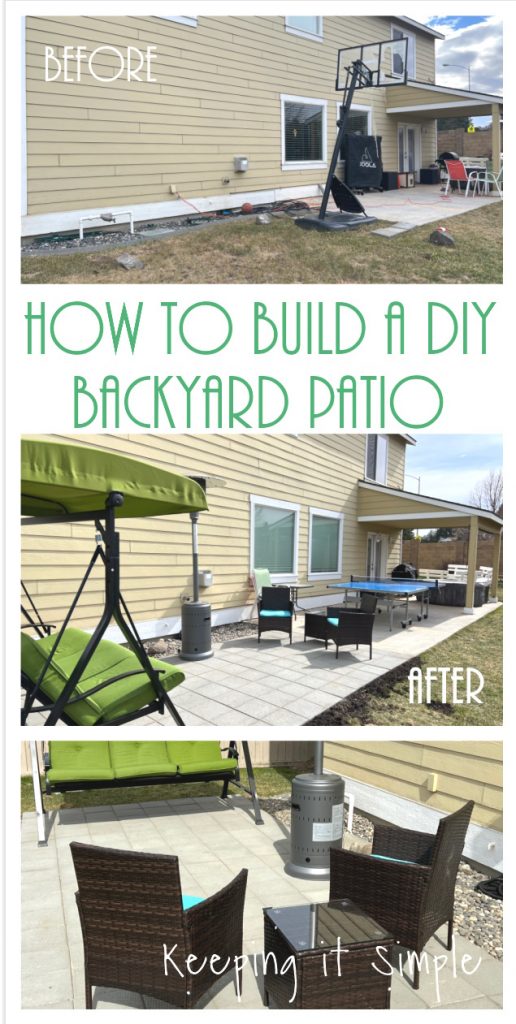
Here are the before pictures of our backyard.
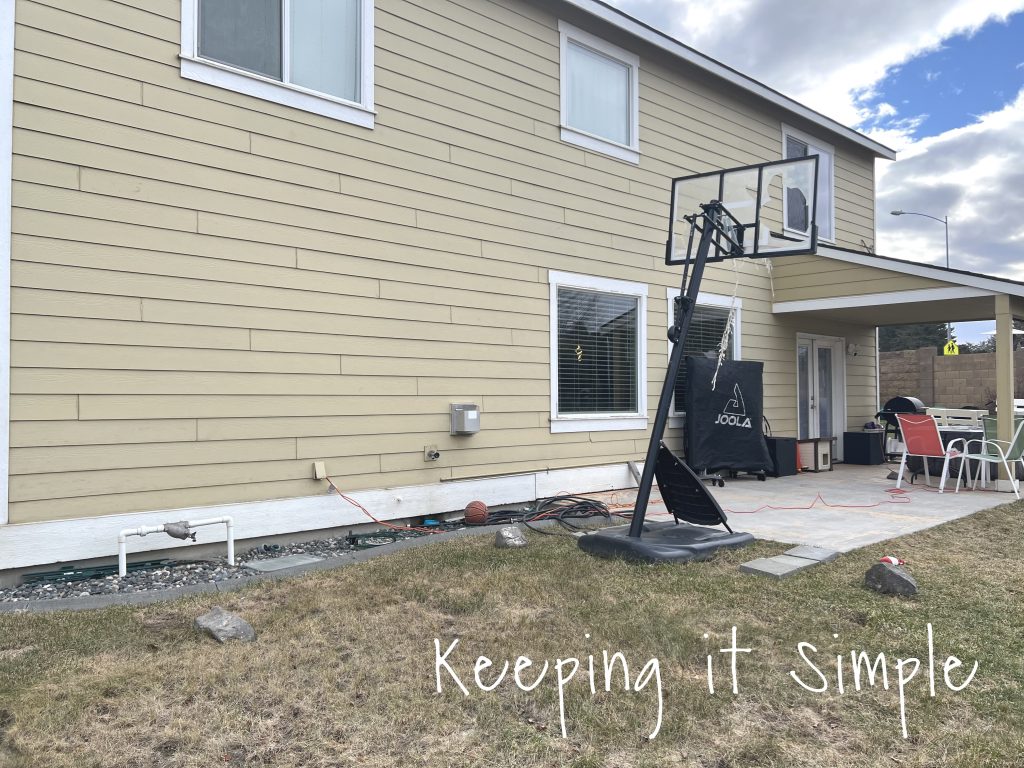
We took out the basketball hoop, it was busted anyways…. kids.
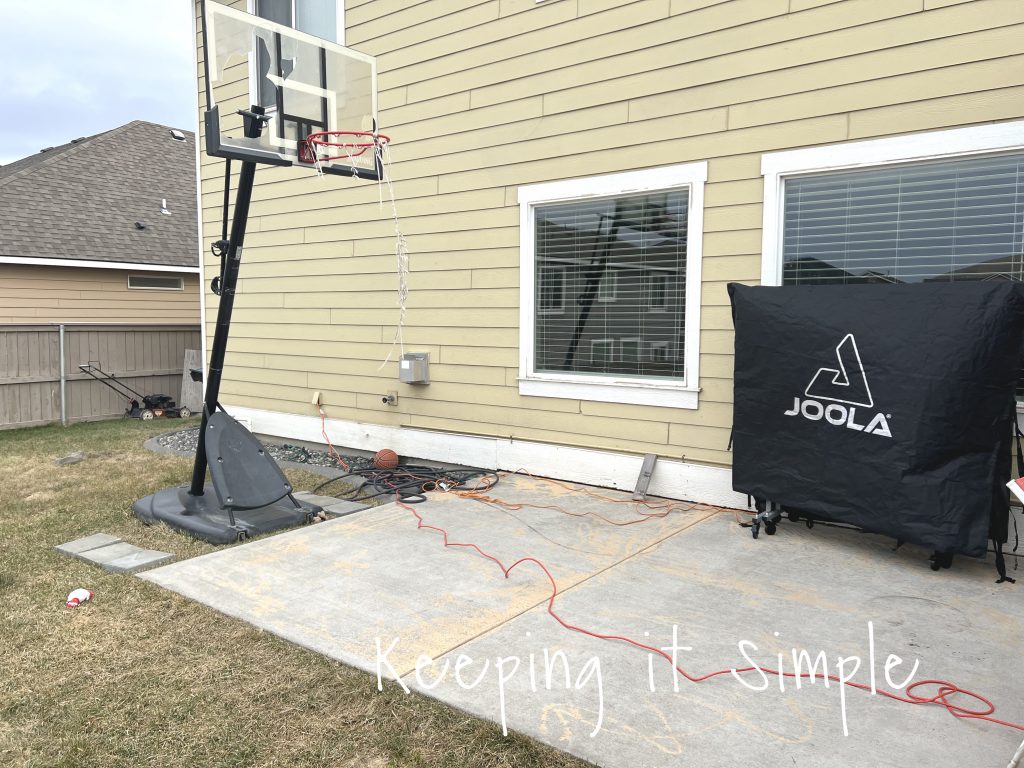
Here is the whole area before we built the DIY patio.
This is how we built our backyard patio with pavers.
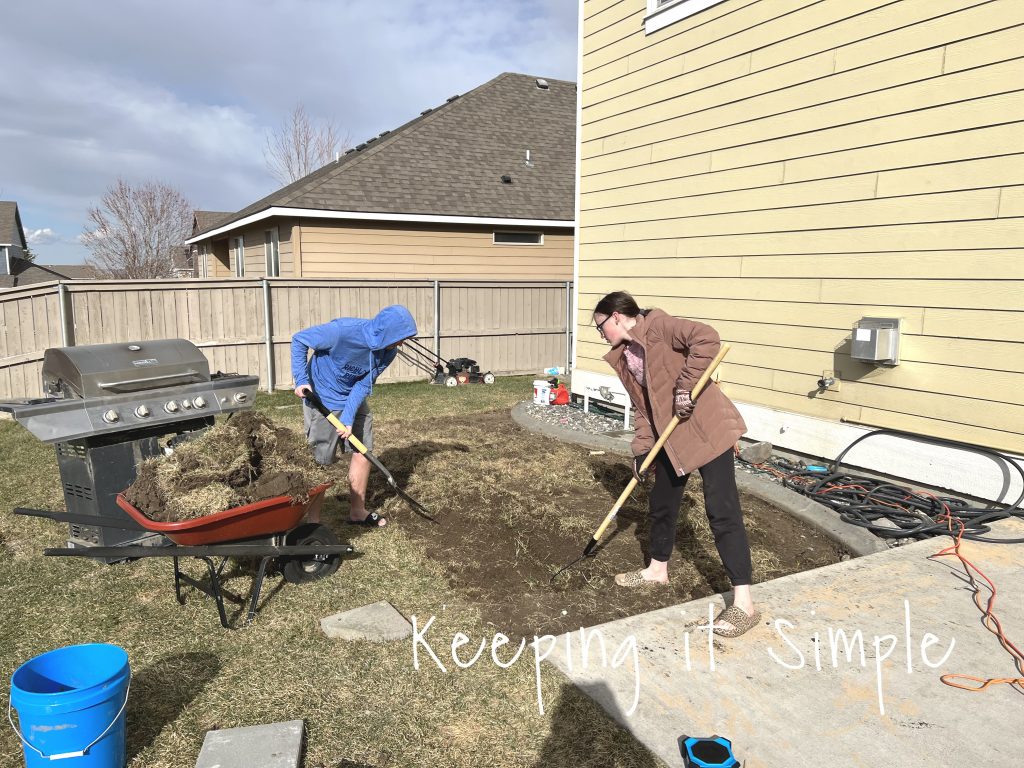
The first step we did was take out the grass in the area. We had the kids help out and they did a great job.
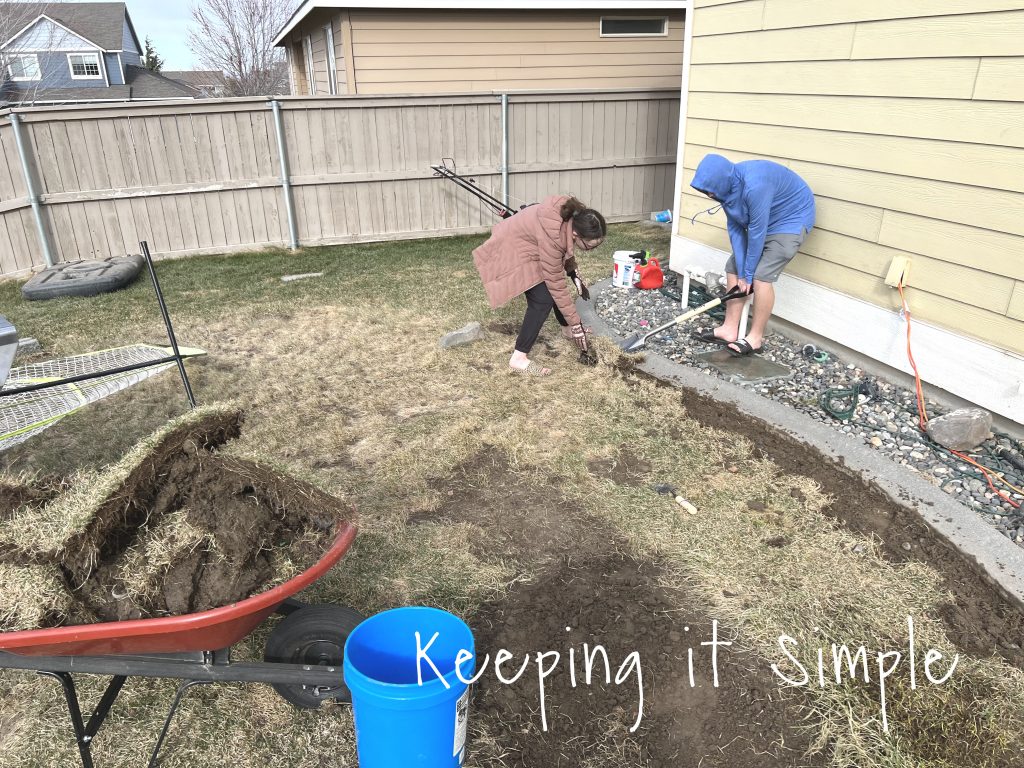
We found that a shovel and a rake did a great job breaking up the grass so we could remove the sod.
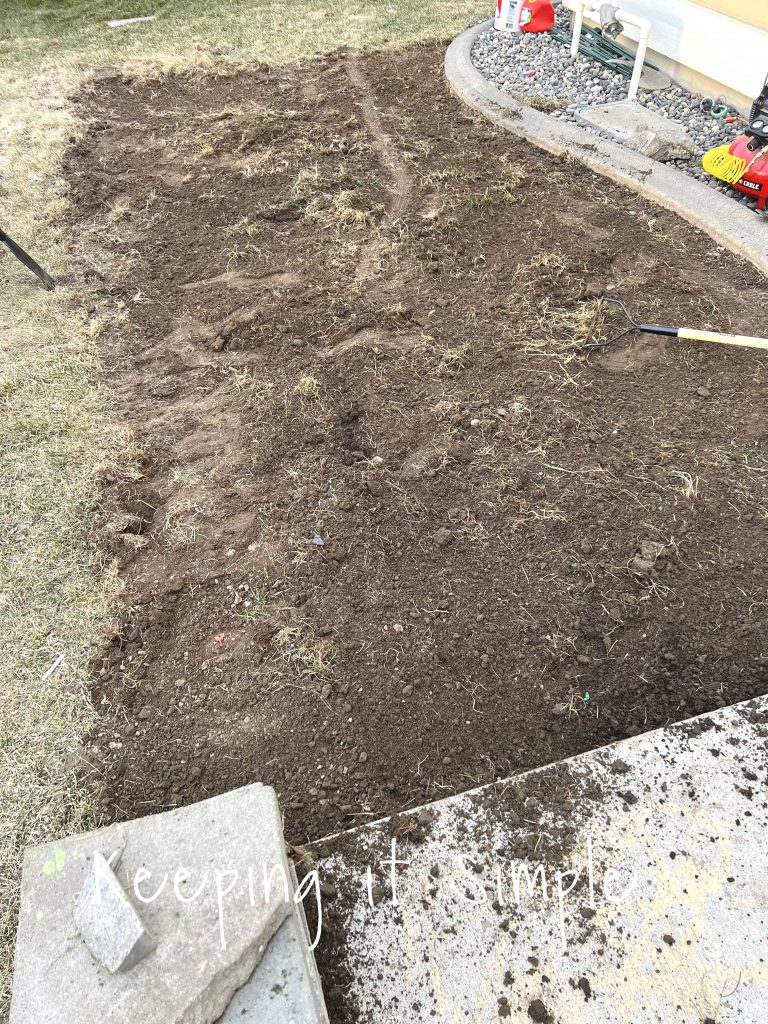
Here is the area that we were working with. It is about 17 feet by 8 feet.
Time to build the DIY backyard patio with pavers. Before we get to the pavers, I wanted to say that if you can, I would recommend doing the whole area at the same time. Leveling out the area all at once, adding the sand and putting the pavers all at once. We didn’t have a weekend that we could work on it all at once, so we did it whenever we could. But if you can, get all your supplies at once and then do it all at once.
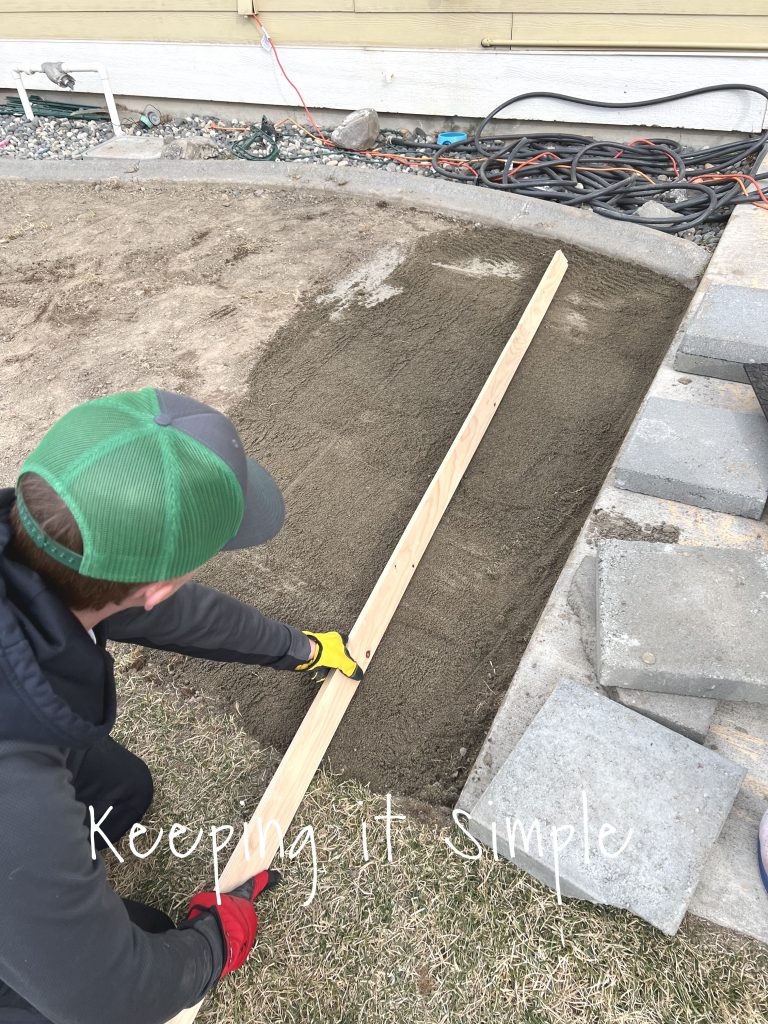
Once we got the grass out, it’s time to start leveling the area. The ground slopes quite a bit, so we had to use ton of sand (literally) to level it.

We added sand and then used a piece of wood to level it out.
We decided to use these paver bases to save on sand and gravel. Instead of adding gravel under the sand, the bases replace that. Once the bases were level, it was time to add the pavers. We chose these 12×12 gray pavers, they were simple and I liked the look of it.
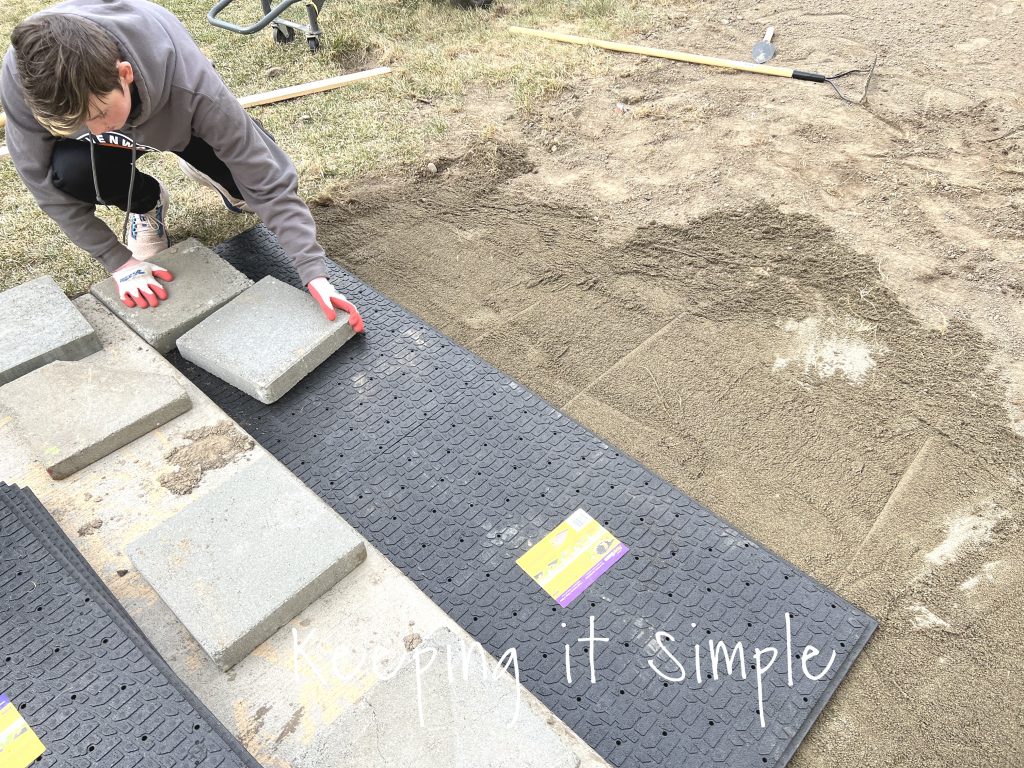
We continued adding pavers to the bases. We just did a row at a time. This is the part that I wish we would have just done it all at once. Put all the sand down first, then all the bases and then the pavers. Not doing it a row at a time. It still looks great, we just had a harder time getting it all level this way.
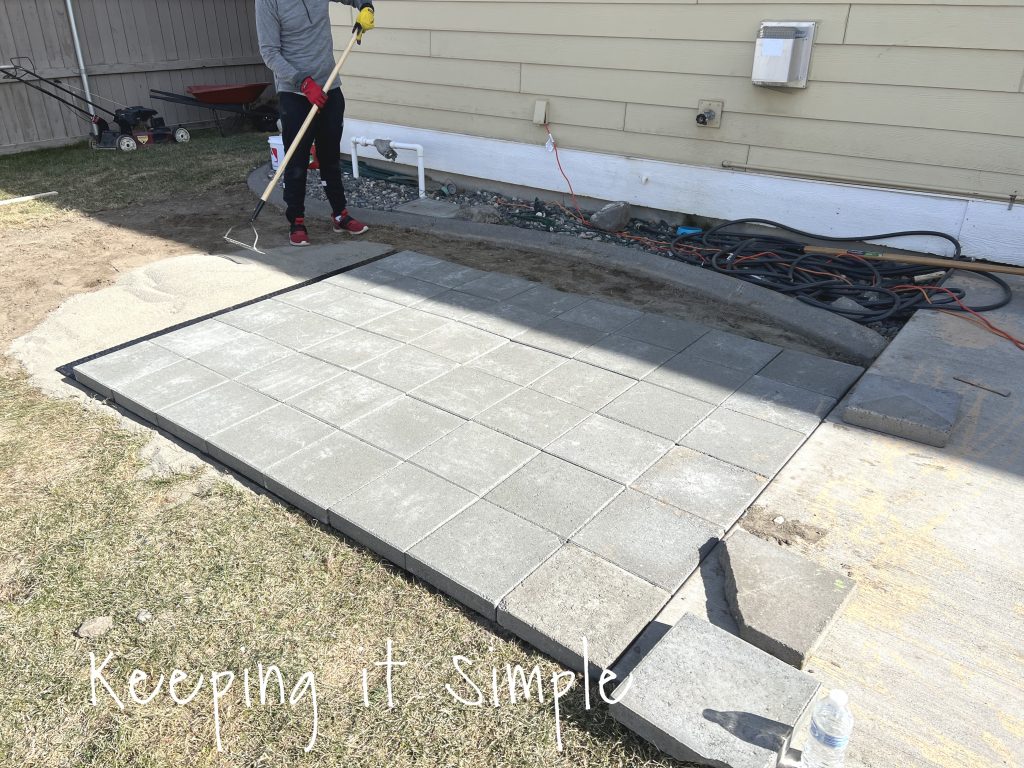
Once we got to this point, we had to make some decisions. We didn’t know whether or not we wanted to take out the curbing. But in the end, we chose to remove the curbing.
Once the curbing was removed, we filled the the space with sand and then continued building the patio.
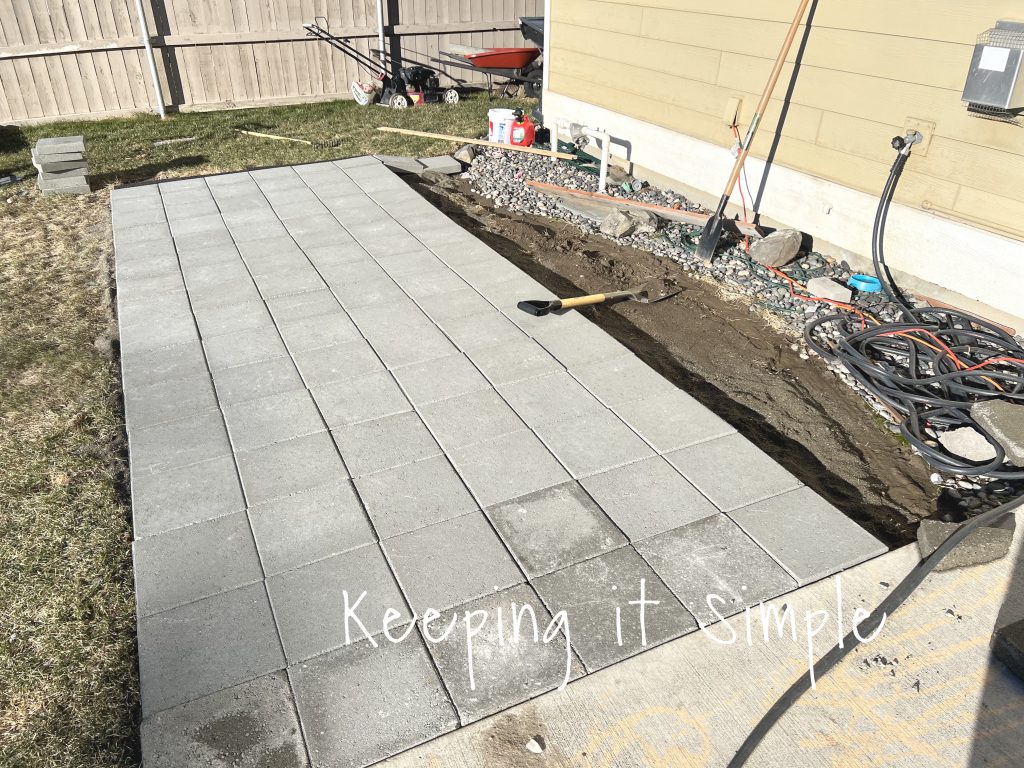
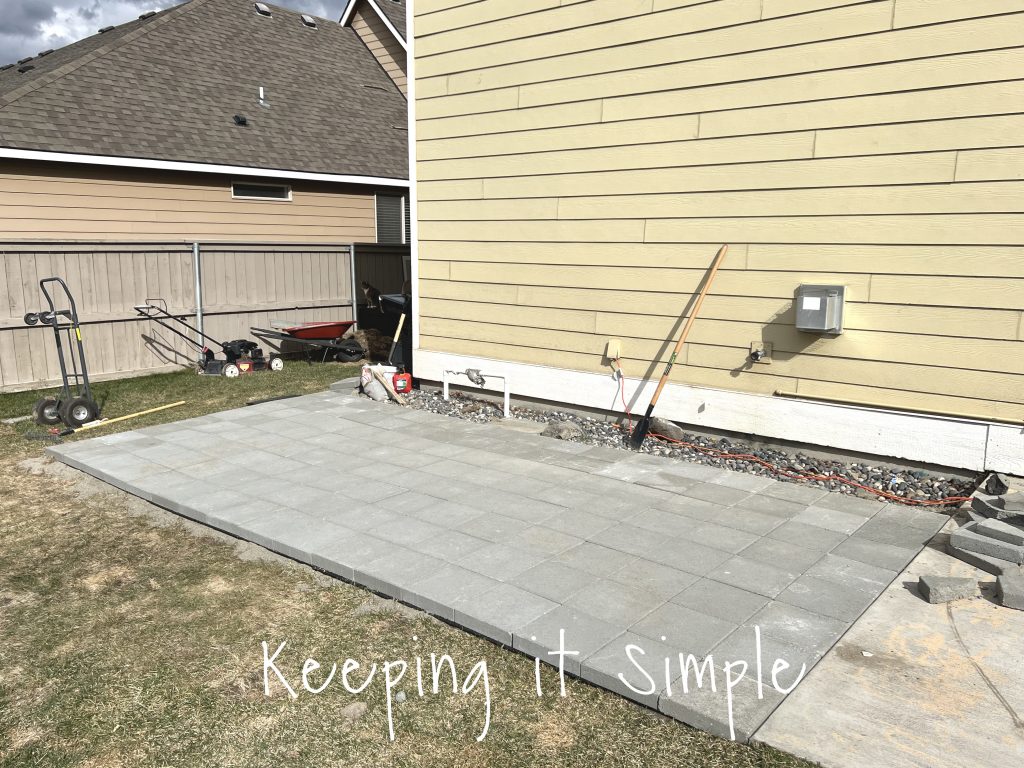
Once all of the pavers were in, we then added more rock to fill in the area.

It looks so good!
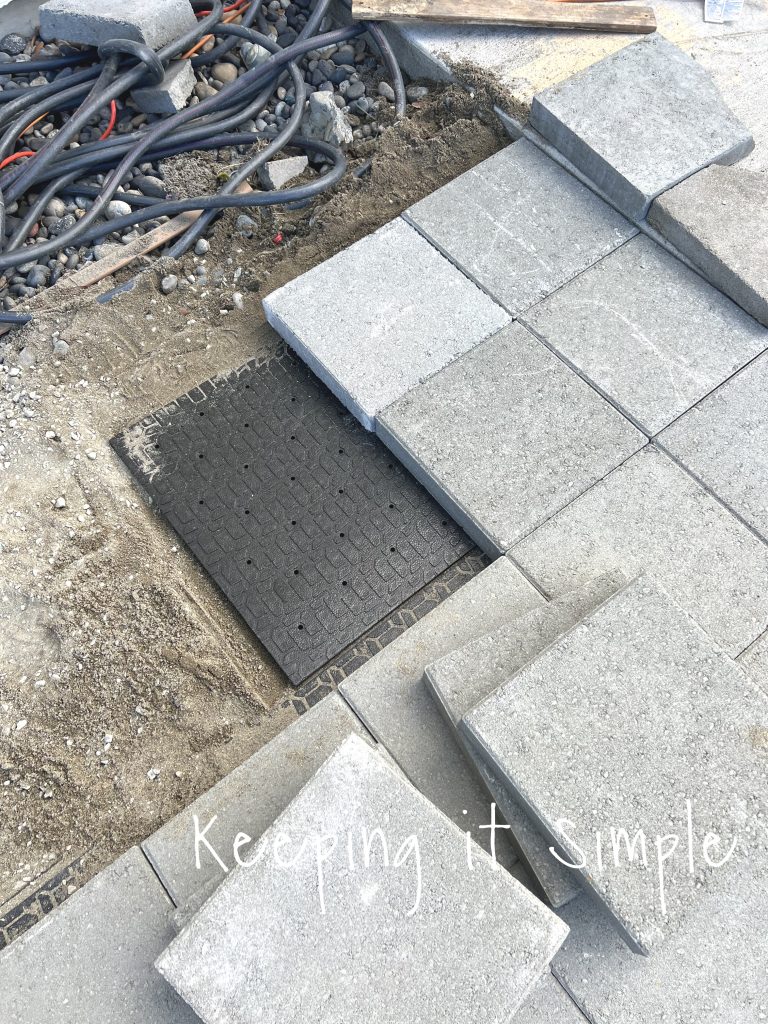
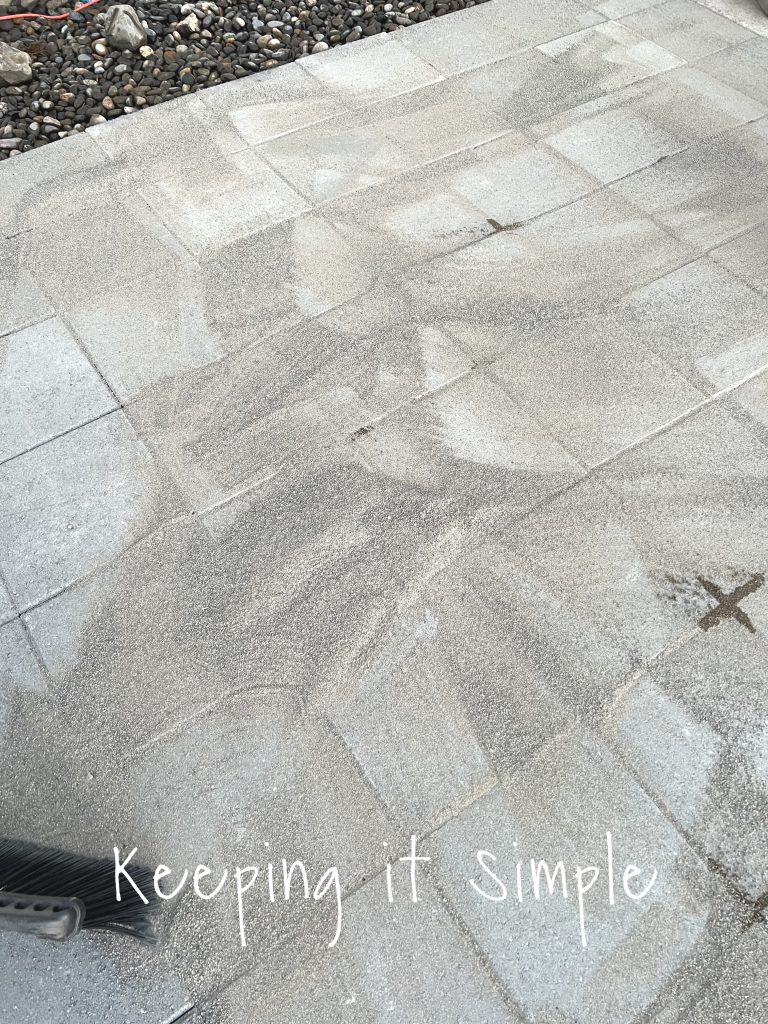
We filled in the gaps with paver sand and push it around with a broom.
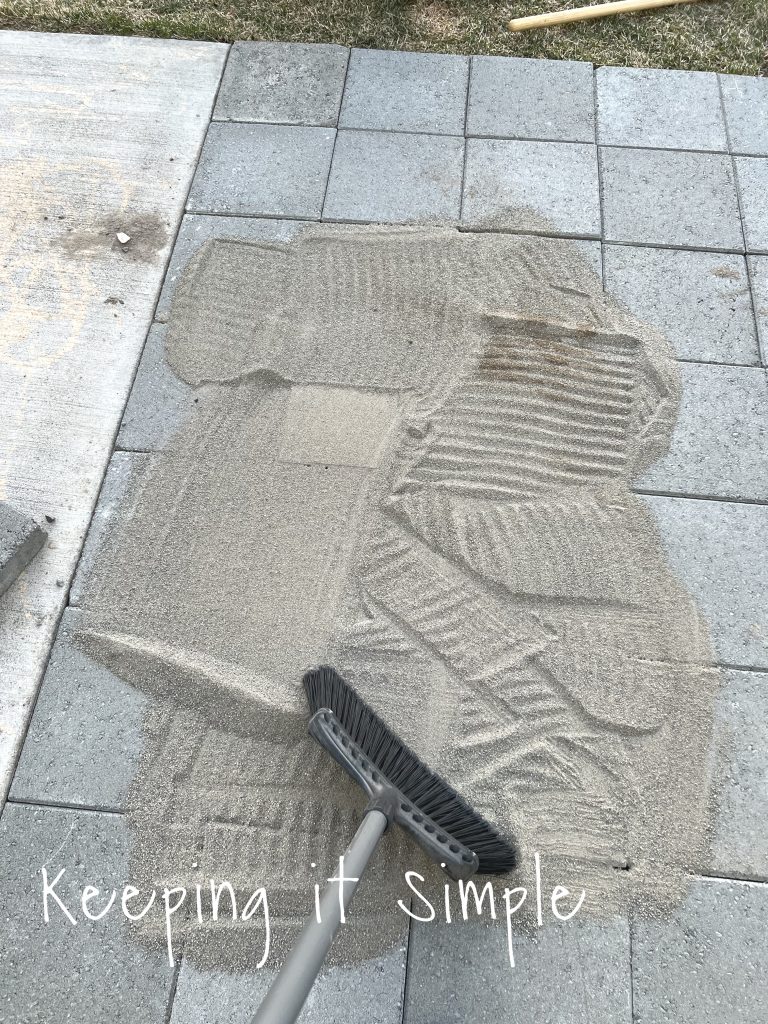
We had to do this a few times, to fill in all the gaps.
We decided not to use concrete or mortar on the patio, just the sand and then we are going to build up the grass to keep the patio in.
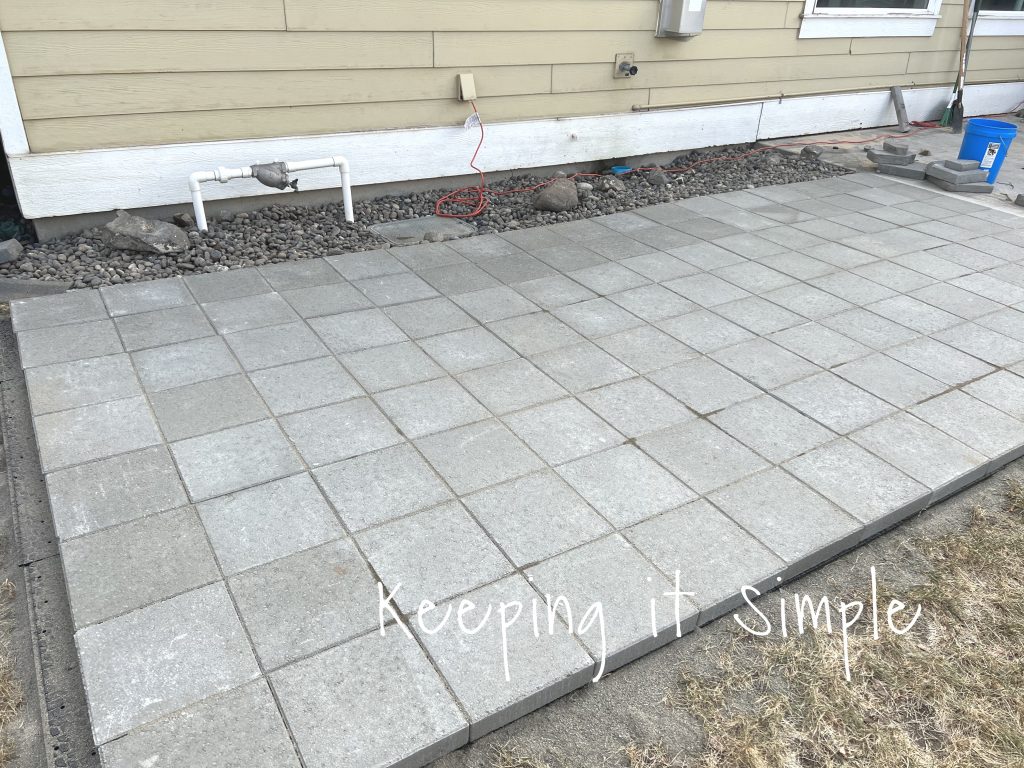
And that’s it! The DIY backyard patio is done! Here is a breakdown of material and costs to build it. Our patio is about 140 square feet. This is what we used:
40 bags of 50lb paver sand x $5.88 = $235.20
26 paver bases x $15.38 = $399.88
136 pavers x $1.86 = $252.96
Total= $888.04
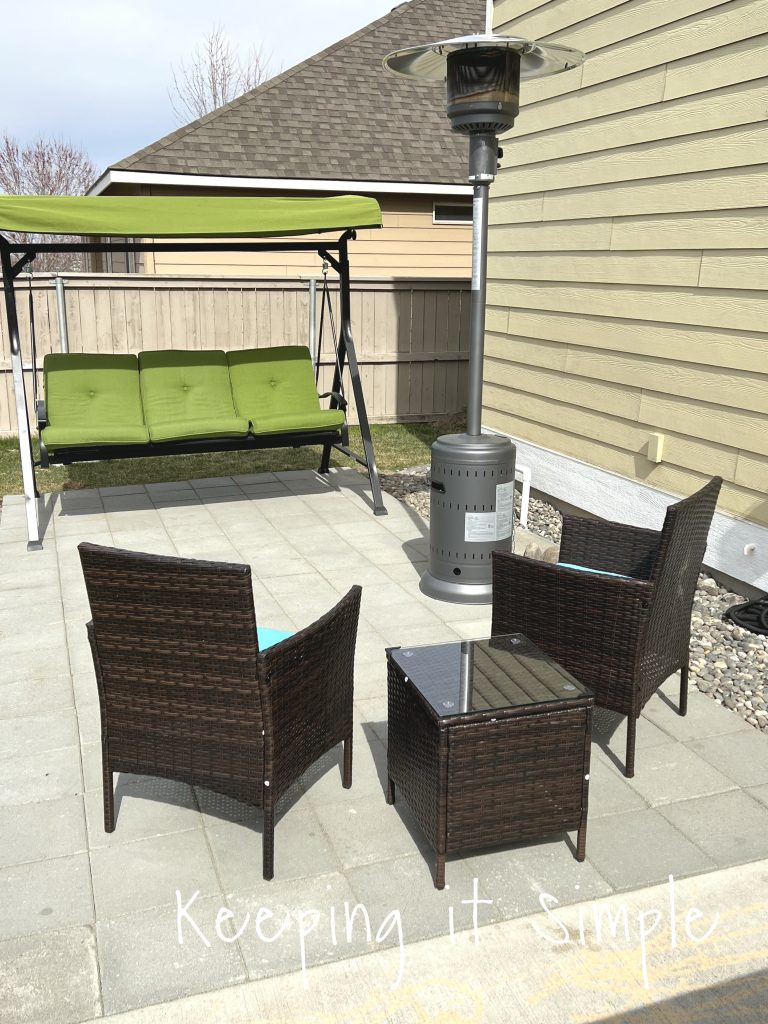
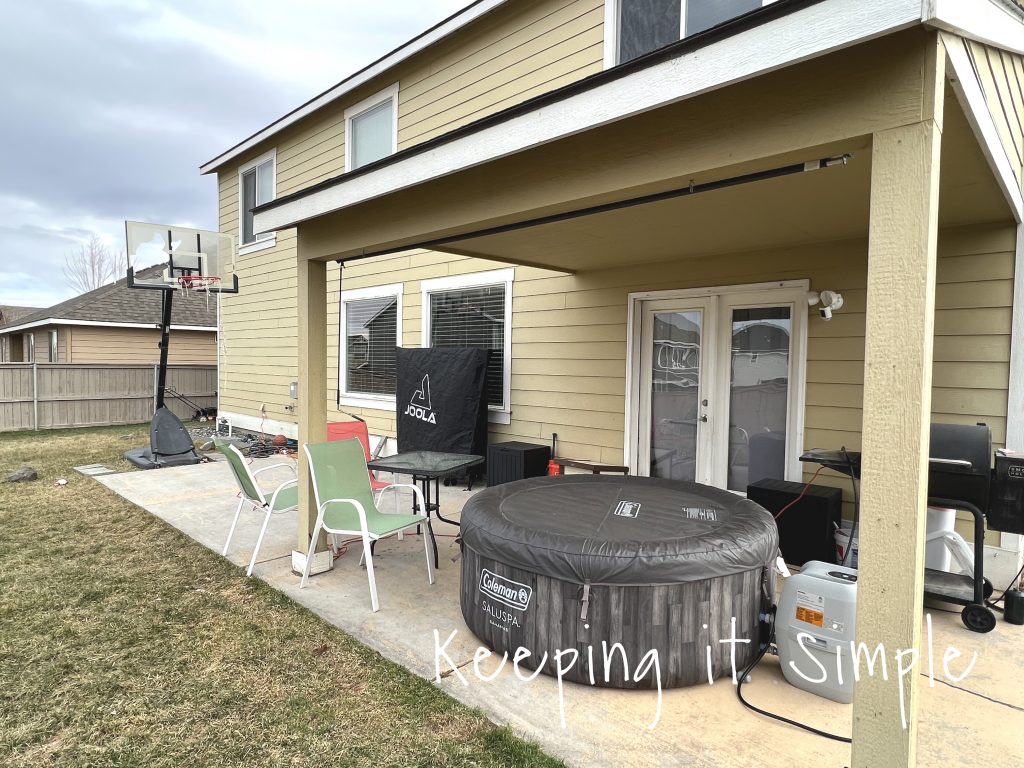
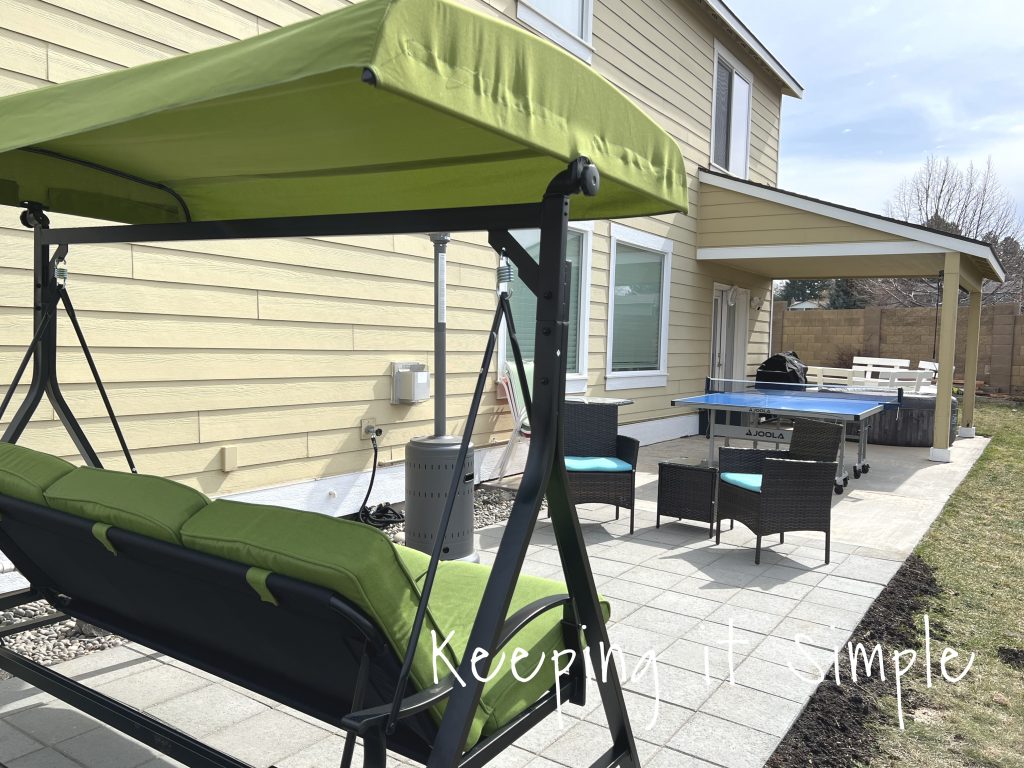
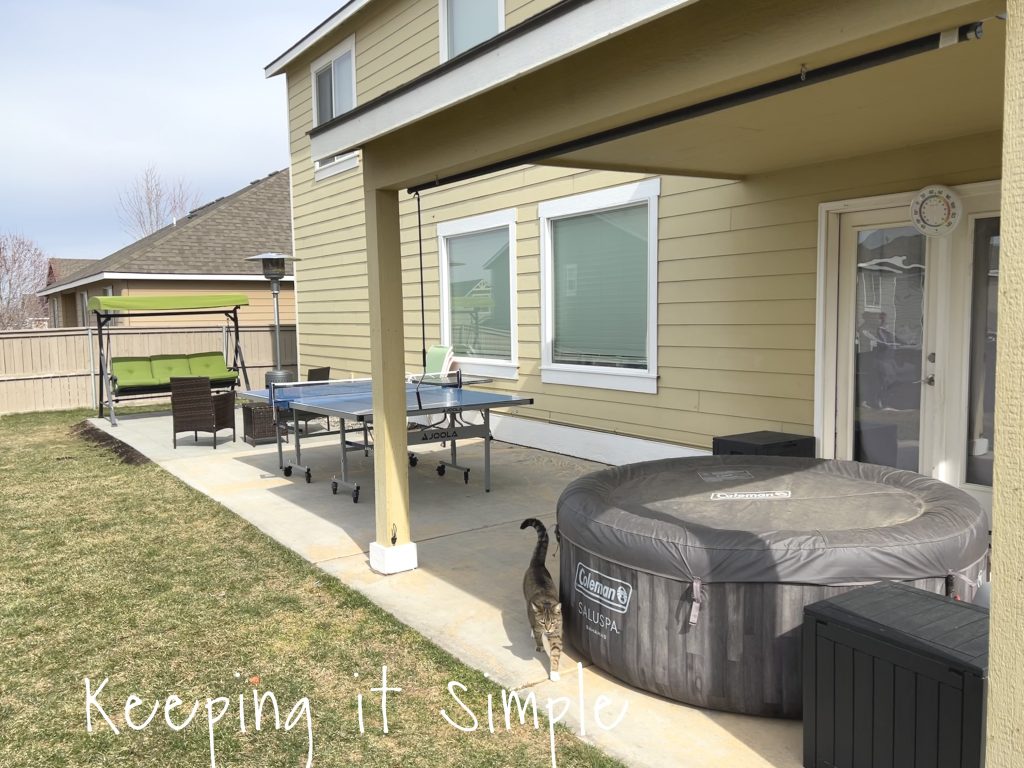
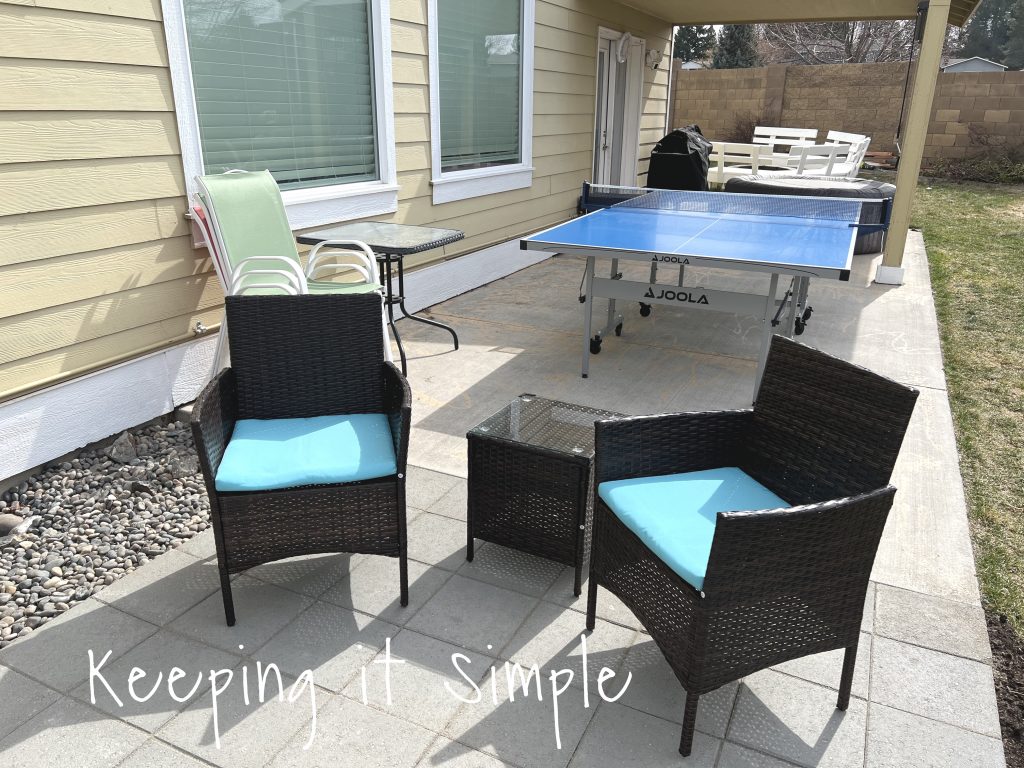
The space is so much better!! We now have a porch swing, some chairs, a patio heater, an outdoor ping pong table and hot tub in our hang out space.
I love that we now have an area to just hang out and enjoy the beautiful weather.
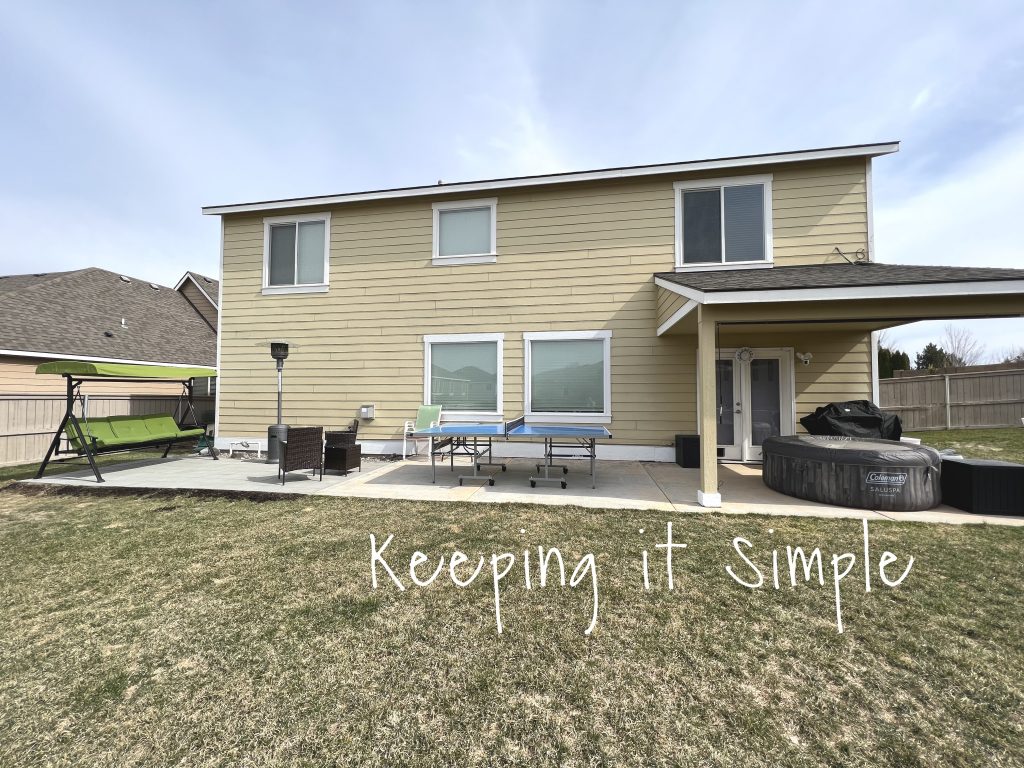
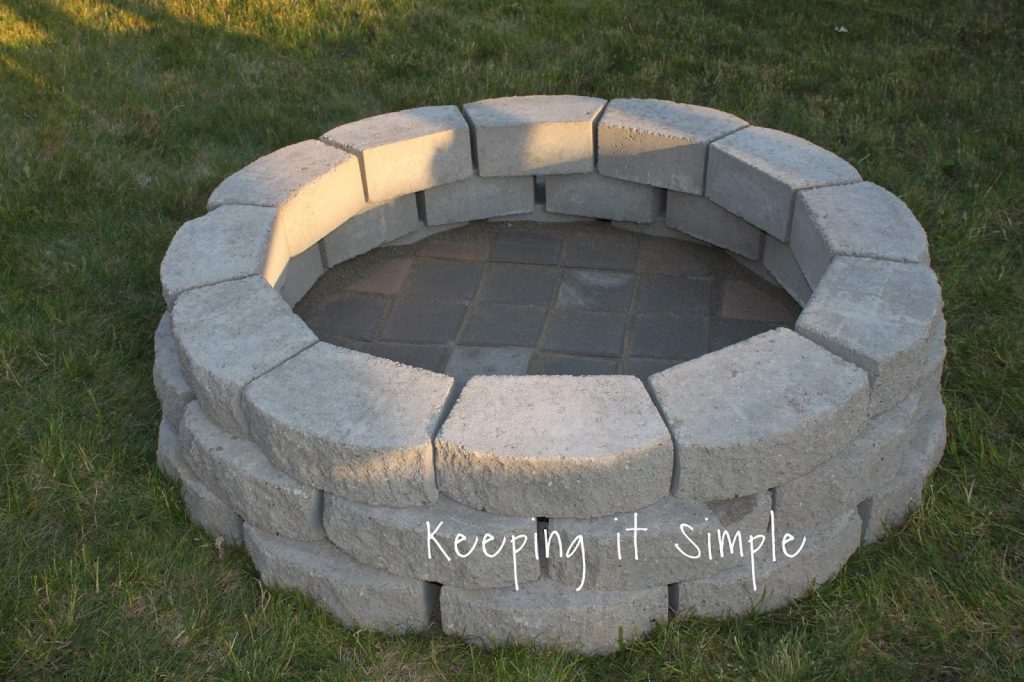
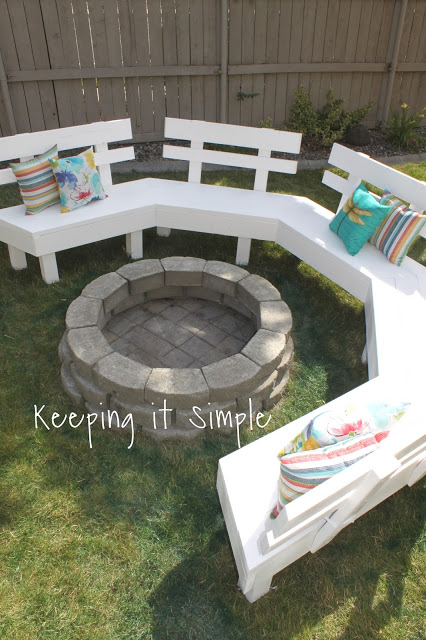
When we have a lot of people outside, they can do lots of stuff. They can chat in the patio area, play ping pong, be in the hot tub or sit on the bench by the fire pit and roast marshmallows! It will be so fun to entertain this summer!
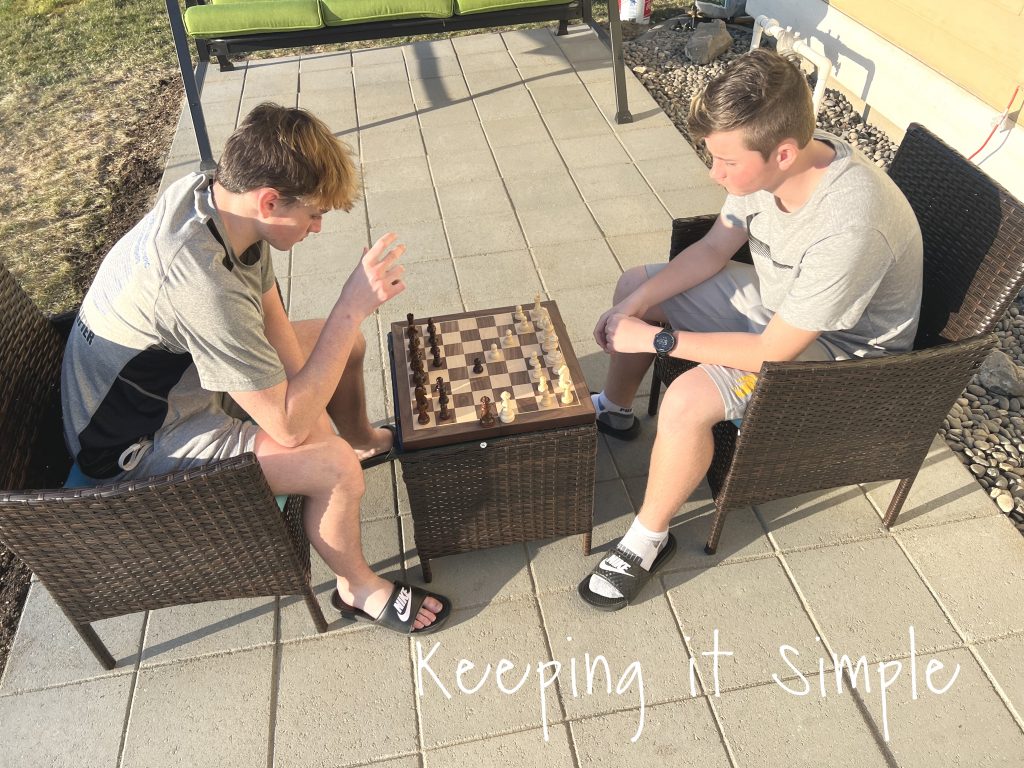
Once our patio was finished and there was nice weather, we immediately used the new space. We played ping pong, the kids were out on the new chairs playing chess. It made my heart happy!
![]()
This little 3 piece chair set is perfect for chess! The chess board pits perfectly onto the table.
Check out the rest of the my back yard ideas!
Post contains affiliate links.
Leave a Reply
You must be logged in to post a comment.