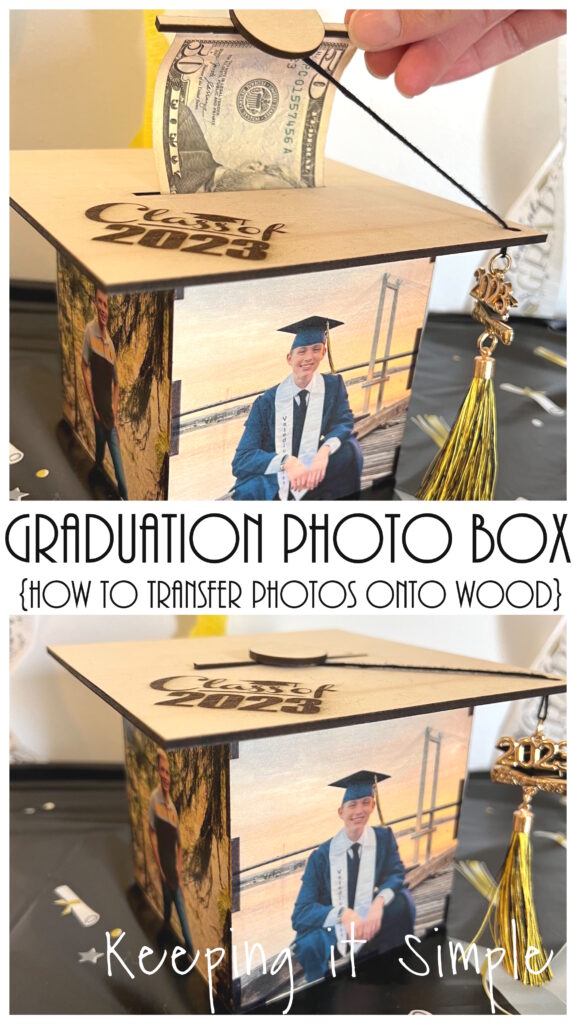
Graduation Money Gift Idea- Graduation Photo Box {How to Put Photos onto Wood}
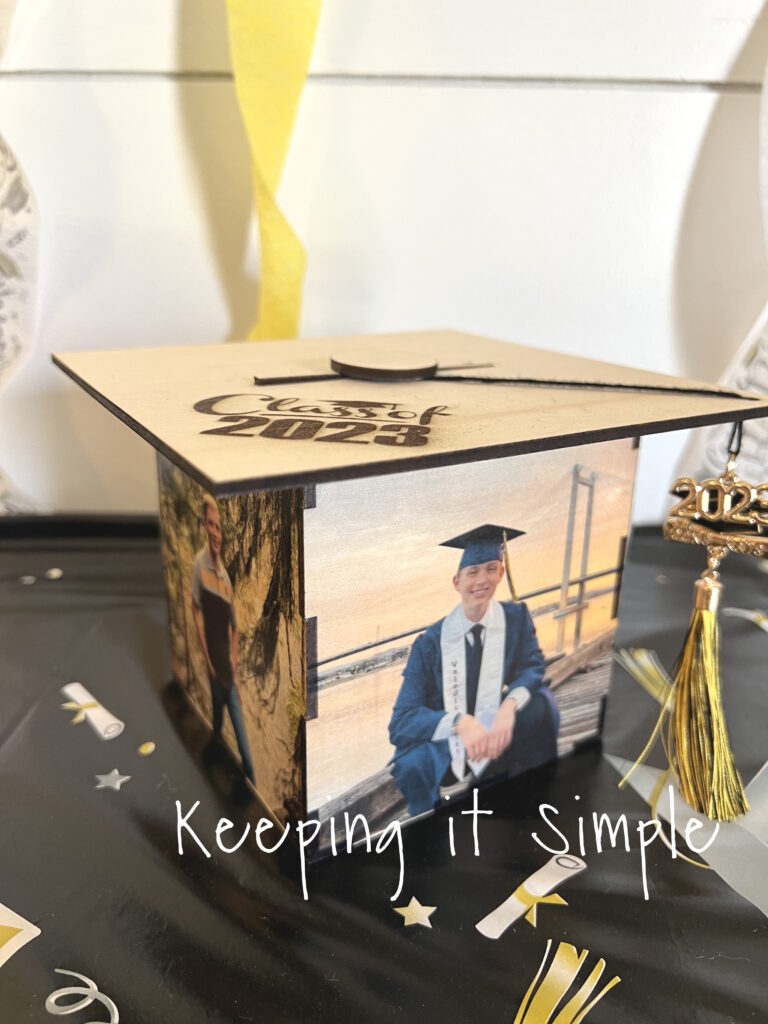
This past weekend my oldest son graduated! I still can’t believe that it happened, people aren’t lying when they say that the time flies by. I have been thinking about his graduation gift for a long time, I wanted something that was memorable but also unique. My son is like me, he doesn’t like things that are normal, he likes to be wowed. I knew that I wanted to give him money for his graduation gift, but I didn’t want to write him a check or give him a few hundred dollar bills. I wanted to give him a bunch of cash, so he wouldn’t know the exact amount and to make it a little more fun. So I decided to make him an awesome graduation photo box, in the shape of a graduation cap, and then I put a roll of cash it in that he would get to pull out of the top of the cap. As you can tell by the photos are the end of this post, he loved his graduation money gift!
Here is a quick video to show you how I made this graduation photo box and how to transfer photos onto wood.
If you are new to xTool or laser cutters, check out my beginners guide to the xTool M1 machine. There are step by step tutorials and videos to show you how to work the awesome laser cutter.
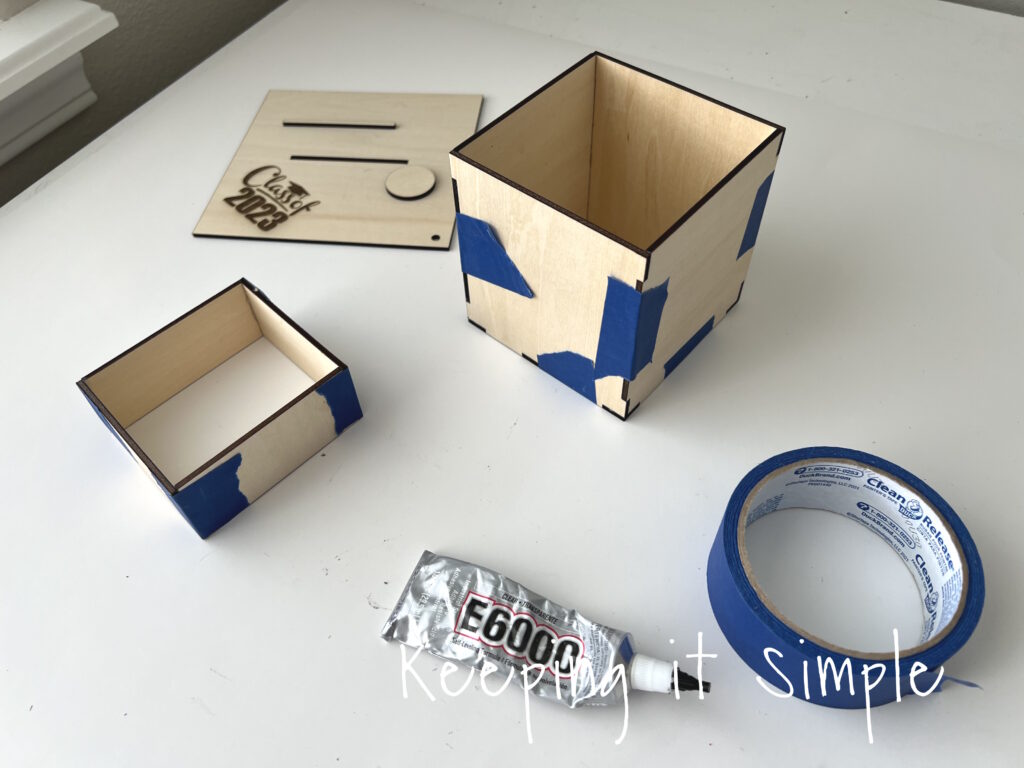
This is how I made the graduation photo box. I made up a design for the wooden box. This box is roughly 4×4 inches and made to be that size, so when I opened up the SVG file in xTool Creative Space with the image button, I clicked on the option that keeps the design at it’s original size. Once I opened the SVG file, I grouped all the different pieces together and then selected the cut option. For the wooden box, there are 3 different types of sides. One is for the bottom and you only need to cut that out once. The other two are the sides and you will need to cut out 2 of each of those. I also included some smaller pieces for inside the top or lid of the box, so it doesn’t fall off. It makes a lot more sense if you watch the video of the graduation photo box :).
You can get the SVG cut file for the wooden photo box here:
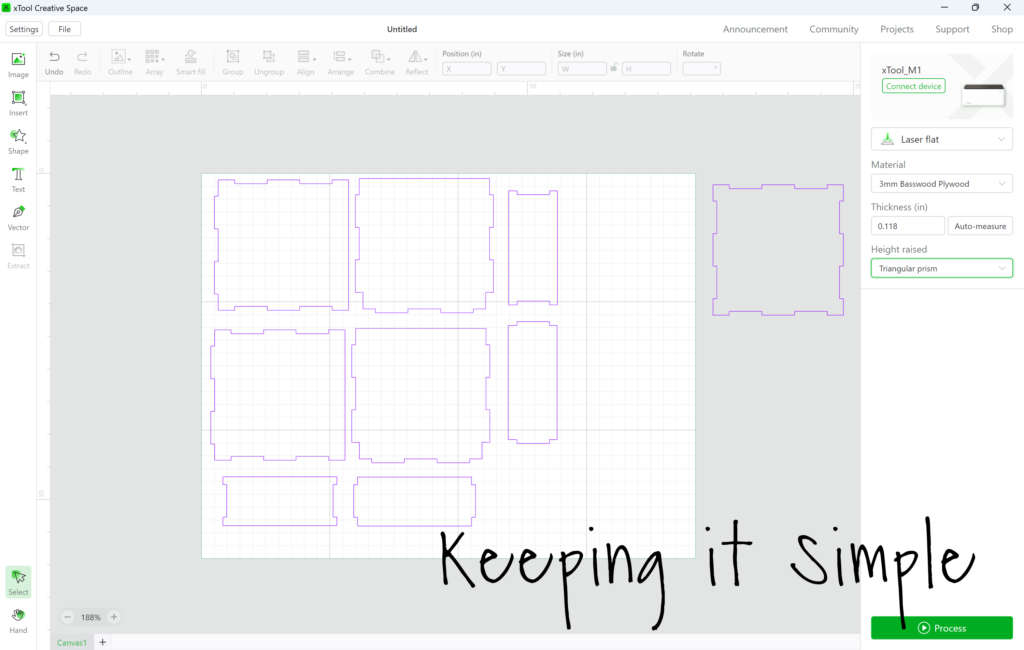
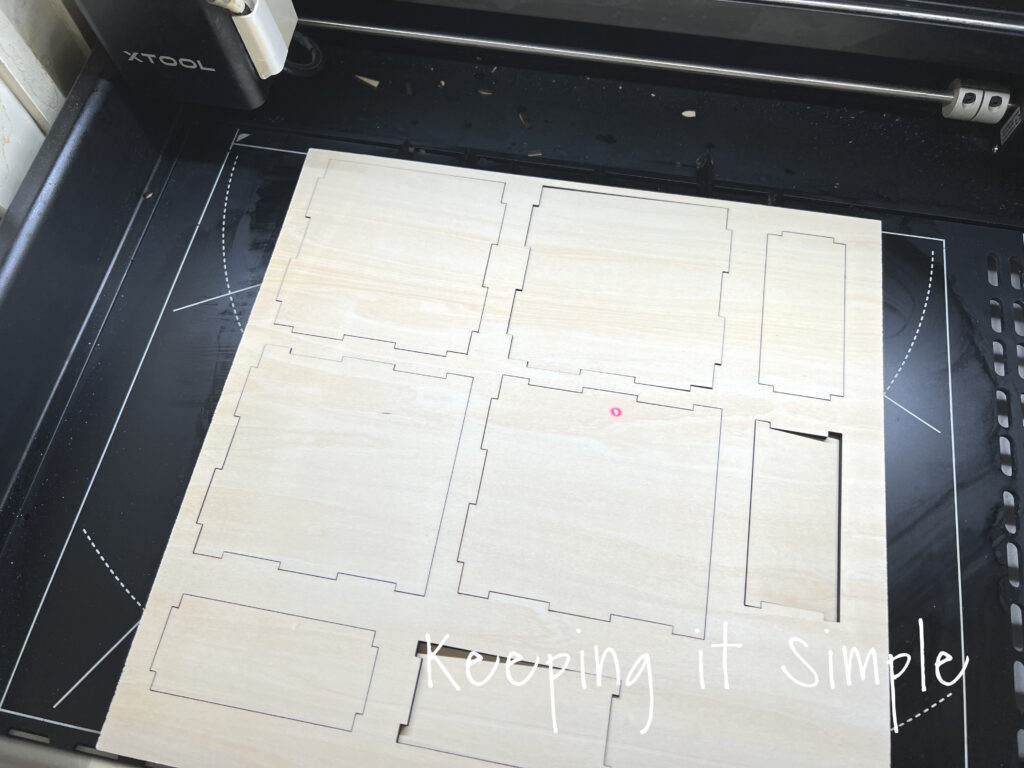
I sent the design to the xTool M1. I used 12×12 3mm basswood plywood for the photo box. I used two pieces of plywood for the whole thing. I used the air assist attachment to help prevents scorch marks.
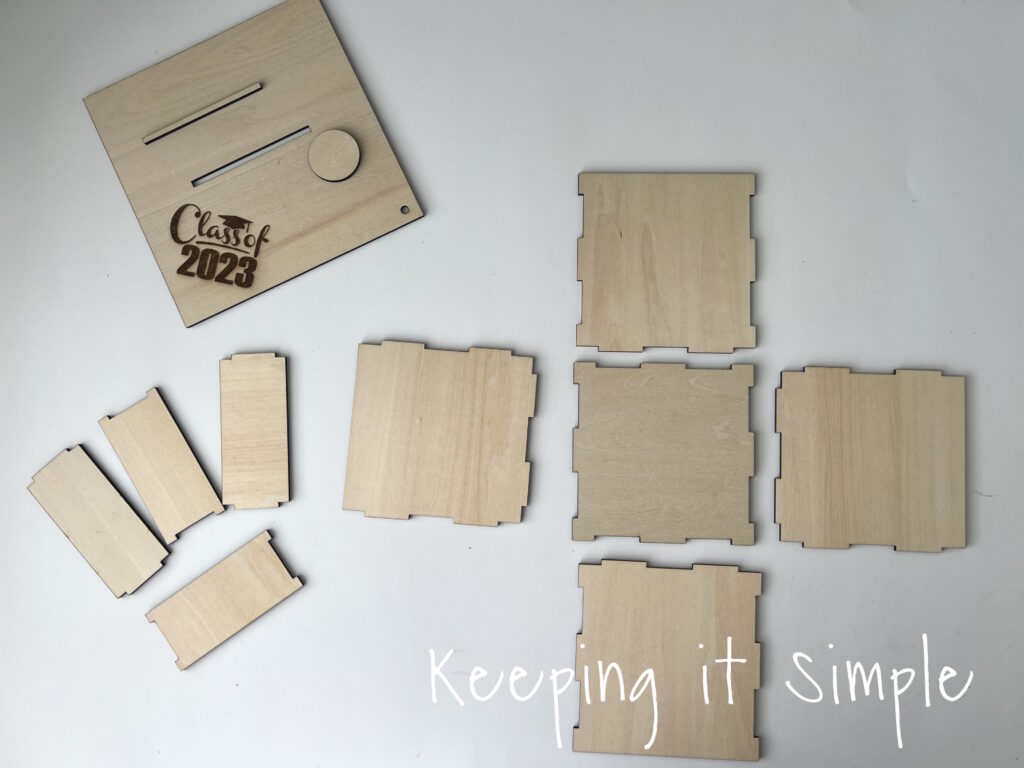
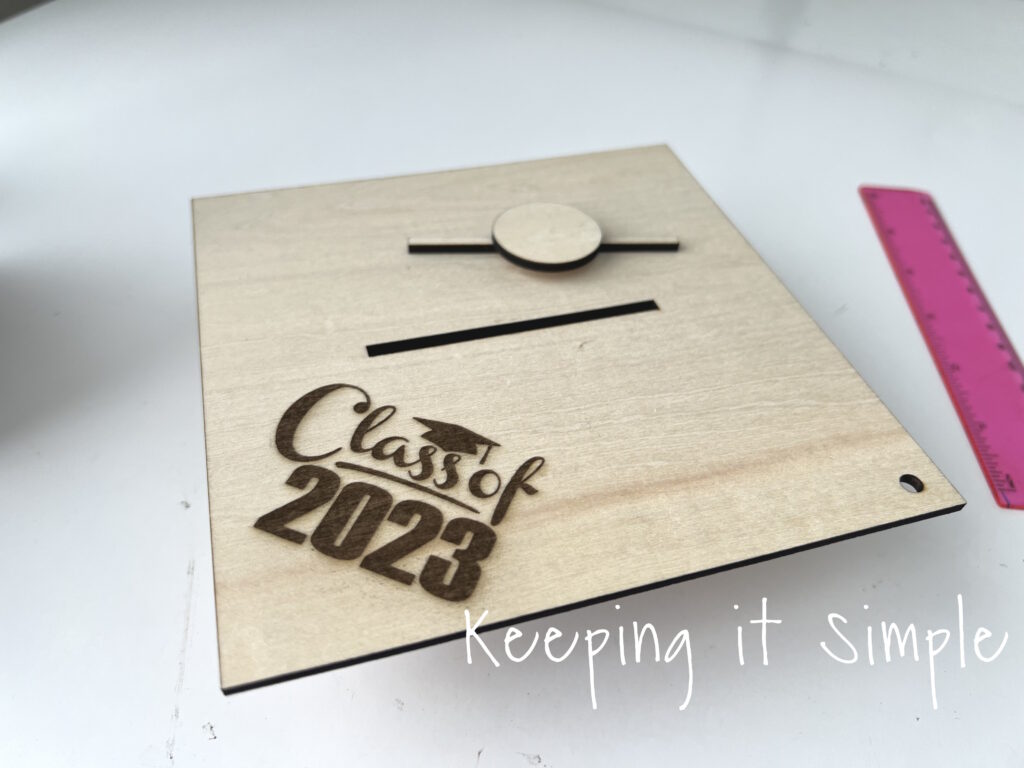
Here are all of the pieces for the graduation photo box. I engraved class of 2023 onto the lid and also cut a slit into the lid, for the money to go through.
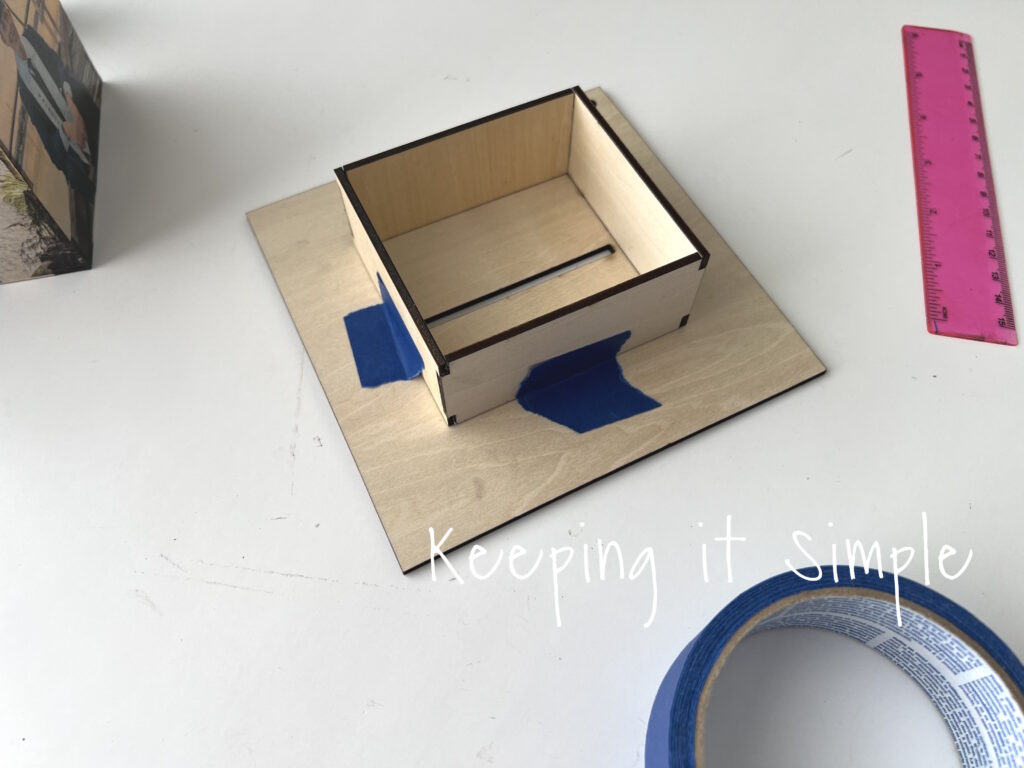
Using E6000 glue, I glued the photo box together and then I used painters tapes to hold it together. I did the same thing with the smaller box, that will go under the lid.
Now how to transfer photos onto the wood. You will be shocked by how easy it is to transfer photos onto wood. This method is super easy to do and the result is amazing!
I picked a few pictures of my son and sized them to be 4×4 inches. The pictures were on my phone, so I used the square option in the edit features. I then opened them up into Silhouette Studio. You don’t have to have this software to do this, it’s just the one I used. You DO HAVE TO MIRROR the image for the transfer onto wood to work. So you will need a software to do that. I got all of the photos lined up and sized to 4×4 inches and then I mirrored all of them by right clicking and clicking the flip horizontally button. That mirrors the image. I set the media size to letter and then situated it onto that, so I could print all 4 pictures onto one sheet.
![]()
I then printed the photos onto tattoo paper. I put the paper into my ink jet printer in a way that the shiny side of the paper would be the side it printed the photos on.
![]()
Here are the photos printed onto the tattoo paper. The smaller ones I put onto coasters, they were my testers before I transferred the photos onto the wood of the photo box. Plus, I had the extra space, so I didn’t want to waste the paper. Are you wondering why in the world I used tattoo paper to transfer photos onto wood? I was skeptical the first time I did it too but it WORKS AMAZINGLY!! There are two sheets of tattoo paper and two clear plastic sheets in a pack. Once the ink was dry, I peeled off the green backing paper and put the plastic onto the photos. I used an application tool to help remove any bubbles. If you watch the video, you will see the whole process on how to transfer photos onto wood.
![]()
Once the plastic was on the photos, I then cut out the pictures, making them 4×4 inches.
![]()
I then peeled off the plastic and then put the sticky/shiny side of the tattoo paper onto the wood.
![]()
Using a very damp rag (not dripping wet), I then wet the paper with water. Make sure to saturate the everywhere. As I was doing this, I was also putting pressure onto the wood, making sure the photo was transferring evenly.
![]()
Once the paper was completely saturated with water, I gently pulled up a corner. If the photo didn’t transfer properly, I put the paper back down and get it a little more wet. You can tell when the photo has completely transferred to the wood when the paper comes off cleanly.
![]()
Here are the pictures transferred onto the wood! Doesn’t it look amazing!! The tattoo paper is so thin that it just looks like it is in the wood and not on it. It really does work well!
![]()
Now that the photos are transferred to the wood, it’s time to work on the lid of the graduation photo box.
I glued the little inner box onto the lid. I used a ruler to make sure it was centered and then used painters tape to keep it into place until the glue sets.
I kept the little rectangle that was cut out of the lid and then I glued the circle top of it, so that I could put the wood into the slit and it would stay put.
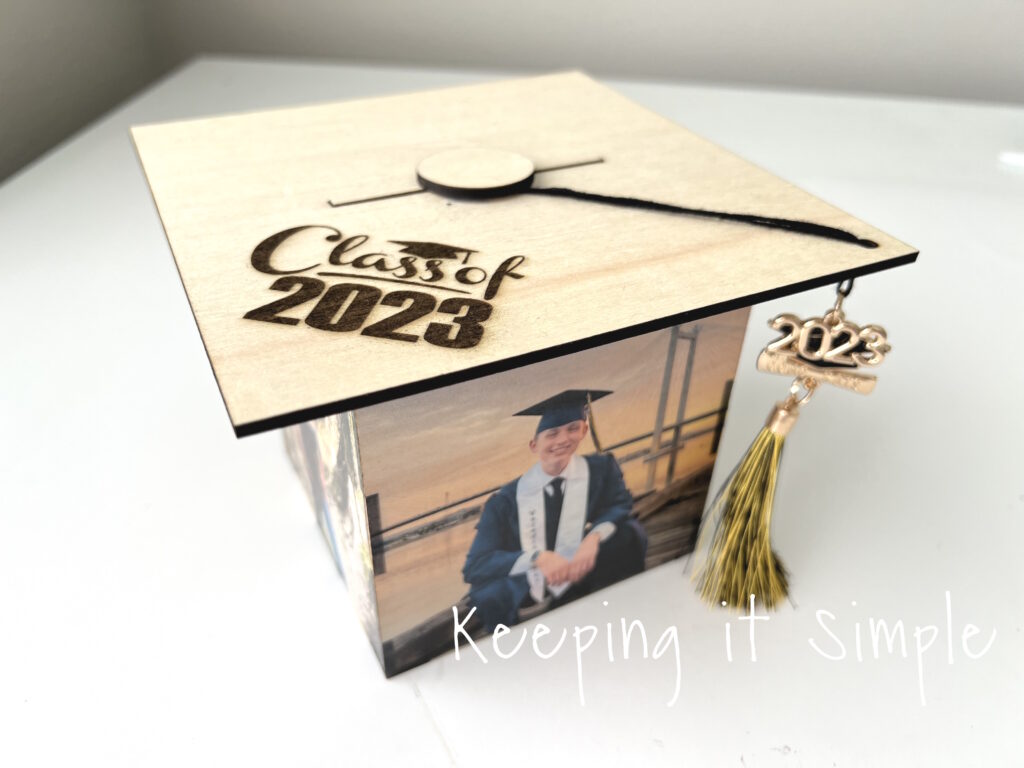
I then added some string and a tassel onto the bottom of the circle. I kept it in place with some hot glue and painters tape. I found the tassel on a keychain and it worked perfectly for the graduation photo box.
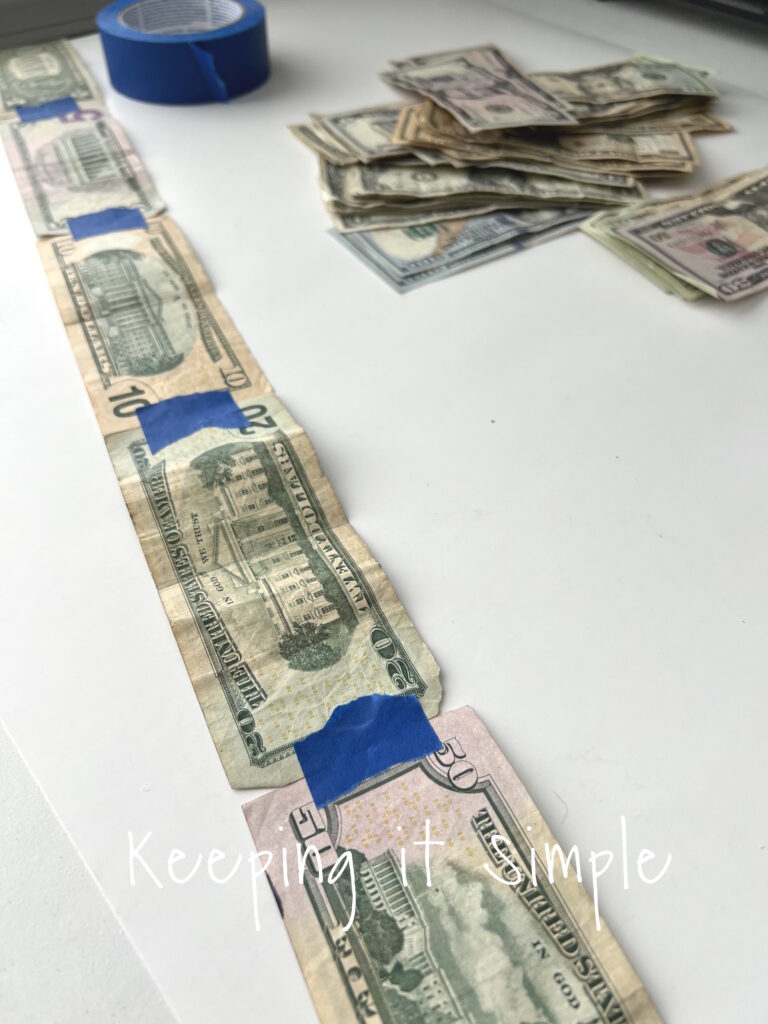
Now for the fun part of the graduation gift, the money!! I got lots of different kinds of bills, I ended up with 100 $1 bills, just so he would have to keep pulling out money.

I used painters tape to tape the bills together into a long line. At the beginning I added lots of the smaller bills, just for fun. You can do it however you want. Painters tape is by far the best tape to use because it doesn’t damage in the money.
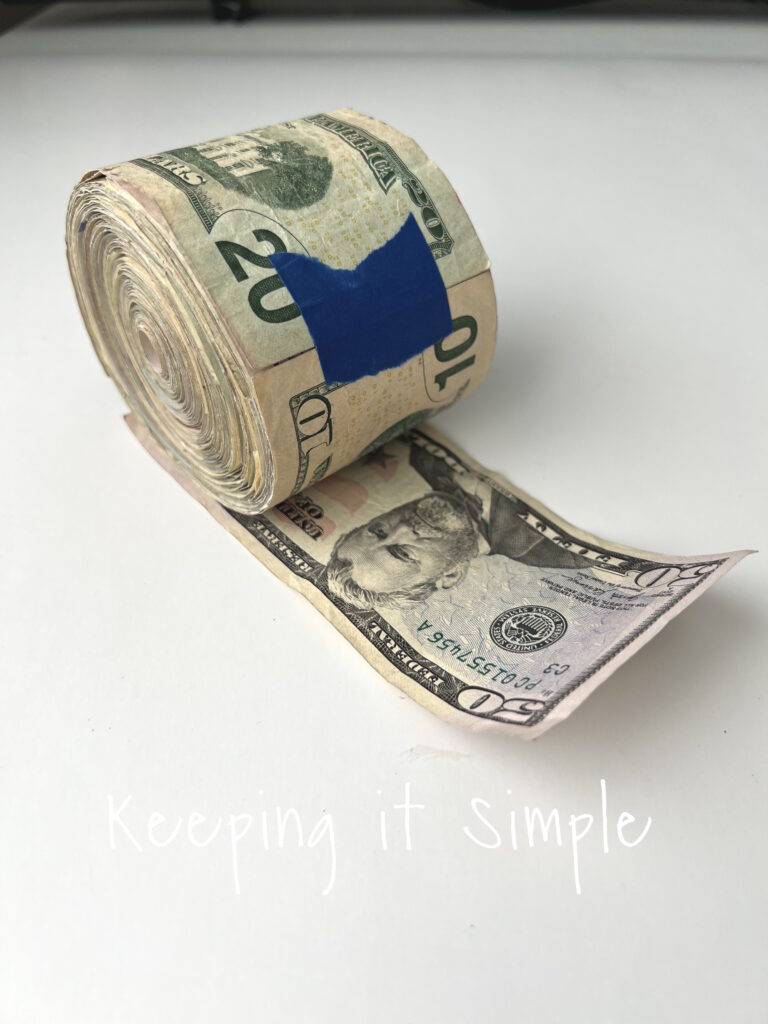
Once I had all of the bills taped together, I then rolled it up. Since I wanted the smaller bills at the beginning, they were the last ones to be rolled up. I started rolling at the end of the line of bills, leaving the smaller bills on the outside of the money roll.
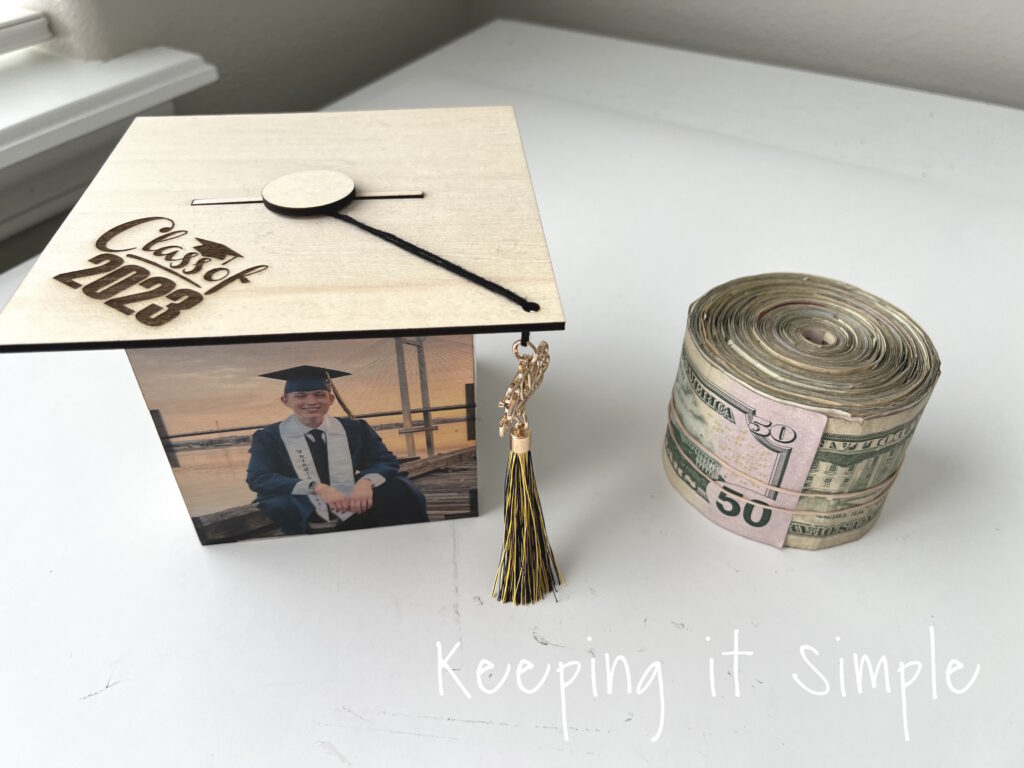
Now time to put the money into the graduation photo box. I put rubber bands onto the cash so it wouldn’t unravel but I removed them when I put the money into the photo box.
I then threaded the bill through the slit and then taped the bill onto the side of the little rectangle. I think taped the bill to the bottom of the circle too.
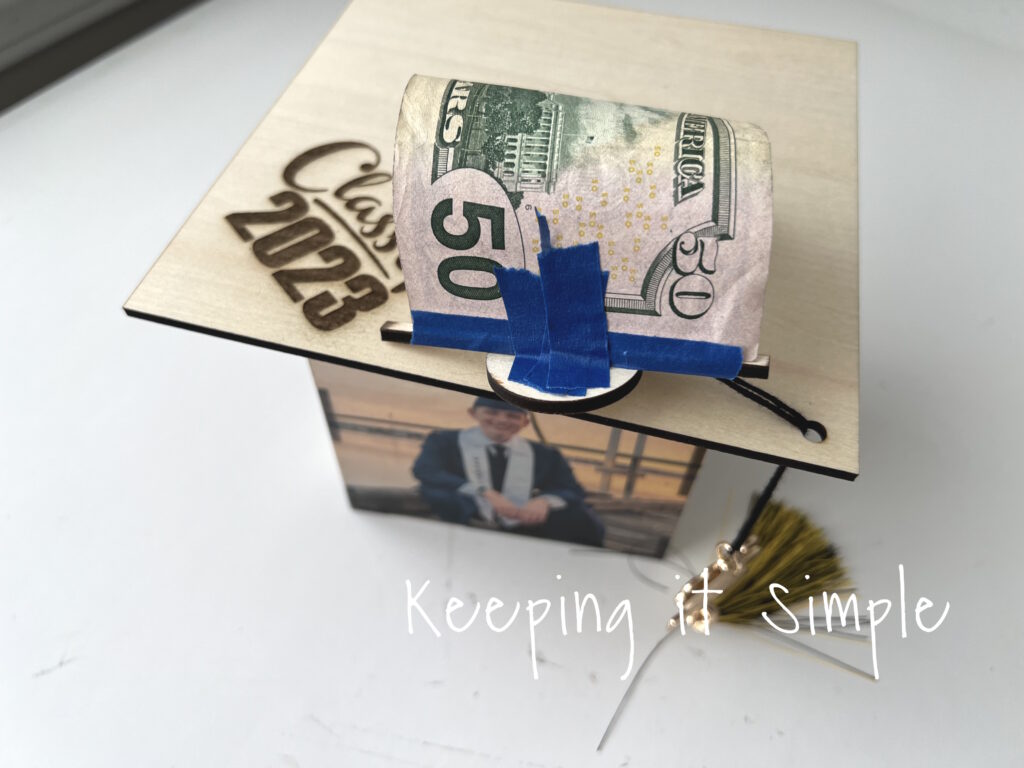
And that’s it! You can easily pull up the circle and the money comes up with it!
![]()
Here is what it looks like when money is pushed back in and the little wood pieces are put back into the slit.
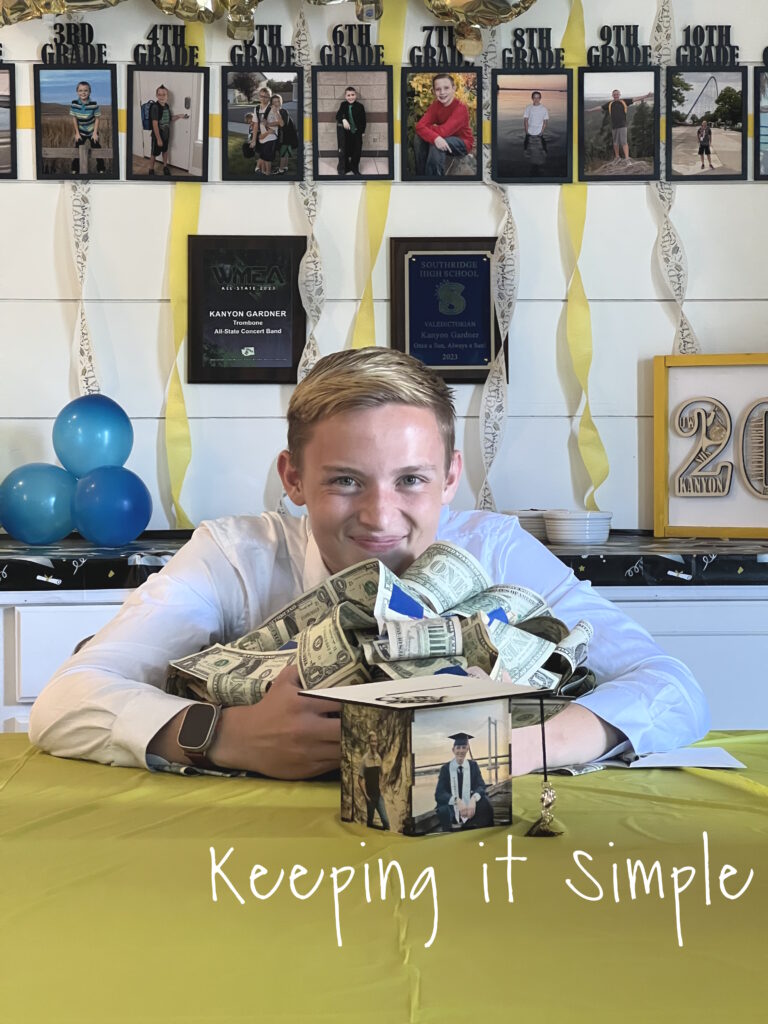
The graduation photo box with money inside of it was a HUGE HIT! My son loved it so much and was so shocked by how long it went to get all the money out. It took him about 3 minutes to pull out all of the cash and he loved every second of it :).
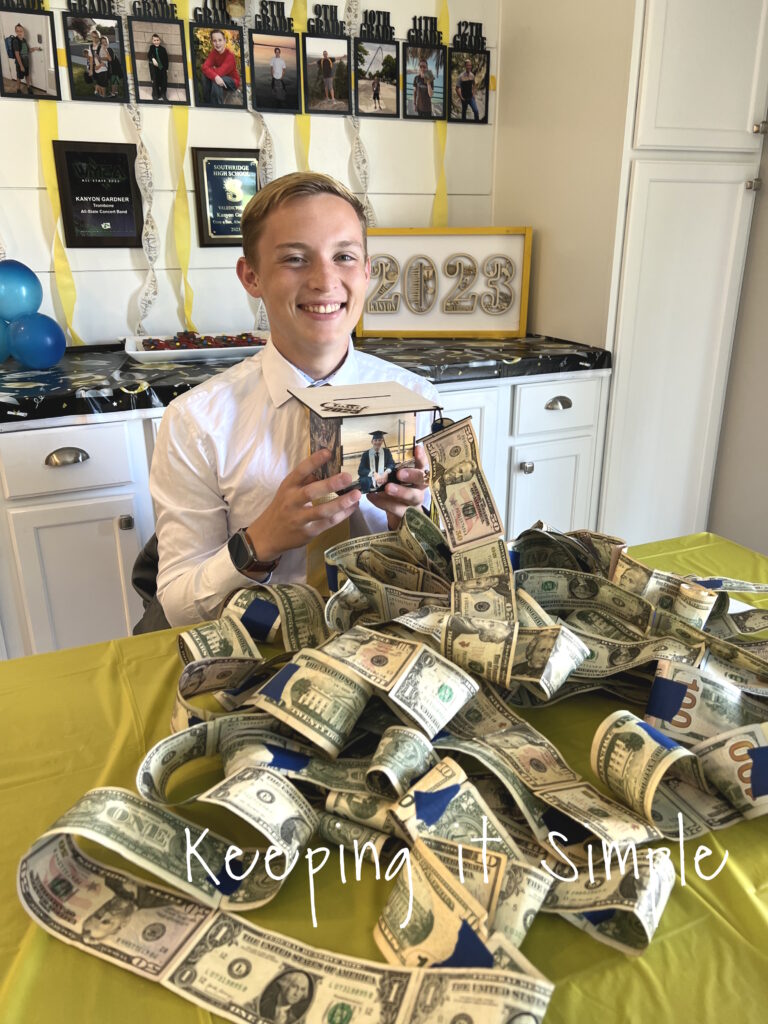
He was so happy to have so much cash, even if a lot of it was $1 bills!
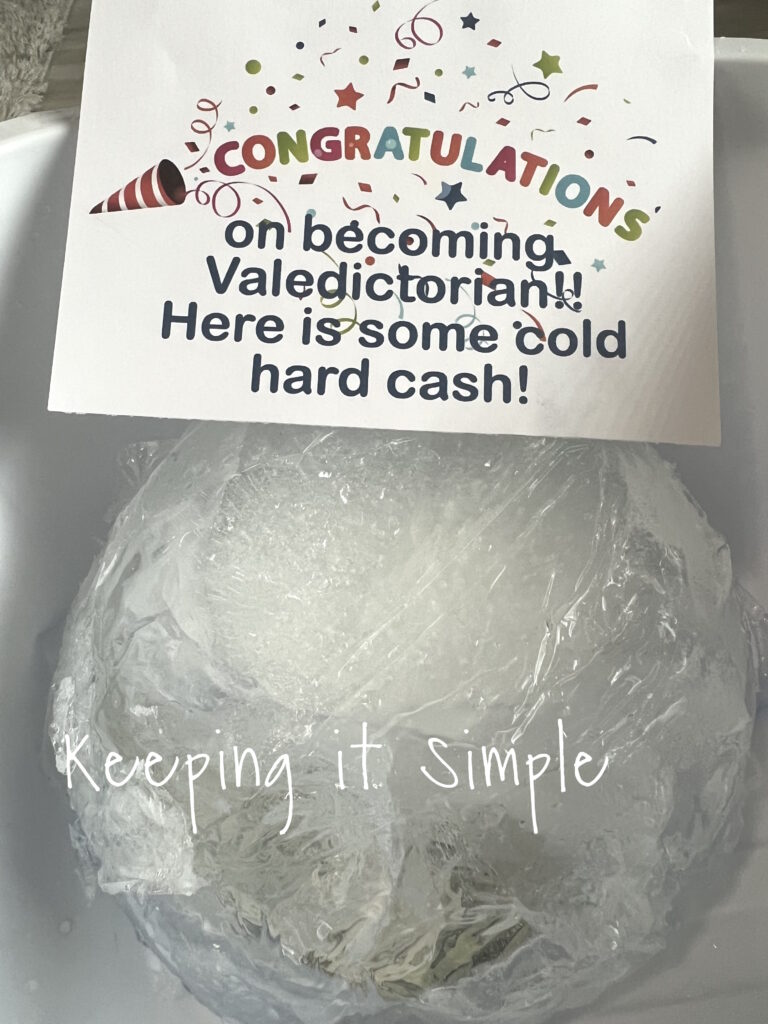
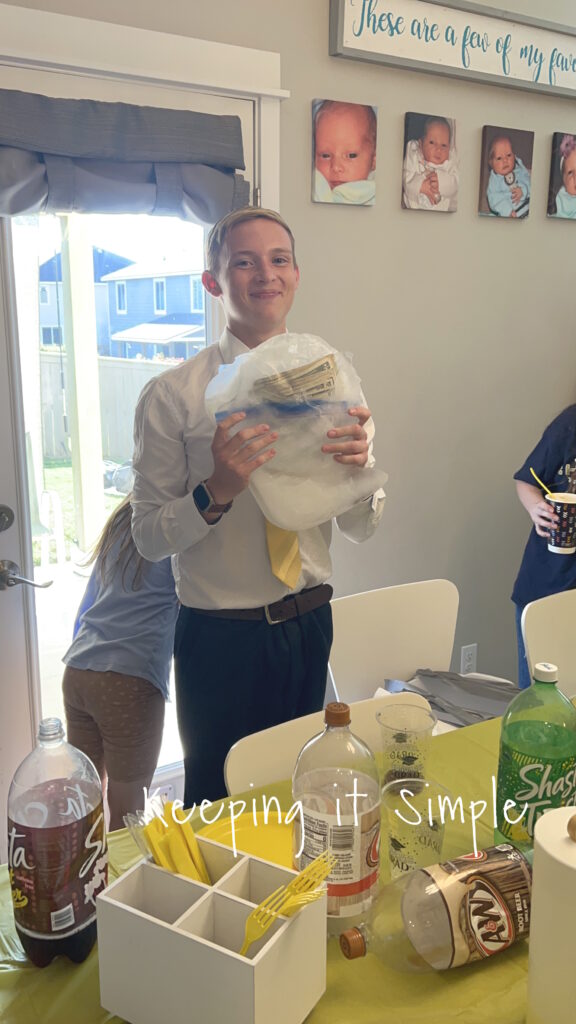
My son was valedictorian, so we wanted to give him a present for that too. So here is about graduation money gift idea. I froze cash in water and give him some cold hard cash!
Make sure to check out all of my other graduation ideas!
Leave a Reply
You must be logged in to post a comment.