How to Engrave a Logo onto Leather with the xTool M1
**** DEAL ALERT****
xTool just released a new, gorgeous white machine for Valentine’s Day! They are on sale until Feb. 16, 2024.
The S1 10W is $899.99, $300 off
The S1 20W is $1699.99, $400 off, plus you get $338 in accessories FREE: Air assist & Honeycomb!
The S1 40W is $$2,199.99, $300 off, plus you get $338 in accessories FREE: Air assist & Honeycomb!
If you are new to xTool or laser cutters, then check out my beginners guide.
I love personalizing things. I love putting my own personality into things that I wear or have in my home. I love having things that are special and unique, things that you can’t go to the store and buy. It’s one of the reasons I love creating! Ever since I have got my laser cutter, the xTool M1, I have been engraving all the things. There are so many things that you can engrave. The first thing I tried to engrave was wood, then I went to metal and next I had to try leather. Everything that I have engraved has looked amazing and I can’t get enough of it. I love the simple look of the engraved leather, it just looks so classic and nice.
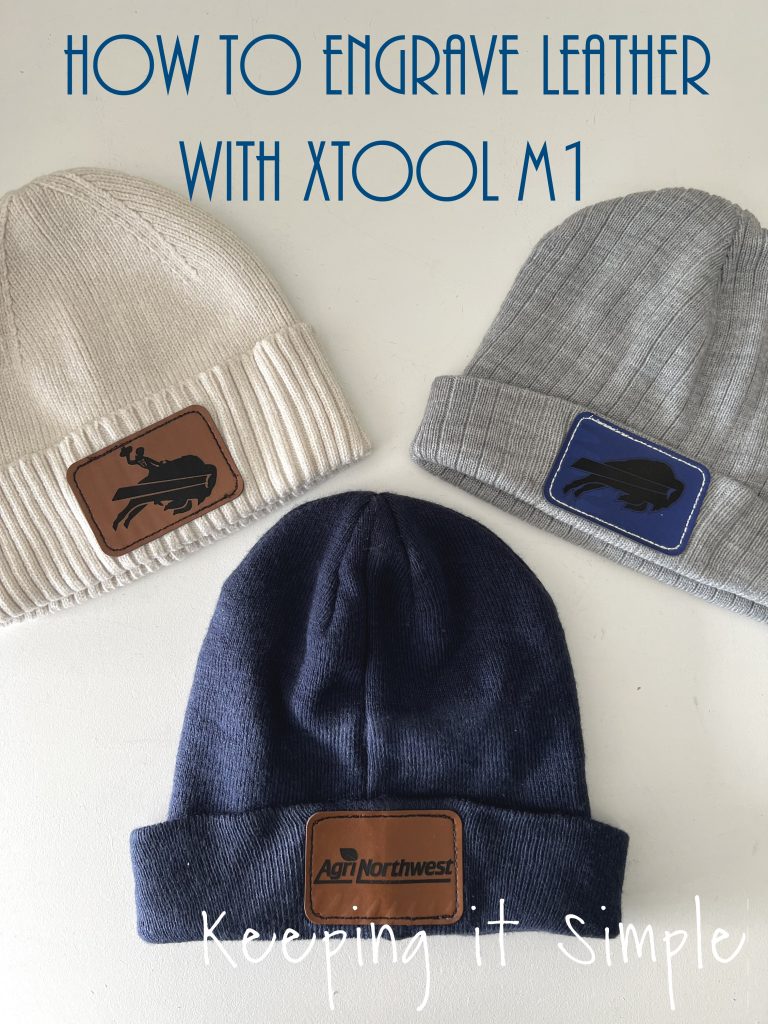
I decided to engrave a logo onto leather patches and then put them onto beanies. This is how I did it.
I got some pre cut leather patches because they were easier and cheaper than cutting my own. I then found some plain beanies in our winter gear.
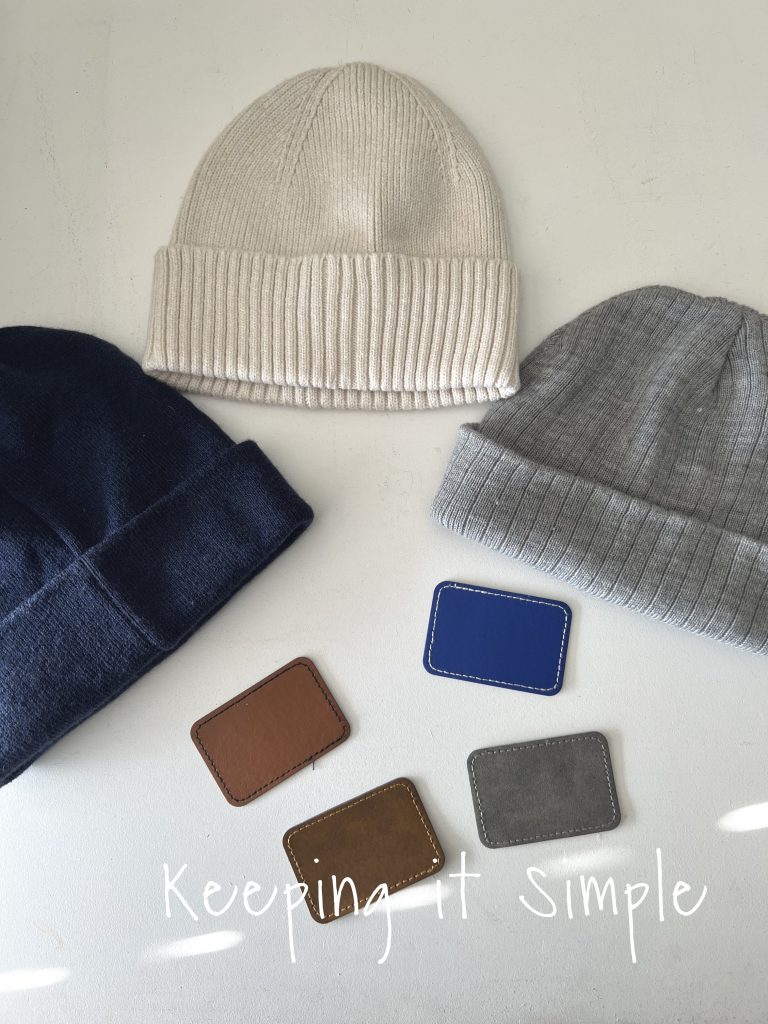
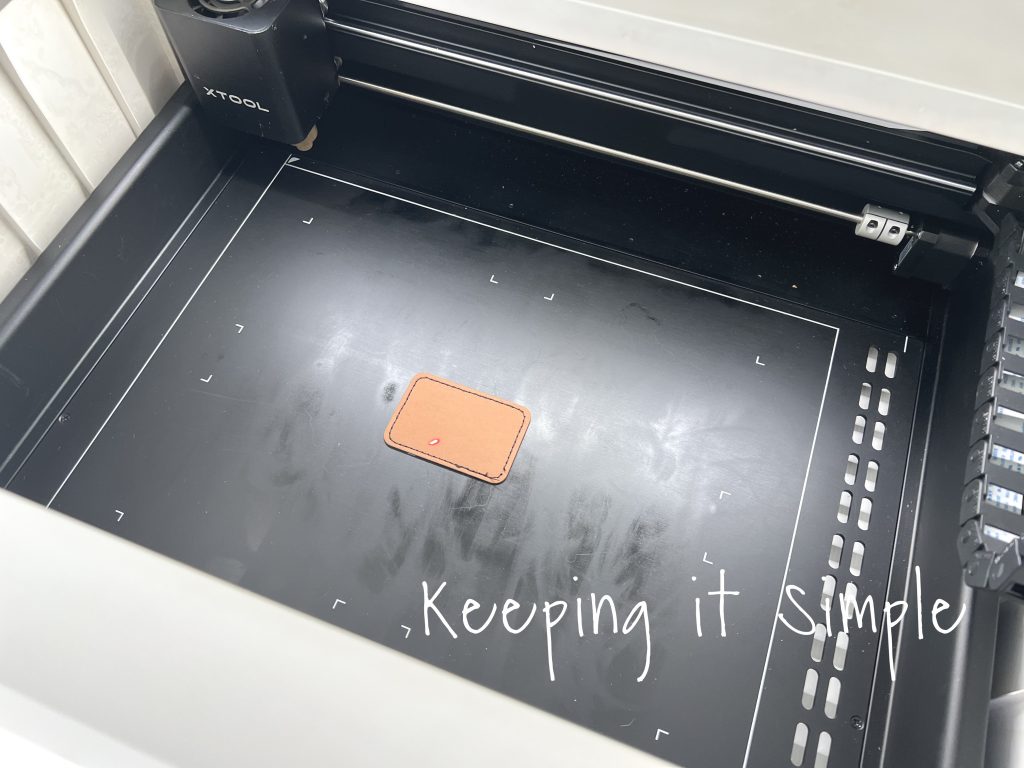
I picked out a leather patch and then put it into the xTool M1 machine.
I then opened up xTool Creative Space and worked on the design. I choose the logo of my husband’s company. I just saved the image and then opened it up in Creative Space by clicking the image button.
![]()
I only wanted the actually logo and not the background, so I clicked on the magic wand button and erased the background.
![]()
Once I had the logo how I wanted it, I then sized it and placed it onto the leather patch. For the settings, I did the auto-measure feature and then put the power to 60. I then clicked process, start and then the button the actually machine.
![]()
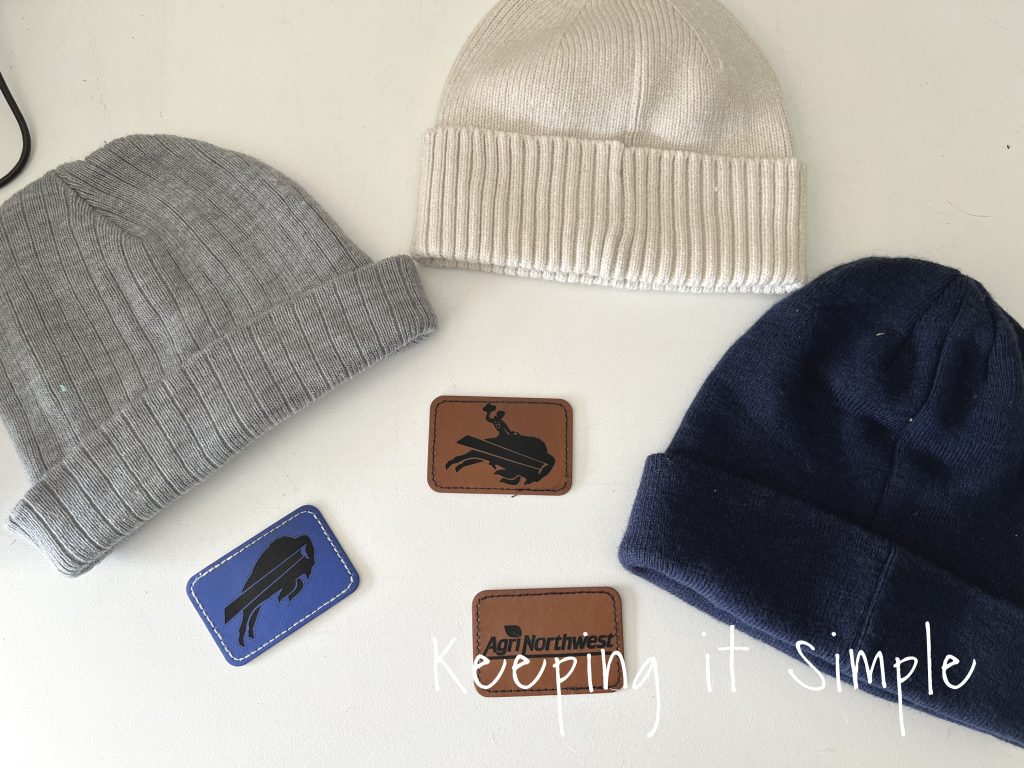
It did such a great job engraving the logo onto the leather! It looks so good.

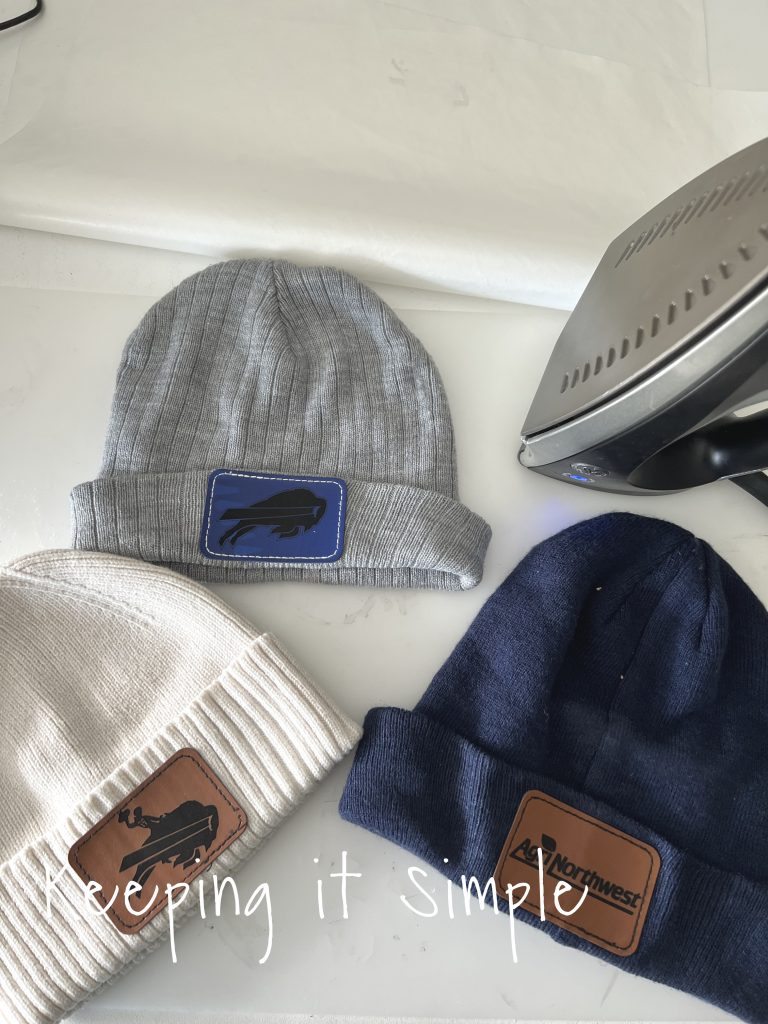
I did a couple other logos, using the same process.
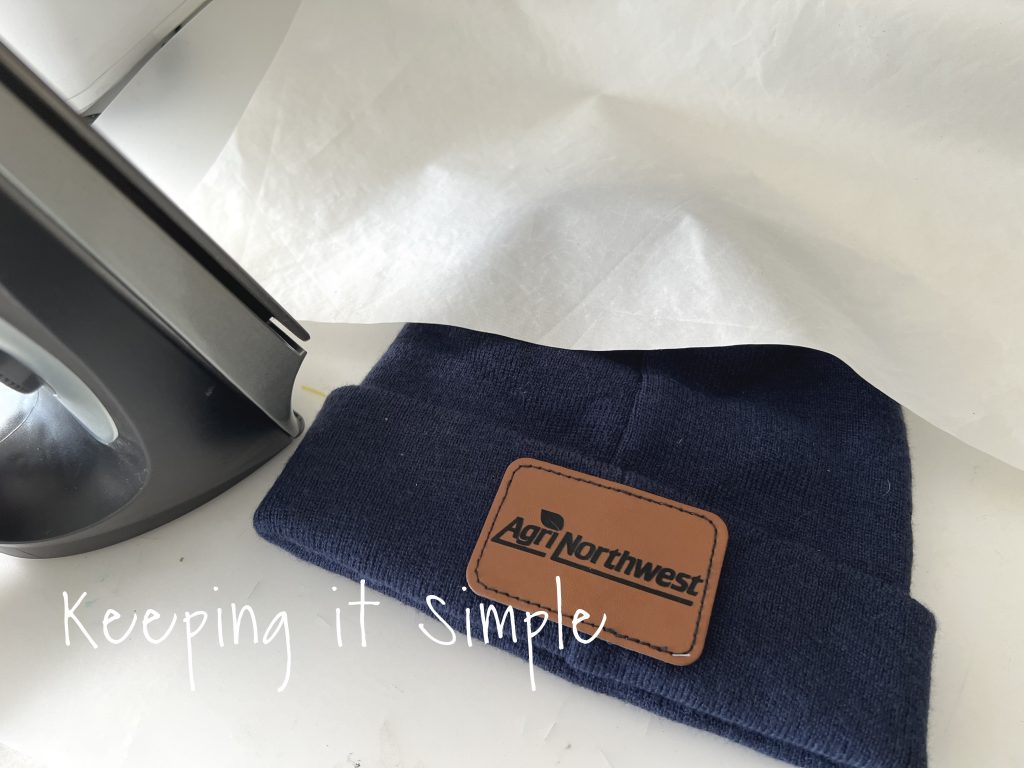
These leather patches have adhesive on them, so I ironed it onto the beanie. I pressed it for about 10 seconds. I covered it with a cover sheet to protect the leather. I then flipped the beanie brim over and then ironed it again.
Here are all 3 of them all ironed on.
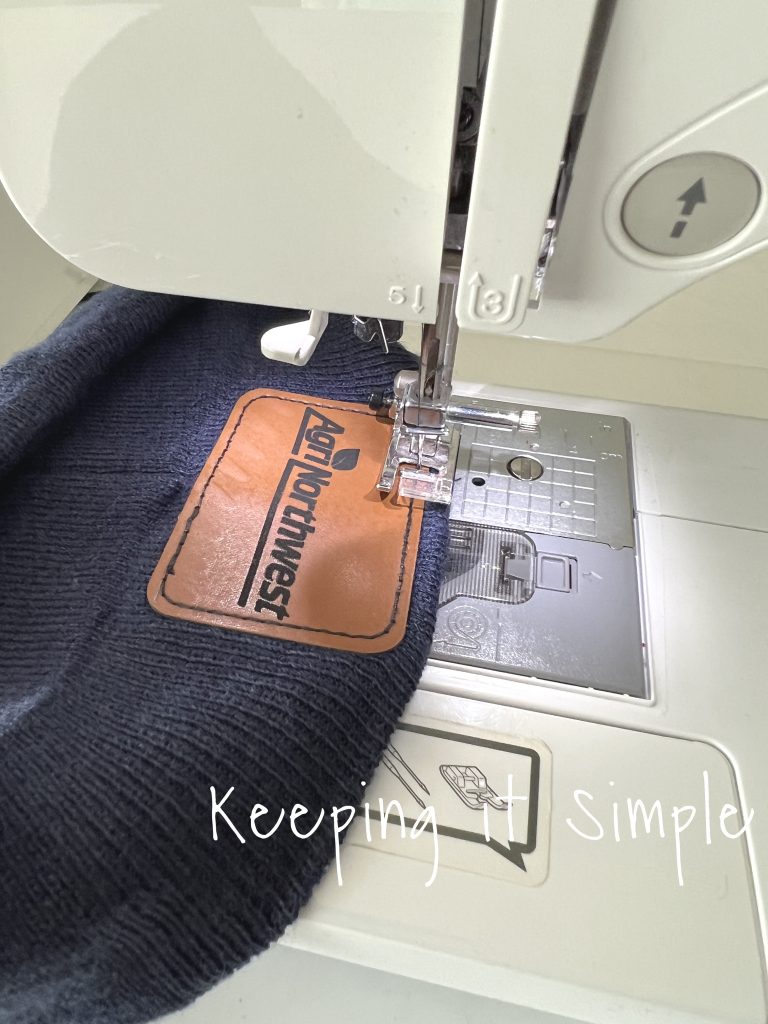
I wanted to make sure that the leather stayed on, so I then sewed it onto the beanie.
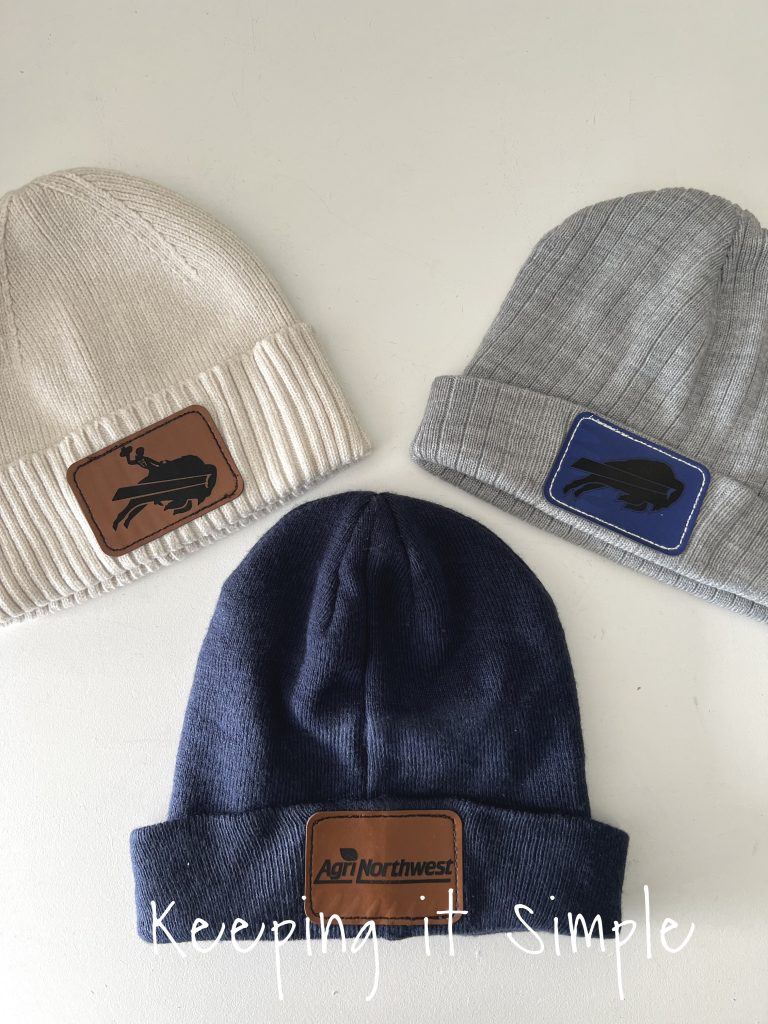
And that’s it! Super easy and they look so good. Seriously, so simple and quick. I can’t wait to make more of these!
Here is a closer look for the leather patch and logo engraved into it. Look at the details, you can totally see the name and number on it!

This one is for me and I can’t wait to wear it all winter long. I love it so much!

Make sure to check out all the other projects I have had with my xTool!
This post contains affiliate links.
Leave a Reply
You must be logged in to post a comment.