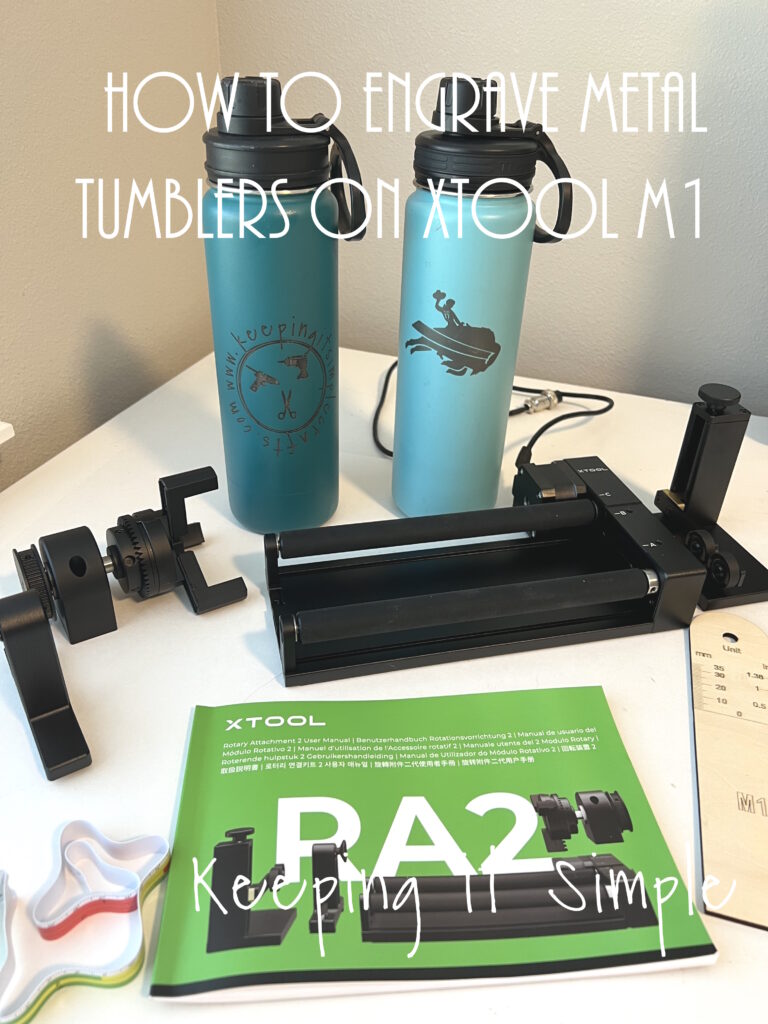
How to Engrave Metal Tumblers with RA2 Pro Attachment with xTool M1
This is sponsored post. I was given the RA2 Pro attachment to review, all opinions and content are 100% my own.
I am all about customizing all the things. I love putting my logo or my favorite team’s logo onto everything. Thanks for my xTool M1, I have been able to put them onto shirts, hats, wood, metal and so much more. This little machine really can do it all, engrave and cut wood with the laser but it can also cut fabric and vinyl with the blade. There are attachment that you can buy that takes the xTool M1 to another level! One attachment is the air assist attachment, it helps the machine cut deeper and prevents scorch marks. The other one is the RA2 Pro attachment and that one makes it so you can engrave and cut circular objects, such as water bottles, mugs and metal tumblers. The rotary attachment, aka RA2, is super easy to install and use. It has a few attachments, including a roller and a chuck, making it easier to do a variety of objects.
If you are new to laser cutters or the xTool M1, check out my beginners guide to the xTool M1.
This is how to install the RA2 Pro attachment onto the xTool M1. Here is a video to show to the install the RA2 Pro. It is broken up into 3 different videos: introduction of the RA2 Pro, how to install the RA2 pro onto the xTool M1 and how to engrave a metal tumbler. If you want to watch the whole video, check it out on my YouTube channel.
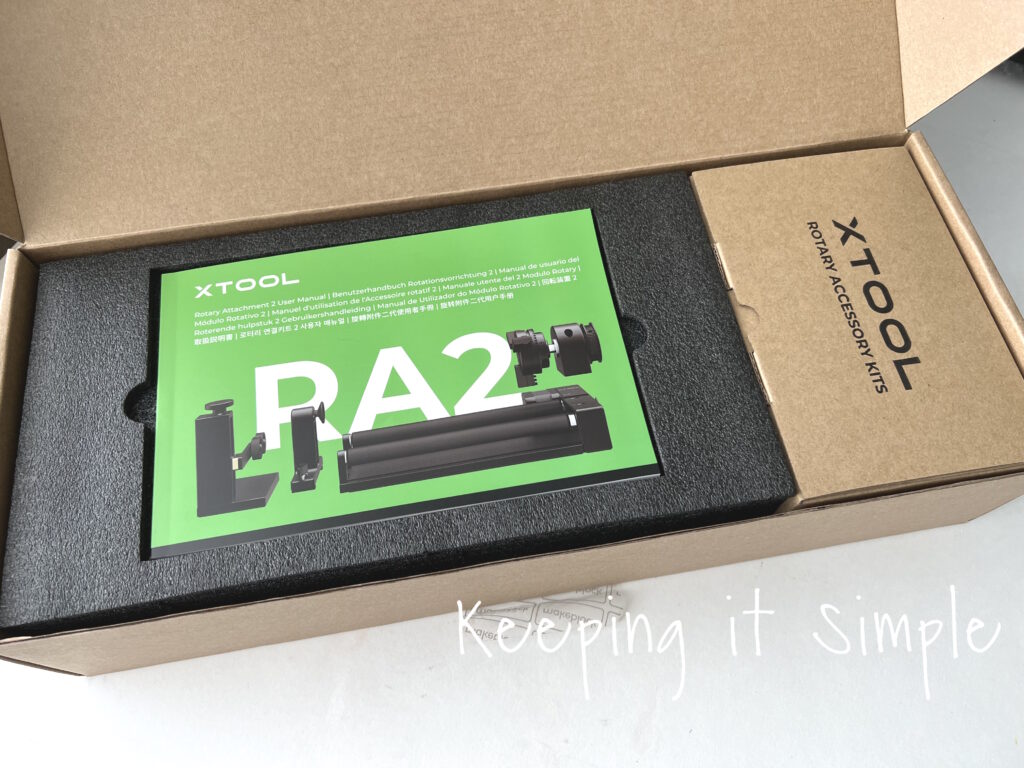
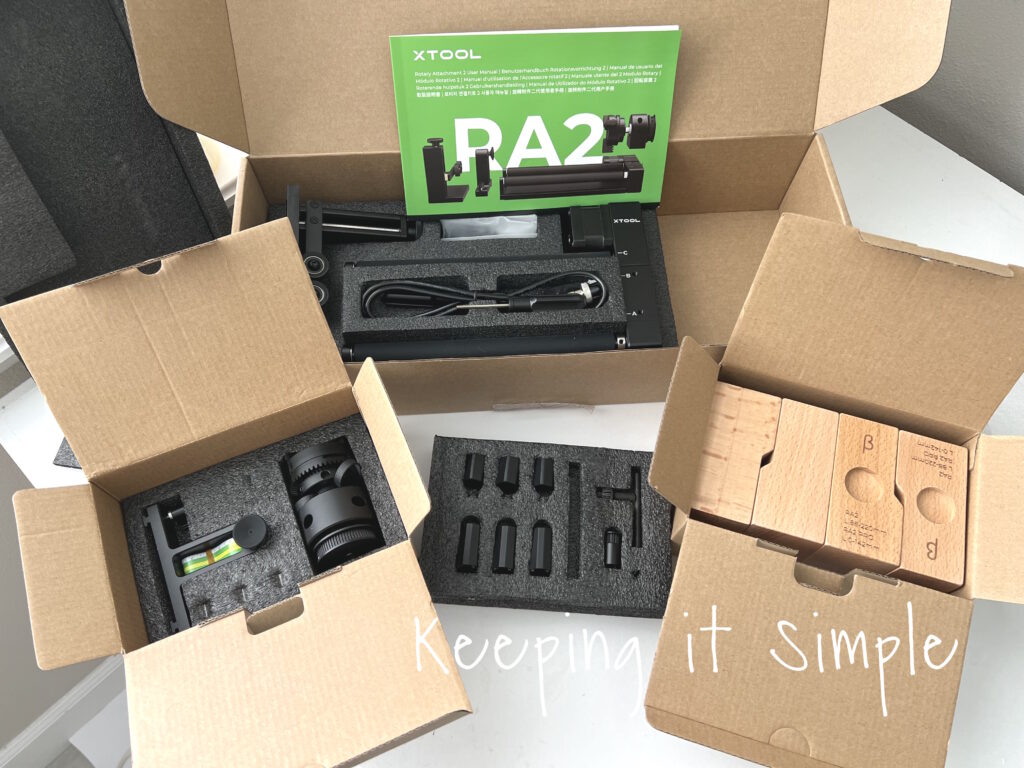
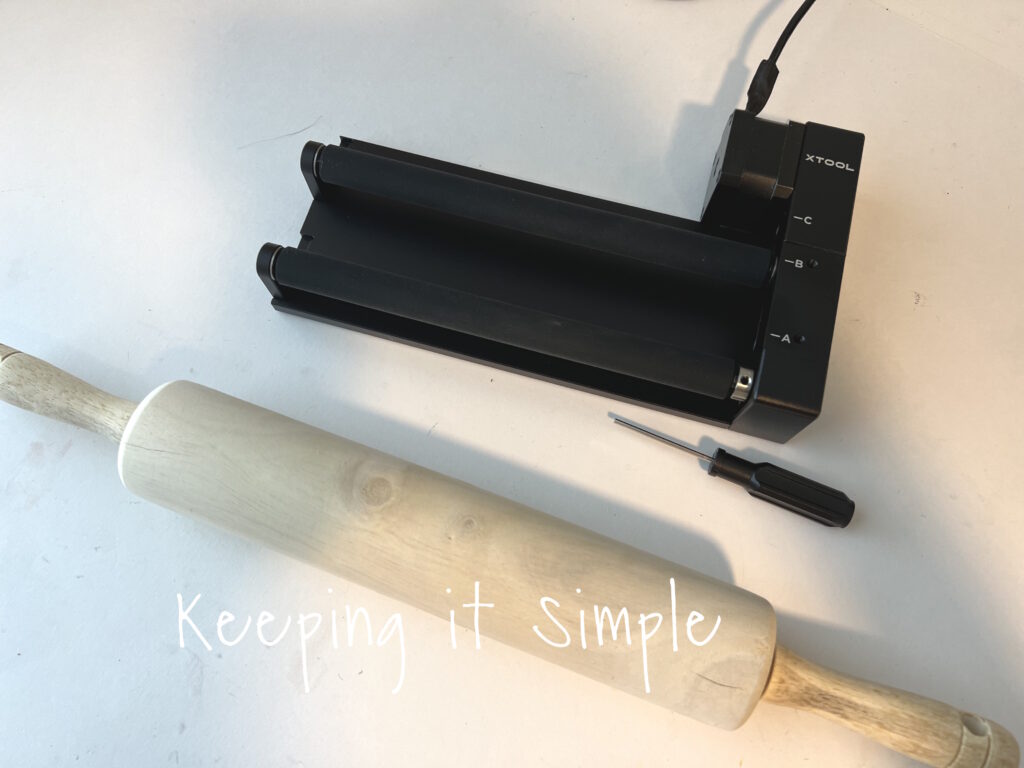
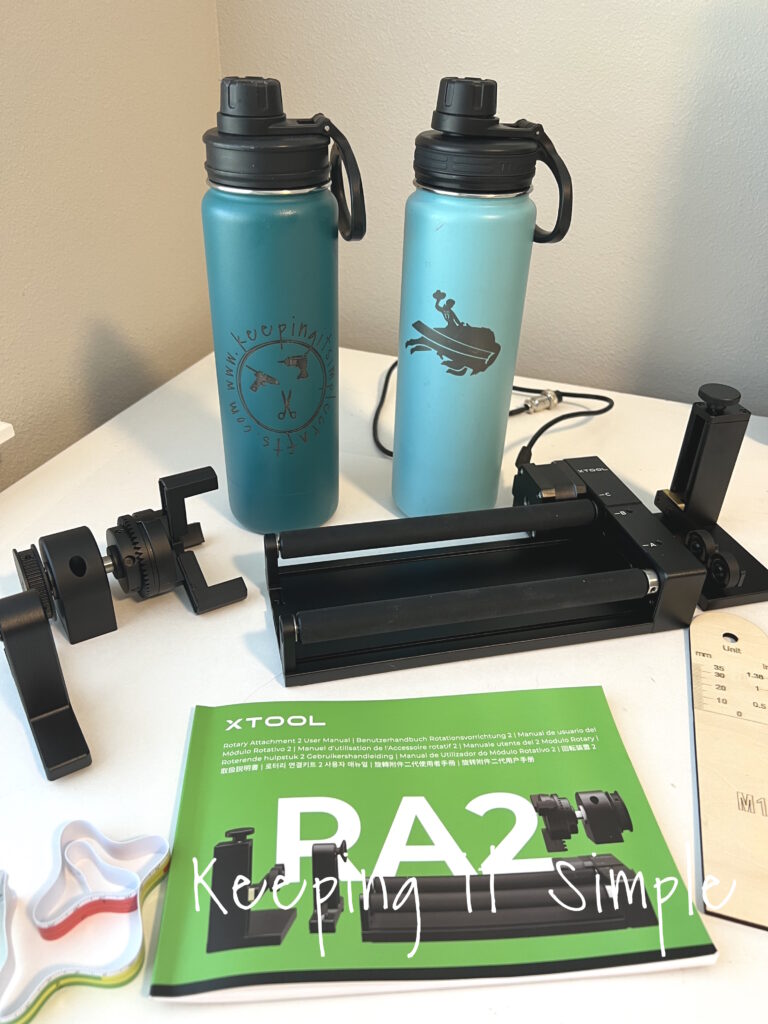
Here is what you get with the RA2 Pro attachment. It comes with all the screws and screwdrivers that you need set up the different attachments. It also comes with risers for the xTool M1. Since the objects being engraved are bigger, you have to raise up the machine to allow enough room under the laser box to engrave it. There are a couple attachments, the roller, the chuck and then some pegs. The roller is used for water bottles, cups, bats, or rolling pins. Really anything that have smooth surfaces that can easily roll along the rollers. The chuck is for objects that aren’t flat, like a mug with the handle. Instead of the object rolling over the roller, the chuck has little arms that tighten around the object to hold it and rotate it. And then the pegs are full spheres, like a ball.
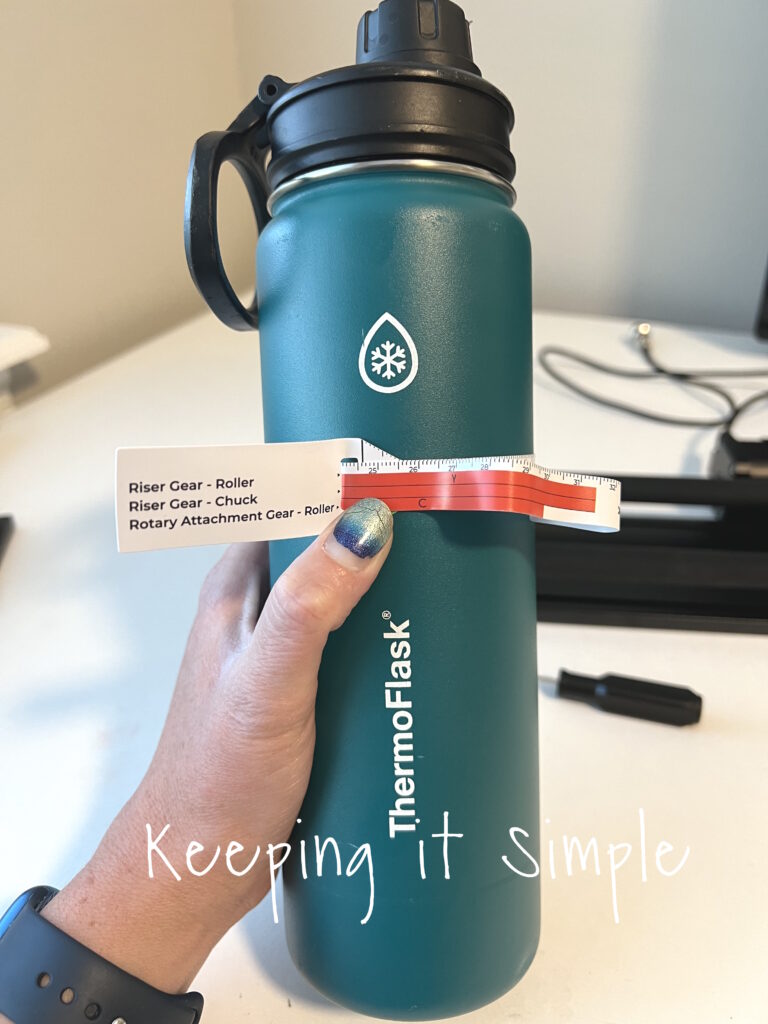
This is how to engrave a metal tumbler, using the roller attachment. The first thing to do is determine what setting you have to set the roller to. Using the measuring tape that is provided, I wrapped it around the tumbler and made it taught. The measuring tape has 3 rows and each row tells you something. The top 2 tell you which way to situate the risers, depending on if you are using the roller or chuck. The last row says what setting you have to put the roller in, For this tumbler, the setting is C and the riser is Y.
The roller is super easy to change, all you have to do is unscrew one screw on the roller and move it to the different letters. You just have to make sure when you put the roller back into the attachment you put it in between the band and not on top of it.

Here is an example of something that would using a different setting. The rolling pin is skinnier, so needs to be in the B setting.
Now to set up the machine for the RA2 Pro attachment.
The first thing I was took out the base plate by unscrewing the 5 screws and removing it. Then I put the risers under the feet of the machine. The Y hole is the tallest of the 3.
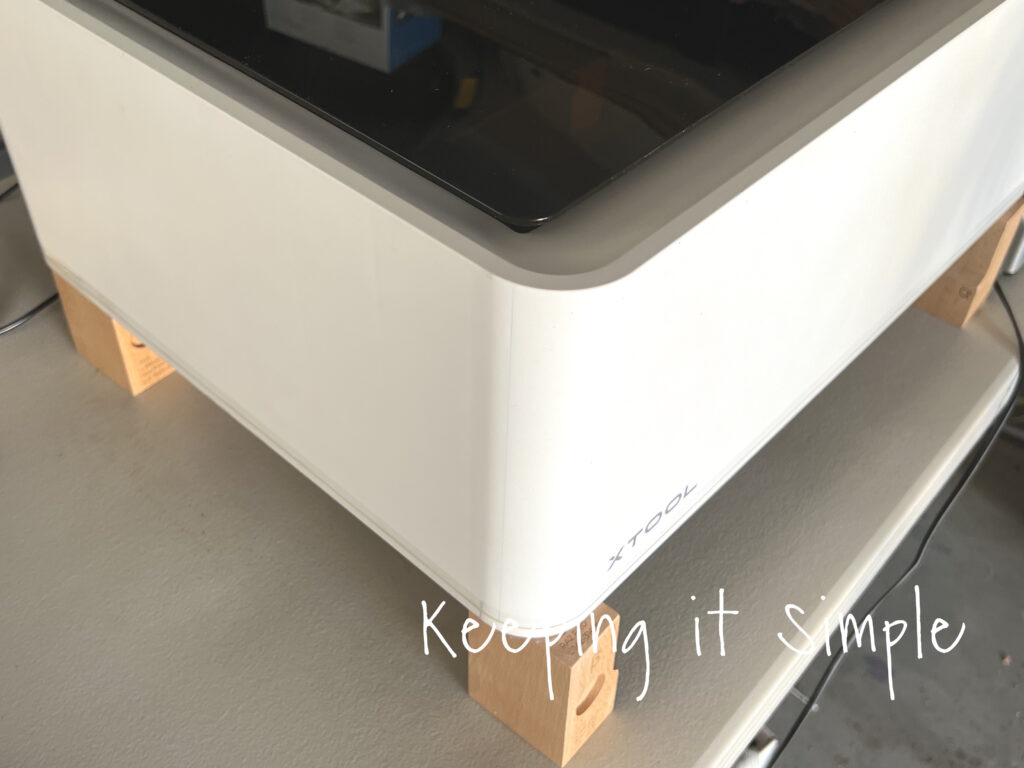
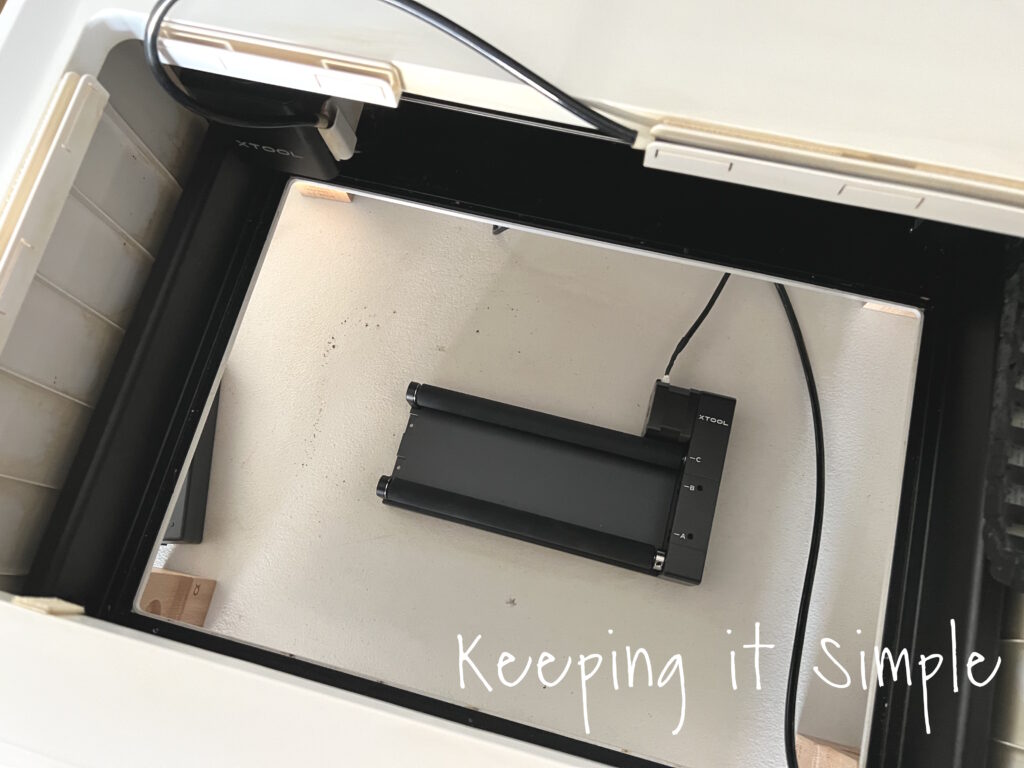
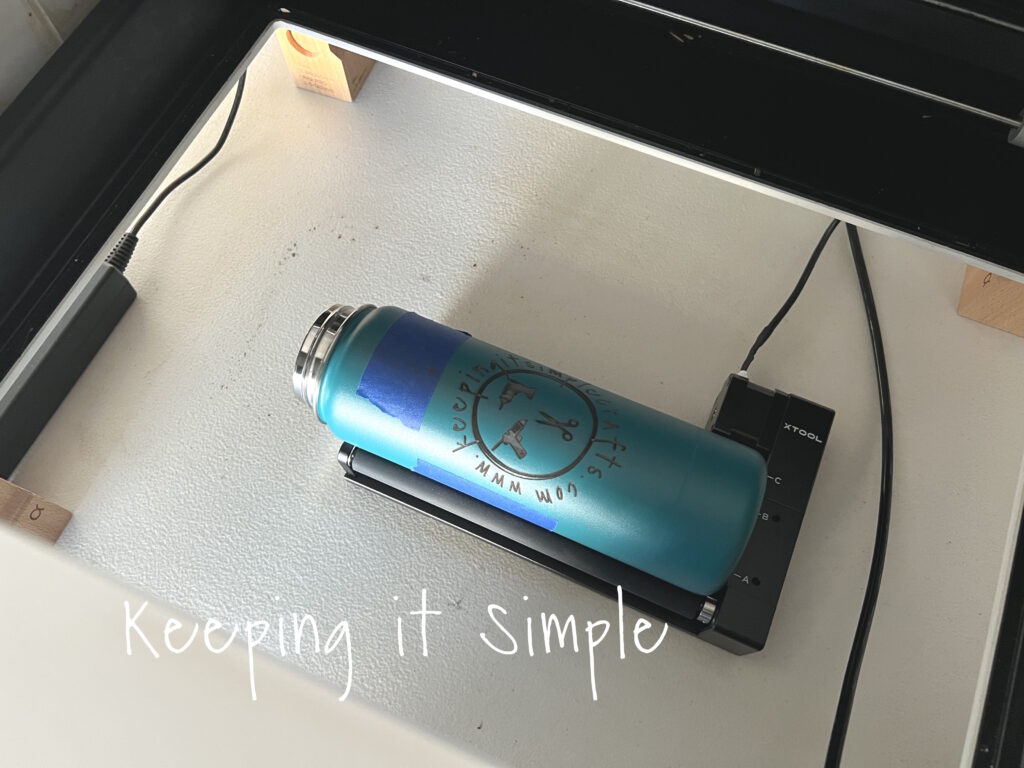
Once the xTool M1 is lifted up, I put the RA2 Pro attachment under the machine and then plugged it into the machine. The RA2 Pro has to be parallel with the machine. It should be positioned around the red laser dot.
Now it’s time to start engraving the metal tumbler!
Once the RA2 Pro attachment positioned, I then put the metal tumbler onto the rollers. I put some painters tape onto the tumbler to help with placement.

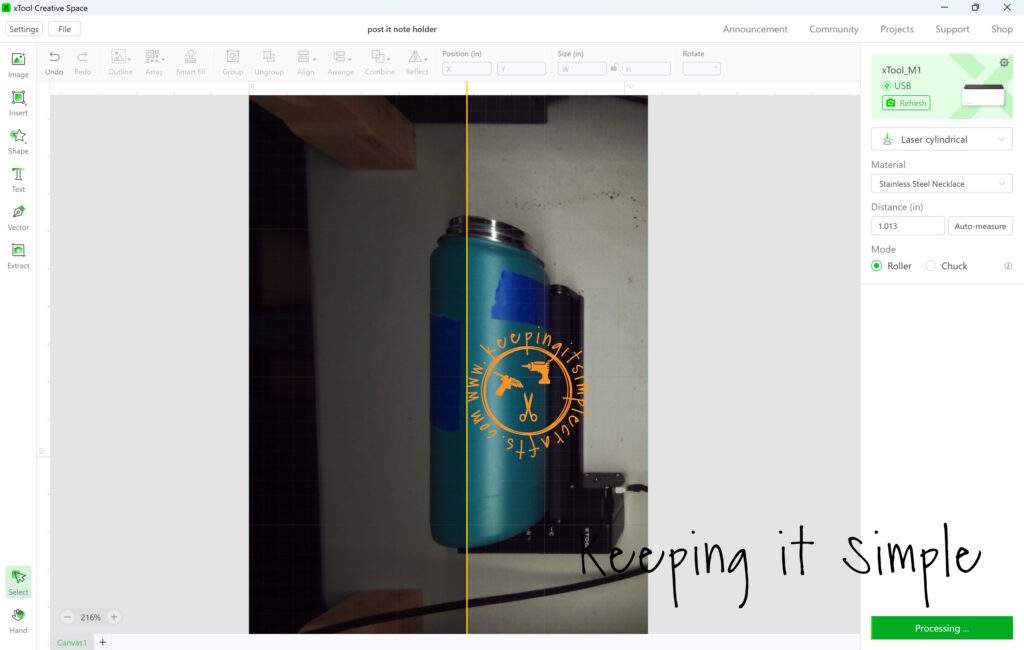
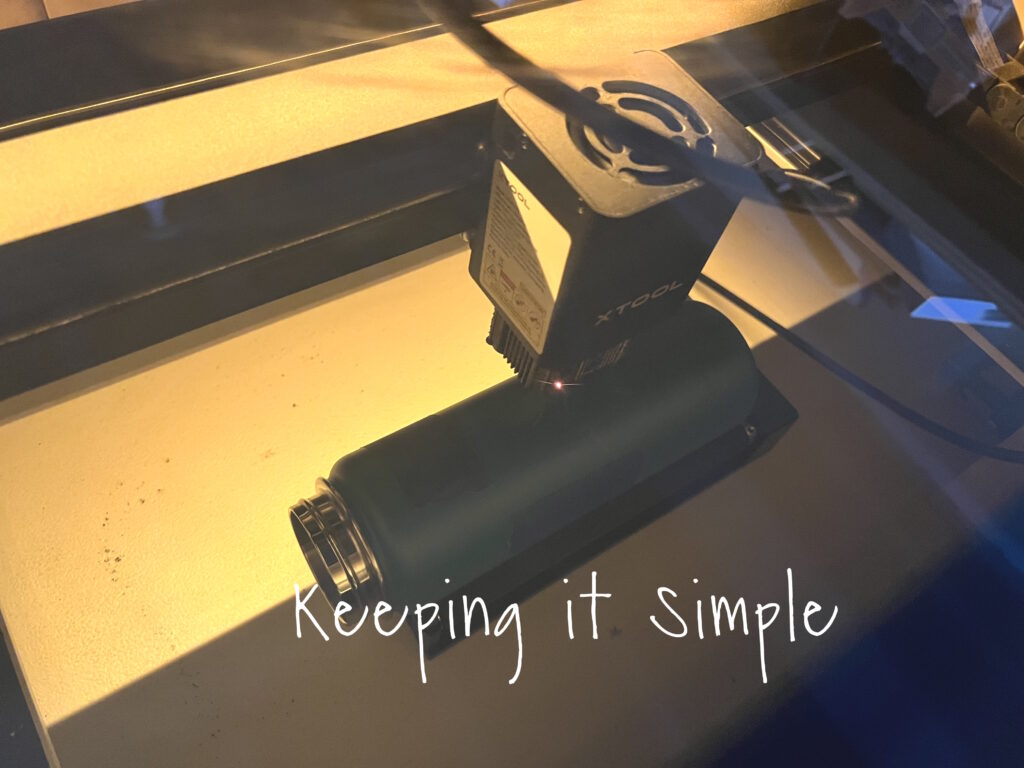
I turned on the xTool M1 and opened up XCS. The first thing I did was select laser cylindrical and that immediately flipped the screen. The yellow line is where the engraving will begin, so you have to put the image to the right of it because that it how the machine rotates the tumbler. If the image looks weird or the RA2 Pro attachment doesn’t seem centered, click the auto measure button and that should center it better.
I sized my logo to be about 3.5 inches wide, put it where I wanted it go be on the tumbler and then got the settings ready. I clicked roller and then clicked engrave. I used the stainless steel necklace setting. That setting took about 85 minutes total. I did another tumbler and used the black metal mouse pad and the time was much shorter, but not it didn’t engrave as deep. You may want to play around with the different settings. You can also do it manually too.
I sent the image to the machine and the xTool M1 did it’s magic! The tumbler rotated beautifully through the whole process.
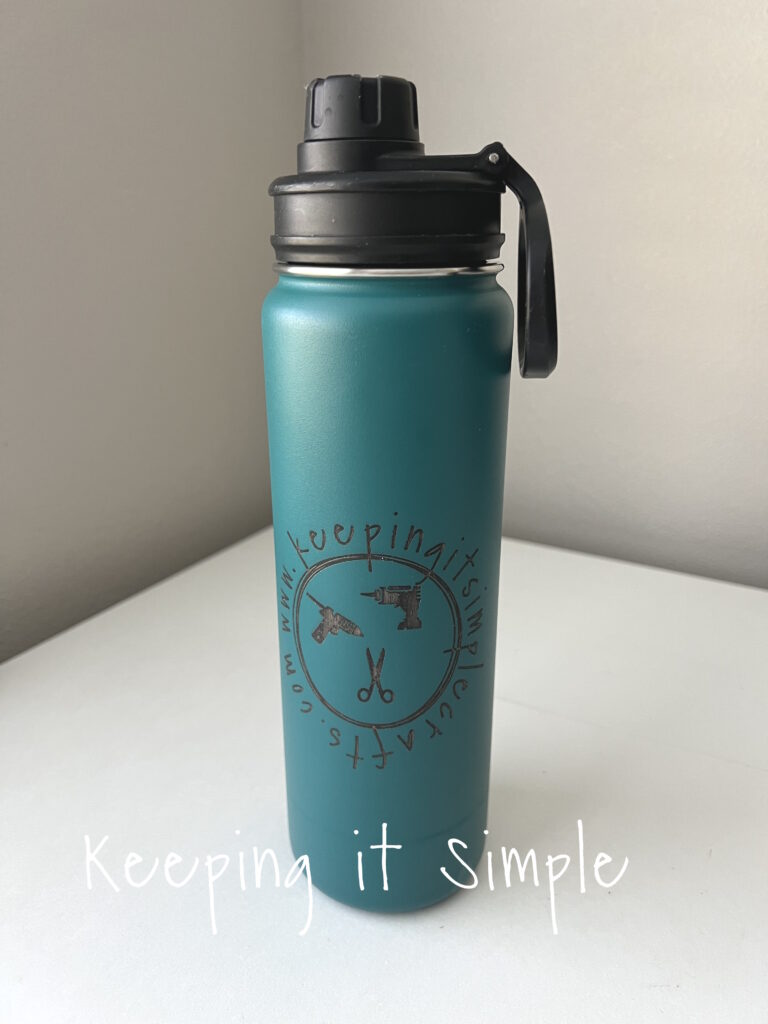
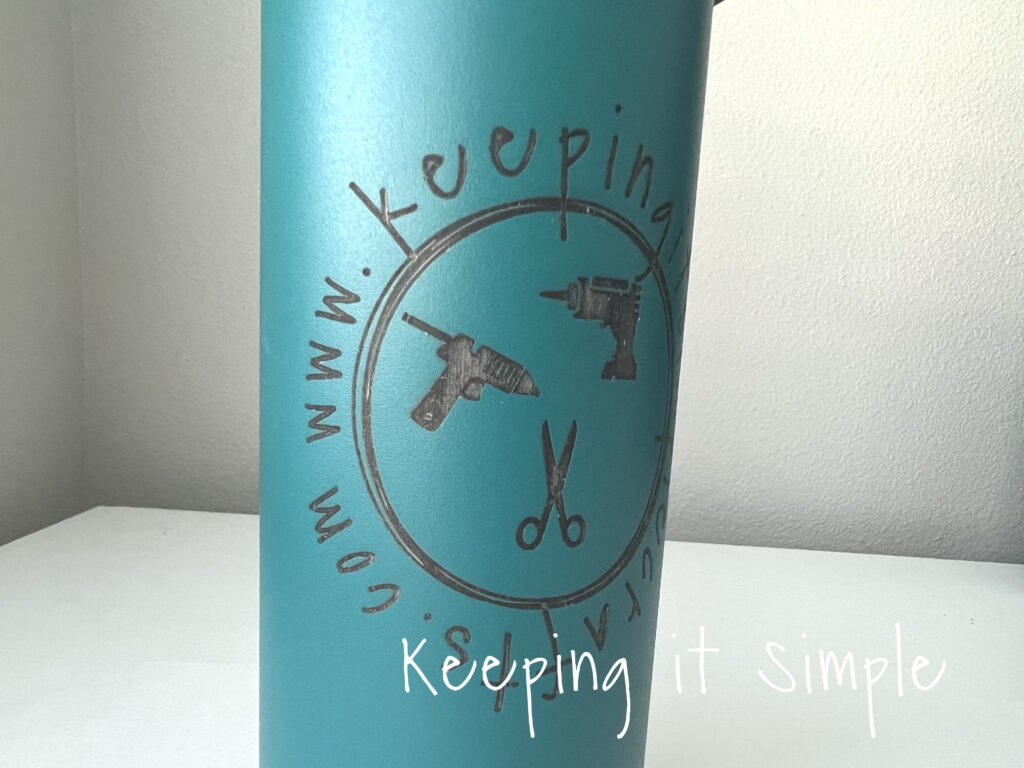
Here is my logo engraved on the metal tumbler, I love how it turned out!
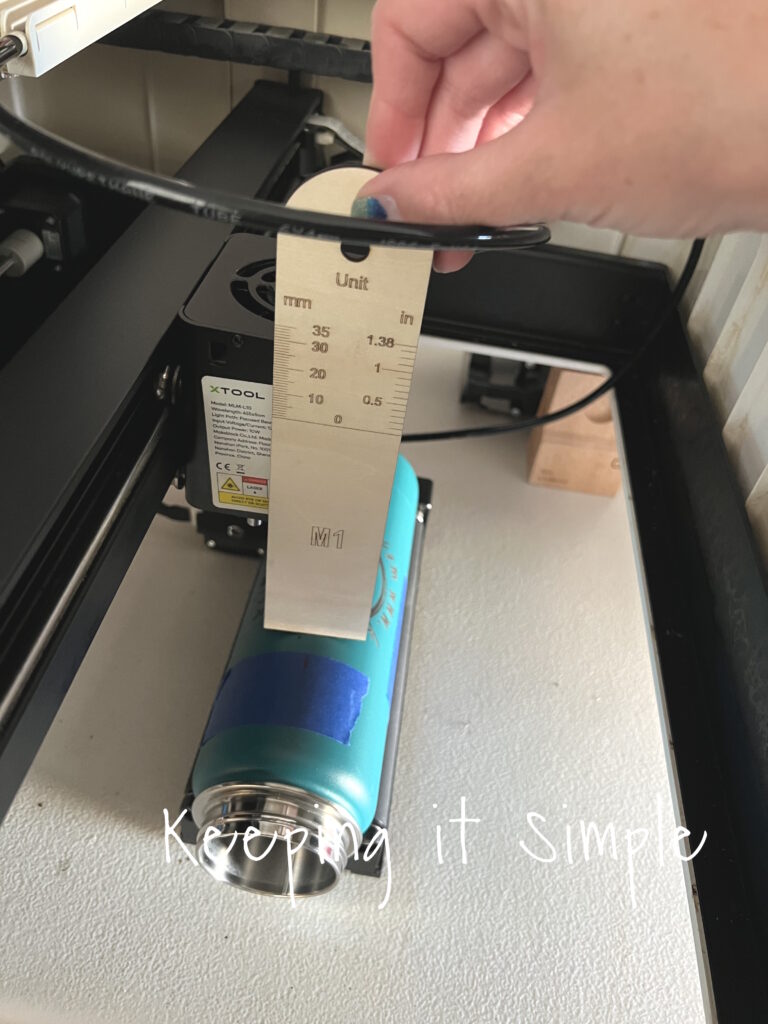
Real quick, here is a little tip I learned. When you are using the RA2 Pro attachment, the ideal distance between the object and the top of the laser box is 30mm. Since all the objects are different sizes and because you have to use the different risers, there is a measuring tool that you can use to help set up the machine before engraving. All you do is bring the laser box out and then put the measuring tool onto the highest point of your object and measure the distance. If the distance is around 30mm, then the machine is good to go. If it isn’t, you can adjust the risers. For really big tumblers, you may have to add wood under the risers to lift the machine up more. Another use of the measuring tool is if the auto measure seems off, you can add in the distance manually.
You can get the measuring tool here.
And that’s it! I love how my logo looks engraved onto the metal tumbler! I can’t wait to do more!
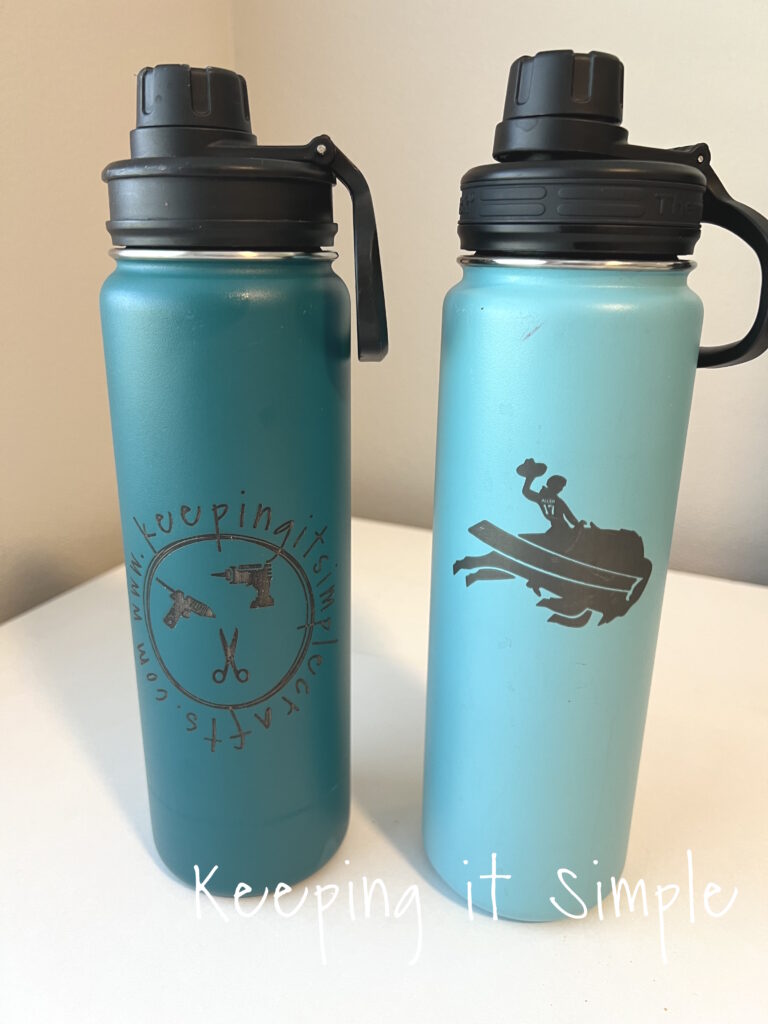
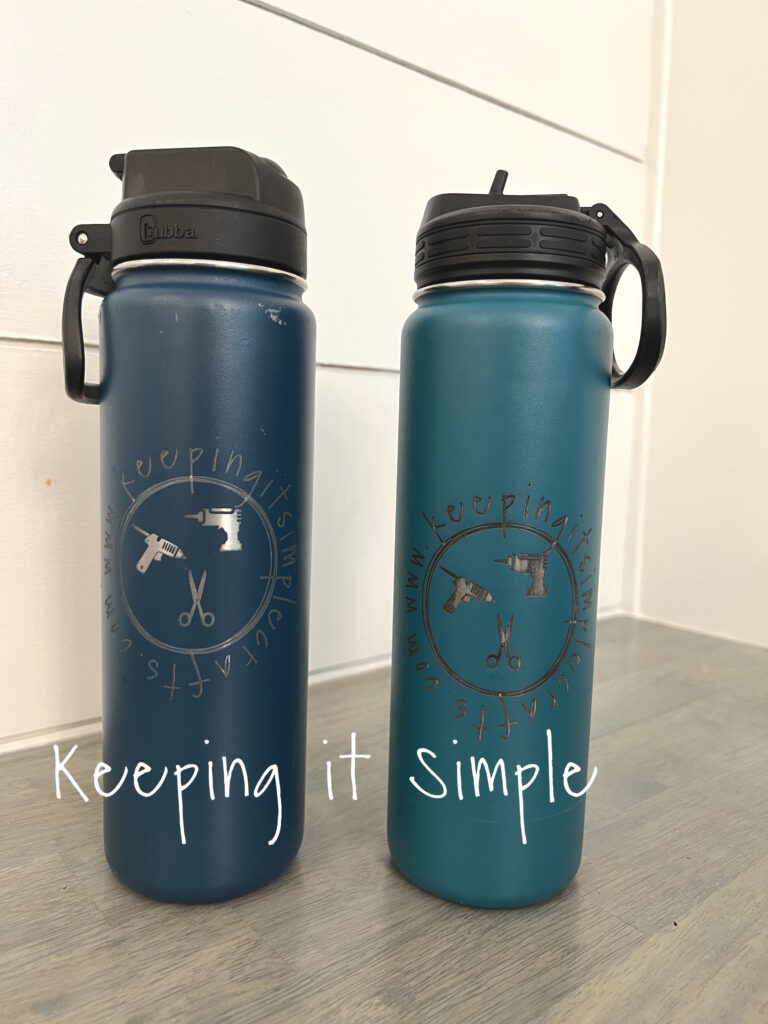
Here is the other tumbler I engraved. The one on the right I used the metal mouse pad setting. Both turned out great!
**UPDATE**
I have played around with these a little bit more and made a couple more. Instead of using the stainless stain necklace setting, I used the black mouse pad setting and it does sooooo much better! Seriously, it is the way to go if you are going to use a preset setting. It is quicker too, so that makes it even better.
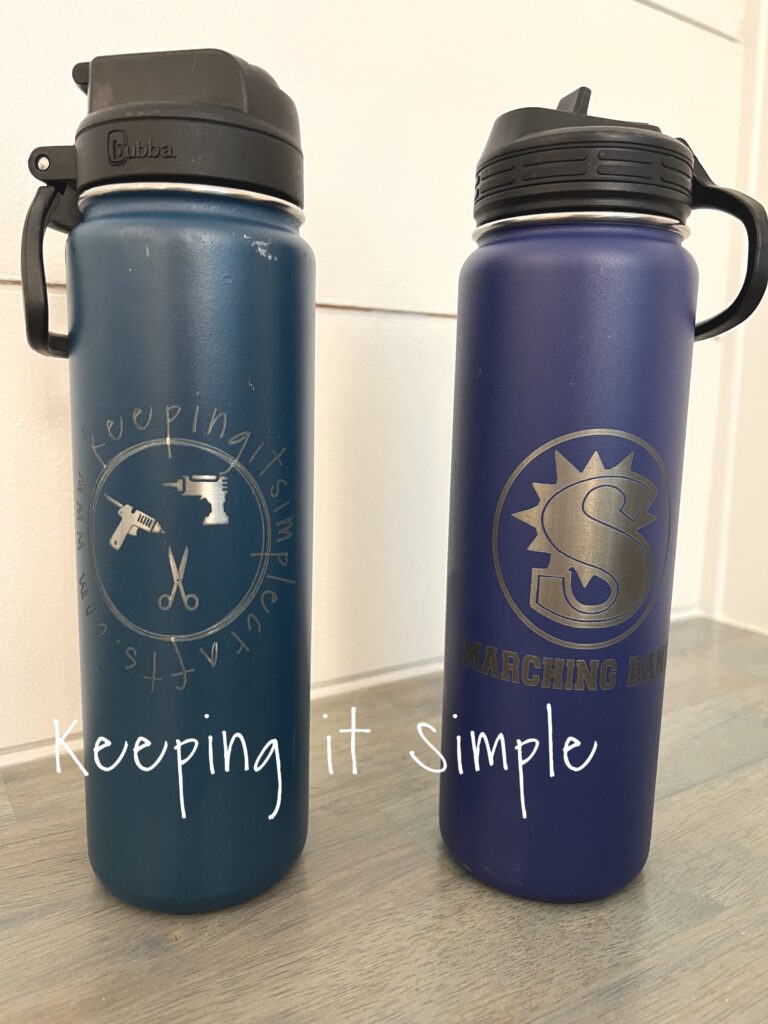
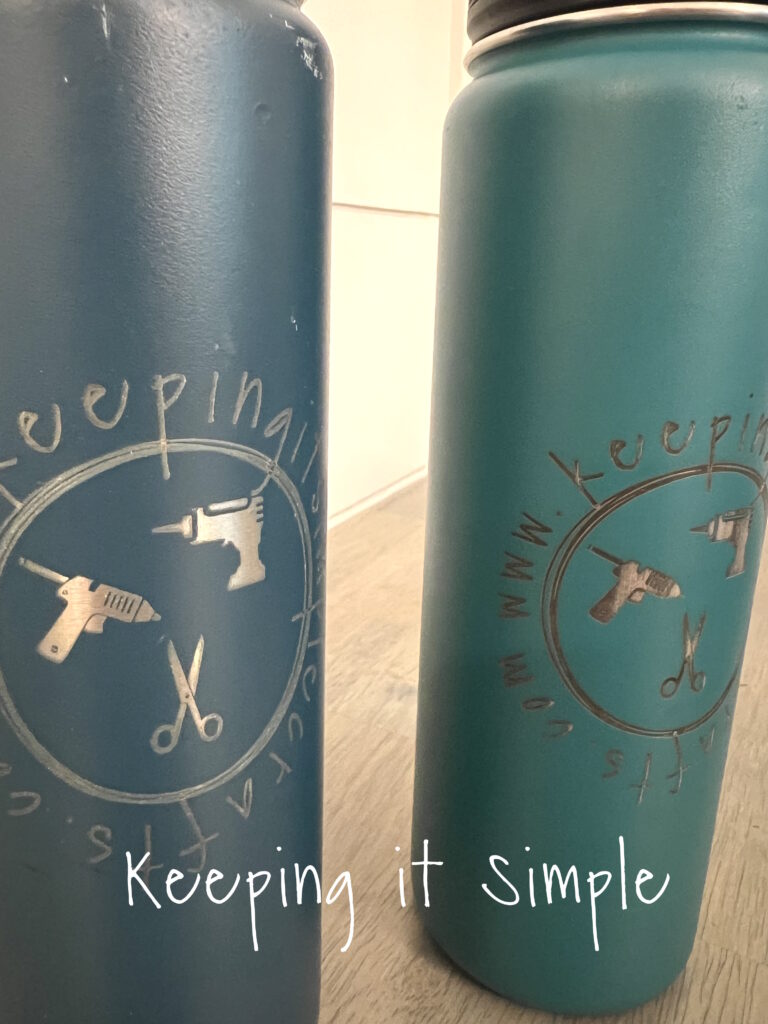
Here is the difference between the two settings. The one on the left is the black mouse pad setting and then one on the right is the stainless steel necklace. To clean it up a little bit, I used a paper towel and rubbing alcohol to take away the soot left over from the laser. I was so happy to see that it brought out the silver of the tumbler.
Here is a closer look, it looks great! I’m still going to use both tumblers proudly though, I like how they both look but I do prefer the one on the left.
If you have been looking into getting a laser cutter, don’t look any further, get an xTool, you won’t regret it! You can save 10% off with the code KG10! You can find all of the amazing machines on the xTool website.
This post contains affiliate links.
Leave a Reply
You must be logged in to post a comment.