Back to School Sixth Grade Teacher Shirt with SVG Cut File
Back to school is here! It’s my favorite time of the year, but it may not be for the teachers :). This year was I asked to make some sixth grade shirts for the sixth grade teachers. I love how they turned out and I’m so excited for them to wear them on the first day of school. I got my inspiration from Teacher Gram, they have great shirts for teachers!

If you haven’t made a shirt with heat transfer vinyl, check out this detailed tutorial oh how to make shirts. Here is a quick video to show the process of how I make shirts. It’s the same process for each shirt I make.
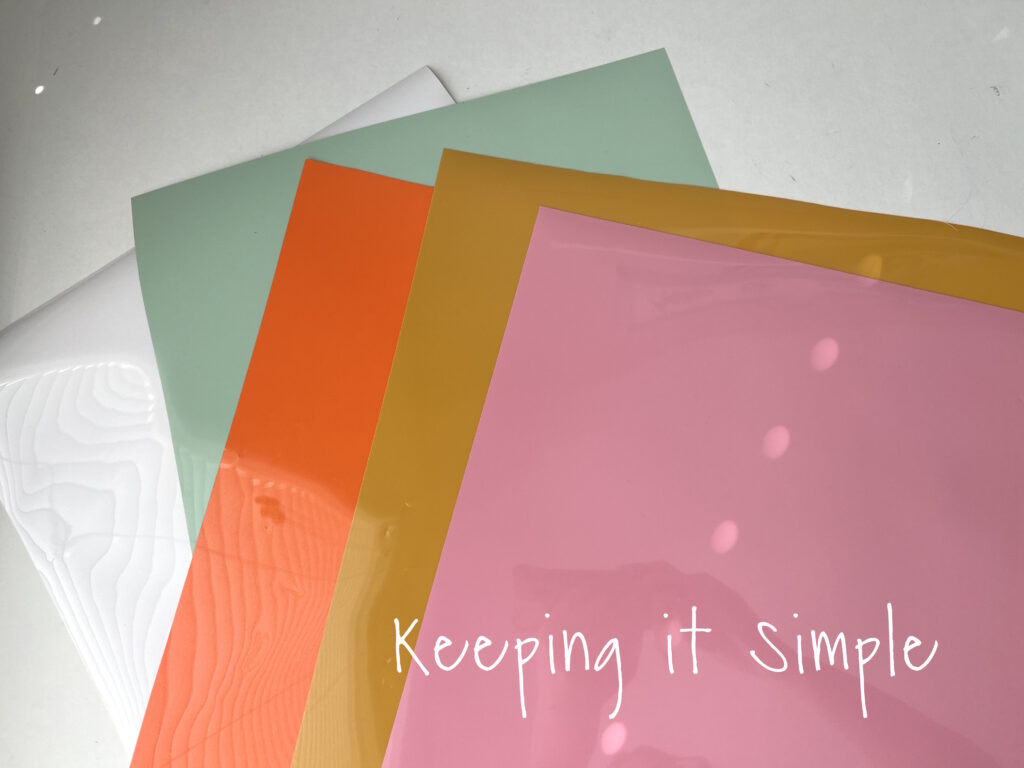
This is how I made the sixth grade shirts. I used EasyWeed heat transfer vinyl from Expressions Vinyl. I used the colors: white, flamingo, sage, mustard and orange soda.
Using my Silhouette CAMEO, I cut out the design out of the vinyl. I cut out each color separately. You can get the sixth grade teacher shirt SVG cut file here:
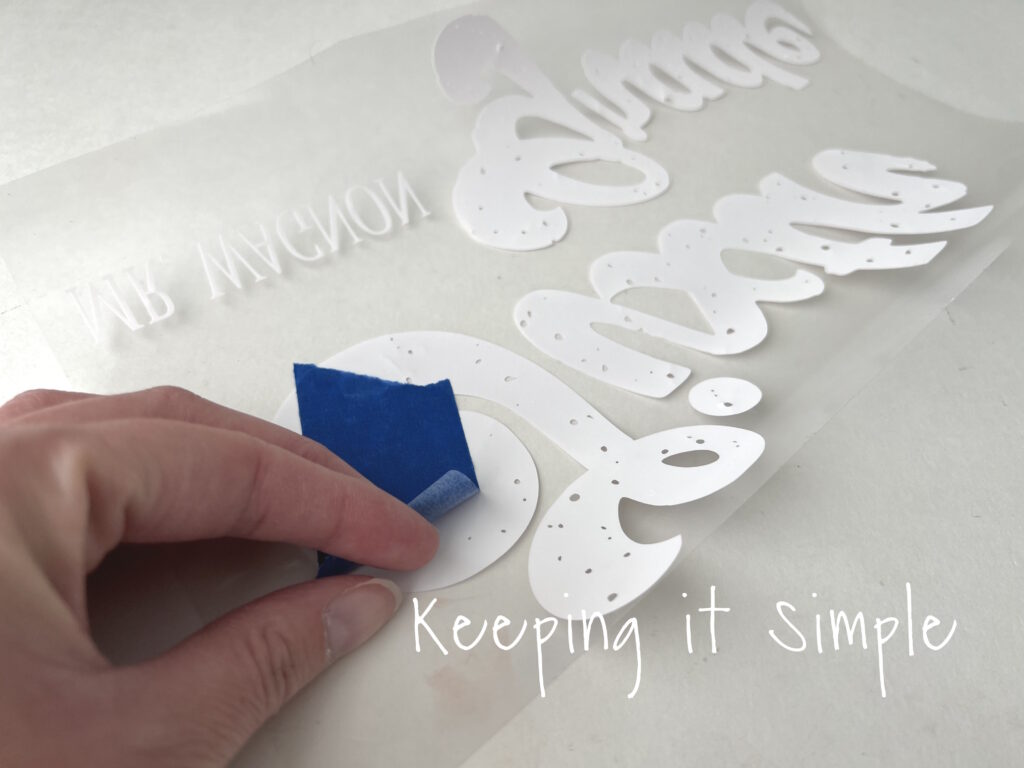
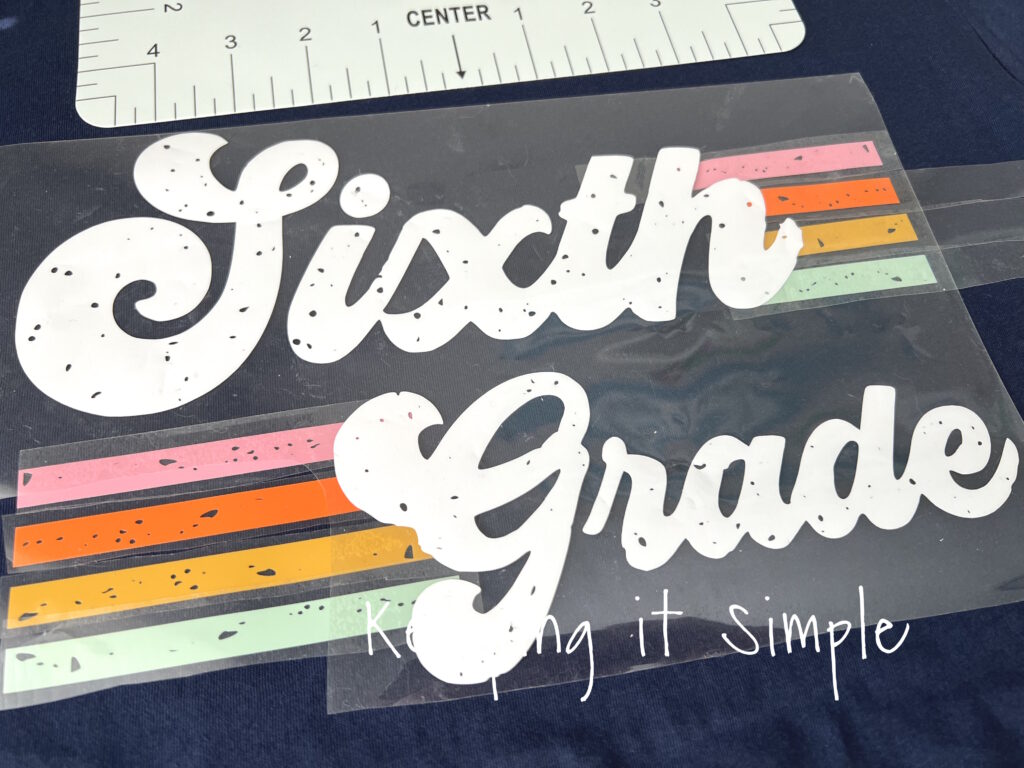
Once the design was cut out, I weeded the design. Since this design is supposed look more faded, there are several holes cut out of it. To make weeding easier, I used painters tape to help take out the vinyl in the holes. It works like a charm.
Here is the design all cut out and weeded.
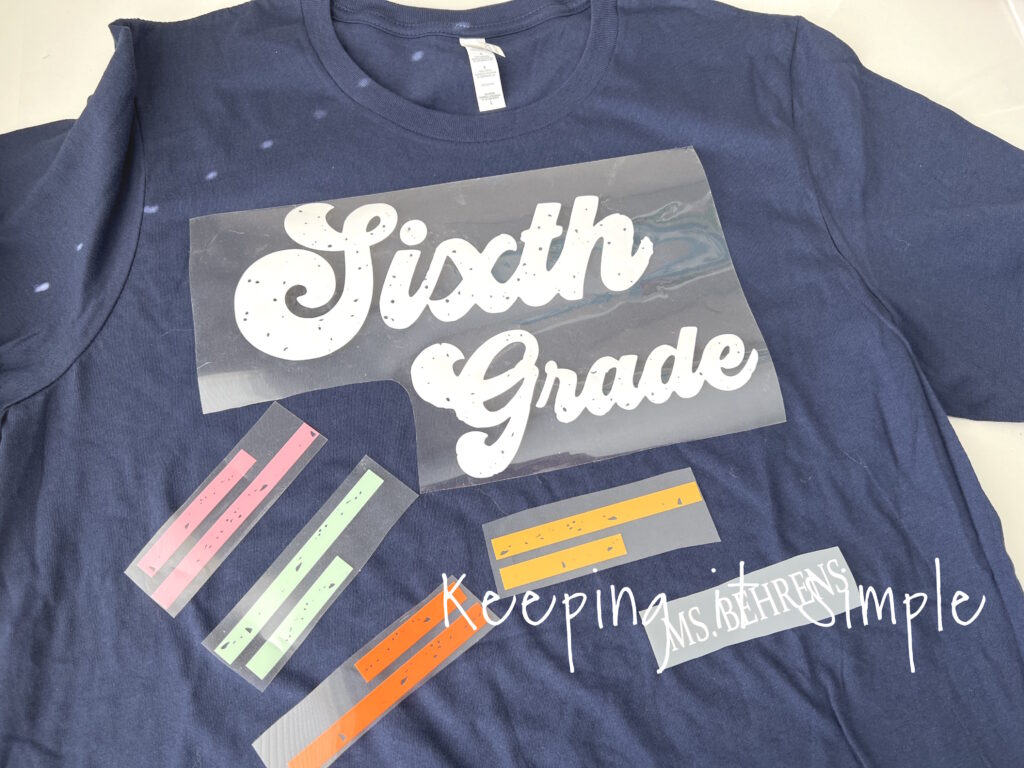
Since this design has to be pieced together, I made a little stencil out of vinyl so I could place the strips in the right spot. I just used a scrap of adhesive vinyl since it’s much cheaper than HTV. I placed the strips into the holes of the vinyl to make sure they were in the right place. I had to make sure that the plastic of the HTV does not go under the HTV. I had to trim the plastic to make sure it didn’t overlap with the other strip.
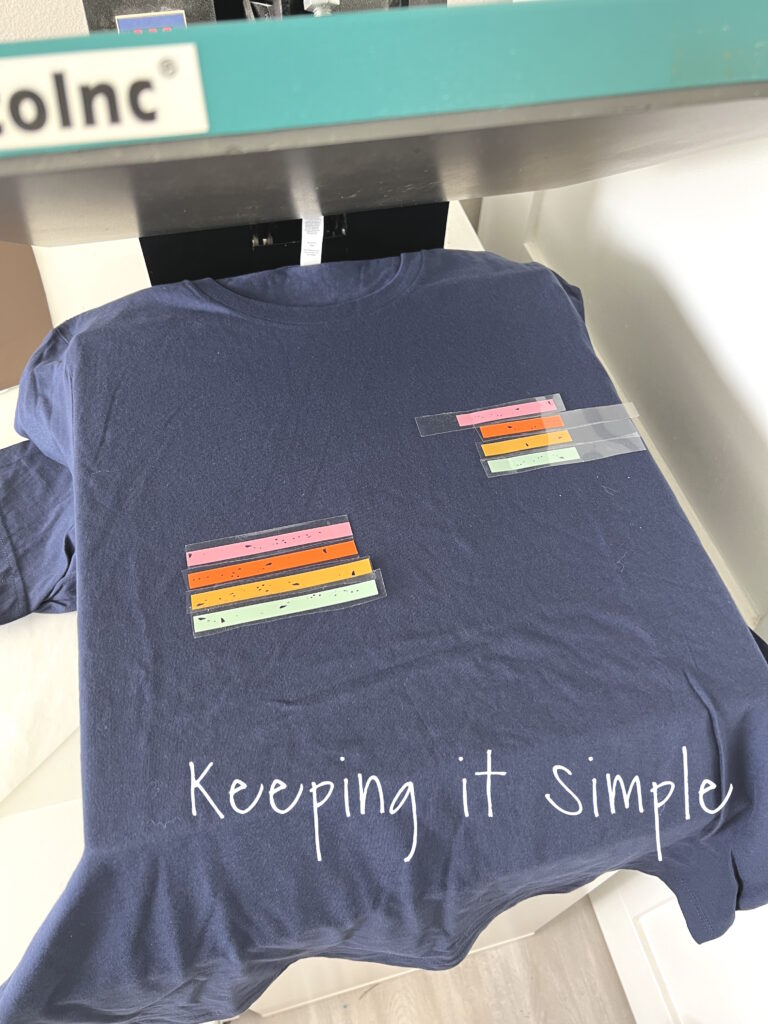
Once all of the strips were in place, I put the sixth grade on top of strips. Since the plastic is sticky, the strips will stay in place.

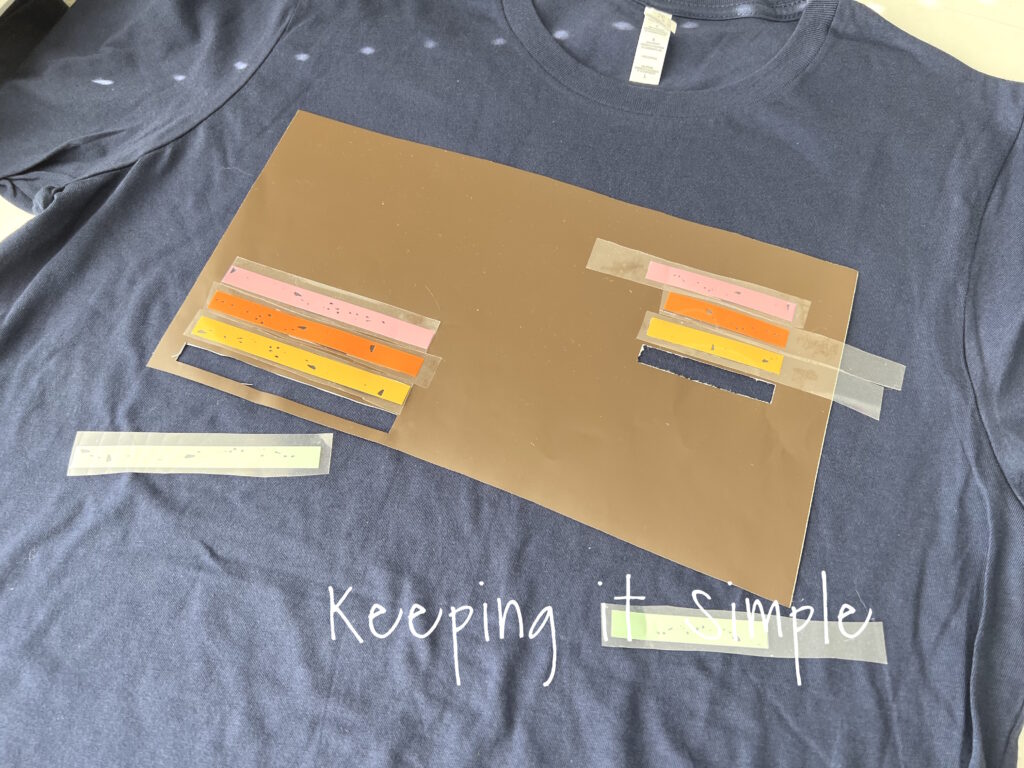
Slowly I took the adhesive vinyl off and then placed the design onto the shirt. I used a t-shirt ruler and placed it exactly where I wanted it to be on the shirt.
Once the design was situated onto the shirt, I then removed the sixth grade vinyl, leaving the strips on the shirt. Using my heat press, I pressed the HTV for 15 seconds at 305 degrees.
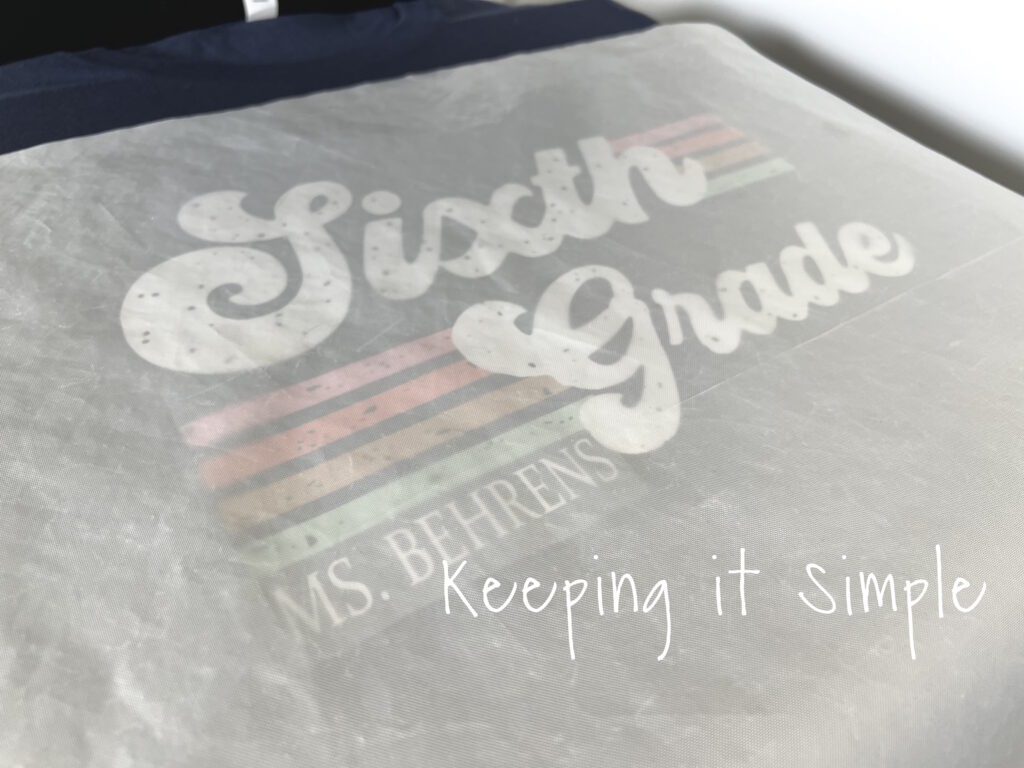
I peeled off the plastic and then put the sixth grade design onto the shirt and pressed it again. I used a heat press cover sheet to protect the HTV.
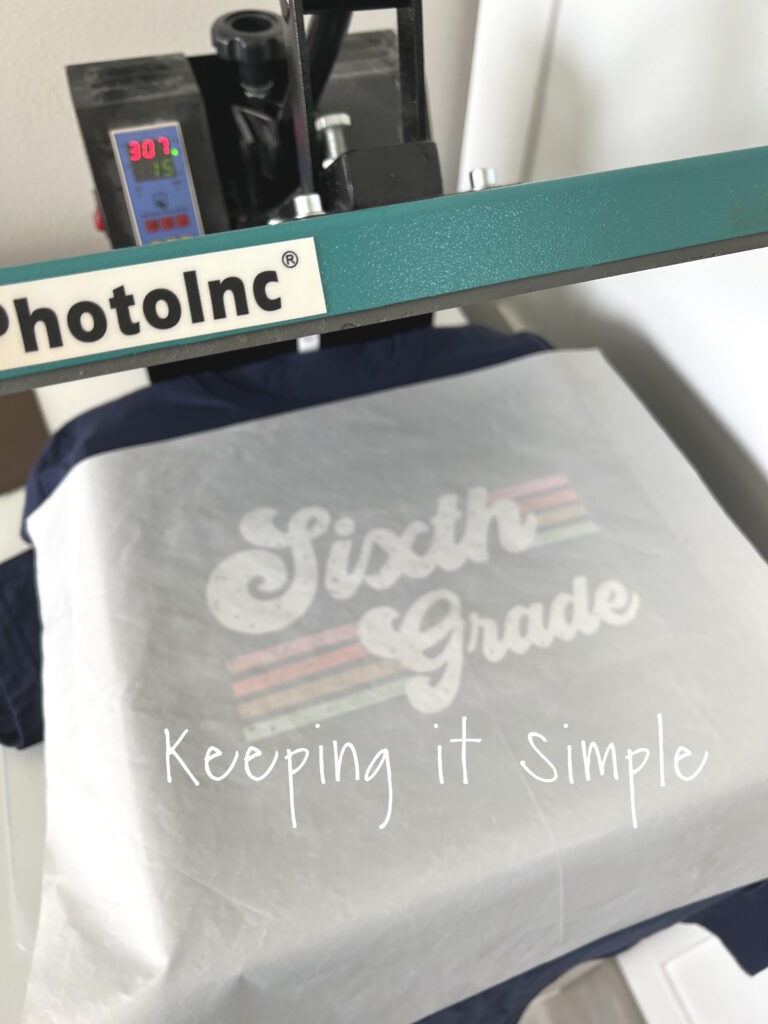
Since this design has so many parts, I had to press it 3 times: the strips, sixth grade and the teacher’s name. Each time I used the cover sheet. Once the design was completely on, I like to rotate the shirt 90 degrees and press it one more time, just to make sure that the design is completely pressed onto the shirt.
For these shirts, I used the Bella and Canvas brand because they are my favorite. I love using them because the vinyl looks great on them and they are super soft. Plus they have all the colors!
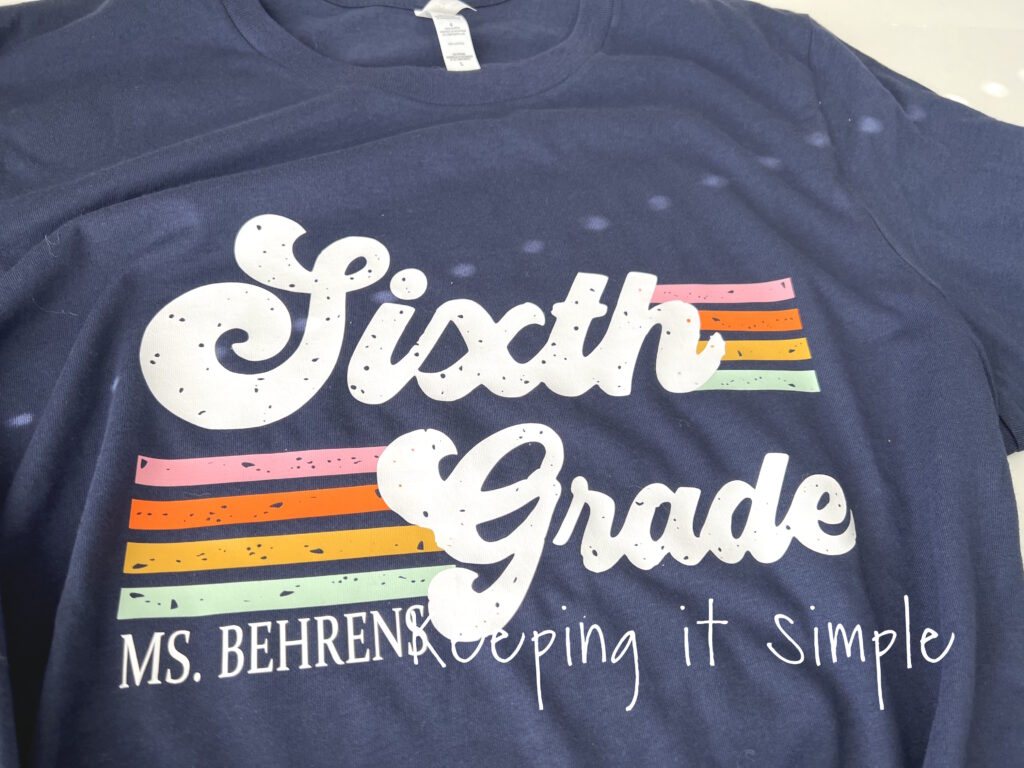
And that’s it! I love how it turned out! 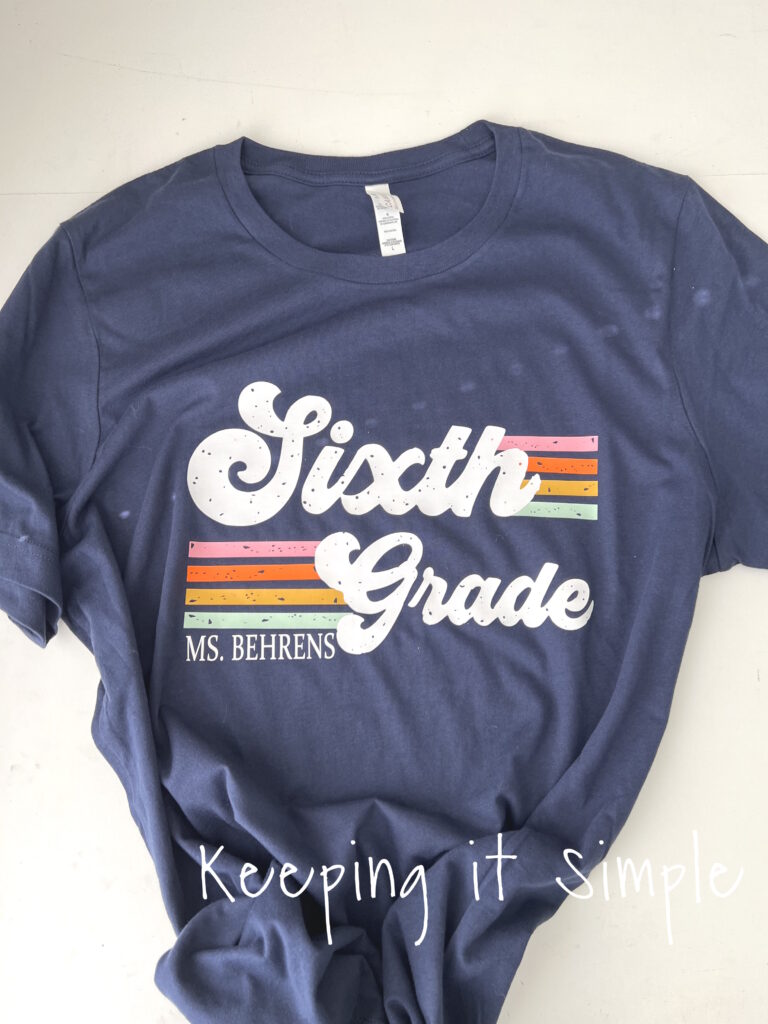
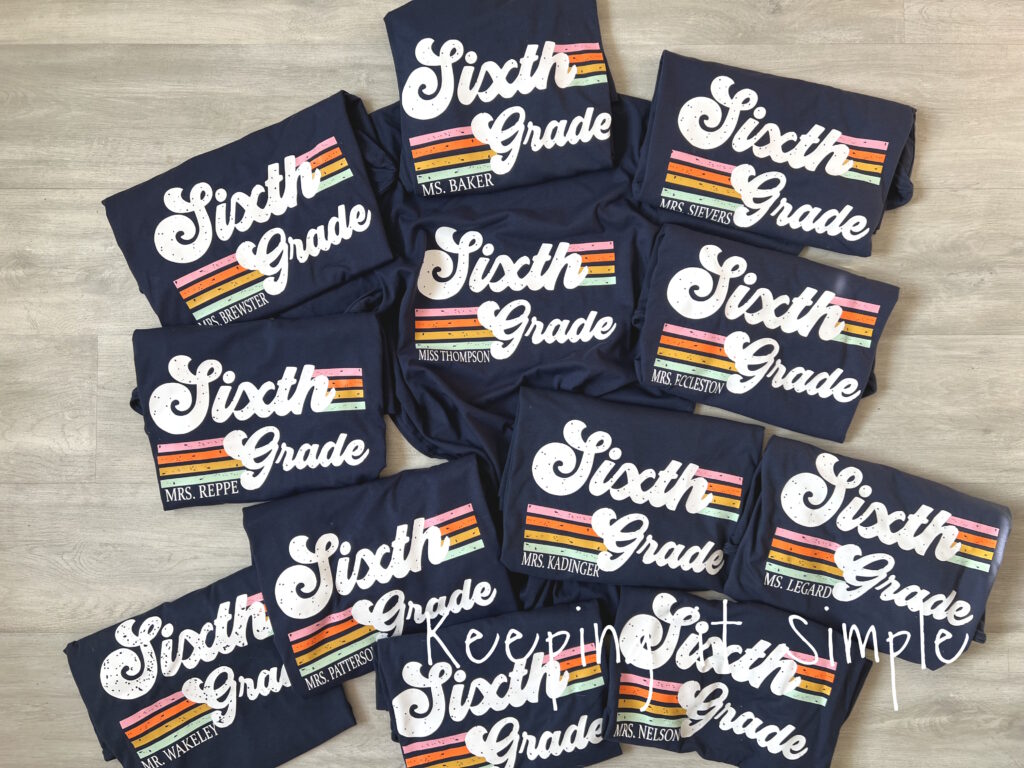
Here are all the sixth grade teacher shirts that I made. They are going to look so great on the first day of school!
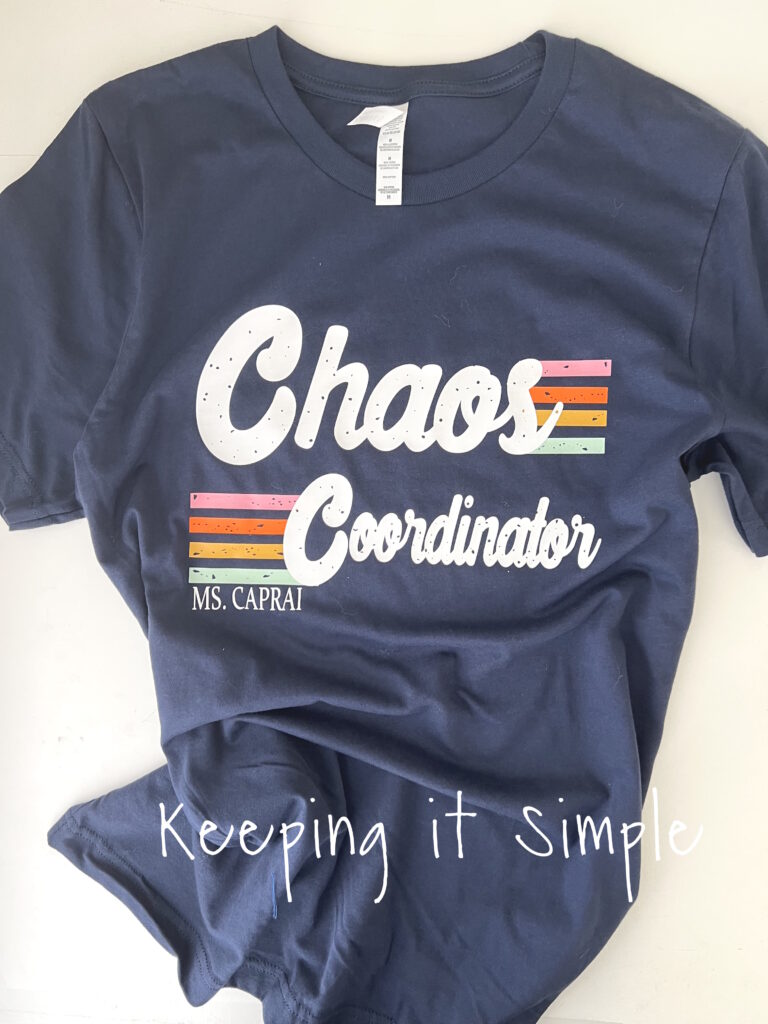
We loved these teacher shirts so much that we decided to make some for the secretaries too. Theirs say chaos coordinator, which is perfect for secretaries of a middle school :).
I made up a cut file for the chaos coordinator also, you can get it here:
Check out all the other shirts that I have made through out the years!
This post contains affiliate links.
Leave a Reply
You must be logged in to post a comment.