How to Make a Buffalo Plaid Sign with Vinyl
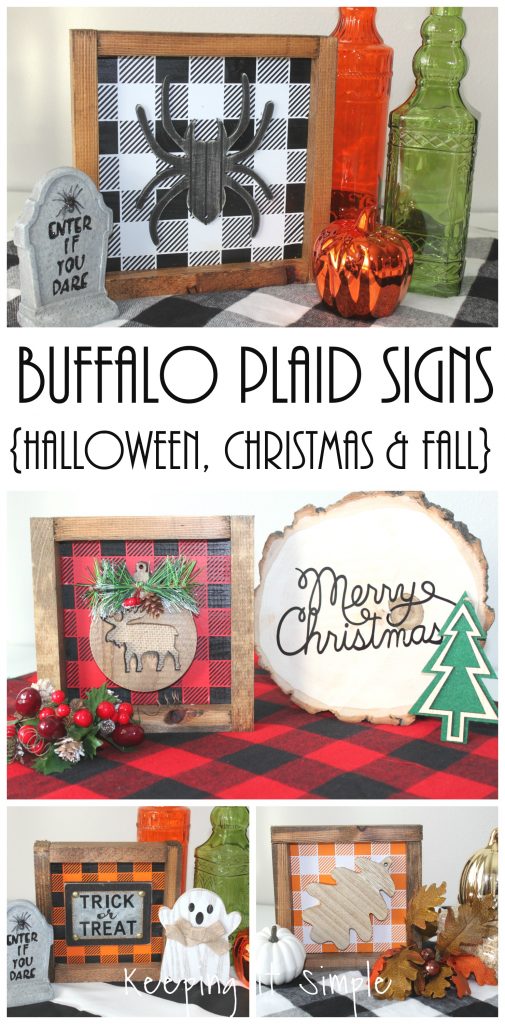
I love buffalo plaid signs and I love that you can use the design for lots of different holidays and seasons! Like the black and white buffalo plaid, it’s great for fall, Halloween and Christmas! I love how versatile it is. I thought that I would show you how to make a buffalo plaid sign with vinyl. It’s super easy and you can do it how ever you want to! I did the buffalo plaid in 5 different ways and every way it looks great!
Here is a video to show you the process of how to make these fun buffalo plaid signs. 🙂
This is how I made them:
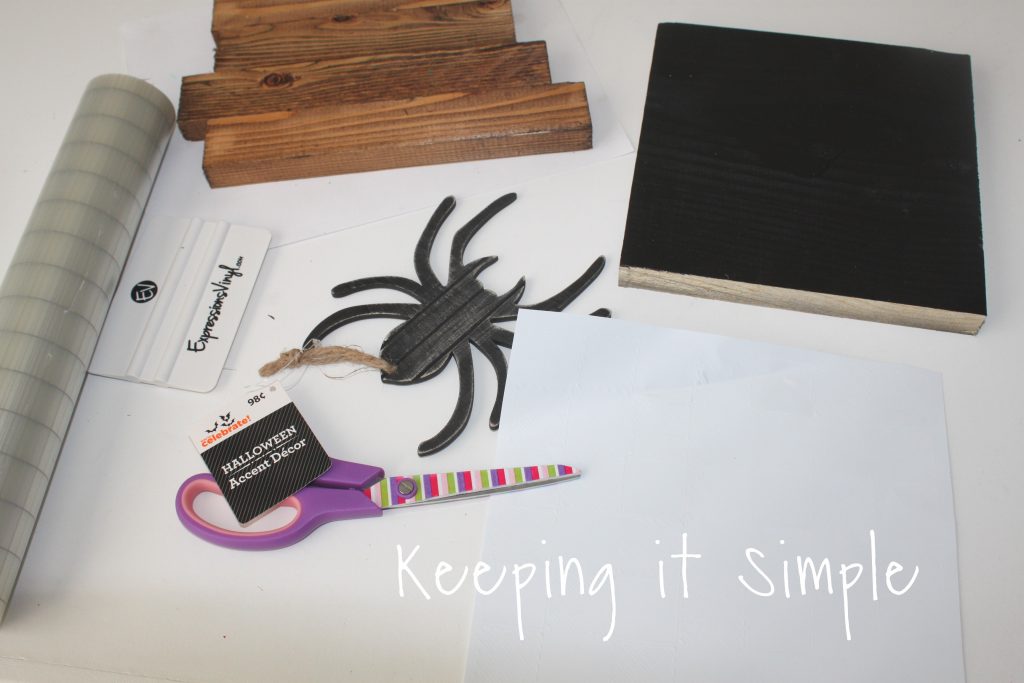
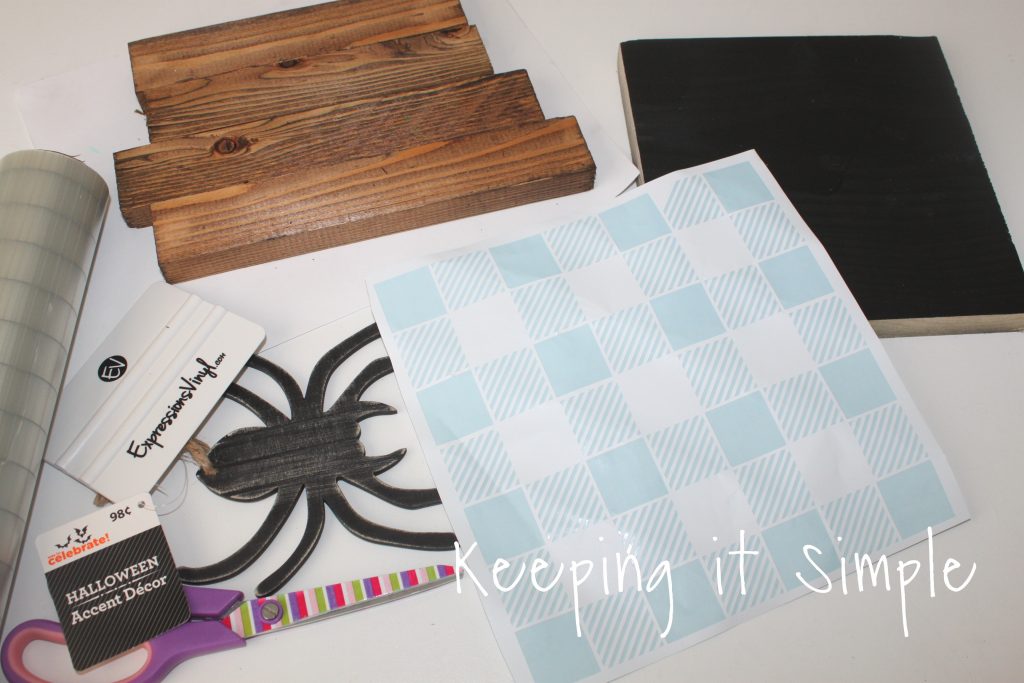
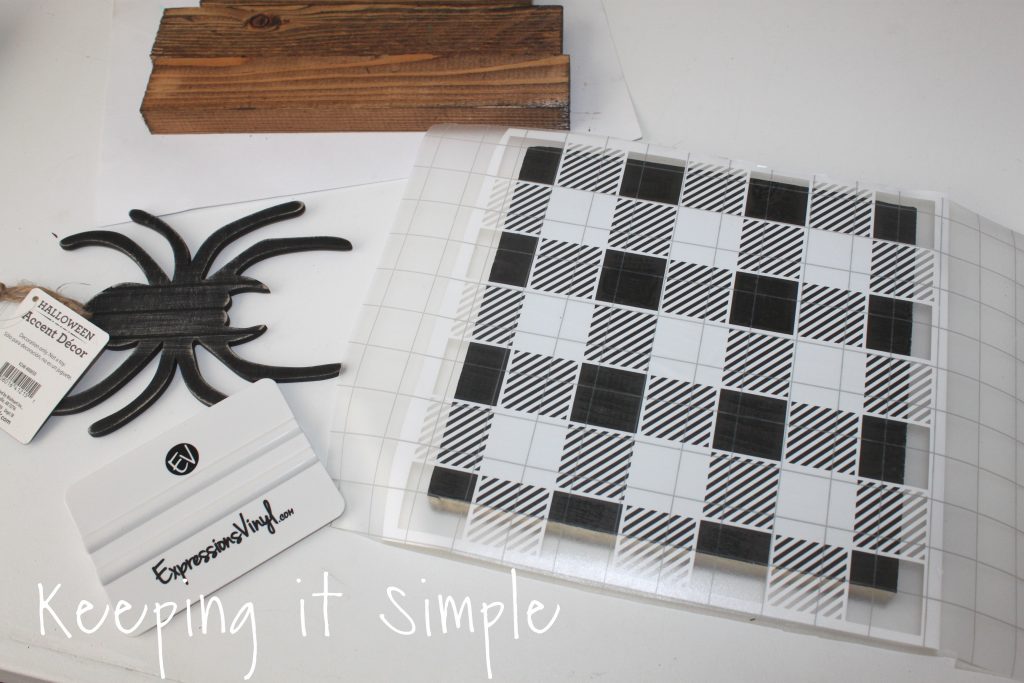
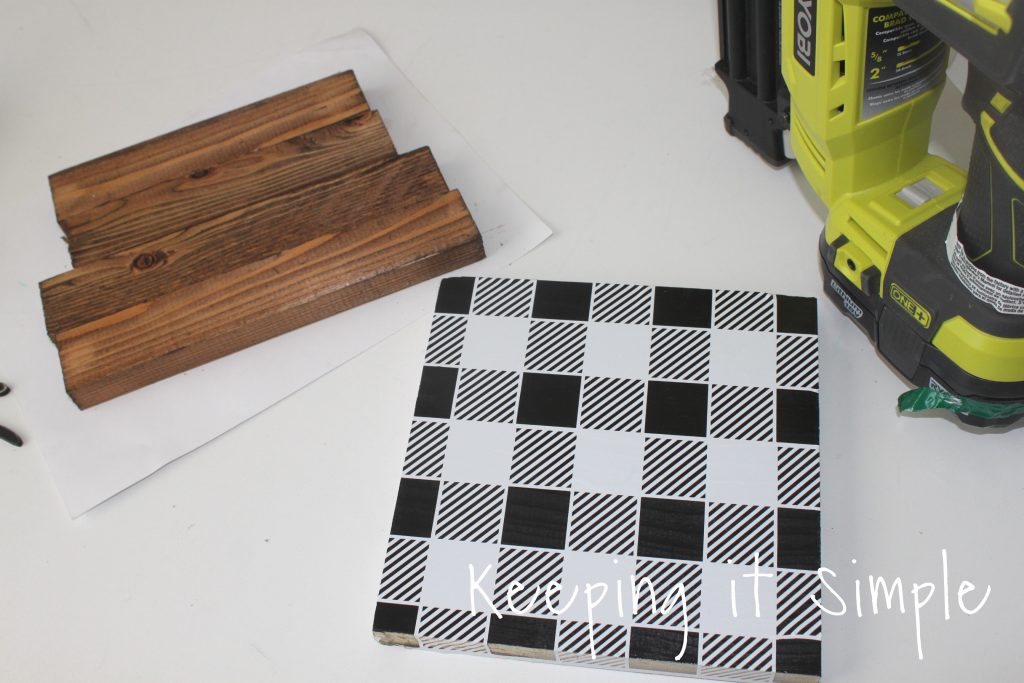
I cut a 1 x 8 board into a square, making it 7 1/4″ by 7 1/4″. I then painted the board black. For the frame I cut a 1 x 2 board into 4 pieces, two pieces were 7 1/4″ and the other two pieces were 8 3/4″. I then stained them with a nice medium brown stain. For the buffalo plaid design I used a white indoor vinyl.
I cut the buffalo plaid design with my Silhouette CAMEO. I got the design from the image library. I cut the design a little bit bigger than the wood. The design is 8 x 8 inches. I then weeded the vinyl, but instead of taking off the excess vinyl, I removed the image, the same way that I usually do when I use the vinyl as a stencil. But I’m didn’t use the vinyl as a stencil, I wanted to use the reverse of the design because I didn’t want to deal with trying to keep all of the little diagonal pieces in line.
Using transfer tape, I then put the vinyl onto the board and pressed the vinyl onto the board.
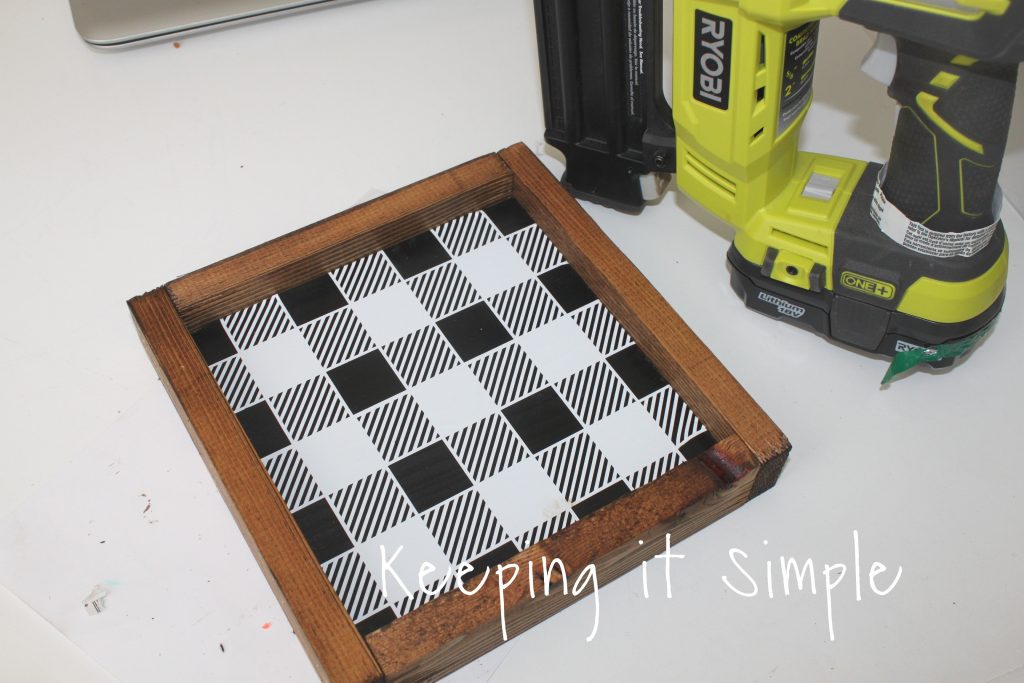
I then took off the transfer tape and then pressed down the sides of the design (it overlapped a little). You can cut this off but I just folded it down.
Then using a nail gun, I put the frame onto the board. I used 1 1/2″ nails.
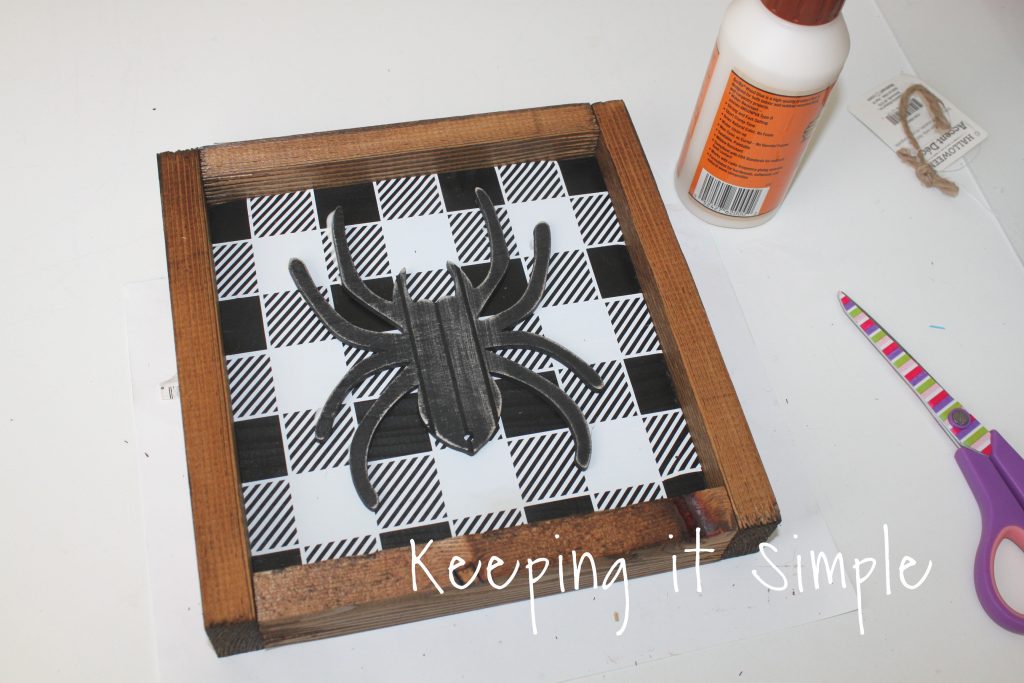
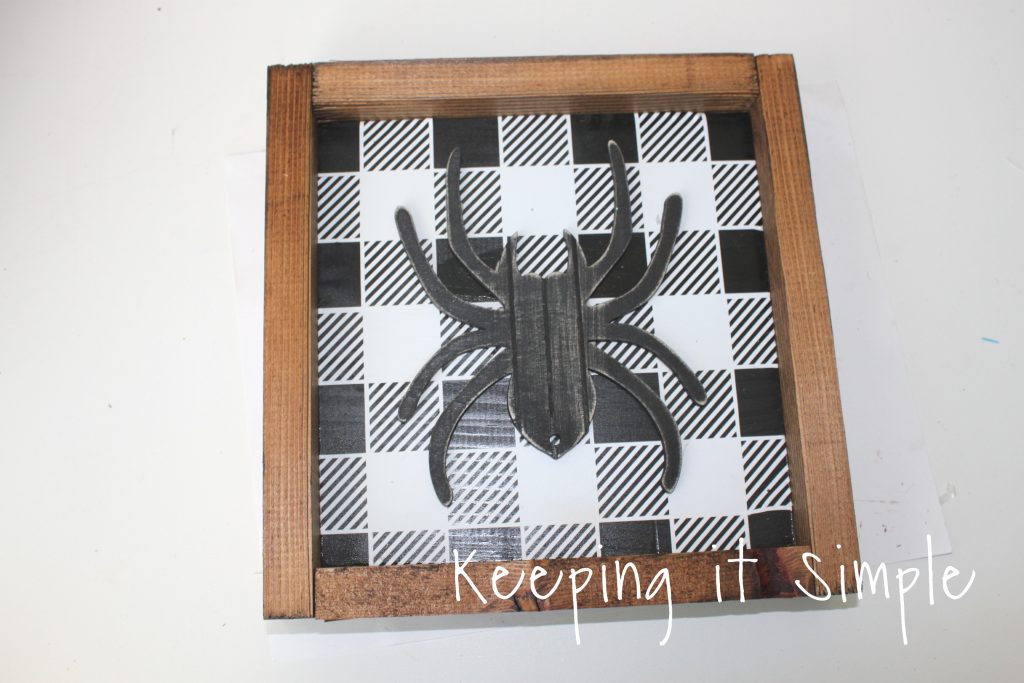
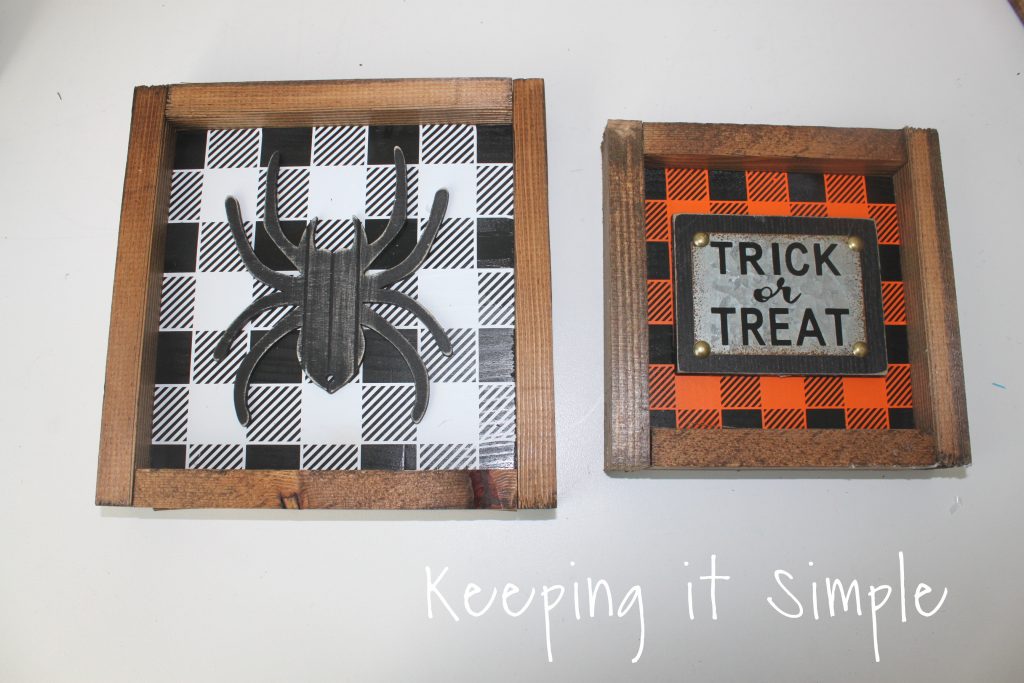
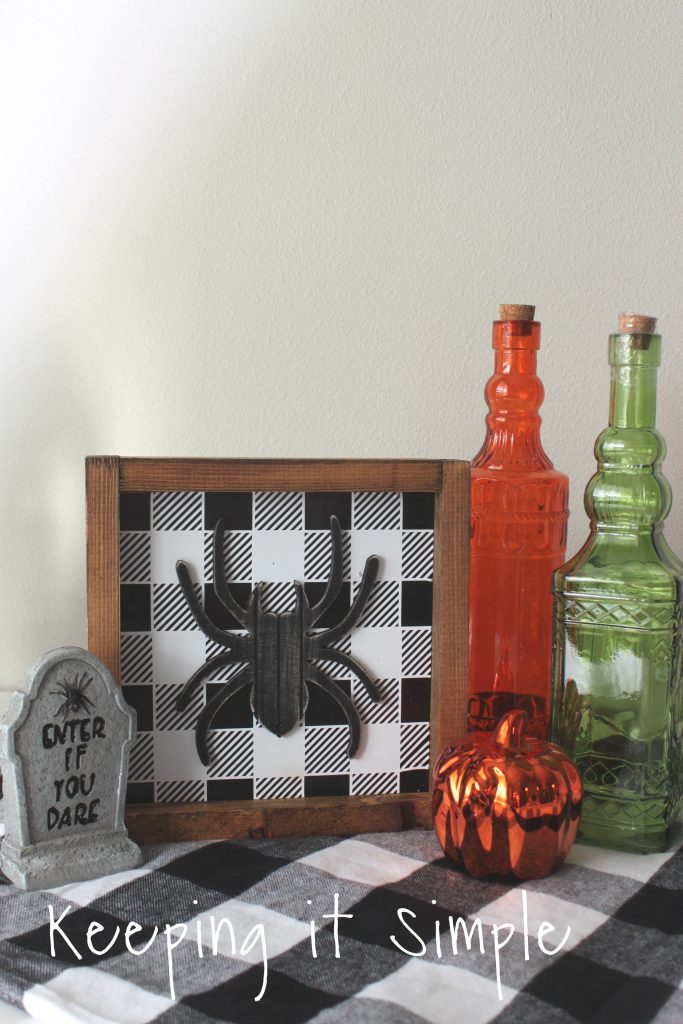
I wanted to add something to the sign, so I decided to go with a wooden spider. I like the dimension that the spider gives to the sign. Using wood glue I glued it to the sign and then put something heavy on it to let it dry and set.
And that’s it! I love how it turned out!
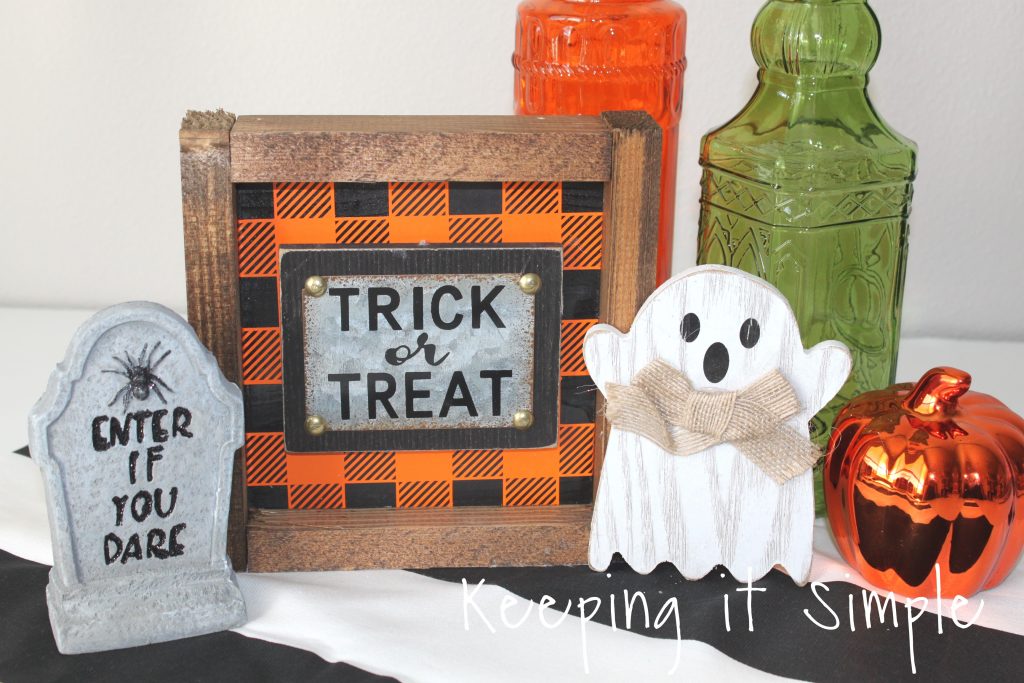
I made several different signs and did the buffalo plaid differently for each sign. The spider one I used a 1 x 8 board but for the black and orange one, I used a 1 x 6 board. For the black and orange buffalo plaid, I painted the board black and then used orange vinyl for the buffalo plaid. I got the little spider and sign from Walmart.
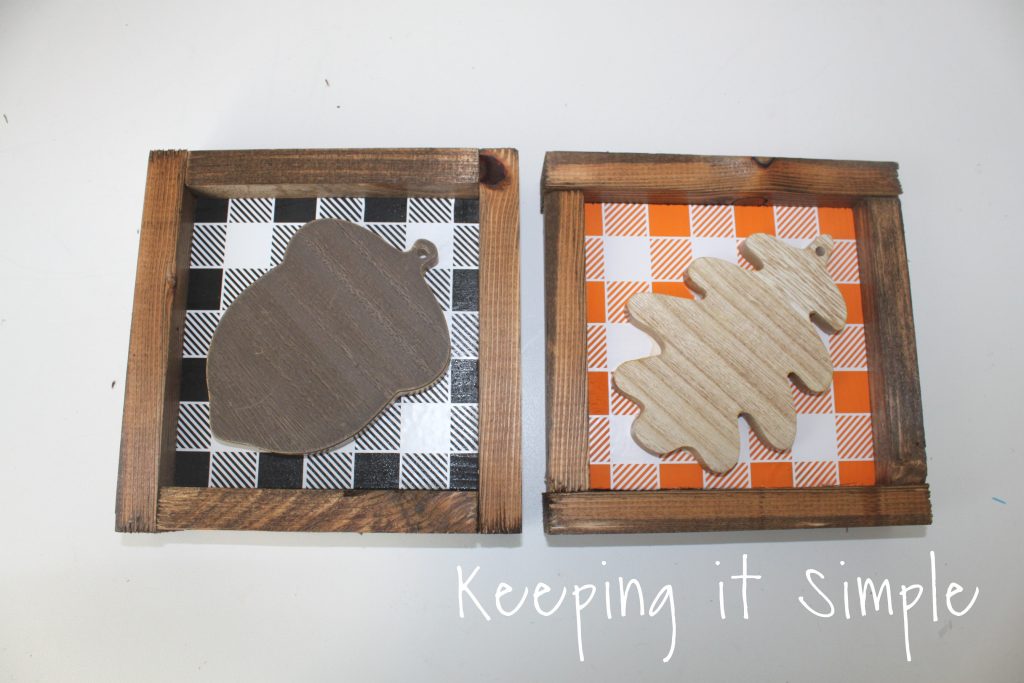
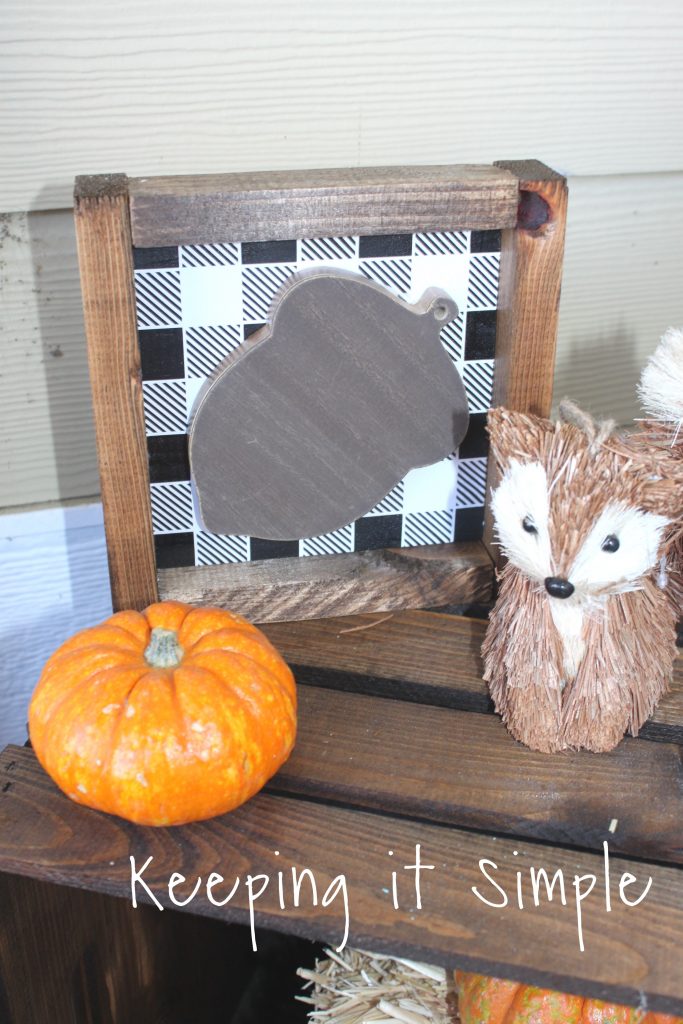
I then made a couple for fall signs. I did the black and white buffalo plaid sign the same way as I did with the Halloween spider. For the orange buffalo plaid sign, I painted the board orange and then put white vinyl onto the board. I used a couple wood ornaments that I got from the Target dollar spot.
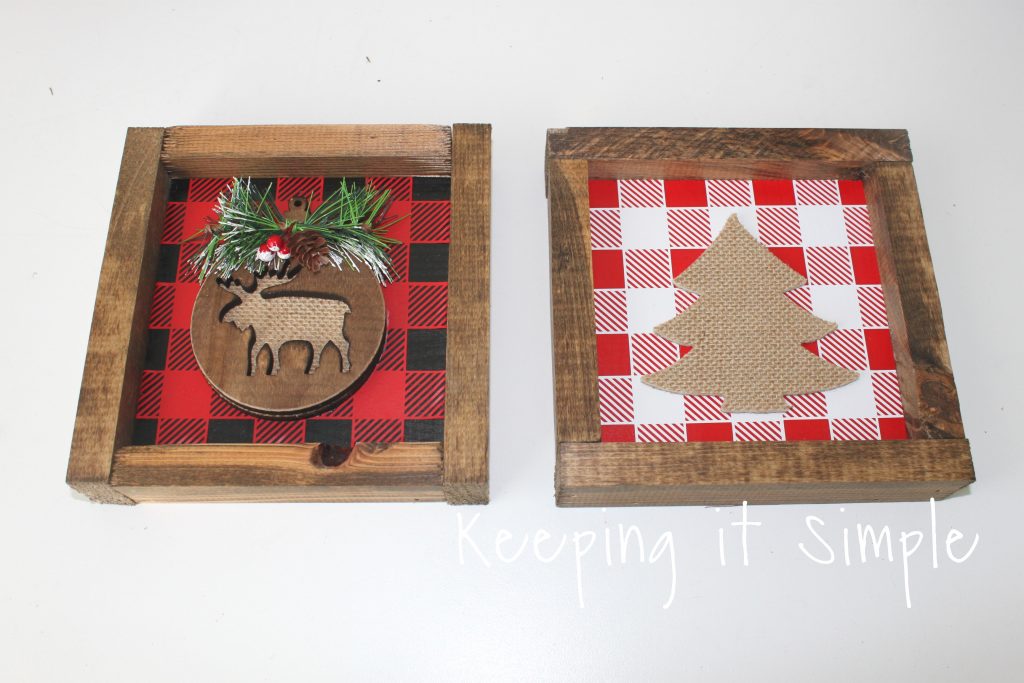
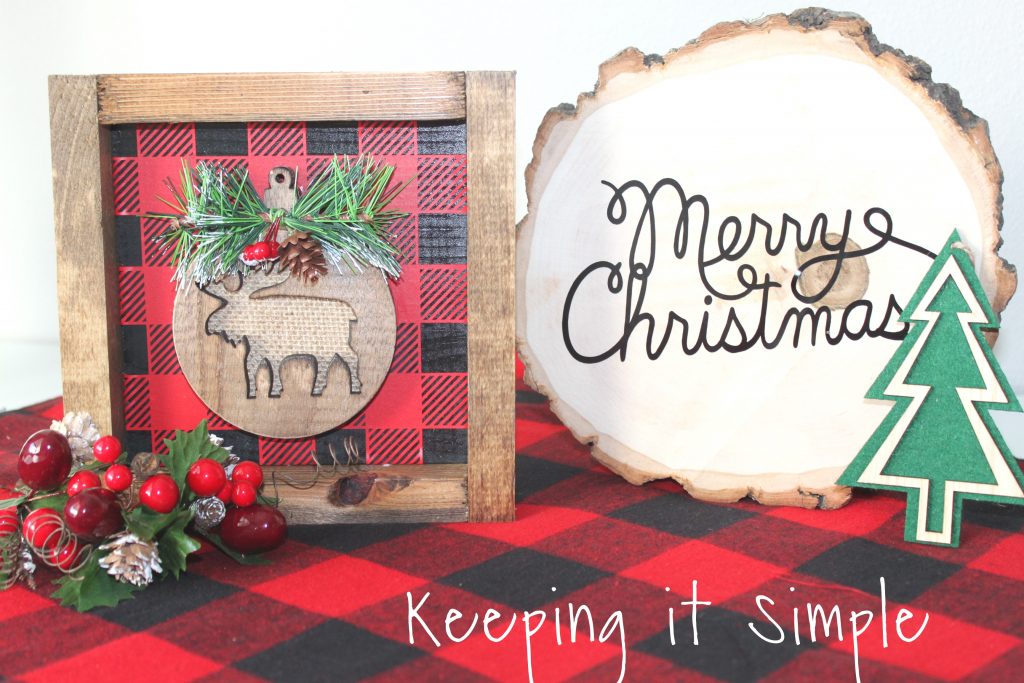
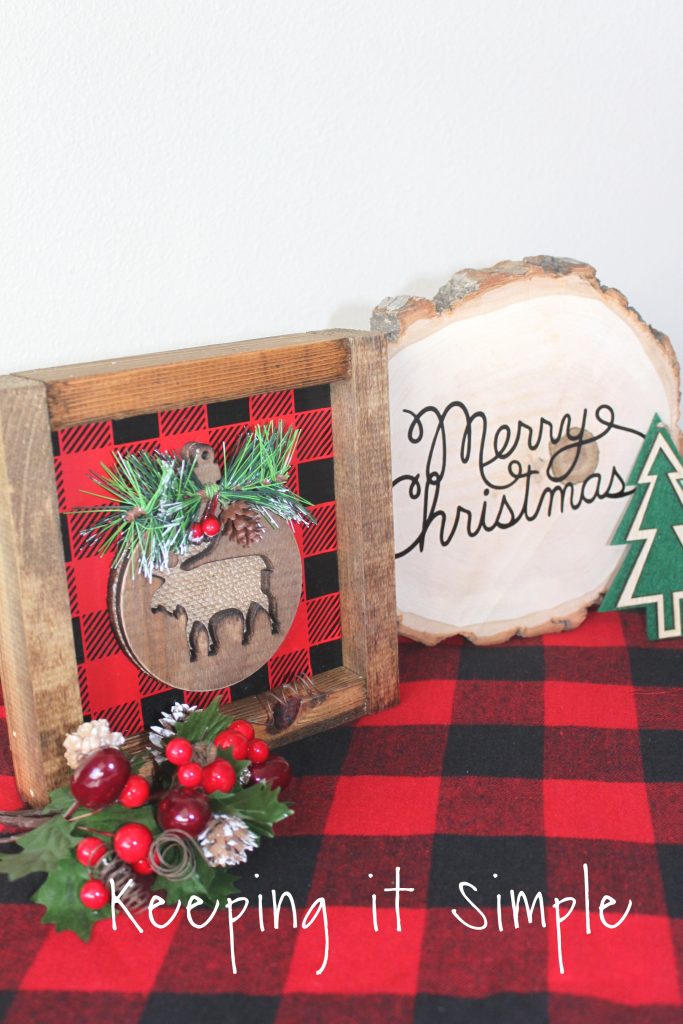
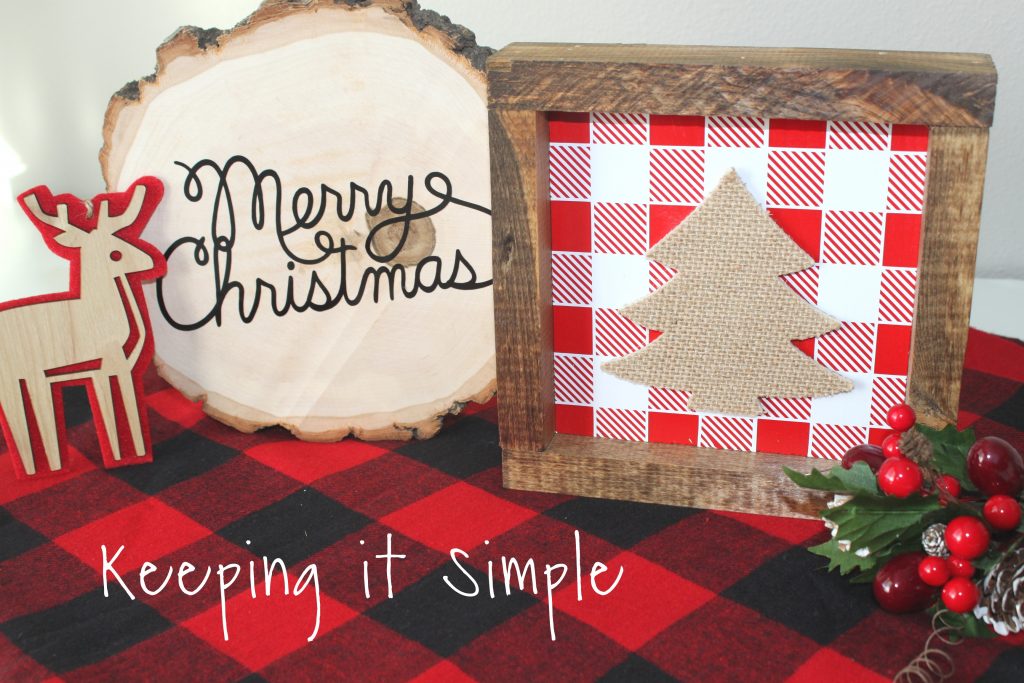
I also made up some Christmas signs (they are my favorite). For the black and red buffalo plaid I painted the board black and then used red vinyl for the buffalo plaid. Then for the red buffalo plaid, I painted the board red and the vinyl white. I added a couple super cute ornaments that I found from Hobby Lobby. I used the wood glue to put them on too.
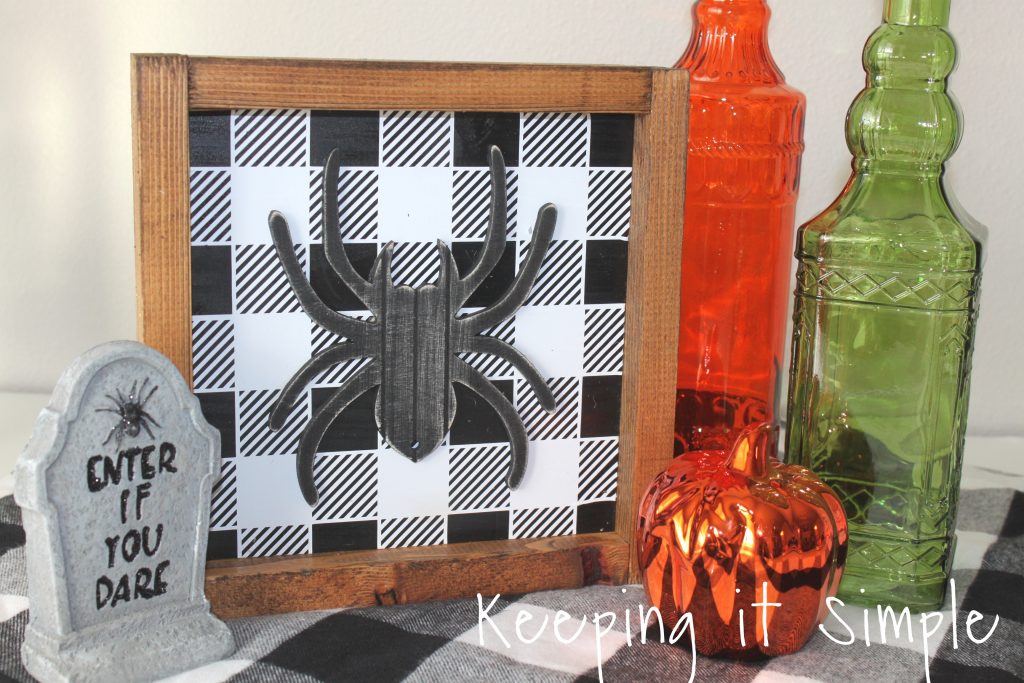
Here is the spider one with some fun Halloween decorations. This one would look really good with a black frame too (instead of a stained one).
Here is the cute little trick or treat one, I love how this one turned out and how good it looks with all the different Halloween decorations!
Here is the cute acorn sign out with all of my porch decor, it goes greatly with everything out there.
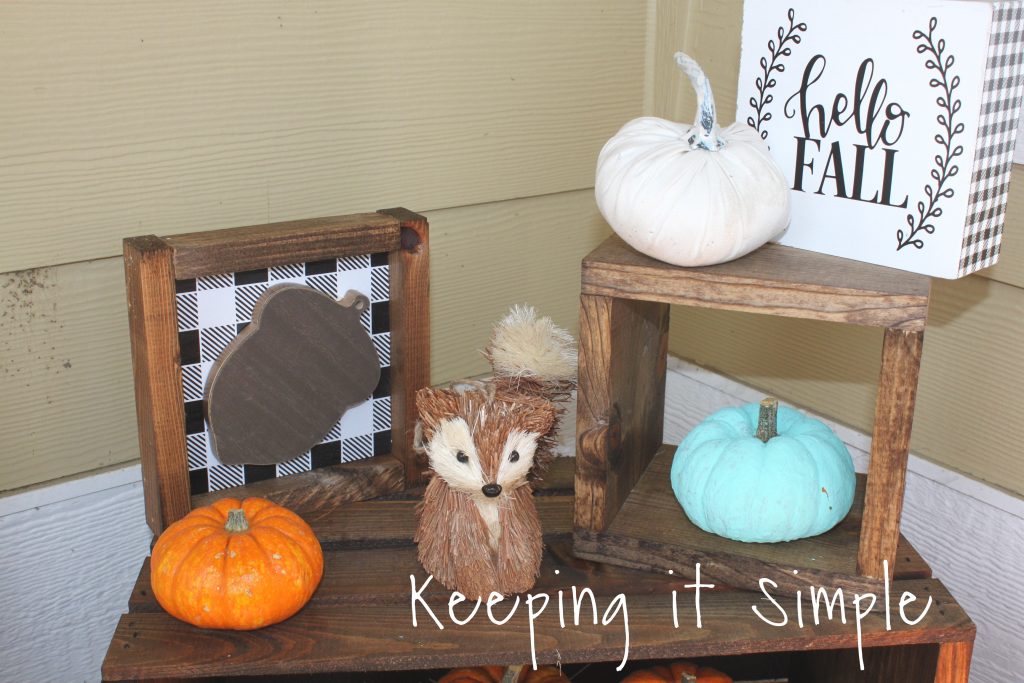
Here is another view of the acorn sign with all of my porch decor, including this fun hello fall sign.
Here is the leaf one with some fall decorations, love the colors of this one!

And lastly, here are the Christmas ones (seriously love these!).
Here is the cute Christmas tree one.
Check out all the other things that I have made with buffalo plaid!
This post contains affiliate links
Leave a Reply
You must be logged in to post a comment.