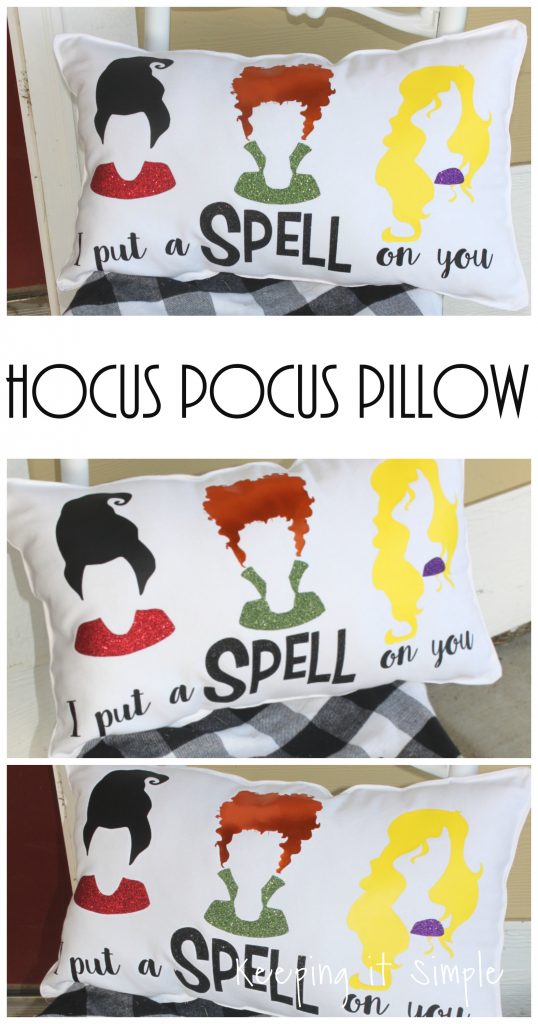
Hocus Pocus Pillow with SVG Cut File
I am a huge fan of Hocus Pocus, I watched it all the time as a kid and now every Halloween I watch it with my kids and they love it too! Oh the classic 90’s movies, they were the best! I have been wanting to make something involving Hocus Pocus for awhile now and I’m so glad that I did. This Hocus Pocus pillow is so great and I love that whenever someone comes to my house, they will see it!
Here is a quick video to show you the process of how to make the Hocus Pocus pillow.
This is how I made it:
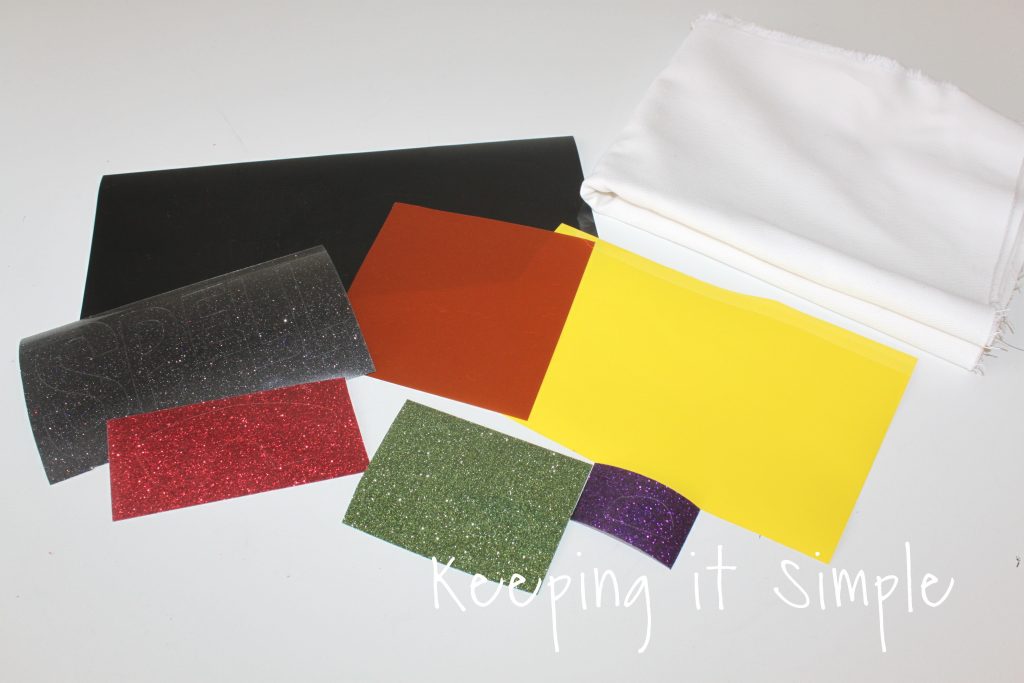
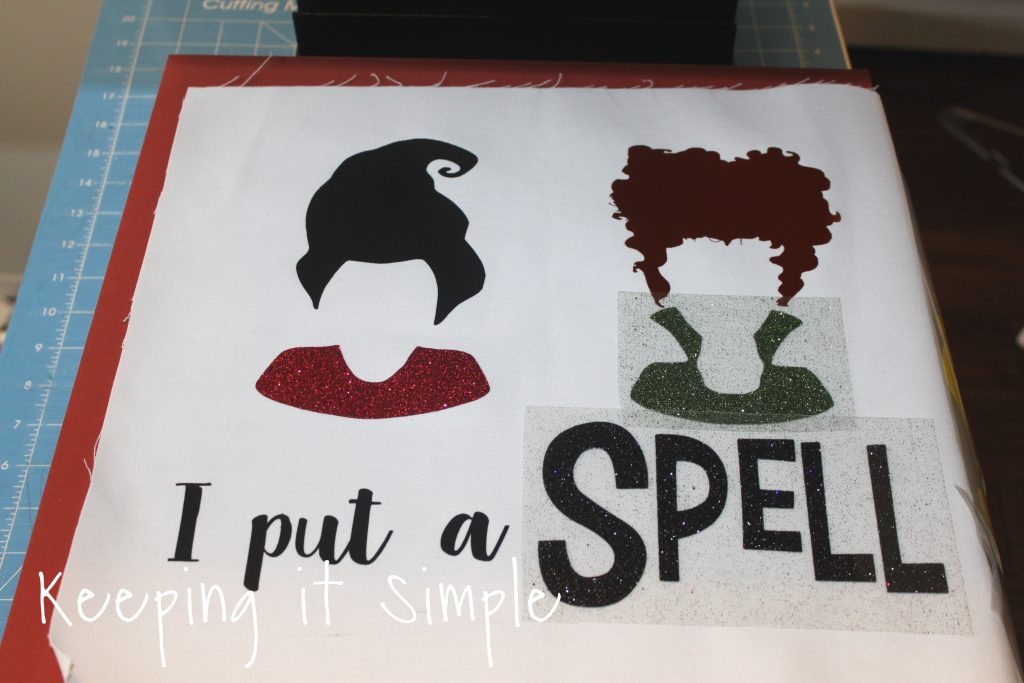
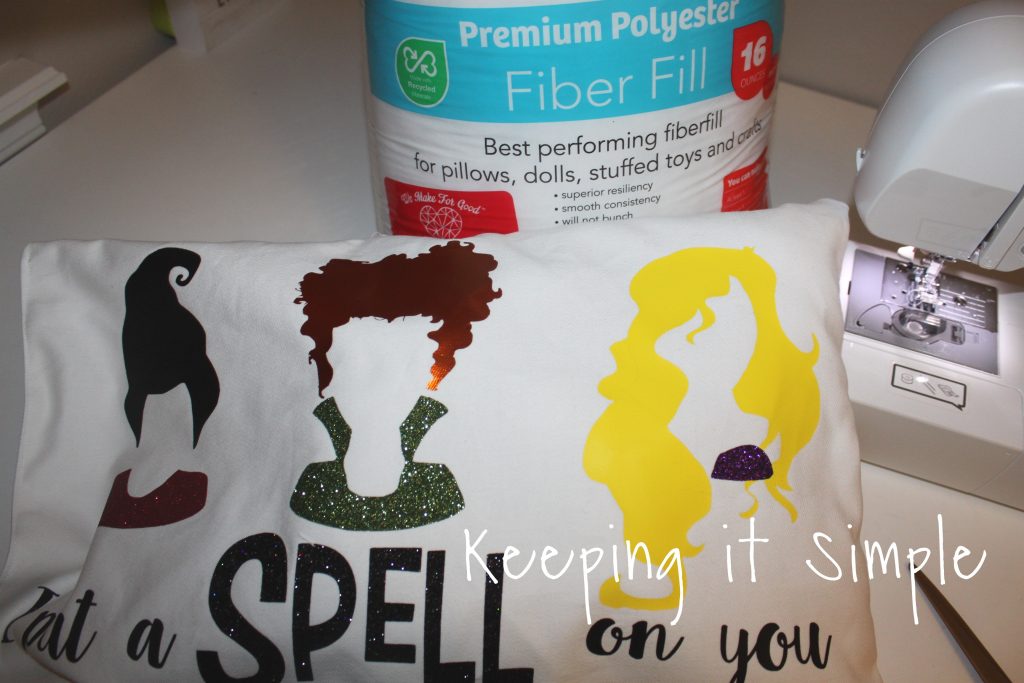
First, I took some heat transfer vinyl and cut it. For the hair and the script words I used a smooth heat transfer vinyl and for the clothes and the word SPELL I used a glitter heat transfer vinyl. For the smooth heat transfer, I used the colors black, lemon yellow and electric orange. For the glitter HTV, I used the colors galaxy black, red, purple and dark green. I also used a duck fabric for the pillow, I made the pillow but you can use a pillow cover too.
Using my Sihouette CAMEO I cut out the design. Make sure you mirror the image and put the HTV shiny/plastic side down. You can get the cut file here:
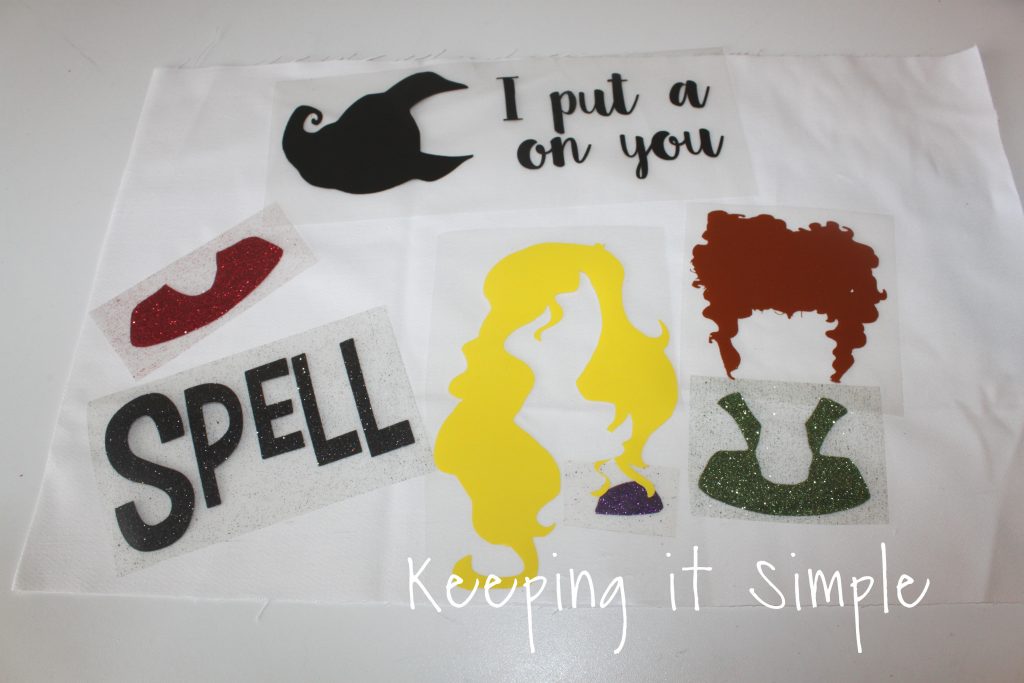
I cut the fabric to be 22 inches wide and 14 inches high and then I arranged the design onto it before pressing it in.
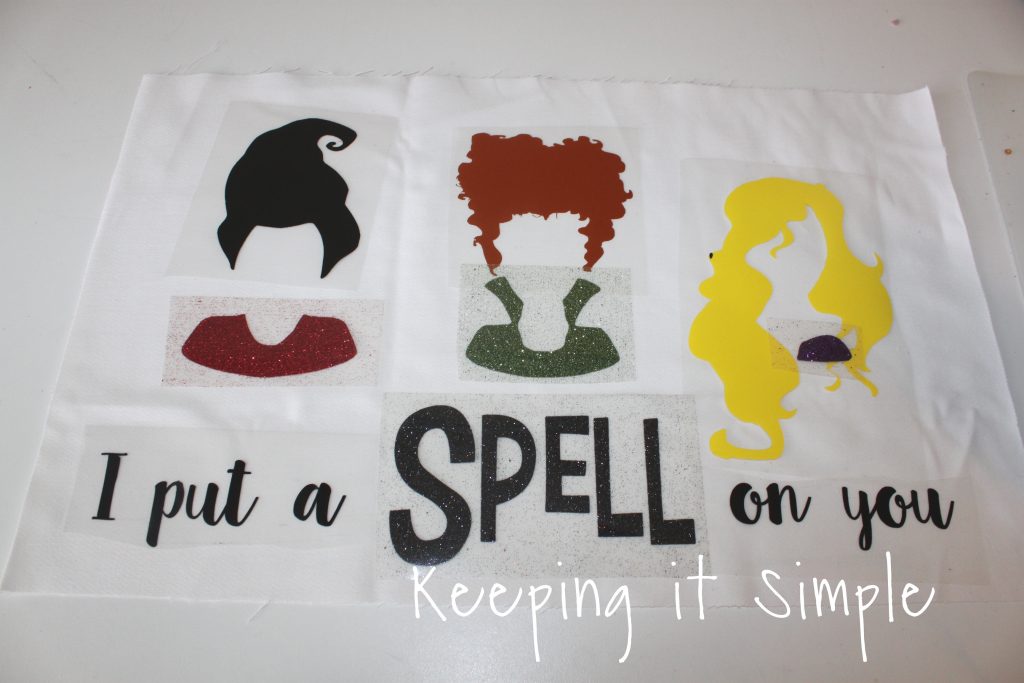
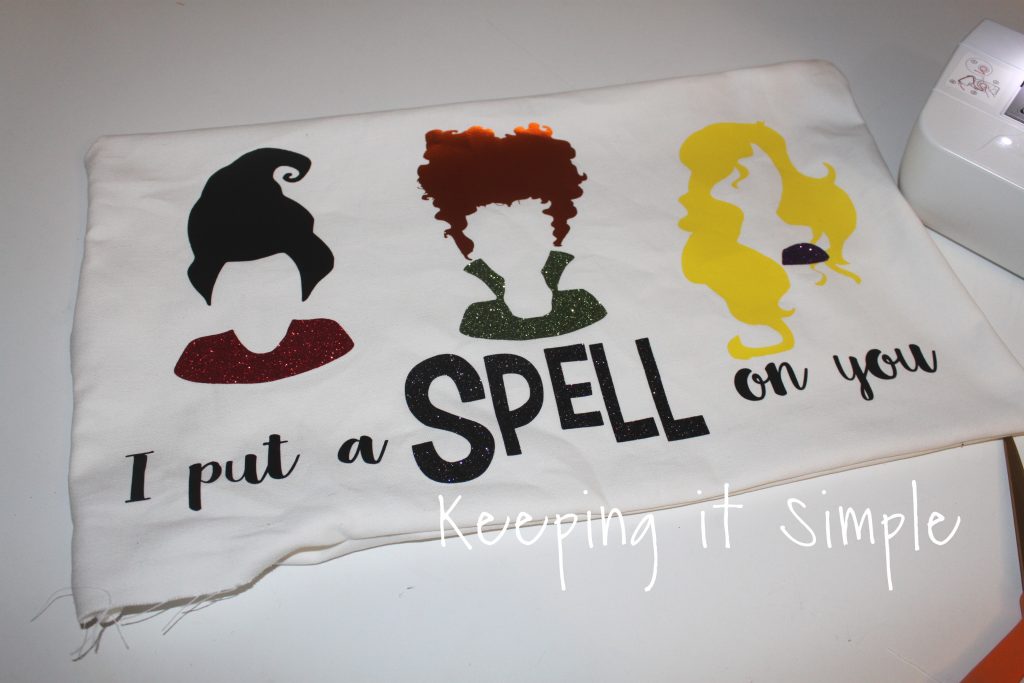
Using a heat press, I pressed the design into the fabric. I set the heat press to 305 degrees and pressed it for 15 second. When I did the different layers, I used a heat press cover sheet so it wouldn’t stick to the design. You can also use an iron to do this too.
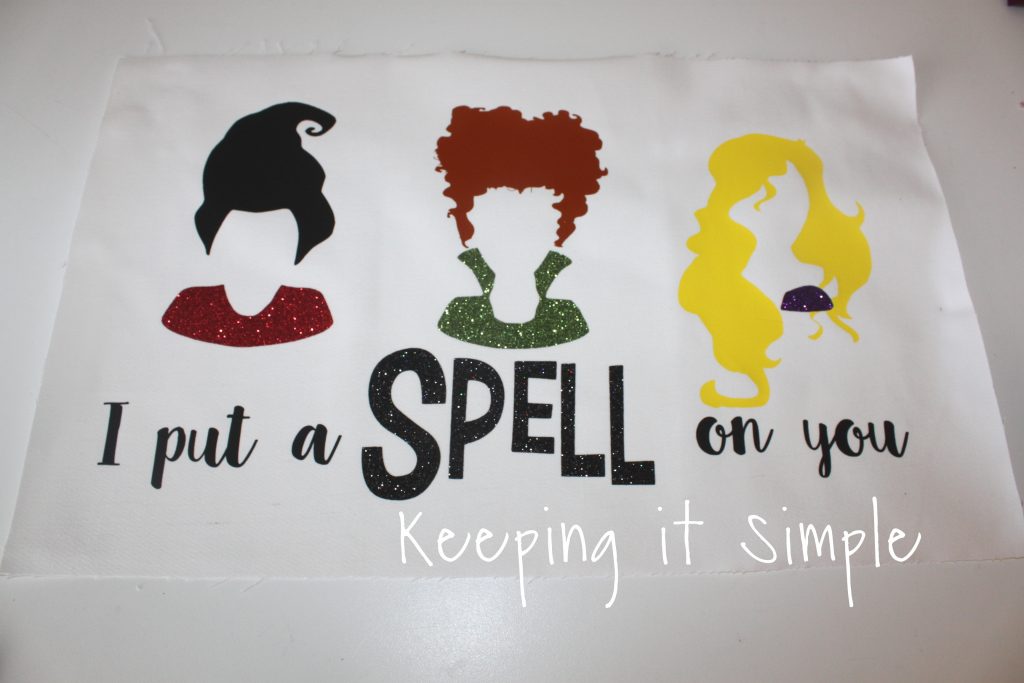
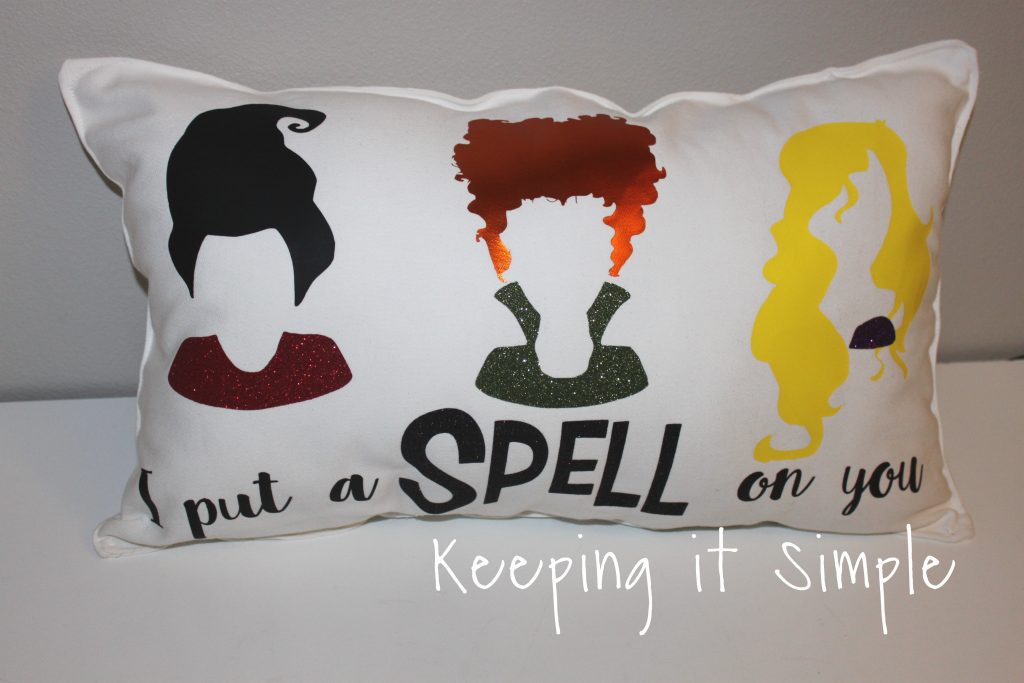
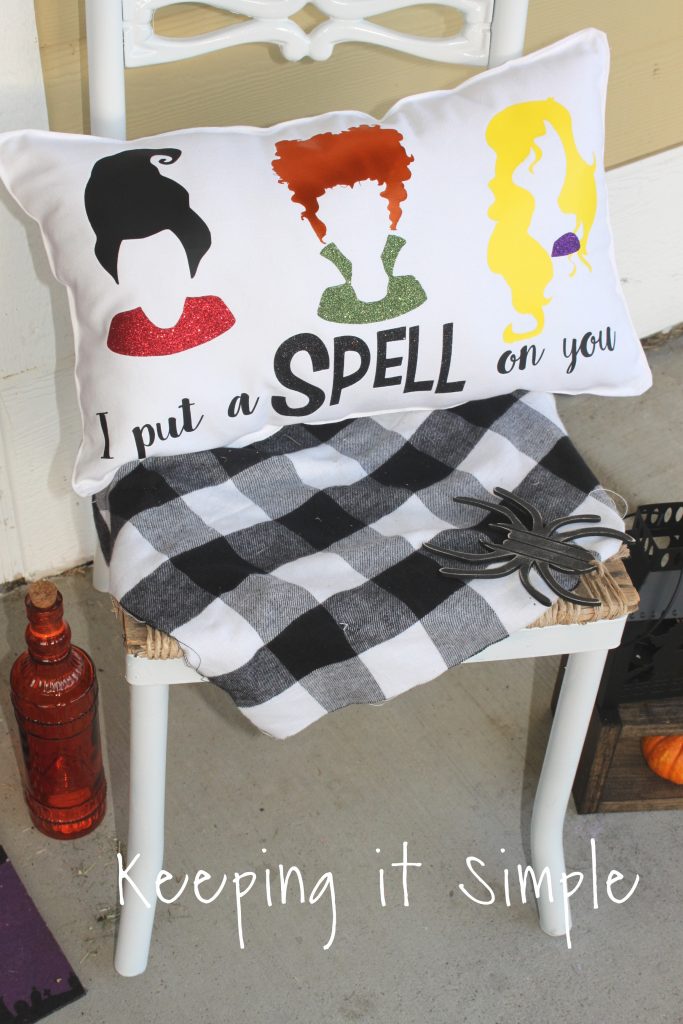
Here is the design all pressed into the fabric, I love it! Winnie is my favorite though :).
Since I didn’t have a pillow insert that was the right size, I didn’t make an envelope case, instead I just made a pillow. So I cut another piece of fabric that was 22 x 14 inches and then sewed it onto the other piece, put right sides together.
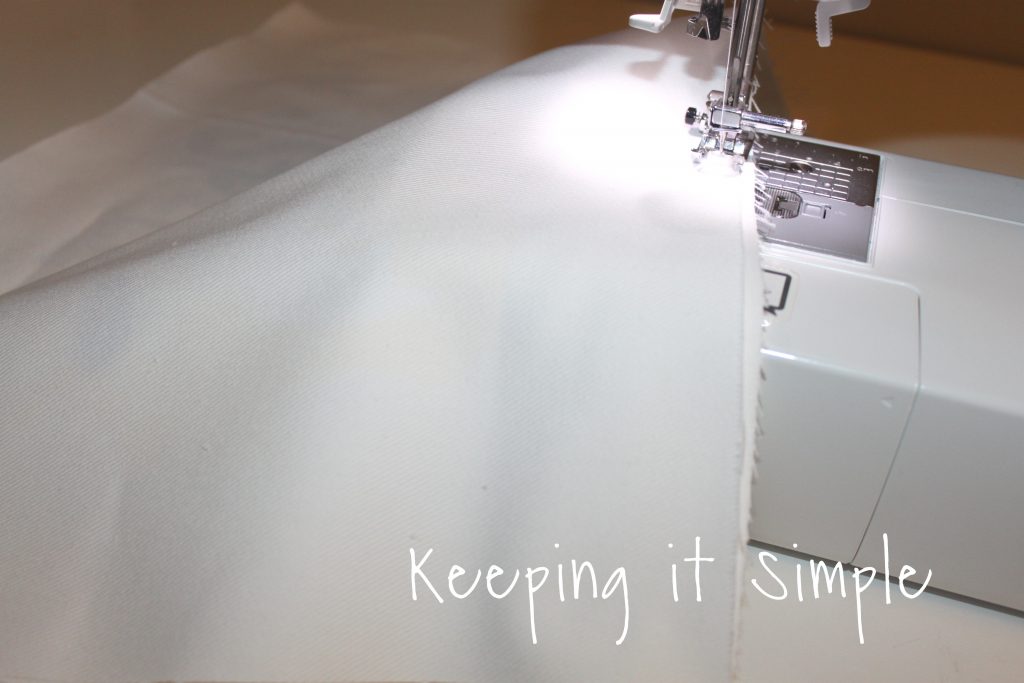
I sewed all of the sides except for a 4 inch gap so I could turn the pillow right side out.
Then using some fiber fill, I filled up the pillow. *** Side not, I would suggest doing the top stitch around the pillow before putting the stuffing in…. don’t make the same mistake that I did :).***
Once the stuffing was all in, I sewed up the hole and did a top stitch all around the pillow.
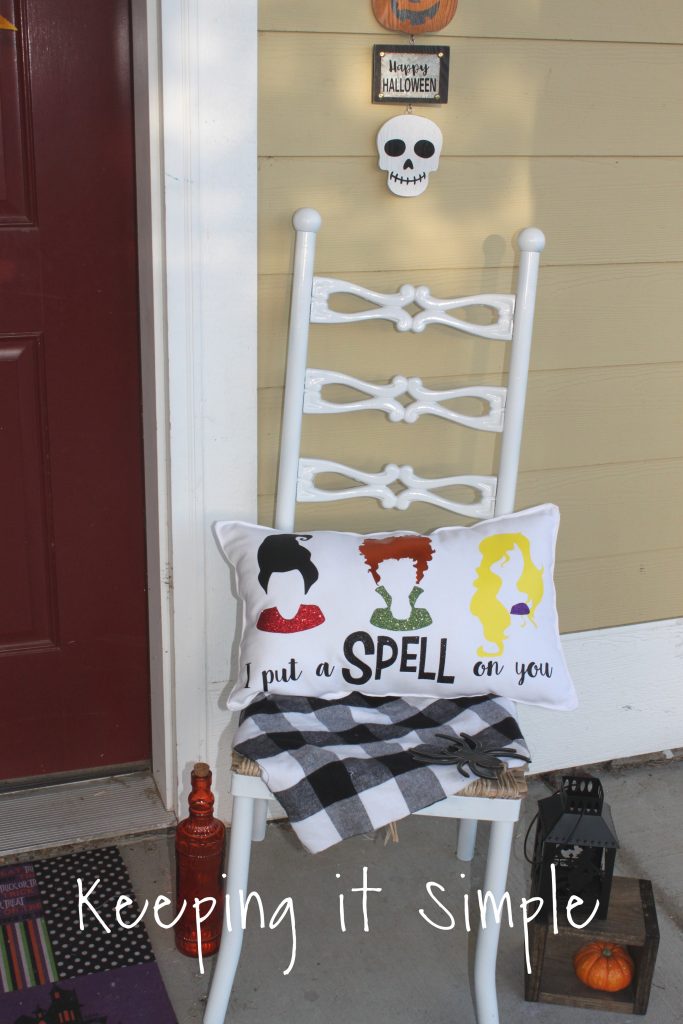
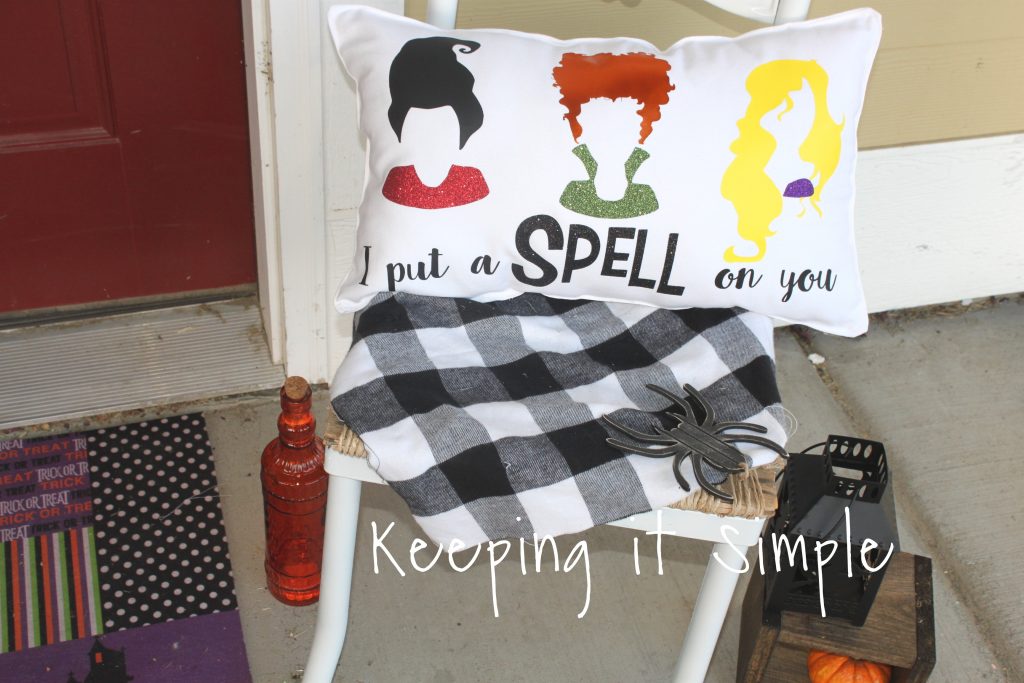
And that’s it! I love how it turned out and I’m so excited to have it on my porch.
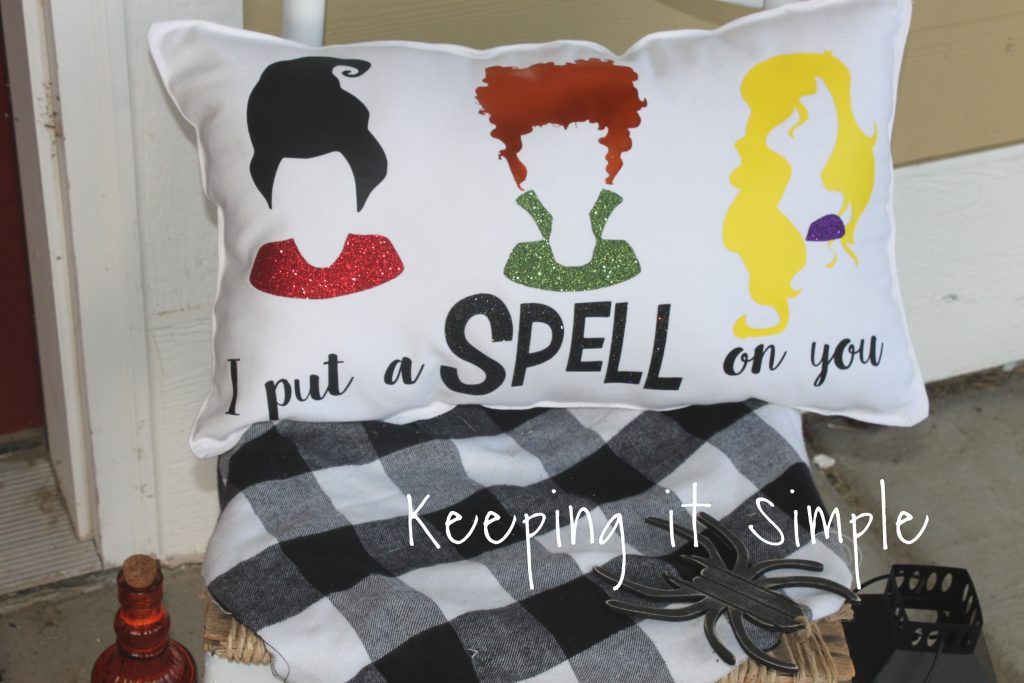
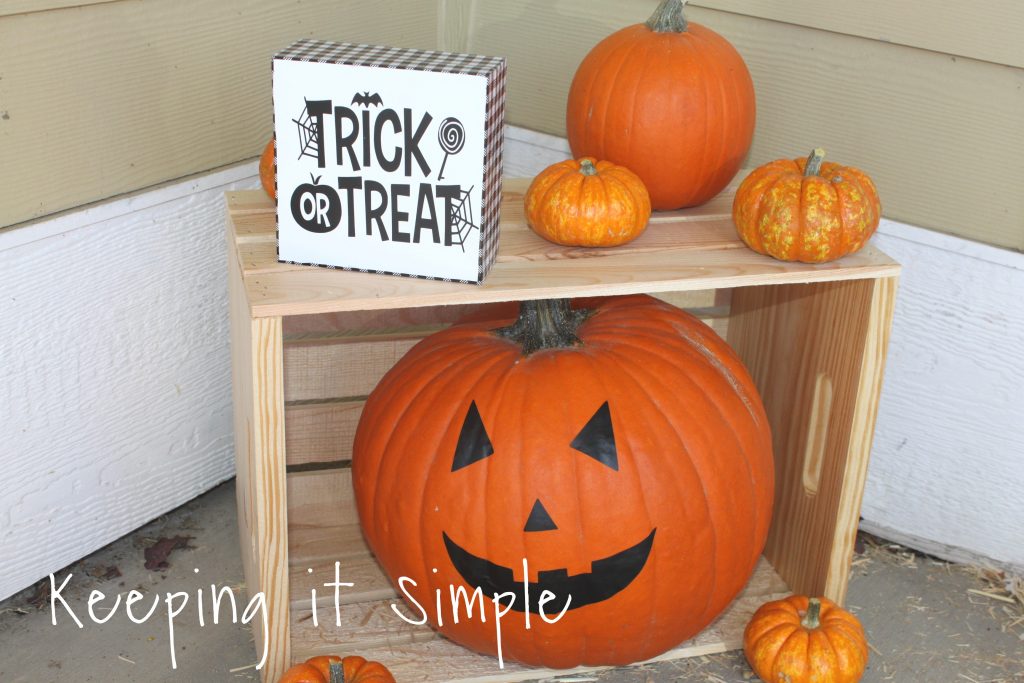
Here it is with a few other scary decorations. I still need to finish the porch to make it all spooky!
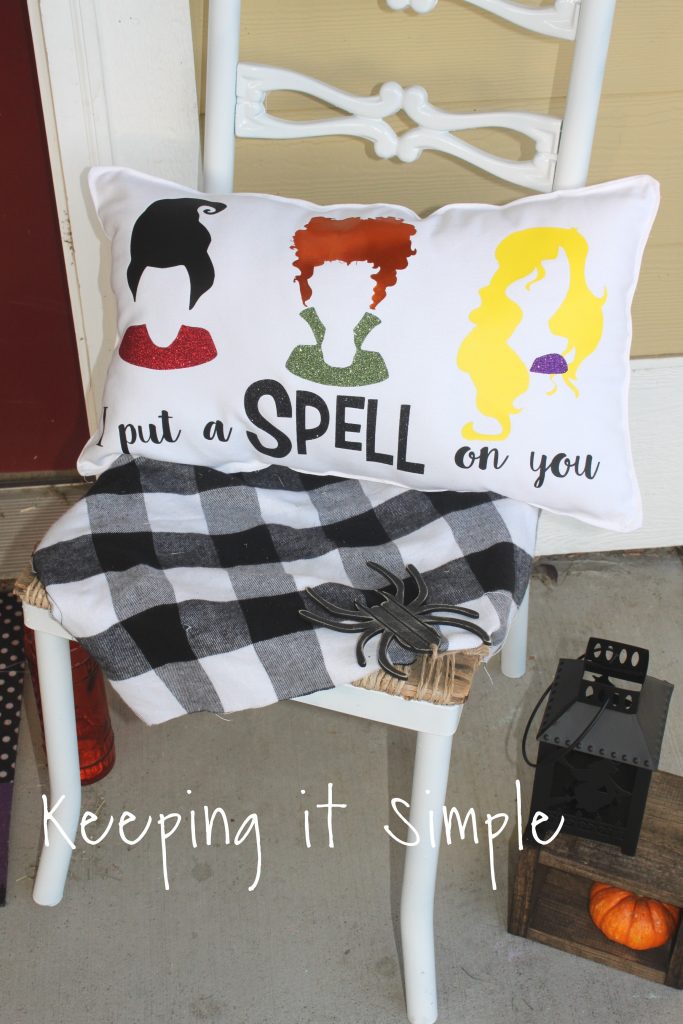
I seriously love how it turned out, I love the difference between the smooth and glitter HTV and how it looks all together.
Check out my other Halloween ideas!!
This post contains affiliate links
Leave a Reply
You must be logged in to post a comment.