This post contains affiliate links.
We have been working on our master bathroom this year and I’m finally ready to show you the whole thing, all complete!! There were three big parts to this remodel, we tiled the floor, tiled the bathtub, and painted the vanity. I absolutely love how it turned out and I just stare at it non stop when I’m in it and still can’t believe that we were able to make such a huge difference in our bathroom. It went from being pretty dark to being white and bright! It took us about 5 weeks to complete (really 5 weekends with me doing a few things here and there through out the week). And if you want to see how we did a certain part, make sure to click on the links because they will take you to the tutorials on how we did everything! And now it’s time to show you my master bathroom :).
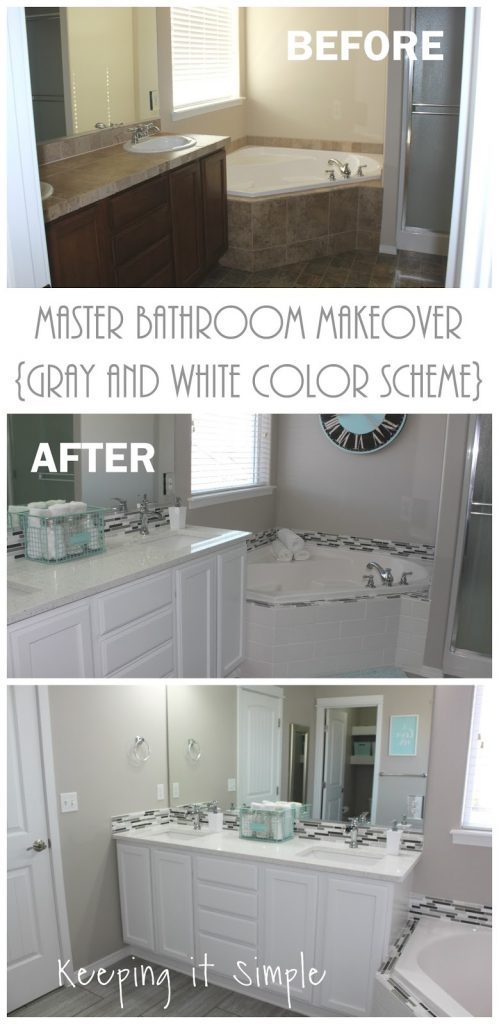
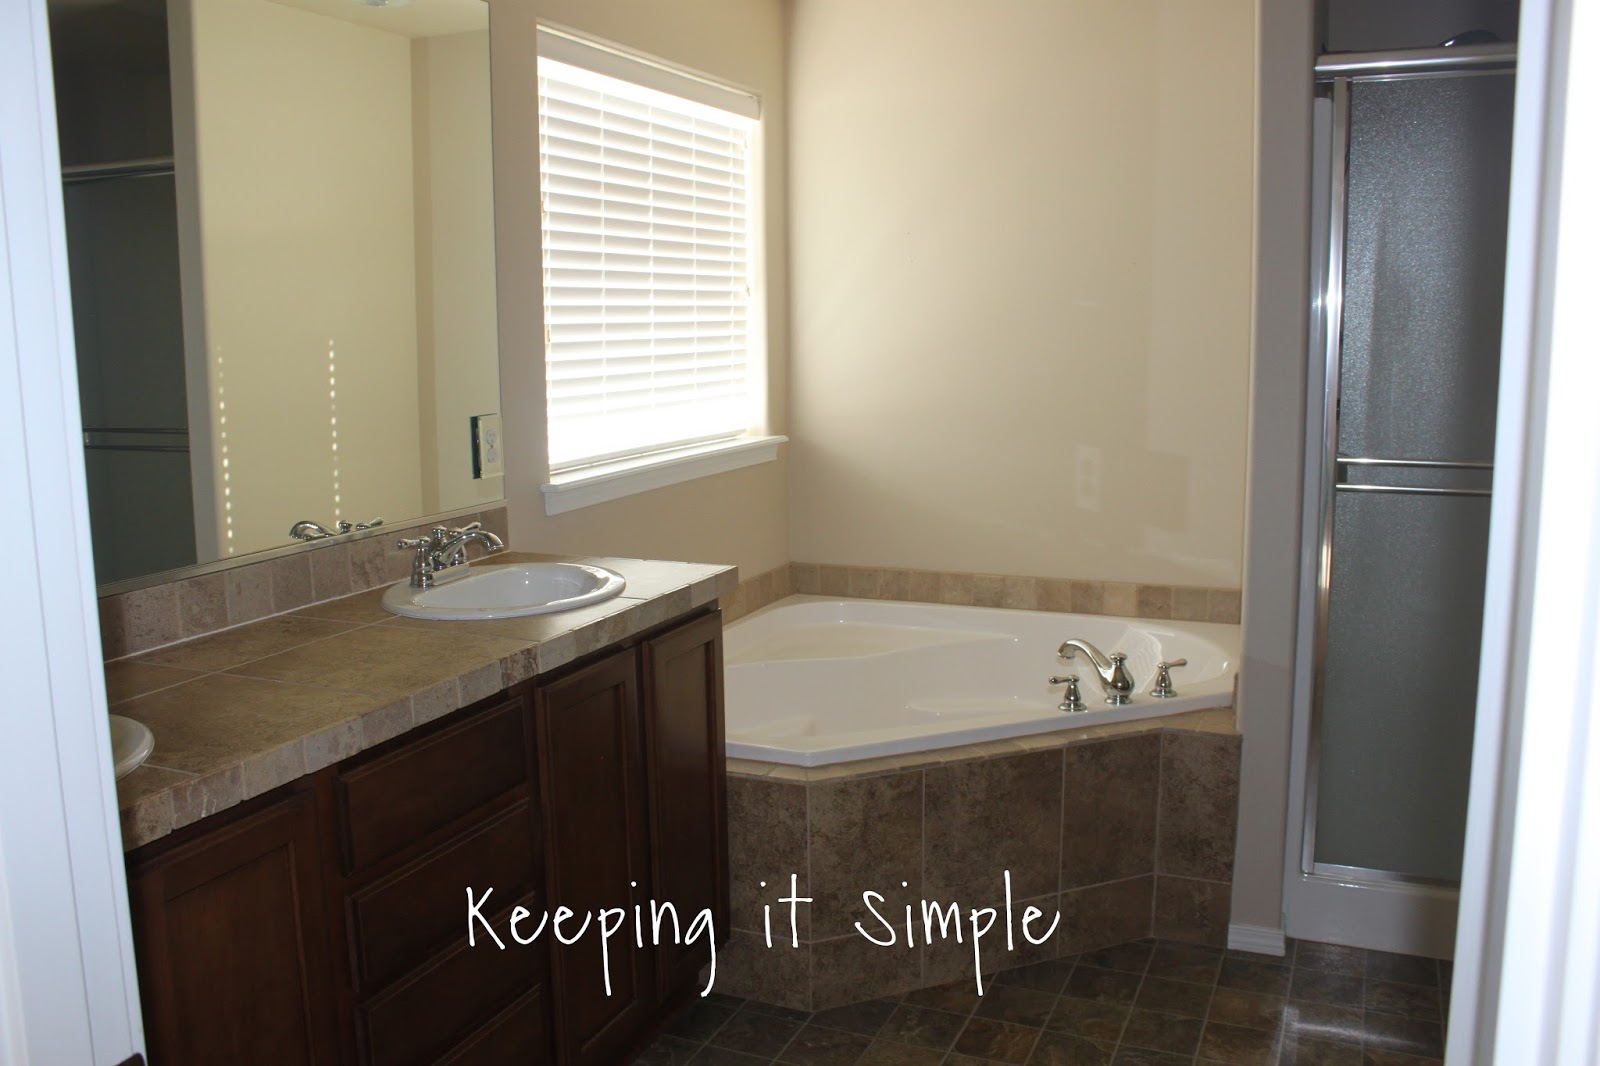
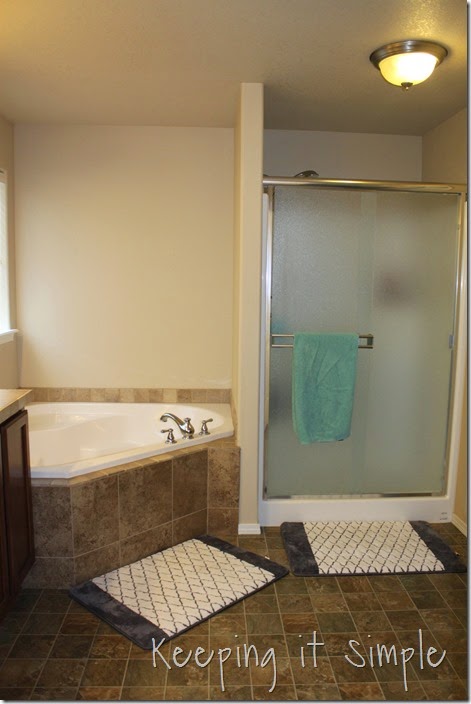
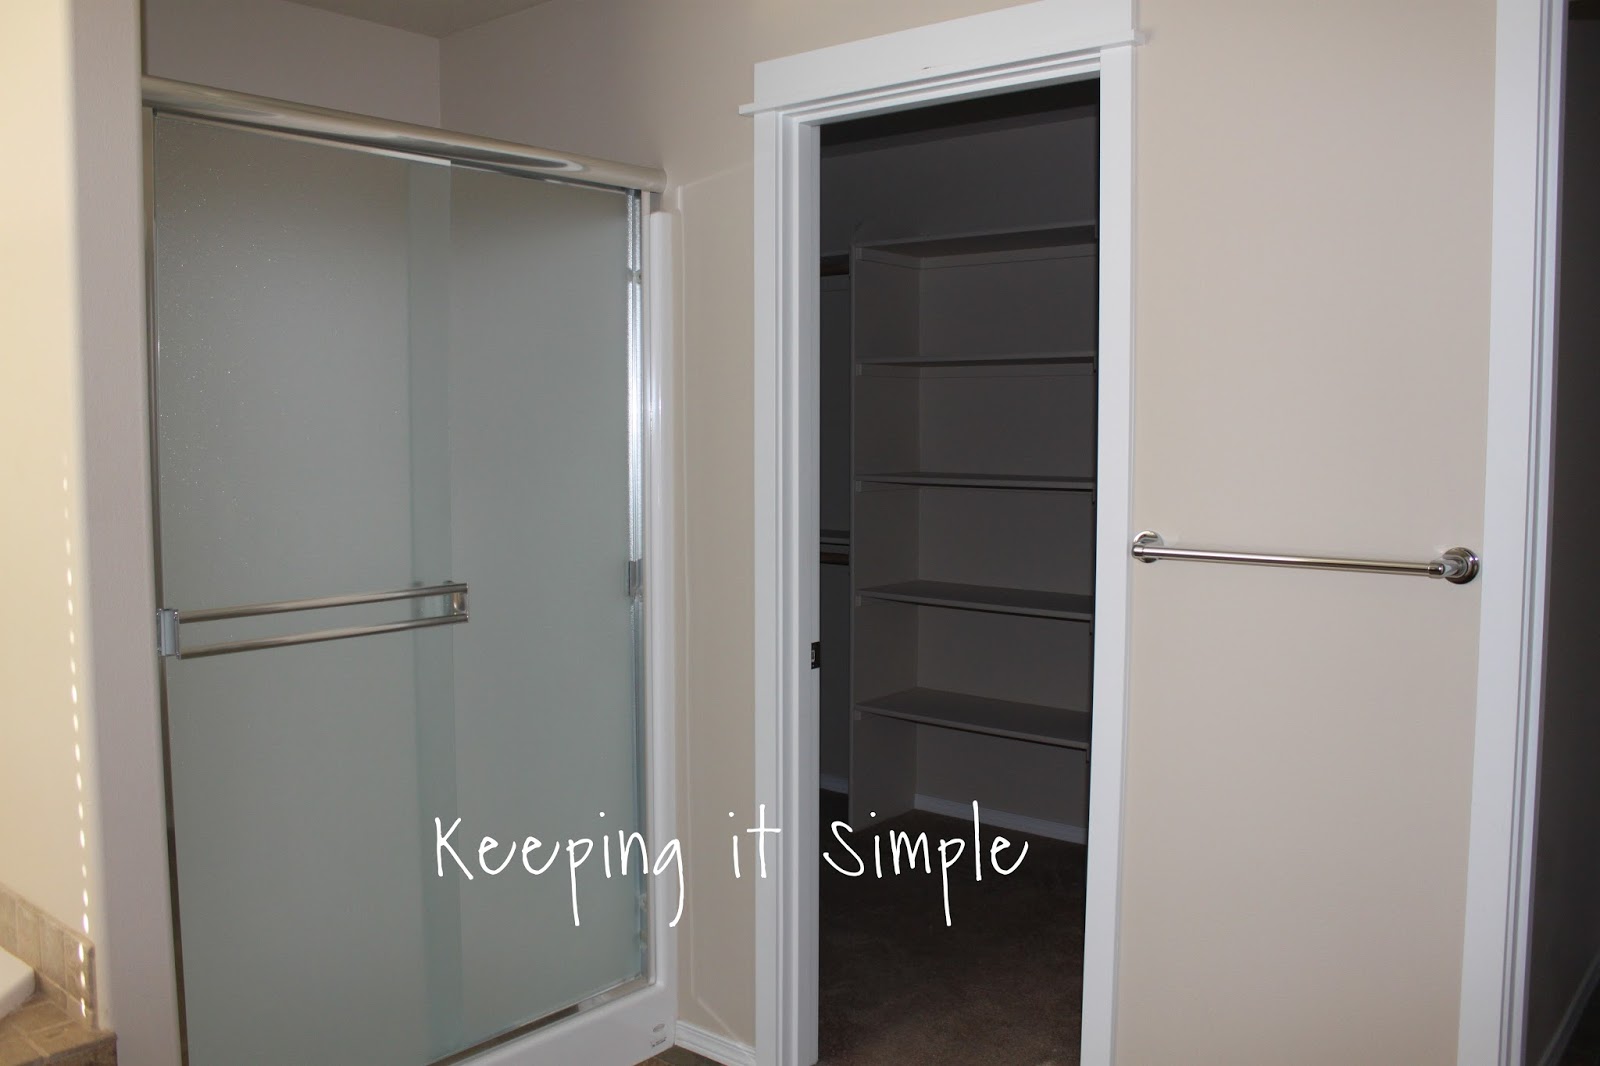
Before we get to the after pictures, you have to see the whole bathroom before we did anything to it. So here are the before pictures:

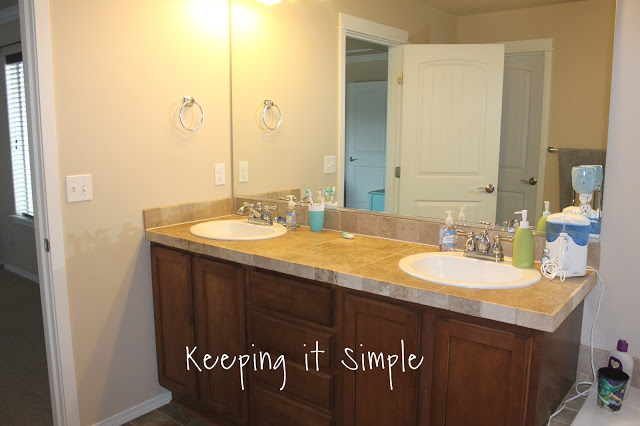
Here is a list of material that we used for the finishes:
Wall paint- Worldly Gray from SW
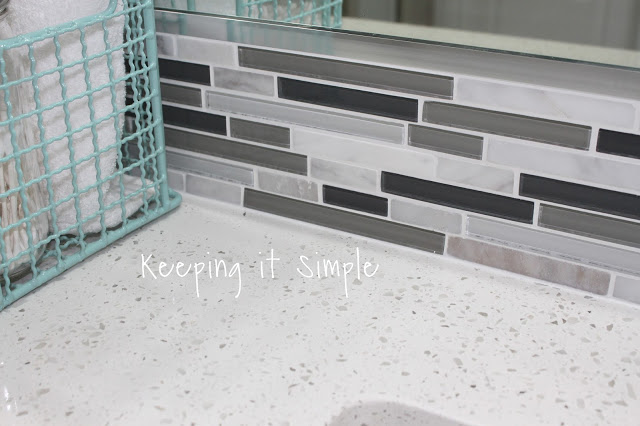
Counter Tops- Iced White Quartz
Cabinets- Pro Classic from SW
Flooring- Ridgemont Porcelain 12×24 Silver Tiles
Back Splash- Venatino Linear Mosaic tiles
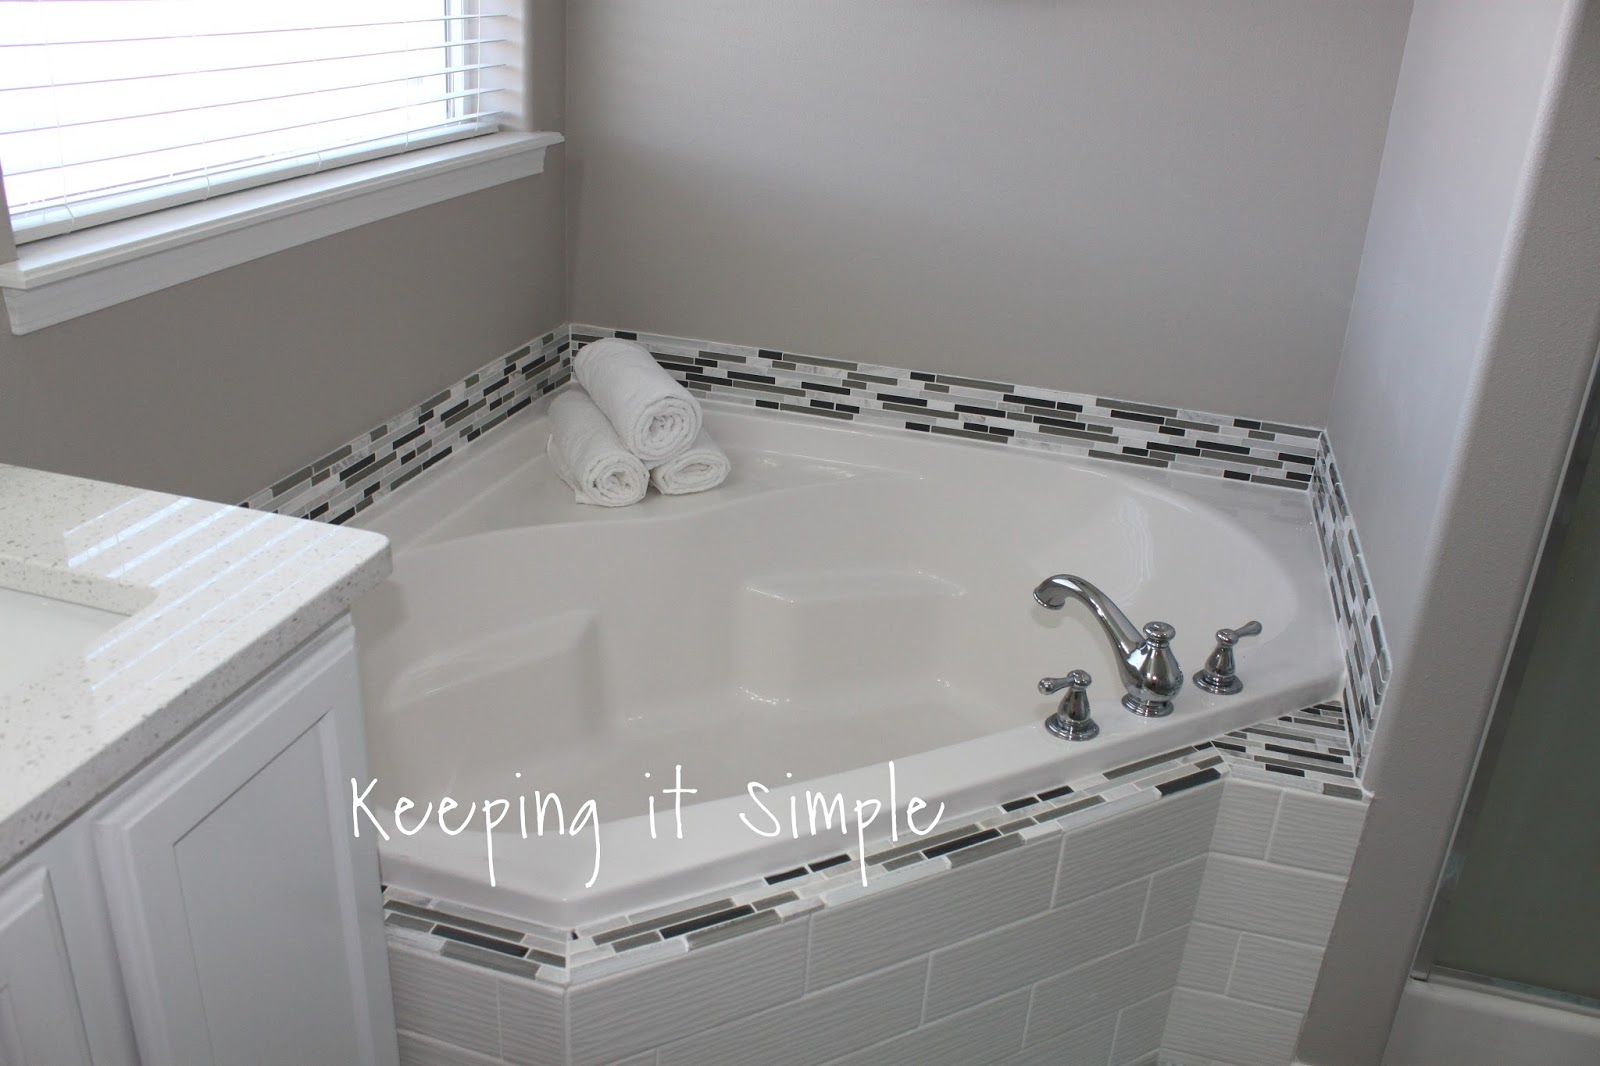
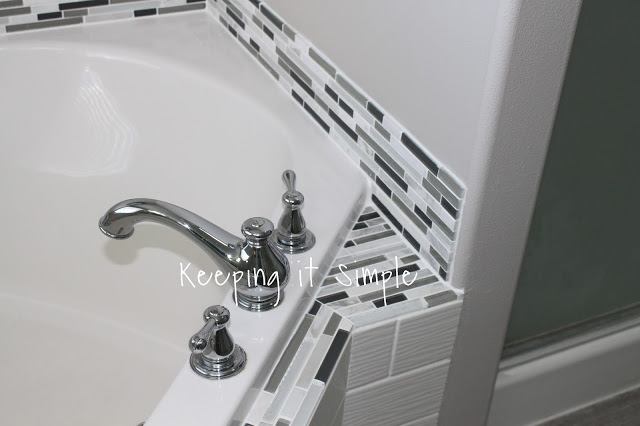
Bathtub tile- Wavecrest Tiles
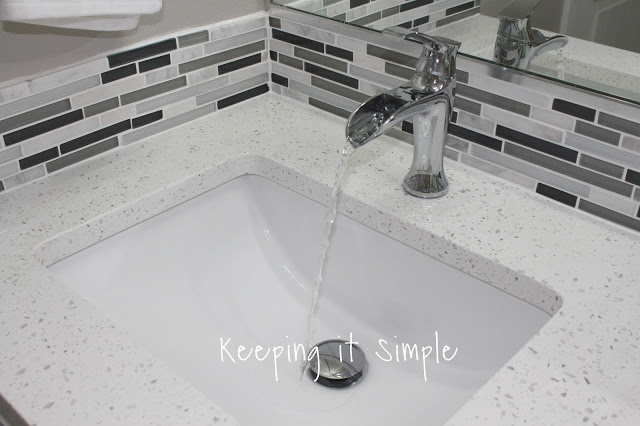
Faucets- Chrome Waterfall Faucet
And here are the after pictures! I will let the pictures do the majority of the talking because I think they speak for themselves :)!!!
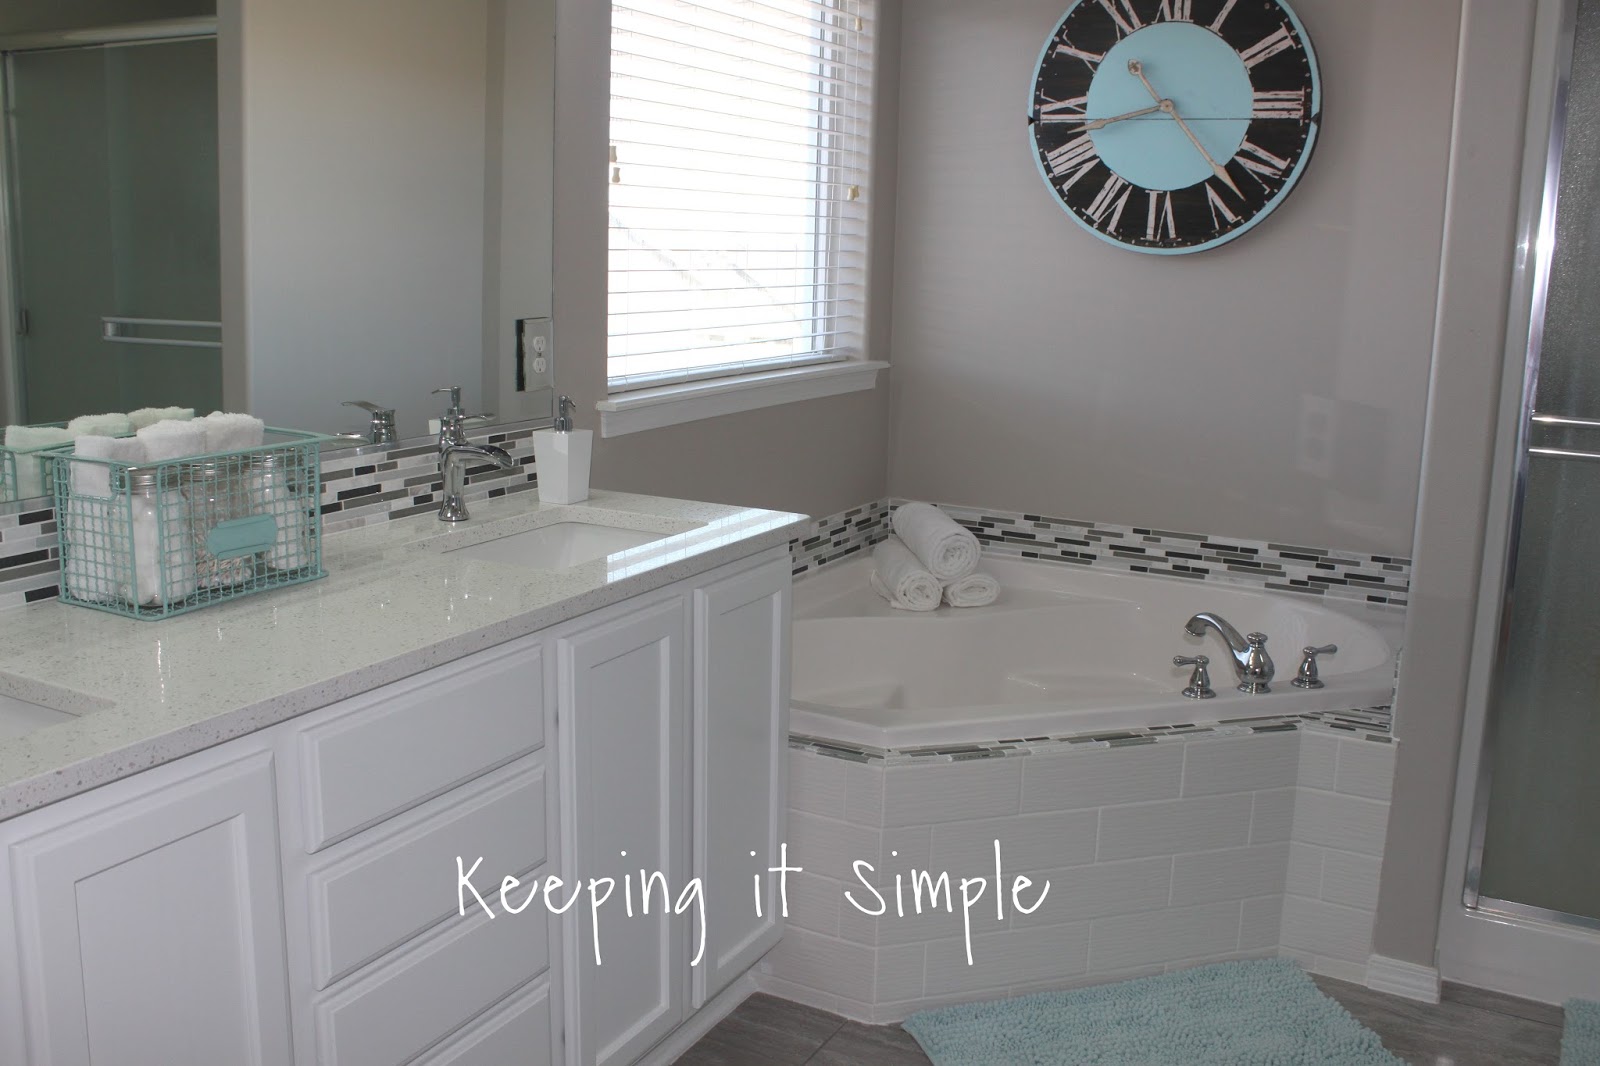
Here is my favorite part of the bathroom, the vanity and the bath tub, I love how they look together!
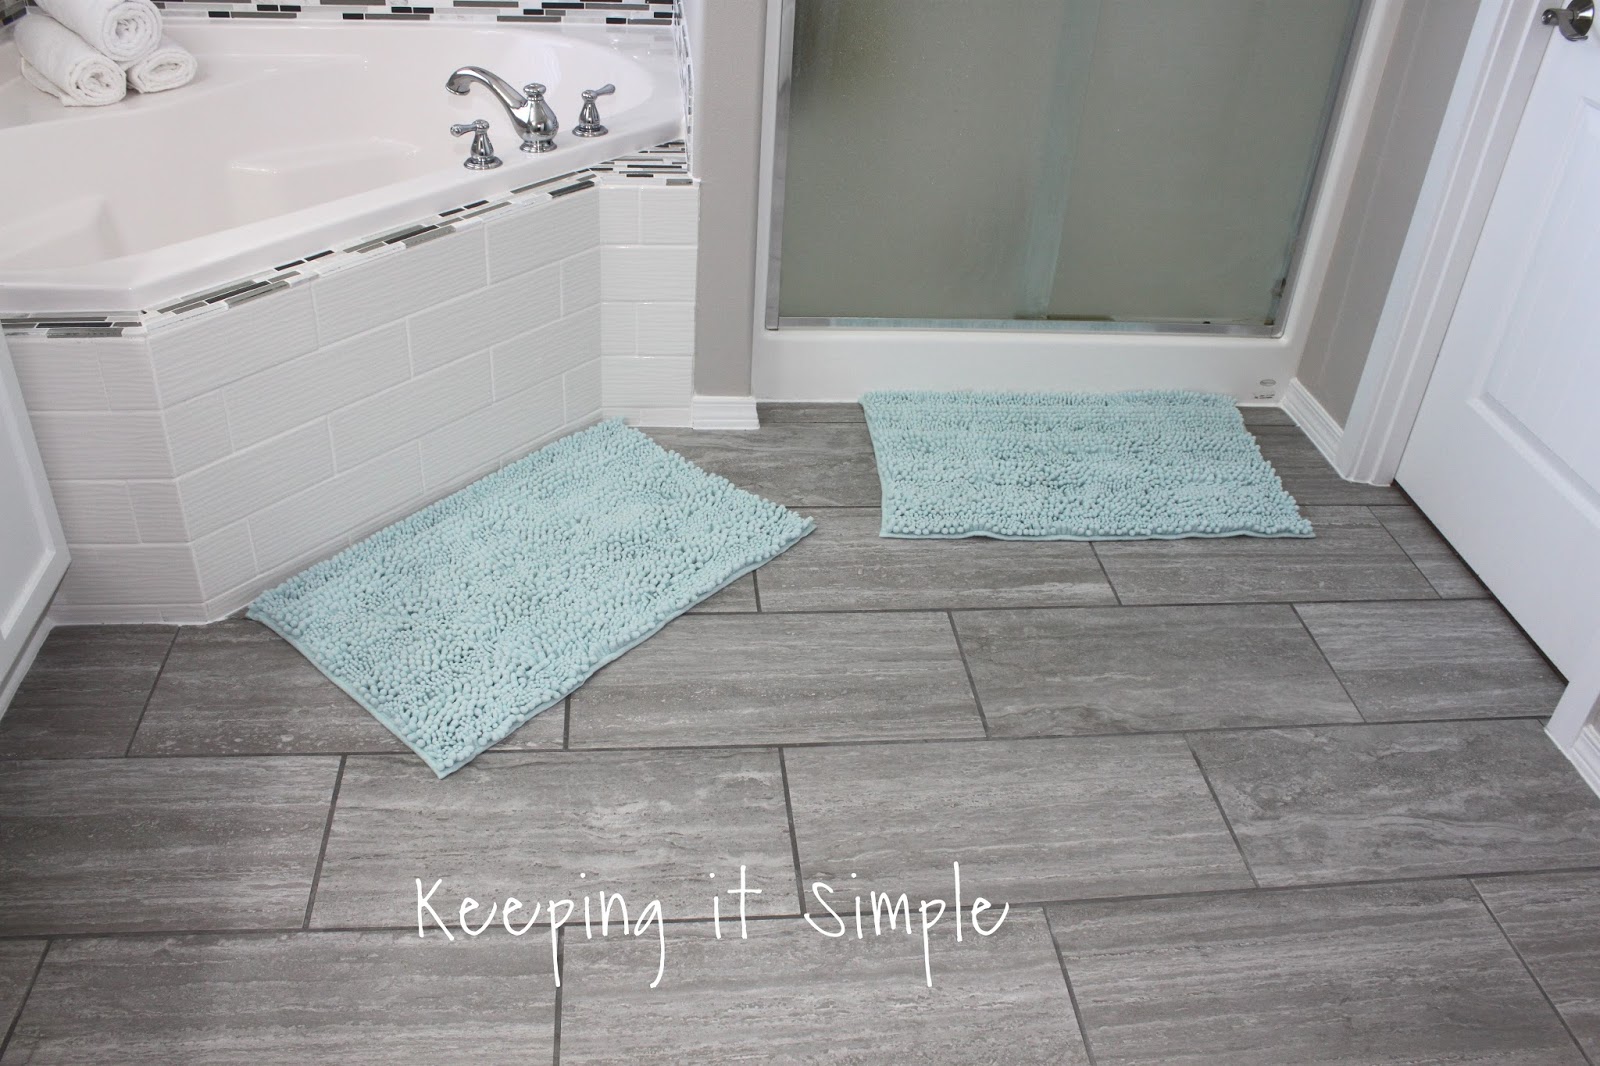
And here is the beautiful tile flooring that we put in!
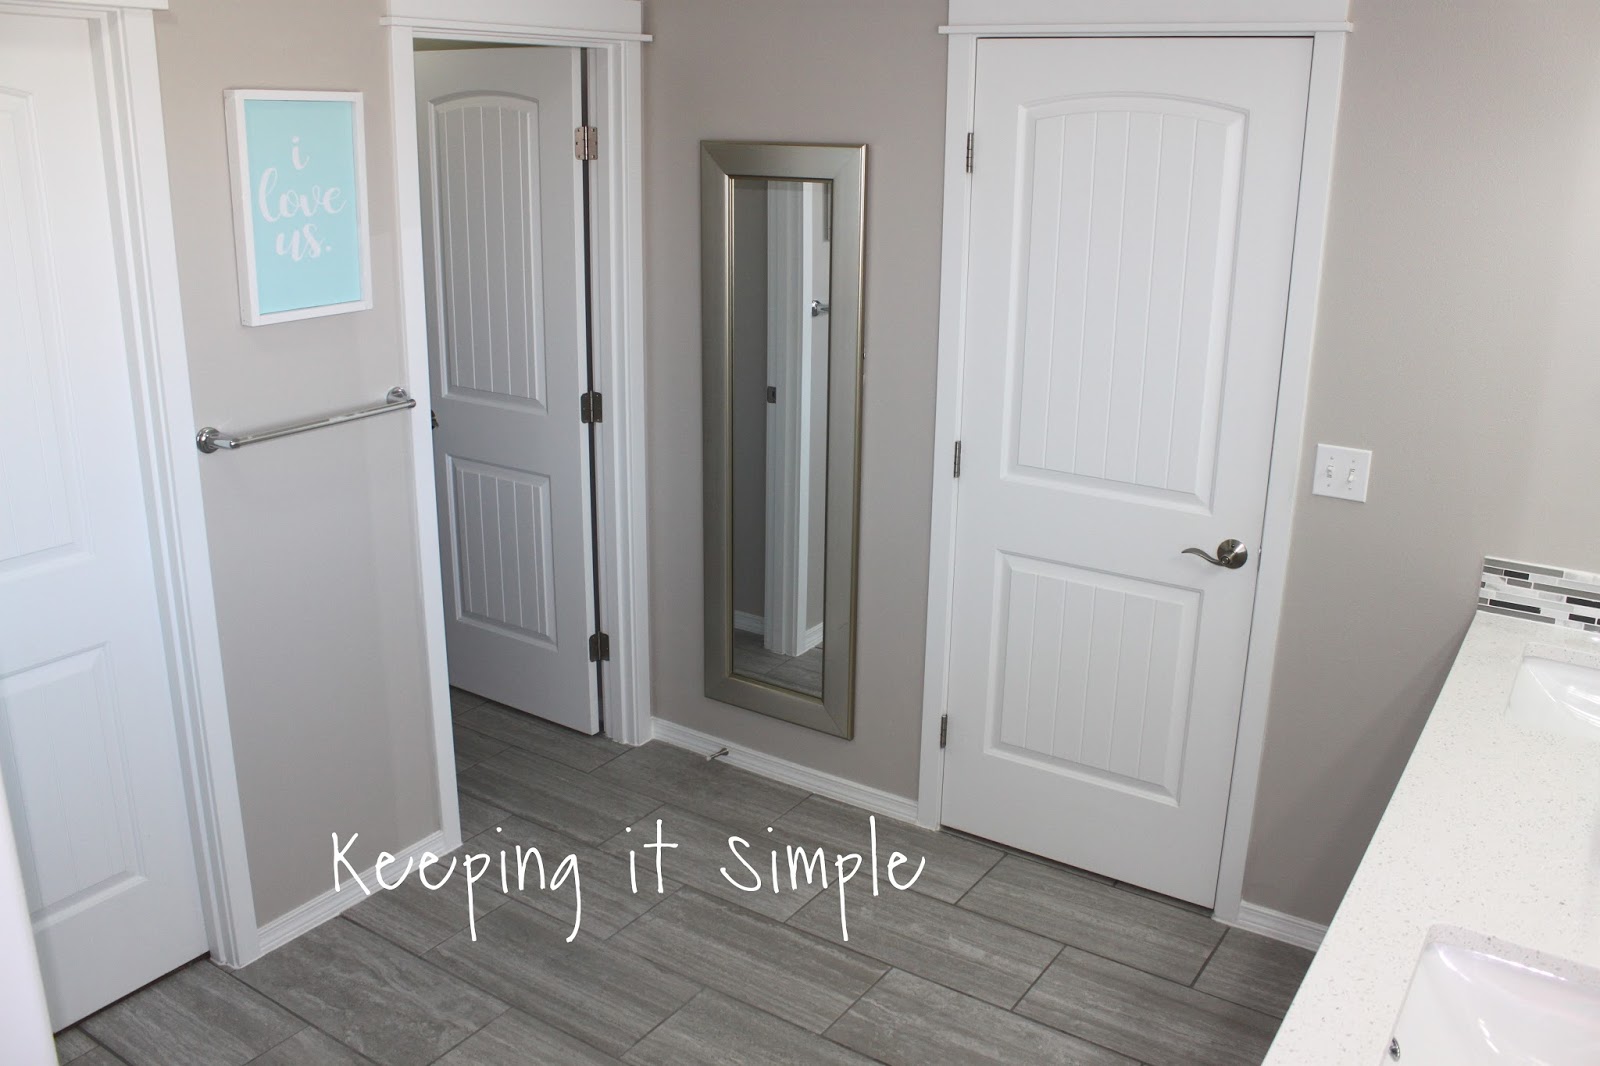
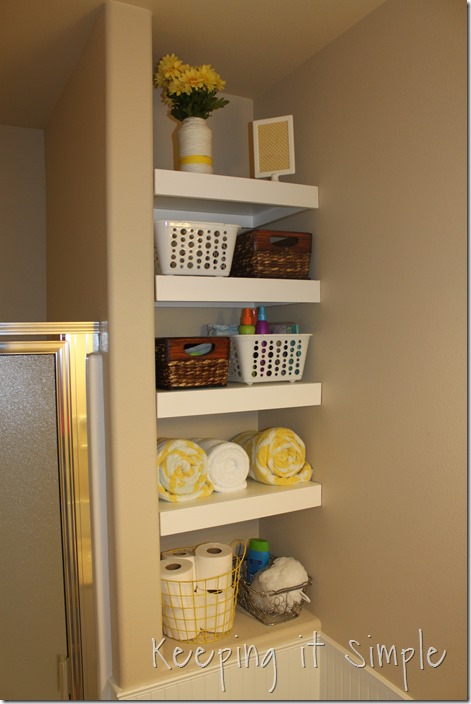
For extra storage, we built some shelves in the toilet room. You can see the tutorial on how to do that here.

I made a fun little sign for the in between the two doors. I was trying to decide to make it say “i love us” or “get naked” as you can see what won the debate :). Here is a tutorial on how to make a sign like this one.

I love how the painted vanity turned out, it’s so bright and clean now! To see how I did that, check out the tutorial here.


This bathtub seriously makes me feel like I am in a spa! To see how we tiled the bathtub, check out the tutorial here.
I love how the tile just flows into the toilet room! To see how we did the tiling, check out the tutorial here.

And here is a few more close ups of the finishes 🙂
The back splash and quartz counter tops.
The waterfall faucet and pop up drain.
And that is our master bathroom, I just love it so very much!!! I hope that you enjoyed it :).
Here are a few more DIY ideas:


Leave a Reply
You must be logged in to post a comment.