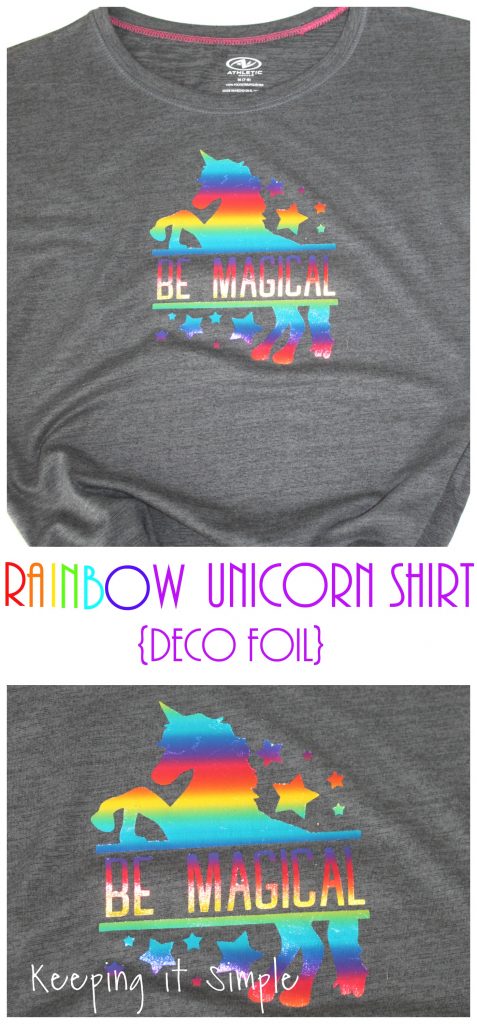
Rainbow Deco Foil Shirt {Be Magical Unicorn}
My daughter loves unicorns and rainbows and to be honest so do I! I would all be for my bedroom to be filled with them, but instead I have a boring grown up room and she gets to have the fun and bright rainbow room :). I love making shirts for her and when I saw this awesome rainbow deco foil I knew that I wanted to make something fun for her. Naturally I thought that this unicorn would be perfect!
Here is a video to show you the process of how I made the shirt. The deco foil is really cool to watch!
This is how I made it:
I started with a regular t shirt and then the rainbow deco foil. Then I used the EasyWeed adhesive for the design. You have to use it with this adhesive because that is what transfers the design onto the shirt.
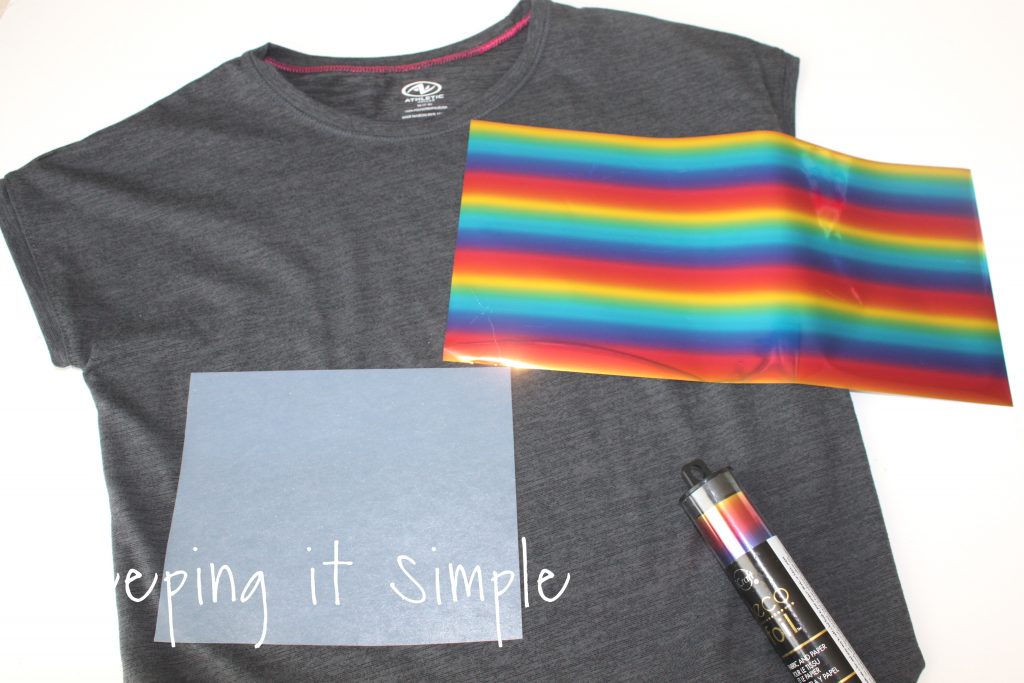
I cut out the adhesive HTV with my Silhouette CAMEO. You can get the unicorn design here. The font I used is called Hershel Font Duo. You cut it out just like you would regular heat transfer vinyl, putting the shiny/plastic side down onto the mat and then mirroring the image. Then you weed it like you would with the HTV.
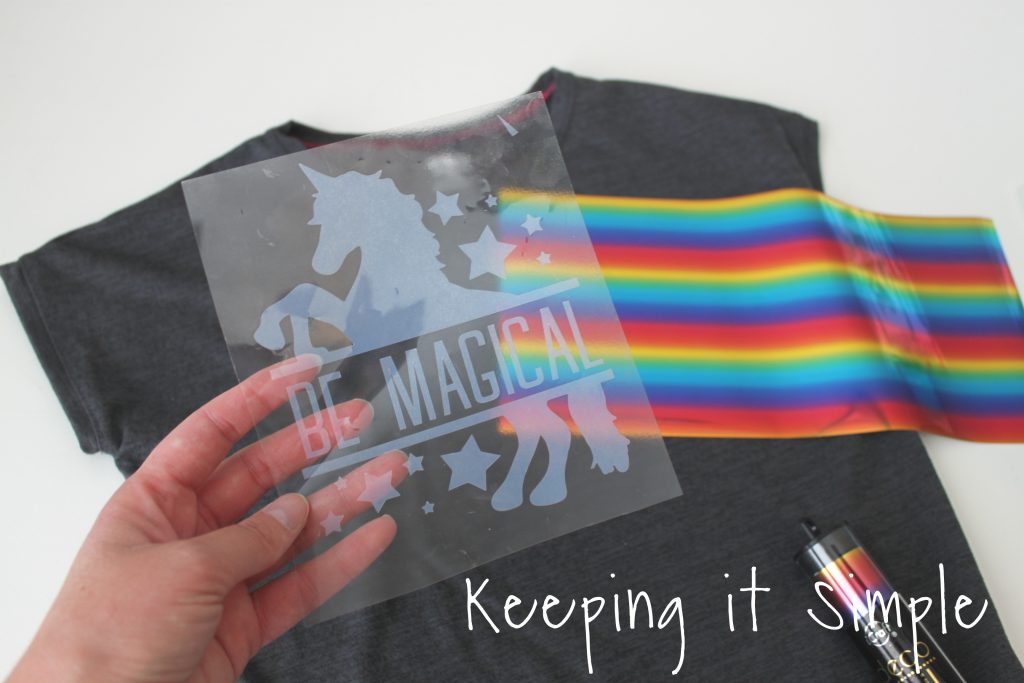
The adhesive HTV and deco foil are a little more delicate than other iron on vinyls, so the heat that you use is 275 degrees on a heat press, or the nylon setting on an iron. You can use either a heat press or an iron to make this.
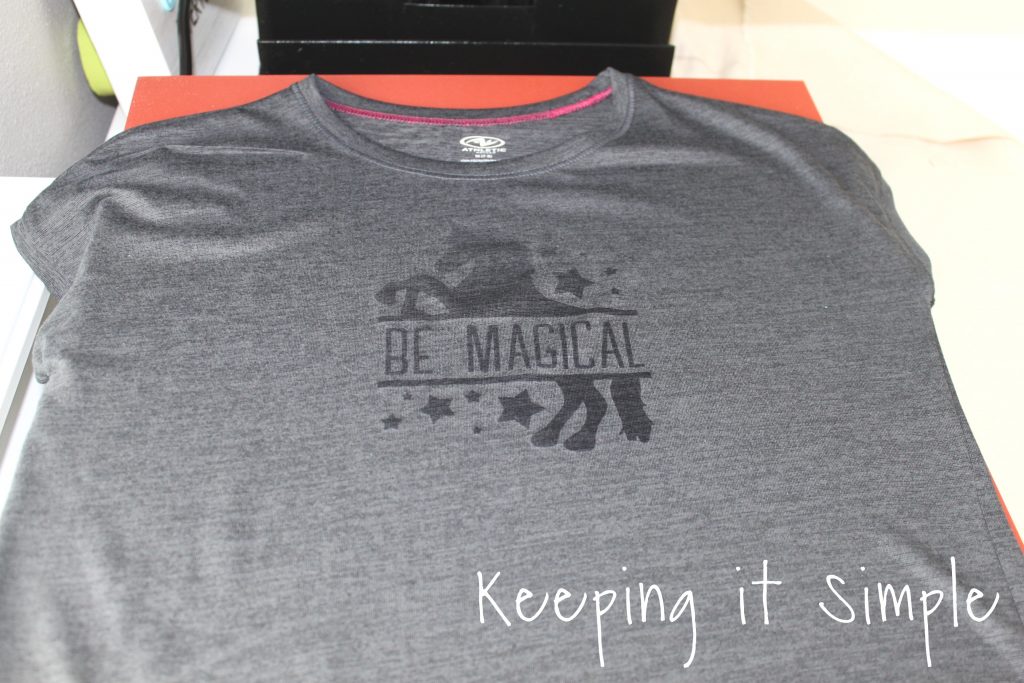
First I used the press to remove the wrinkles out of the shirt. And then I pressed the design onto the shirt. You only do that for 3-5 seconds and then remove plastic while it is still hot.
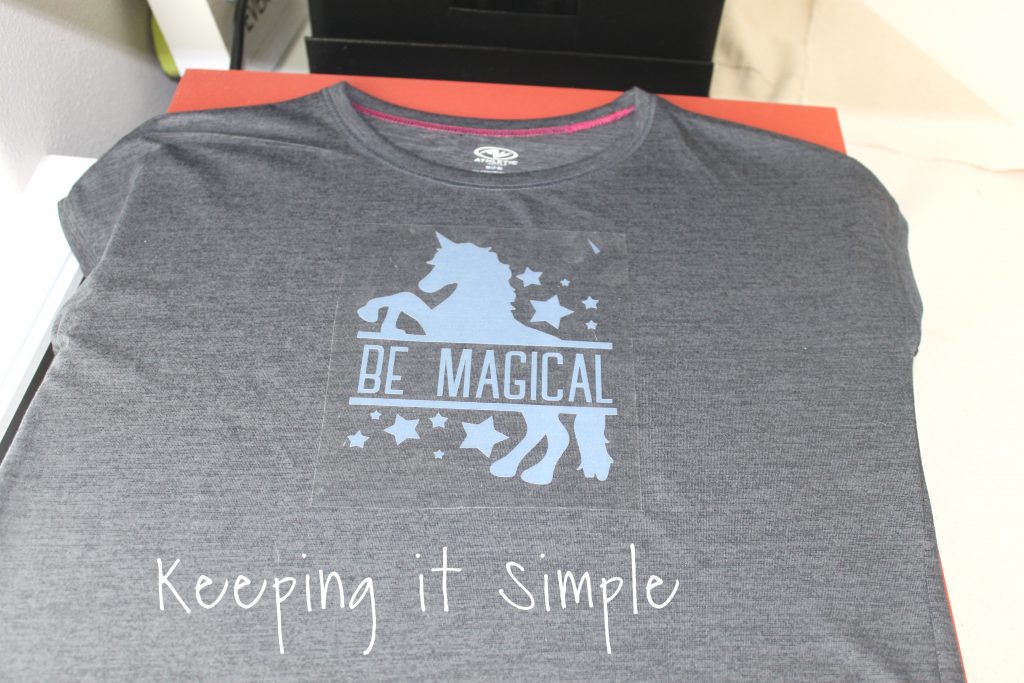
Here is what it looks like when I took off the plastic.
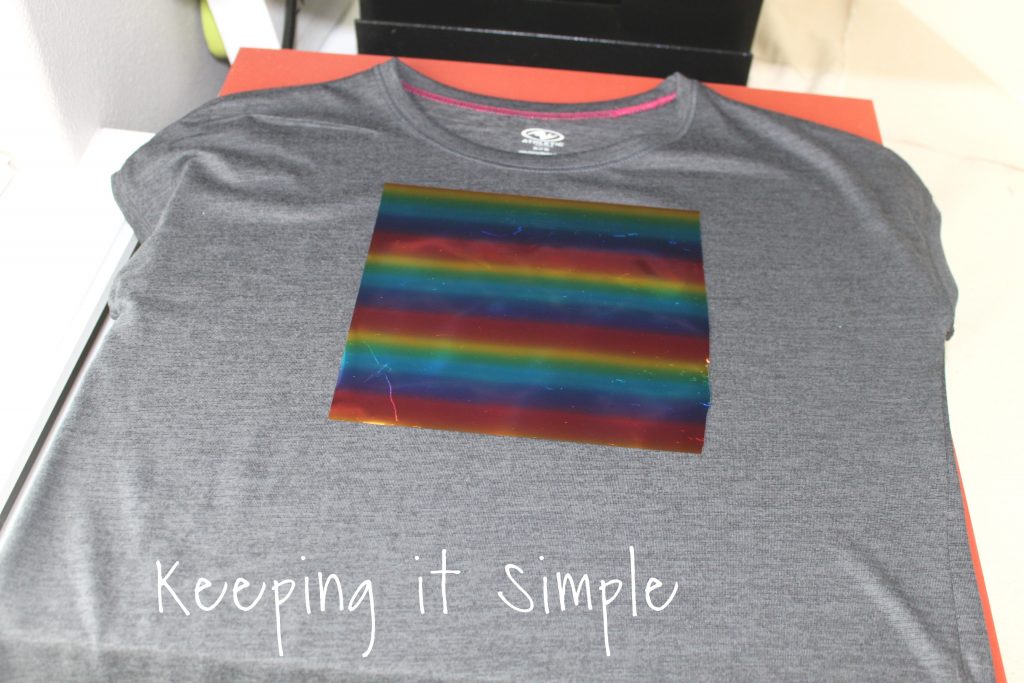
Then I put the decor foil onto the design and pressed it for 10 seconds. To see all the settings for the heat press, go here.
I let the foil cool and then once it was cool, I removed the foil.
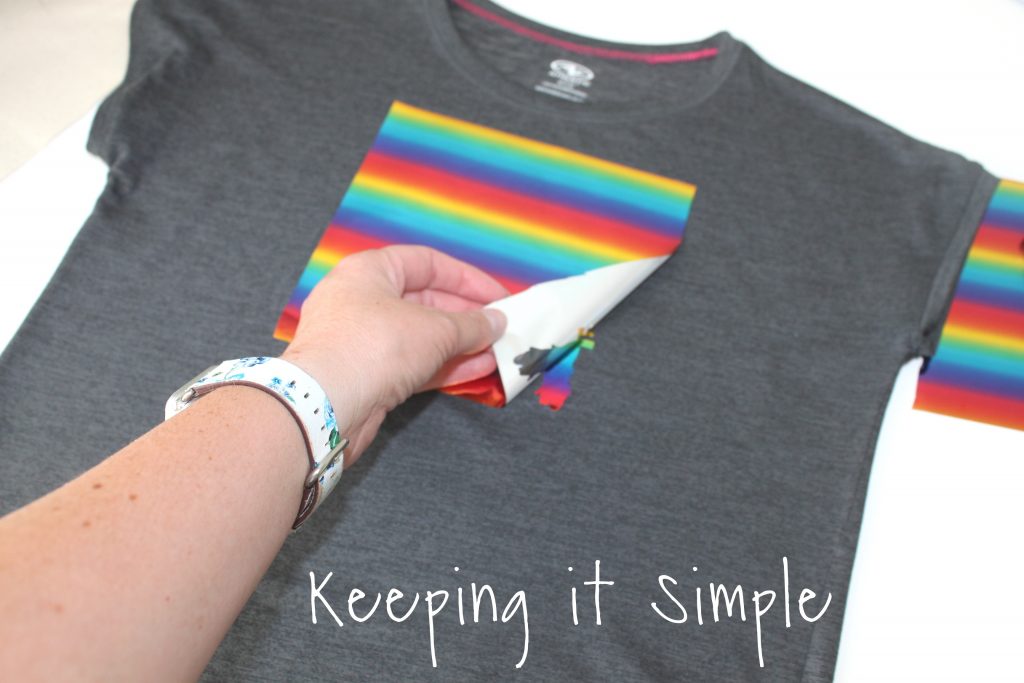
The foil sticks to the adhesive and leaves an awesome design.
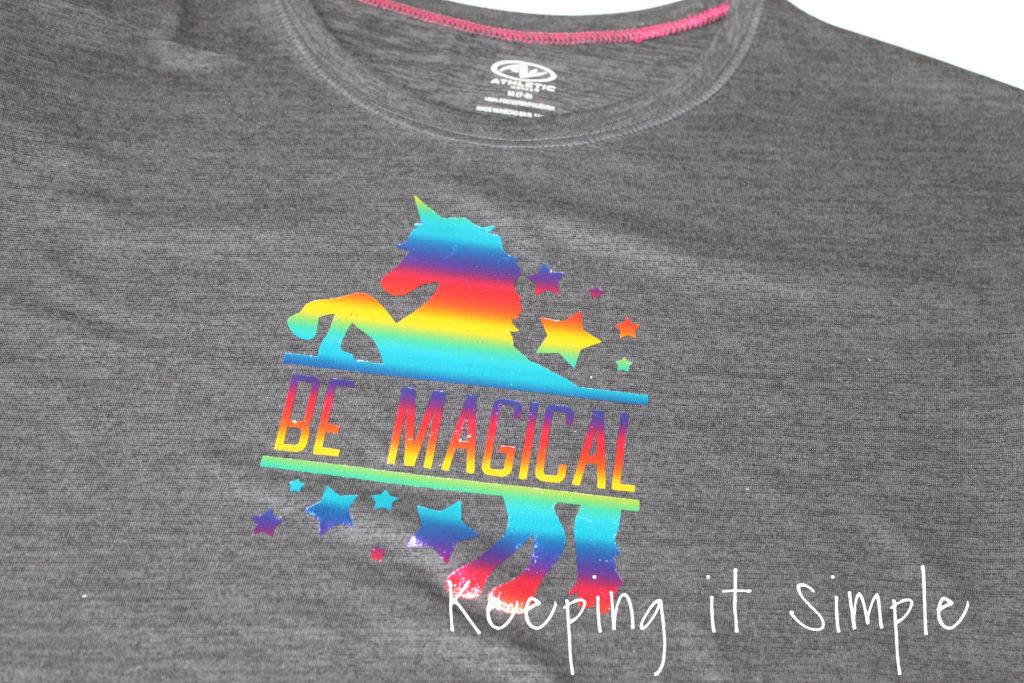
And that’s it! I love how it turned out!
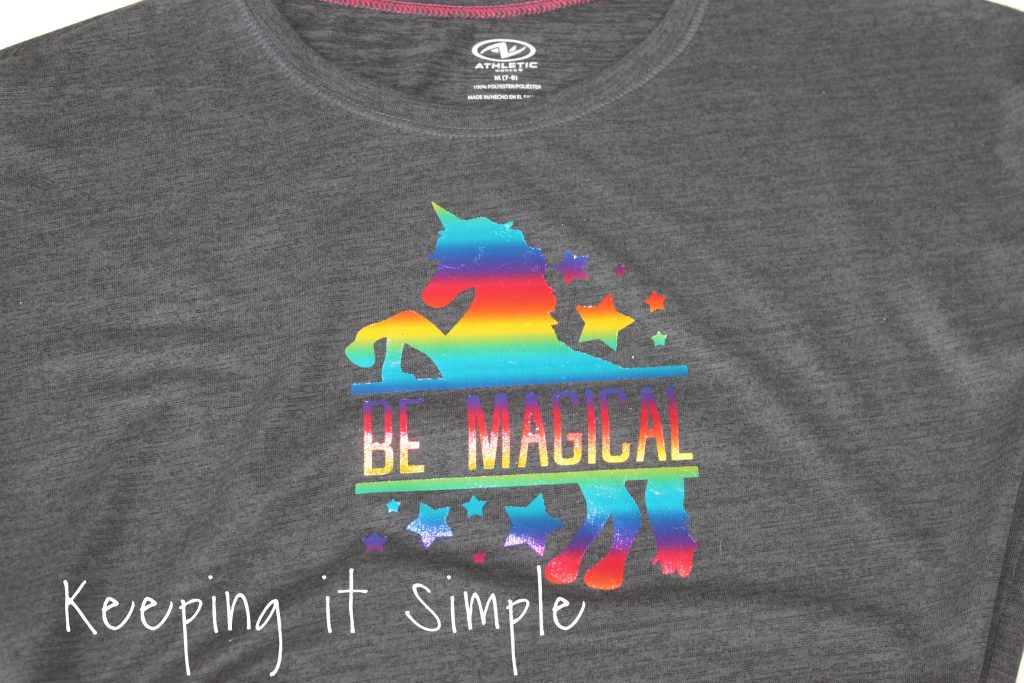
Just so you know, since the deco foil is a little more delicate, it won’t wash as well as the HTV. Wash inside out and then hang dry. It should last 5-10 washes. It would love amazing on a pillow or bag that doesn’t get washed a ton too!
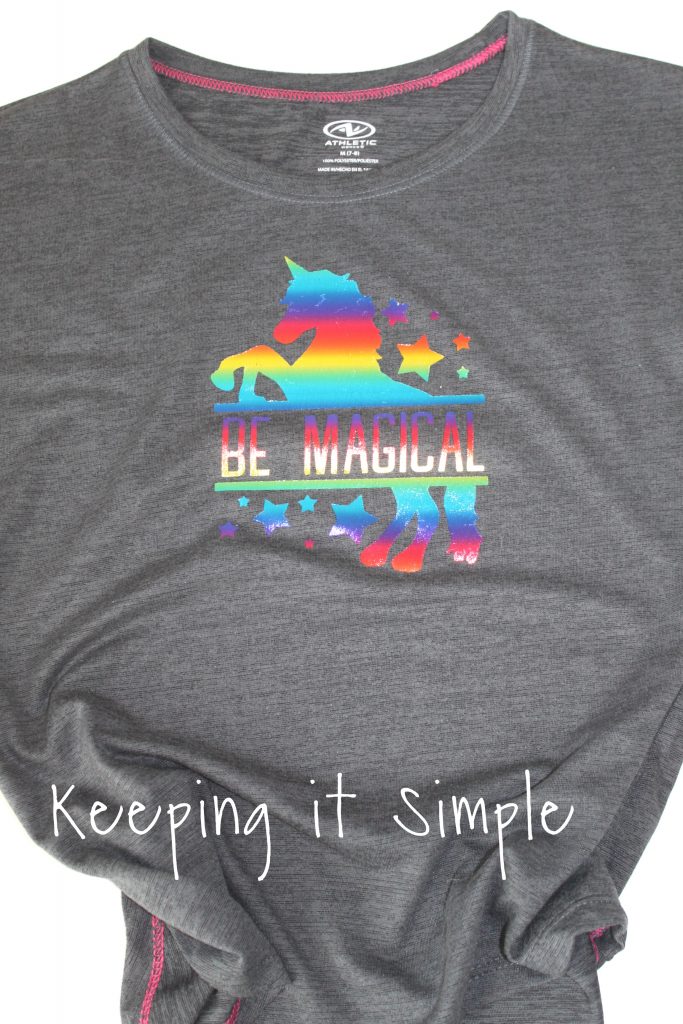
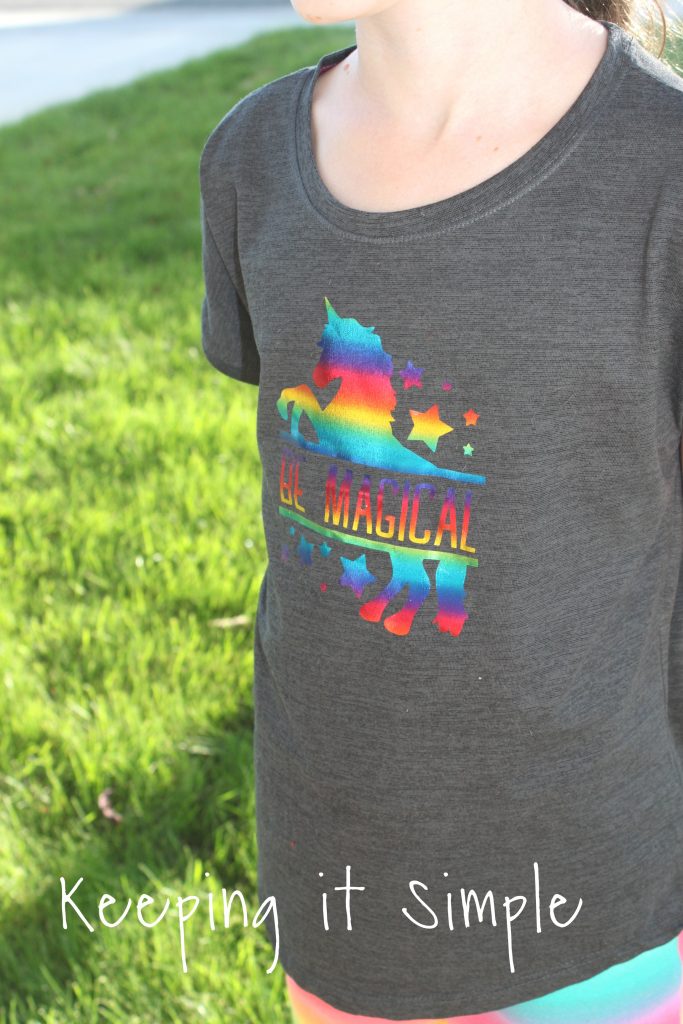
Here is my cute girl wearing her shirt, she was so excited about it that she immediately wore it to school the day after I made it.
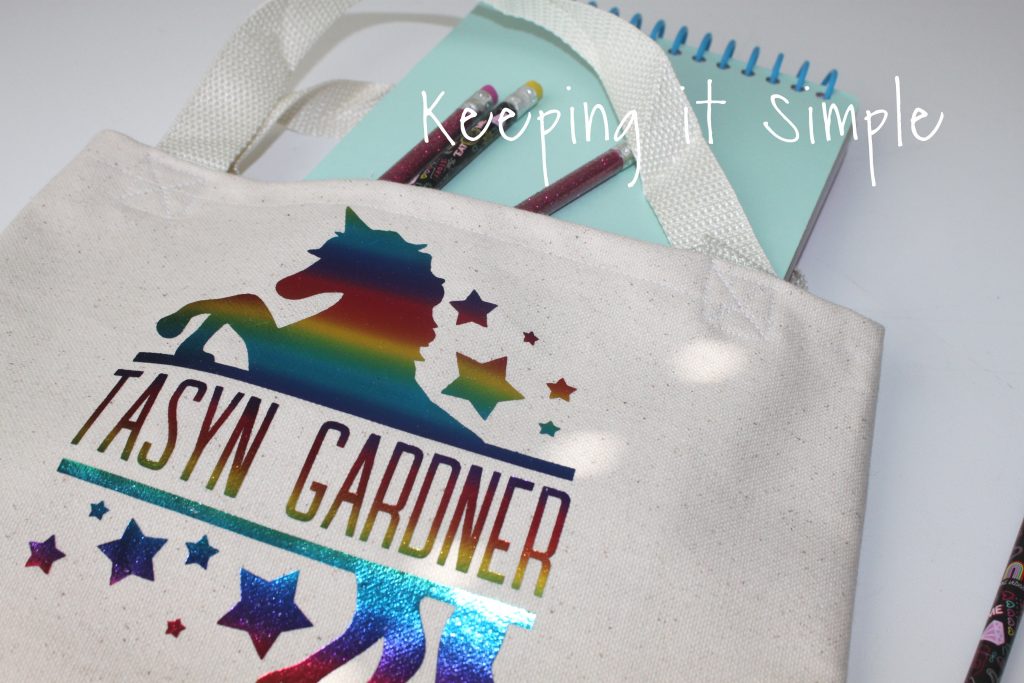
I also wanted to put it on something that we weren’t going to be washing as much, so I put the design on a little bag that she can carry her drawing stuff in.
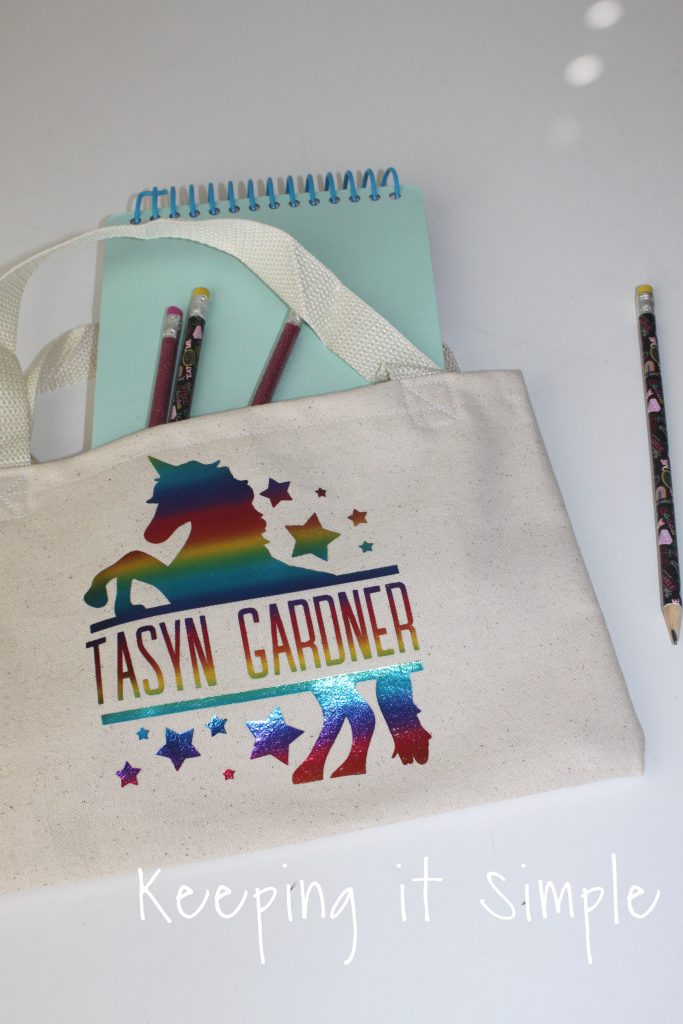
It turned out super cute and I love how the rainbow foil looks, I want to do this to everything now! 🙂
Check out all the other shirts that I have made.
This post contains affiliate links.
Leave a Reply
You must be logged in to post a comment.