Ever since I did my Shabby Apple giveaway, I have been really wanting a cute dress. I have entered every giveaway that I could find, no luck. Then I remembered that I had a dress that I could refashion. I bought this dress when I was pregnant (it’s a pregnancy dress) for $1 at a garage sale. I have wanted to do something with it for a long time but never put the time into it.
So here it is before. This is an awful picture, my son took real quick so I could start working on it. The angle is bad and the dress makes me look pregnant.

Here’s the after. Much better, don’t you think?

This is how I did it:
1) First I turned the dress inside out, pinned it and then sewed the back. I took off about 5 inches of the dress.
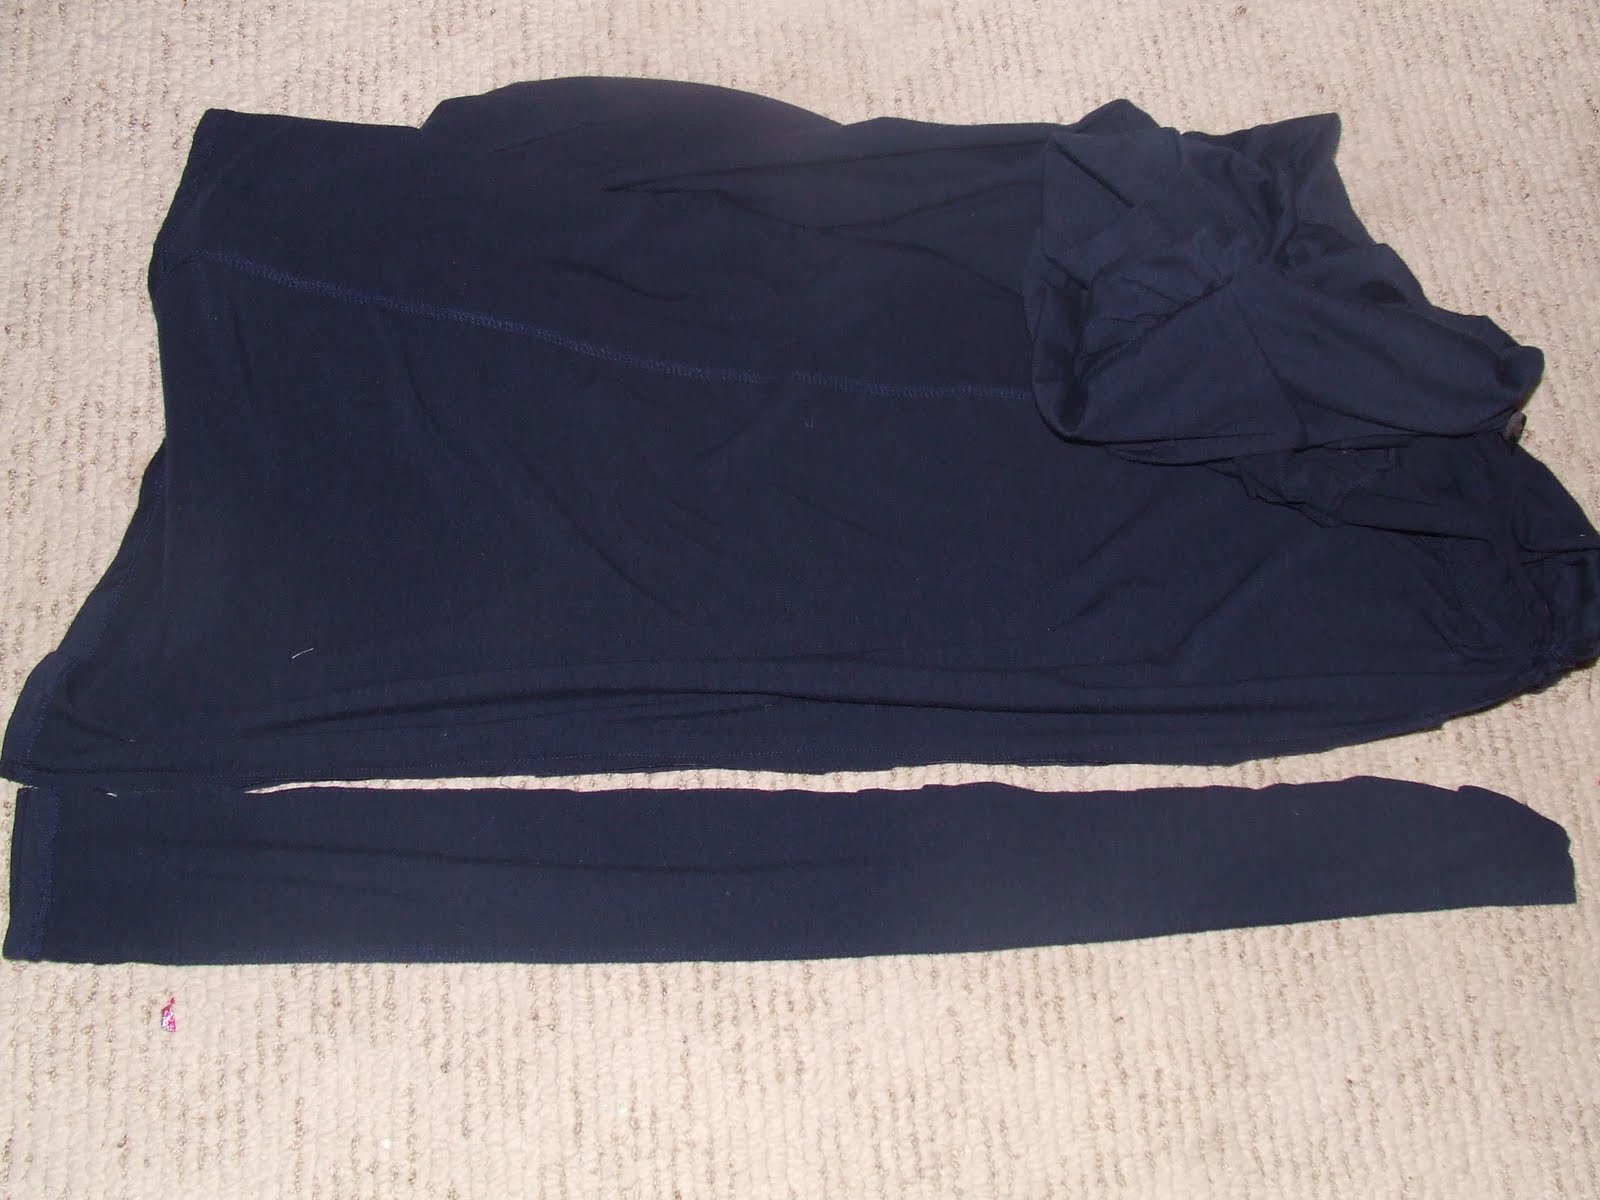
2) Then I worked on the sleeves. They were just too big. So I cut off the bottom of them

3) Then I did a straight stitch in the middle of the sleeve. I used a wide stitch, so I could pull the thread though.

4) I pulled one side of the thread to make it gather and then sewed it to keep it gathered.
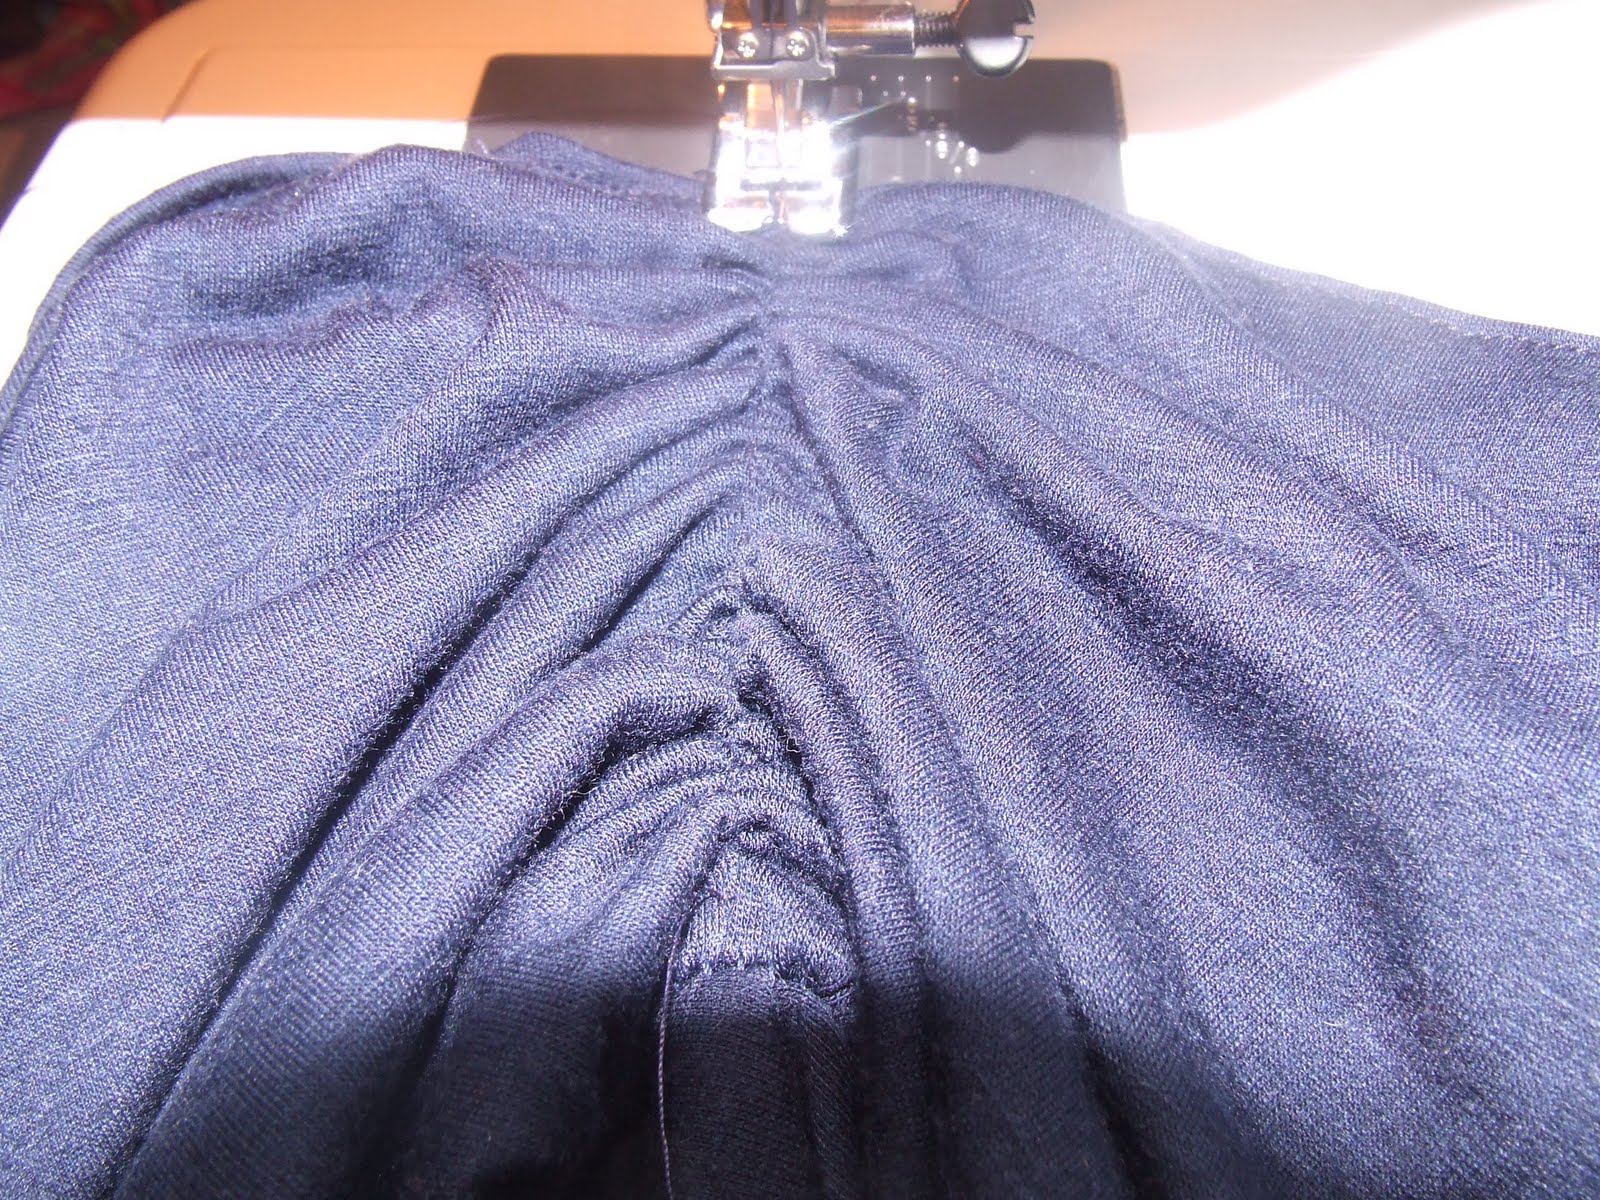
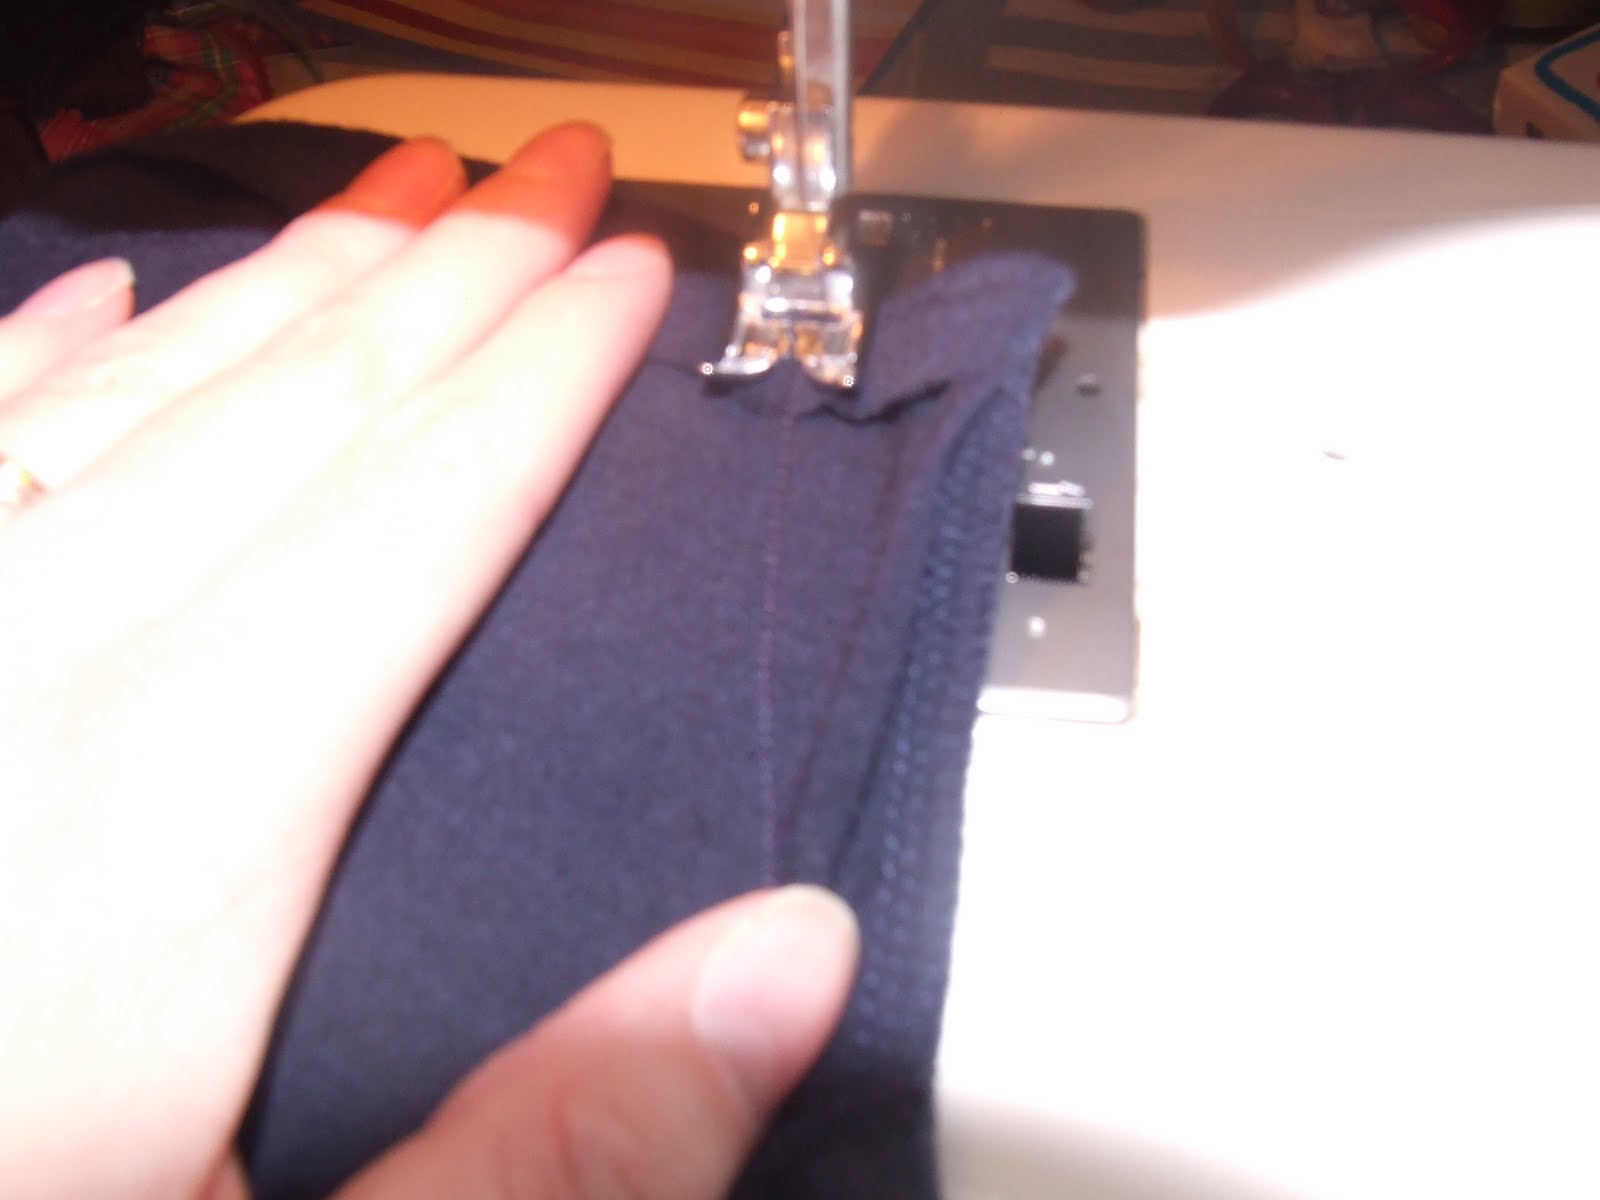
5) I then turned the sleeve inside out and sewed the bottom of it to make it smaller. Then I turned in the edge and hemmed it.
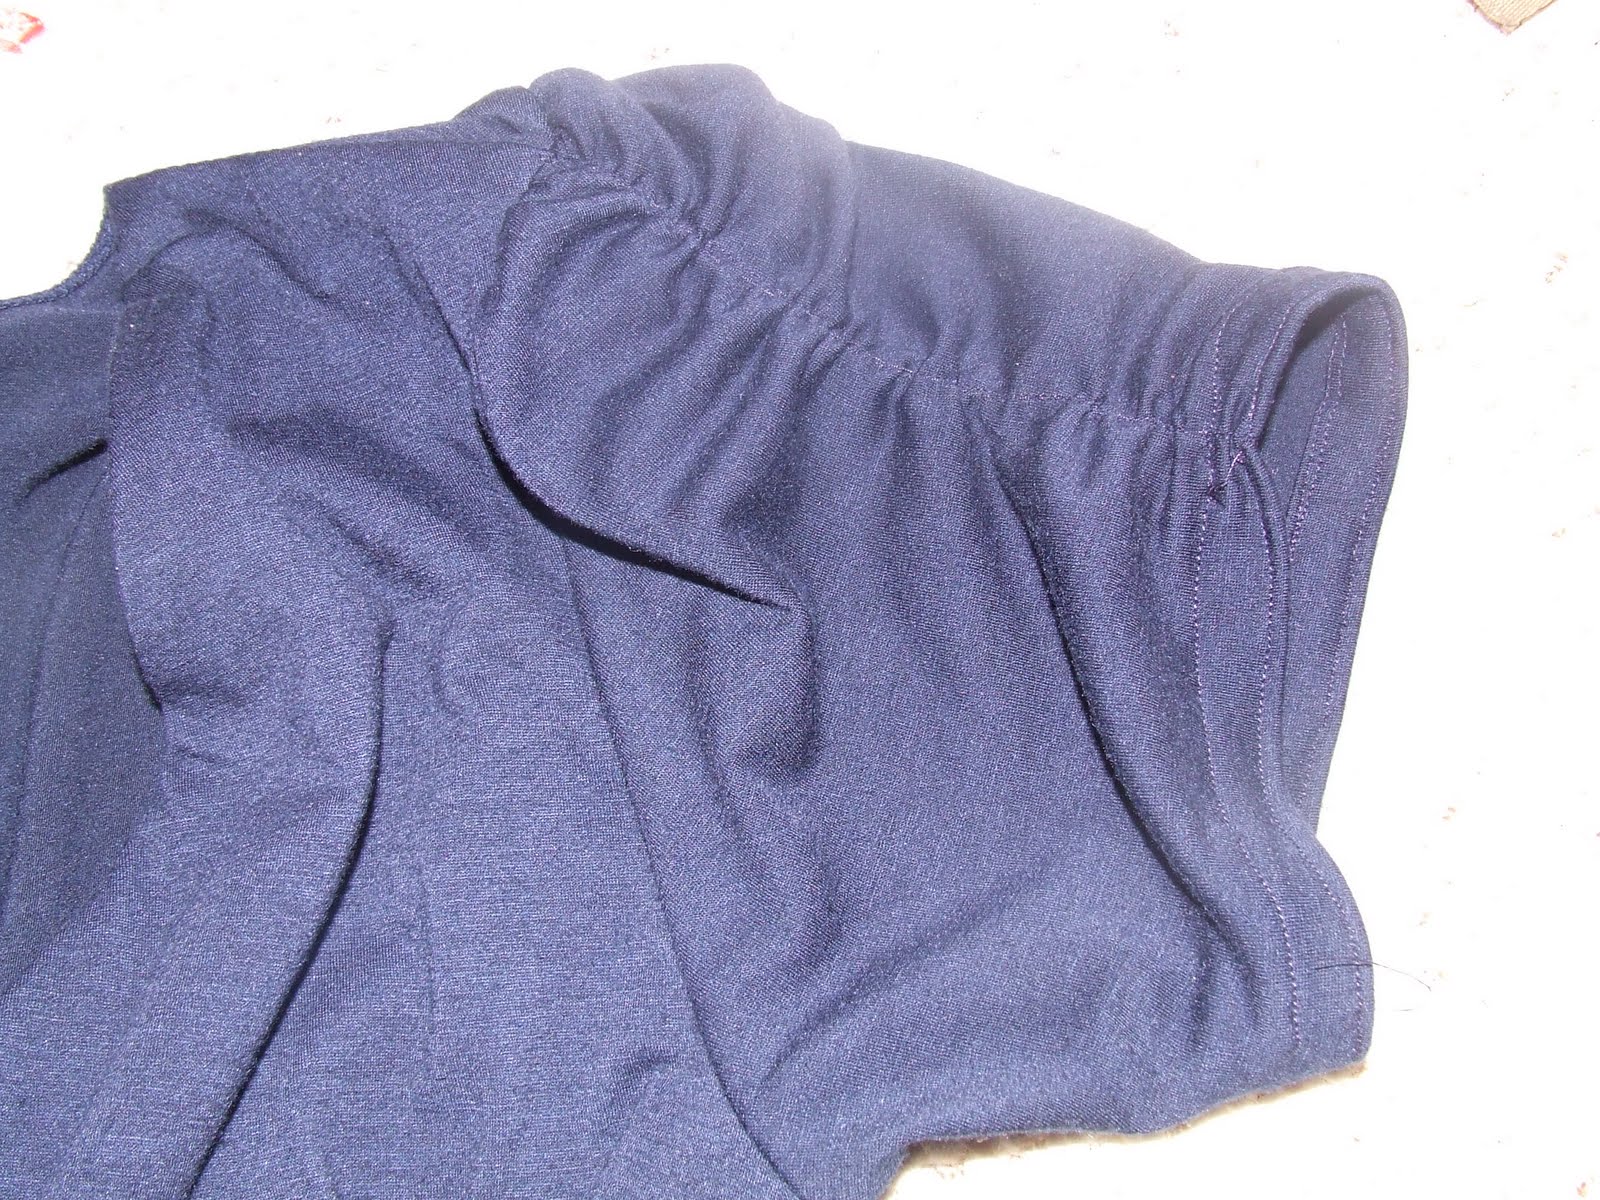
This is what the sleeve looks like now, much better!
Now for the little “belt” thingy.
6) I used a pair of pants that I made into shorts and pinned it to the dress.
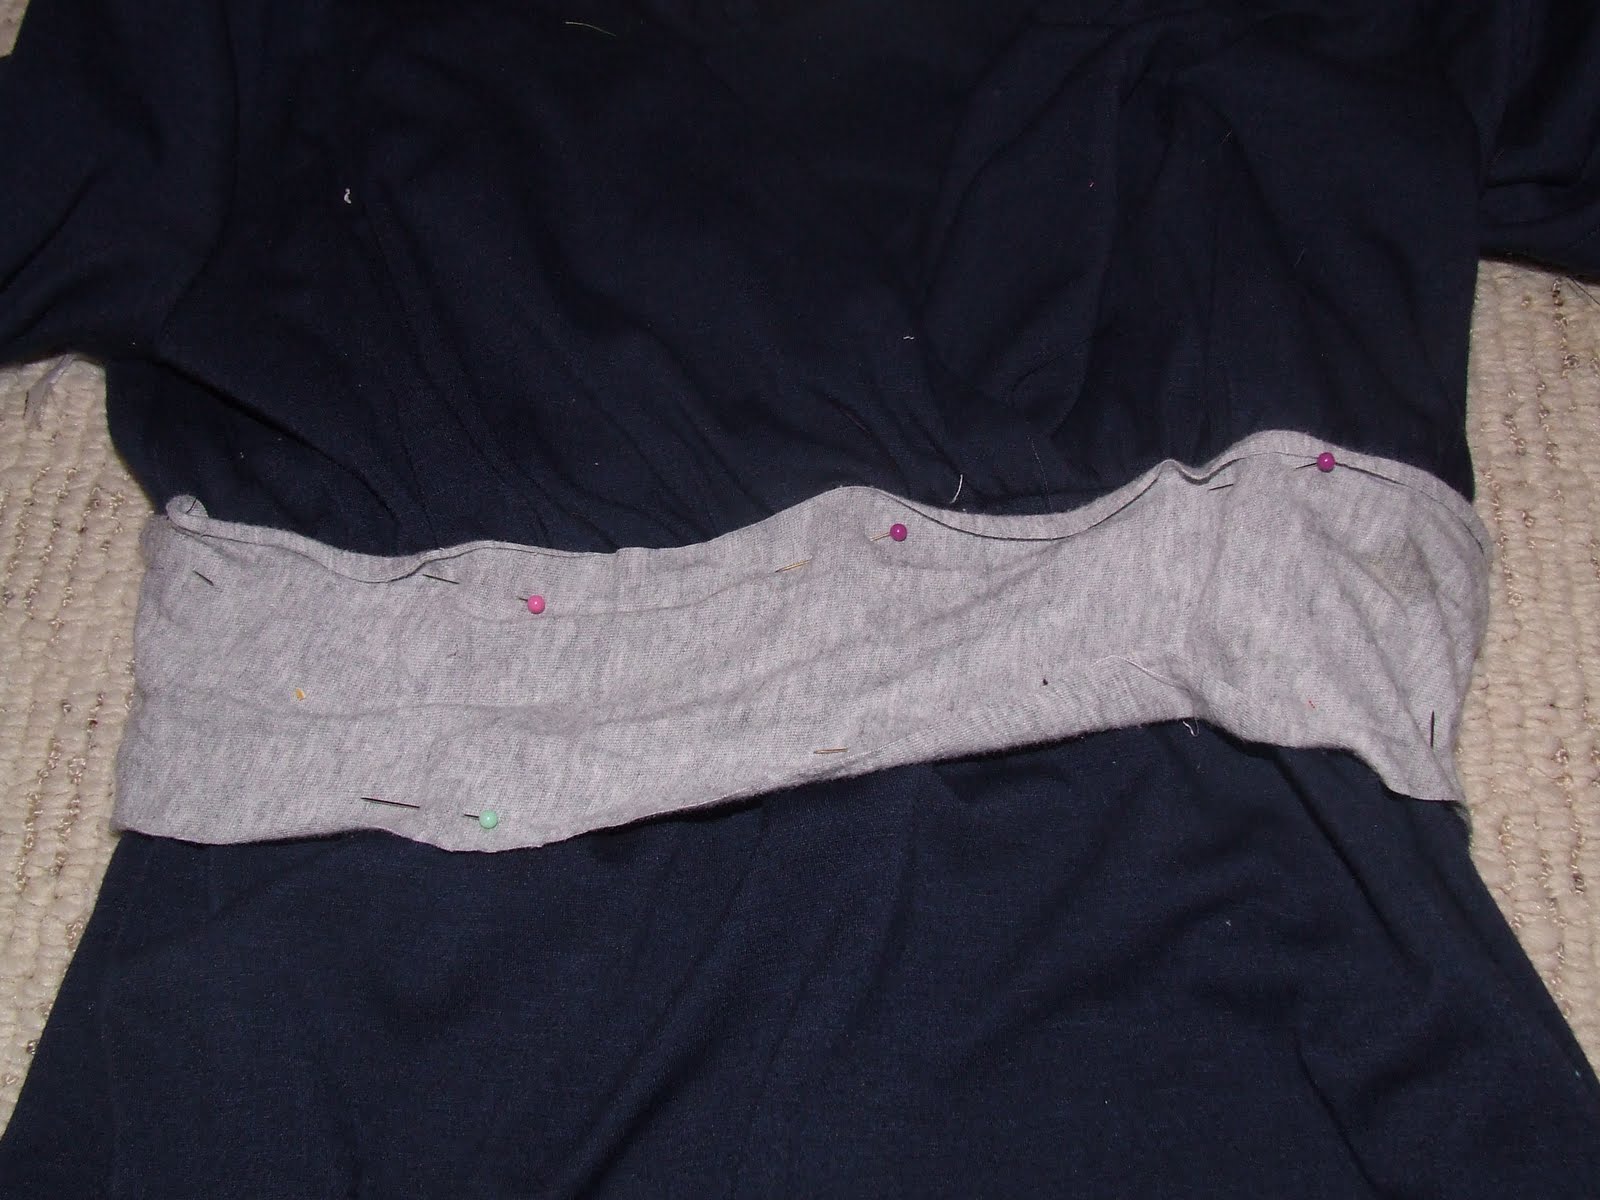
7) I sewed it about 1/4 inch from the edge, to allow the grey fabric to roll over the stitch.
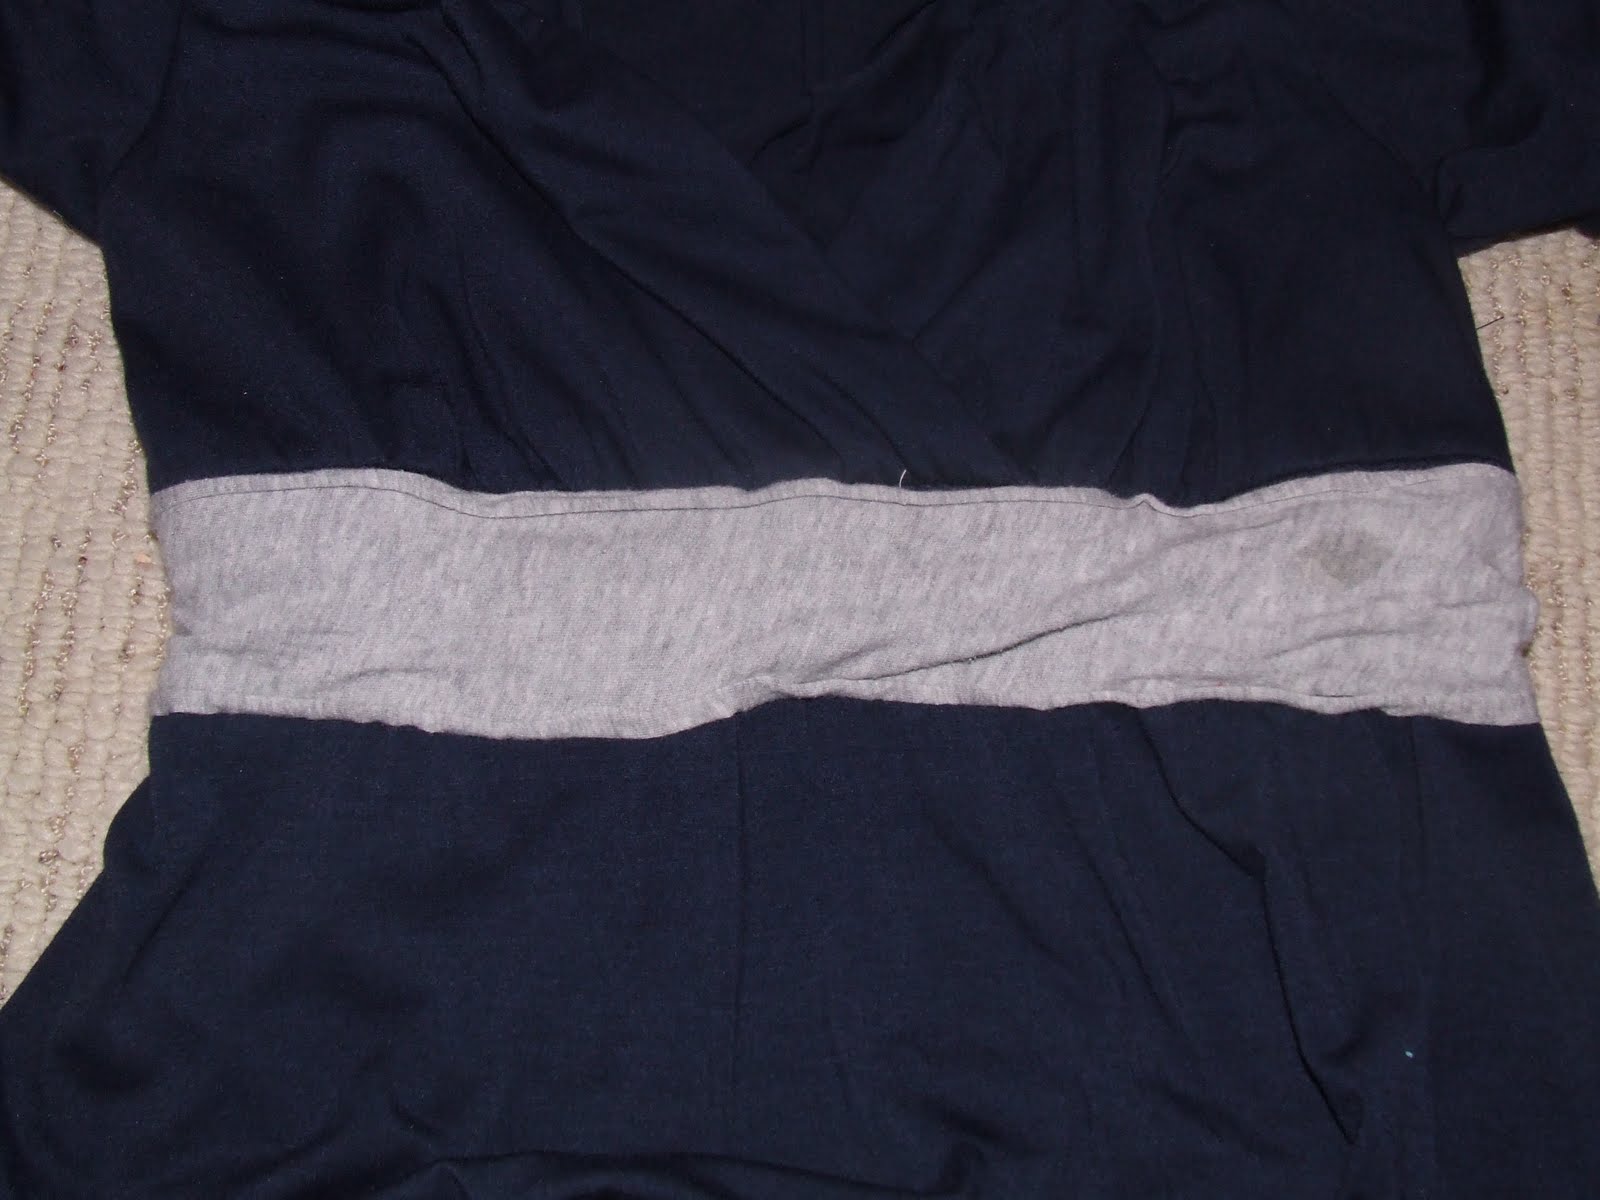
And just like that, I have a dress that actually fits me and doesn’t make me look pregnant! 🙂


Check out these sites!!





Great transformation!
Very cute!
Love the transformation! Gives a whole new meaning to shopping in your closet. Thanks for the step by step.
Cute! I'm making a resolution to wear more dresses this spring and summer! Stop by sometime, domesticdeadline.blogspot.com
Super cute!! great Re-Style!!!!
Yeah, it turned out great! I'm trying to get an eye for things like that.
Nice one! I love how you updated this dress.
So impressive! I would LOVE for you to share this awesome mommy solution in my Mommy Club link up! Or any other ideas. Stop over! http://www.crystalandcomp.com/2012/02/the-mommy-club-share-your-resources-and-solutions-31/
Crystal
So impressive! I would LOVE for you to share this awesome mommy solution in my Mommy Club link up! Or any other ideas. Stop over! http://www.crystalandcomp.com/2012/02/the-mommy-club-share-your-resources-and-solutions-31/
Crystal