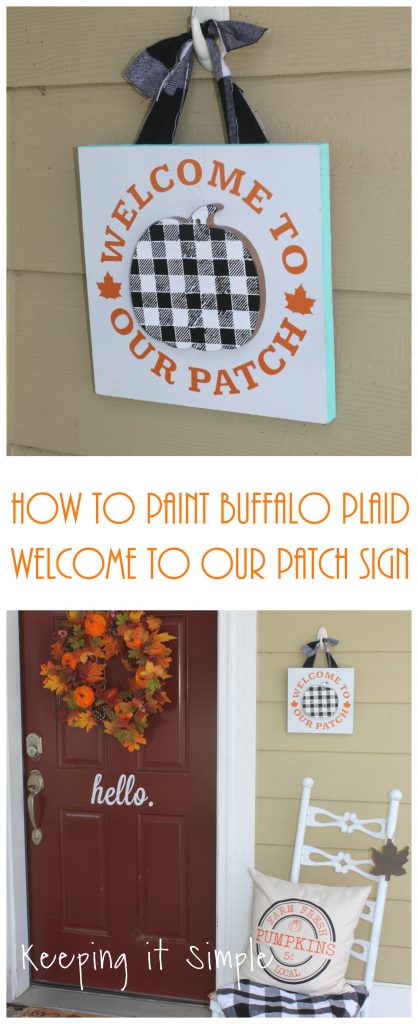
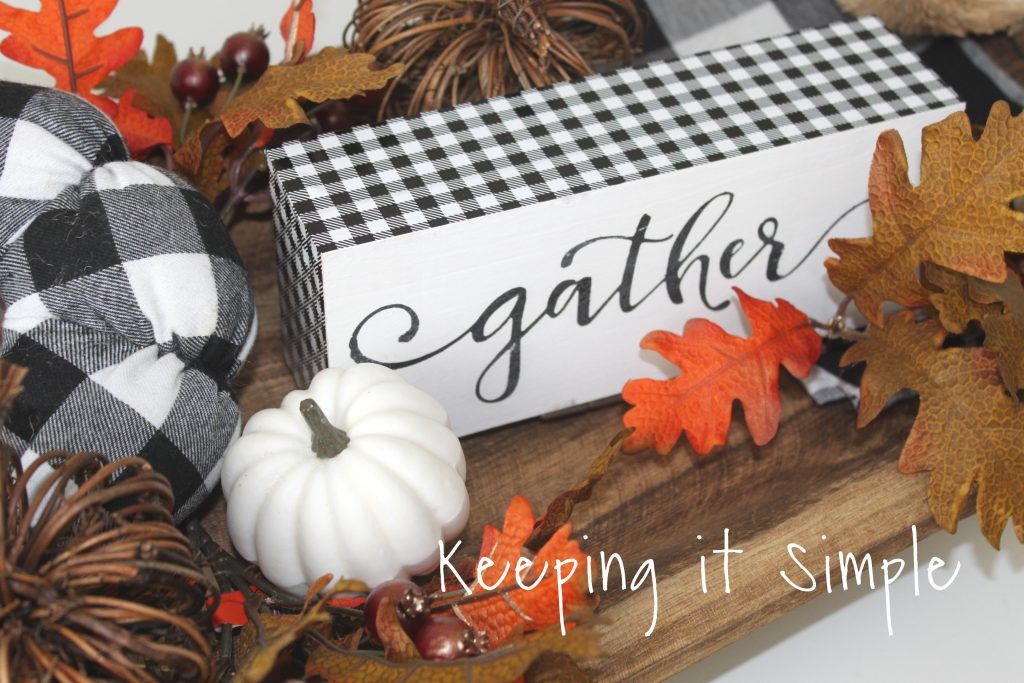
How to Paint Buffalo Plaid- Pumpkin Patch Sign
Buffalo plaid is all the rage right now and I am loving it!! I have been able to find lots of awesome buffalo plaid decor for fall and it has been awesome! But sometimes I can’t find exactly what I am looking for, like a buffalo plaid pumpkin, so I take matters into my own hands and paint it! You can paint buffalo plaid on anything and it looks so good! So here is how to paint buffalo plaid!
Here is a video to show you the process of painting buffalo plaid on a pumpkin.
This is how I made this adorable sign:
I started with a cute pumpkin that I found for $1 at the Target dollar spot. I then cut out a square board out of a 1 x 10. I created a stencil of stencil vinyl and that is how I painted the buffalo plaid onto the pumpkin.
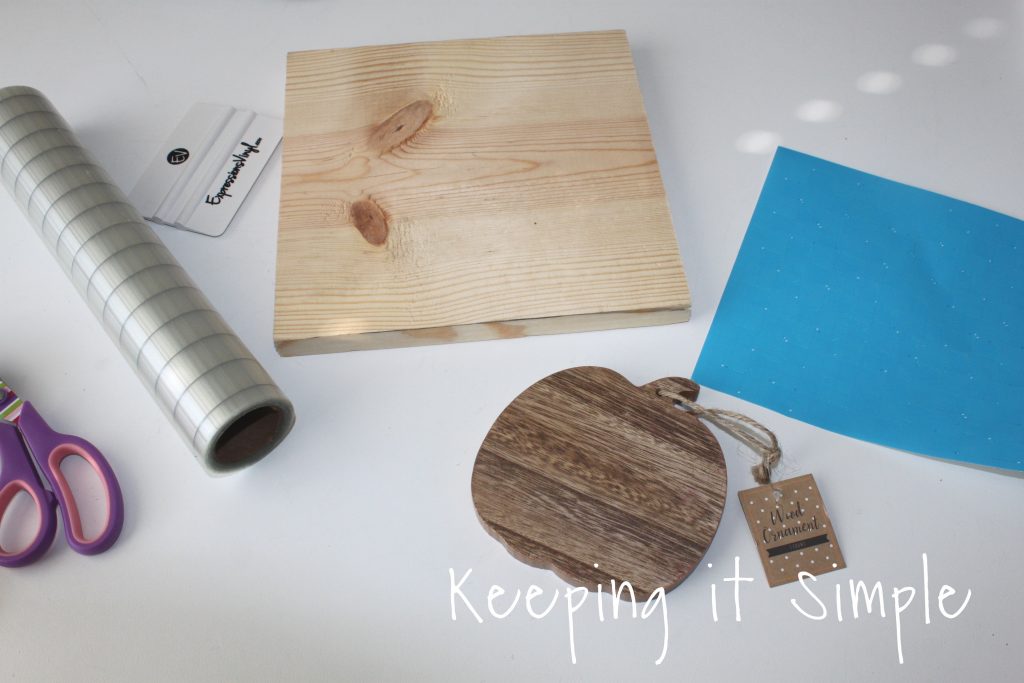
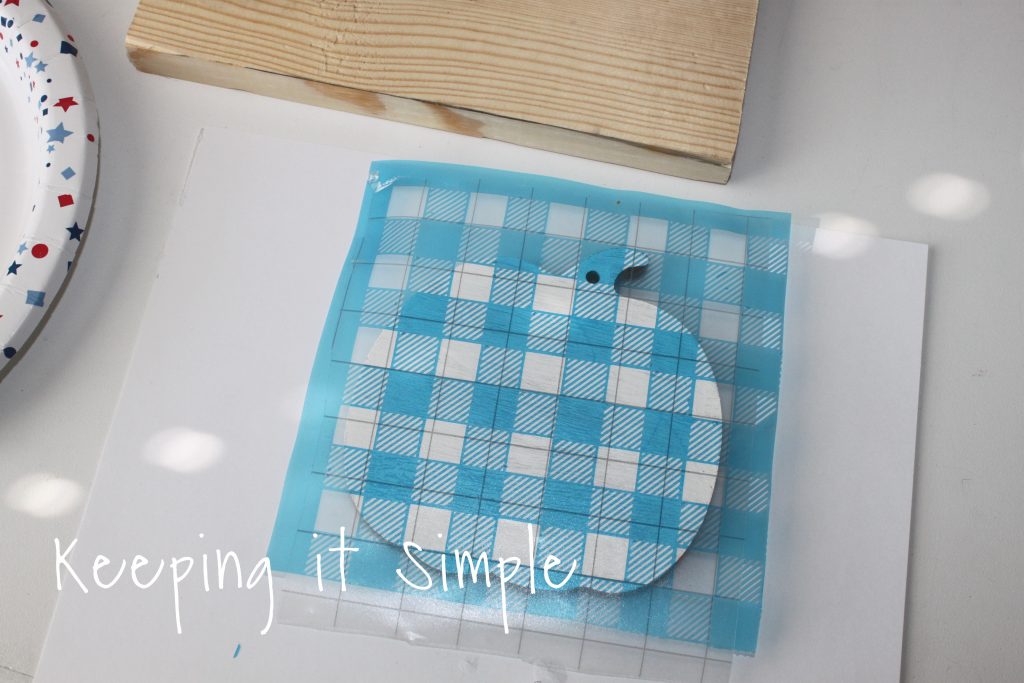
The first thing I did was painted the pumpkin white. Then I cut out the buffalo plaid stencil using my Silhouette CAMEO. There is an image in the Silhouette Studio store that you can get for the stencil, that is what I did. I then weeded the vinyl, I took out all the pieces of the vinyl that was cut. The best part about painting buffalo plaid is that you can make it whatever size that you want. The pumpkin was about 5 inches wide so I decided to do the buffalo plaid about 1/2″ squares, which is on the smaller side. You can go bigger if you want :).

Using transfer tape, I then put the stencil vinyl onto the pumpkin. I peeled away the transfer tape and then pressed down the vinyl to make sure it was on there good.
Using a small stencil foam brush, I painted it black.
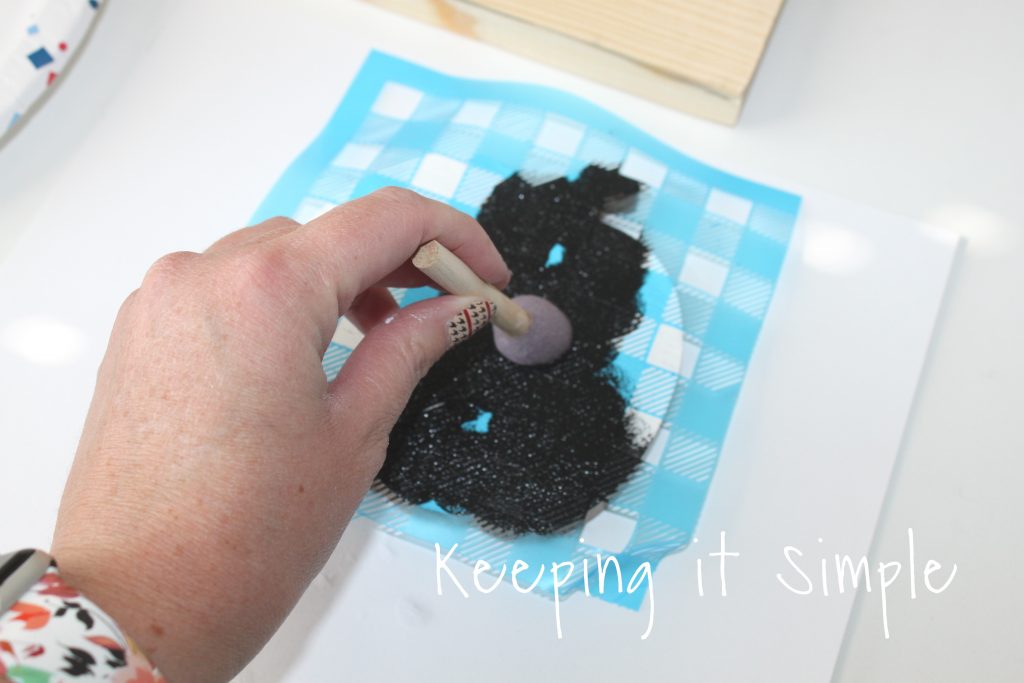
I then peeled away the vinyl, leaving buffalo plaid! Because I did a smaller of squares, there was a little bit of touch ups that I needed to do. I knew that was going to happen because of the smaller cuts that was in the vinyl.
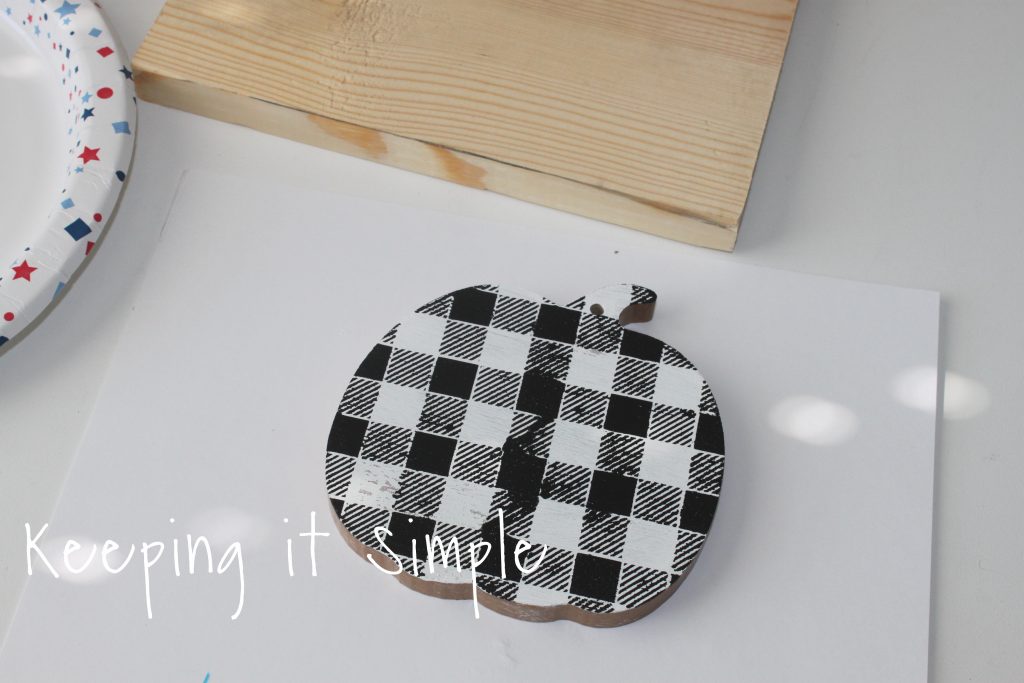
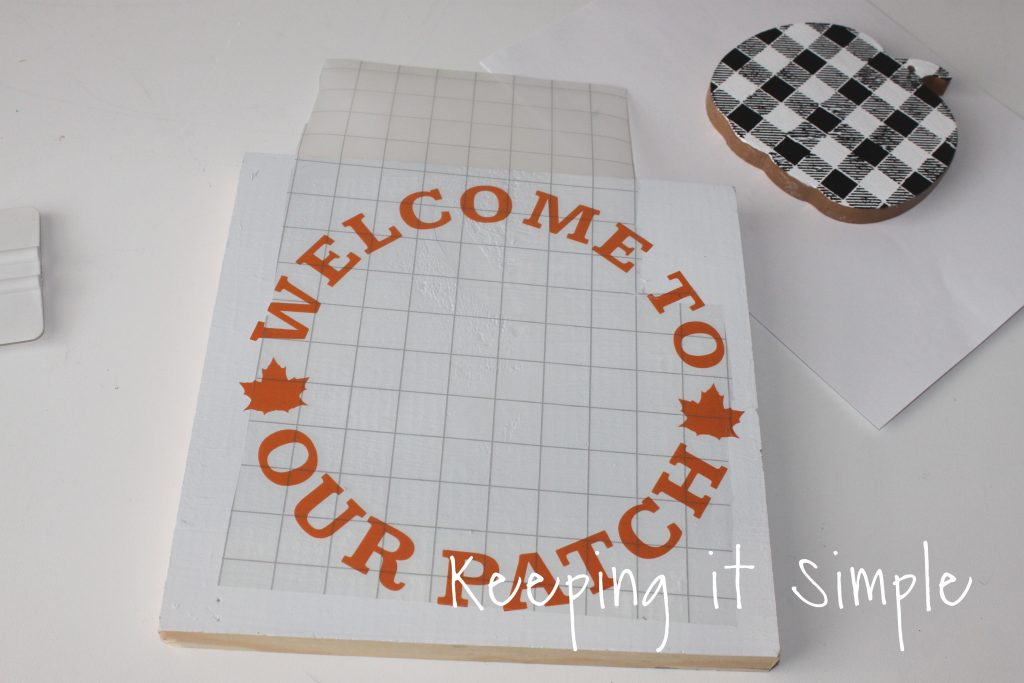
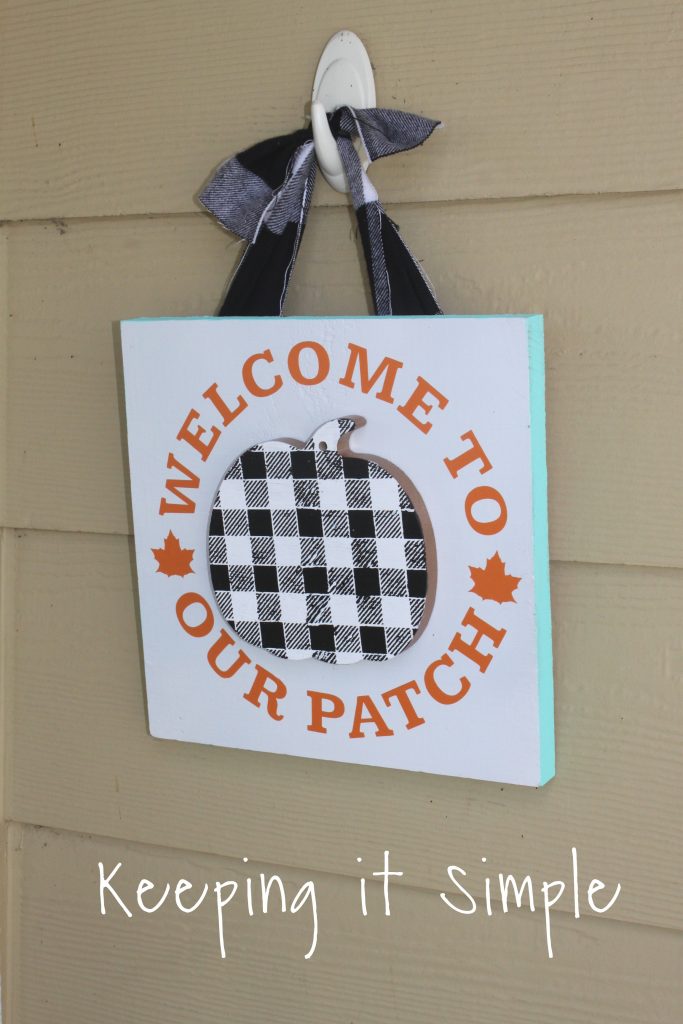
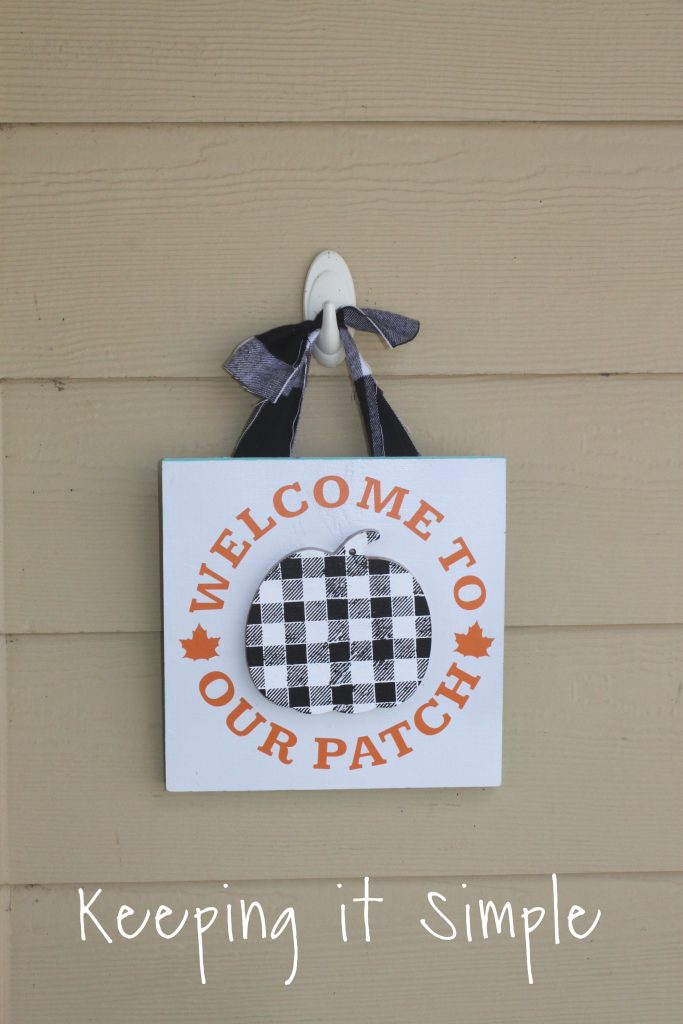
So with a small paint brush and some white paint, I did some touch ups. I then painted the board white and cut out the welcome to our patch design out of persimmon indoor vinyl.
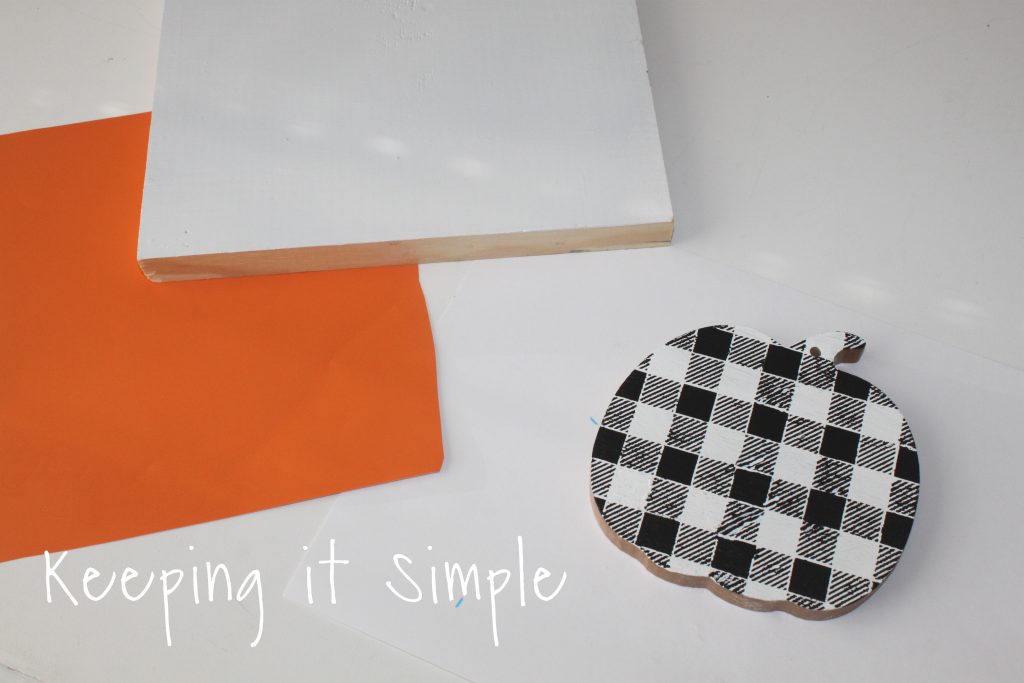
I weeded that vinyl and then put it onto the board with transfer tape.
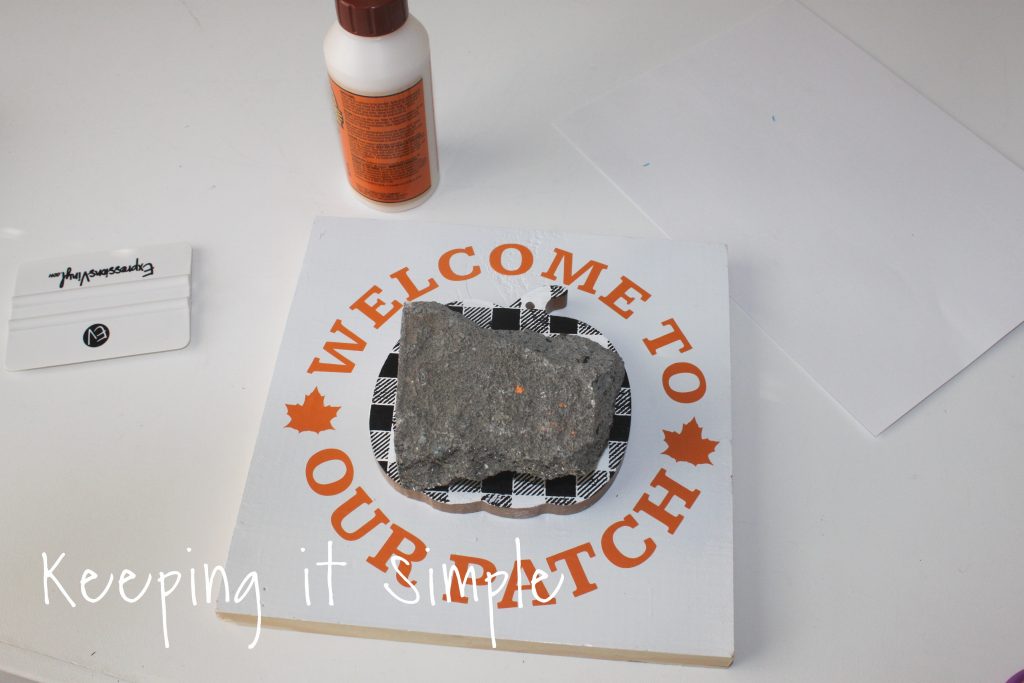
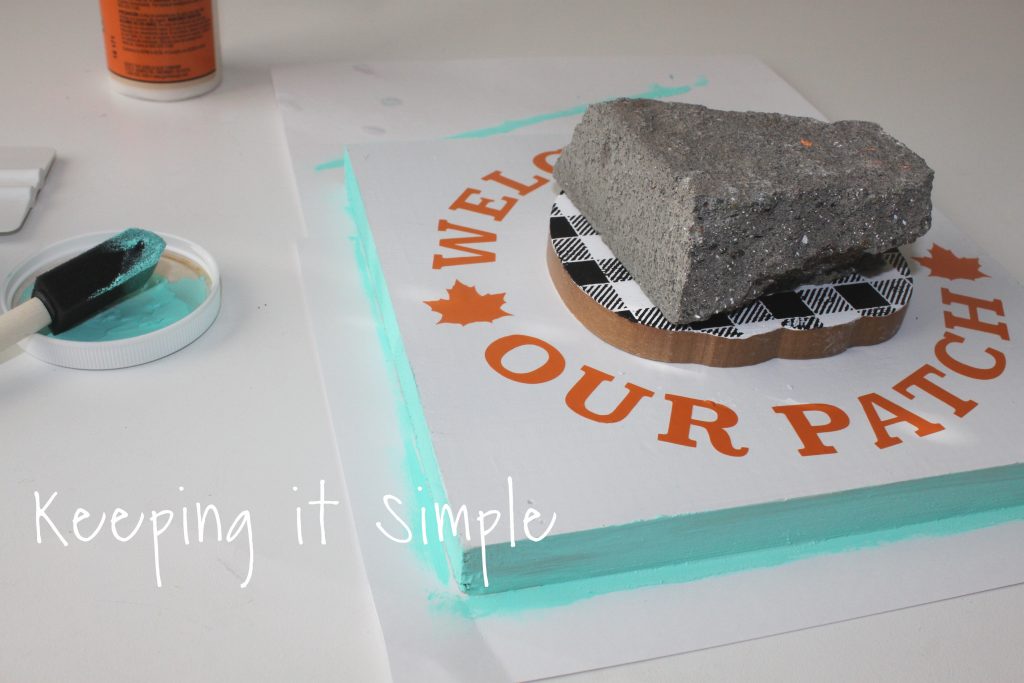
Then with some wood glue, I glued the pumpkin onto the board. Once the wood glue was dry, I added a couple of nails into the back of it to secure the pumpkin even more. They were 1″ nails.
I wanted to add a pop of color to it, so I painted the edges of it a pretty blue.
I then stapled some buffalo plaid fabric onto the top of it so I could hang it onto a hook.
And that’s it!! I love how it turned out and I can’t wait to paint some more things with the buffalo plaid pattern!
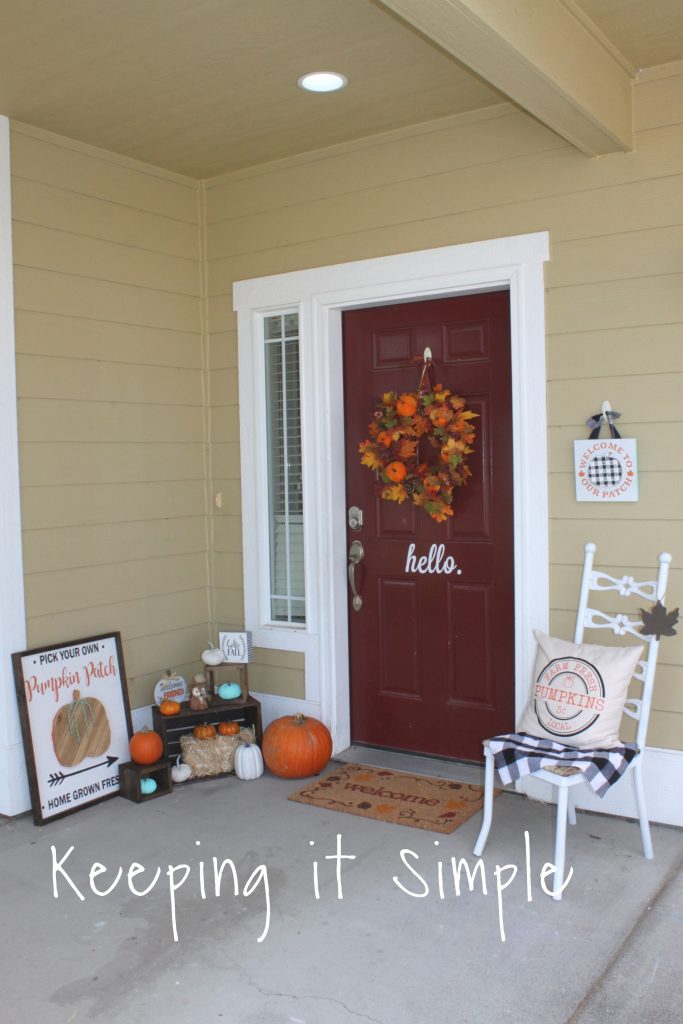
Here is the sign with a cute chair and pillow I made.
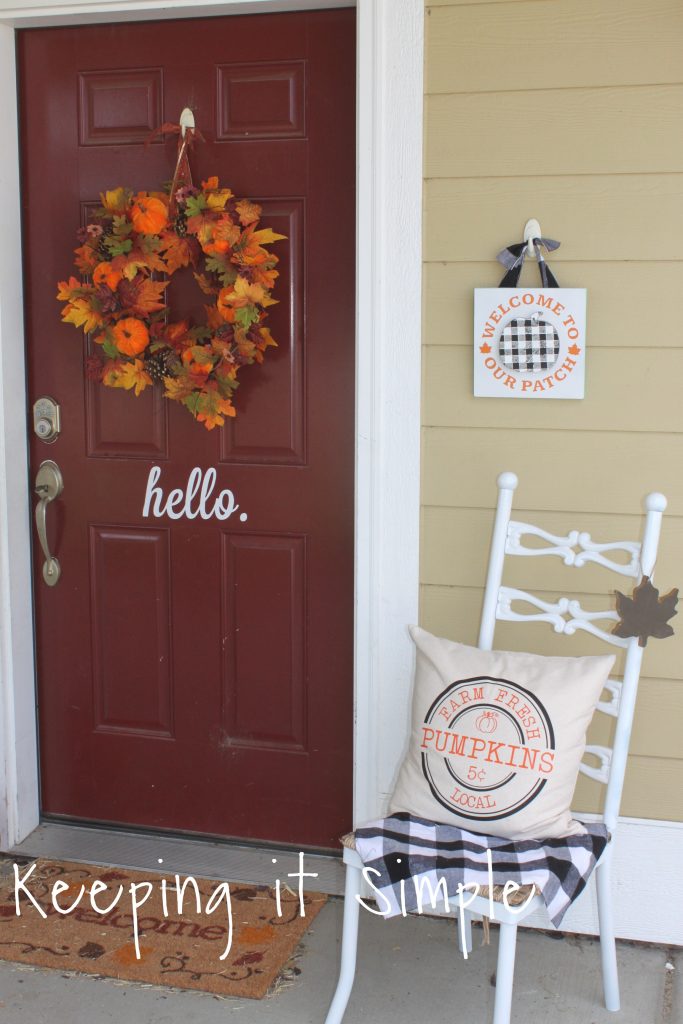
Here is what my porch looks like, it’s all decked out for fall and I love it!!
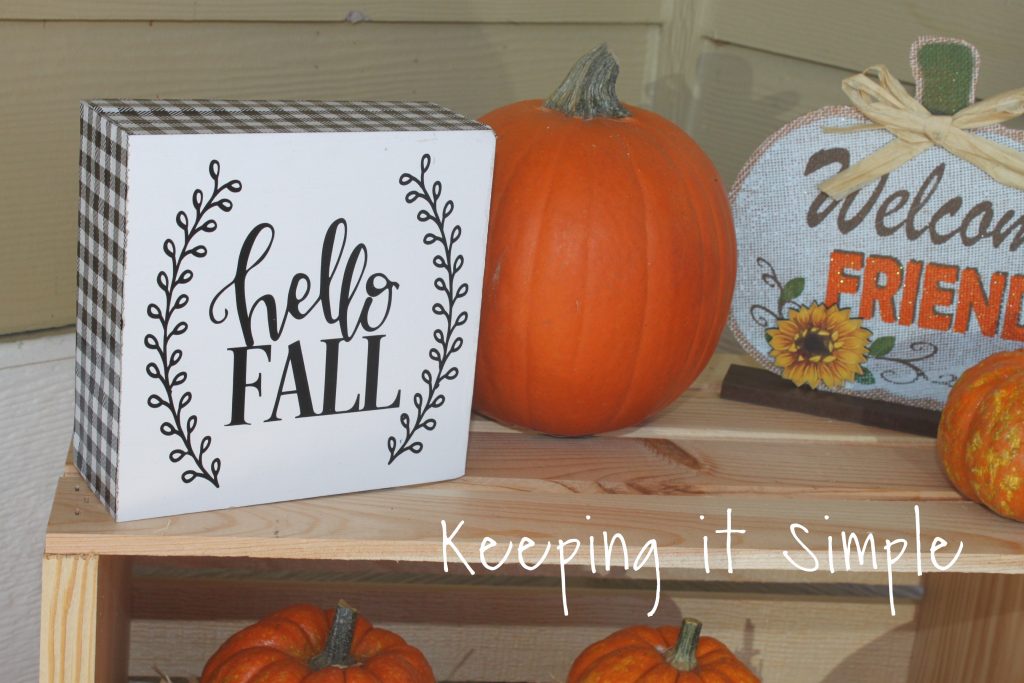
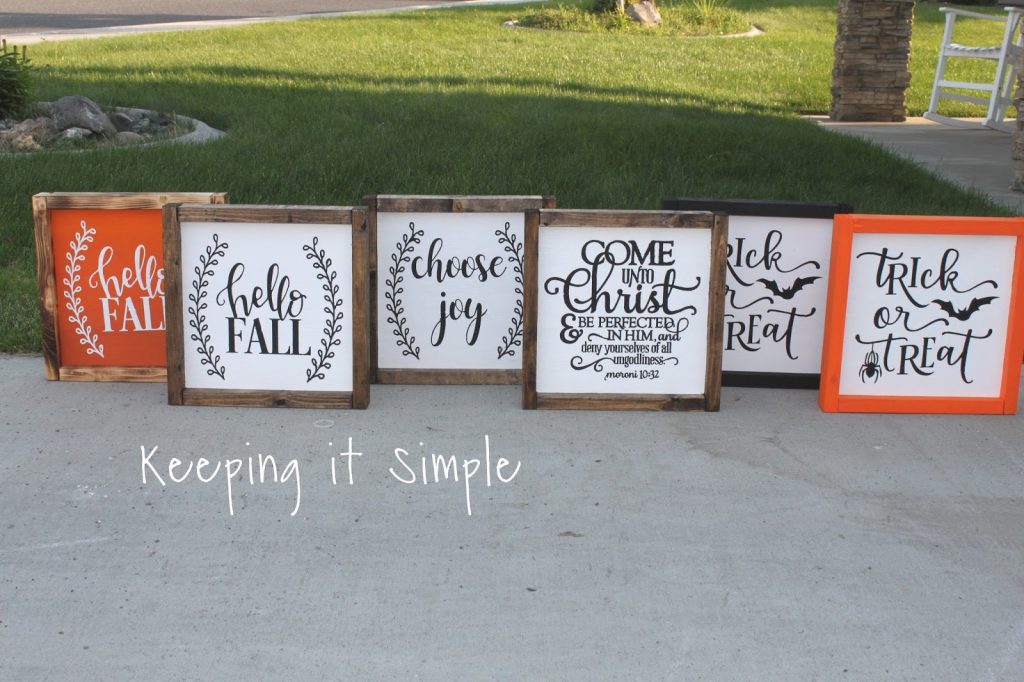
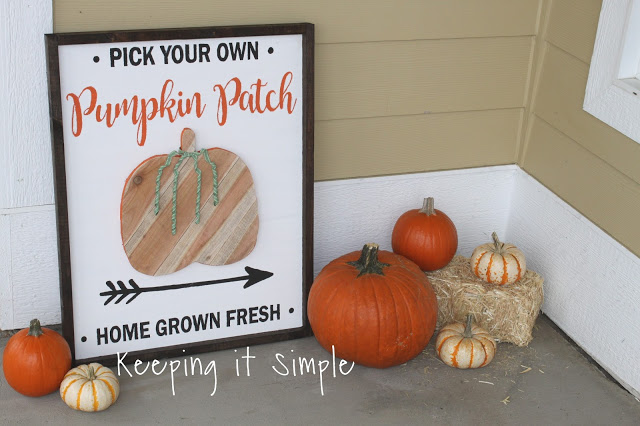
Check out the other fall decorations that I have made!
This post contains affiliate links
Leave a Reply
You must be logged in to post a comment.