Craft Room Sign with Patterned Vinyl {Free SVG File}
I am obsessed with patterned vinyl right now, I just love it!!! I made a super fun and cute flamingo sign last week and I loved how it turned out so much that I decided that I needed to make another sign like it with a crafting quote. I love how the flamingo one looked on my craft room table, but I a quote there that reminded me that not everything has to be perfect. So I used this fun craft quote and I love how it all turned out.
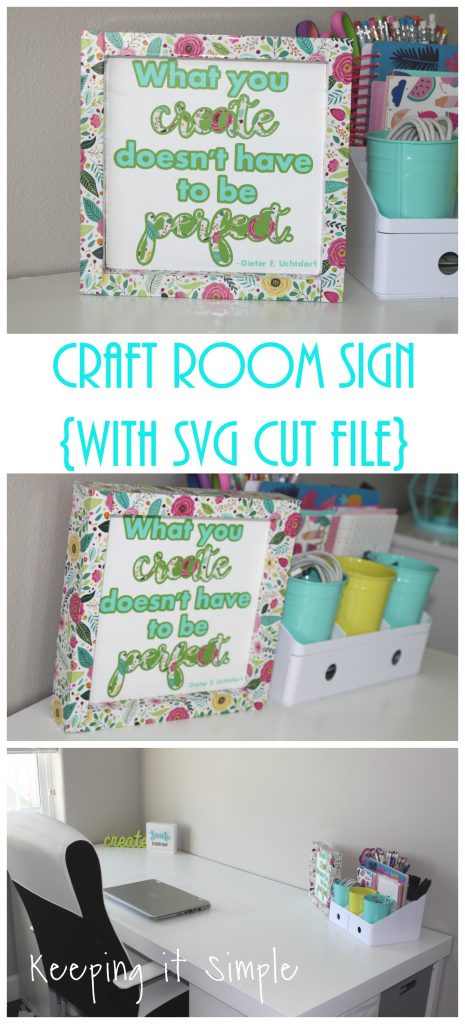
This is how I made it:
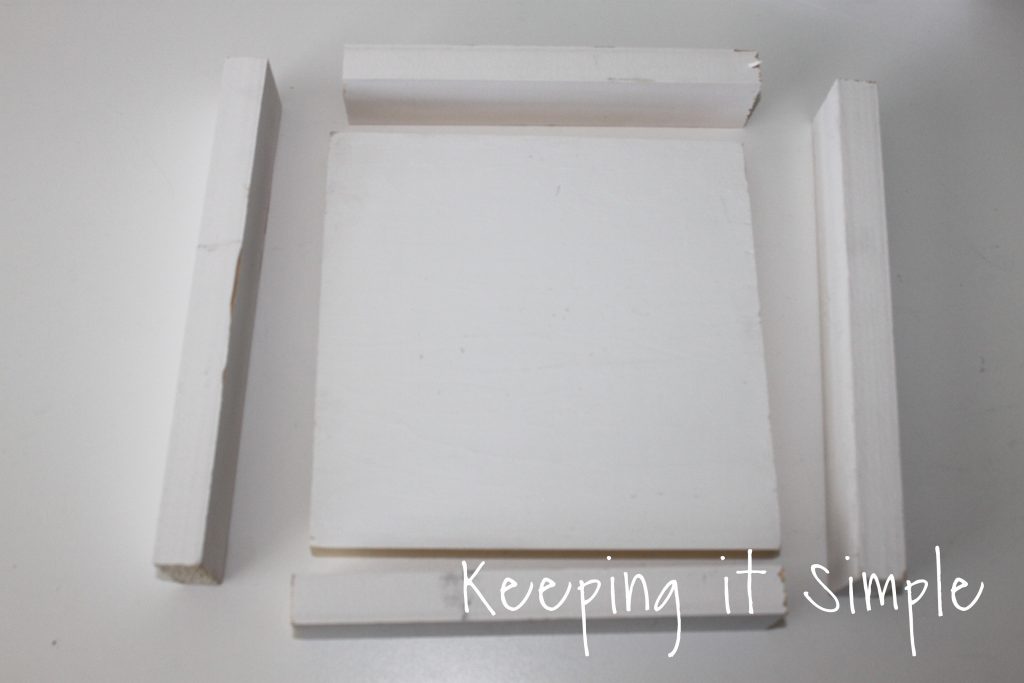
I started with some wood. I used a 1×8 pine board for the middle and then a 1×2 board for the frames. I cut the 1×8 to be square, which is roughly 7.5×7.5 inches. Then I cut the frame, two pieces were the same size of the board, so 7.5 inches and the other two were roughly 9 inches. I say roughly because I don’t use a measuring tape, I just measure them based off of the size of the board. I then painted the board white (the 1x2s were already white).
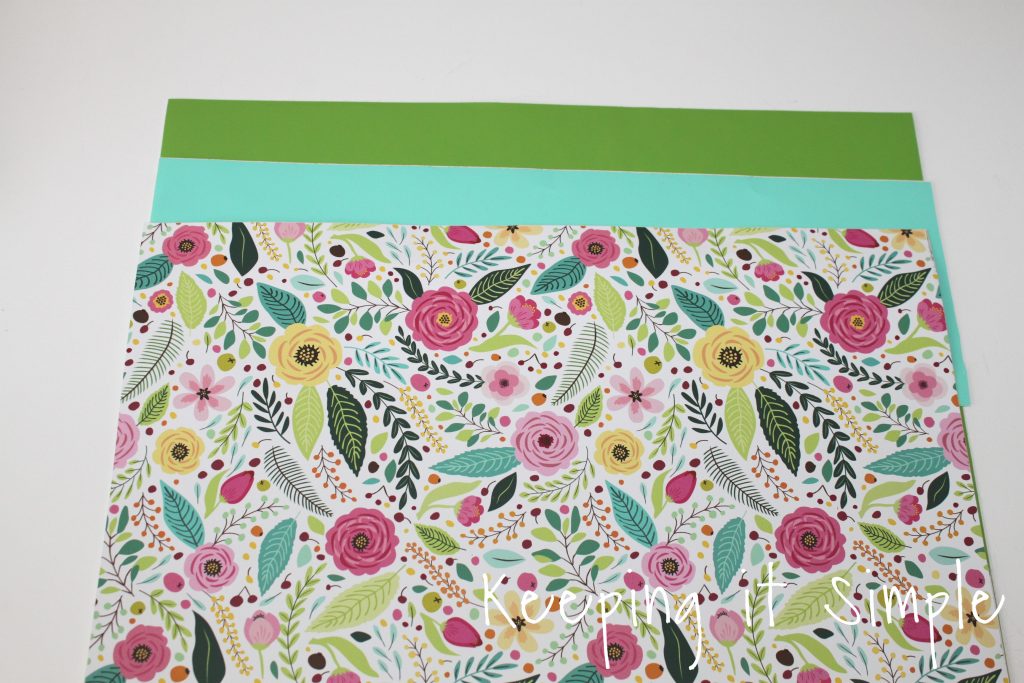
I used adhesive vinyl for the sign. The green I used is called lime tree green and the blue is mint. The fun patterned vinyl I used is called Blossom.
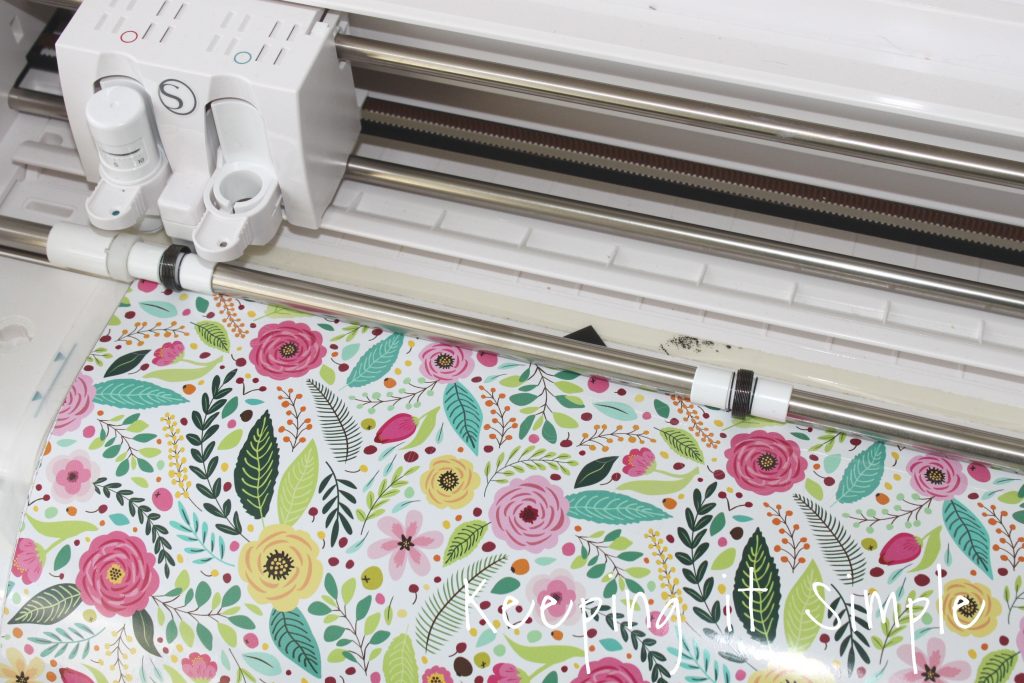
Using my Silhouette CAMEO, I designed the words and then cut out the vinyl with it. You can get the files here:
I weeded the vinyl and then using grid transfer tape, I put on the outline of the words onto the board.
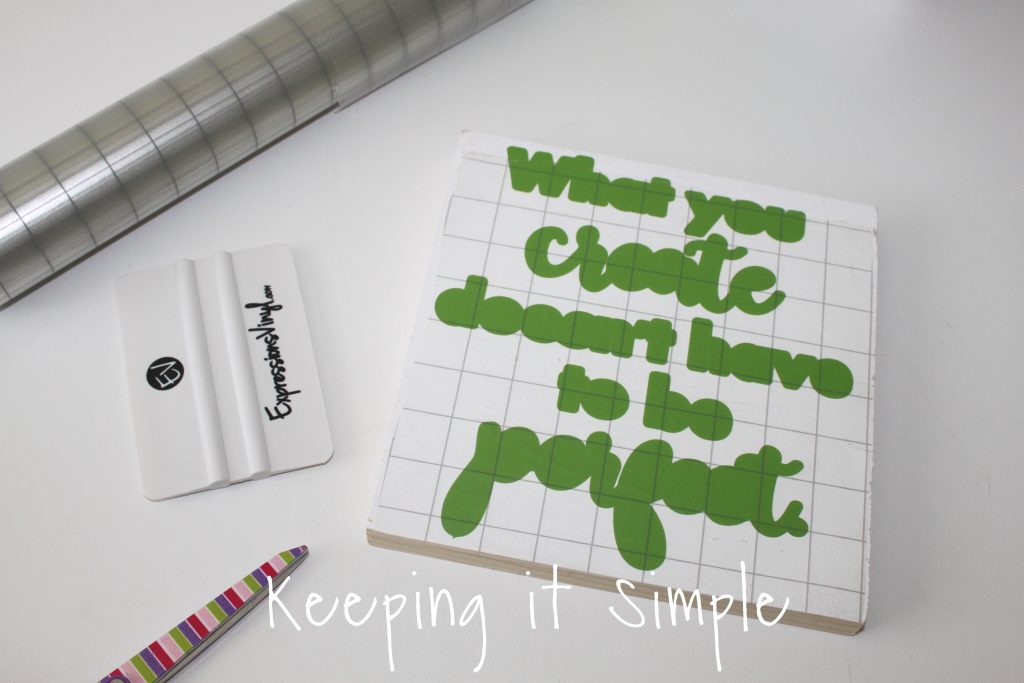
I then used the transfer tape and put the words onto the outline.
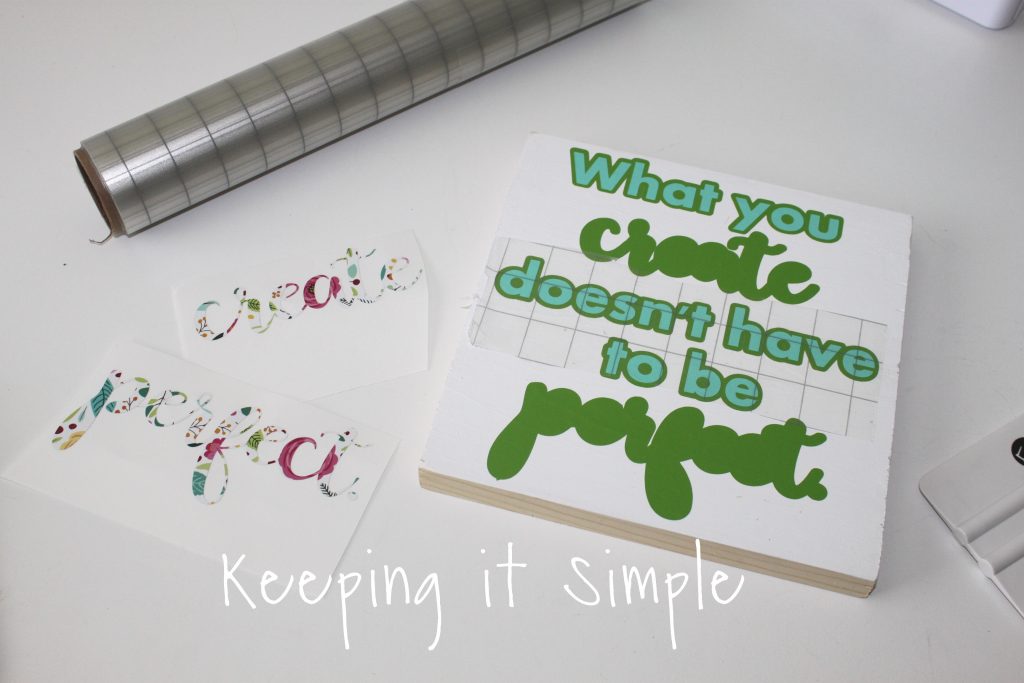
Here it is with all of the words on the board, loving it!
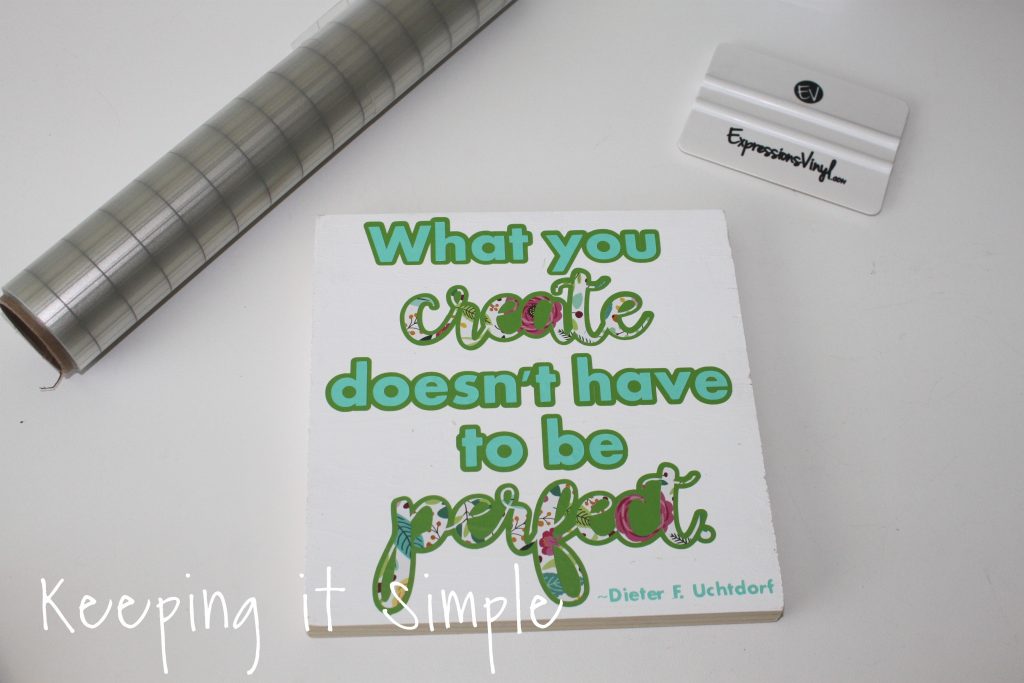
Using a nail gun, I first put the frame onto the board (you want to do that before the vinyl so it can cover up the nail holes). I put the top pieces on first (they are the shorter of the frame pieces).
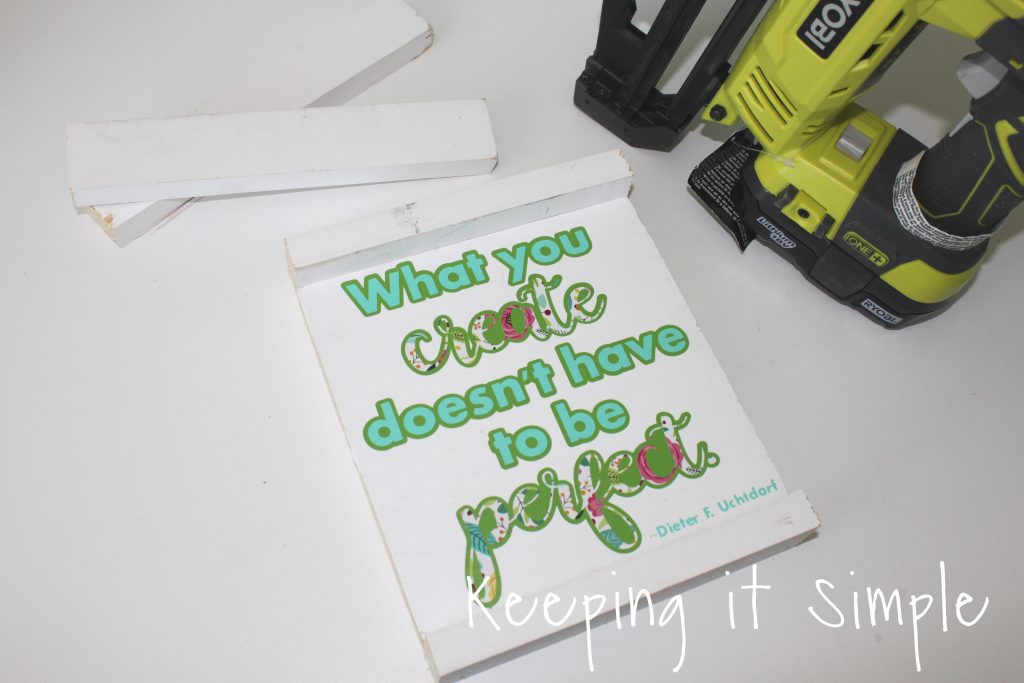
I then put on the side pieces.
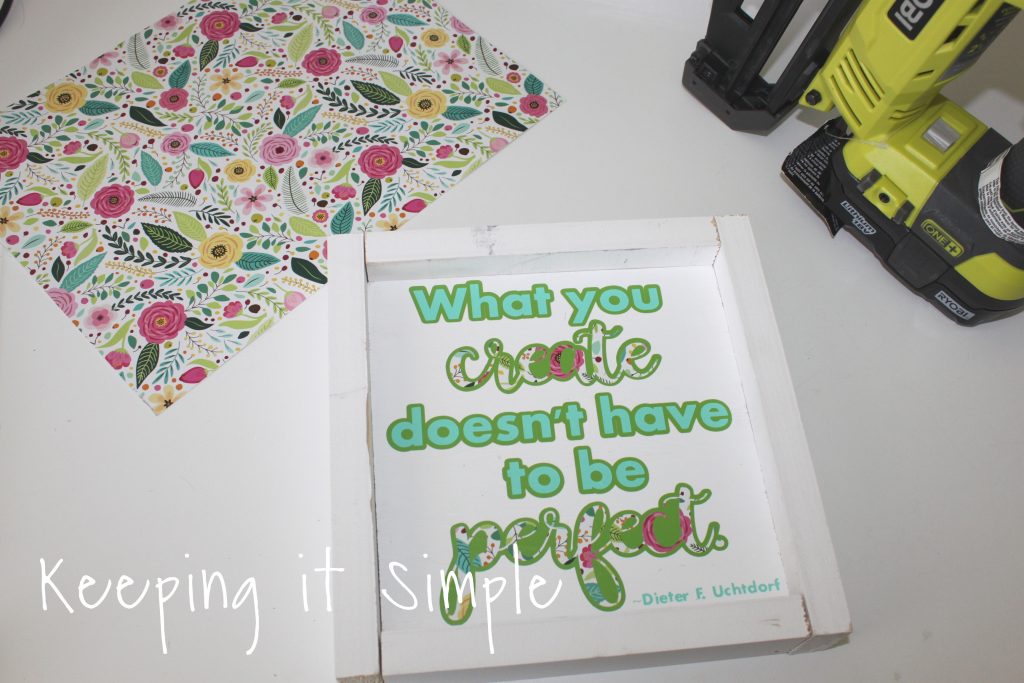
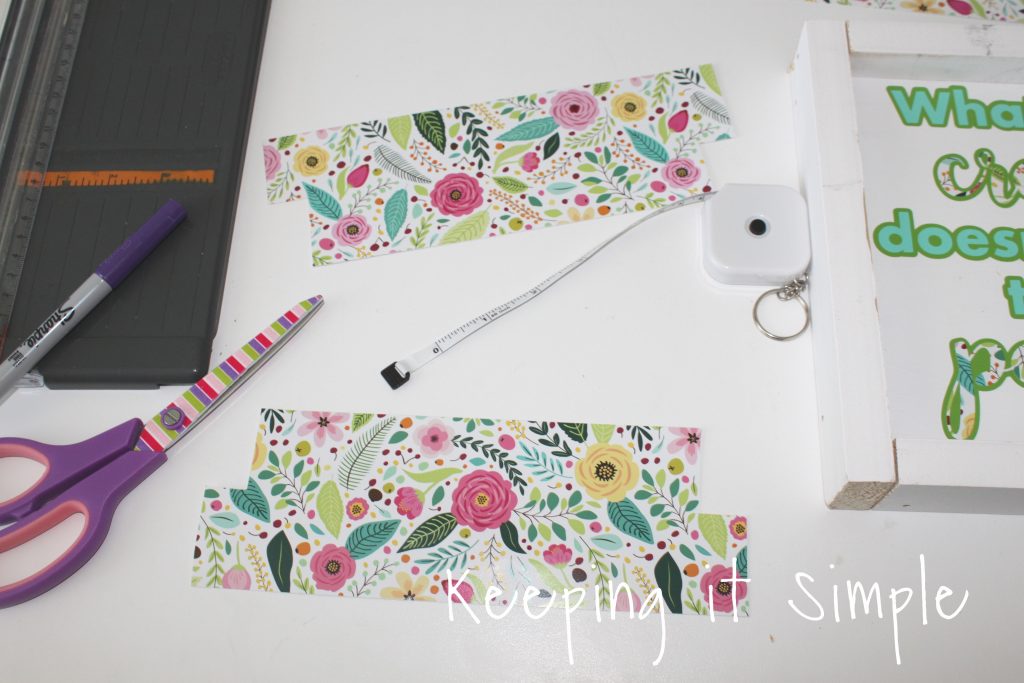
Now for the fun floral vinyl!! For the frame I cut 4 3″ strips that were roughly 9 inches wide. I was able to just use one sheet of 12×12 vinyl. I first cut off a piece that was 3″ x 12″ and use that for the create and perfect words. And then the remaining 9″x 12″ piece, I was able to get 4 strips out of it. I did that by first cutting off a 3″ strip from the long side, leaving a 9″ x 9″ square. Then I cut the last 3 strips from that square. I then measured the vinyl on the sign to get the exact distance of the vinyl, it was a little less than 9″.

To be able to put the vinyl onto the frame, I had to cut notches into it so that it would fold over the wood. The notches are a little less than 3/4″ inches from the side and 1 1/2″ inches from the bottom. I did that for the top and bottom pieces.
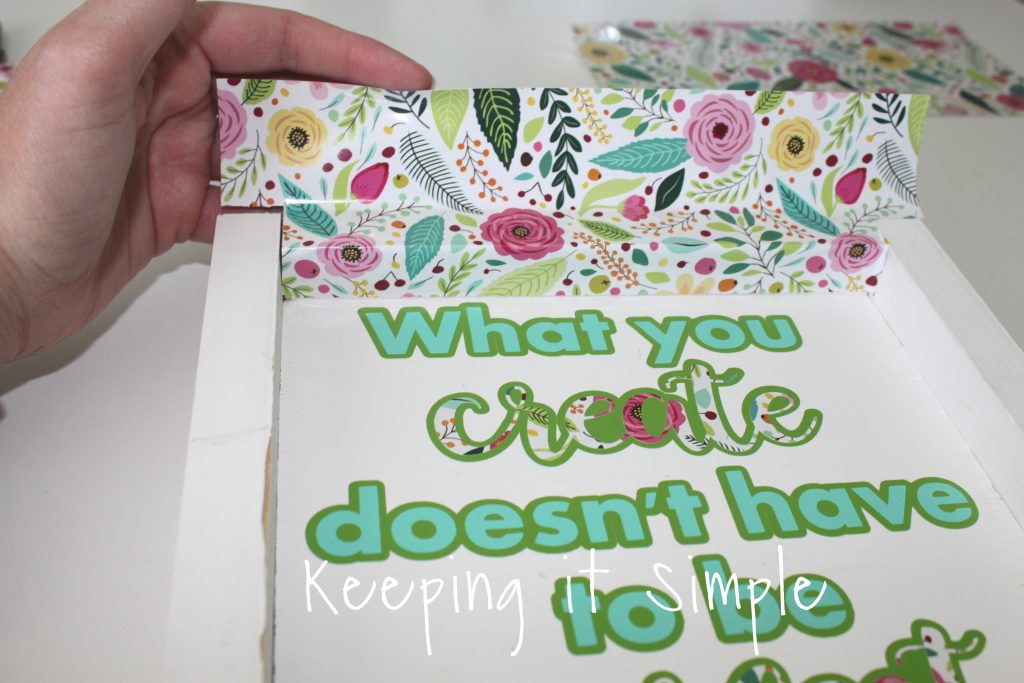
I then put the vinyl onto the frame, pushing it down carefully so there weren’t any bubbles.
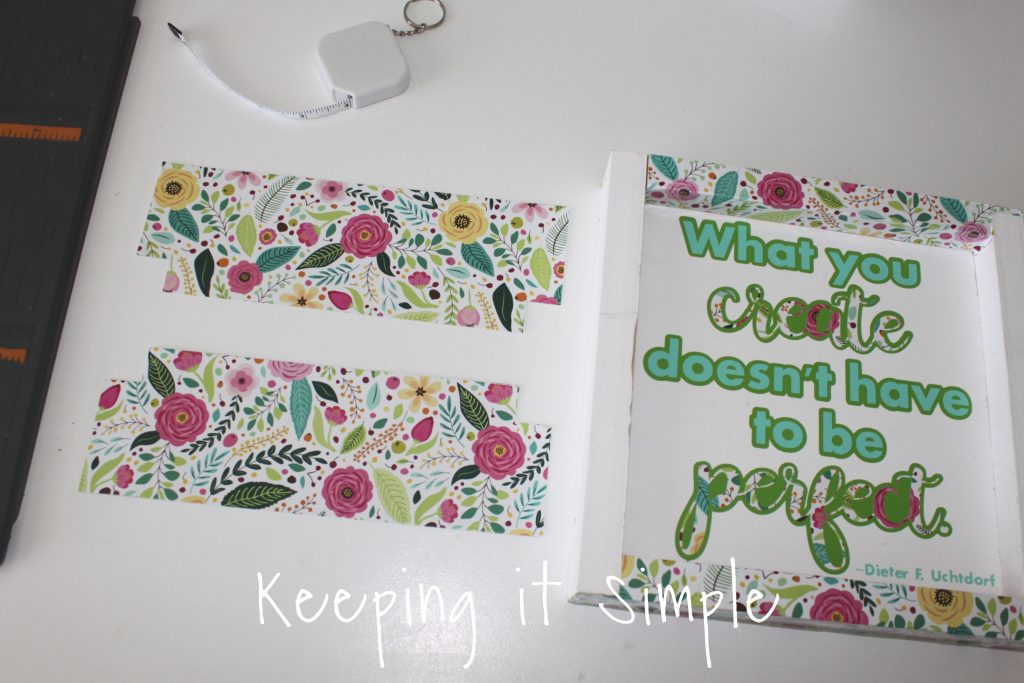
Now for the side pieces of the frame. I cut the vinyl about 9 inches again but this time when I did the notch I didnt’ go up as high. The notch is a little less than 3/4″ inch square off the corner.
Here is quick video to show you how to put the vinyl onto the frame, like I did with this flamingo sign.
And that’s it!! I love how it turned out, I especially love the floral vinyl around the frame!
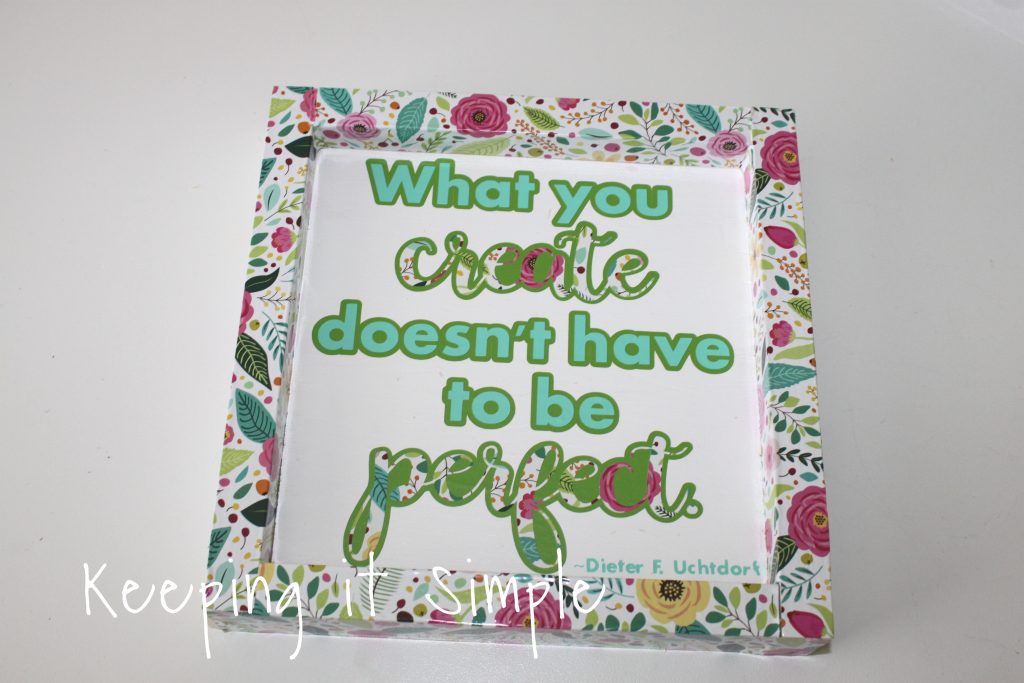
It goes perfectly onto my craft room table, next to my desk organizer.
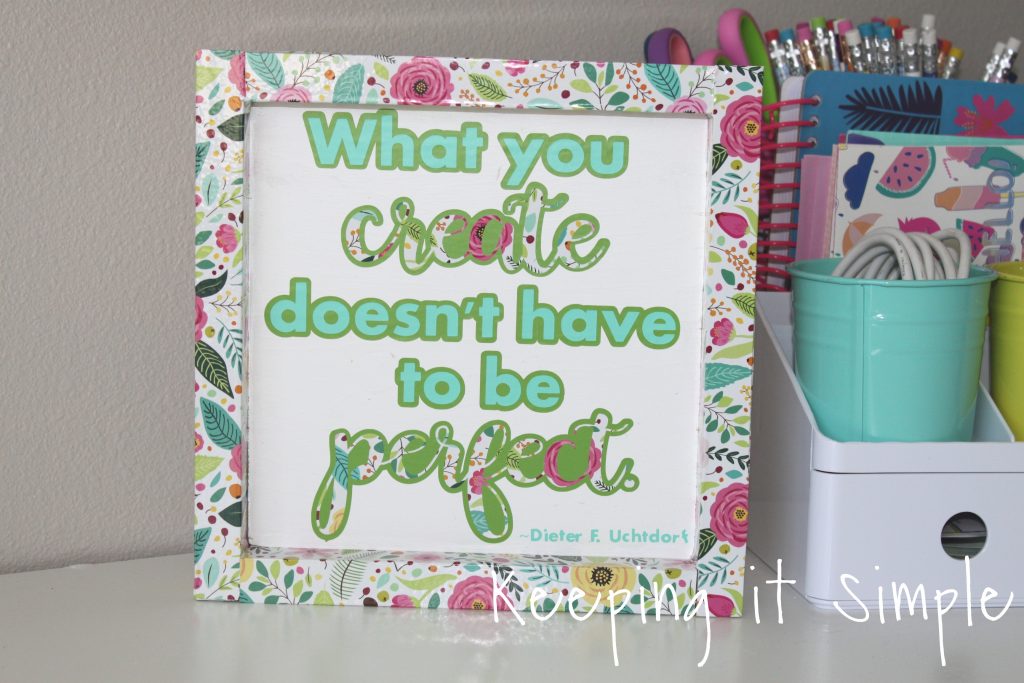
Here is the side view of the frame, I love how the vinyl looks on the frame.

It’s a great addition to my craft room, I love it how colorful it is!
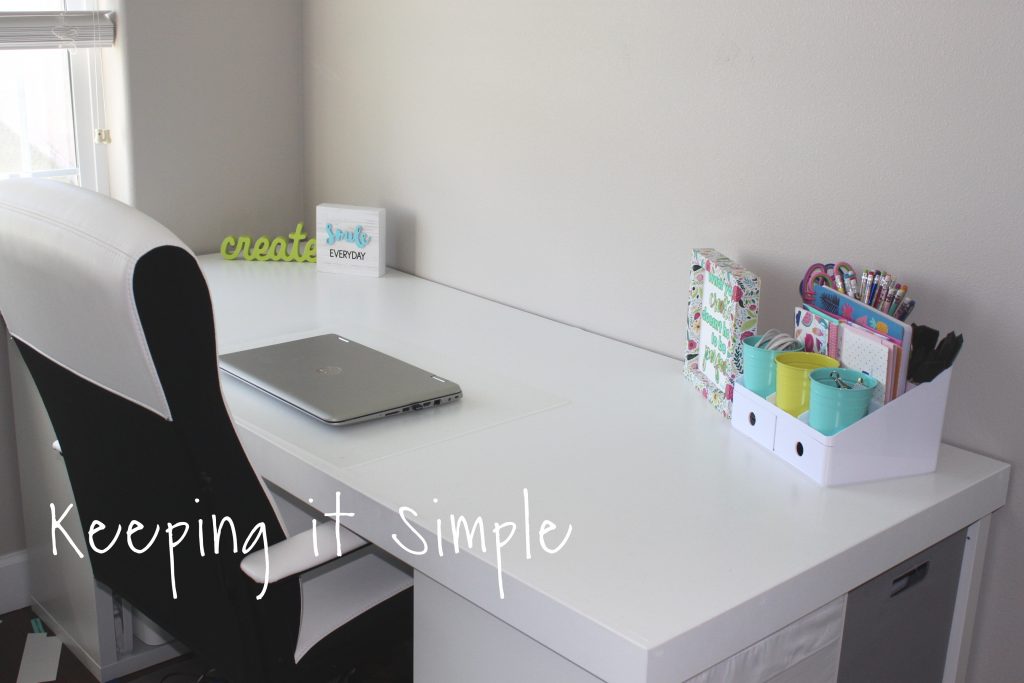
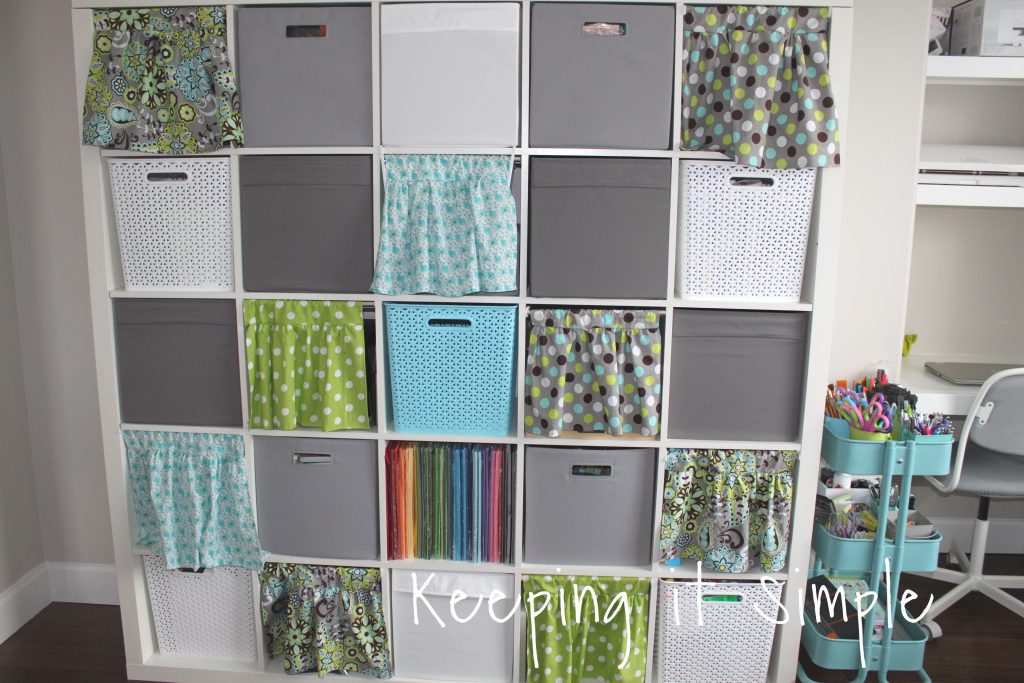
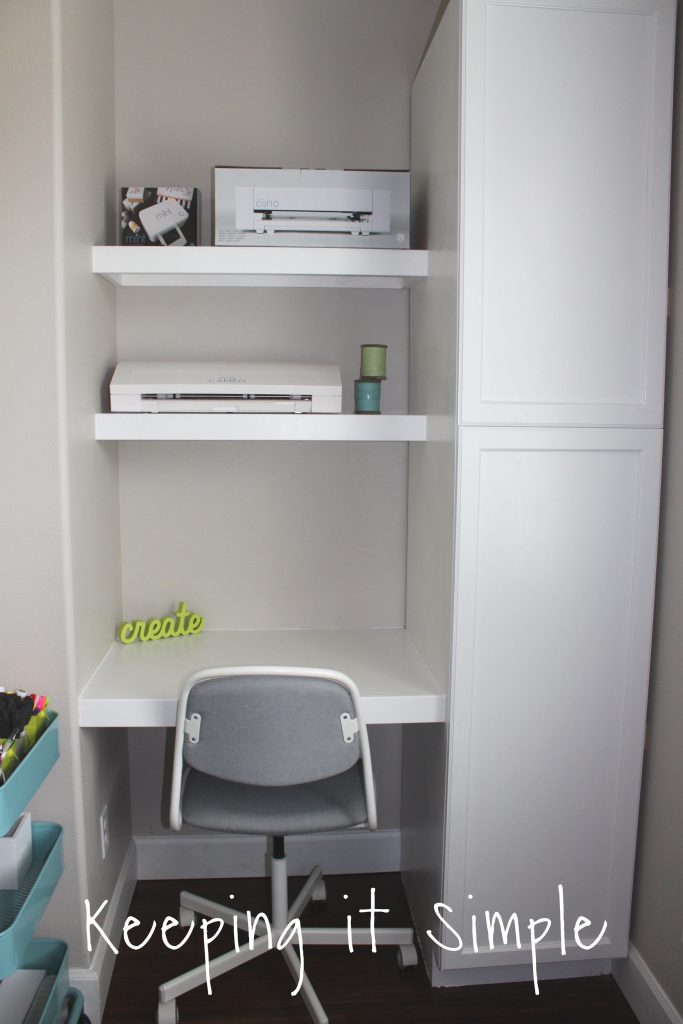
Check out the rest of my craft room
This post contains affiliate links.
Leave a Reply
You must be logged in to post a comment.