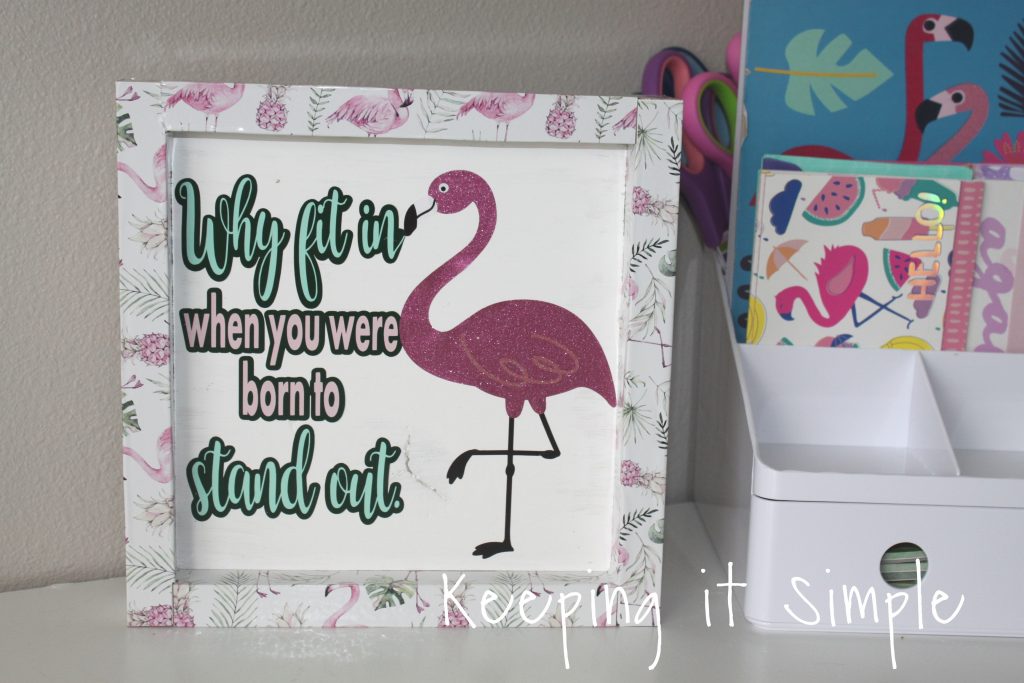
Flamingo Sign with Free SVG Cut File {Summer Breeze Vinyl Pack}
Flamingos are super popular right now and I love it!! They are so cute and fun and I love all the things that people are doing with them. When I saw that Expressions Vinyl had new patterned vinyl that had flamingos I knew I needed to make something cute with it!! I decided to make a super fun and cute flamingo sign with a fun quote that worked great with flamingos. I ended up using the Summer Breeze vinyl pack and I’m so happy that I did!

Here is a quick video to show you the process on how to make it 🙂
This is how I made it:
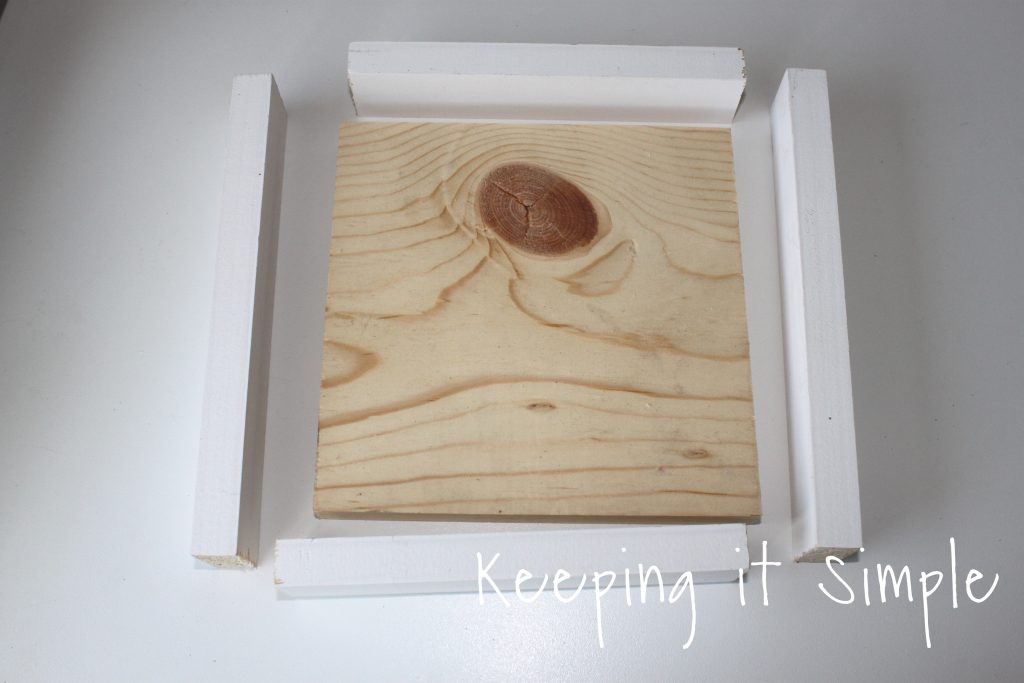
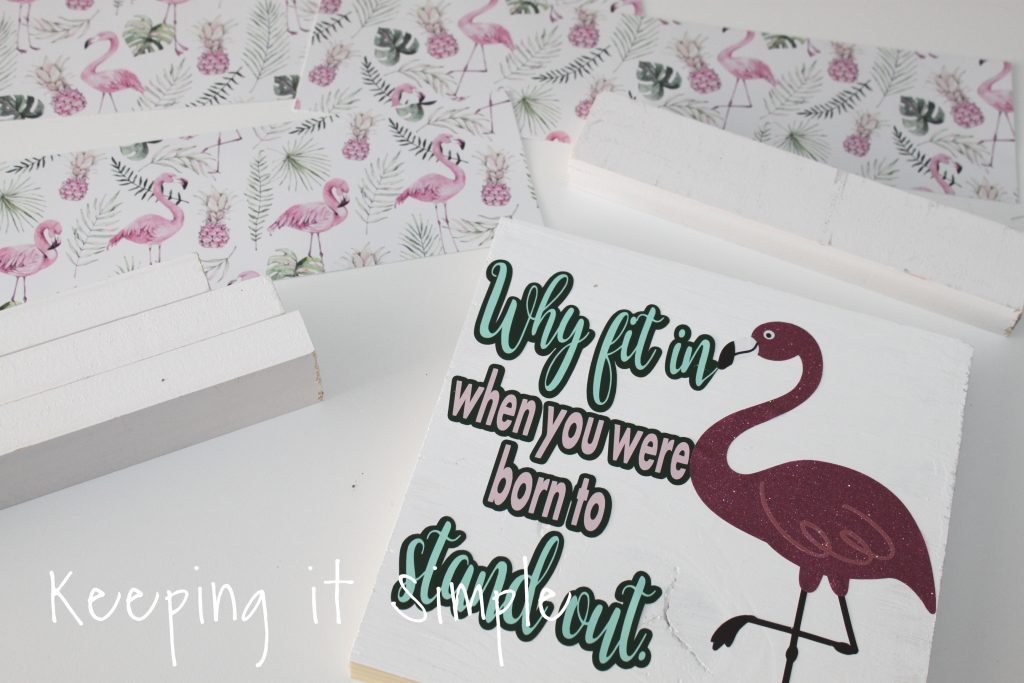
I started with some wood. I used a 1×8 pine board for the middle and then a 1×2 board for the frames. I cut the 1×8 to be square, which is roughly 7.5×7.5 inches. Then I cut the frame, two pieces were the same size of the board, so 7.5 inches and the other two were roughly 9 inches. I say roughly because I don’t use a measuring tape, I just measure them based off of the size of the board. I then painted the board white (the 1x2s were already white).
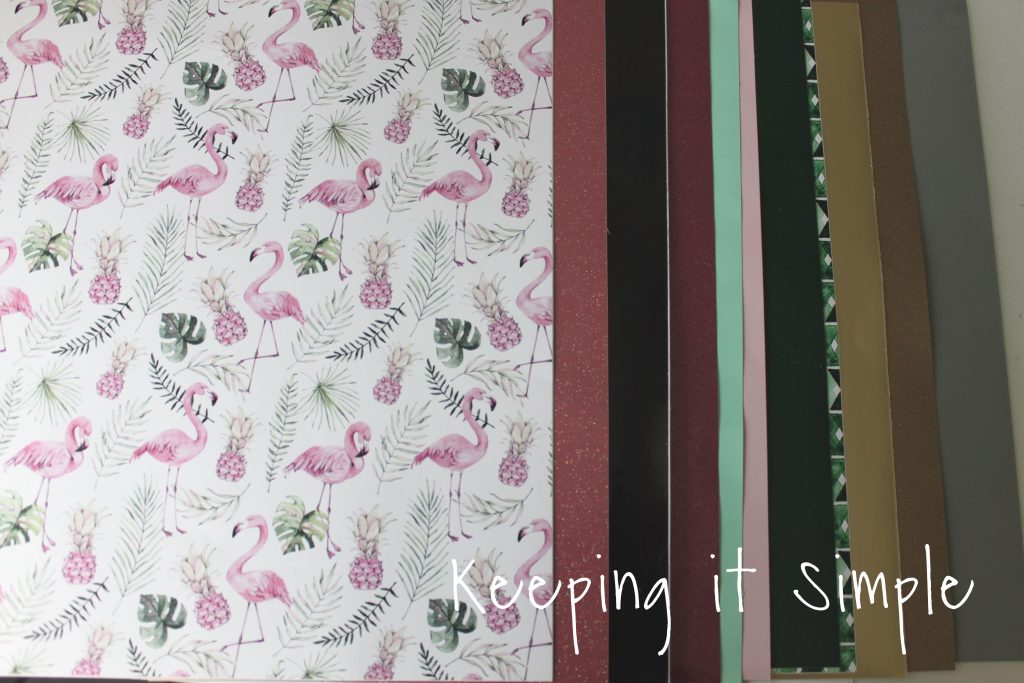
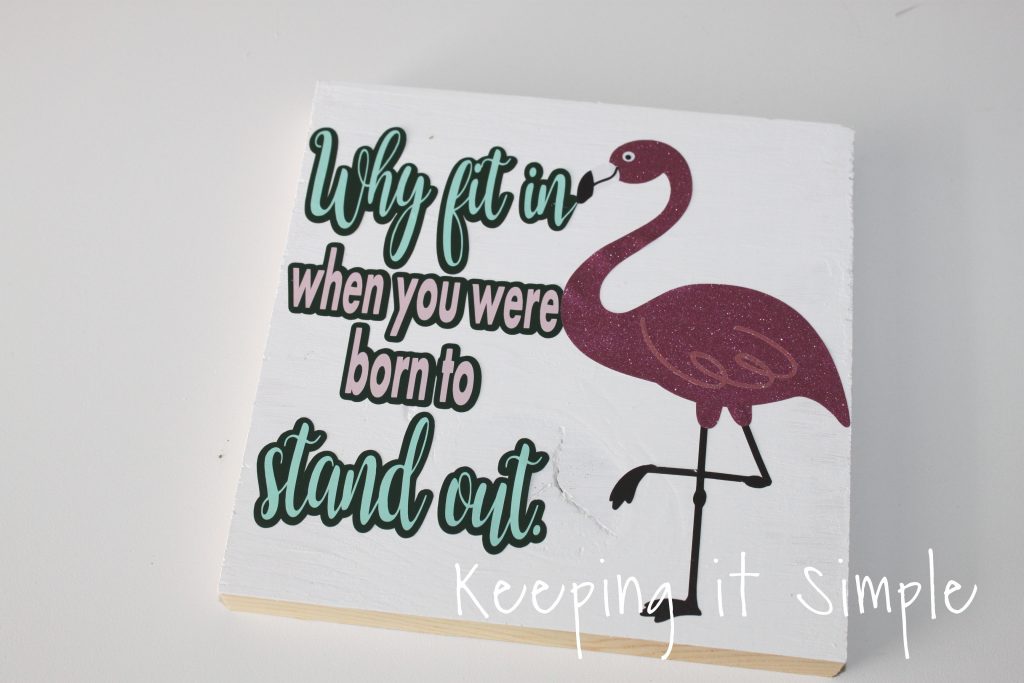
For the flamingo sign, I use the Summer Breeze vinyl pack. The vinyl goes together perfectly and it all looks great together.
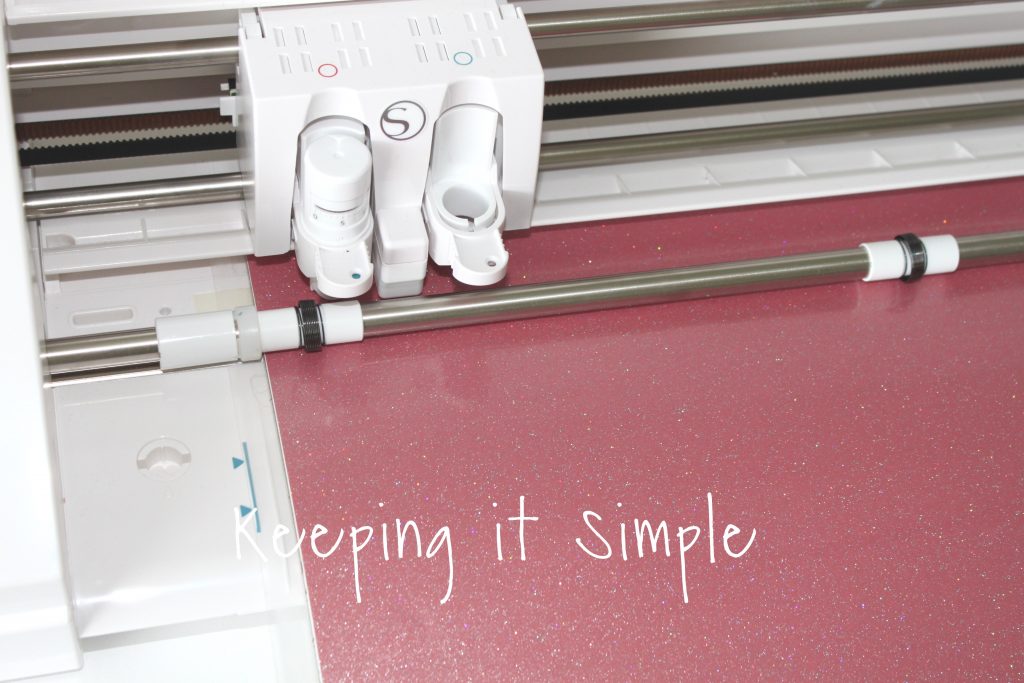
I designed the flamingo quote in Silhouette studio and then cut out the vinyl using my Silhouette CAMEO. You can get the cut file here:
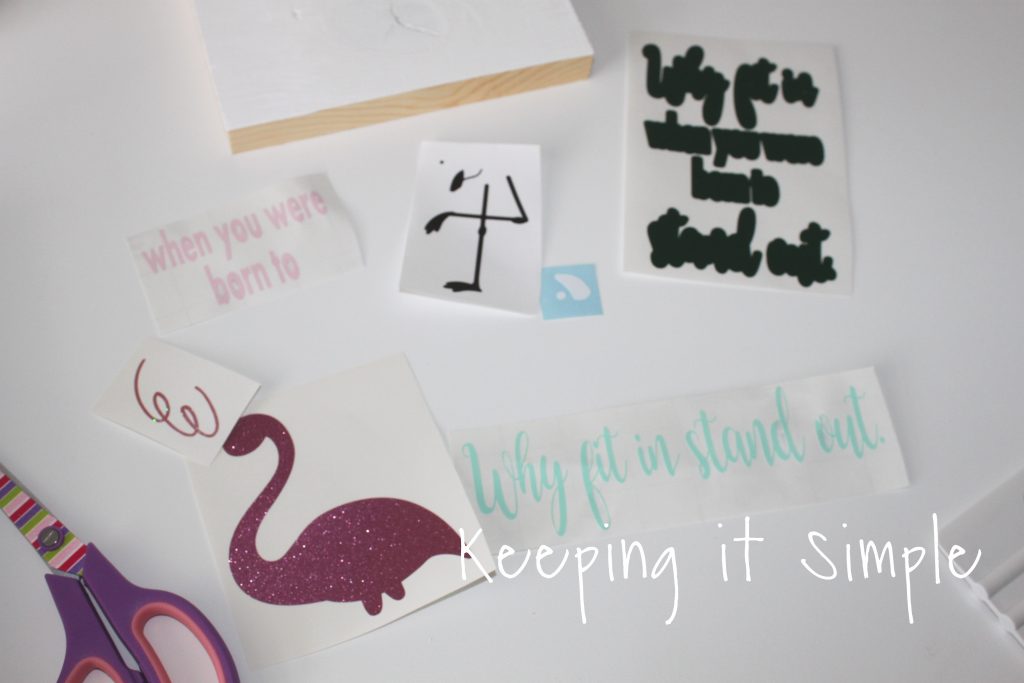
Once everything was cut, I then weeded the vinyl. I used several different colors of the vinyl pack because they all matched the flamingo vinyl perfectly.
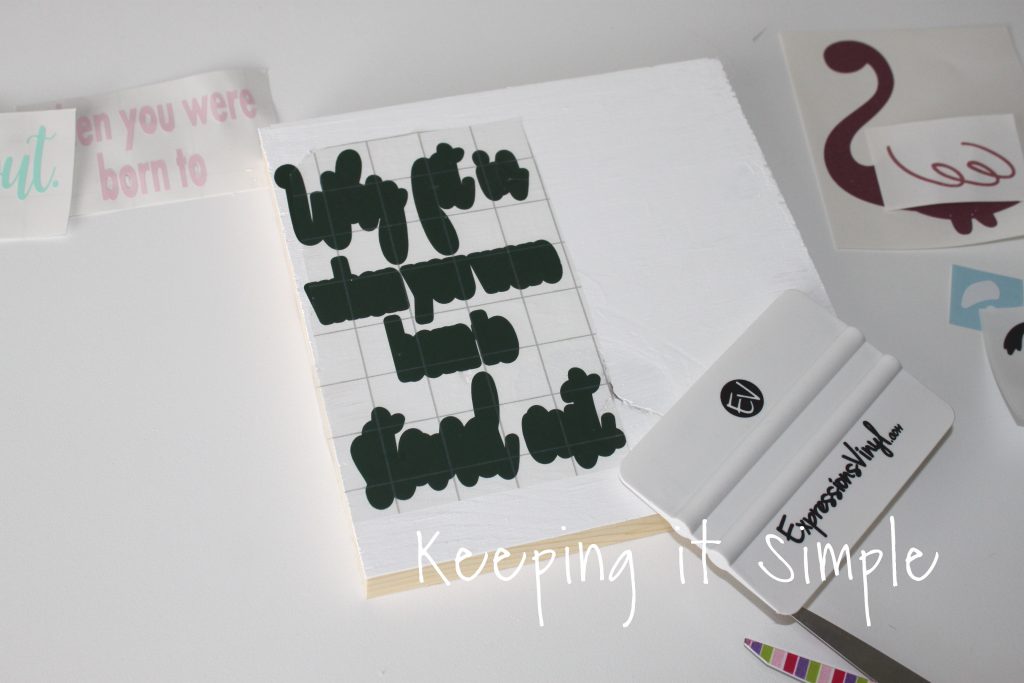
Using the grid transfer paper, I put the outline of the words onto the board.
Then I put the cute flamingo onto the board using the transfer paper.
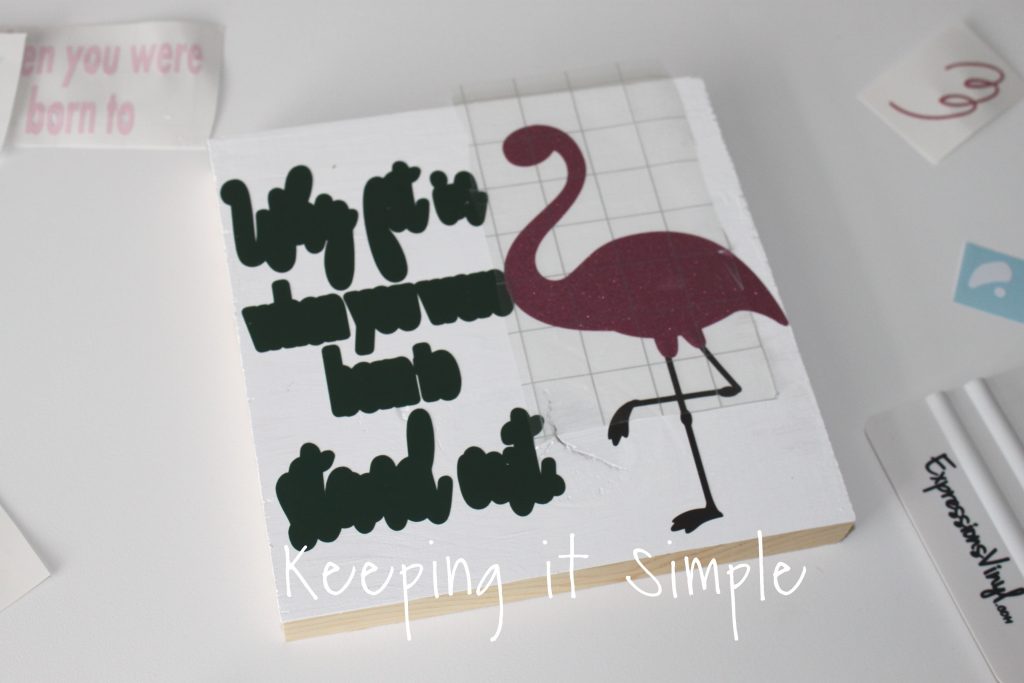
I then put the rest of the words and details onto the sign.
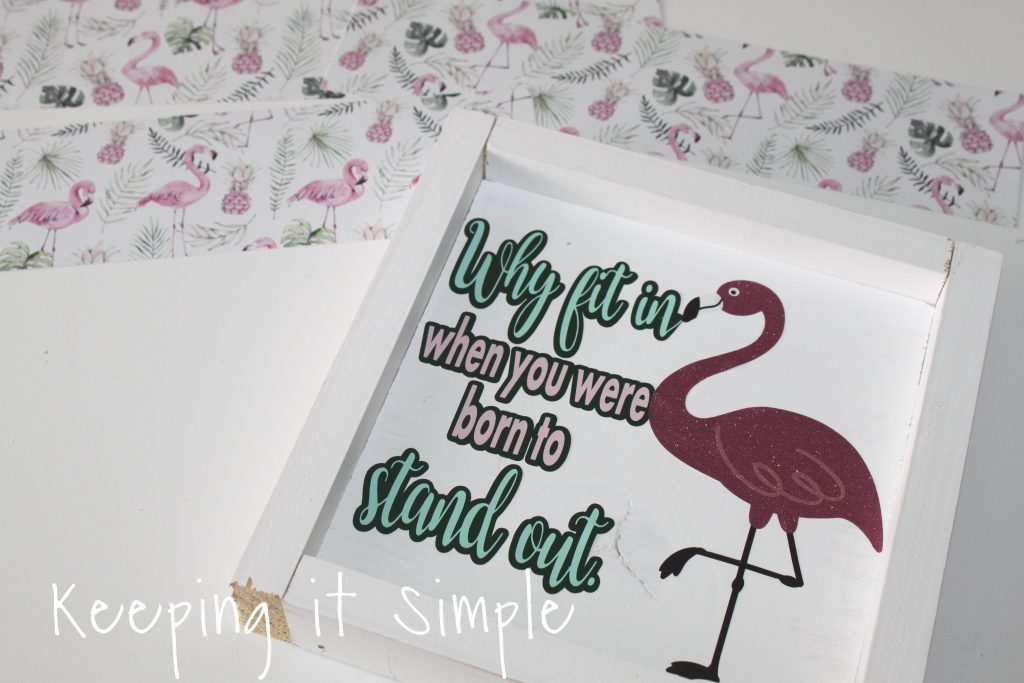
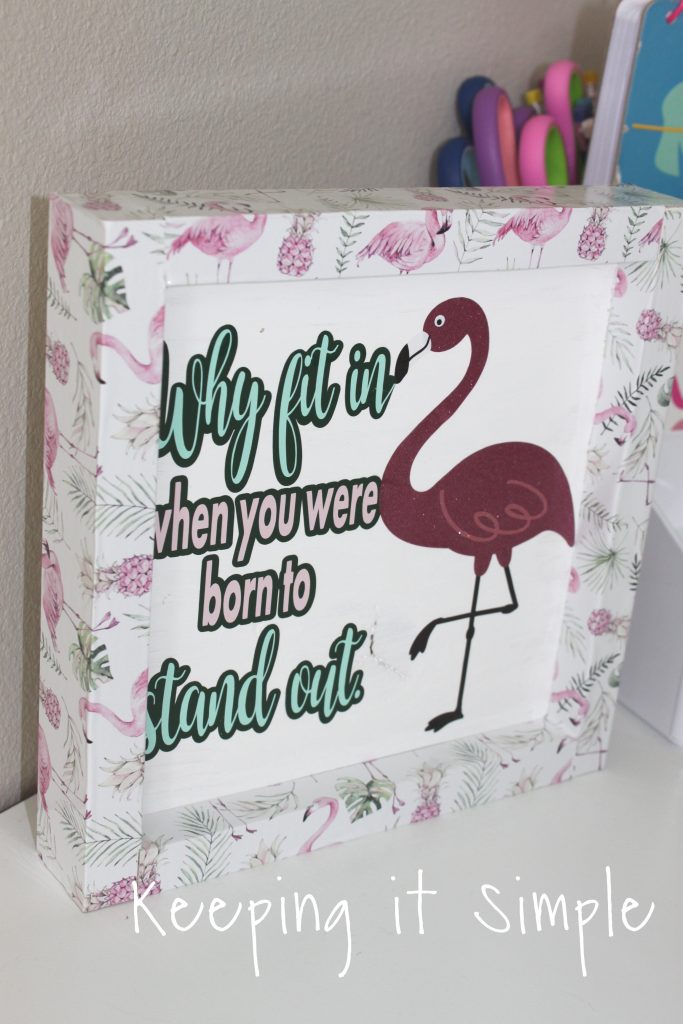
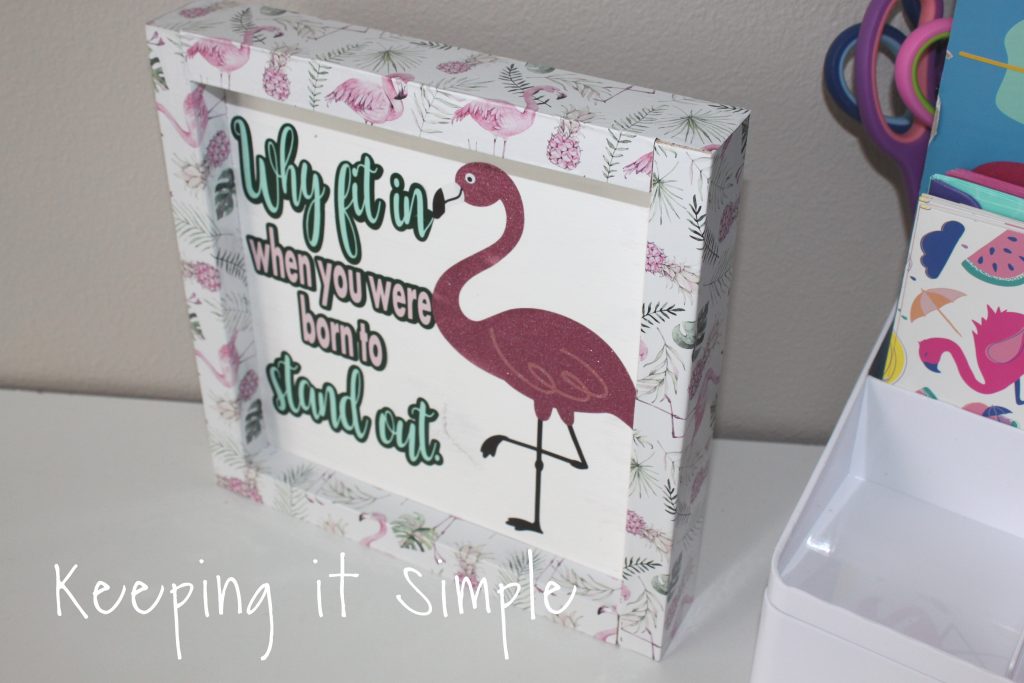
Now for the frame. I wanted the frame to be fun, so I decided to use the flamingo vinyl on it. So I cut the vinyl into 4 strips that were 3″ high.
Using a nail gun, I first put the frame onto the board (you want to do that before the vinyl so it can cover up the nail holes). I put the top pieces on first (they are the shorter of the frame pieces).
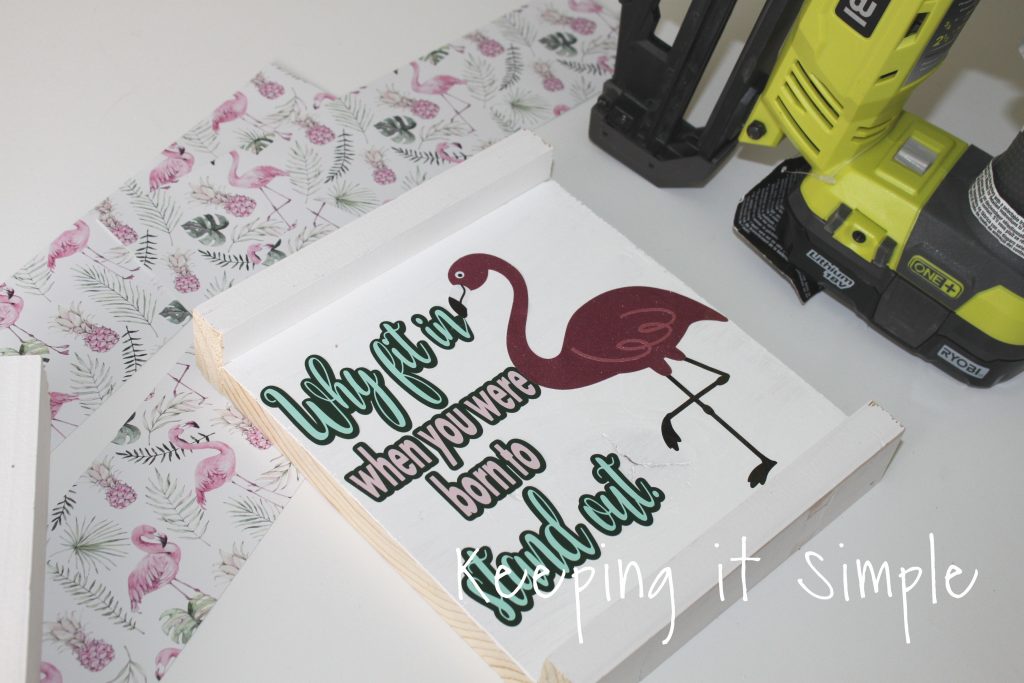
I then put on the side pieces.
Now to put on the flamingo vinyl. I measure the 3″ strip and cut it to be the width of the board (which is roughly 9 inches). Then I had to cut notches into it so that it would fold over the frame. The notches are a little less than 3/4″ inches from the side and 1 1/2″ inches from the bottom. I cut those out and then put the vinyl onto the frame. I did the same thing for the bottom, well at least I would have had I not messed up when cutting one of the strips. I cut it 2 1/4″ instead of 3″… so don’t do that :).
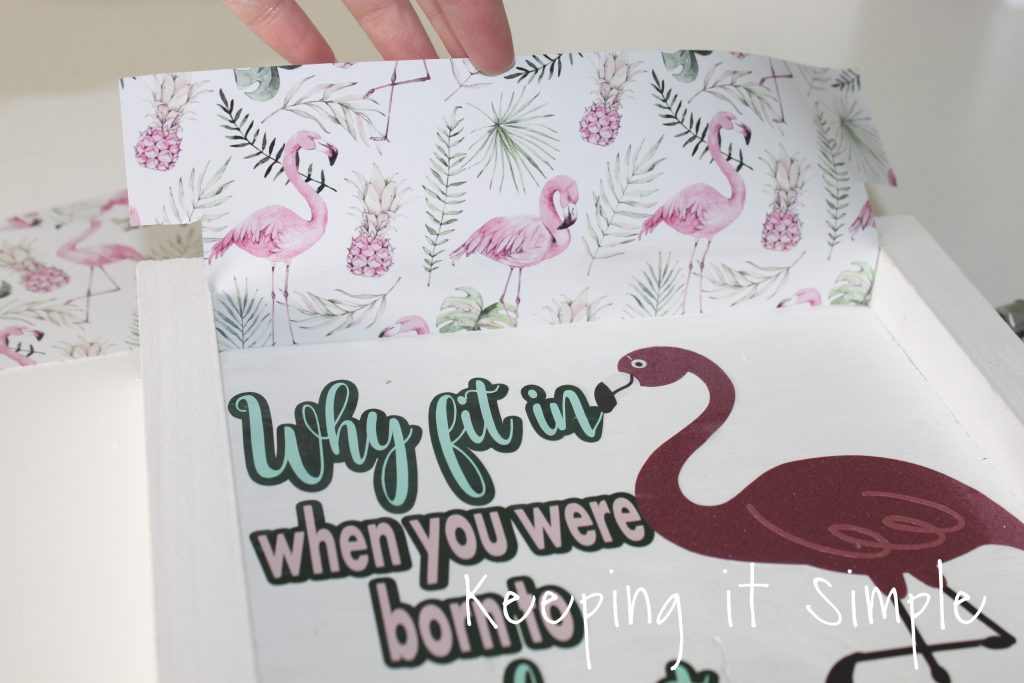
Now for the side pieces of the frame. I cut the vinyl about 9 inches again but this time when you do the notch you don’t go up as high. The notch is a little less than 3/4″ inch square off the corner.

I then put the vinyl onto the side frame pieces and folded it down really good.
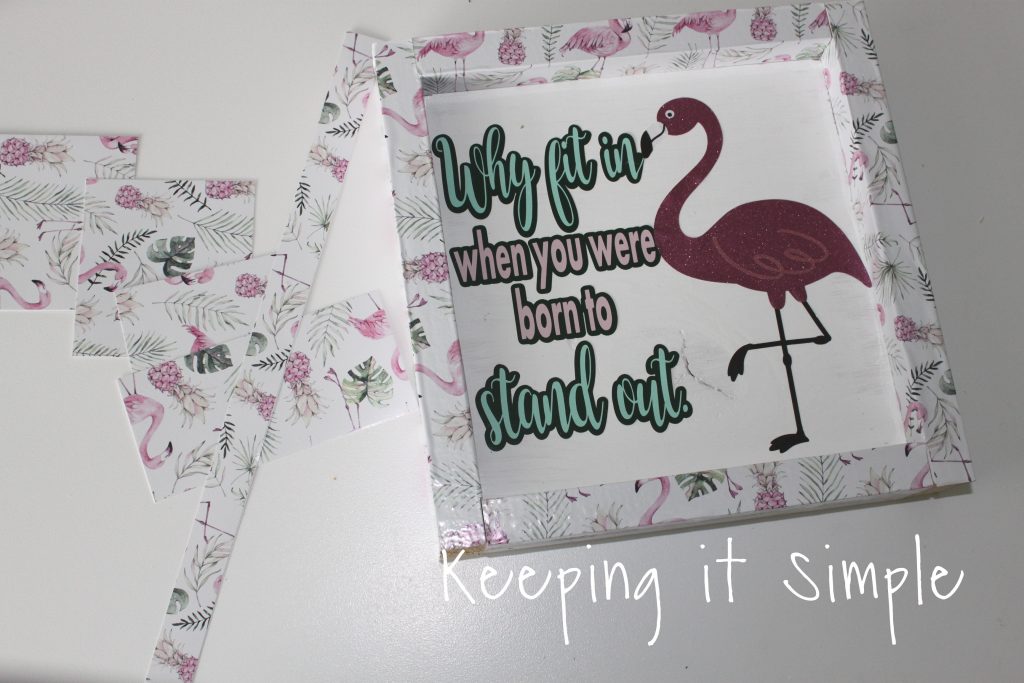
And that’s it! Isn’t it so cute?! I love how the flamingo vinyl looks on the frame and how the rest of the Summer Breeze vinyl pack looks with it!
Here is the side view of it, the frame looks awesome!
This works perfectly on my desk with my desk organizer that has lots of fun flamingo stuff in it :).
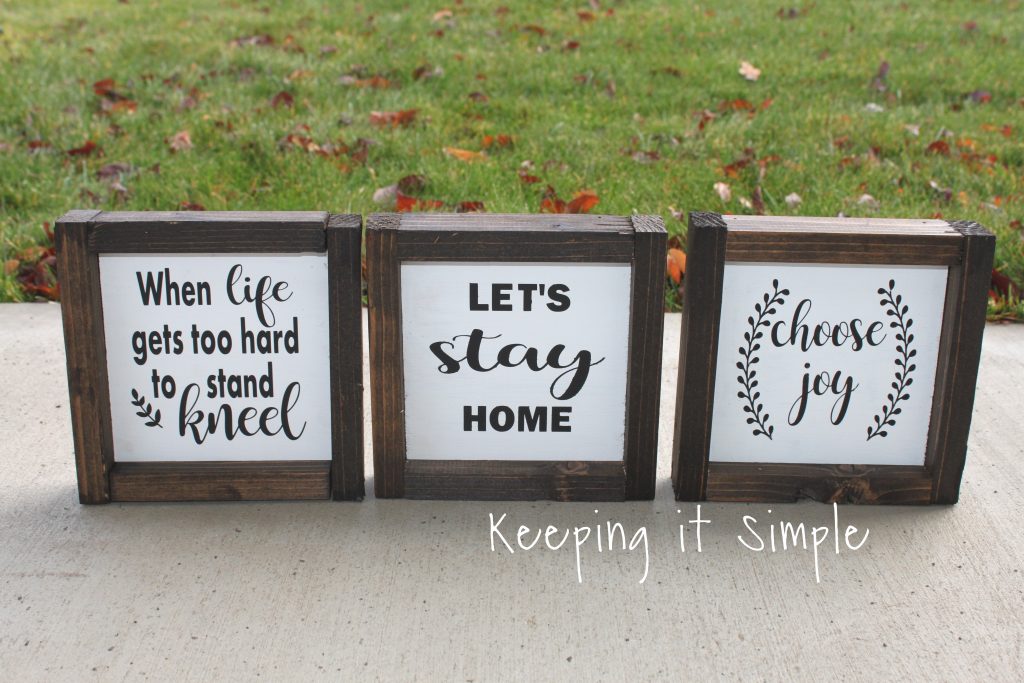
Check out all of the other cute signs that I have made:

This post contains affiliate links.
Leave a Reply
You must be logged in to post a comment.