DIY Cube Organizer Shelf- IKEA Kallax Knock Off
I love the Kallax line at IKEA. Seriously love it. My whole craft room is full of the cube organizers. I just love the look of them but also how functional they are. They can hold a ton of stuff and they look good too. Really they are so great. We are redoing our loft area and we needed a piece of furniture that was short enough that would fit under the TV’s (there are going to be more than one once we get it all done) but functional enough that it would hold all of our gaming consoles and controllers and electronics. I immediately knew that I wanted to some kind of cube organizer but when I was looking into buying one, I could only find ones that were 4 cubes long and I wanted at least 6 cubes. I thought about buying two 3 cube shelves and building a top for it to make it look like one big piece but I figured if I was going to be building a top, I might as well build the whole thing. I’m so glad that we decided to make it because then we could make it exactly how we wanted and make it fit our space perfectly. We ended up with 7 cubes in it and I love how it looks in my loft area.

This is how we made it:
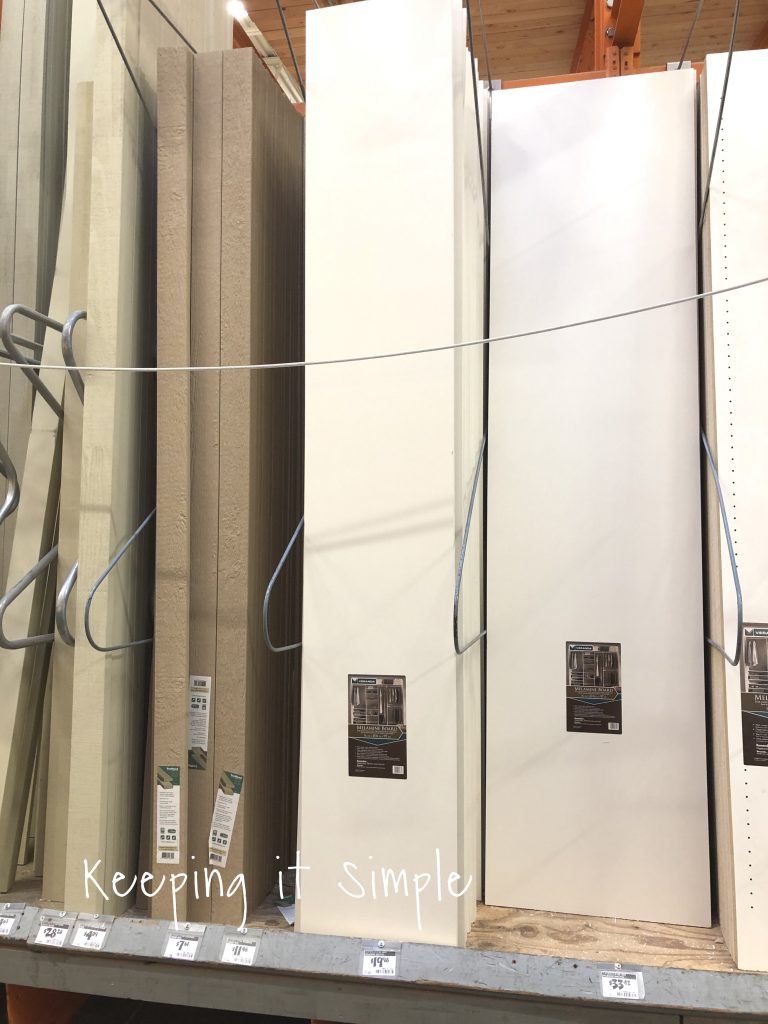
We headed to home depot and picked up the wood. We ended up going with the melamine board that was 15 3/4 inches wide and 97″ long. In order to get the 7 cubes in it, we had to have 97″ and since the fabric cube organizers are 15″ deep, we needed it to be at least 15 inches. So really, this board was perfect for what we were making. We bought 4 of these boards, two for the top and then two for the shelves.
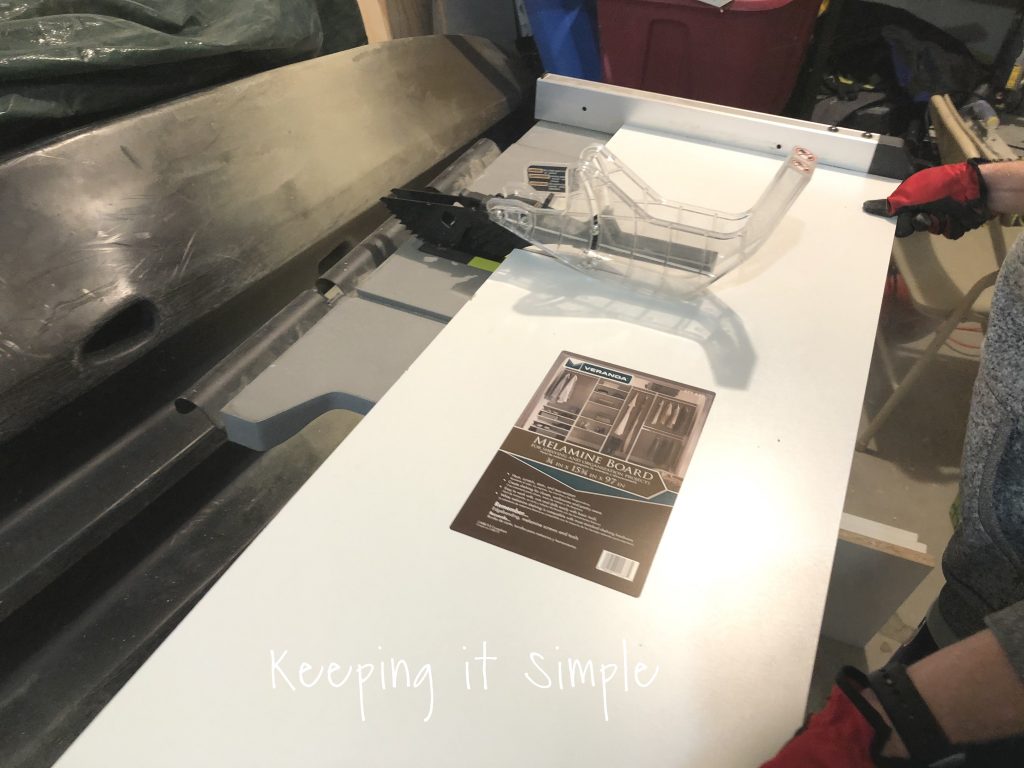
Using our table saw, we cut the boards. For the cube pieces, we cut the boards to be 15 3/4″ x 15 3/4″. We cut 8 of them. The top and bottom pieces of the shelves, we didn’t cut at all.
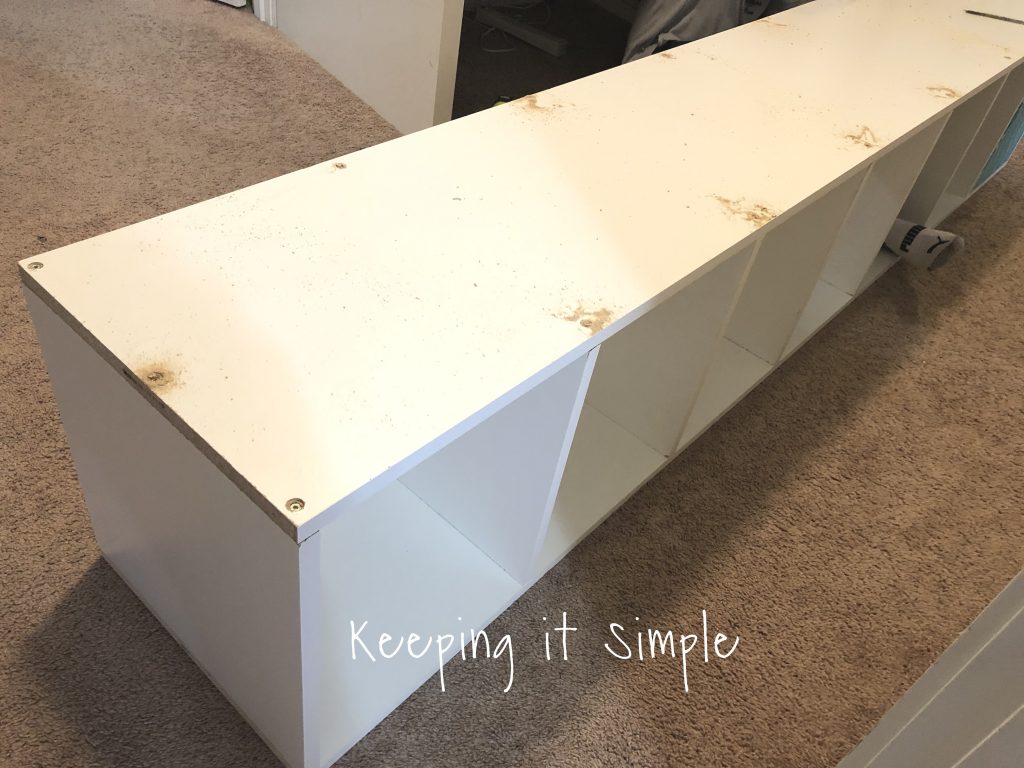
Once all the inside pieces were cut, we started assembling the cube organizer. Using a 1/2″ hole drill bit, we drilled a hole into the bottom piece of the shelf. Then we aligned the side piece up and drilled a little hole through the two pieces using a drill bit. Then using a 2 inch screw, we screwed the pieces together.

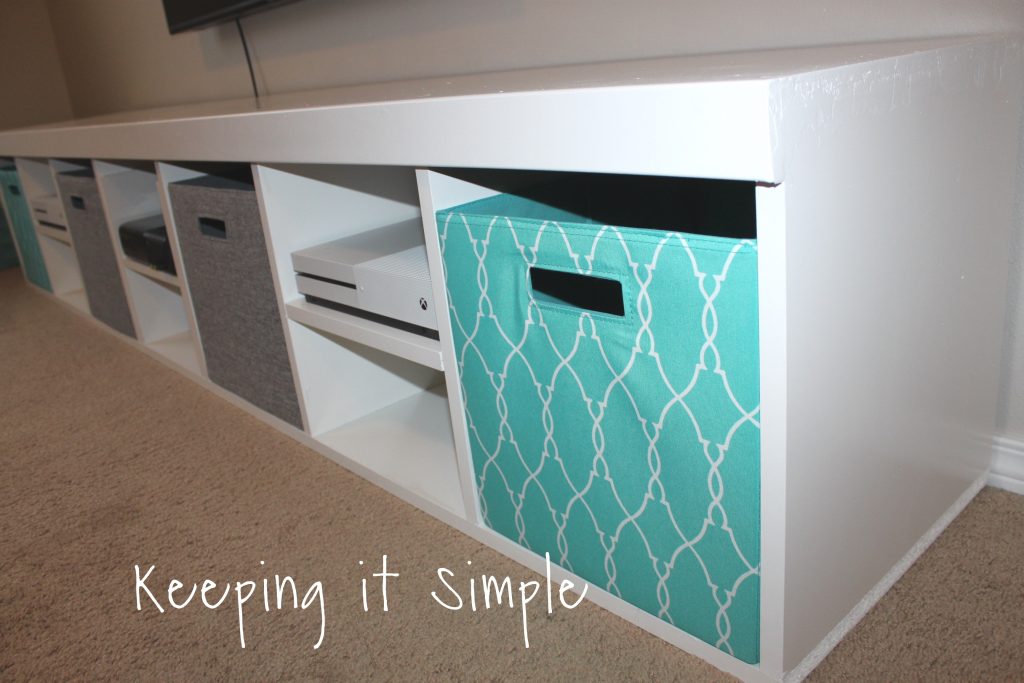
In order to fit the fabric cube organizer, the sections have to be 13″ apart (the containers are 12.75″). We marked the 13″ from the side board and worked our way to the center. We would drill the hole and screw the piece together on one side and then flip the whole thing over and screw in the other side before moving to the next piece.
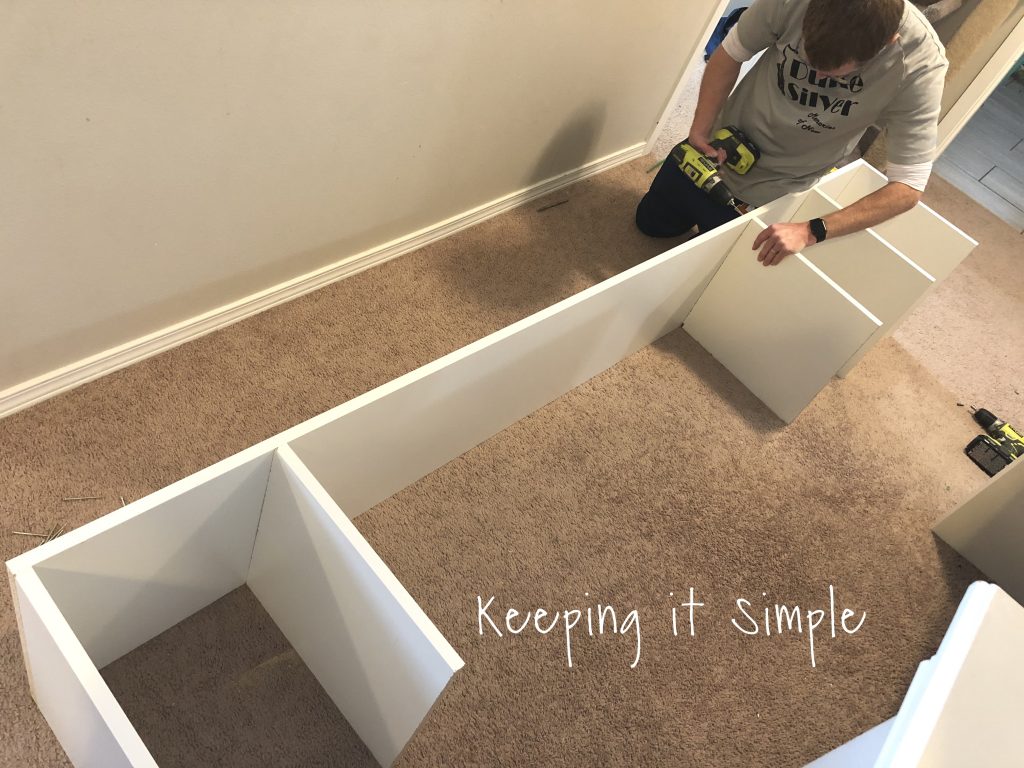
Here are all of the pieces screwed in. The 97″ board fit 7 cubes perfectly. Each cube is 13″ and there are 7 of them so 13″ x 7 = 91″. Then the board are 3/4″ inches thick and there are 8 of them, so 3/4″ x 8 = 6″. Add those two together, 91″ + 6″ = 97″. Now it works out perfectly, but because there isn’t much room for error, the sections that we built the shelf in the middle of it, we actually made them 12.75″, just in case there were some problems in the middle. Since they didn’t have the containers in them, they didn’t have to be 13″ wide.
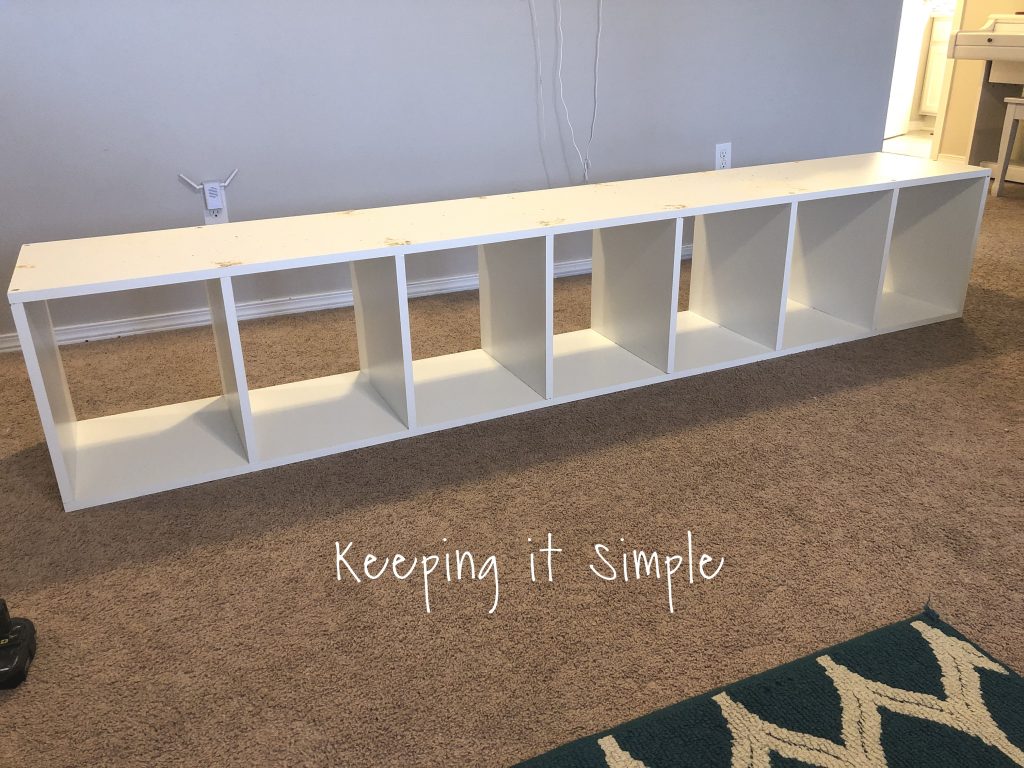
Next we put on the other piece of the shelf and screwed it in. We started from the outsides, got sides screwed in and then screwed in the middle pieces.
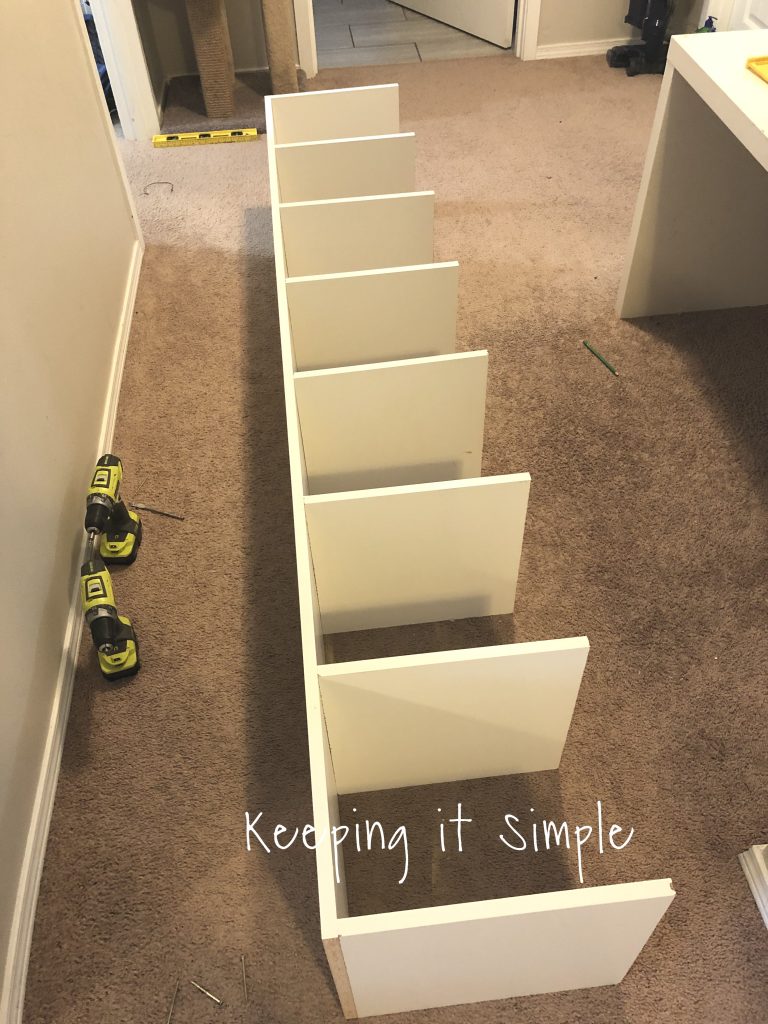
Here it is all put together :).
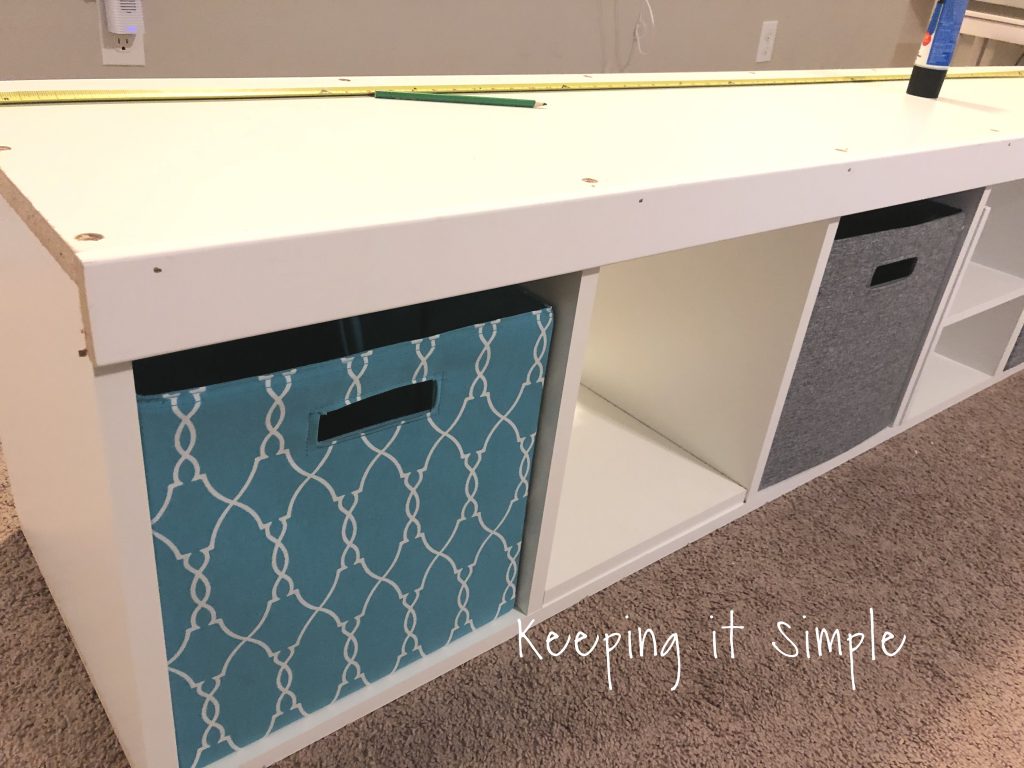
We wanted to added a little bit more flare, so we added a 1/3 piece of trim to the top. We just nailed it onto the top piece. ***This is just for looks, if you don’t want to add the trim, you don’t have to. Instead of cutting the pieces 15 3/4″ x 15 3/4″, you would cut them 13 1/2″ x 15 3/4″. The shelf would 13 1/2″ high instead of 15 3/4″ high.***
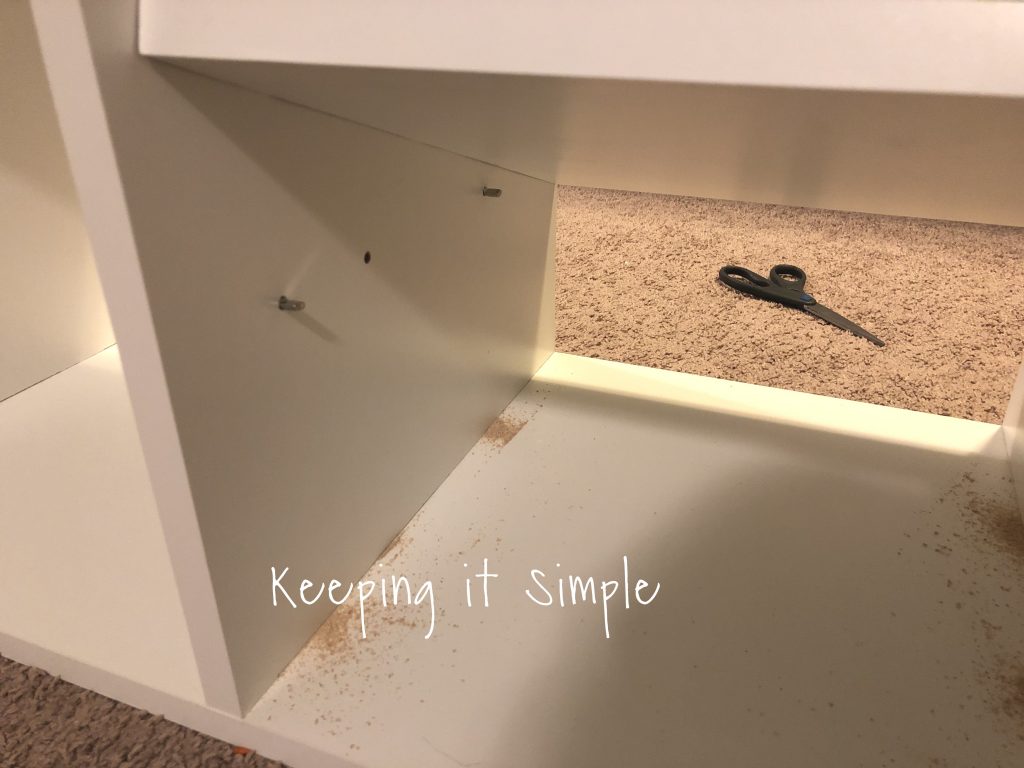
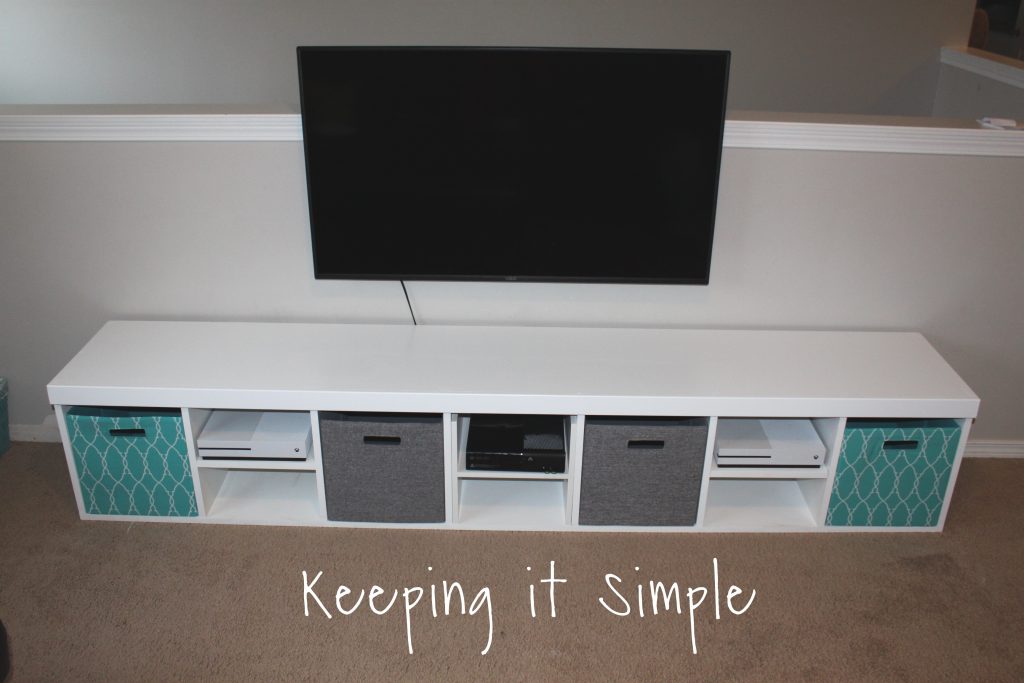
Two of the cubes we made shelves for consoles. We just drilled holes and added shelf pegs. These pieces were cut to fit the cube, so they are 12 3/4″ x 15 3/4″.
Once everything was built, we used wood filler to cover up all the holes.
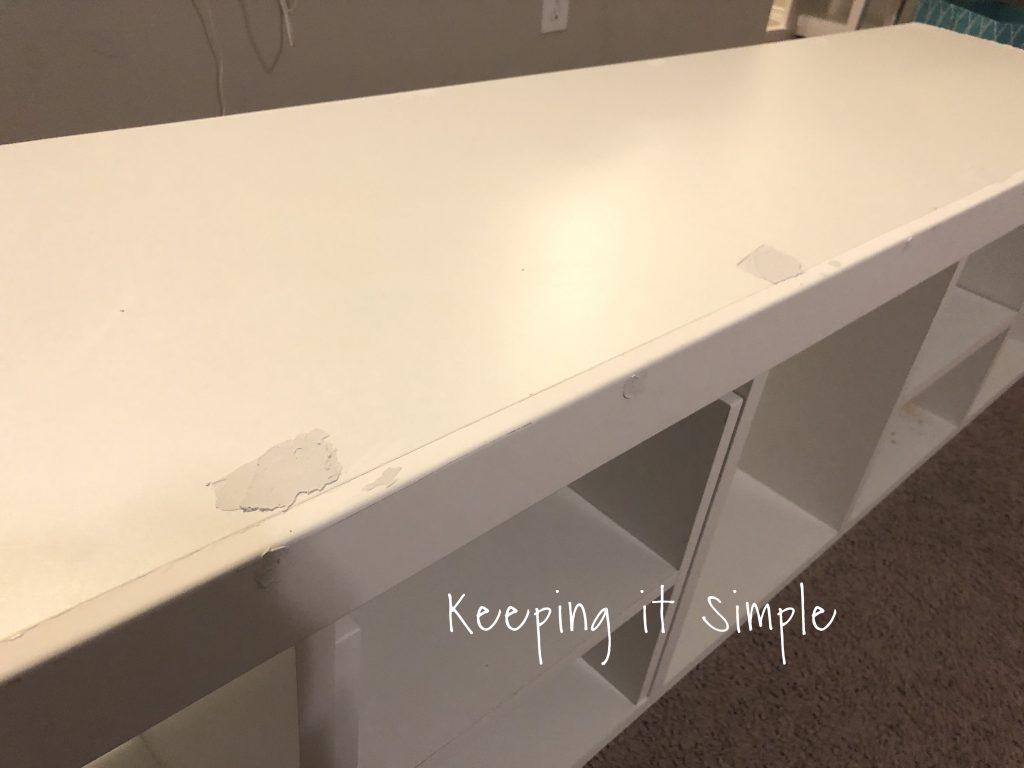
Once the wood filler was dry, I sanded it down and then wiped the whole shelf down and then painted it.
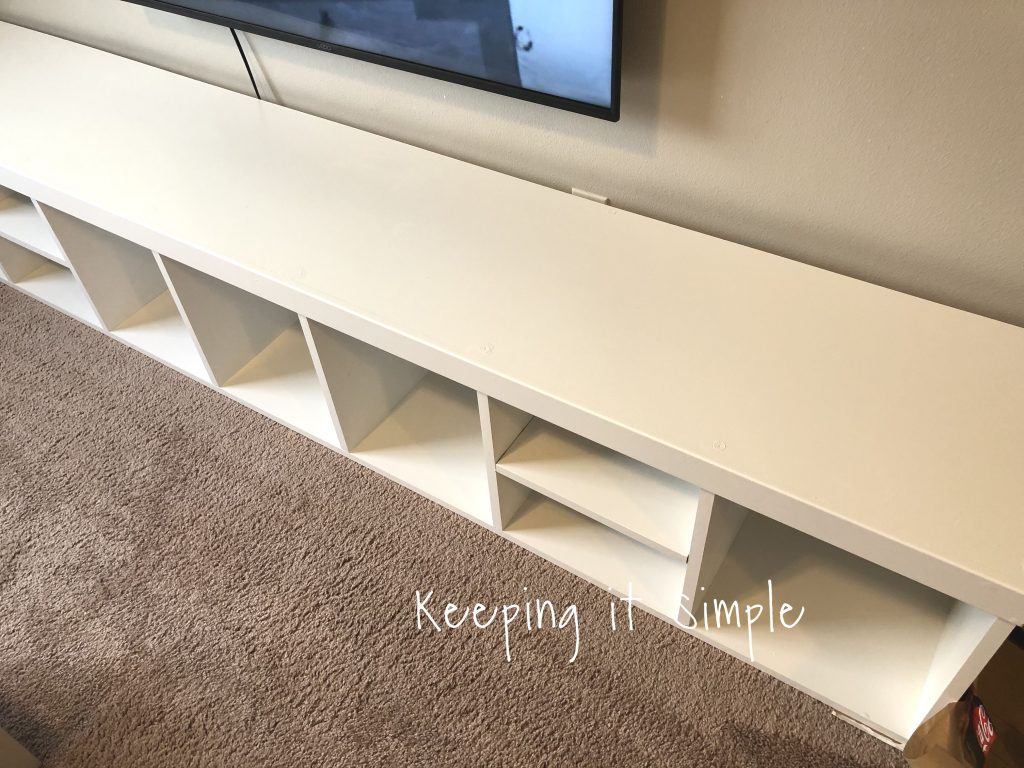
And that’s it! I added some storage bins that I got form Walmart (the ones from Ikea would fit too). The middle cube we put in an insert instead of building one.
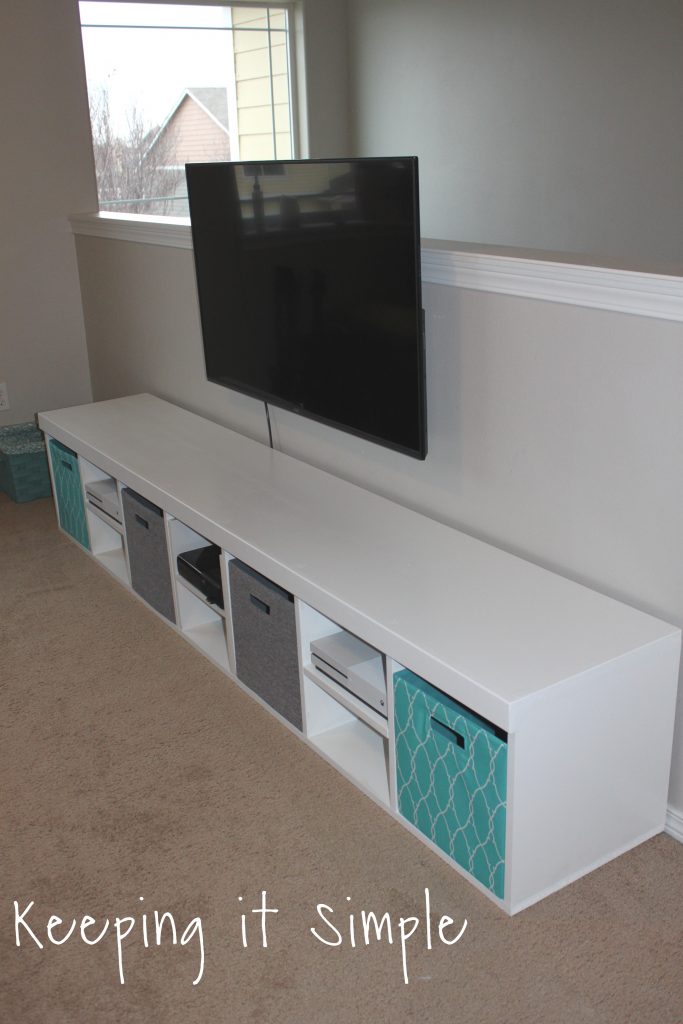
I love it so much!
Check out my other DIY projects.
This post contains affiliate links.
Leave a Reply
You must be logged in to post a comment.