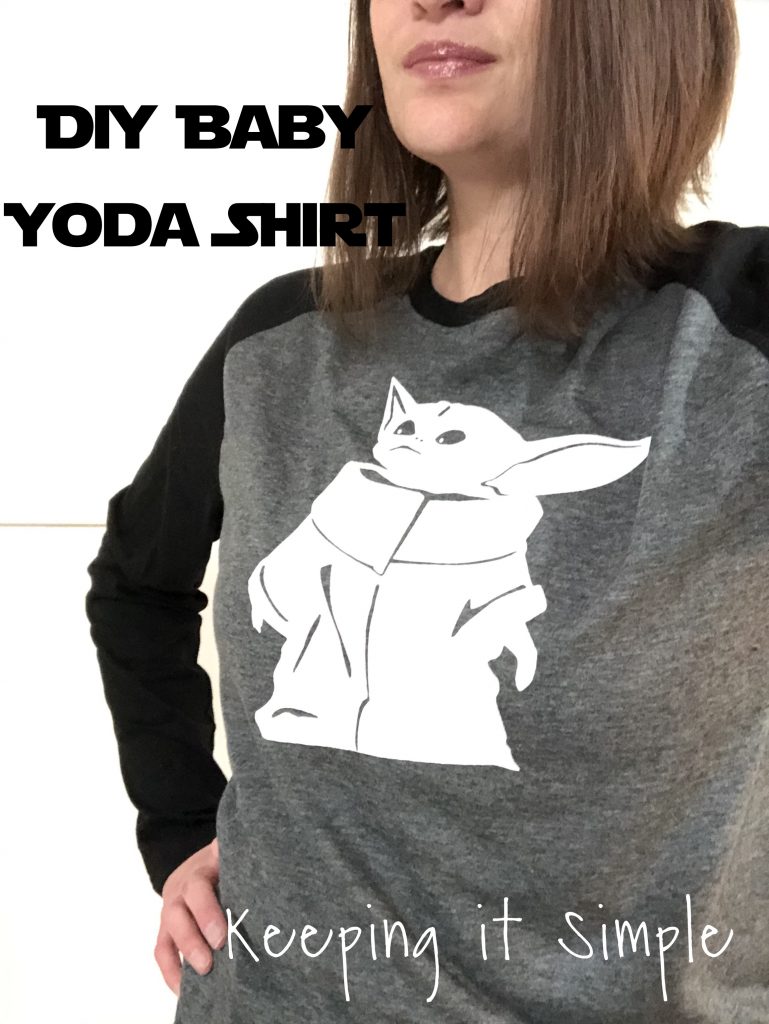
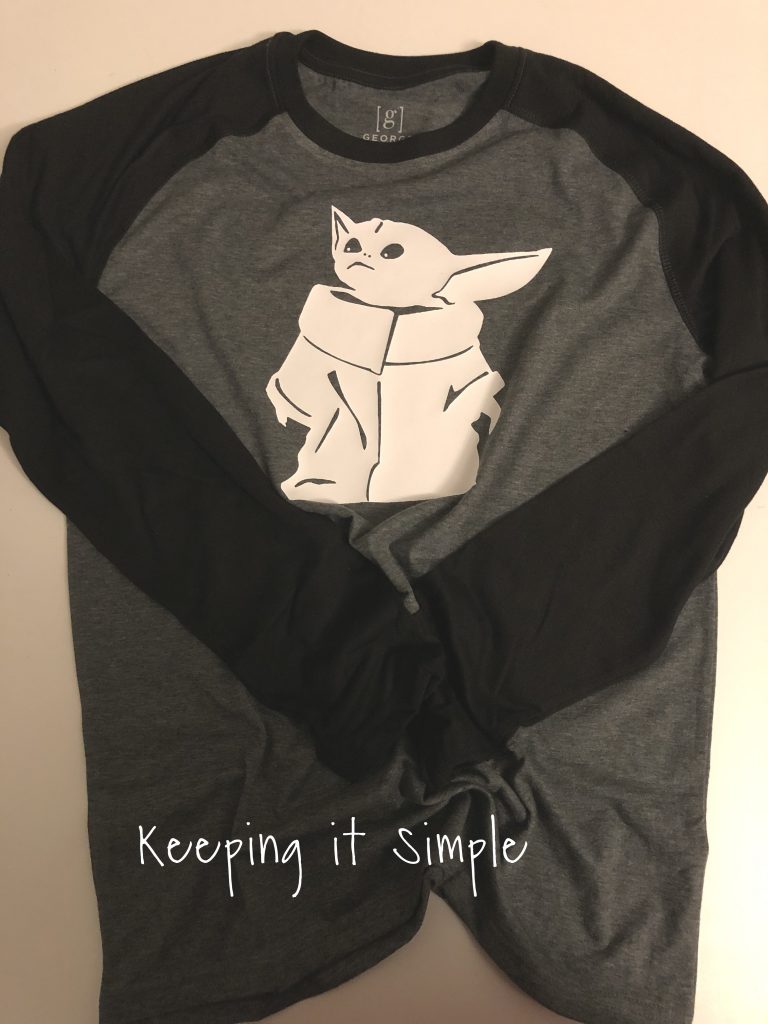
DIY Baby Yoda Shirt
Are you as obsessed with baby Yoda as I am? Seriously, he is so cute and I want one!! I’m getting on the baby Yoda craze and made myself a t-shirt because we all could have more baby Yoda in our lives :). This DIY baby Yoda shirt is super easy to make, only took me about 15 minutes to make and I love how it turned out. I’m sure I will be wearing it a ton this winter but it will go with everything.
Here is a quick video to show you the process of how I made this super sweet baby Yoda shirt.
This is how I made it:
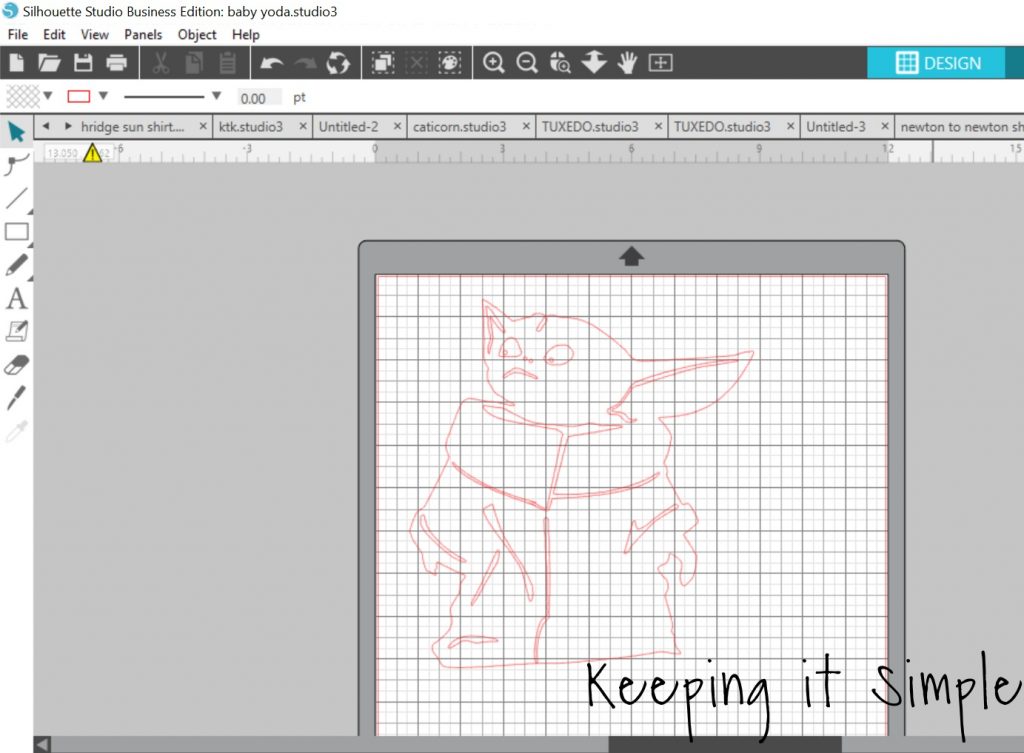
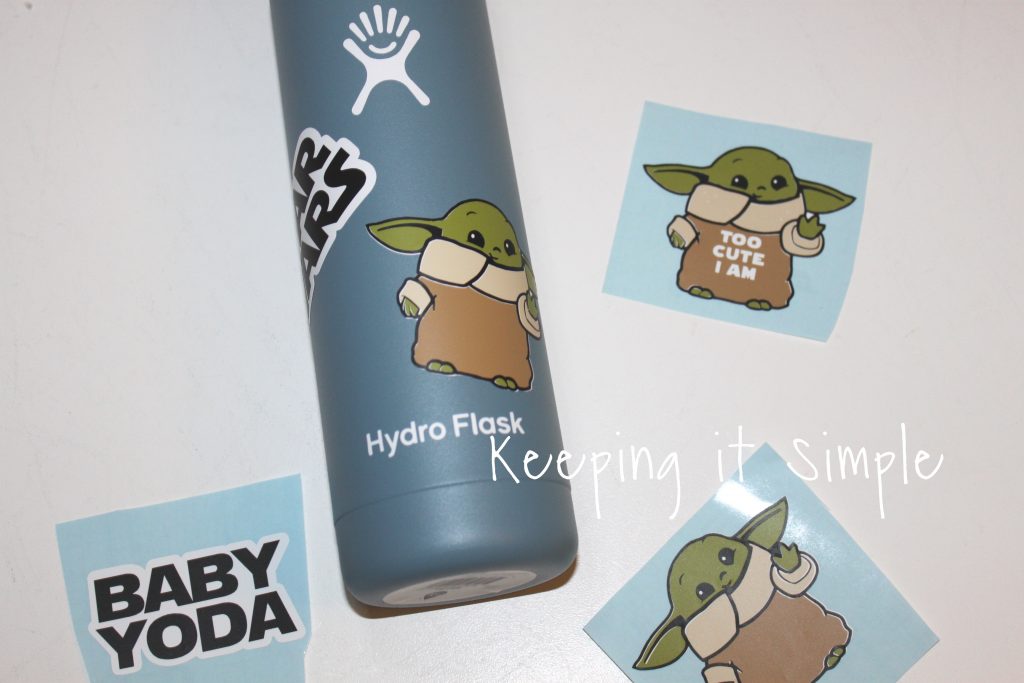
I made up the design in Silhouette Studio. I found the image here and based the design off of it. I got it all ready to cut out of heat transfer vinyl. Before I cut the baby Yoda with my Silhouette CAMEO, I mirrored the image (you can do that by right clicking and going to “flip horizontally”). When I cut the heat transfer vinyl, I put the shiny/plastic side down on the mat. You can get the cut file here:
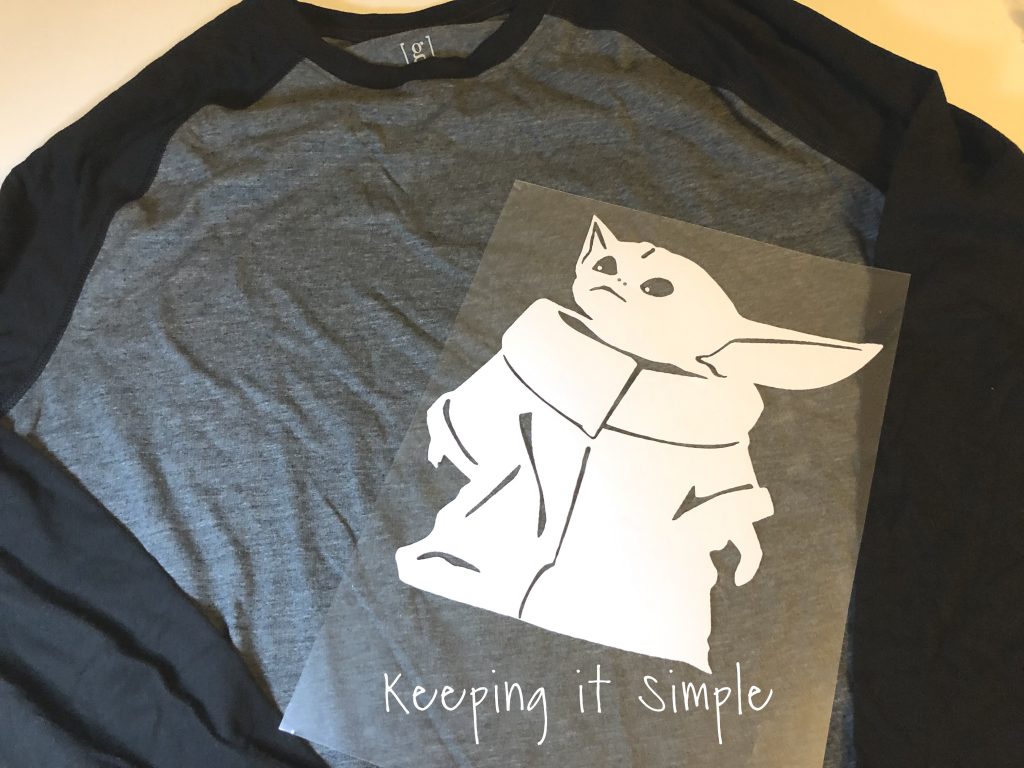
I cut the baby Yoda out of a white stretch heat transfer and then I weeded the vinyl. I found a nice baseball tee in a gray and black at Walmart. I love these shirts, they are super comfy and less than $6. I buy them for me and my boys.
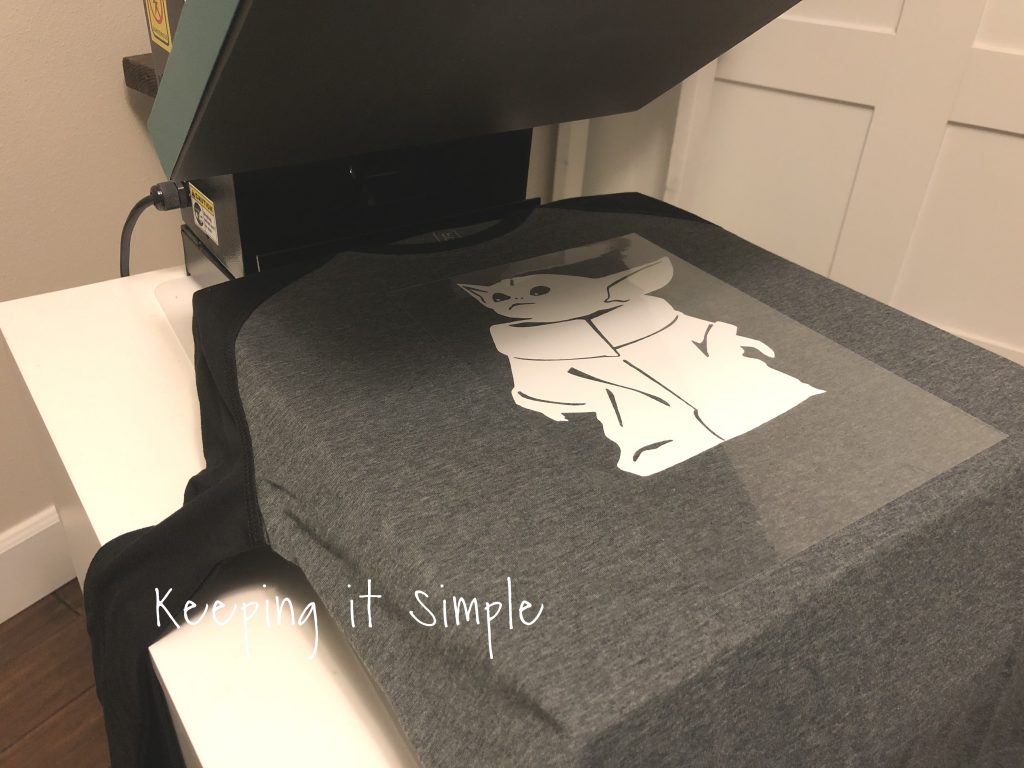
Using my heat press, I put the baby Yoda onto the shirt. I set the heat press to 320 degrees and pressed it for 20 seconds. I then took off the plastic and placed a multi use paper sheet over the design and pressed it again. I then moved the shirt and pressed it again, this is to make sure that the whole design gets pressed down evenly.
And that’s it, super easy and super cute!
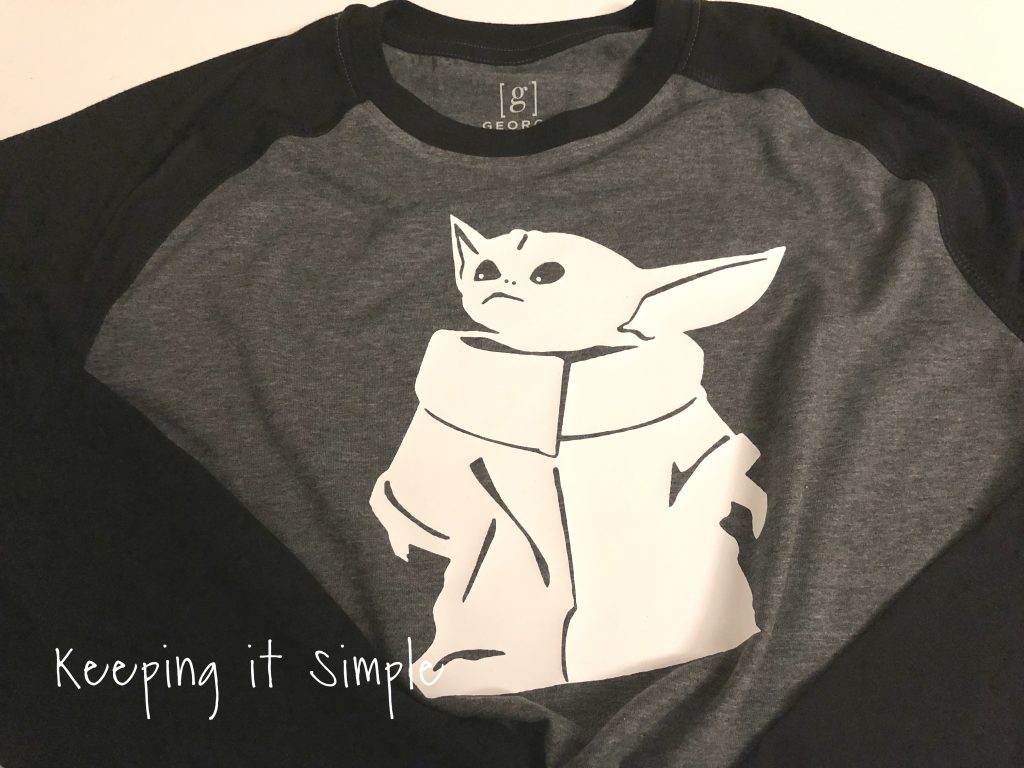
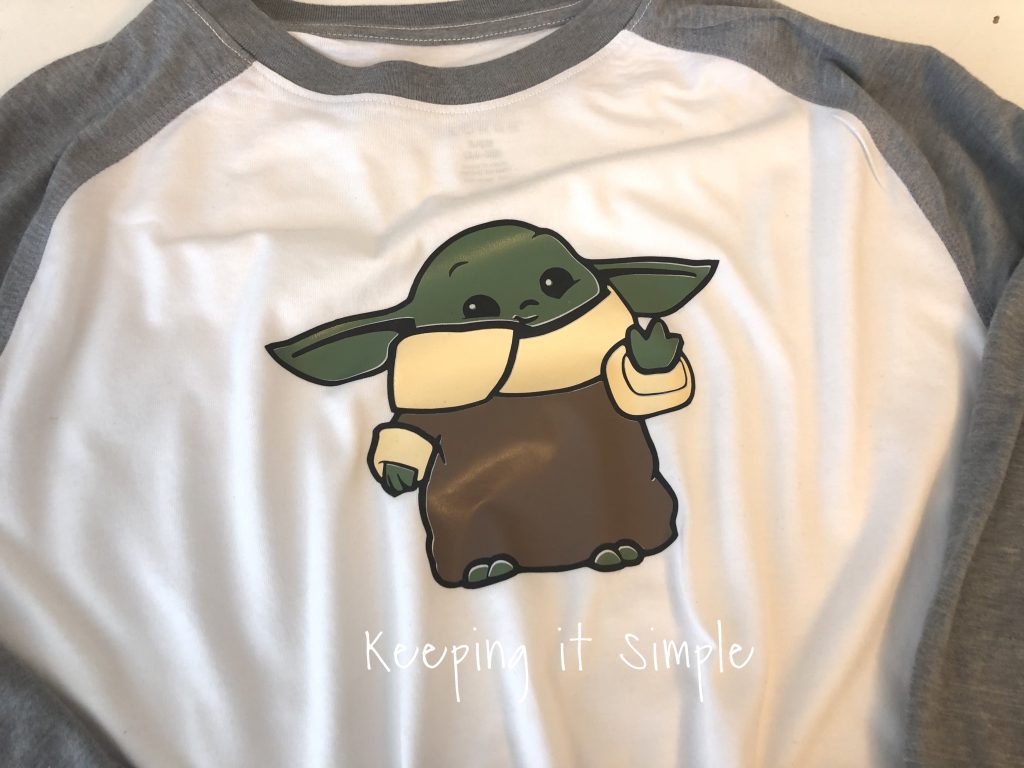
Here is a close up of the cute DIY baby Yoda shirt.
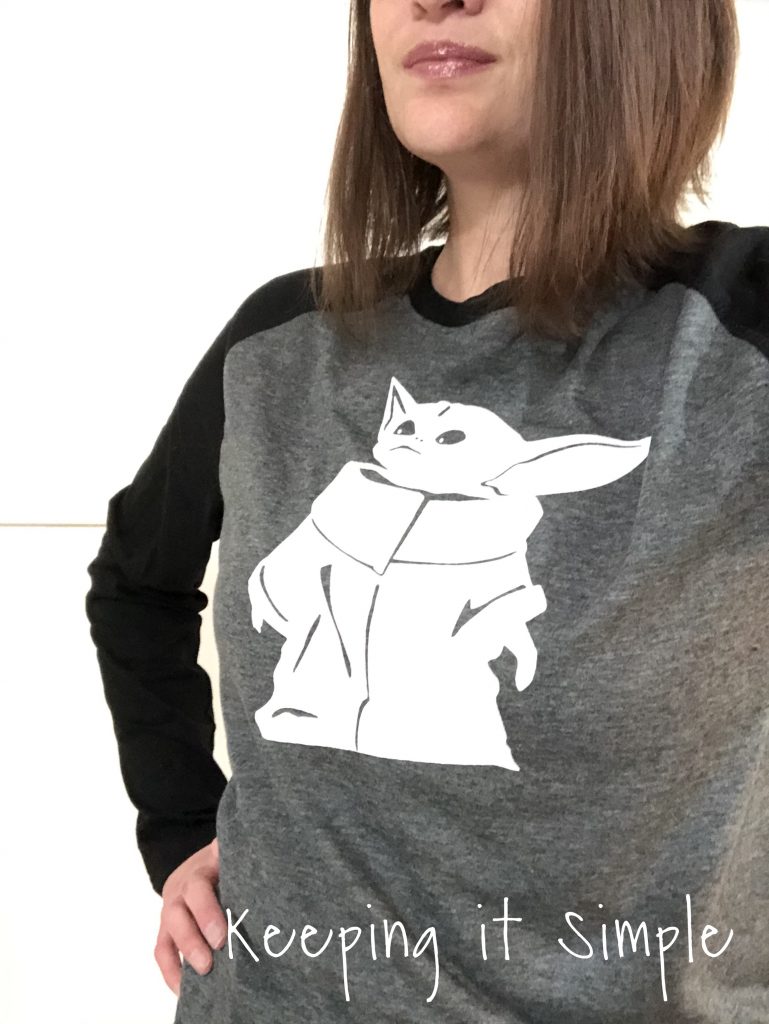
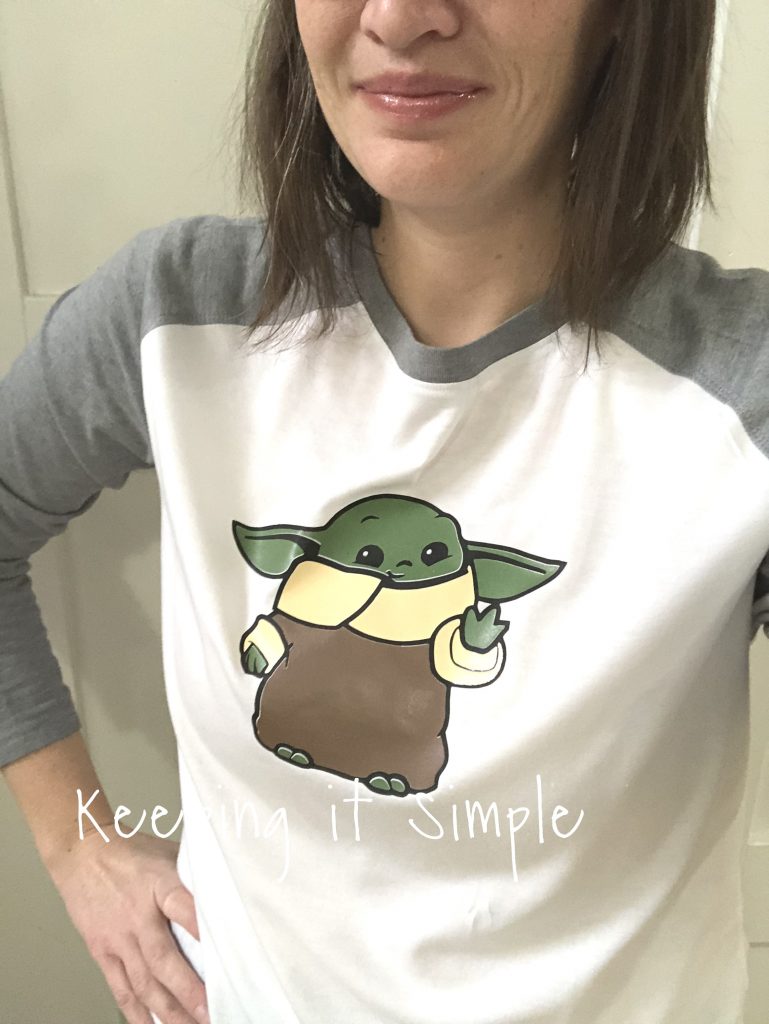
And here is how it looks on! Perfect for a girl or boy. Can’t wait to wear this shirt over and over again!
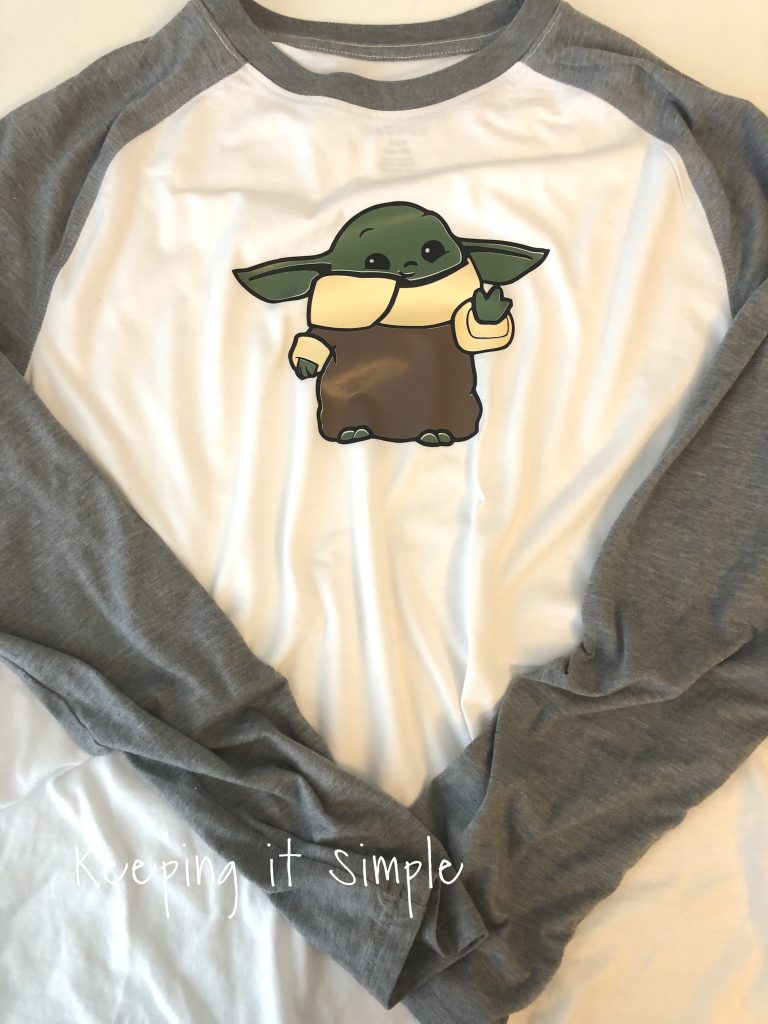
I love this baby Yoda shirt so much, that I made up another, cuter design and made another shirt with it.
Here is a quick video to show you how I made it.
I made it the same way but since there are more layers, I had to use different colors too. I used the Easyweed heat transfer vinyl and used the colors black, cream and chocolate. The green one is actually from Amazon. As you can see in the video, I put the green vinyl on first and then the black outline. ****One thing that I would do differently than the video, is that I would separate the green part. Instead of putting all of the green down on the shirt first, I would first do the face only, then the black outline. Then I would put on the hands and feet after the outline is on. That way you don’t have as much white showing and you can line it up better.***
I love how it turned out, it’s so cute and fun! You can get the cut files here.
I’m definitely going to be wearing this shirt a lot 🙂
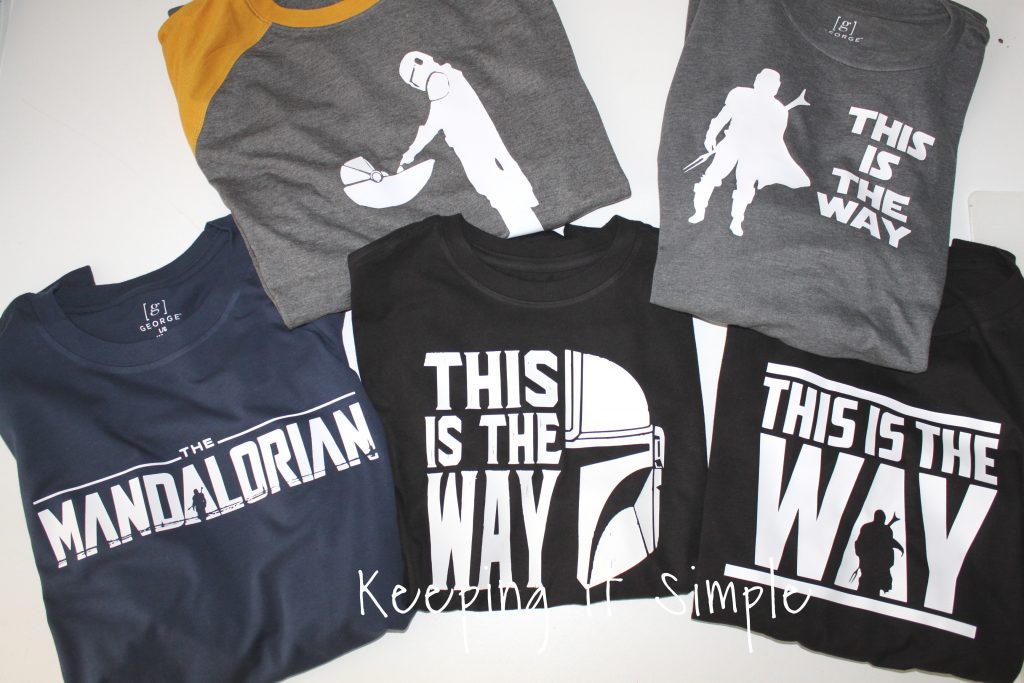
Check out my other Star Wars ideas!

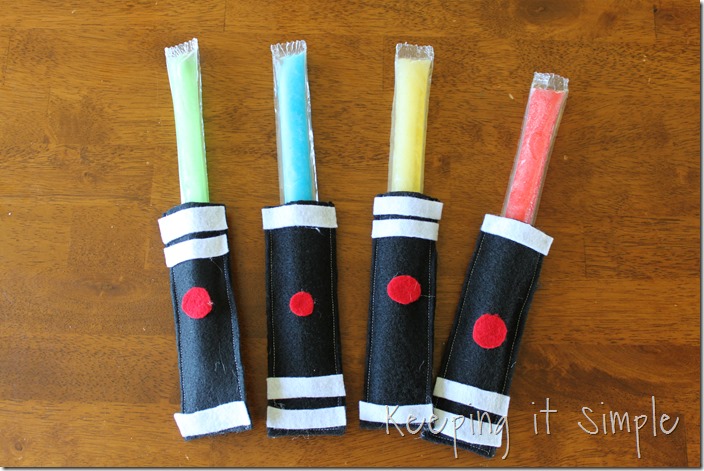
Wrapping Paper Roll Light Saber

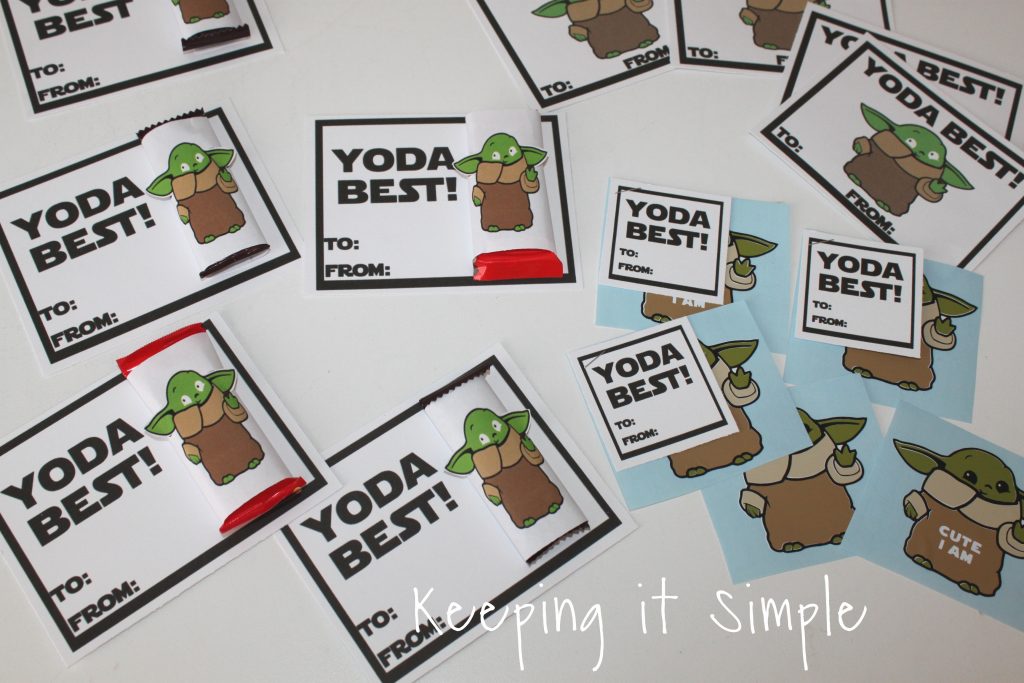
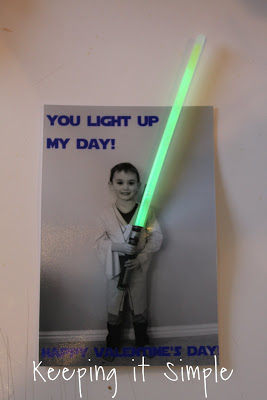
Star Wars Valentine
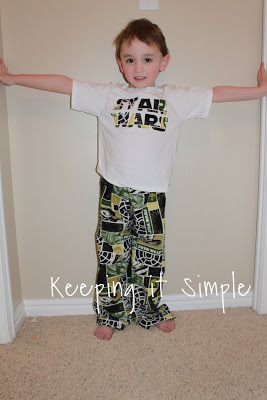
Star Wars PJS
This post contains affiliate links.
Leave a Reply
You must be logged in to post a comment.