Double Sided Halloween Block Sign
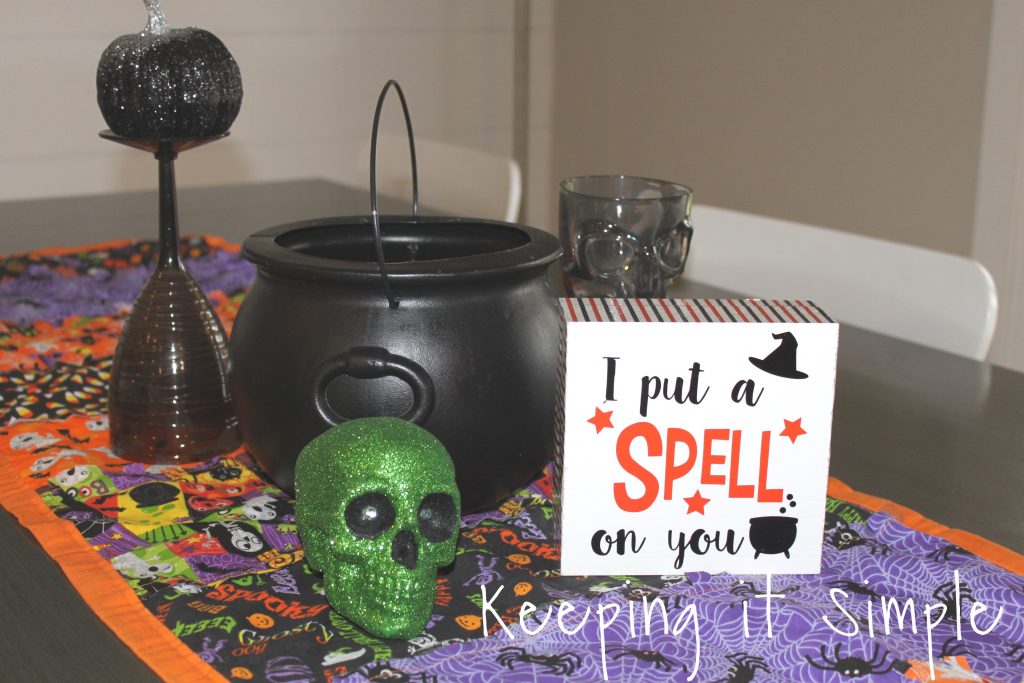
I am a little obsessed with double sided things, I feel like I am getting more bang for my buck or something. I wanted to make a cute Halloween block sign for my kitchen, so I decided that it would be great to make it double sided because at the kitchen table you can see both sides of the sign. I went with two designs that involved witches because of the cauldron that is in the middle of my table. I thought these two designs were perfect because I usually feel the cauldron with candy and the spell one just seemed fitting.

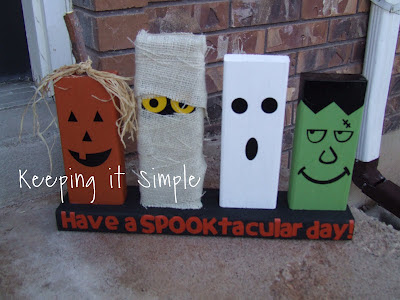
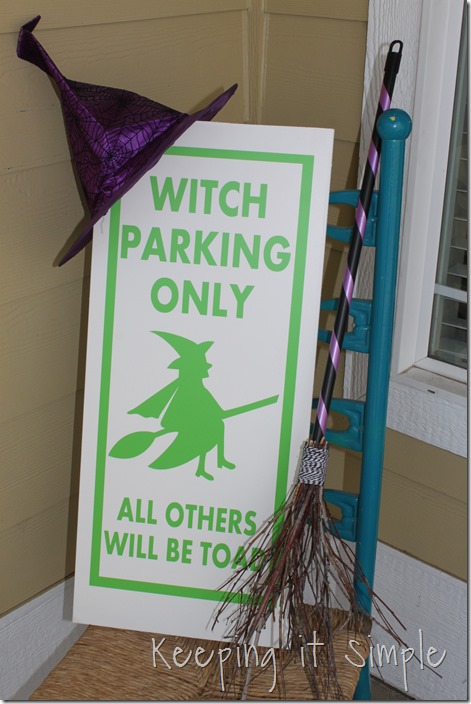
Here is a quick video of another sign that I made for my front porch. This one is double sided too but one side is fall and other side is Halloween. I made the signs the exact same way though. To see the full tutorial of that sign, go here.
This is how I made the sign:
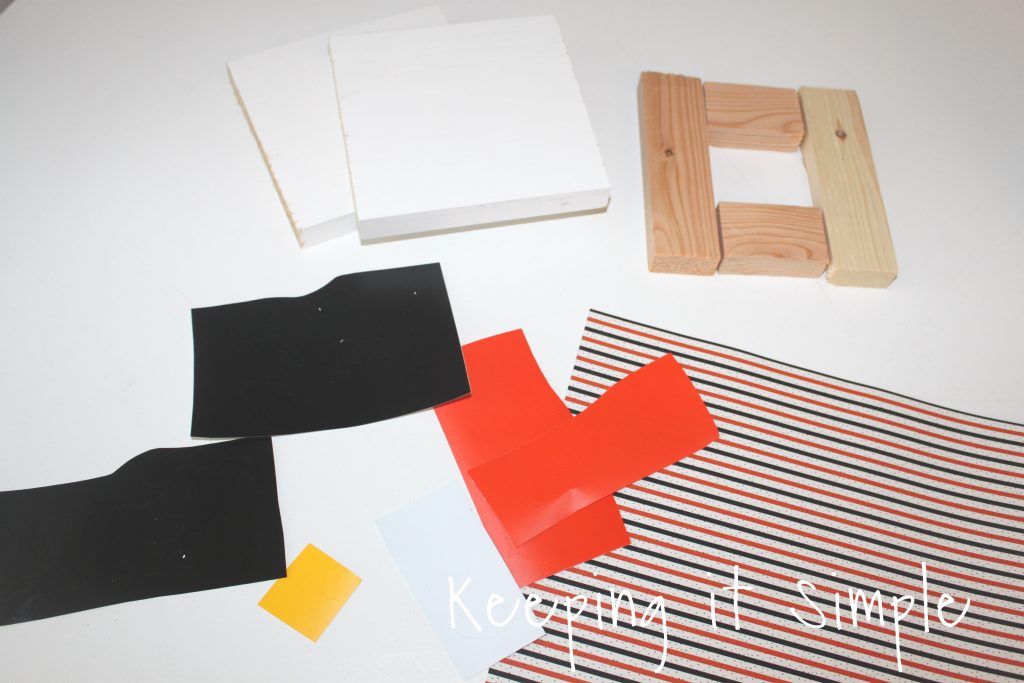
I took some black, orange, white and yellow adhesive vinyl and then cut out the design in them. I used my Silhouette CAMEO to cut the designs and you can get the cut file here. I then cut a 1 x 6 board to be 5.5″ x 5.5″. Then I cut a 1 x 2 for the inner part, I cut those pieces to be 5.5″ and 2.5″. I also used some awesome black and white patterned vinyl.
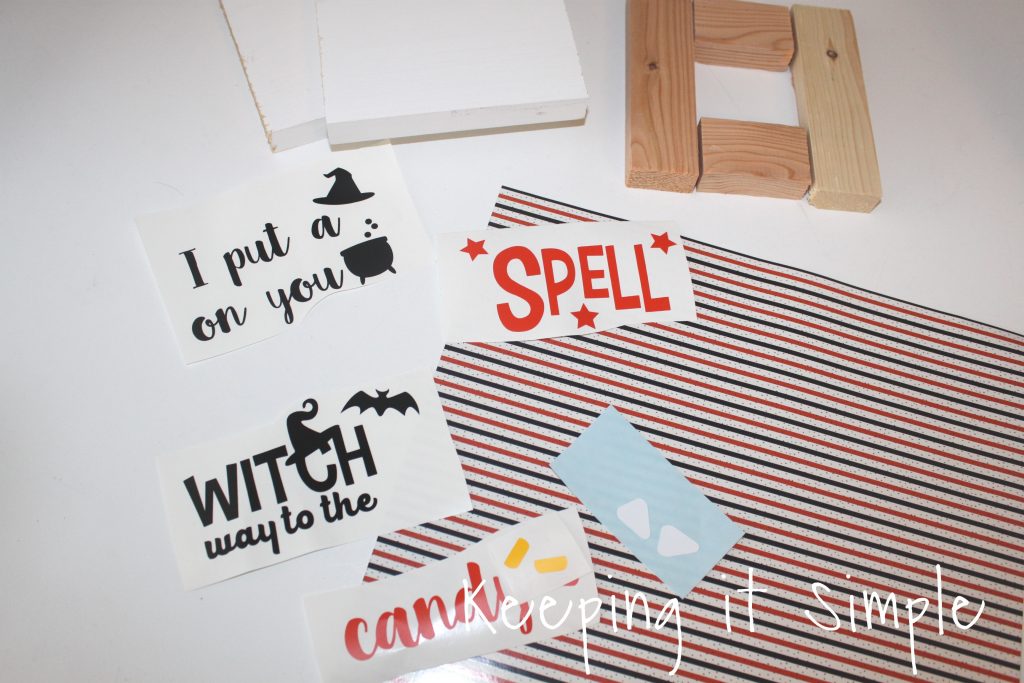
I weeded the vinyl, leaving the designs in the different colors.
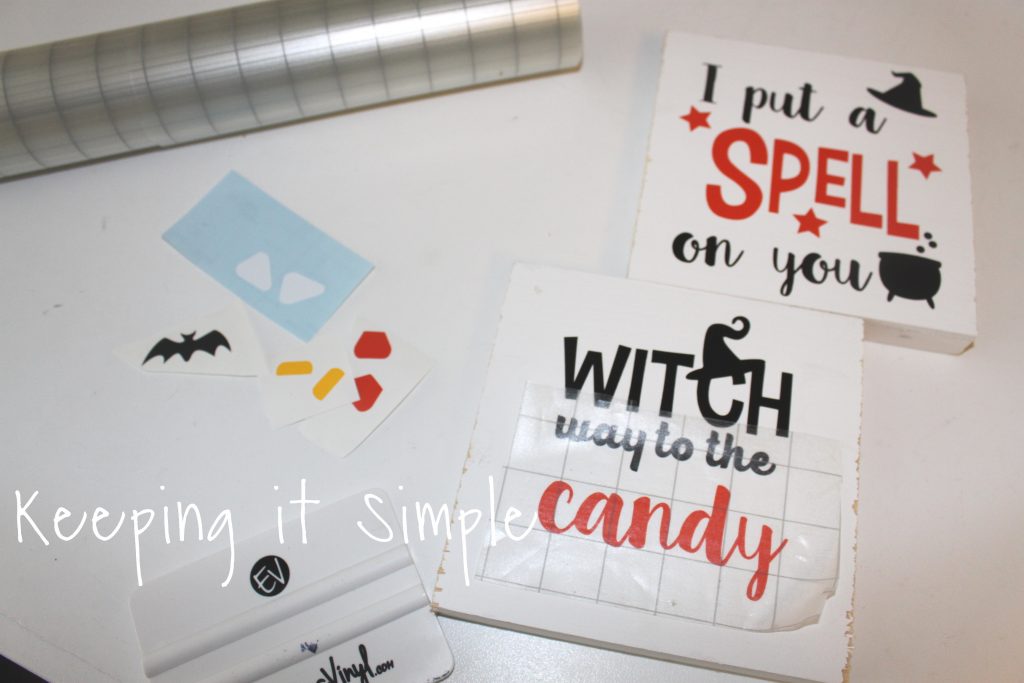
Using transfer tape, I put the vinyl onto the wood boards.
Using a nail gun and 1 1/4″ nails, I nailed the 1 x 2 pieces onto one of the boards. Then used wood glue to put on the other side of the sign.
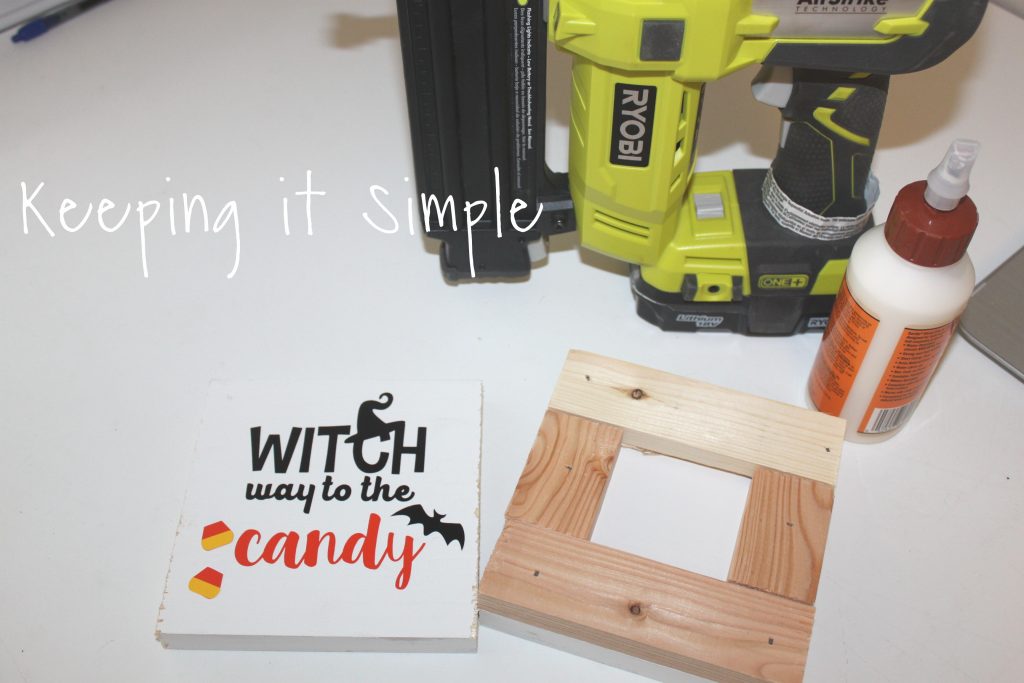
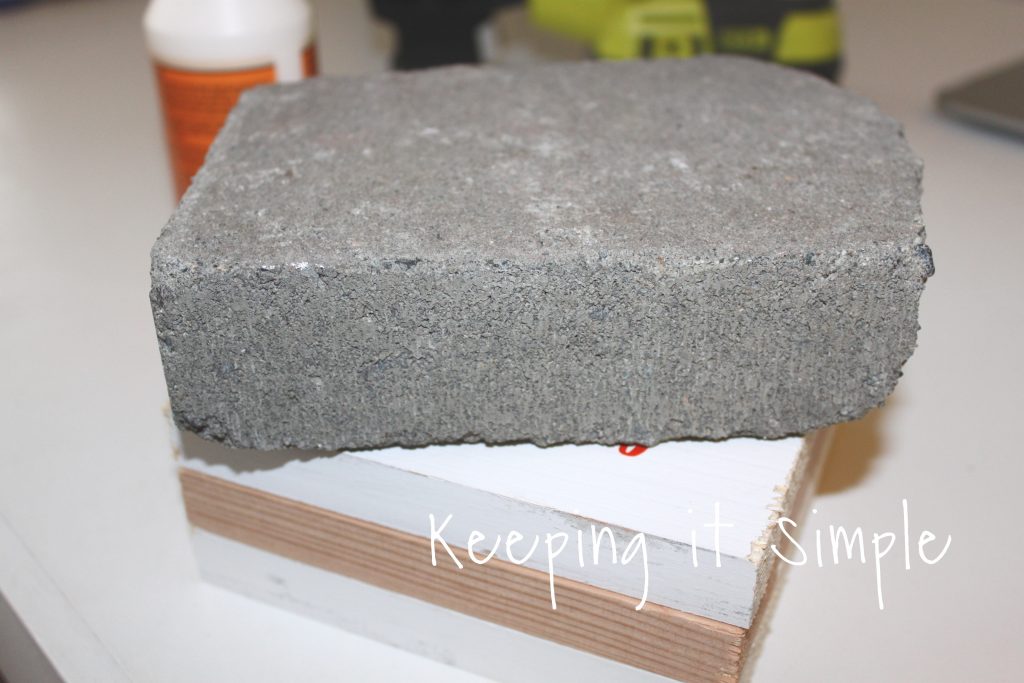
I put something heavy onto the sign to make sure that it didn’t move so the wood glue with set.
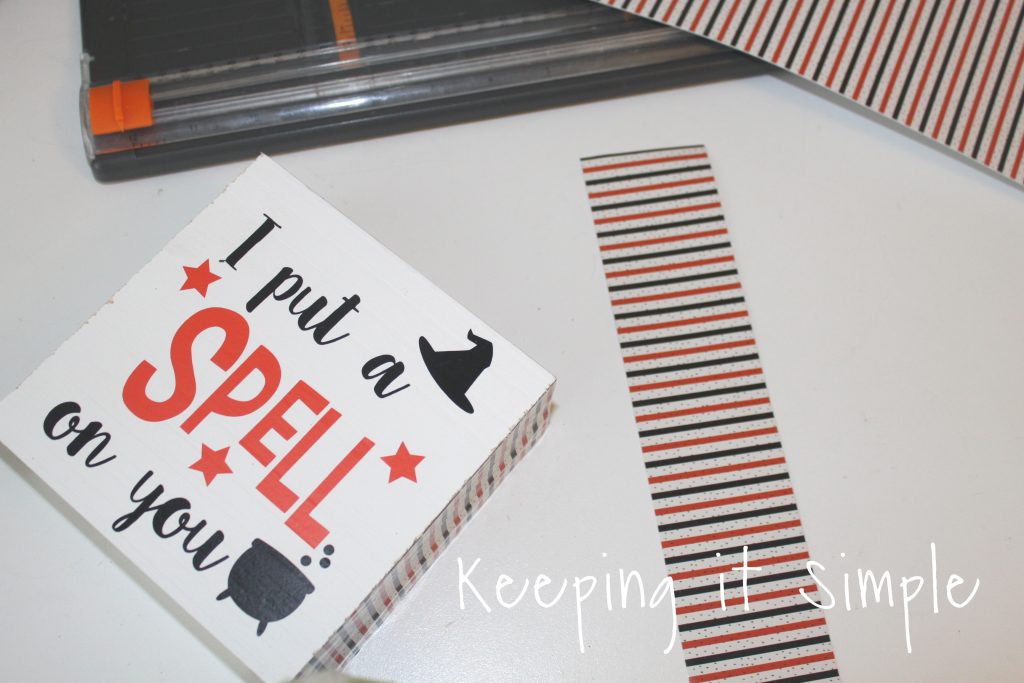
Now for the edges. I used the patterned vinyl and cut it a little bit smaller than 2 1/4″ inches (it was right in between 2 1/8″ and 2 1/4″ marks on my paper trimmer). I then pressed the vinyl onto the edges and wrapped it around the double sided sign. You will need two strips for the sign.
And that’s it!! I put in onto my table with my table runner and other fun Halloween decorations.
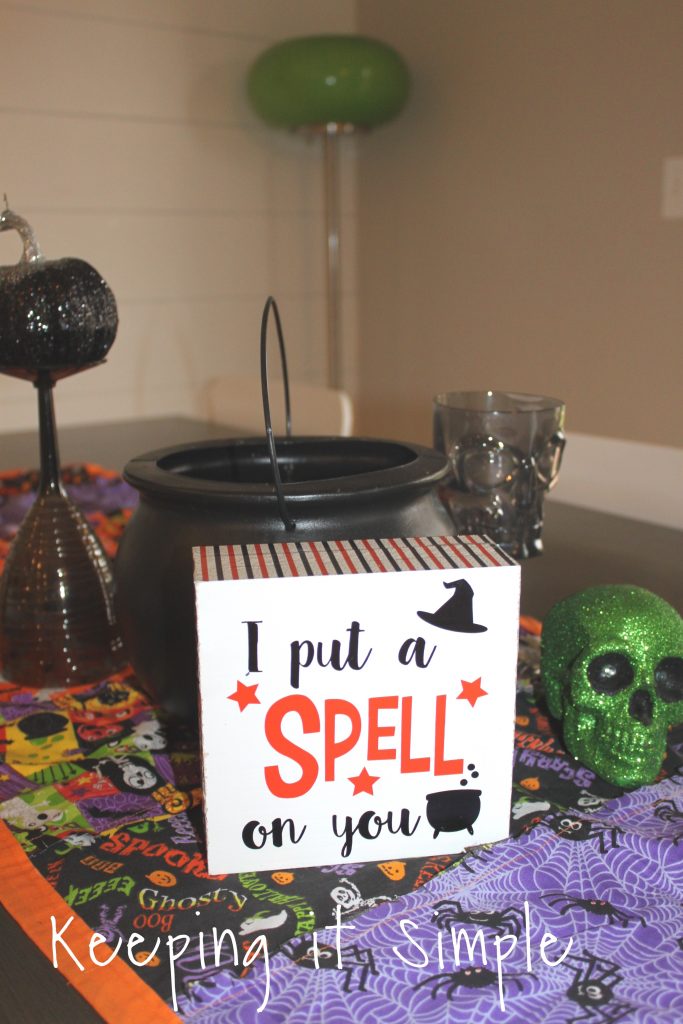
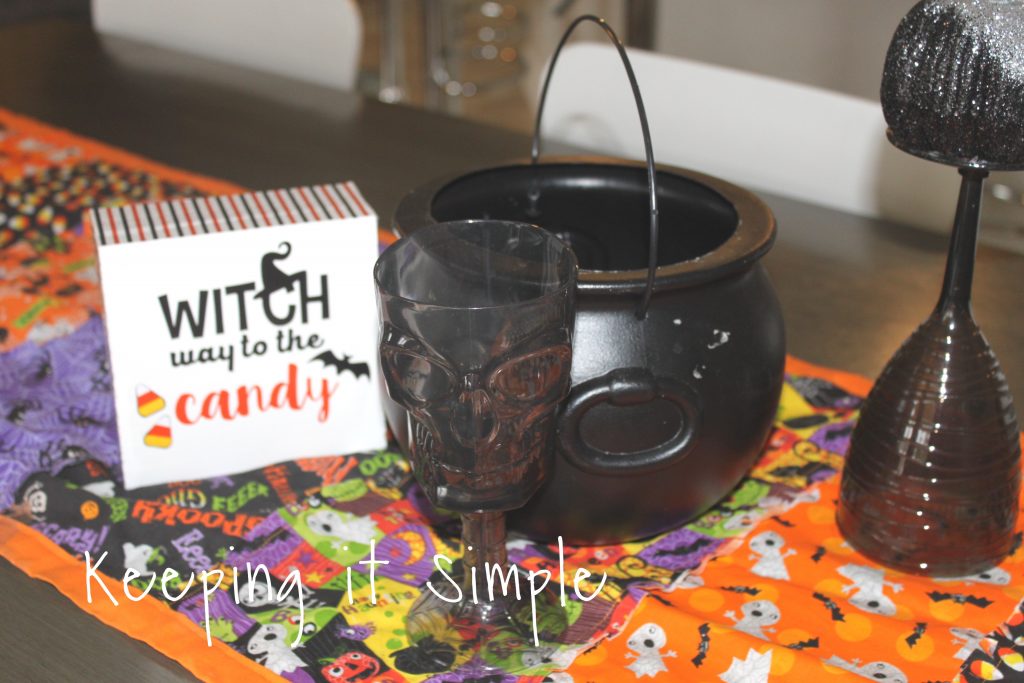
And here is the other side :).
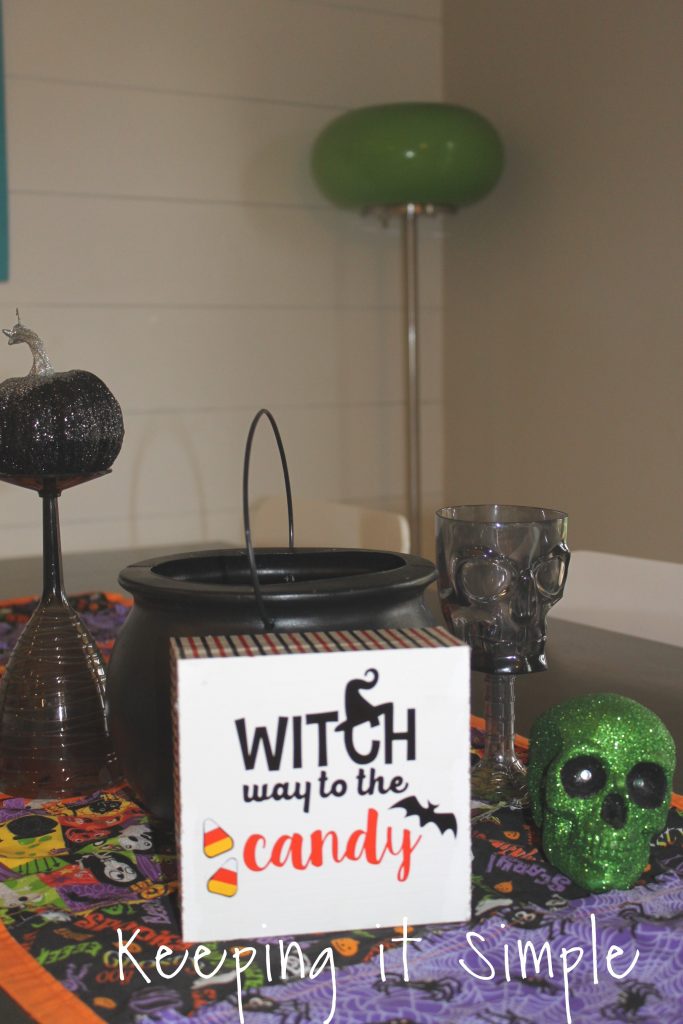
I am actually going to place it be the right of the cauldron so you can see the back when you are sitting on the other side of the table.
This is what it looks like from the other side, I love it!
Make sure to check out my other Halloween ideas!
 Farmhouse Signs
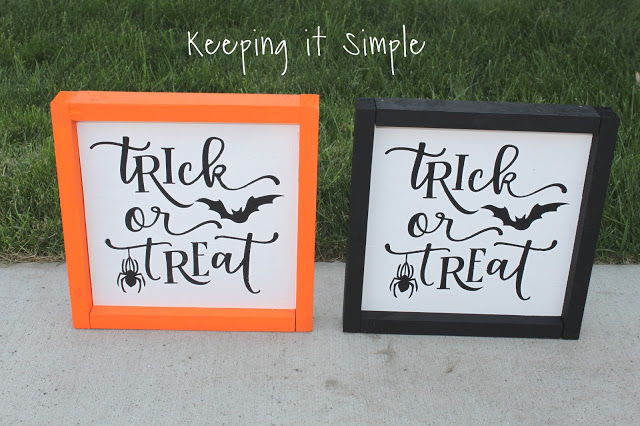 Halloween Candy Bars
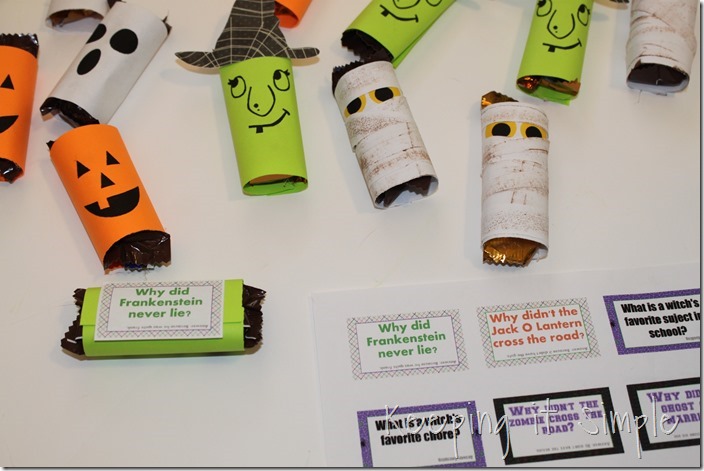
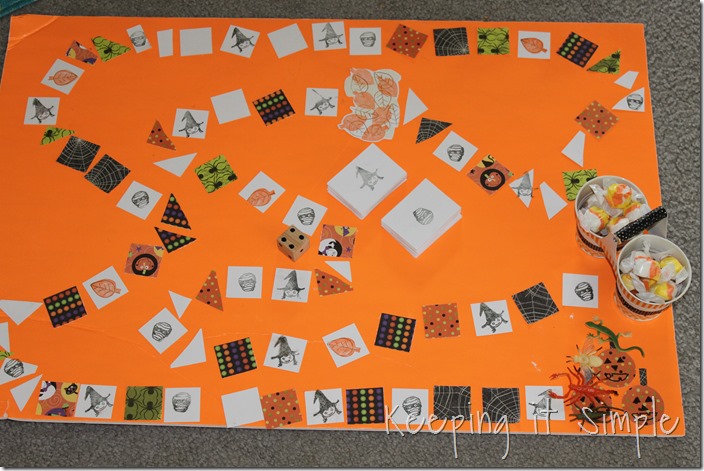
Halloween Board Game
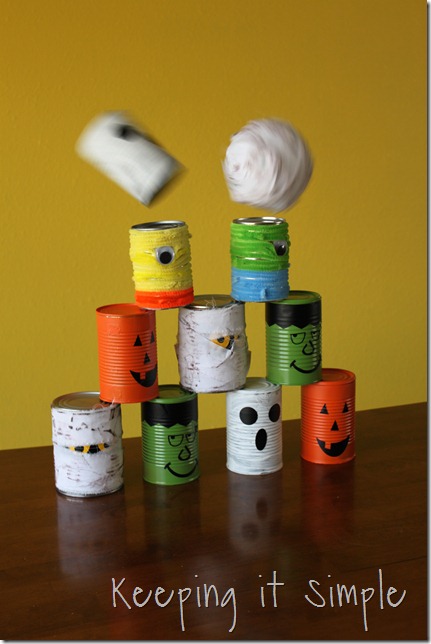
Bowling Cans Game
This post contains affiliate links.
Leave a Reply
You must be logged in to post a comment.