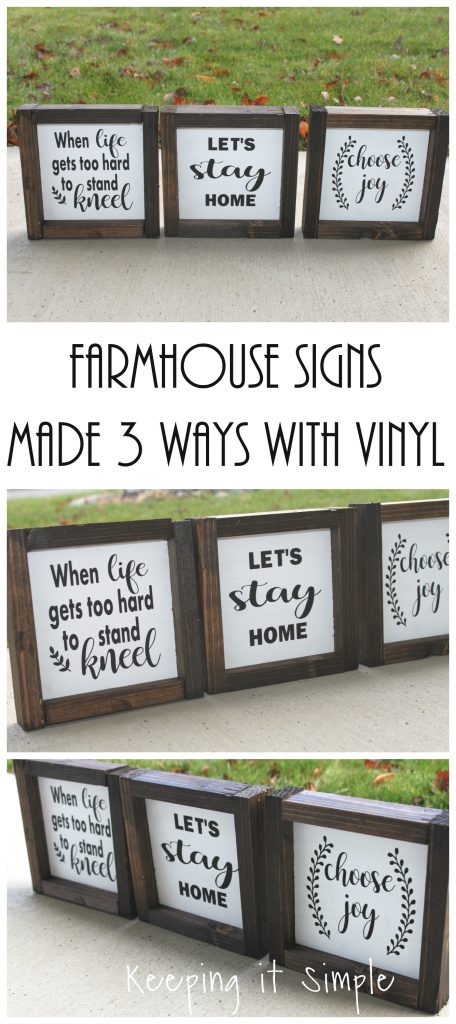
I am obsessed with making farmhouse signs. I just love to make them and coming up with fun designs and sayings to go with them. Well did you know that there are a different ways to make them? Well my favorite way to make them is using vinyl (because my handwriting is AWFUL and I have a hard time even tracing things). Well there are a few different ways to make them with vinyl too. You can have vinyl on the finished farmhouse signs or you can use vinyl to help paint them. Here are three ways that I like to use vinyl on my farmhouse signs.
Here is the process of making the signs 3 ways.
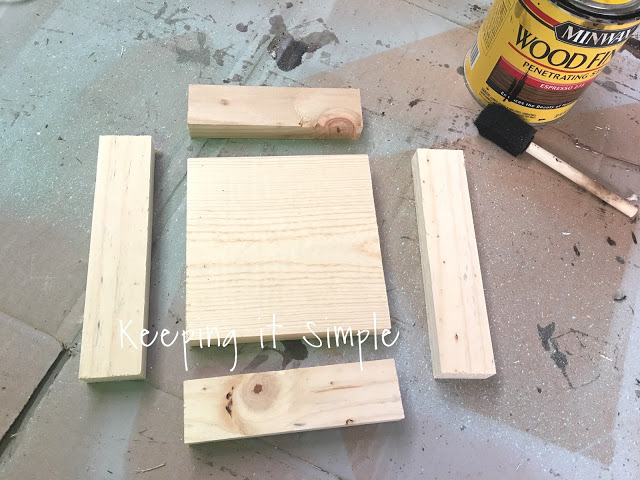
The first thing I did was cut some wood for the signs. All of the farmhouse signs were cut the same way. I used a 1″x6″x8′ board (I believe it is pine) and cut them into the squares, which is 5 1/2 inches by 5 1/2 inches. Then I cut a 1″x2″x8′ board to make the frame, I cut two pieces that were roughly 5 1/2 inches long (I saw roughly because I cut them based off of the board and don’t use a measuring tape) and then I cut two pieces roughly 7 inches long. I then stained the frame with an espresso color stain. Just for your information, you can get 17 boards out of one 8 foot 1″x6″ and you can get 3 3/4 frames out of one 8 foot 1″x2″.
This is how I made the sign that just had vinyl on it. I started with some black indoor vinyl and cut out the design using my Silhouette CAMEO. I made up the three designs in Silhouette studio. You can get those designs here:

Using the clear grid transfer paper I put the vinyl onto the wood.

Since I wanted the vinyl to be on the finished farmhouse signs, once it’s on you just put on the frame and it’s done. To put on the frame, I used the Ryobi brad nailer and 1 1/4″ brad nails.

And that’s it for the one using just vinyl!

Now for the one using vinyl as a stencil. I cut out the design using a Oramask stencil vinyl.

Instead of weeding the vinyl and removing the excess, you take out the actually image (or letters in this case). I then transferred the stencil onto the wood with the transfer paper.

Using a foam stencil brush, I painted the woods onto the board.

Once it is completely dry, you can take off the vinyl.

Using a little hook, I got out all of the little pieces of vinyl, leaving just the paint. Sometimes it might need a couple touch ups, not too many as long as you are using a smooth piece of wood.

I then put the frame onto the sign, like I did with the other one. And that’s it for the sign using vinyl as a stencil.

Now how to make farmhouse signs by “reverse vinyl”.
For this one, you will want to paint the board the color you want your letters to be, so I painted it black. Then I cut out the design using regular indoor vinyl. One benefit of doing this way is that if you don’t have the color of vinyl that you want (I was out of black a couple weeks ago!) then you can use whatever color vinyl that you want.

I weeded the vinyl just like I would if I were just using vinyl and then I put it onto the board. Make sure that there are no bubbles in the vinyl and you have a tight seal on the wood.

Then I painted over the vinyl and the black board. I painted it white because I wanted my background to be white. You don’t want to have too thick of a coat of paint when you are doing this.

Once the paint is completely dry, then I removed the vinyl using the hook.

Here is all the of the vinyl removed.

Then I put the frame onto the board using the brad nailer just like the other farmhouse signs. And that’s it for that one!

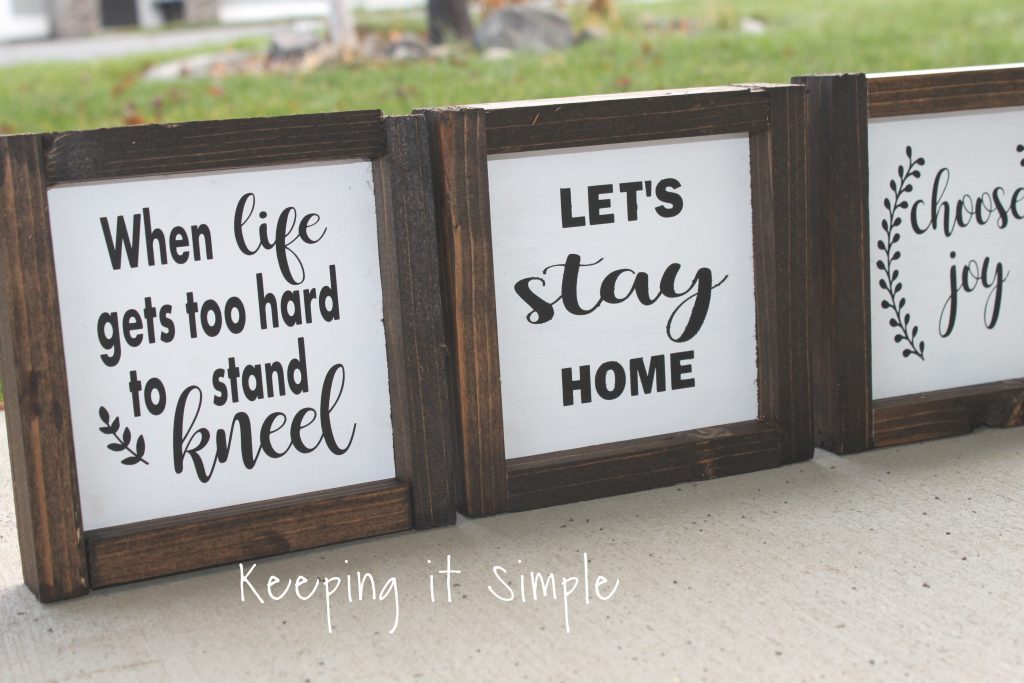
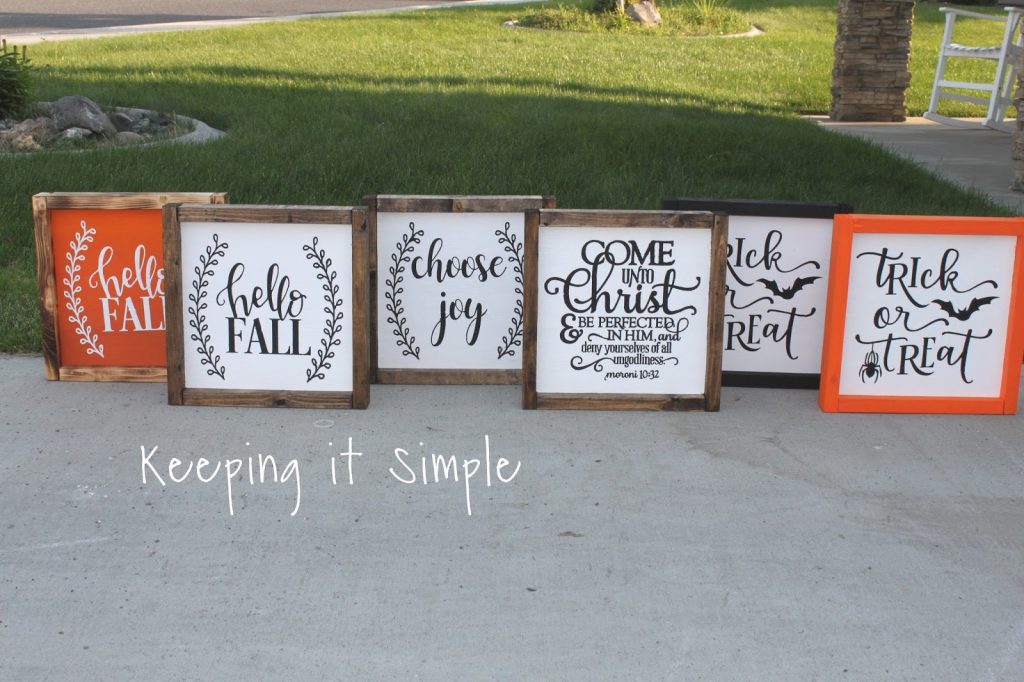
Here are all three of them and I love them all! Either way you like to do it, they all look amazing! One benefit of using paint instead of vinyl is that you can get the exact color that you like and one benefit of using vinyl instead of paint is there is no dry time and no touch ups.
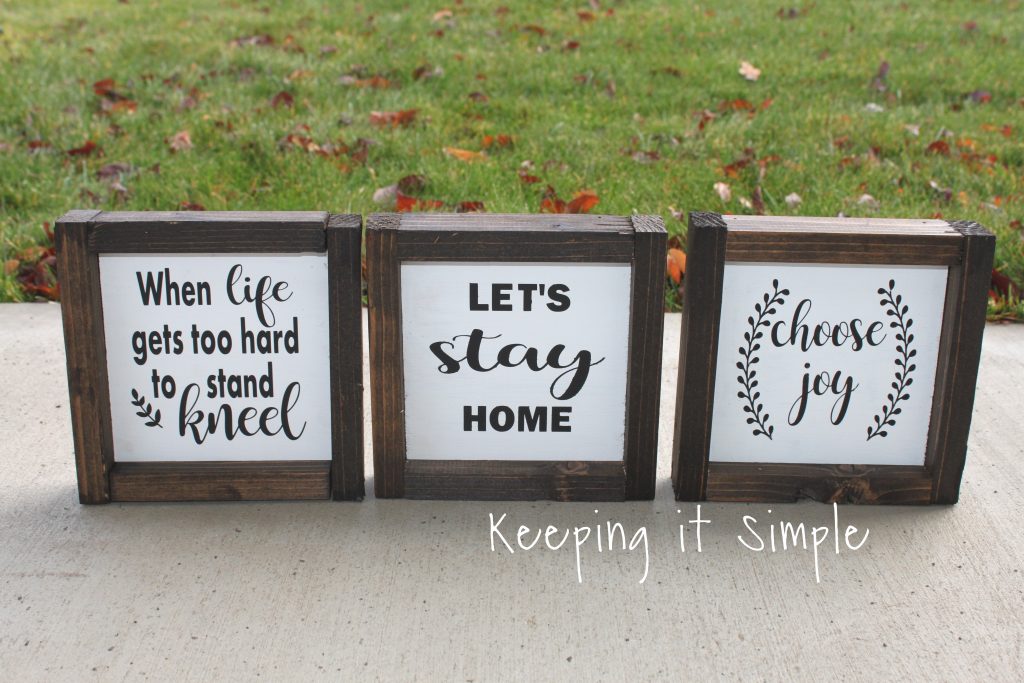
I just love how these look and they are the perfect size for a table or shelf :).

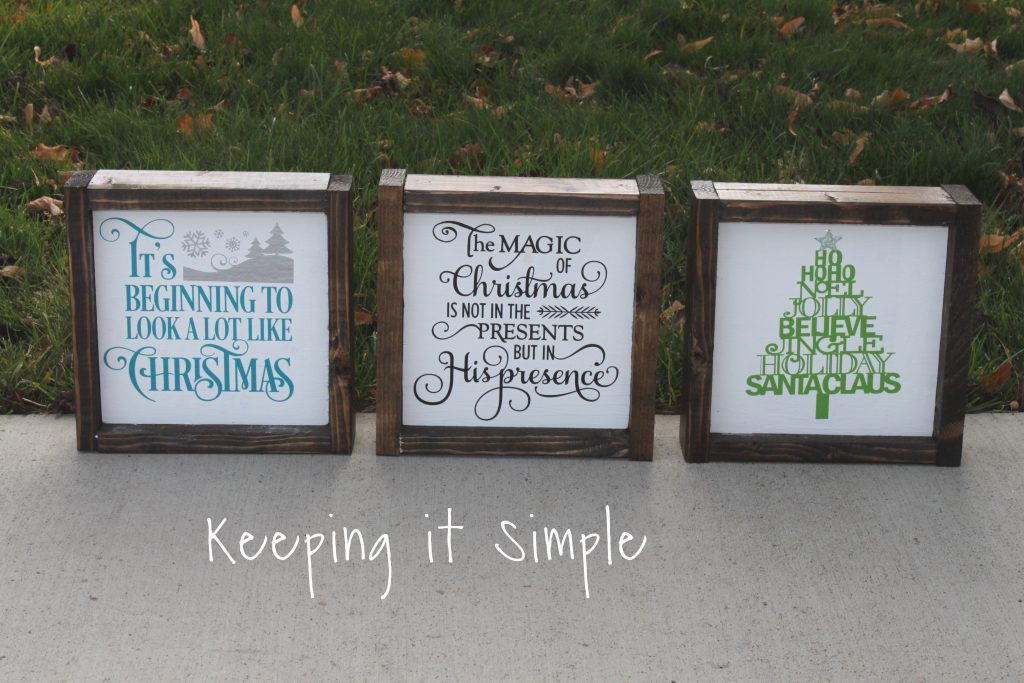
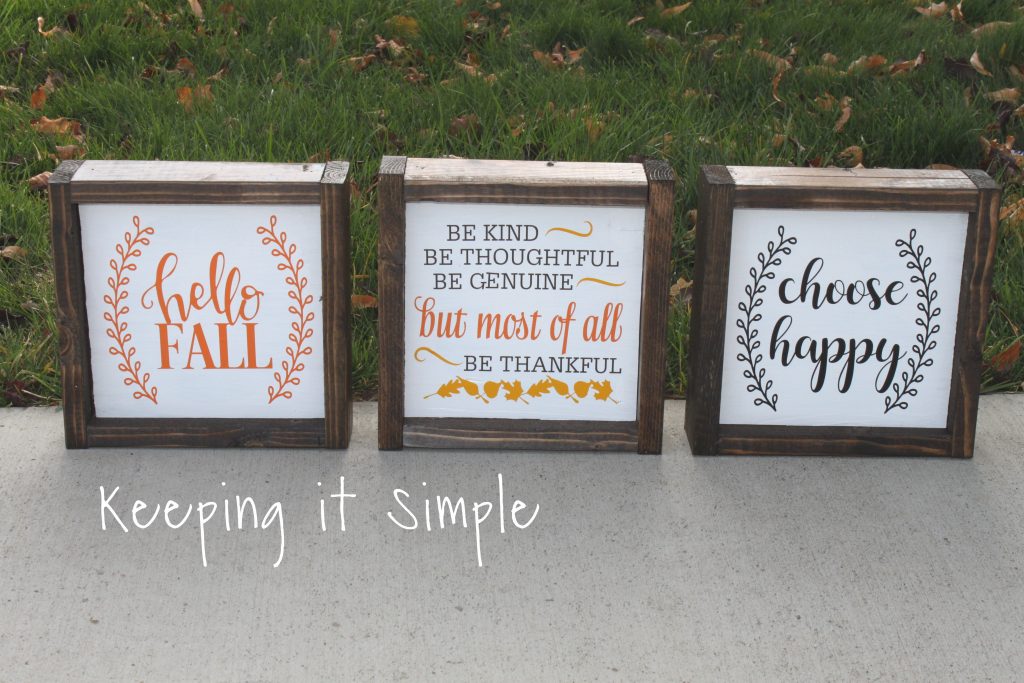
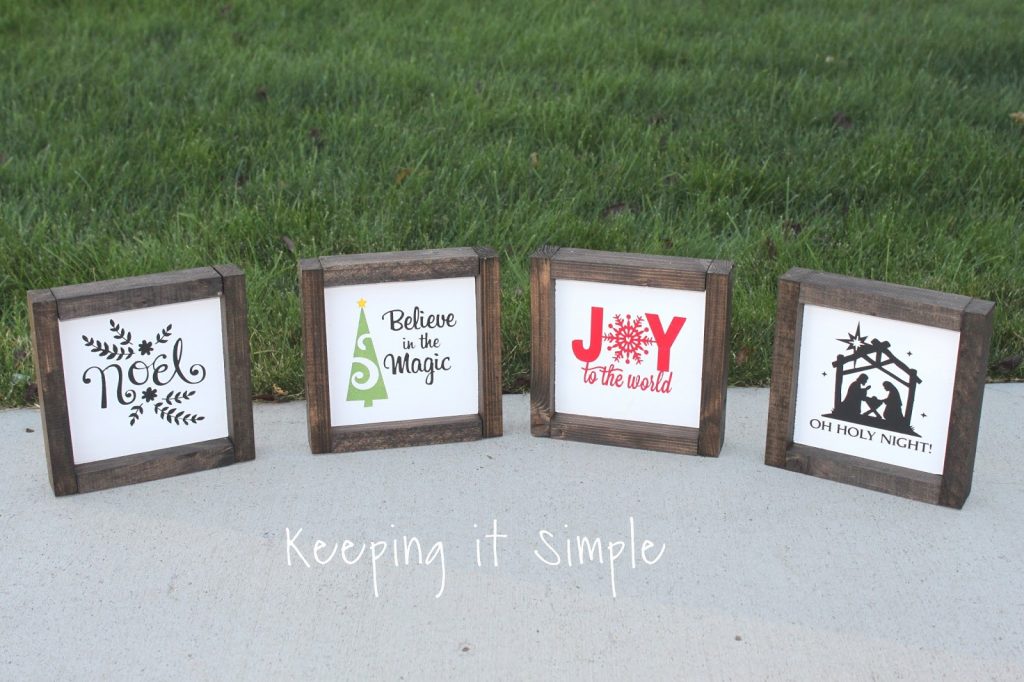
I made up a few more designs that are perfect for the signs. You can get the files here:

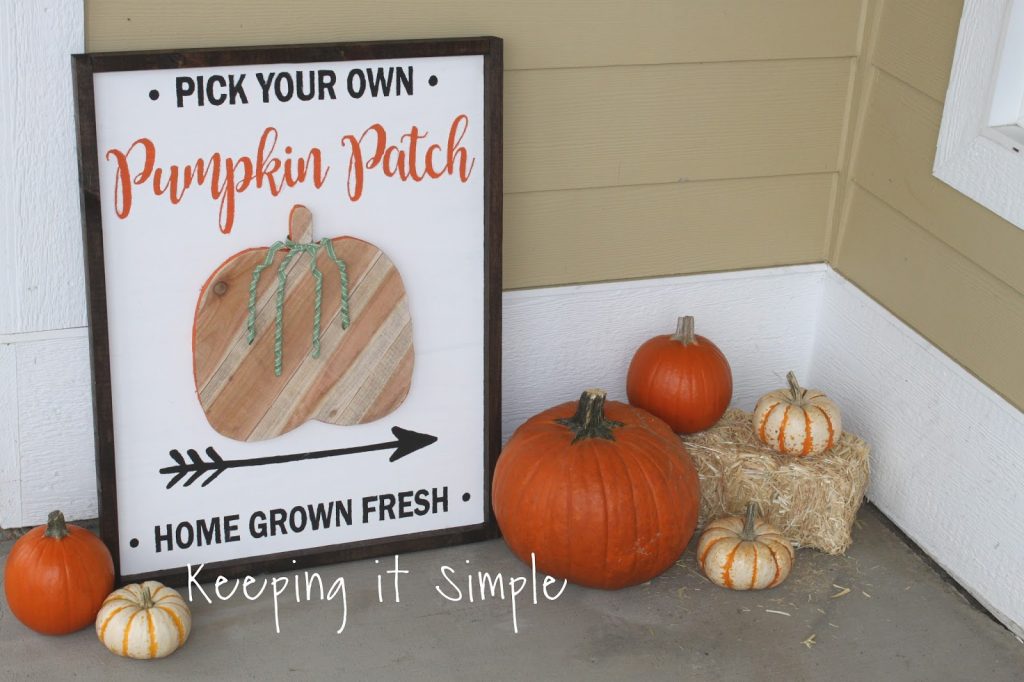
Check out my other signs that I have made:
Fall and Christmas Reversible Sign

This post contains affiliate links.
Leave a Reply
You must be logged in to post a comment.