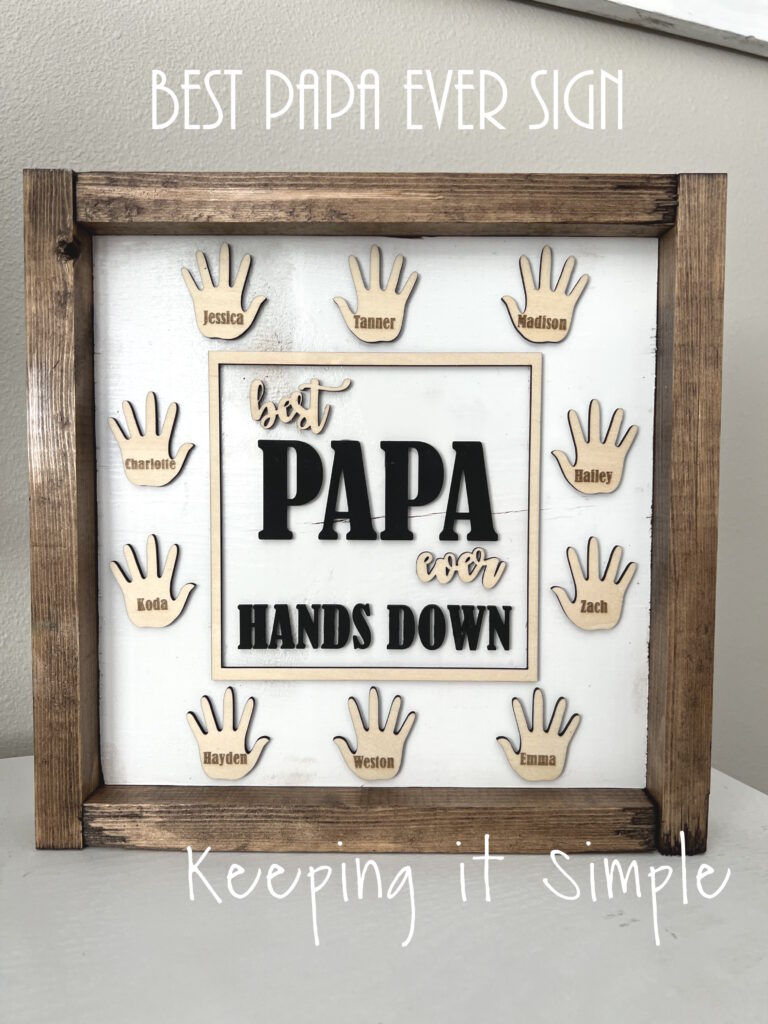
Father’s Day Gift Idea- Best Papa Ever Sign with SVG Cut File
Some of my favorite Father’s Day gifts ideas involve hands or hand prints. I especially love the saying with “hands down” in it. I have actually made several shirts with that saying for my husband. This is the first time I have done it in a sign and I love how it turned out! This is a great Father’s Day gift idea for a dad or a grandpa!
If you are new to laser cutters, check out my beginners guide to the xTool.
This is how I made the best Papa ever sign.
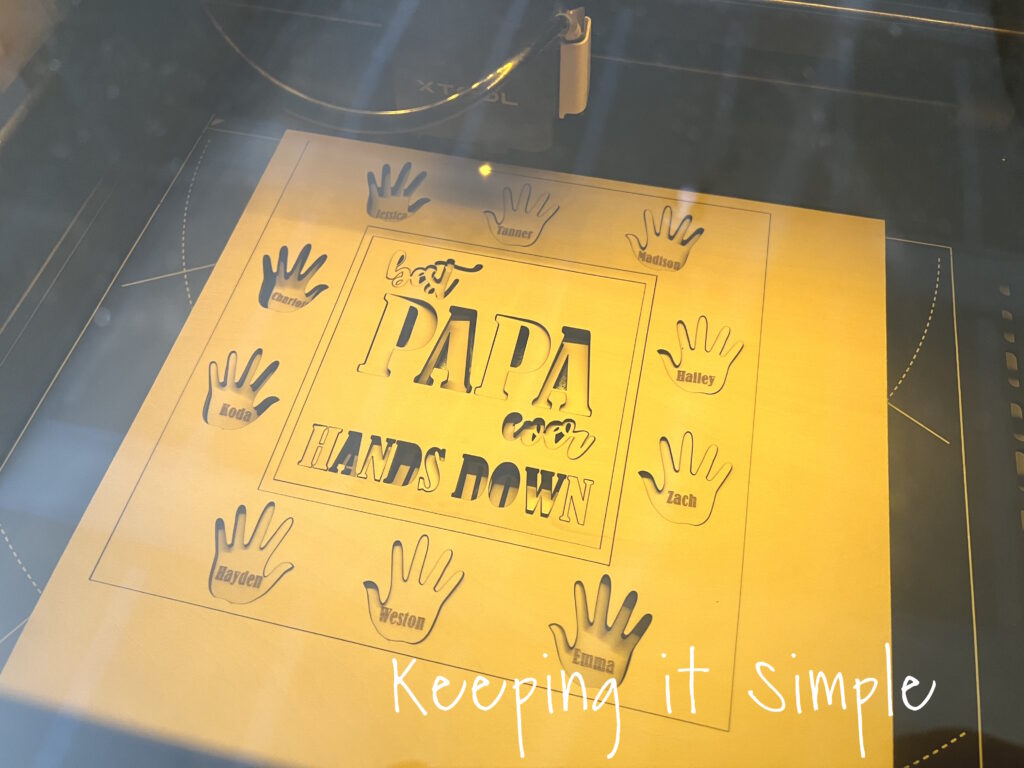
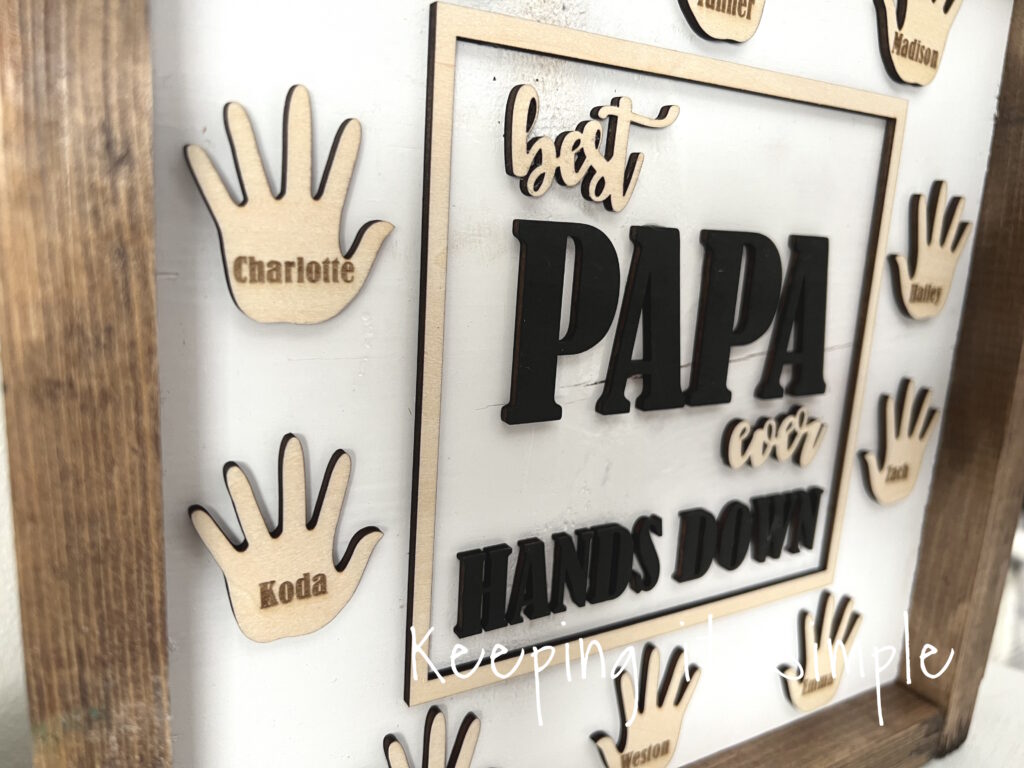
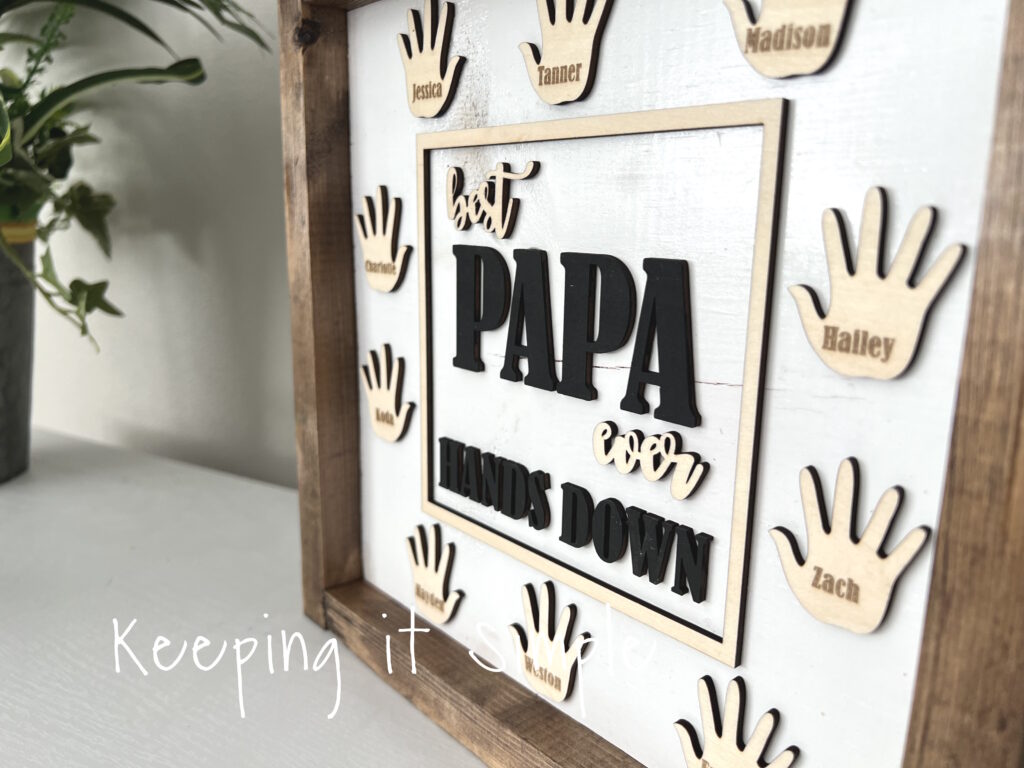
I created an SVG cut file with the design and then uploaded it into xTool Creative Space. I sized it to about 9.2 inches by 9.2 inches (the size of the sign). I then added the names to the hands. I used the text button, typed out each name, and then set it to engrave instead of cut. The font that I used is called Bernard MT Condensed. The rest of the design, I cut out. I then sent it to my xTool M1 and cut it out of 12×12 inch 3mm basswood plywood. I used my air assist attachment to prevent burn marks.
You can get the SVG cut file here:
The cut file also has Dad and Grandpa in it, so you can make it with those names too.
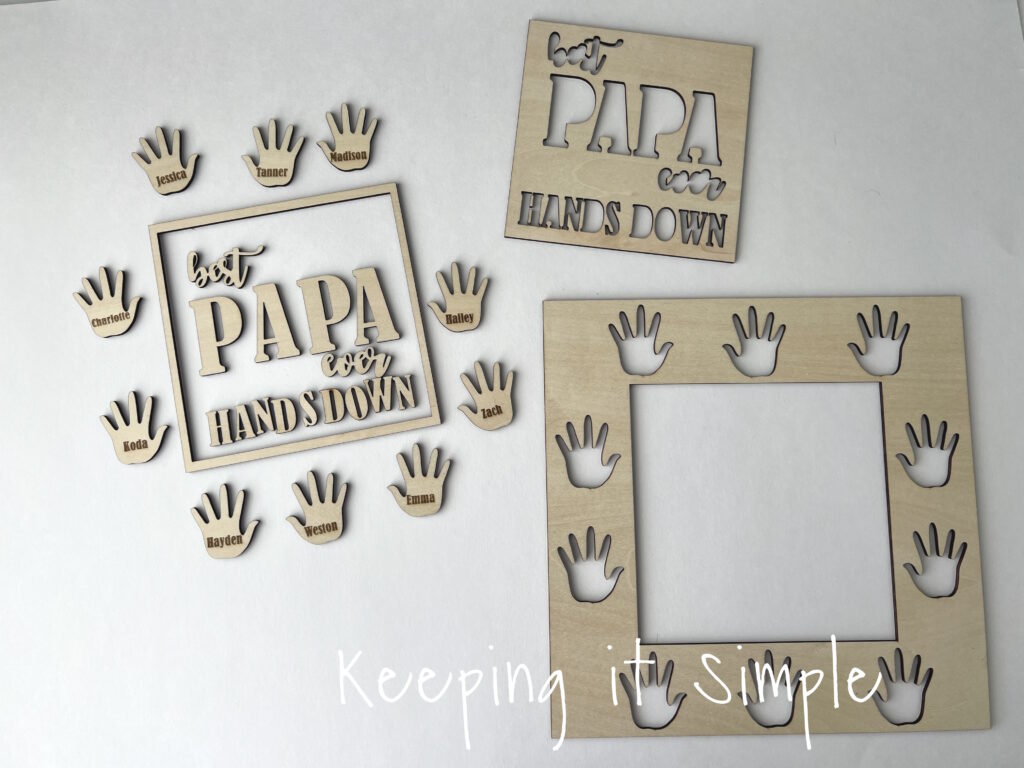
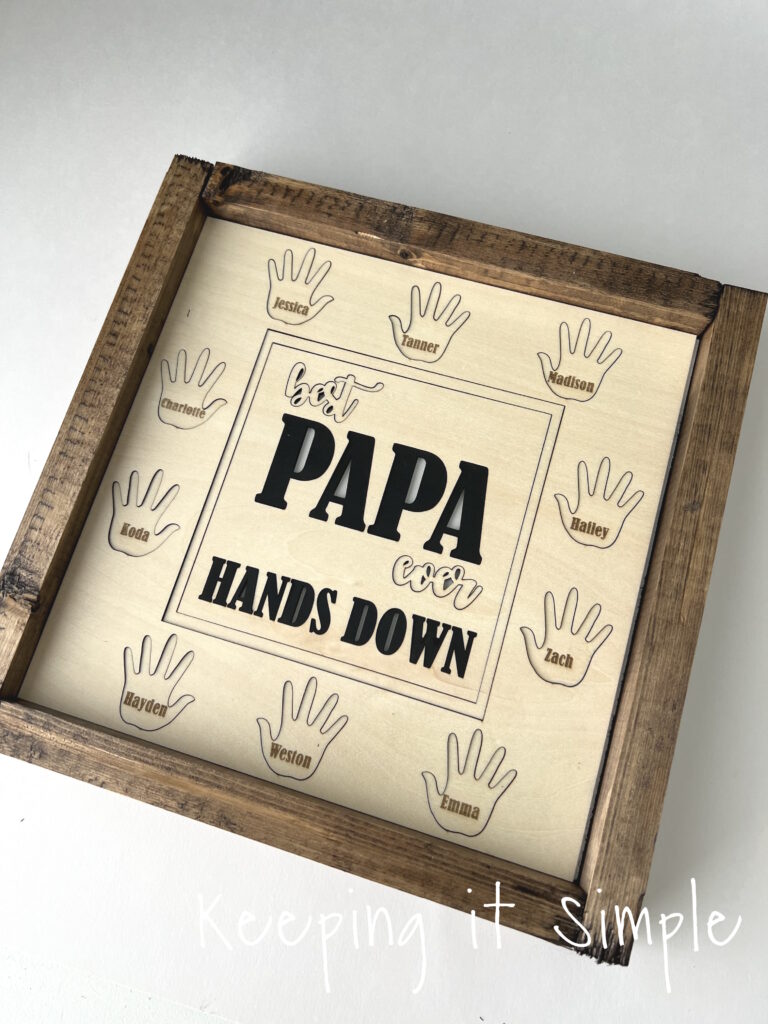
Here the sign all cut out. I love how it looks!
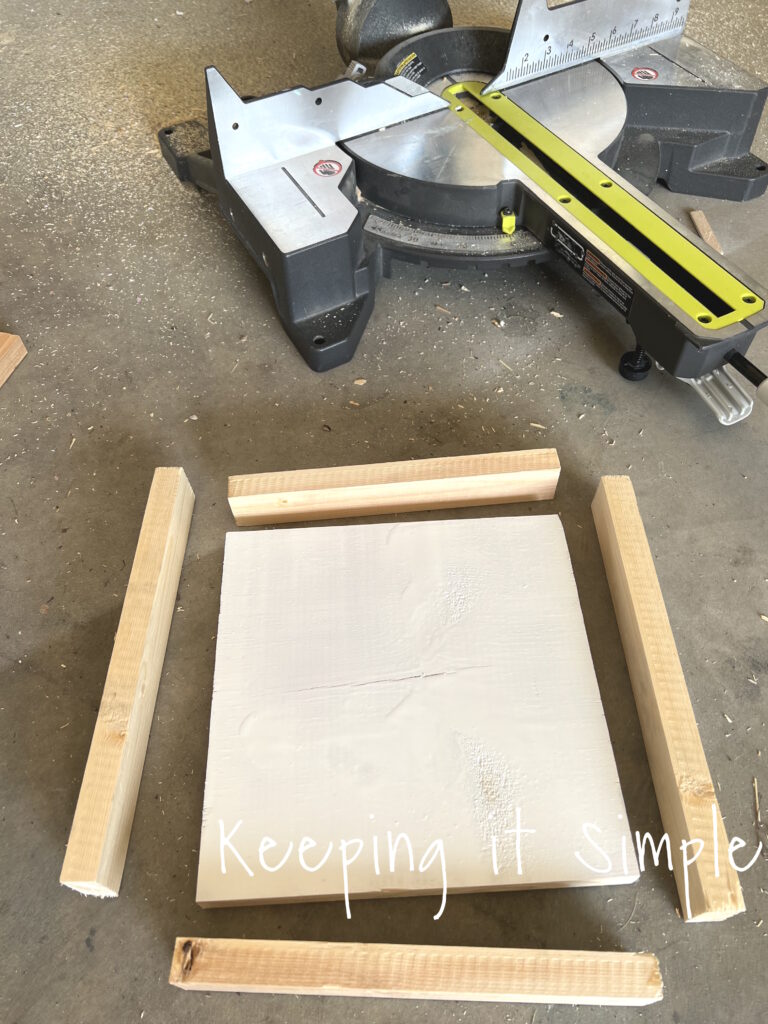
Now time for the farmhouse sign. For a very detailed post on how to make a farmhouse sign, check it out here.
For the farmhouse sign, I used a piece of 1 x10 common board. I cut to be a square using my miter saw. The dimensions were 9 3/16 by 9 3/16 inches. I then used a 1 x 2 wood for the frame. I cut two pieces that were the same size as the board, roughly 9 3/16 inches. Then I put those two pieces onto the board and measured the other two pieces of the frame by putting the wood next to it and marked it. It is roughly 1 1/2 inches more than the other pieces.
I then stained the frame with an espresso stain and painted the board white.
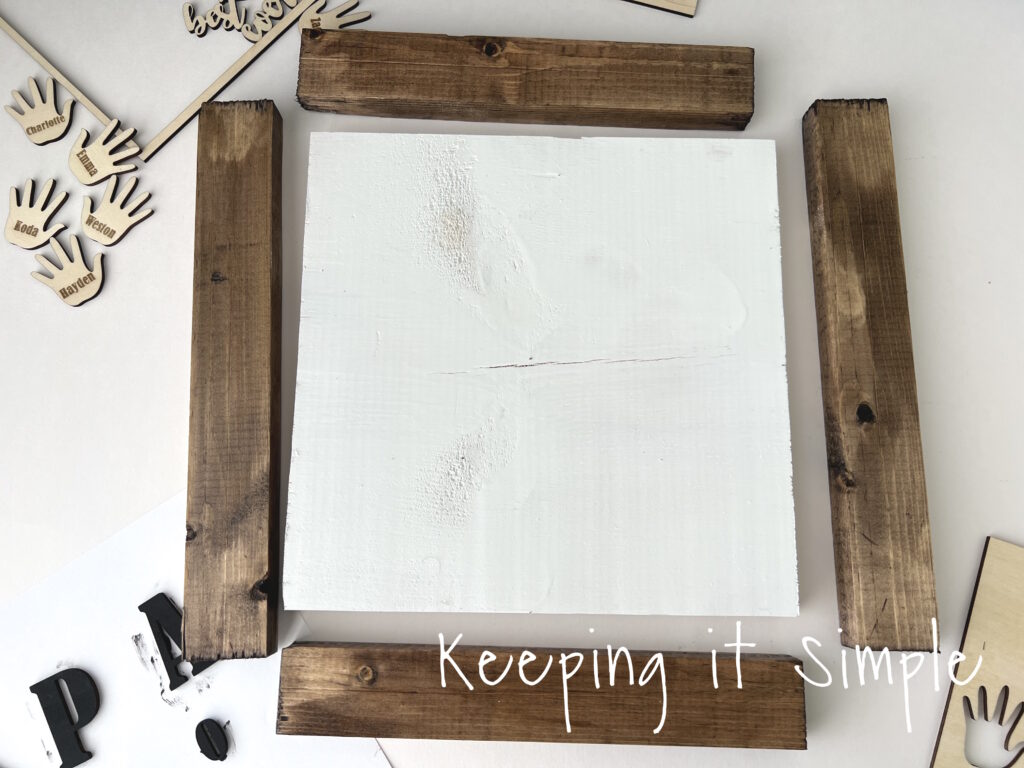
Using a nail fun, I nailed the frame onto the board. I started with the top and bottom pieces and then put on the sides.

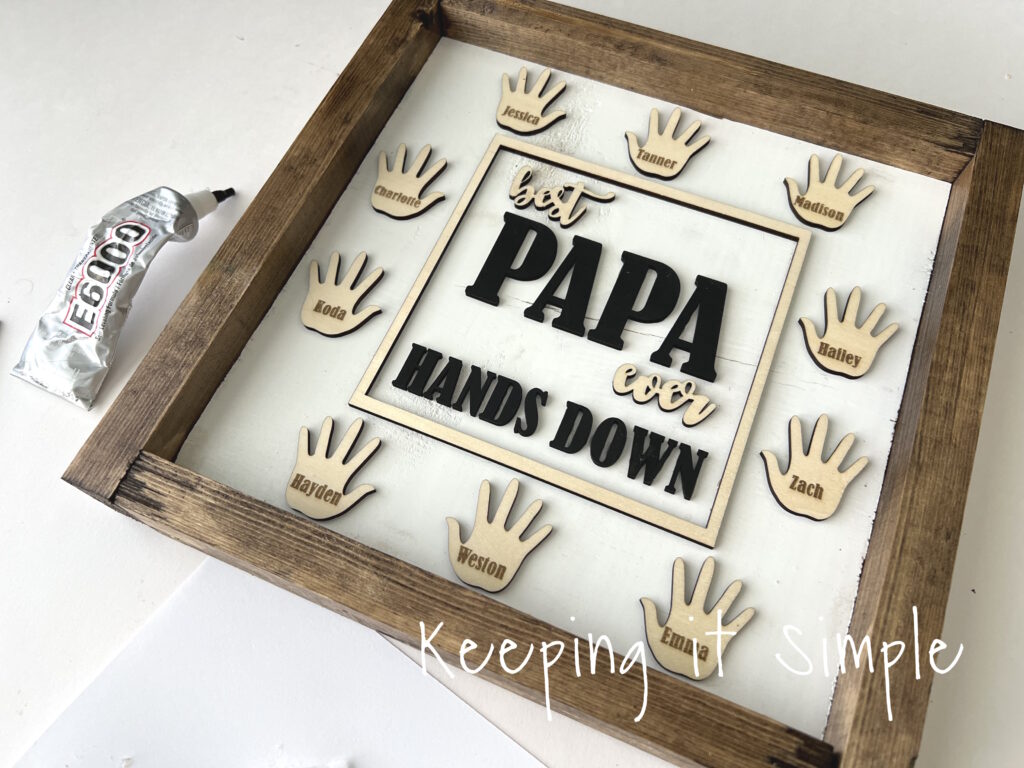
Now to put the wood that I cut out with my xTool onto the farmhouse sign. Since there area lot of individual pieces, so to make sure that I put them onto the sign straight, I used the leftover plywood and then put the pieces onto the sign. I put glue onto them and then put them into the holes of the plywood.
Once all the pieces were glued down, I took off the plywood and the pieces were left on the sign, all lined up and straight!
And that’s it!

Here is a close up of the best papa ever sign I love how it turned out!
Need more Father’s Day gift ideas, check out al the other Father’s Day gifts I have made in the past, here!
This post contains affiliate links.
Leave a Reply
You must be logged in to post a comment.